I’ve been working on this for awhile. I had originally planned on scaling up the burly before the Primo came along. I’ve got most everything worked out, but now my printer is giving me hassles. Half afraid to try and print the core.
I could use some math help with the cut calculator. I’m looking to have a 48” cut in the X with maybe 1/4” on each end to allow for a 1/4” bit. The conduit comes in 10ft sticks. I know if i cut them in half, i won’t have a 48” X, so i need to figure exactly how long they neeed to be so the remainly length can be used to allow a long of a Y as posible from the remaining stick.
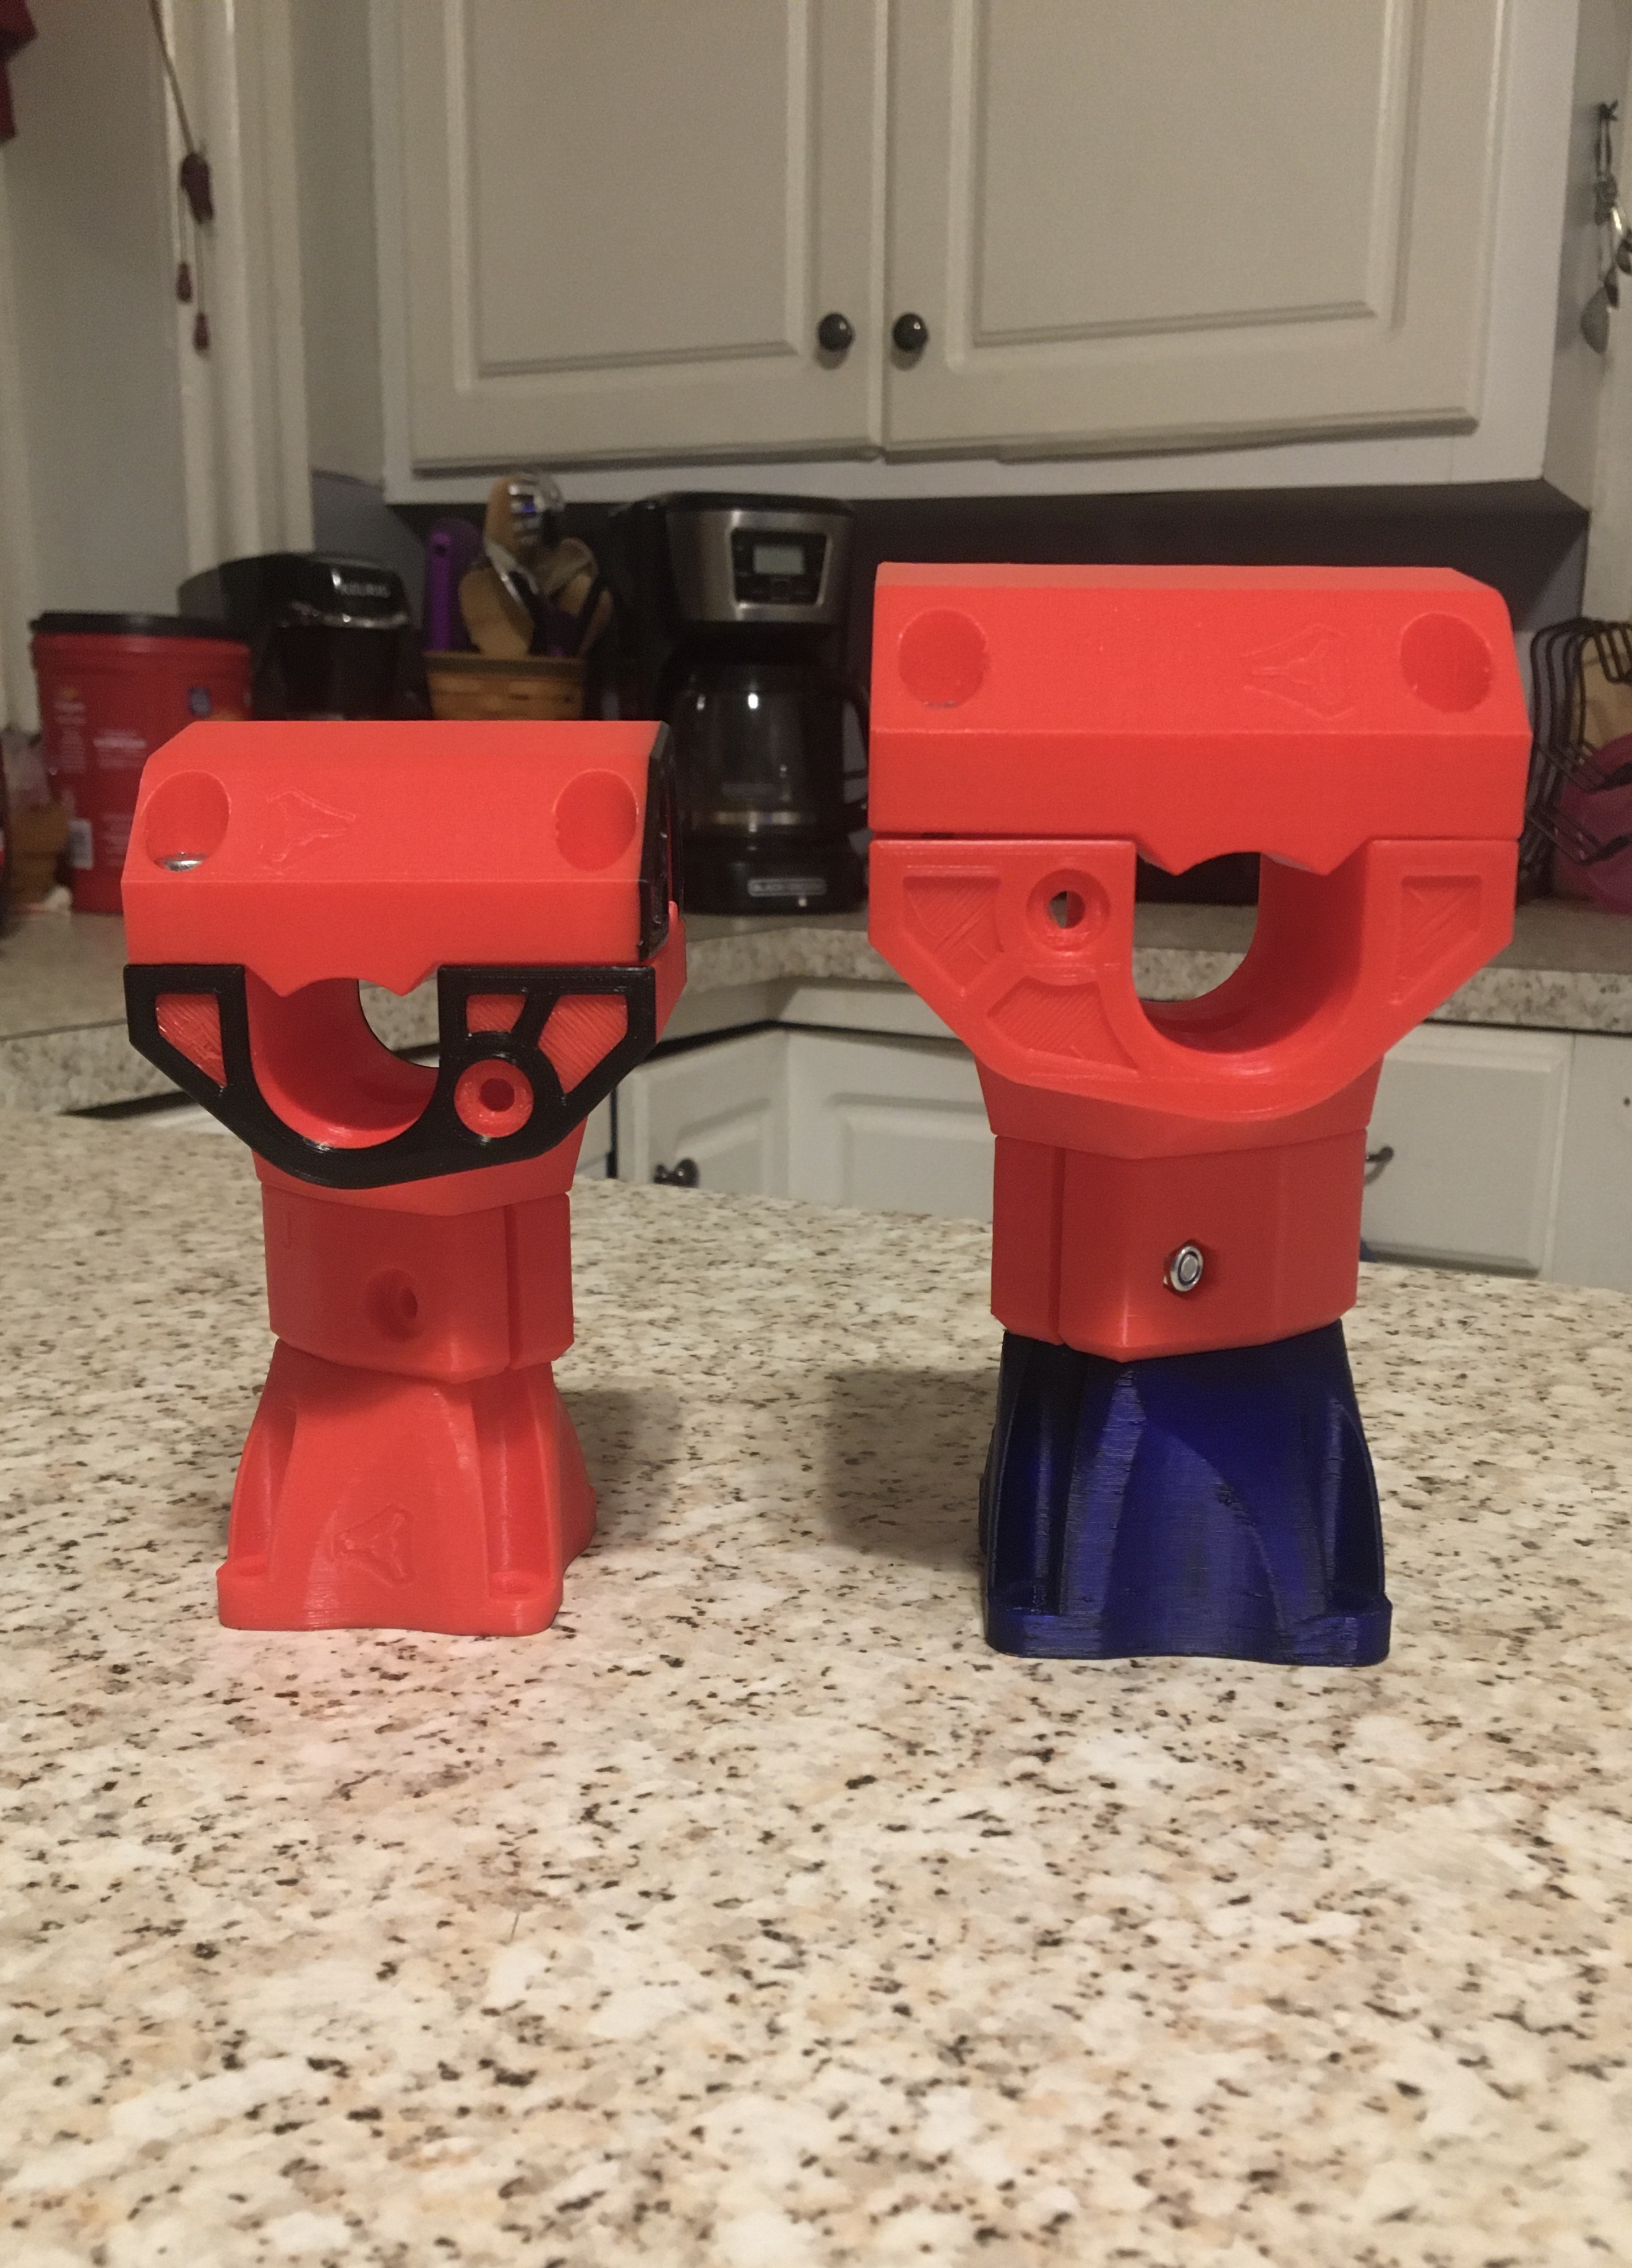
It’s basically the J Primo scaled 1.163%, with some edits for nut traps and such. I thought @jamiek might be able to figure this one out.
Solved Edit: I think i’ll be just as easy and more accurate if i just partially assemble things, move things around to get the full X travel i want, then mark the conduit at the length i need.
The core print at 116.3% went well. Now for whatever reason, my printer doesn’t want to print my yellow with the new all metal hotend, so black it shall be.
I have issues with some PLA filaments since I installed a volcano on my Ender 3, especially white filament for some reason. So far a little canola oil has resolved the issues.
I have serious issues on printing PLA with my original E3D V6 all metall hotend as well.
Always clogging. Reduced retract (<=2mm) might help here. Maybe current summer situation might make it hard for the coldend fan properly cooling it.
For PLA I’ll switch back to heatbreak with 4.1 bore and PTFE right to the nozzle.
I made several attempts, lowered temp, new nozzle, and i backed the retraction down to 2mm.
I’m just going to order a new pfte heat break. My dream of trying some ABS has been shattered.
Too much of a hassle swapping the heat break on my printer, plus i think i can only reach about 80c on the 300x300 bed.
I really thought backing off temp and the retraction would do the trick, especially since i just pulled off a 49 hr print in black with no issues.
My bowden tube is extremely long because of the 400mm build height, and i usually run 7mm of retraction, which adds significantly to the print time but makes nice prints. Backing it down to 2mm didn’t appear to help at all as all the core clamps failed at about the same point.
Depending on your slicer there might be a setting like “Maximum Retraction Count” (here it is Cura) that could be set too high by default.
I lowered this from 90 to 15 or less and that seemed to help as well. Because the main issue with all metal hotends are too many retracts and/or too much retract (length).
That pulls too much molten PLA higher and higher within the heatbreak and than causes clogging.
So if you would print a tower in vase mode it should print until the filament is empty or your maximum Z hight is reached. And that shows that the issue is linked to the usage of retraction.
Different PLA can behave different. So maybe the particles within the black PLA avoid such issues or just keep it beneath the “clogging trigger point”.
It’s just weird that i swapped to an all metal and was able to print black without changing any of my settings, yet can’t make this yellow print with the all metal even after changing everything that would normally help.
As you can see with the Z plates, i have successfully printed with the yellow and the ptfe heat break, however, that is when i started having issues. I was trying to do color layer changes on the trucks and it didn’t go well.
I use the “Cura Engine” in Repetier host. I don’t recall ever seeing max retraction count, but i can adjust retraction as well as disable it.
I have recently swapped PC’s because editing the massive stl’s in fusion often resulted in cardiac arrest on the old PC and it would repeatedly lock up.
I had to install Repetier host on the new pc and was a bit freaked out that all of my print profiles were already in it. How was that even possible?
I did notice on the lastest version of repetier it no longer has a “flowrate” slider in the manual controls. I liked that feature. Often times i would bump it up to 110-115% on the first layer for better adhesion and a more solid appearance.
I hear ya. It has a V5 clone on it. I know 7mm is a lot, but it’s been printing great like that for the past year and a half since I bought it, but i’ve always had a ptfe heat break and only printed PLA. I think i ended up at 7mm when i was learning and having a ton of stringing with a roll of white and just left it there.
I’ve turned it down to 2mm, i’m not seeing any stringing with the black, but the yellow still screws up. I’m gonna finish printing the other 3 core clamps in black, then i may mess with it to see if i can dial it in for this roll of yellow. I may end up swapping out the all metal for a ptfe.
I just want to print things to see if i need to do any more edits. The core was such a mess in fusion after converting the STL to body, i spent hours trying to fix it. The only real editing that needed to be done after scaling it 116.3% was re-sizing the hole for the T8 nut.
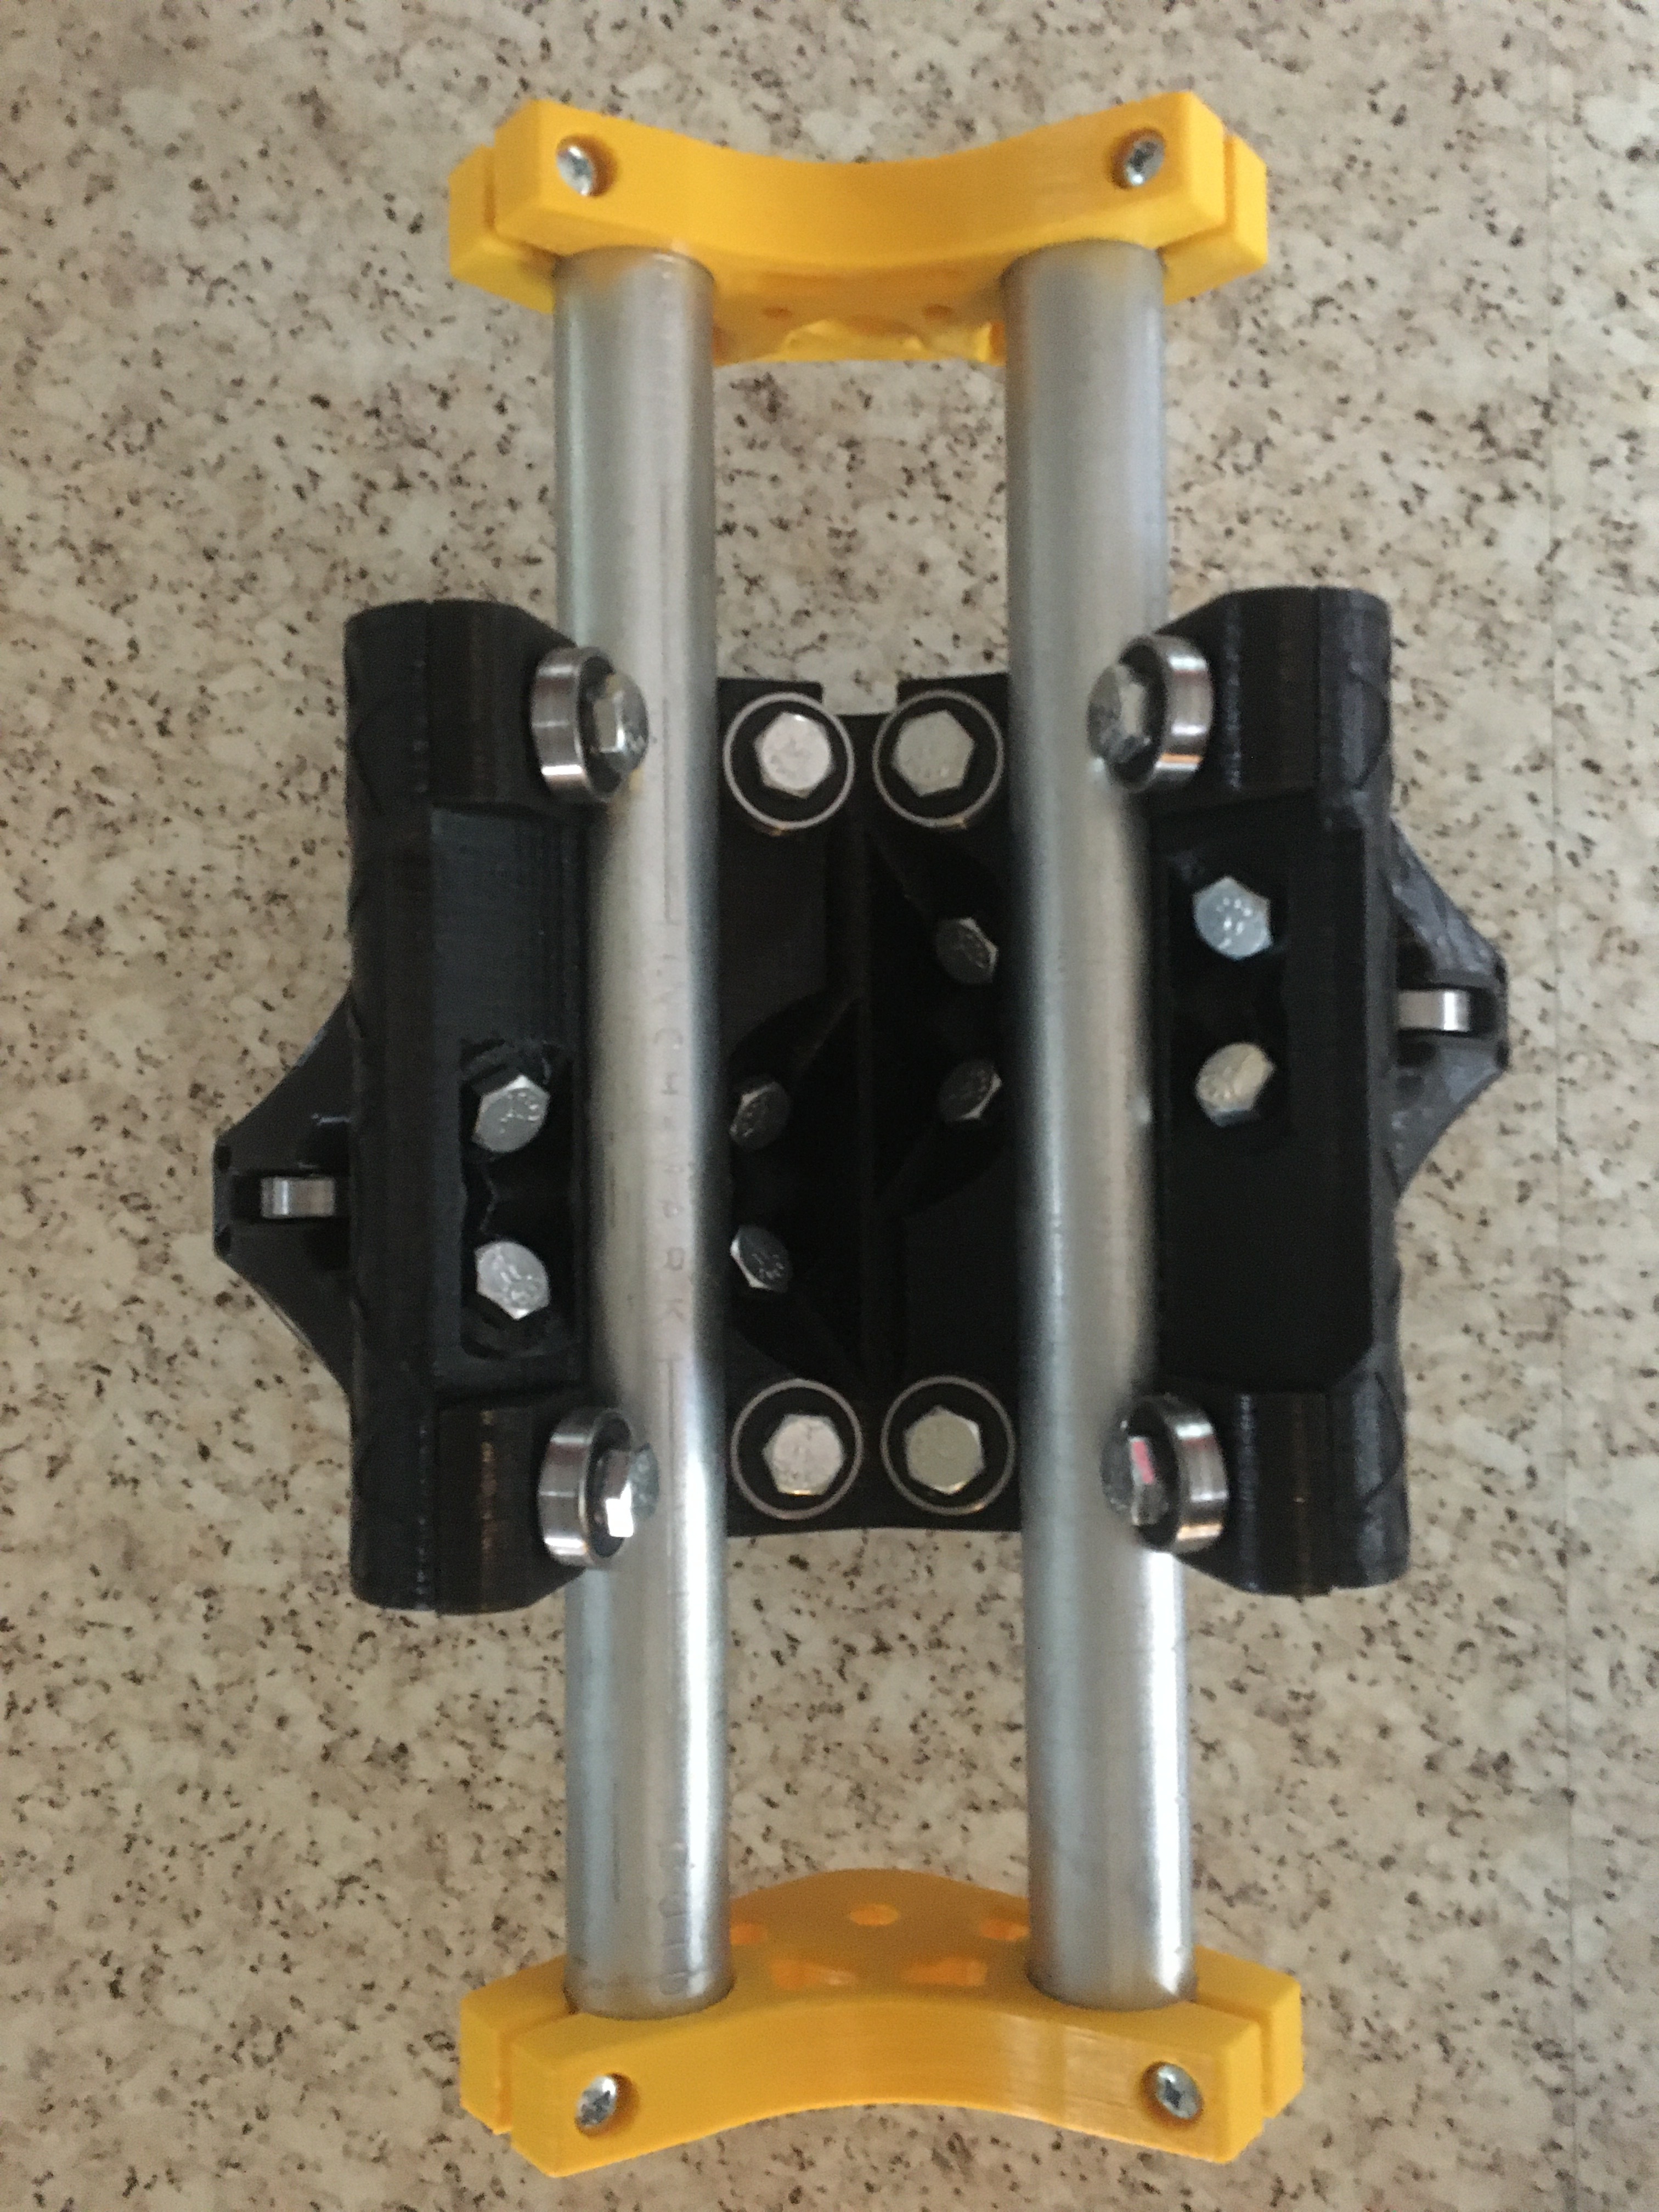
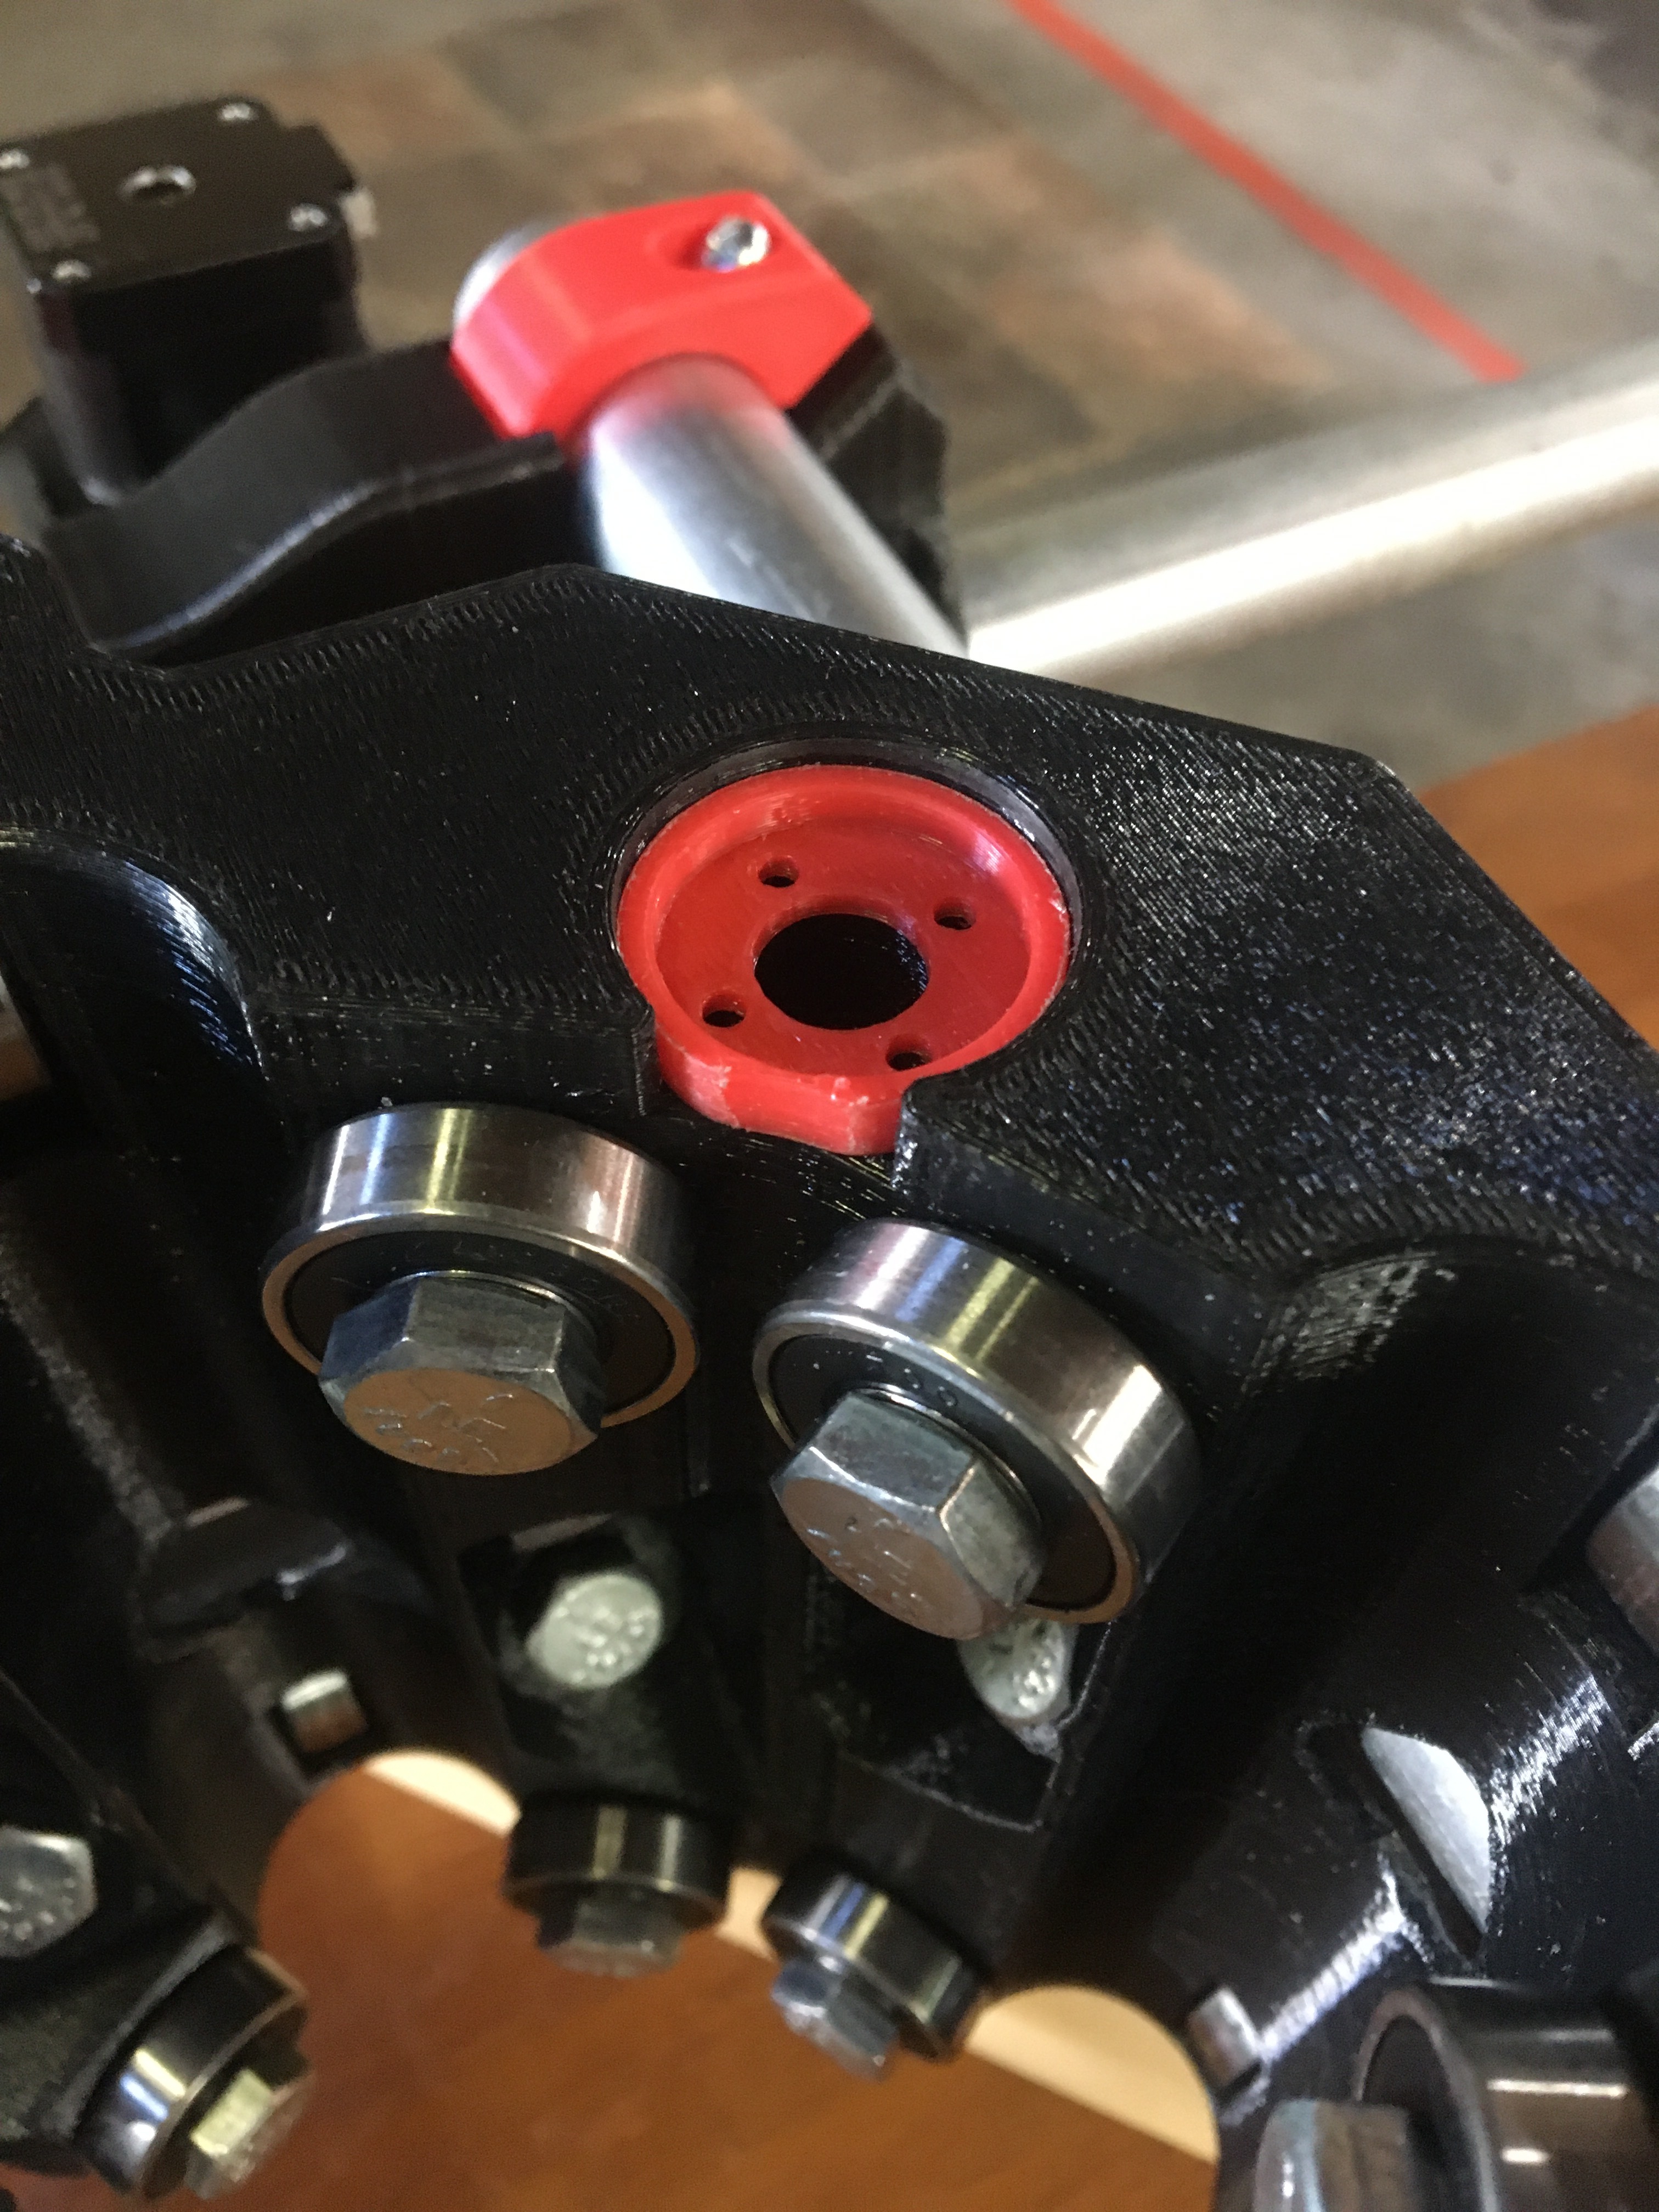
I ended up printing the core as-is, and just scaled it in the slicer. I’ll just print a simple bushing for the T8 nut. So far the 3/8” bolts thread in very lightly with no layer separation issues, and i’ve got full contact with all three bearings at the first core clamp. A second clamp is printing right now. The Z assembly glides nice and it makes contact with all 8 Z bearings. So far so good.
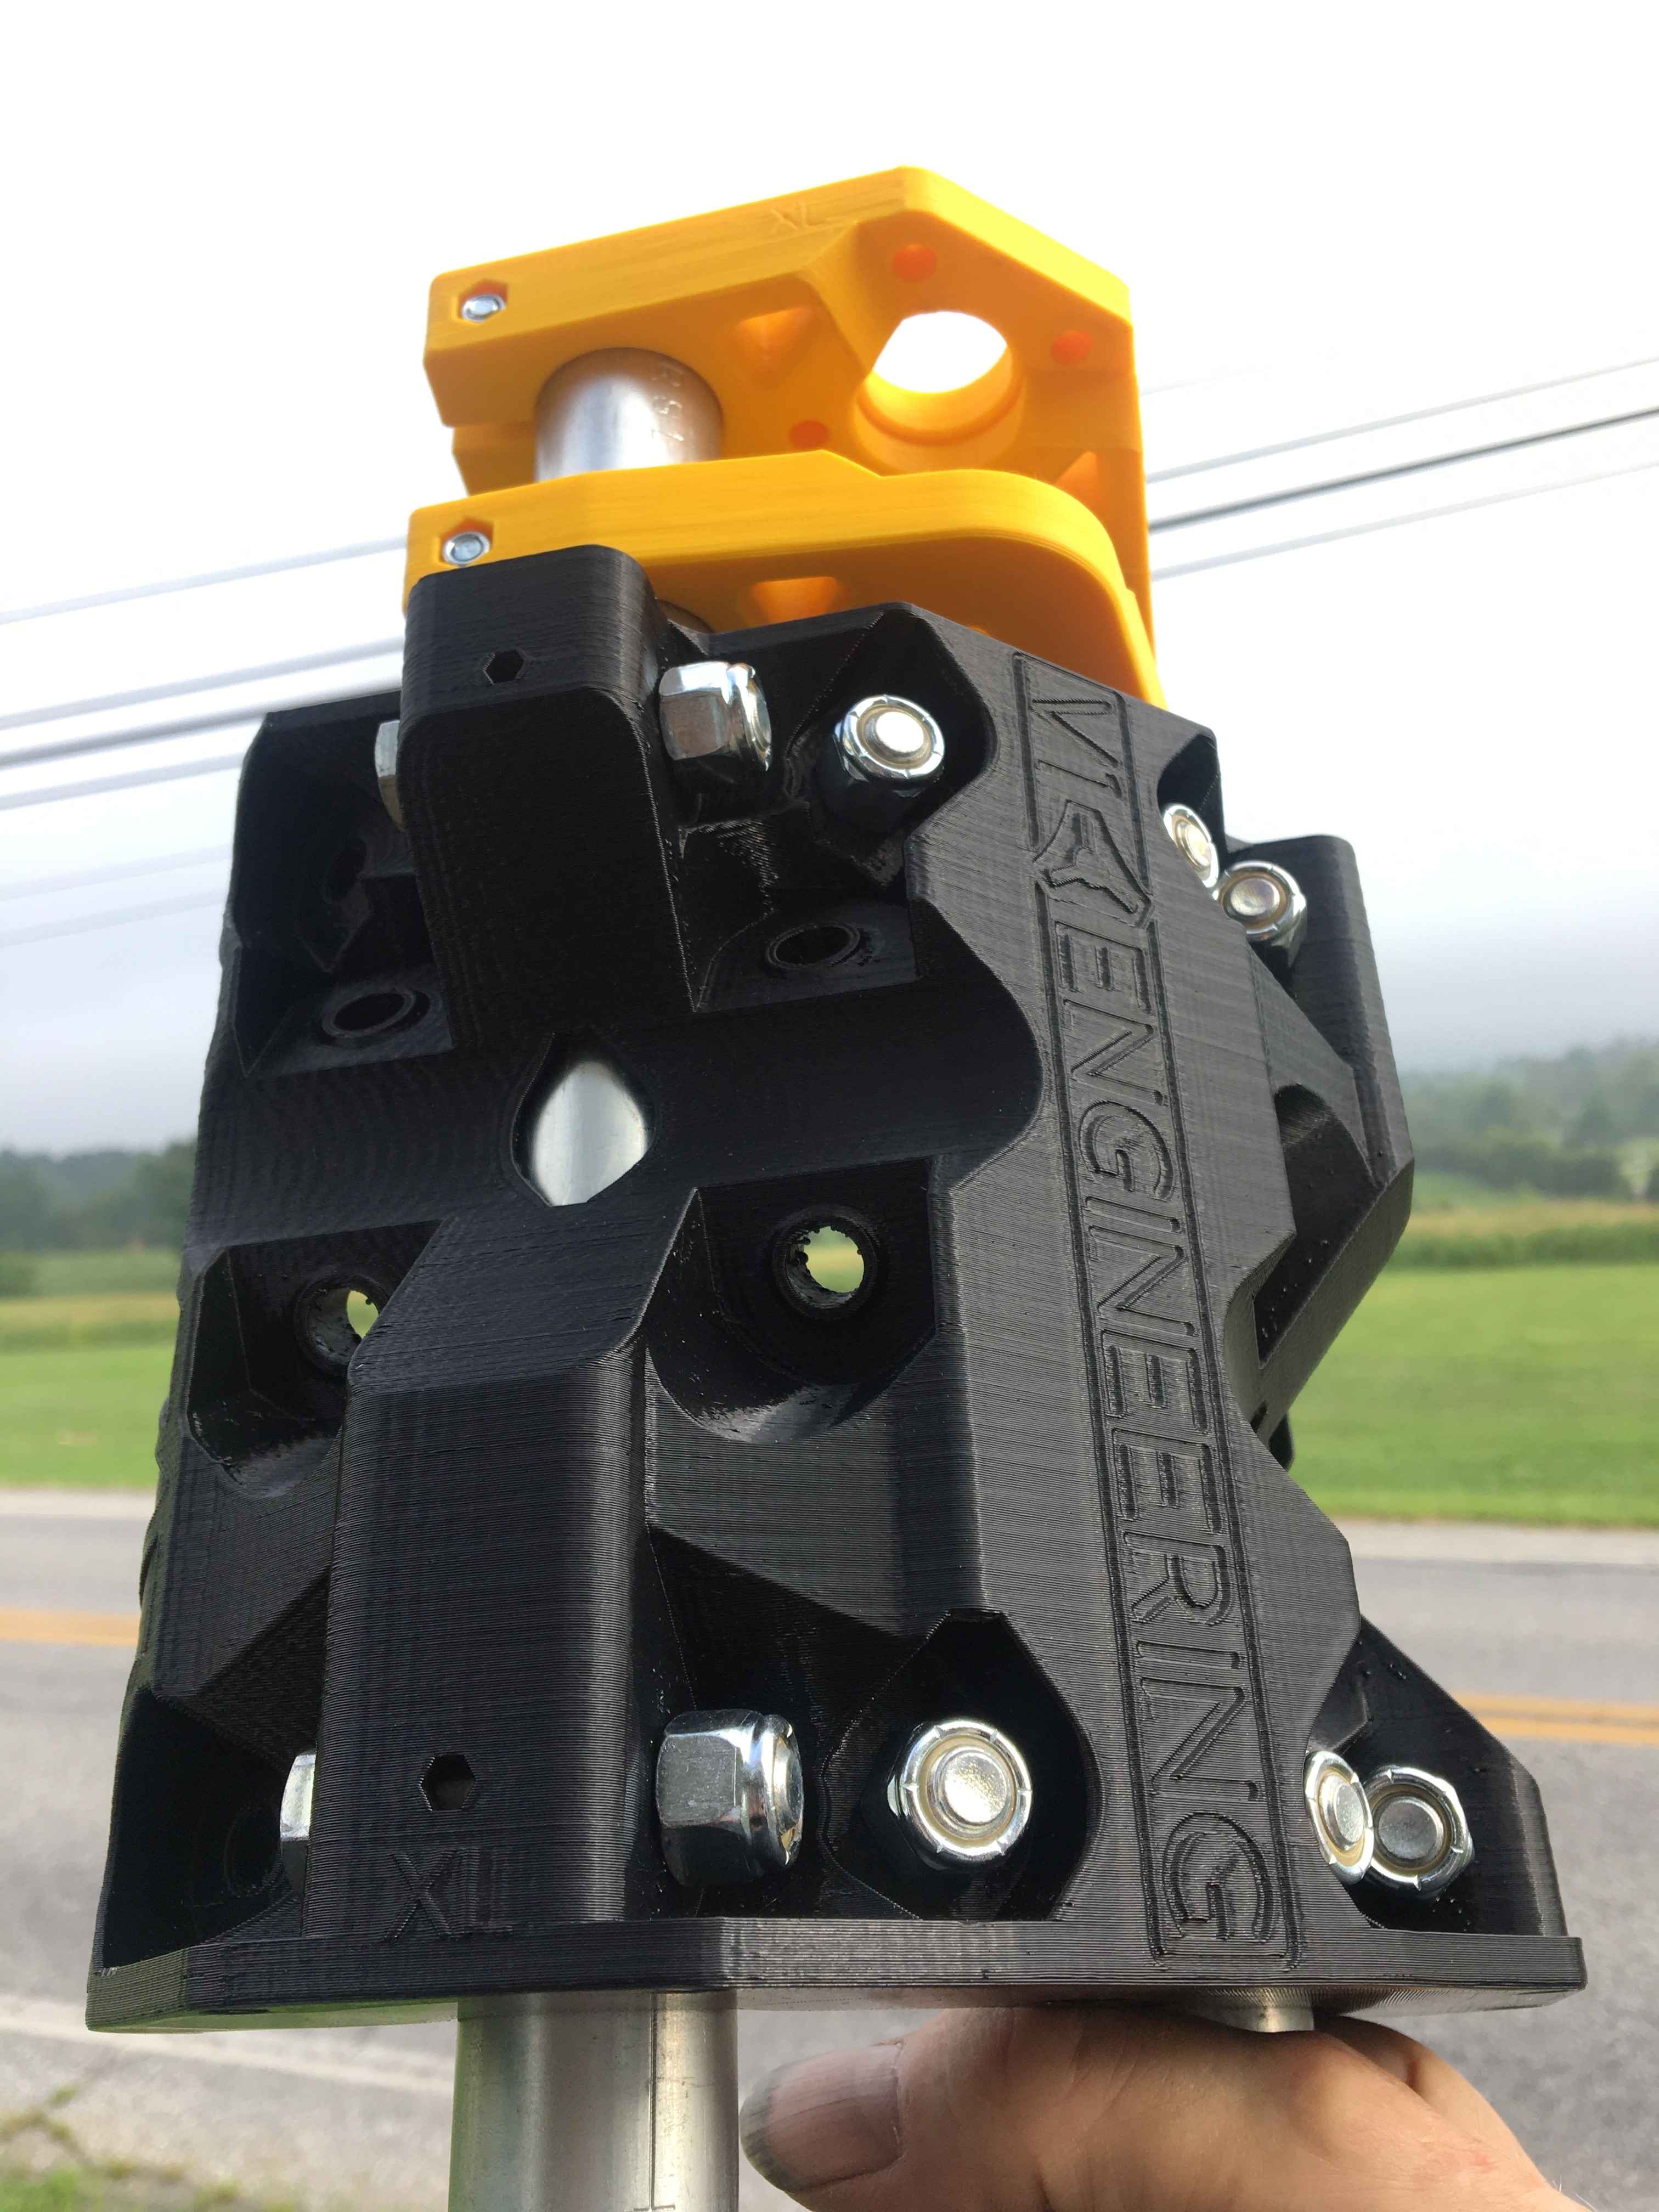
This is working better than i imagined. All of the core parts are “as-is” Primo J stl files printed at 116.3%
The bolts are 3/8” x 1-3/4”, the bearings are 6000-2RS
I edited the Z plates for stepper mount hole spacing and shrunk the nut traps back down to 8mm, and 22mm for the 608 lead screw bearing.
Feet and corner locks are all printed. Need to print all 4 corner top and bottoms, and 3 more trucks and clamps. I only print one part at a time so this may take me a week or two yet to get everything printed, but i have no doubt that i’ll work out well.
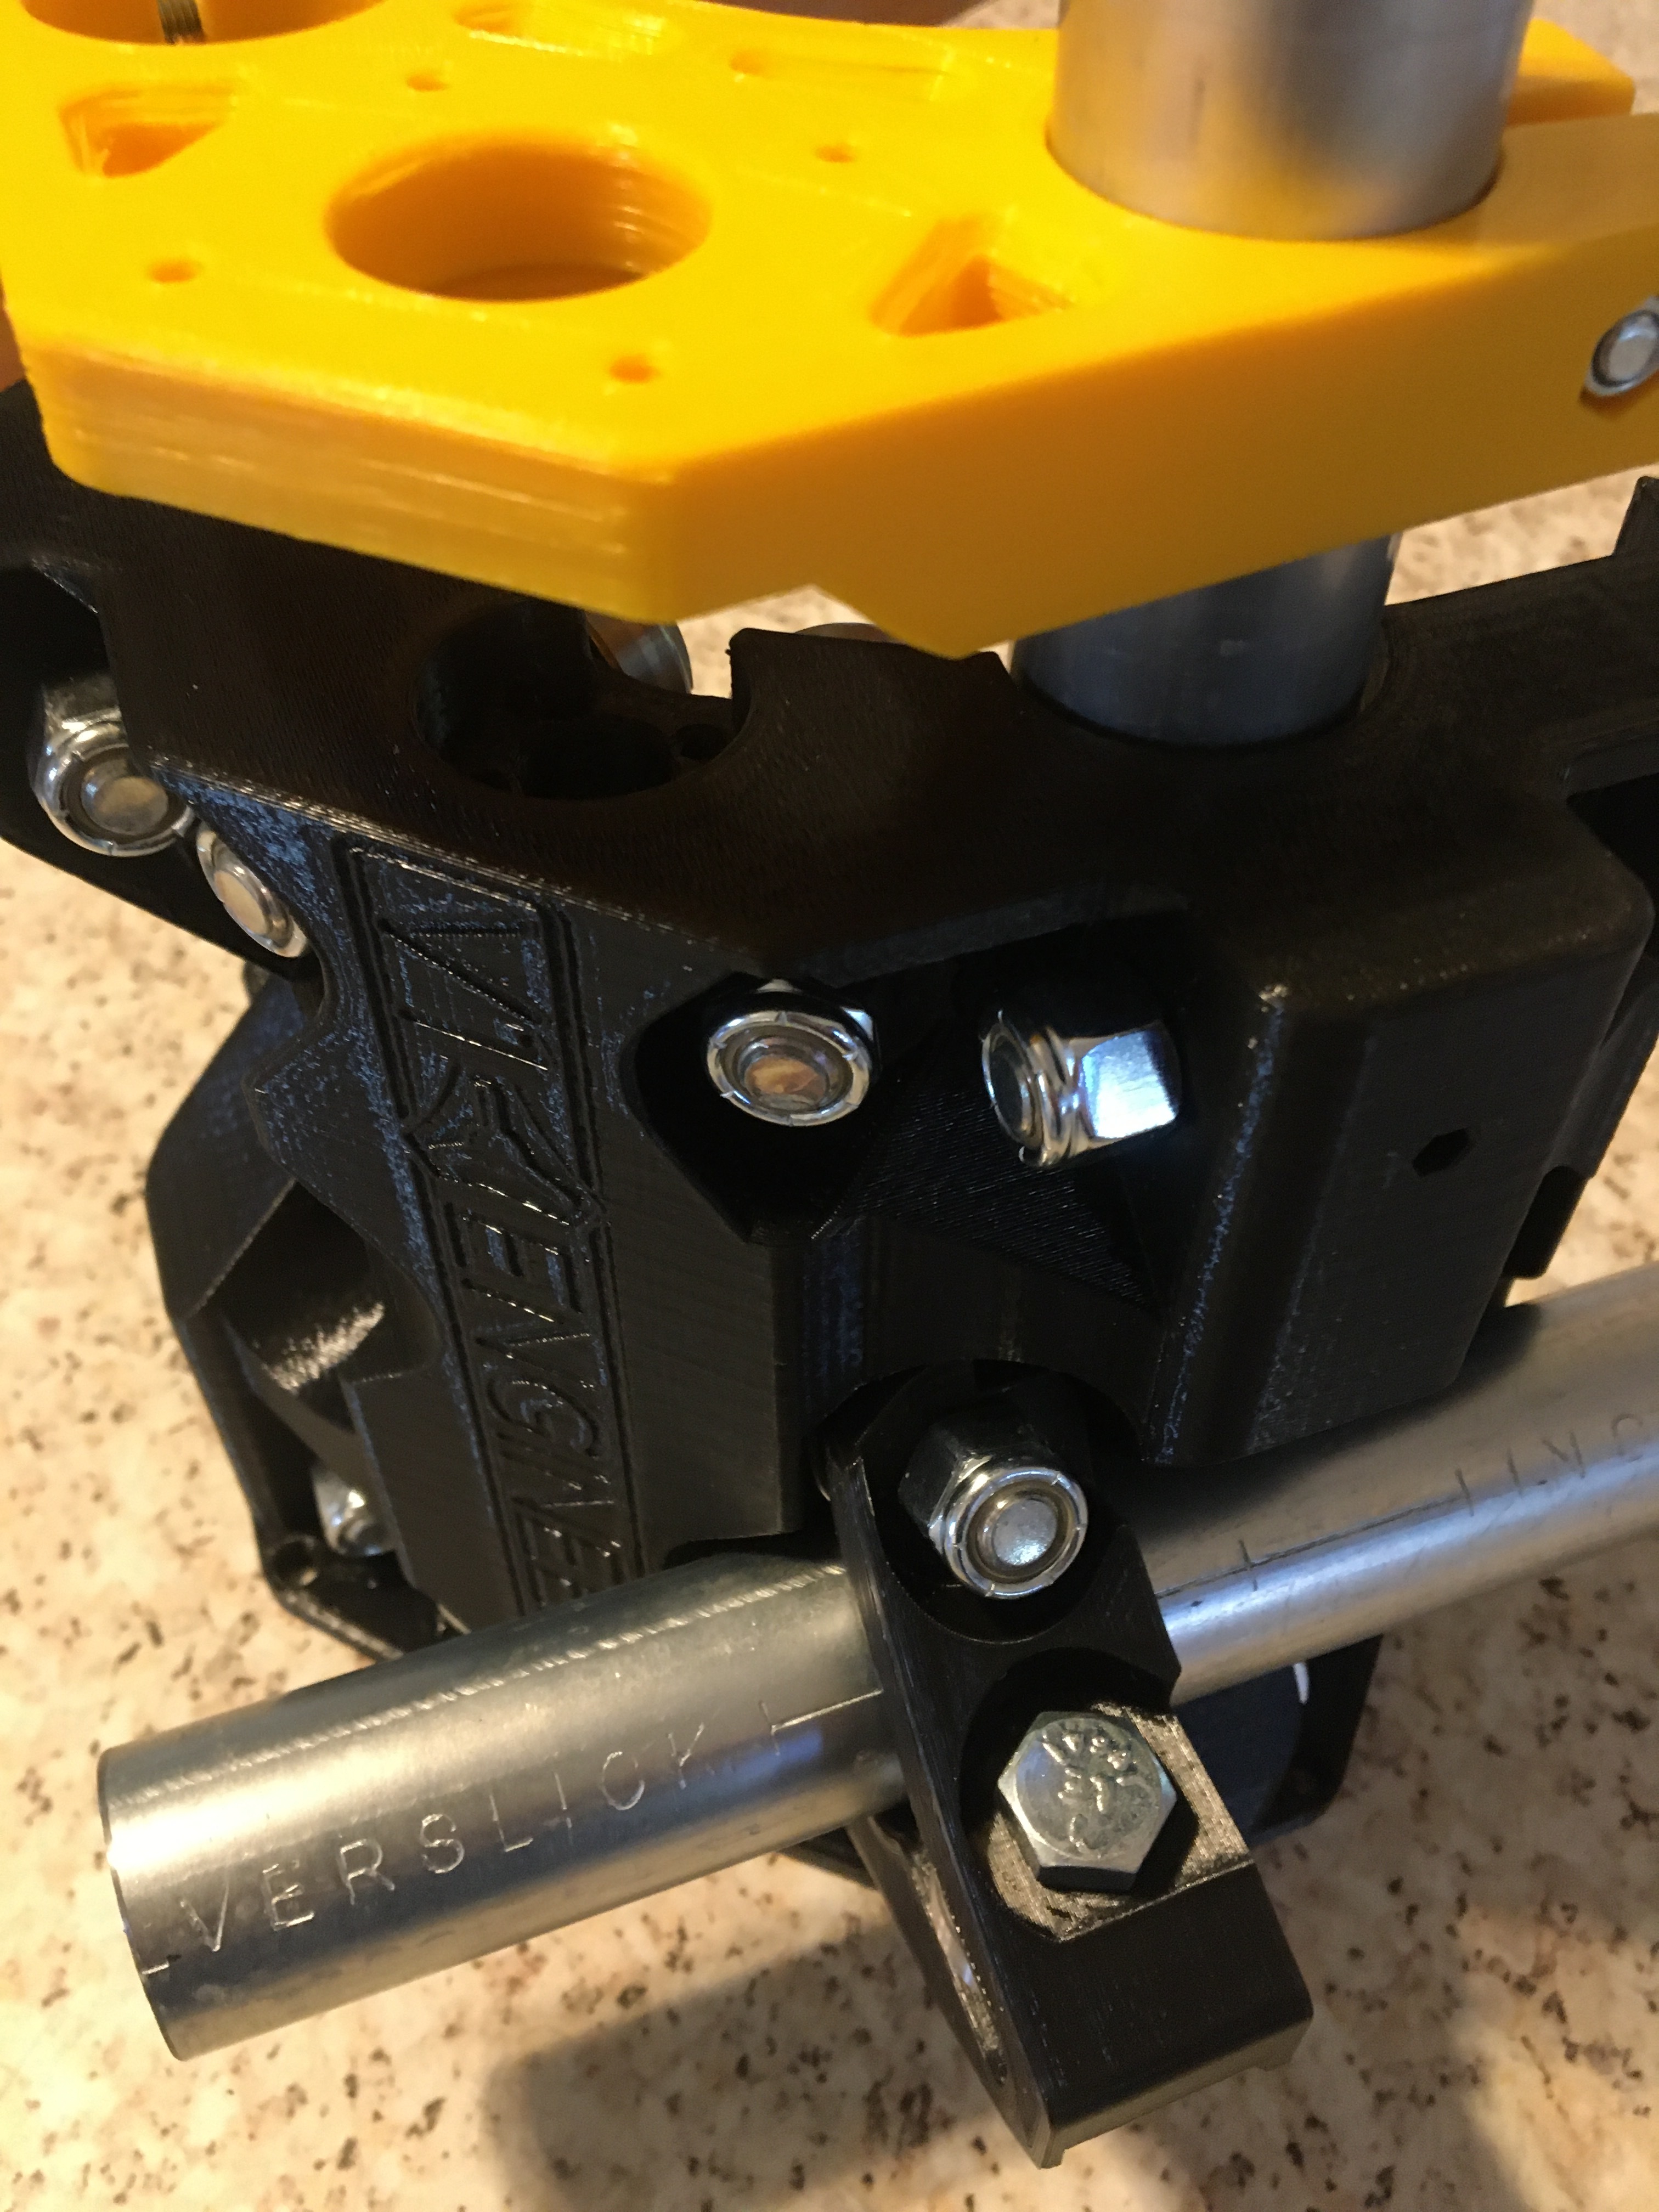
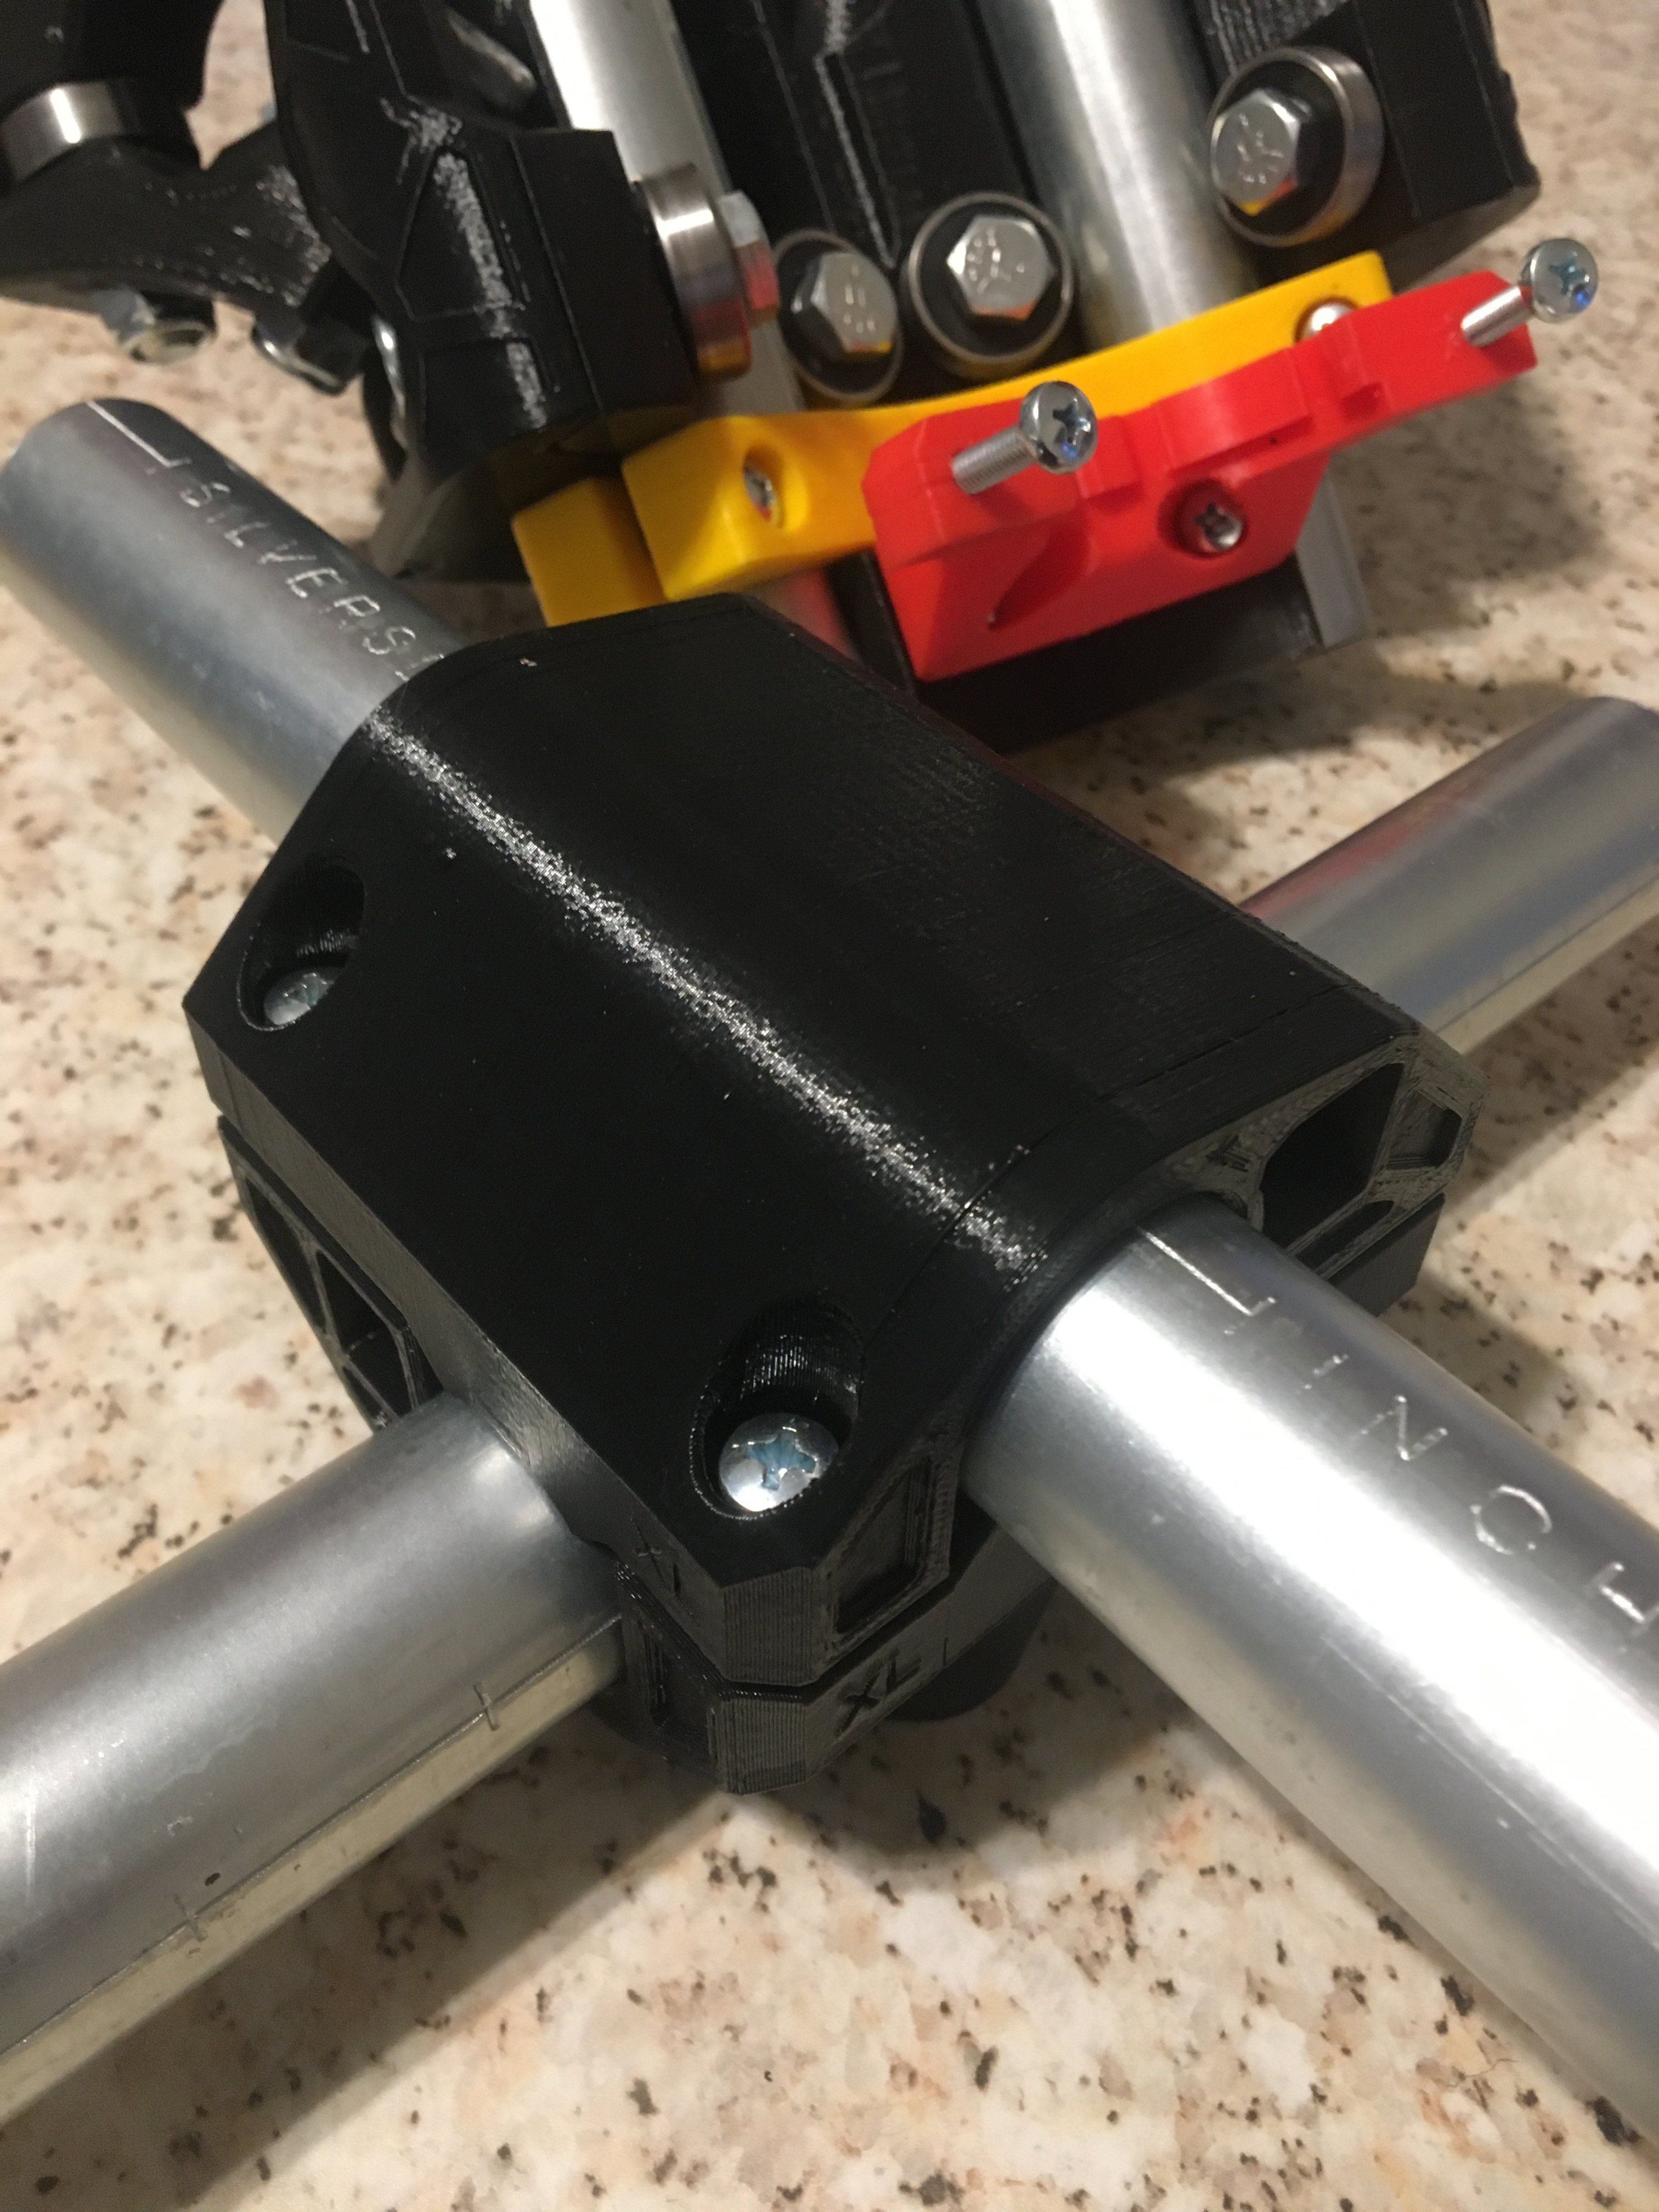
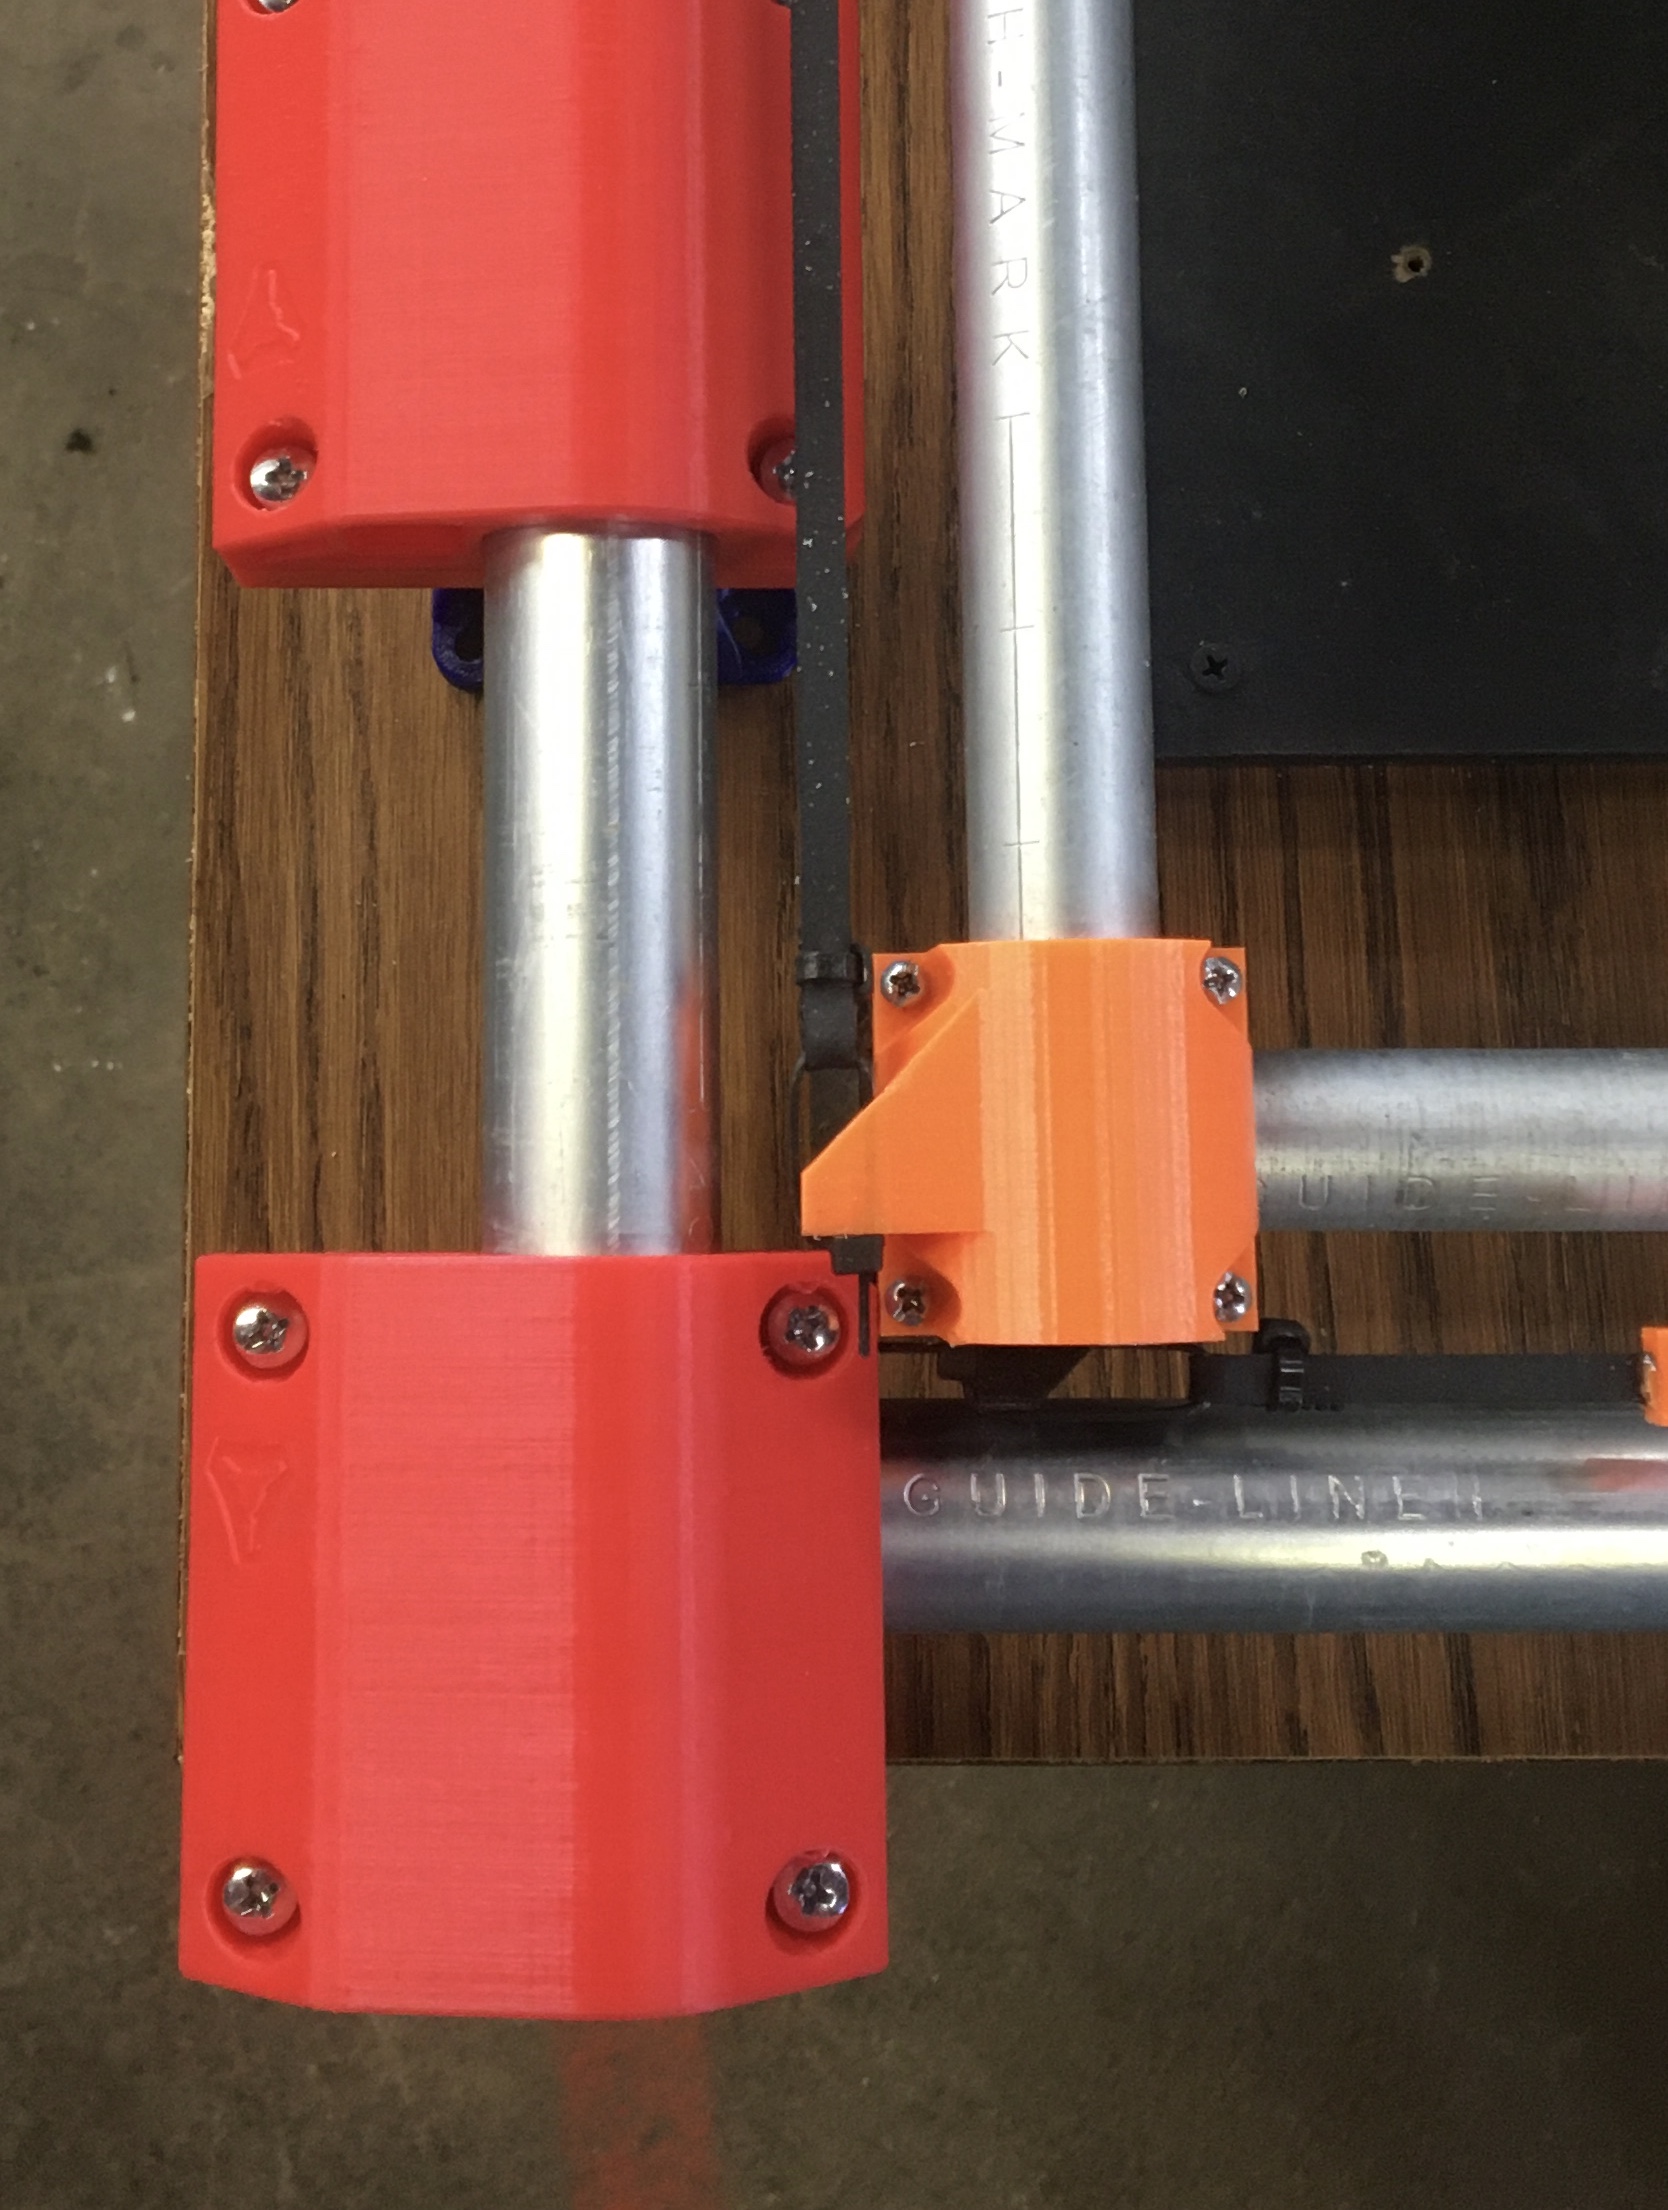
The 1” EMT is from Lowes. It has “SILVERSLICK” printed on it and it has a very smooth surface. The Z glides like butter. I had no loose Issues with the clamps either. They are a snug fit on the conduit. I can’t wait to get it all together.
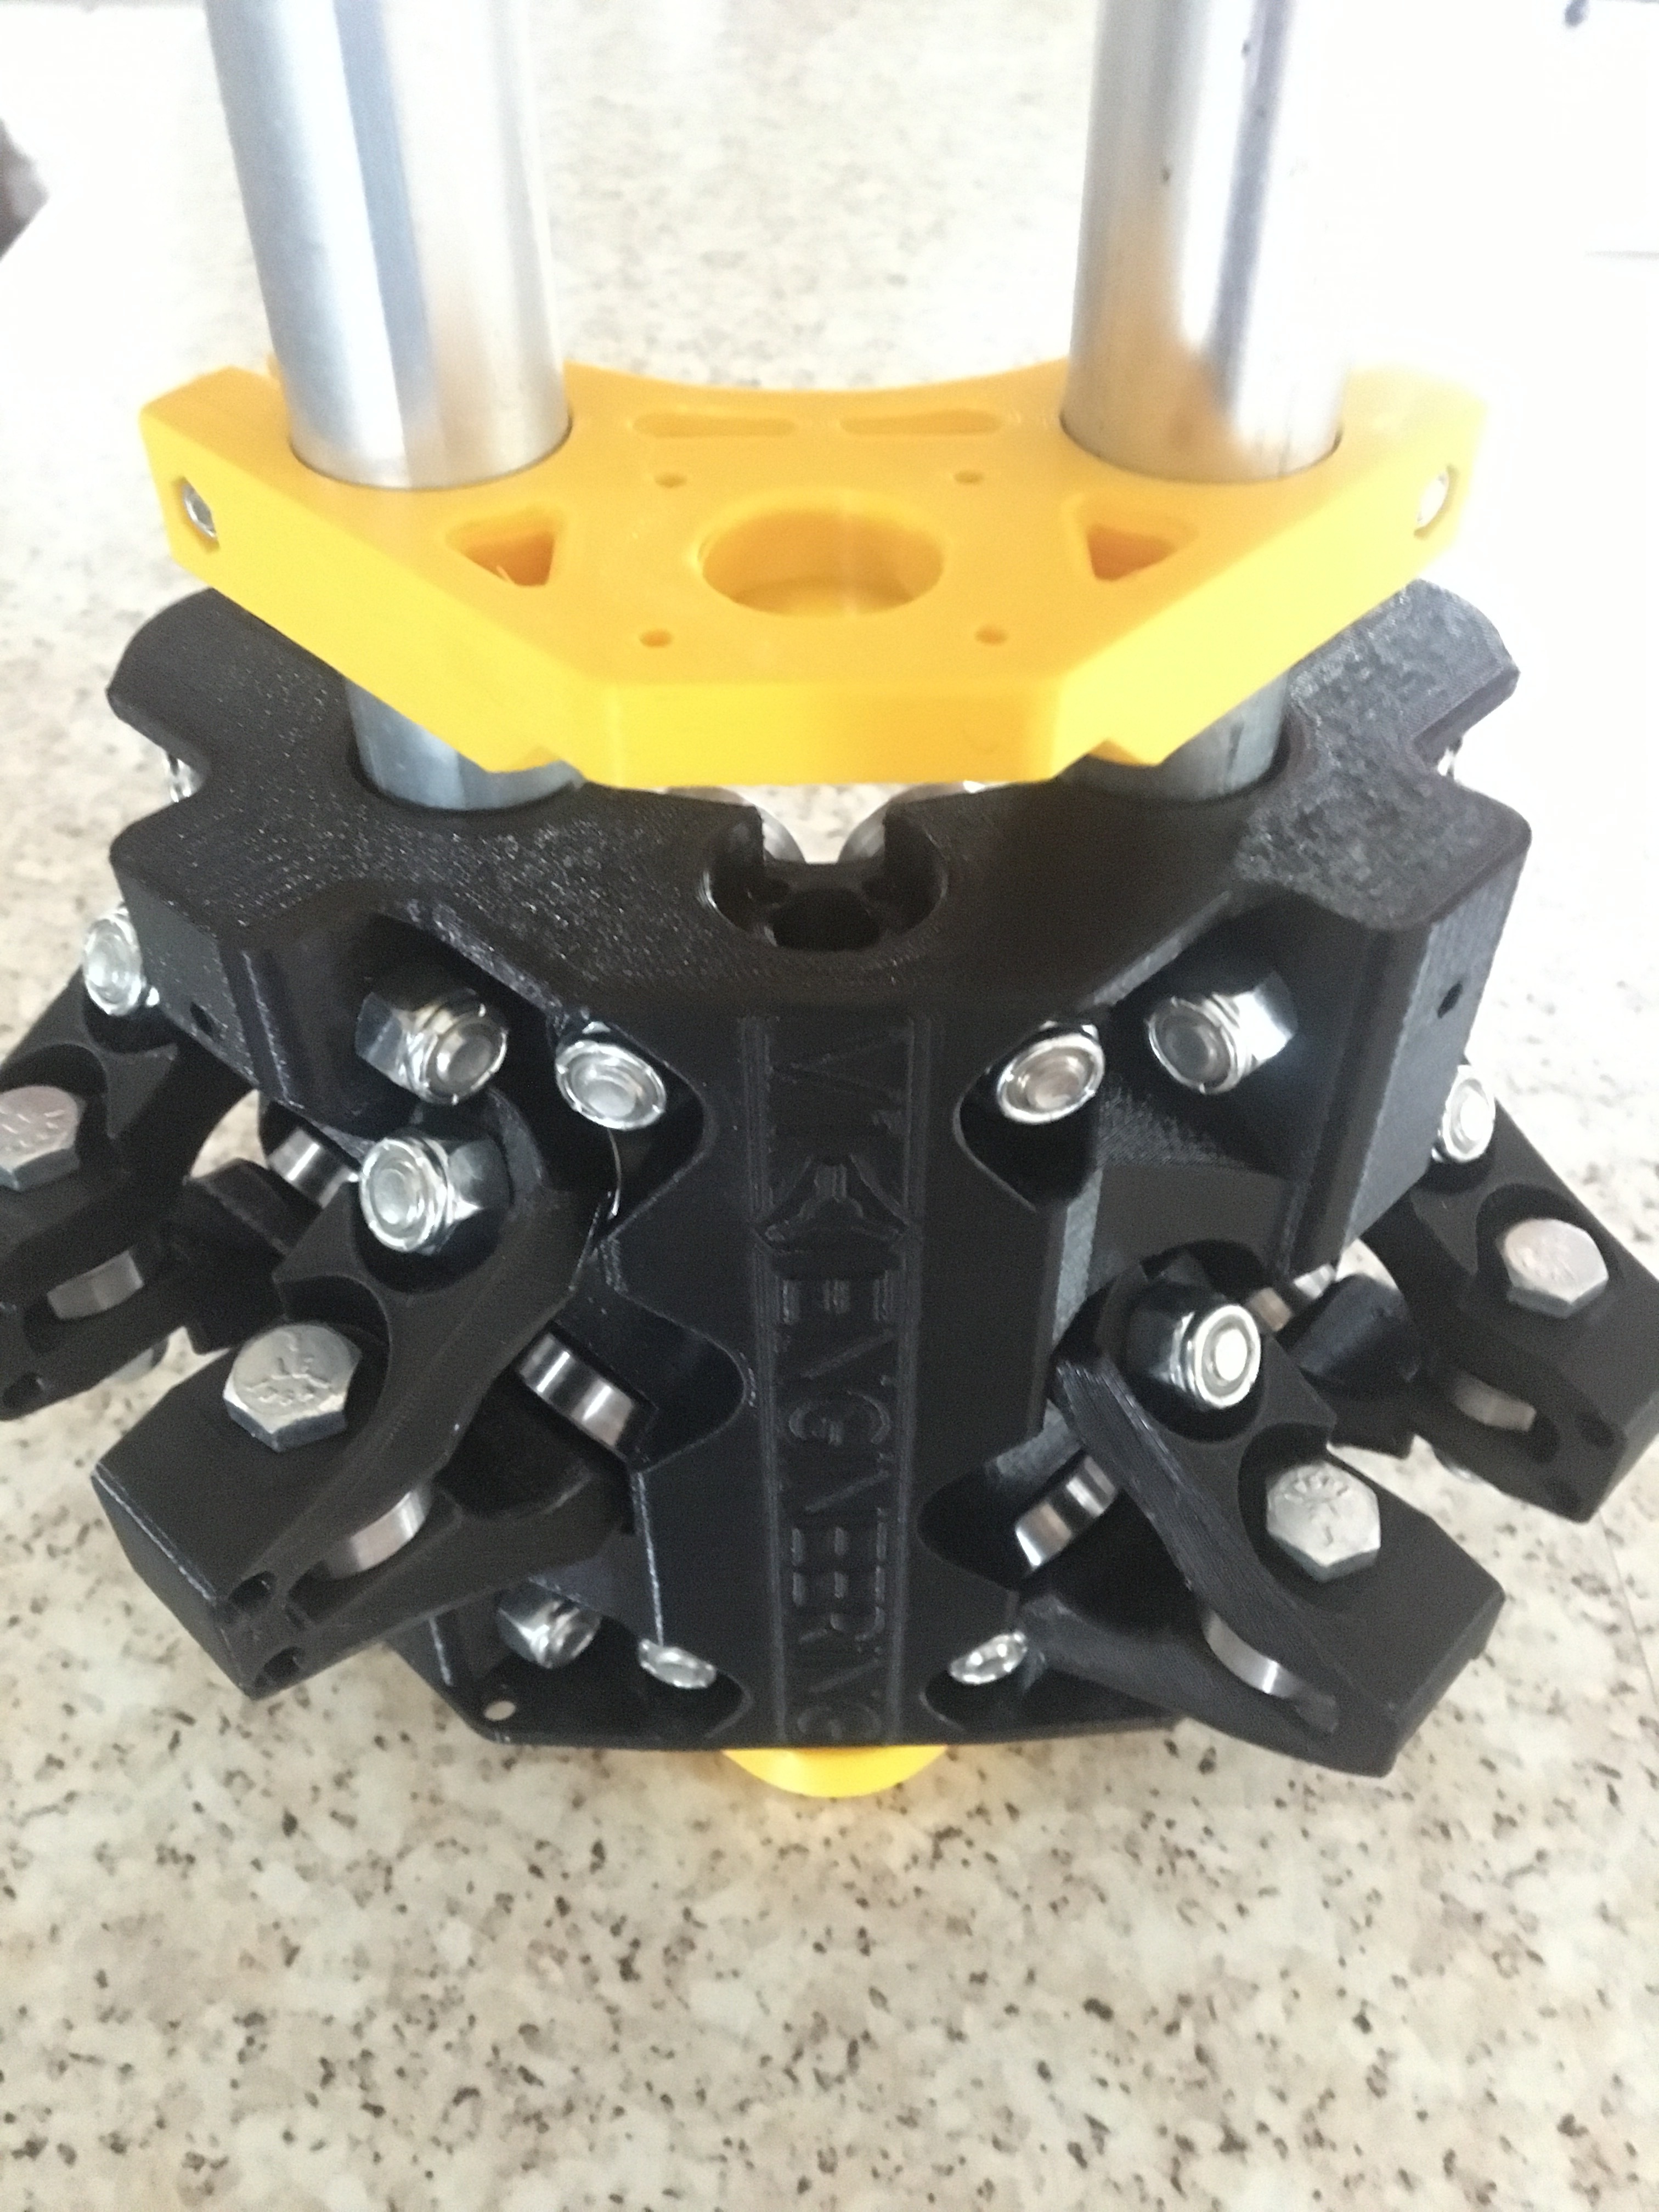
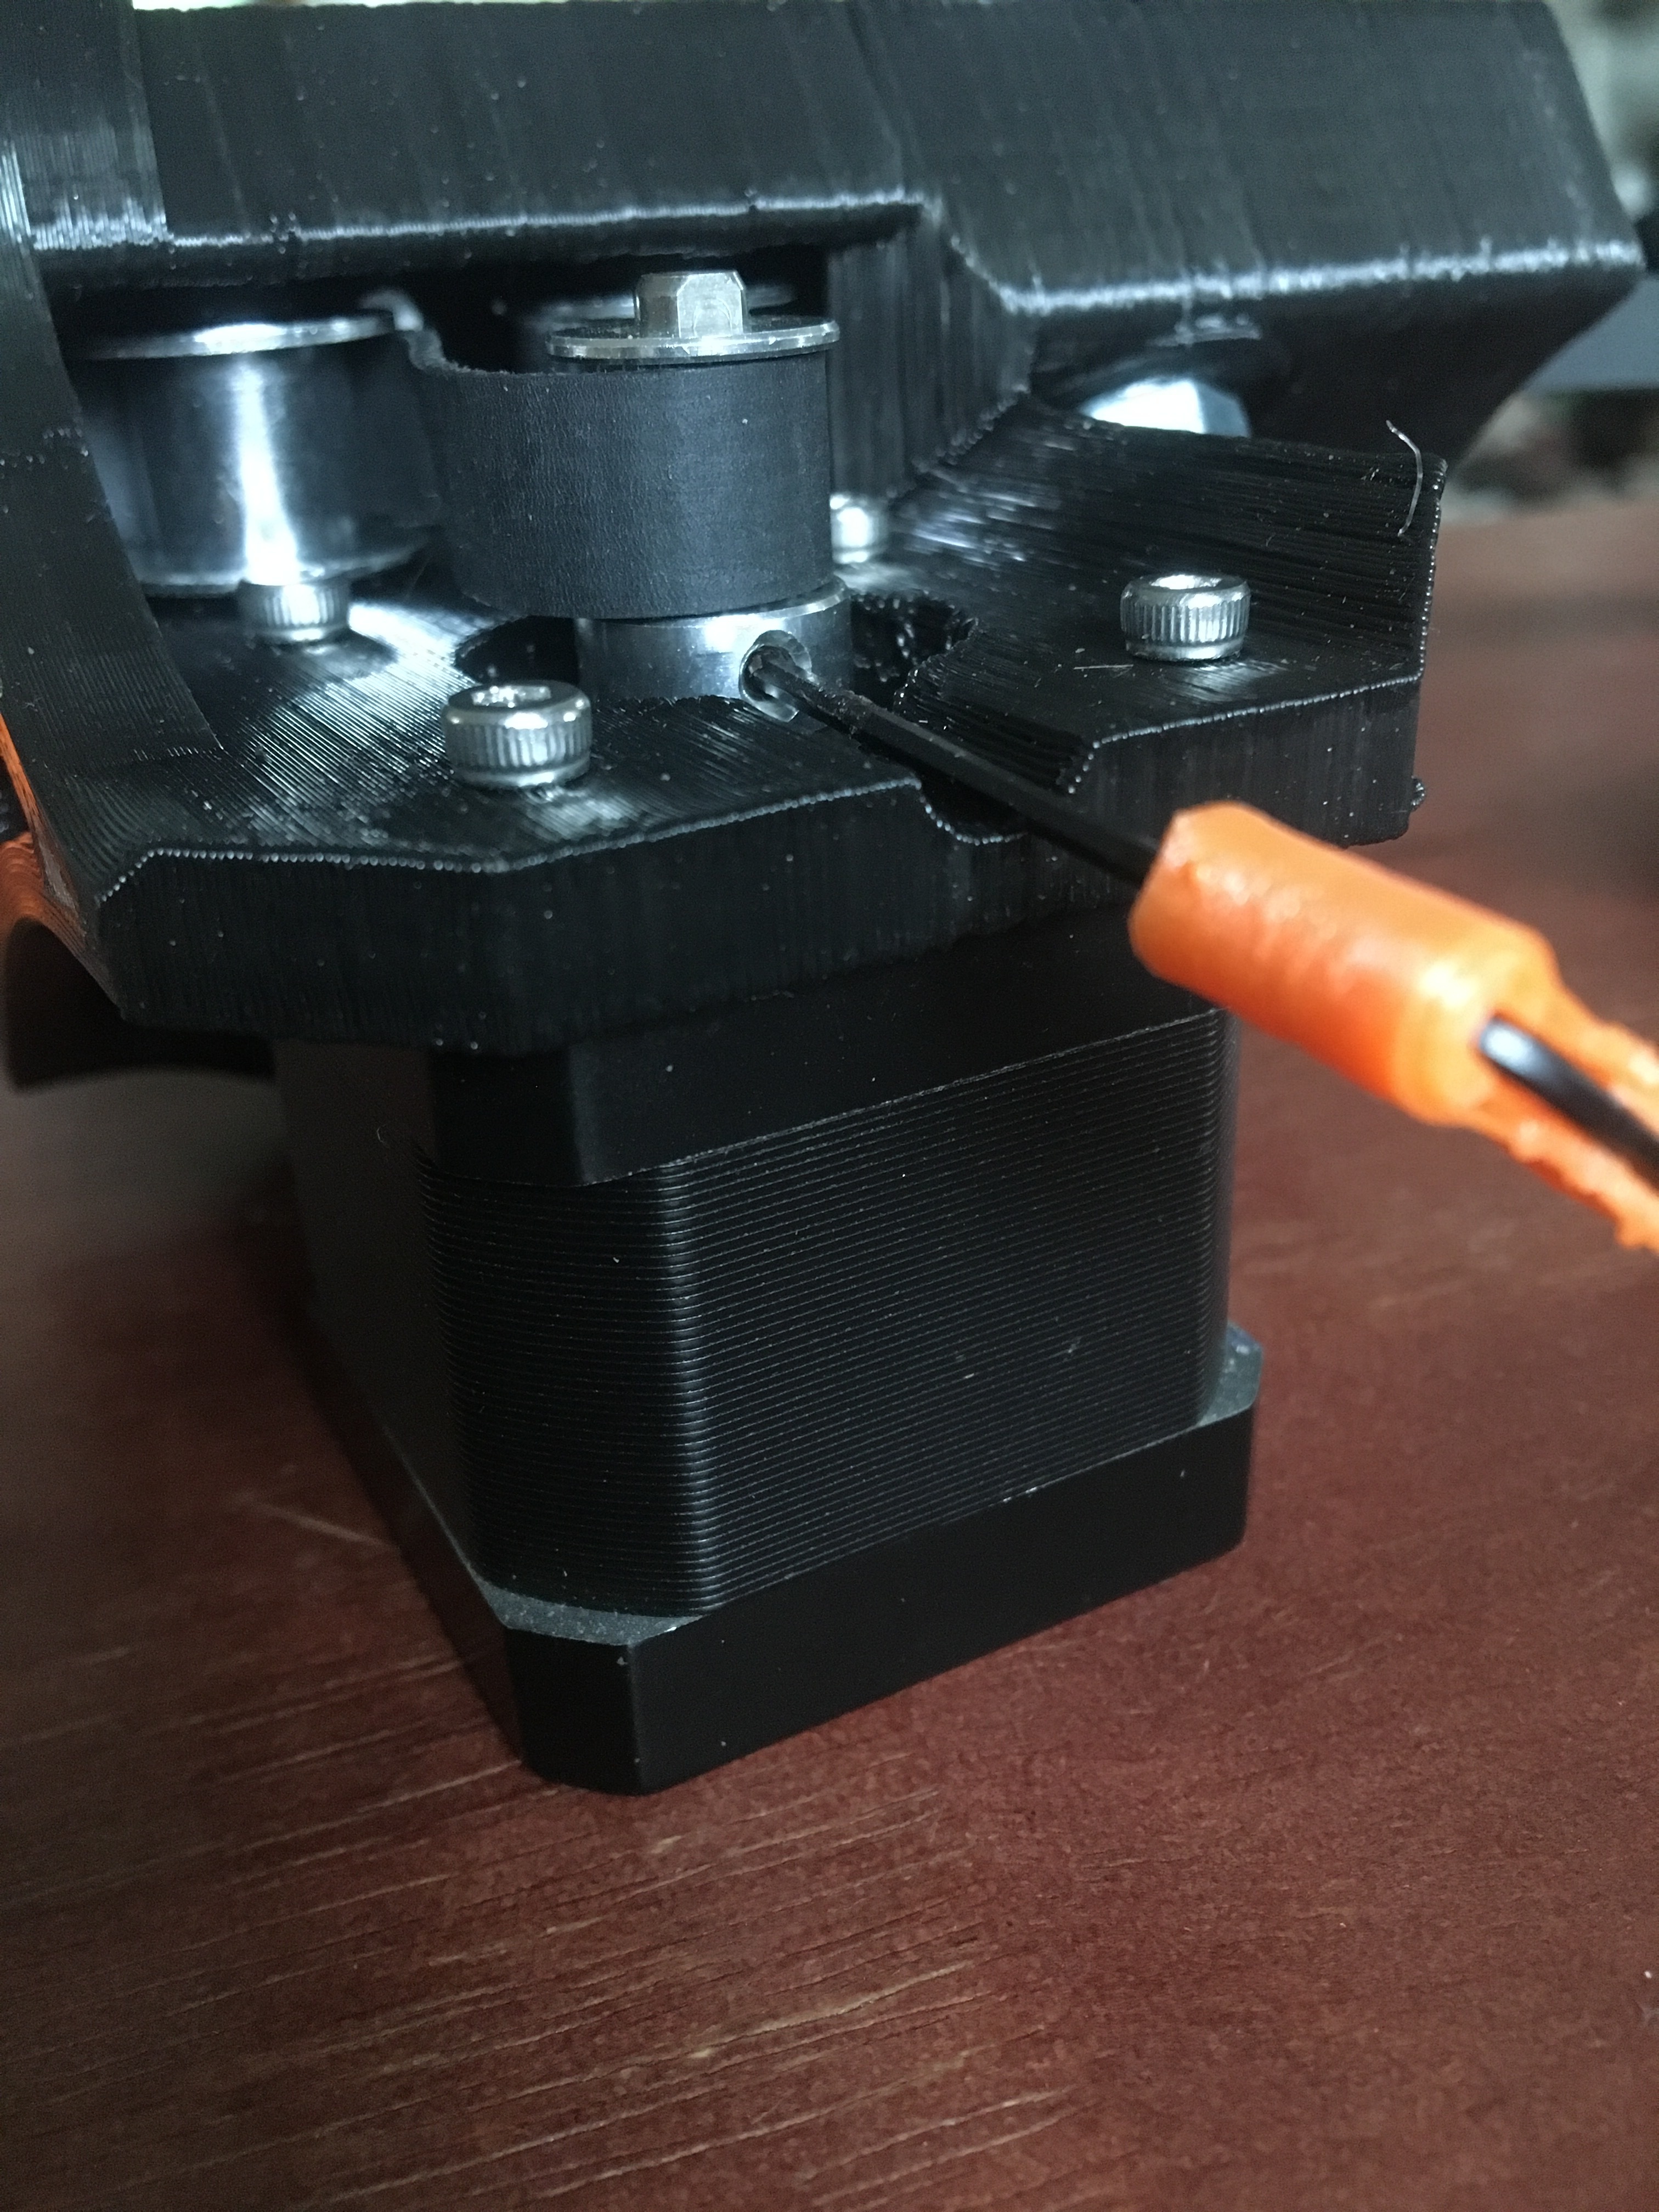
Final edits to the trucks, i hope. Even after scaling i had the issue of my stepper screws bottoming out also, but mainly i wanted to re-work the stepper mount area to make access for the toothed pulley set screws.
I think with the scaling it put the pulley set screws too close to the end of the shaft for my comfort, so i flipped it over but I couldn’t get clear access to it to tighten it, so plenty of access now.
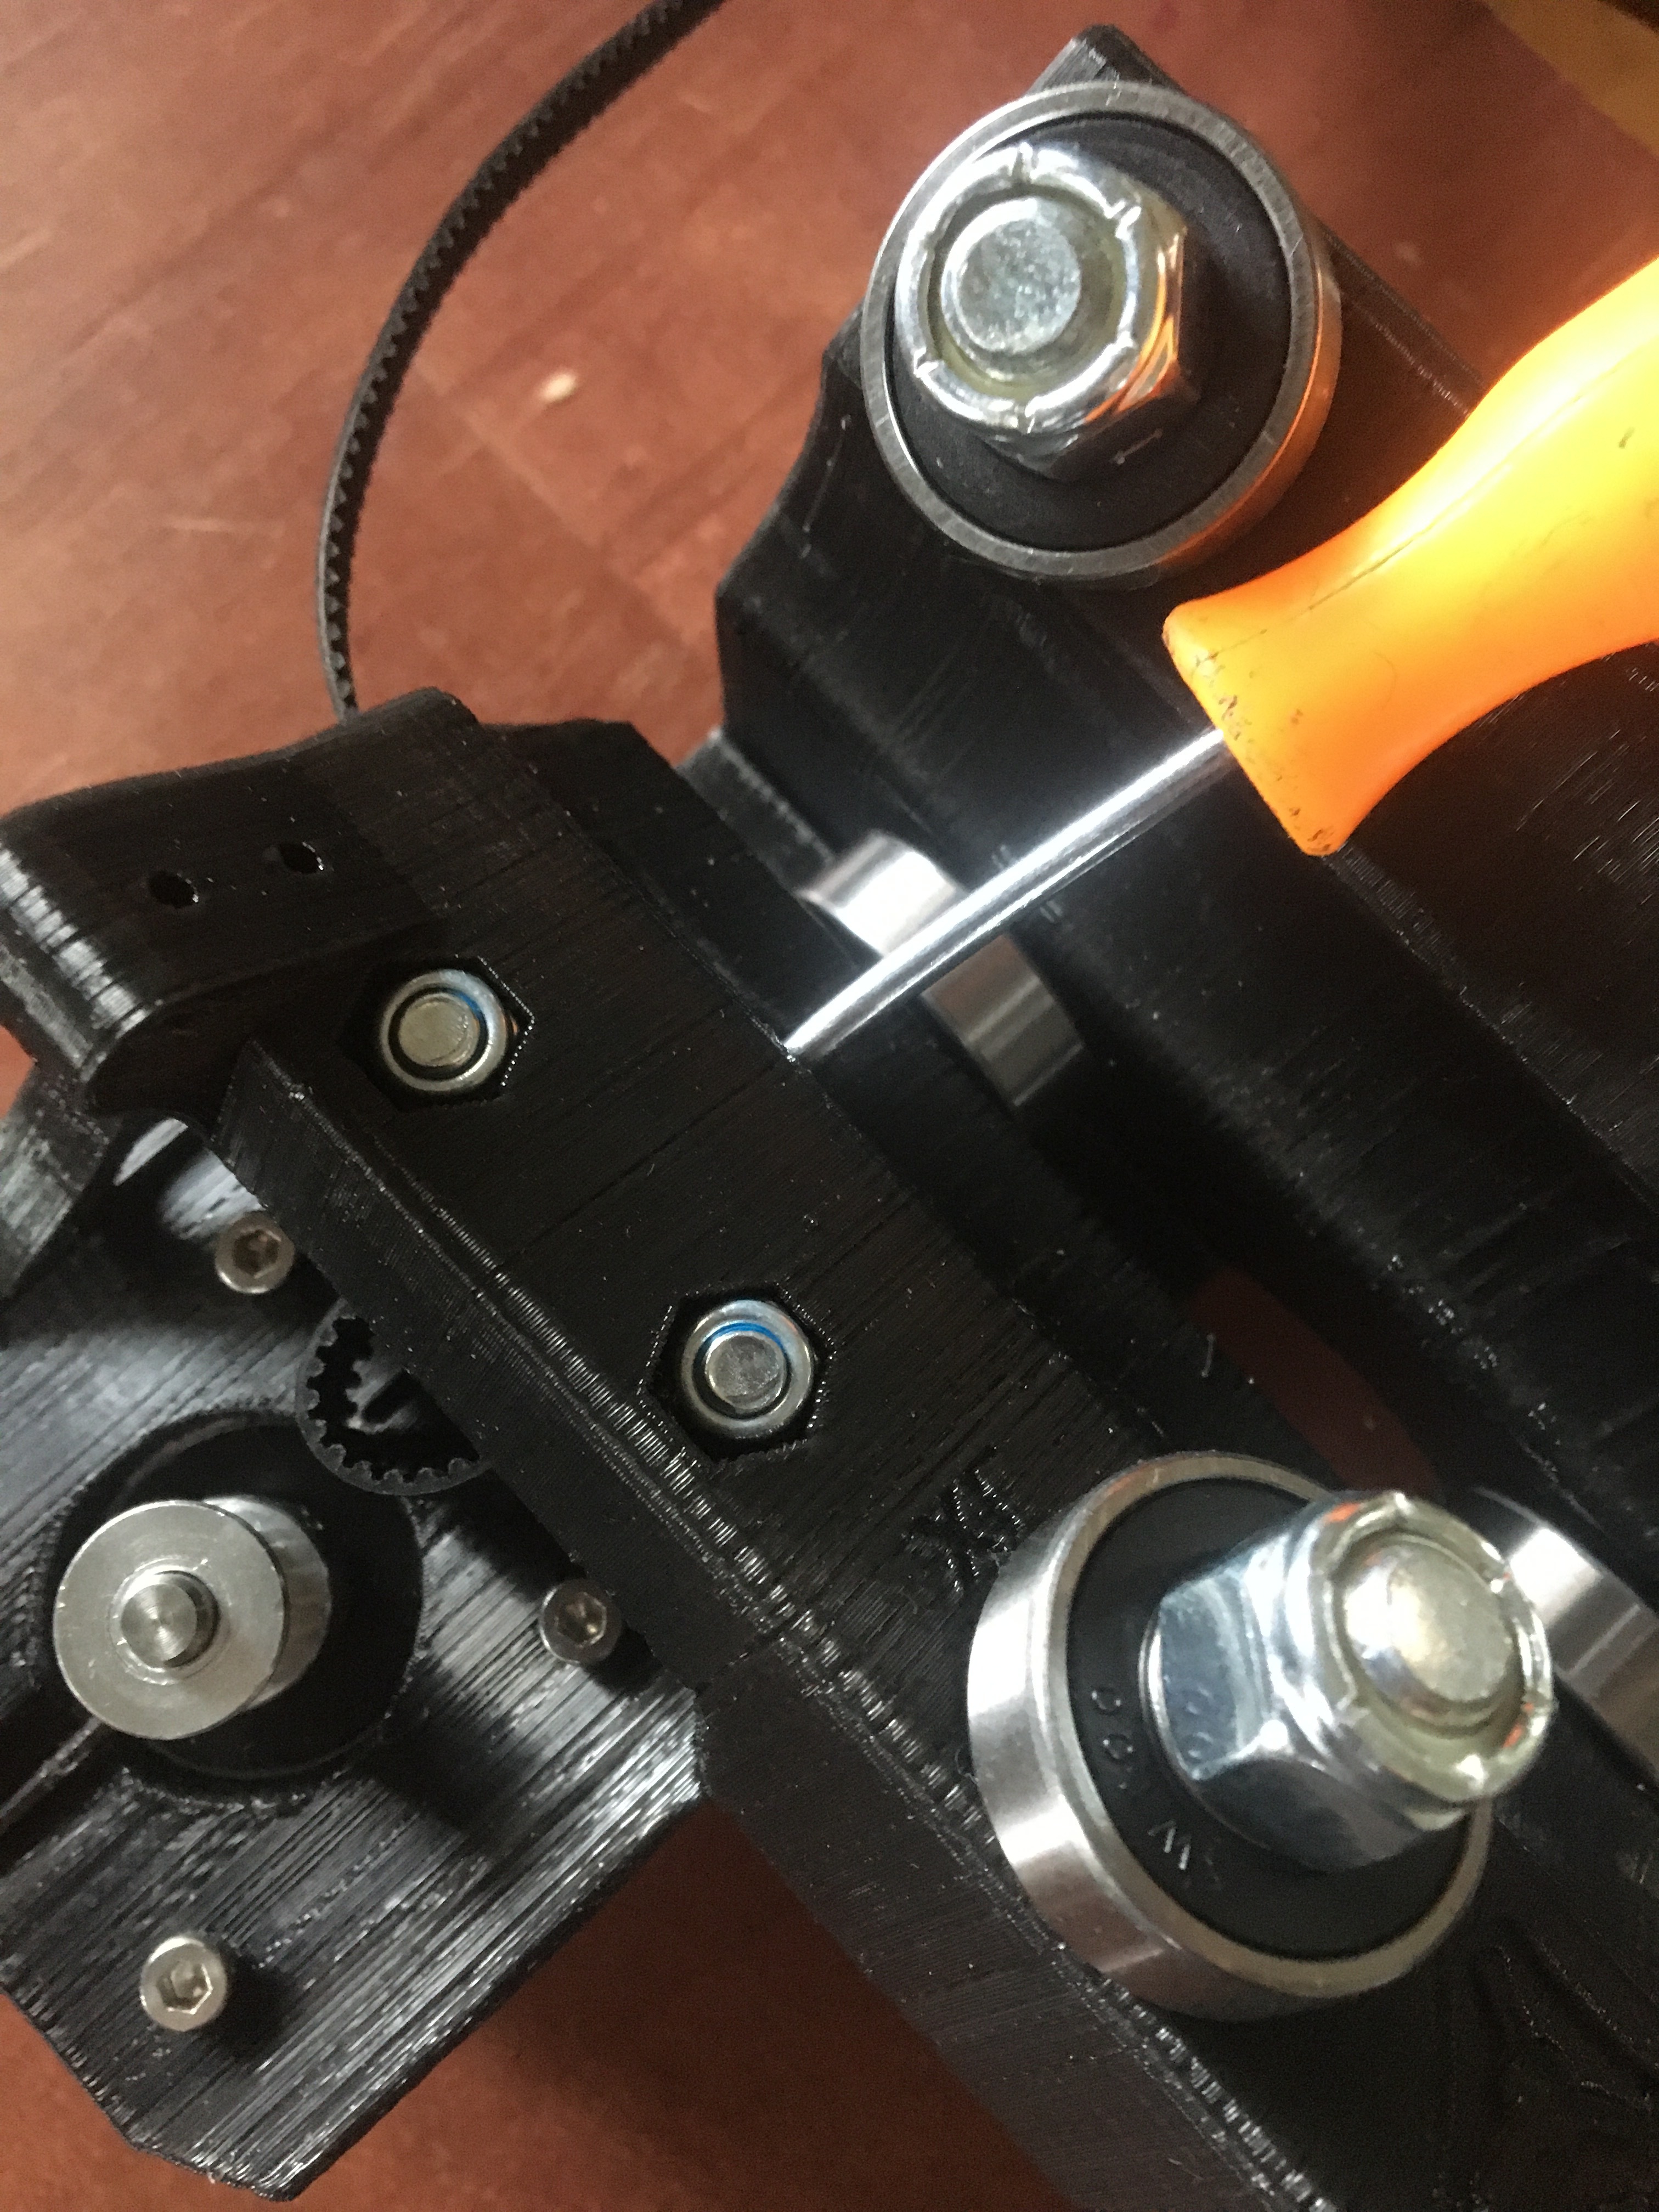
I also added an access hole to make threading my belts easier. I can assemble the entire truck, slide the belt in, then push on the belt through the hole.
I printed the edited corner top and bottom. The M5x30’s and nuts fit nice with a full nut of thread, so they are good to go. I need to print 3 more of each.
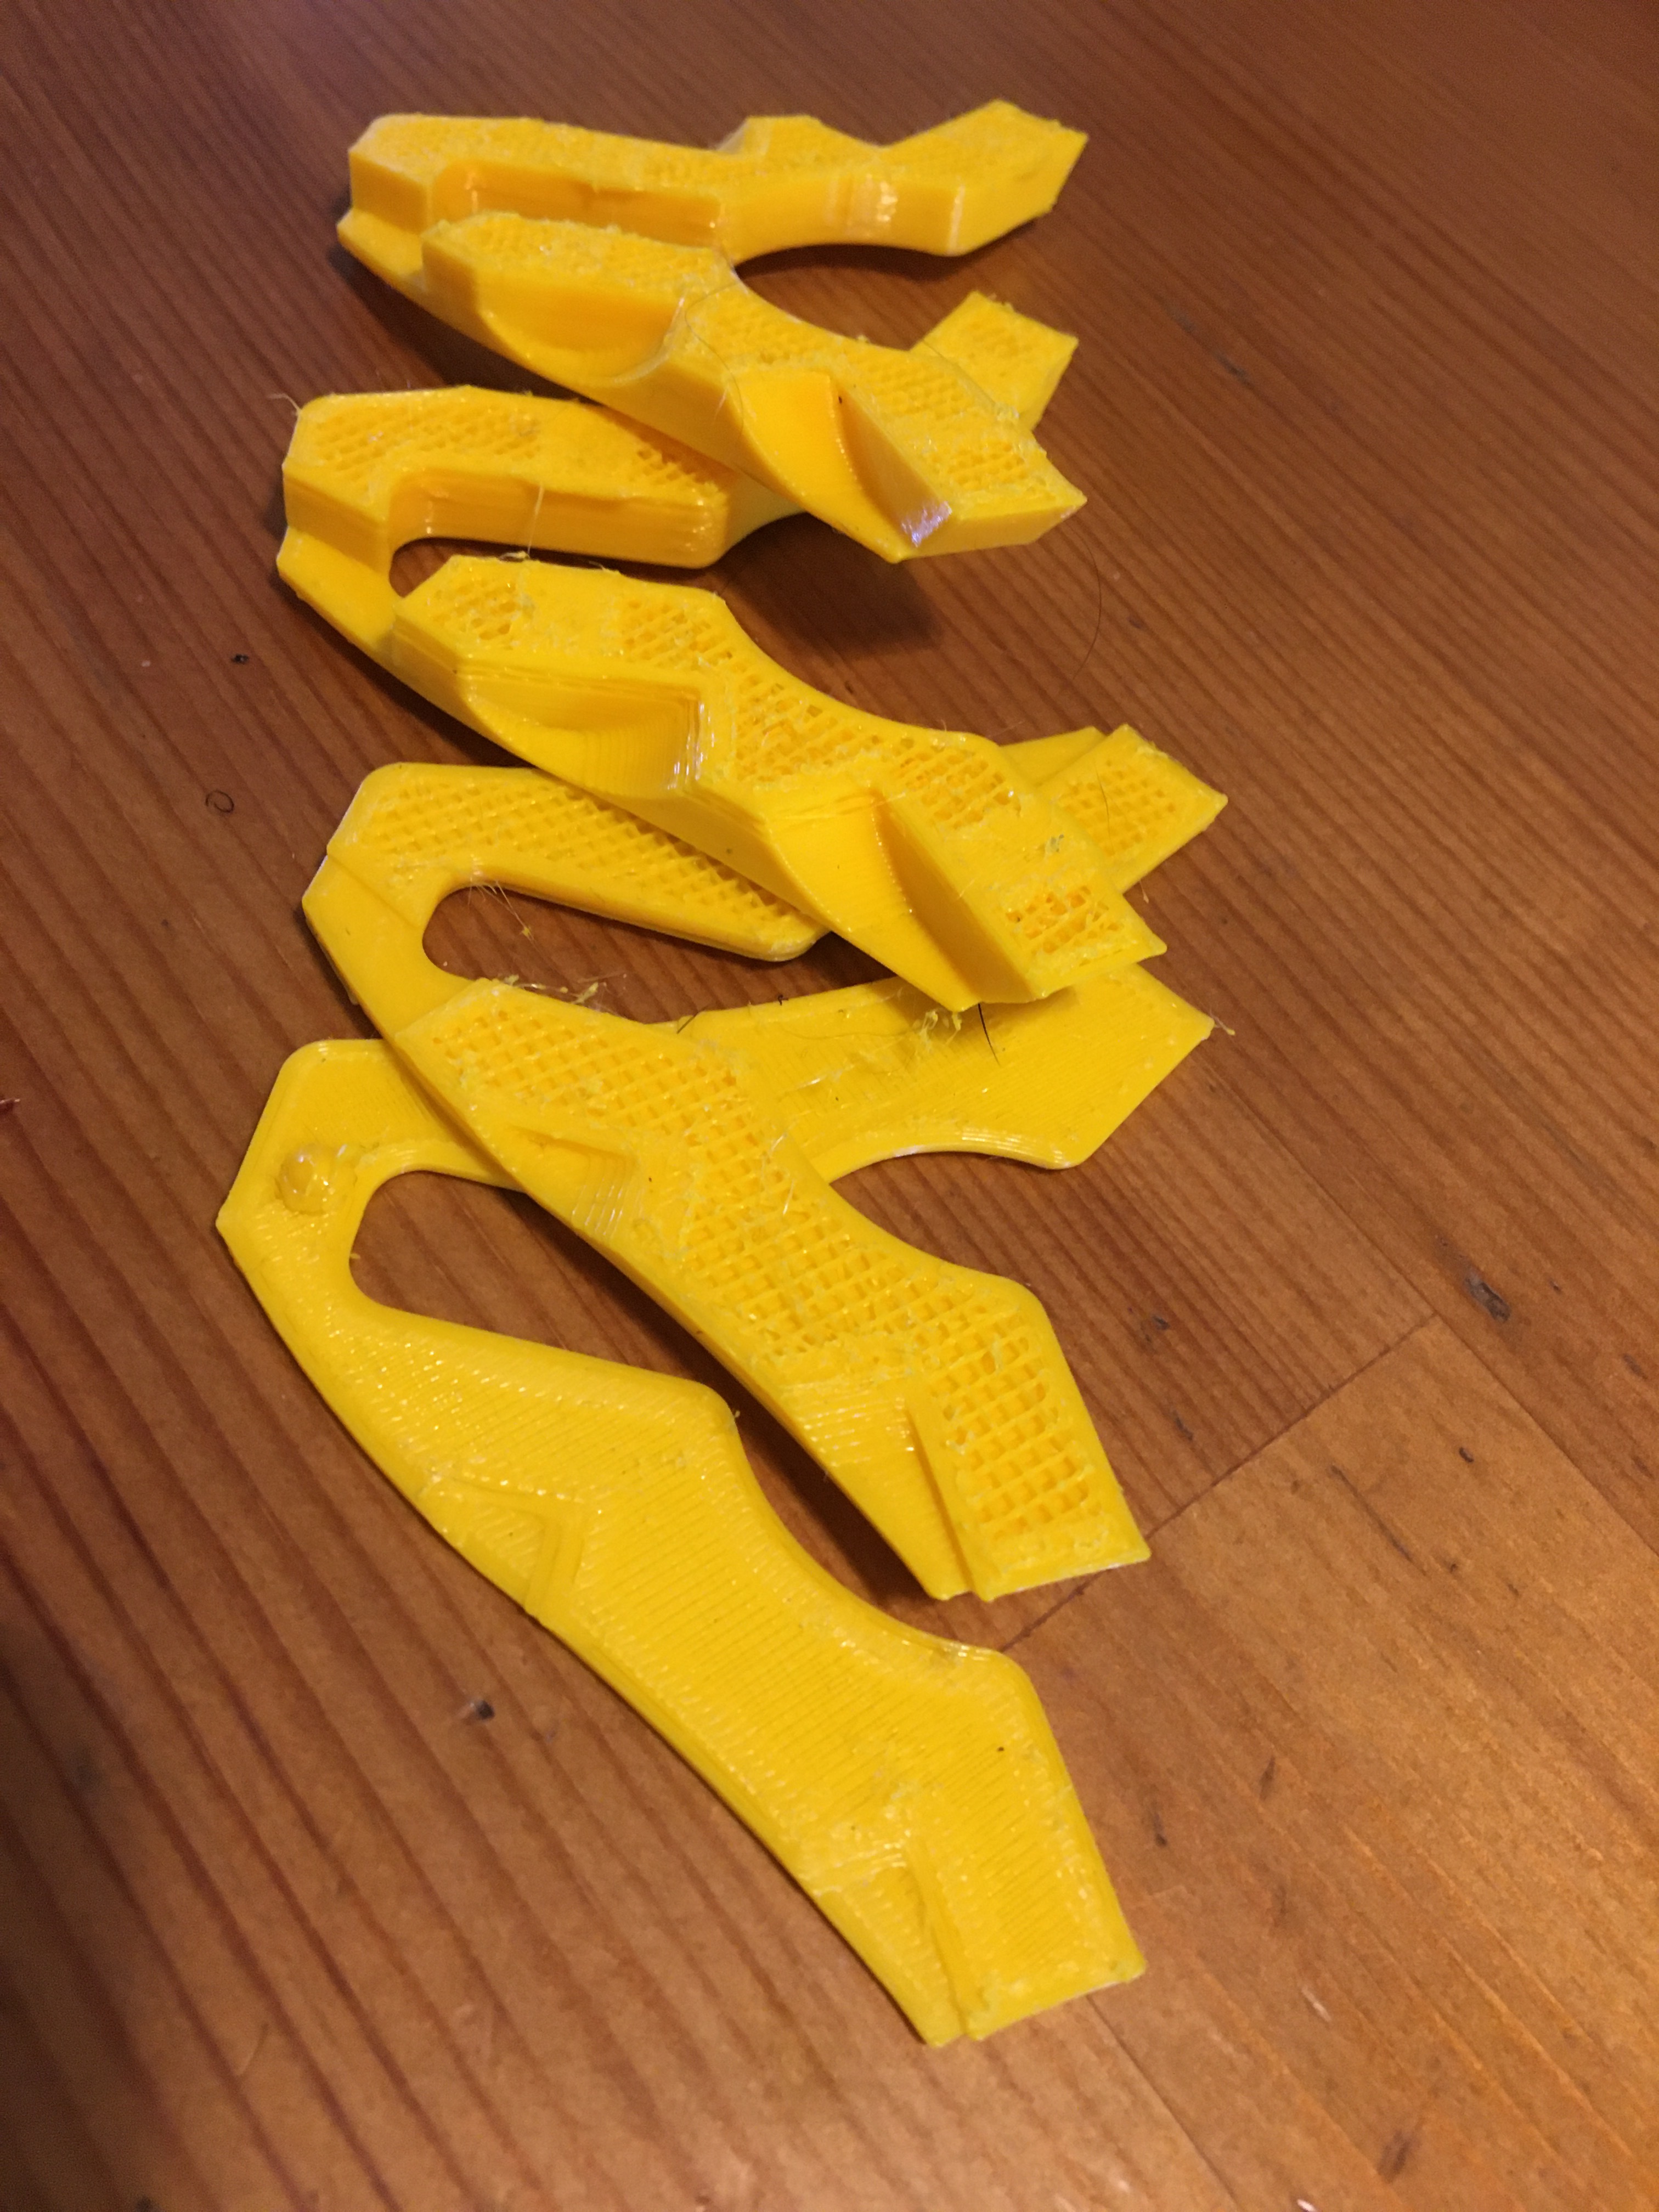
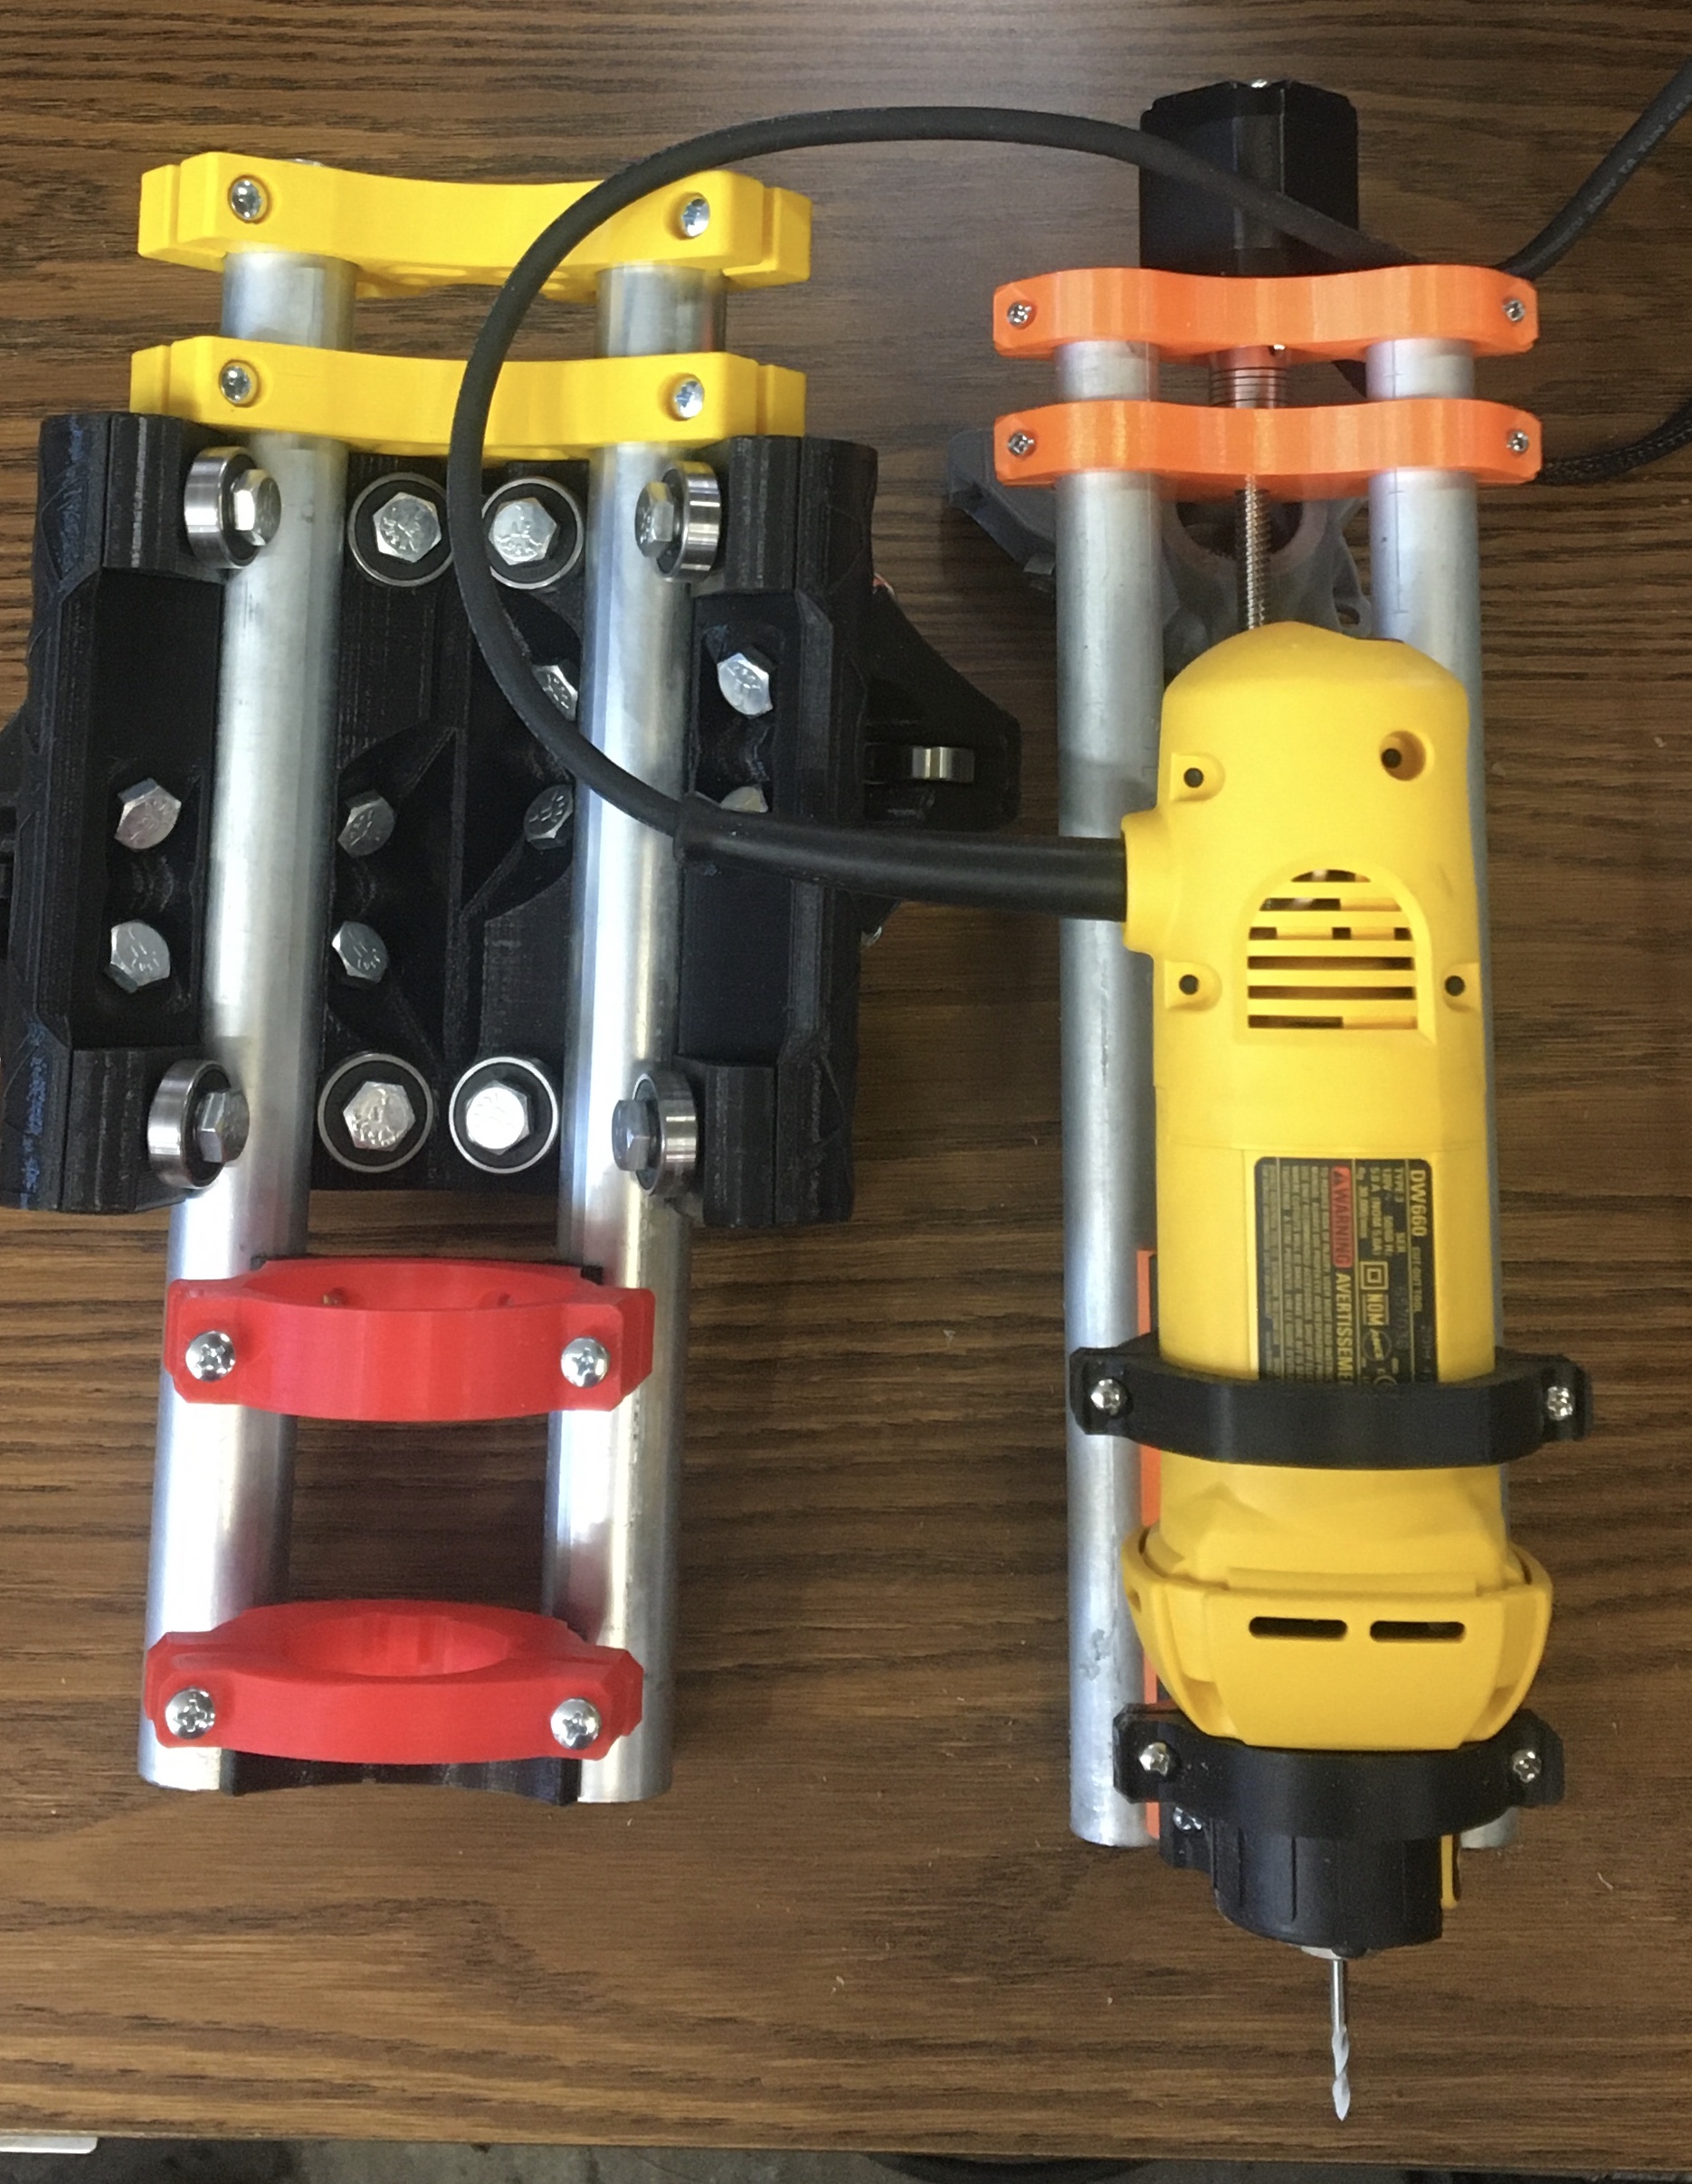
I tried editing the 660 mount STL’s but i ended up drawing them up from scratch. Same with the tool plates. I have wasted so much time and filament trying to print with the yellow. I even tried turning off retraction and it still clogged. The yellow will just have to wait for the ptfe heat break to arrive.
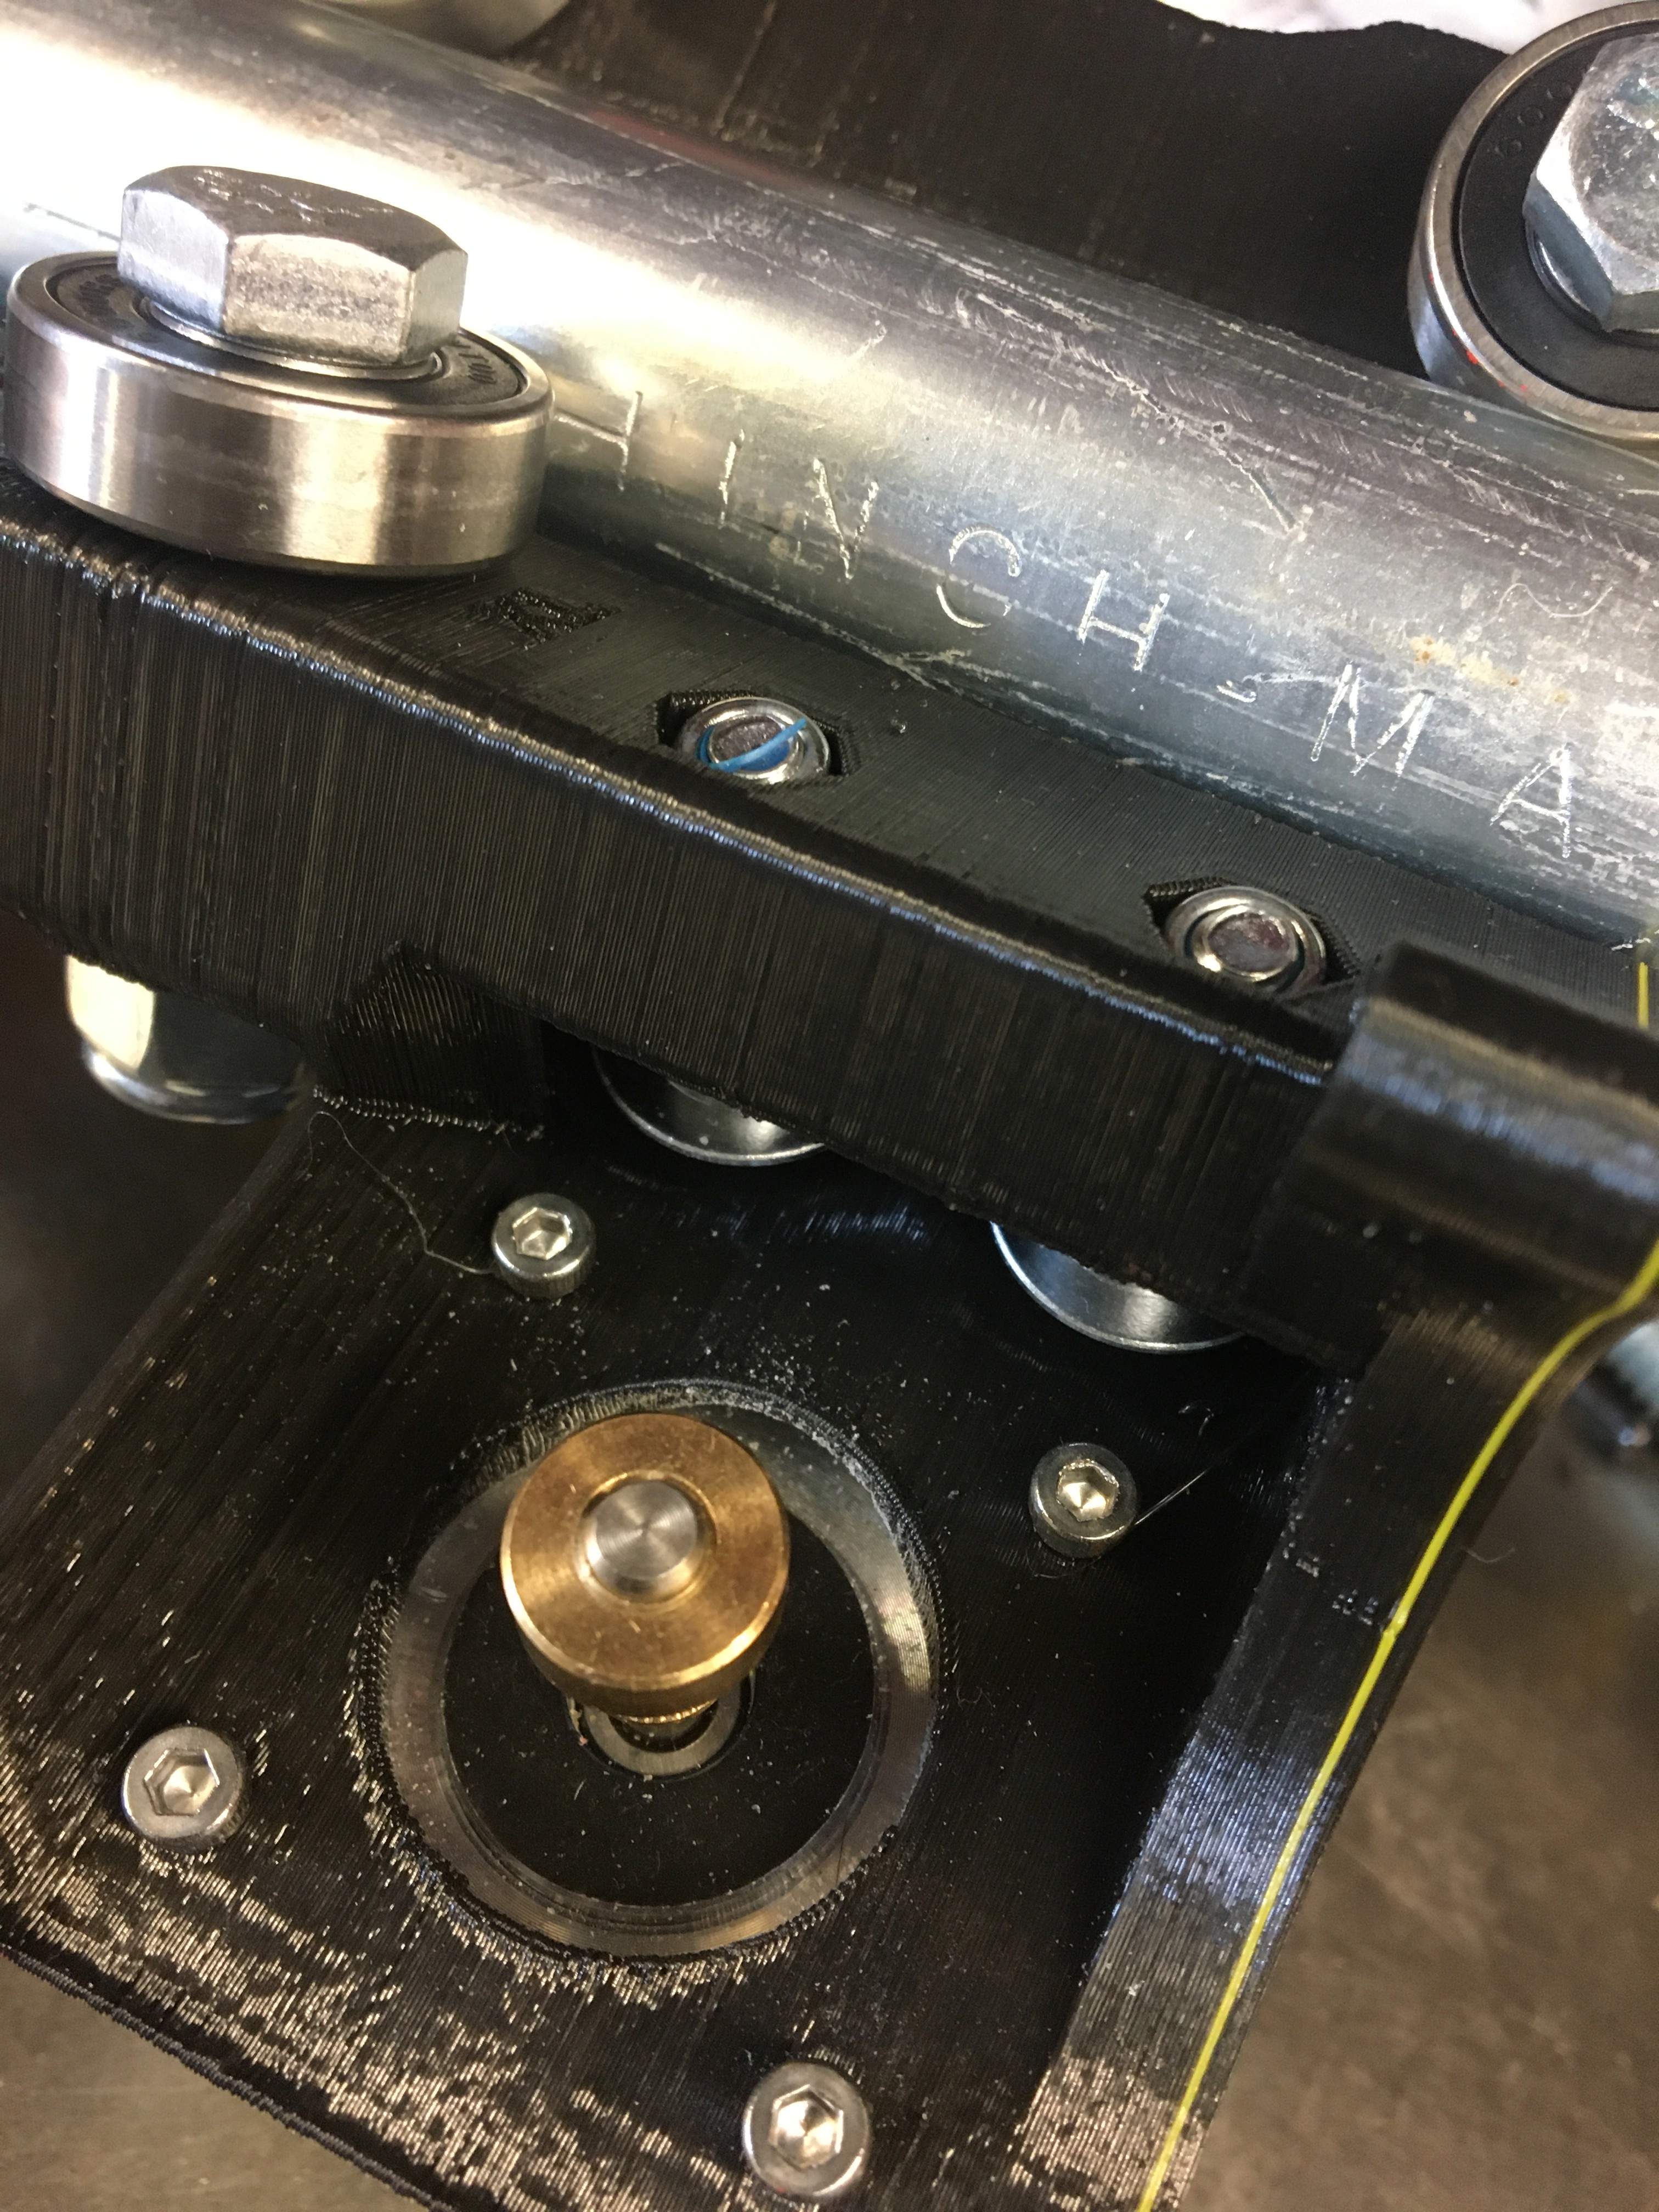
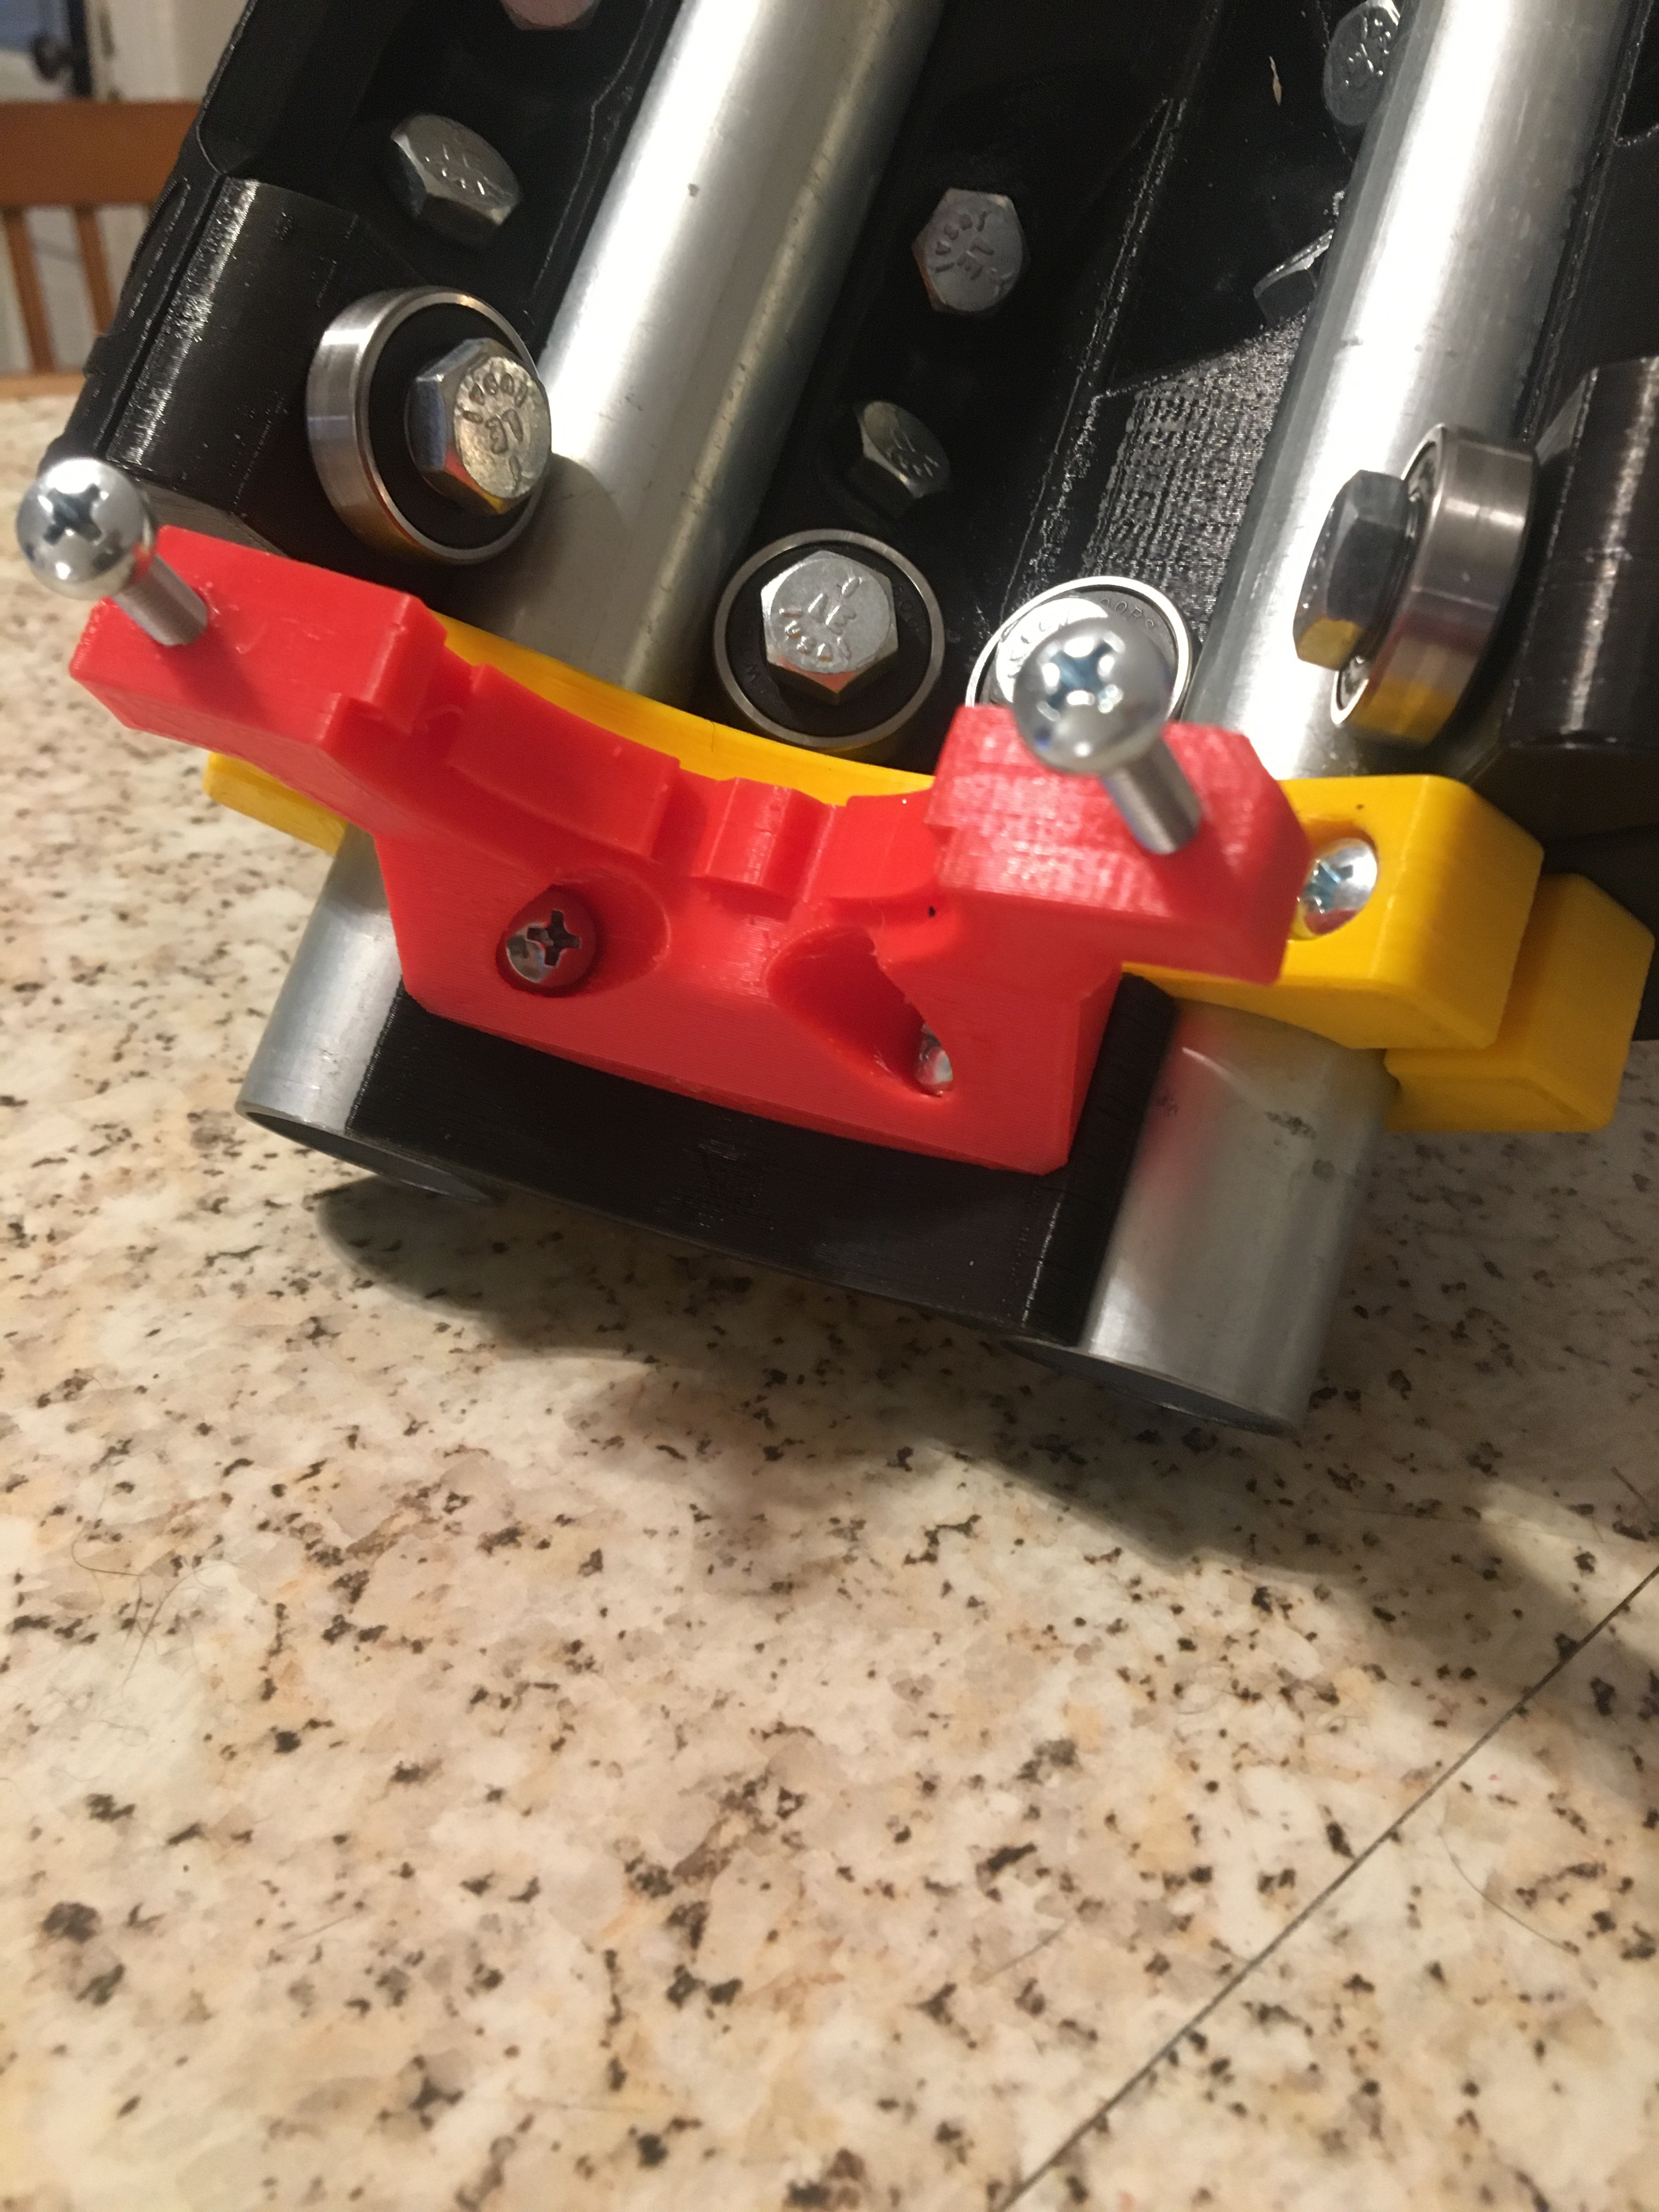
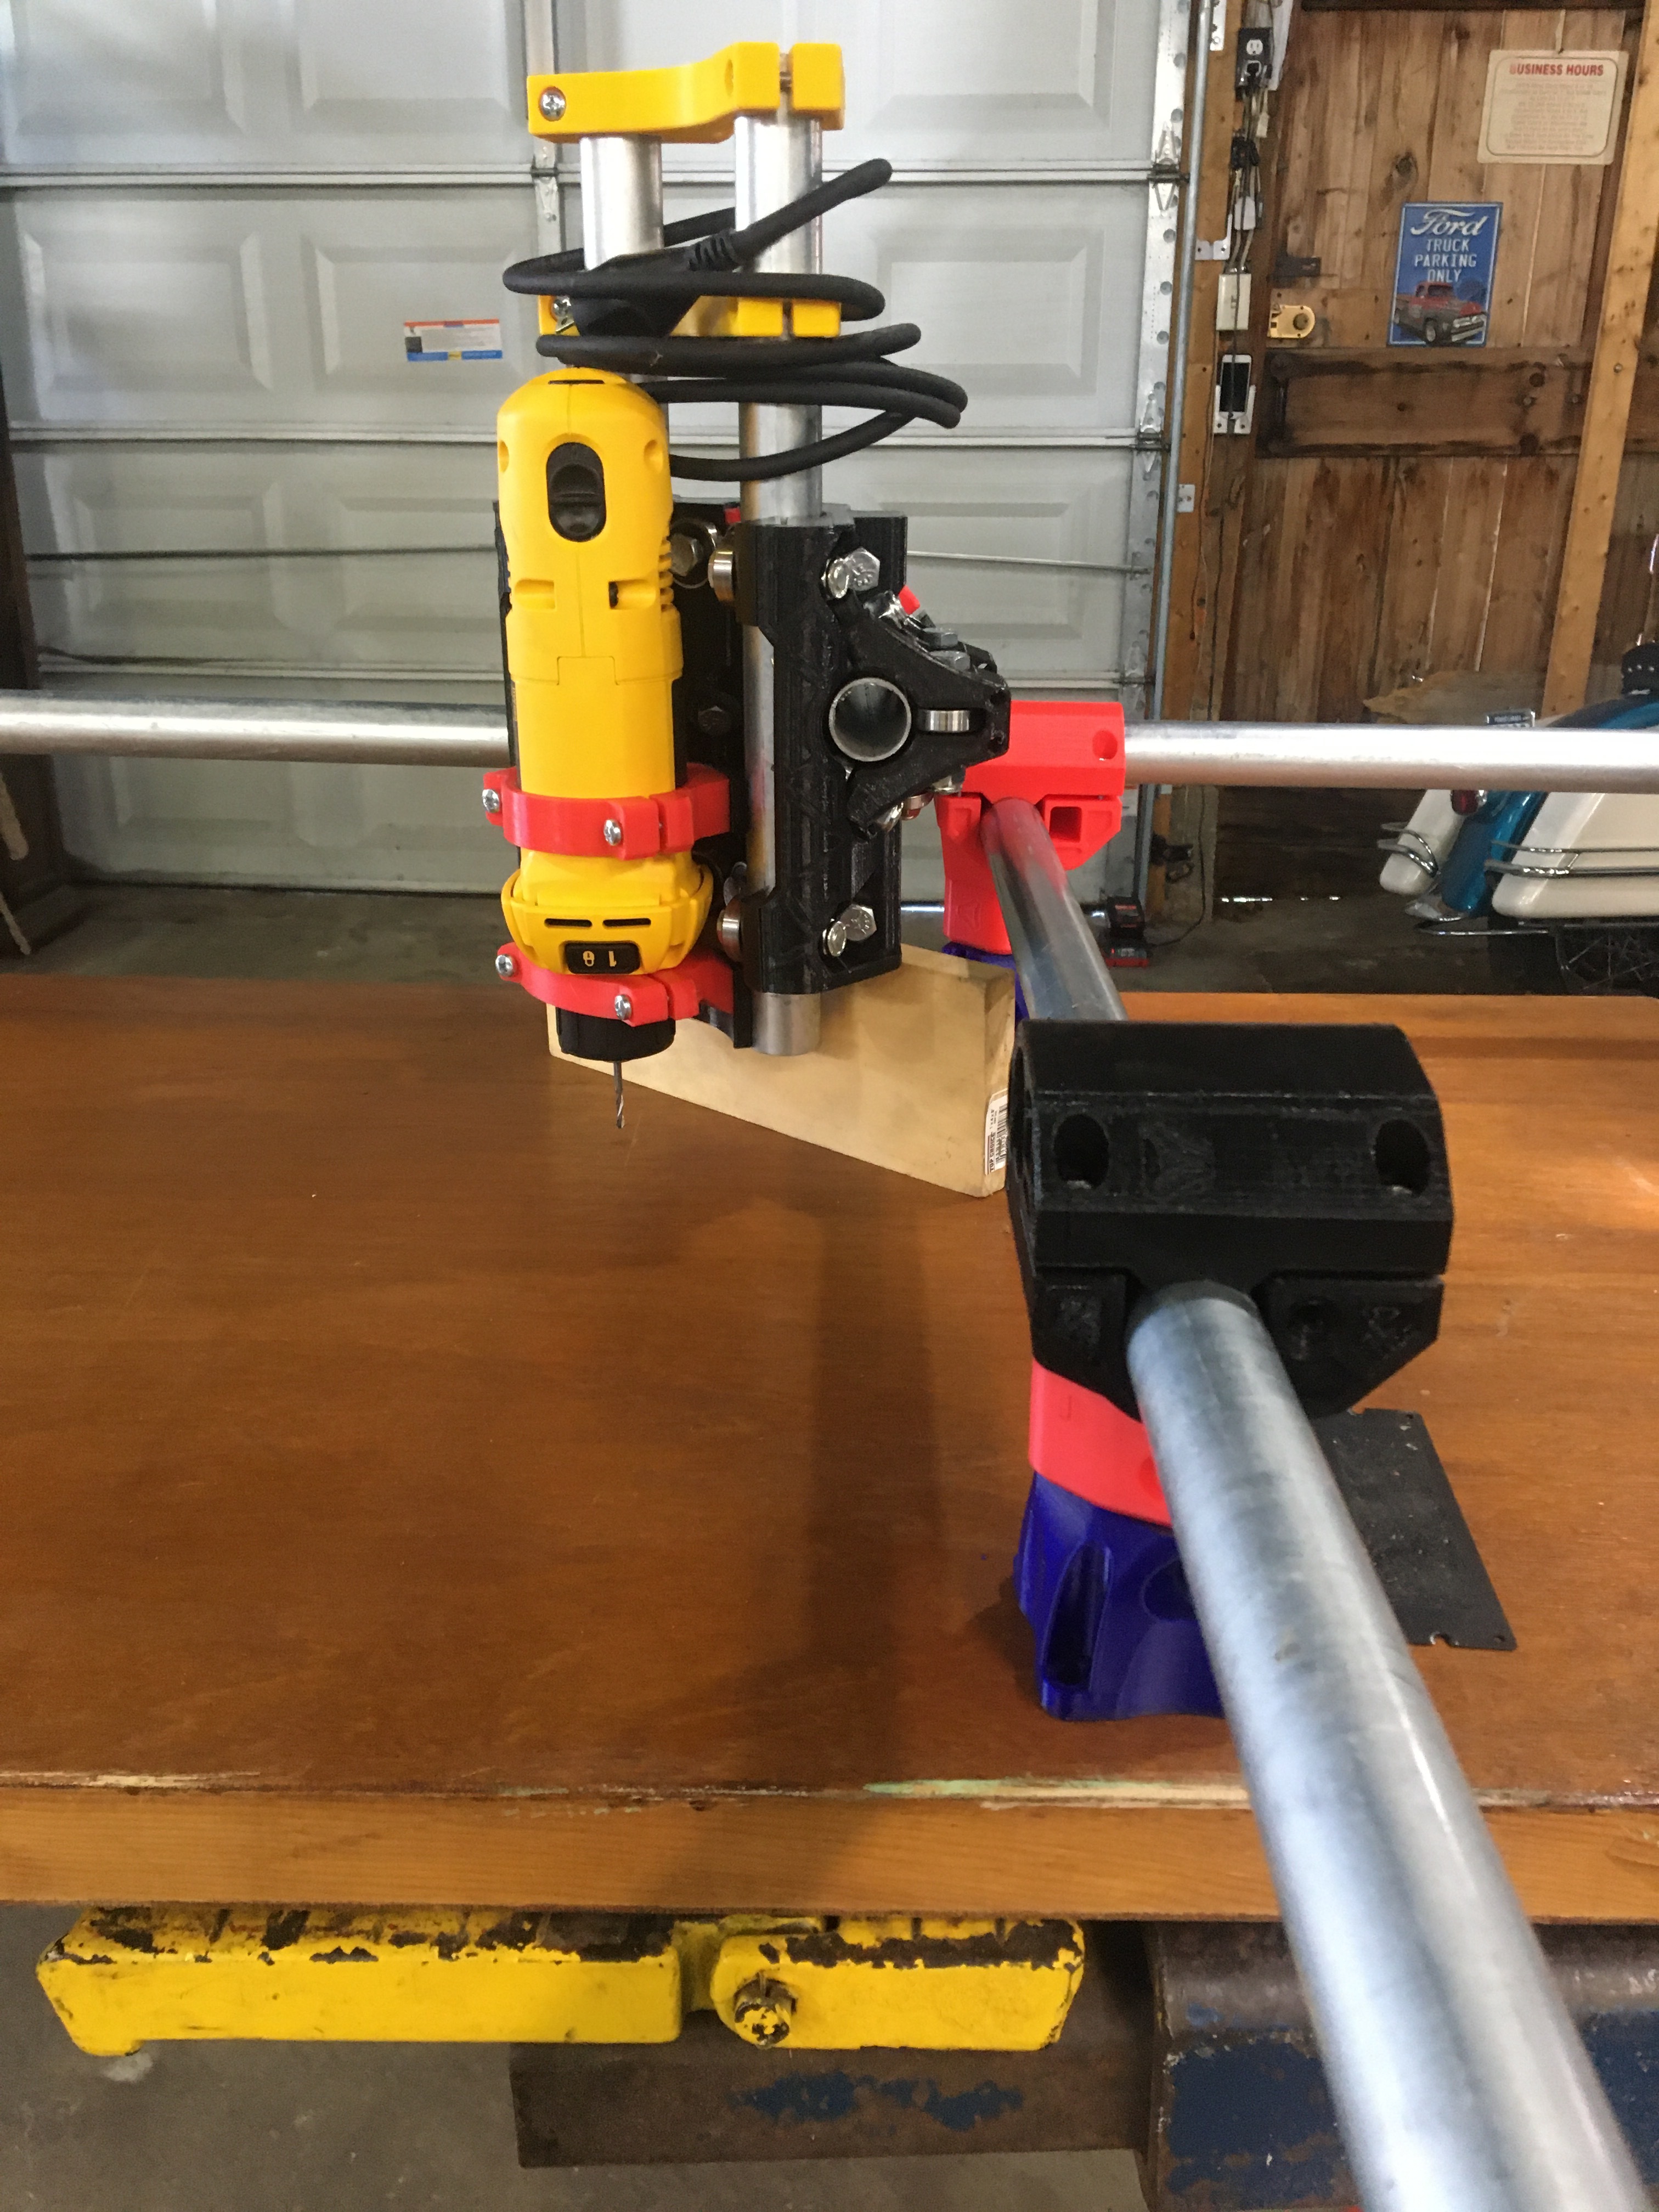
I’m using the core assembly as a jig to hold things in their place as i install the tool mounts. I drilled the holes in the seam of the conduit. This made it easier to drill the holes where i need them and the imprinted writing on them does not ride on the bearings, so it worked out nicely.
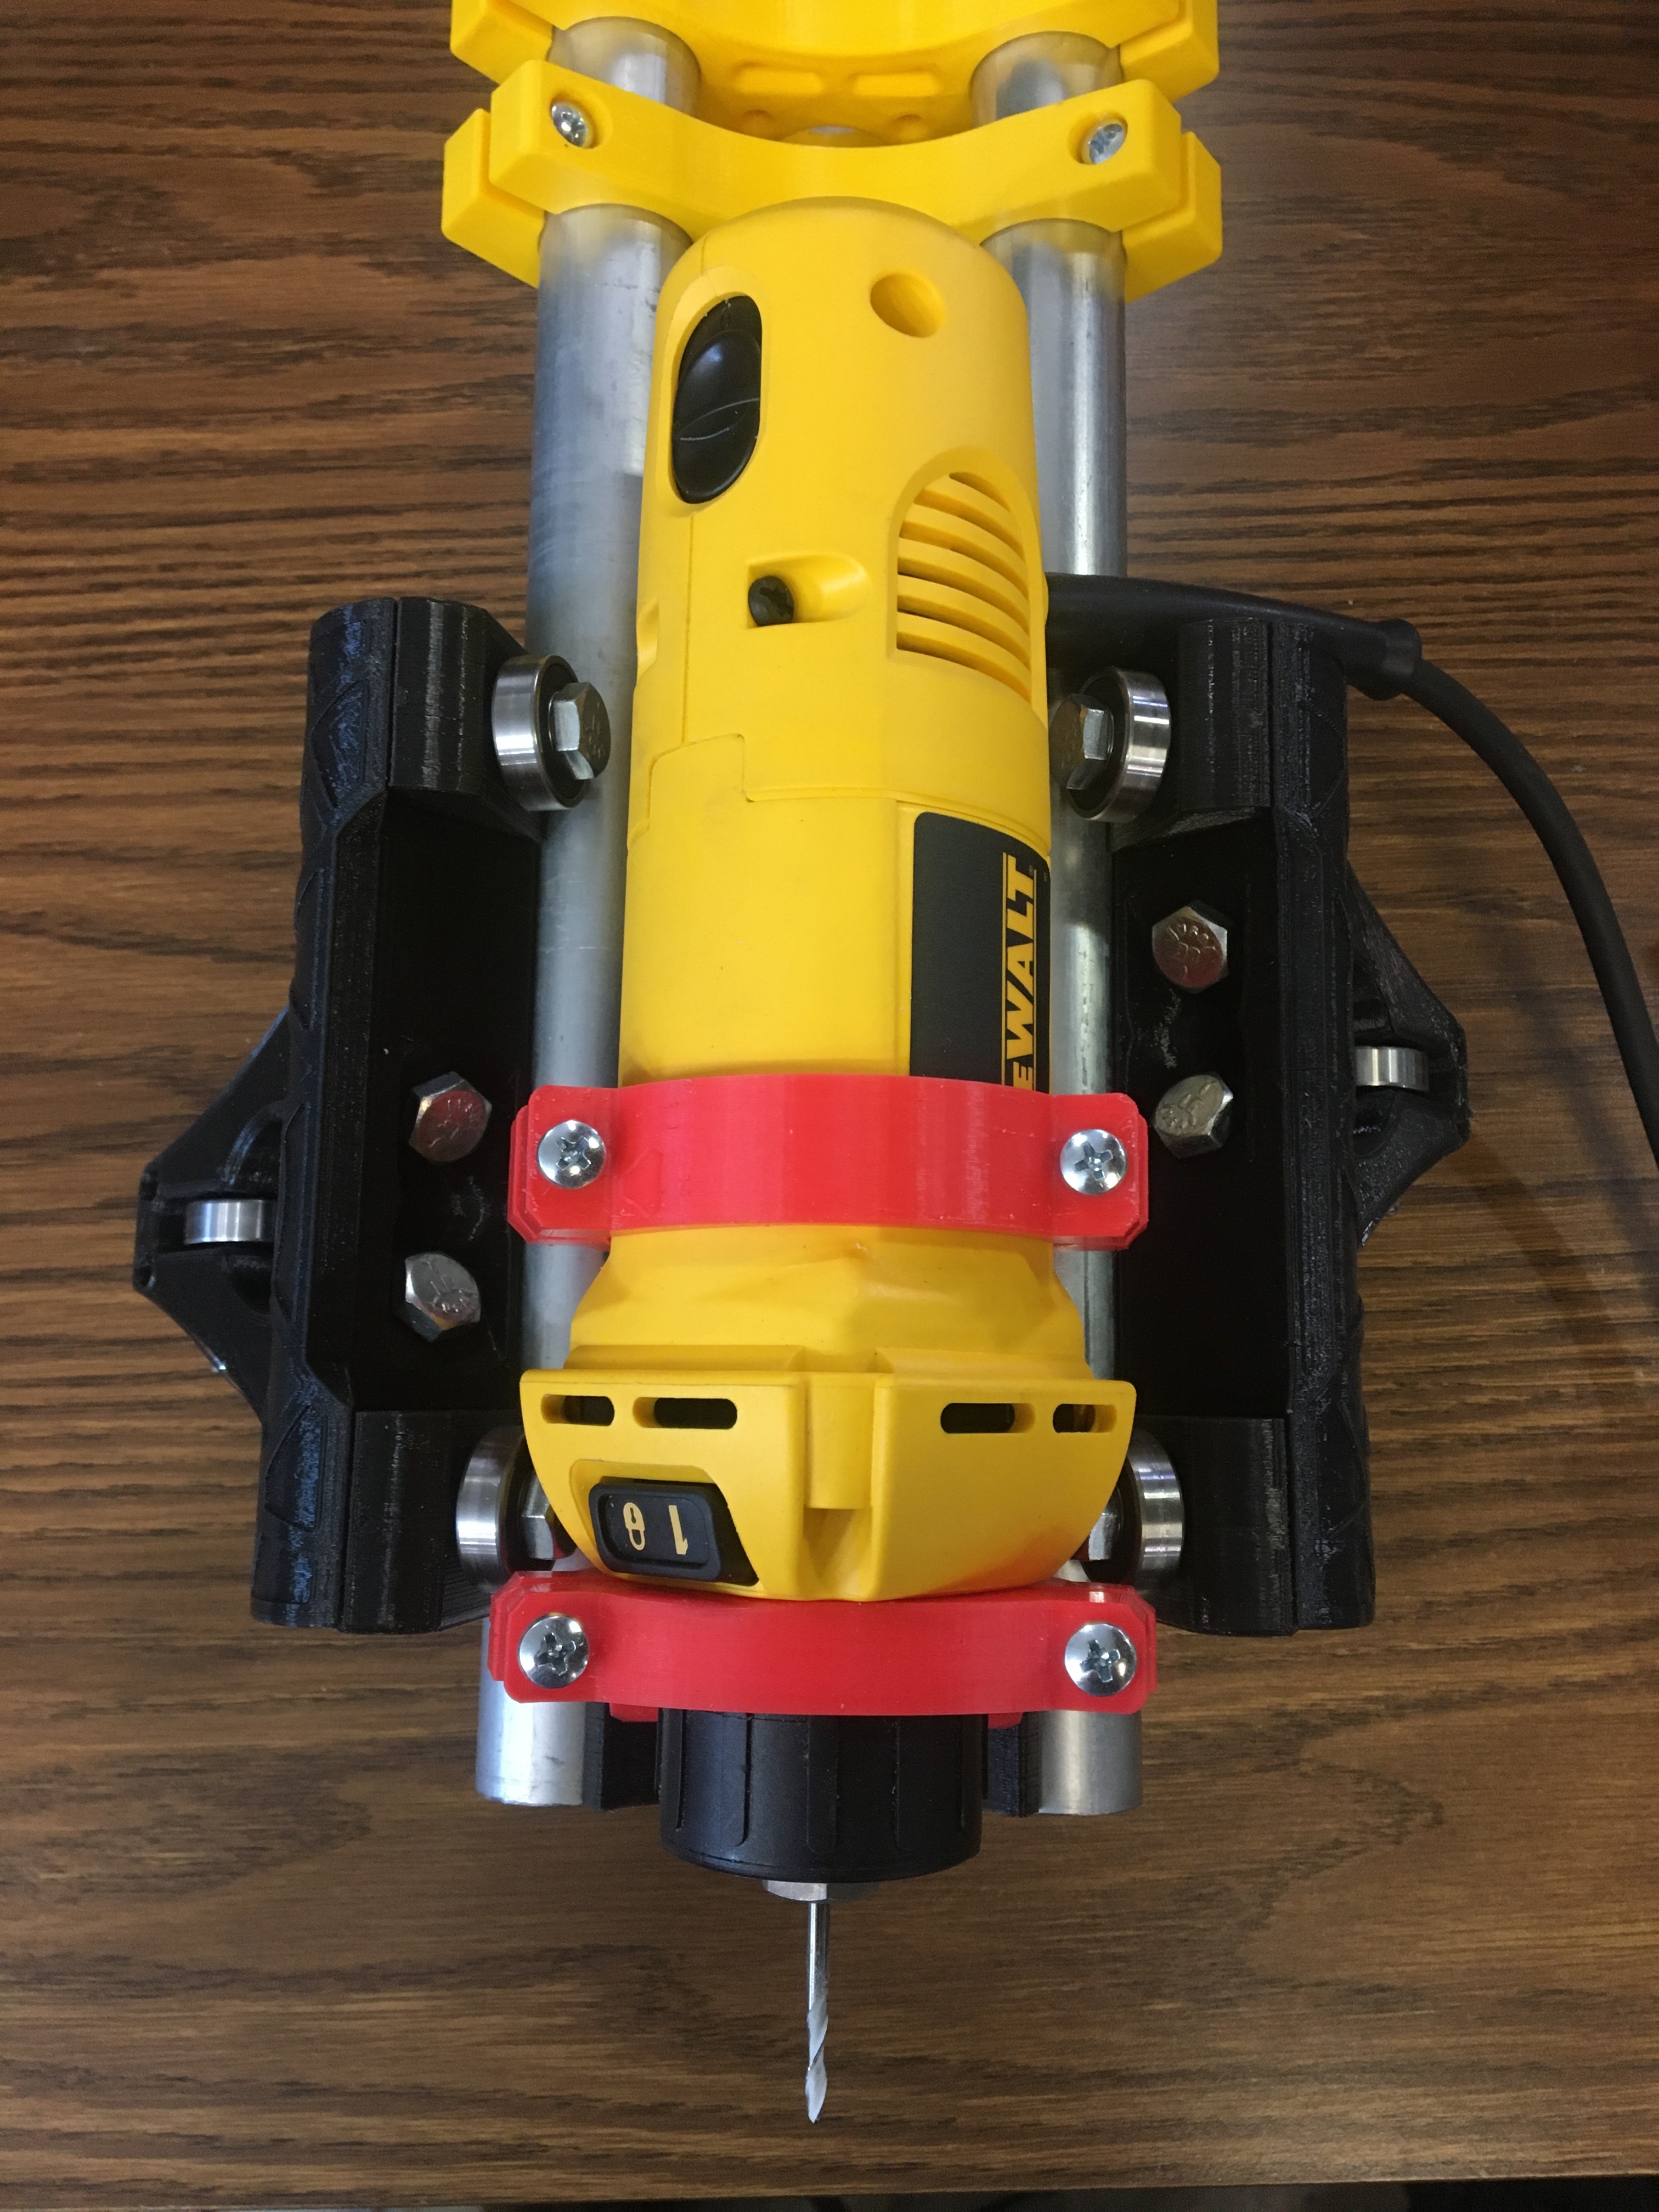
I realized after assembling the top mount clamp that I have the 660 clocked in correctly for the top mount orientation in this picture. The power cord should be coming off to the left, or the top mount could be flipped 180° to accommodate this orientation since the lower mount will allow either direction.
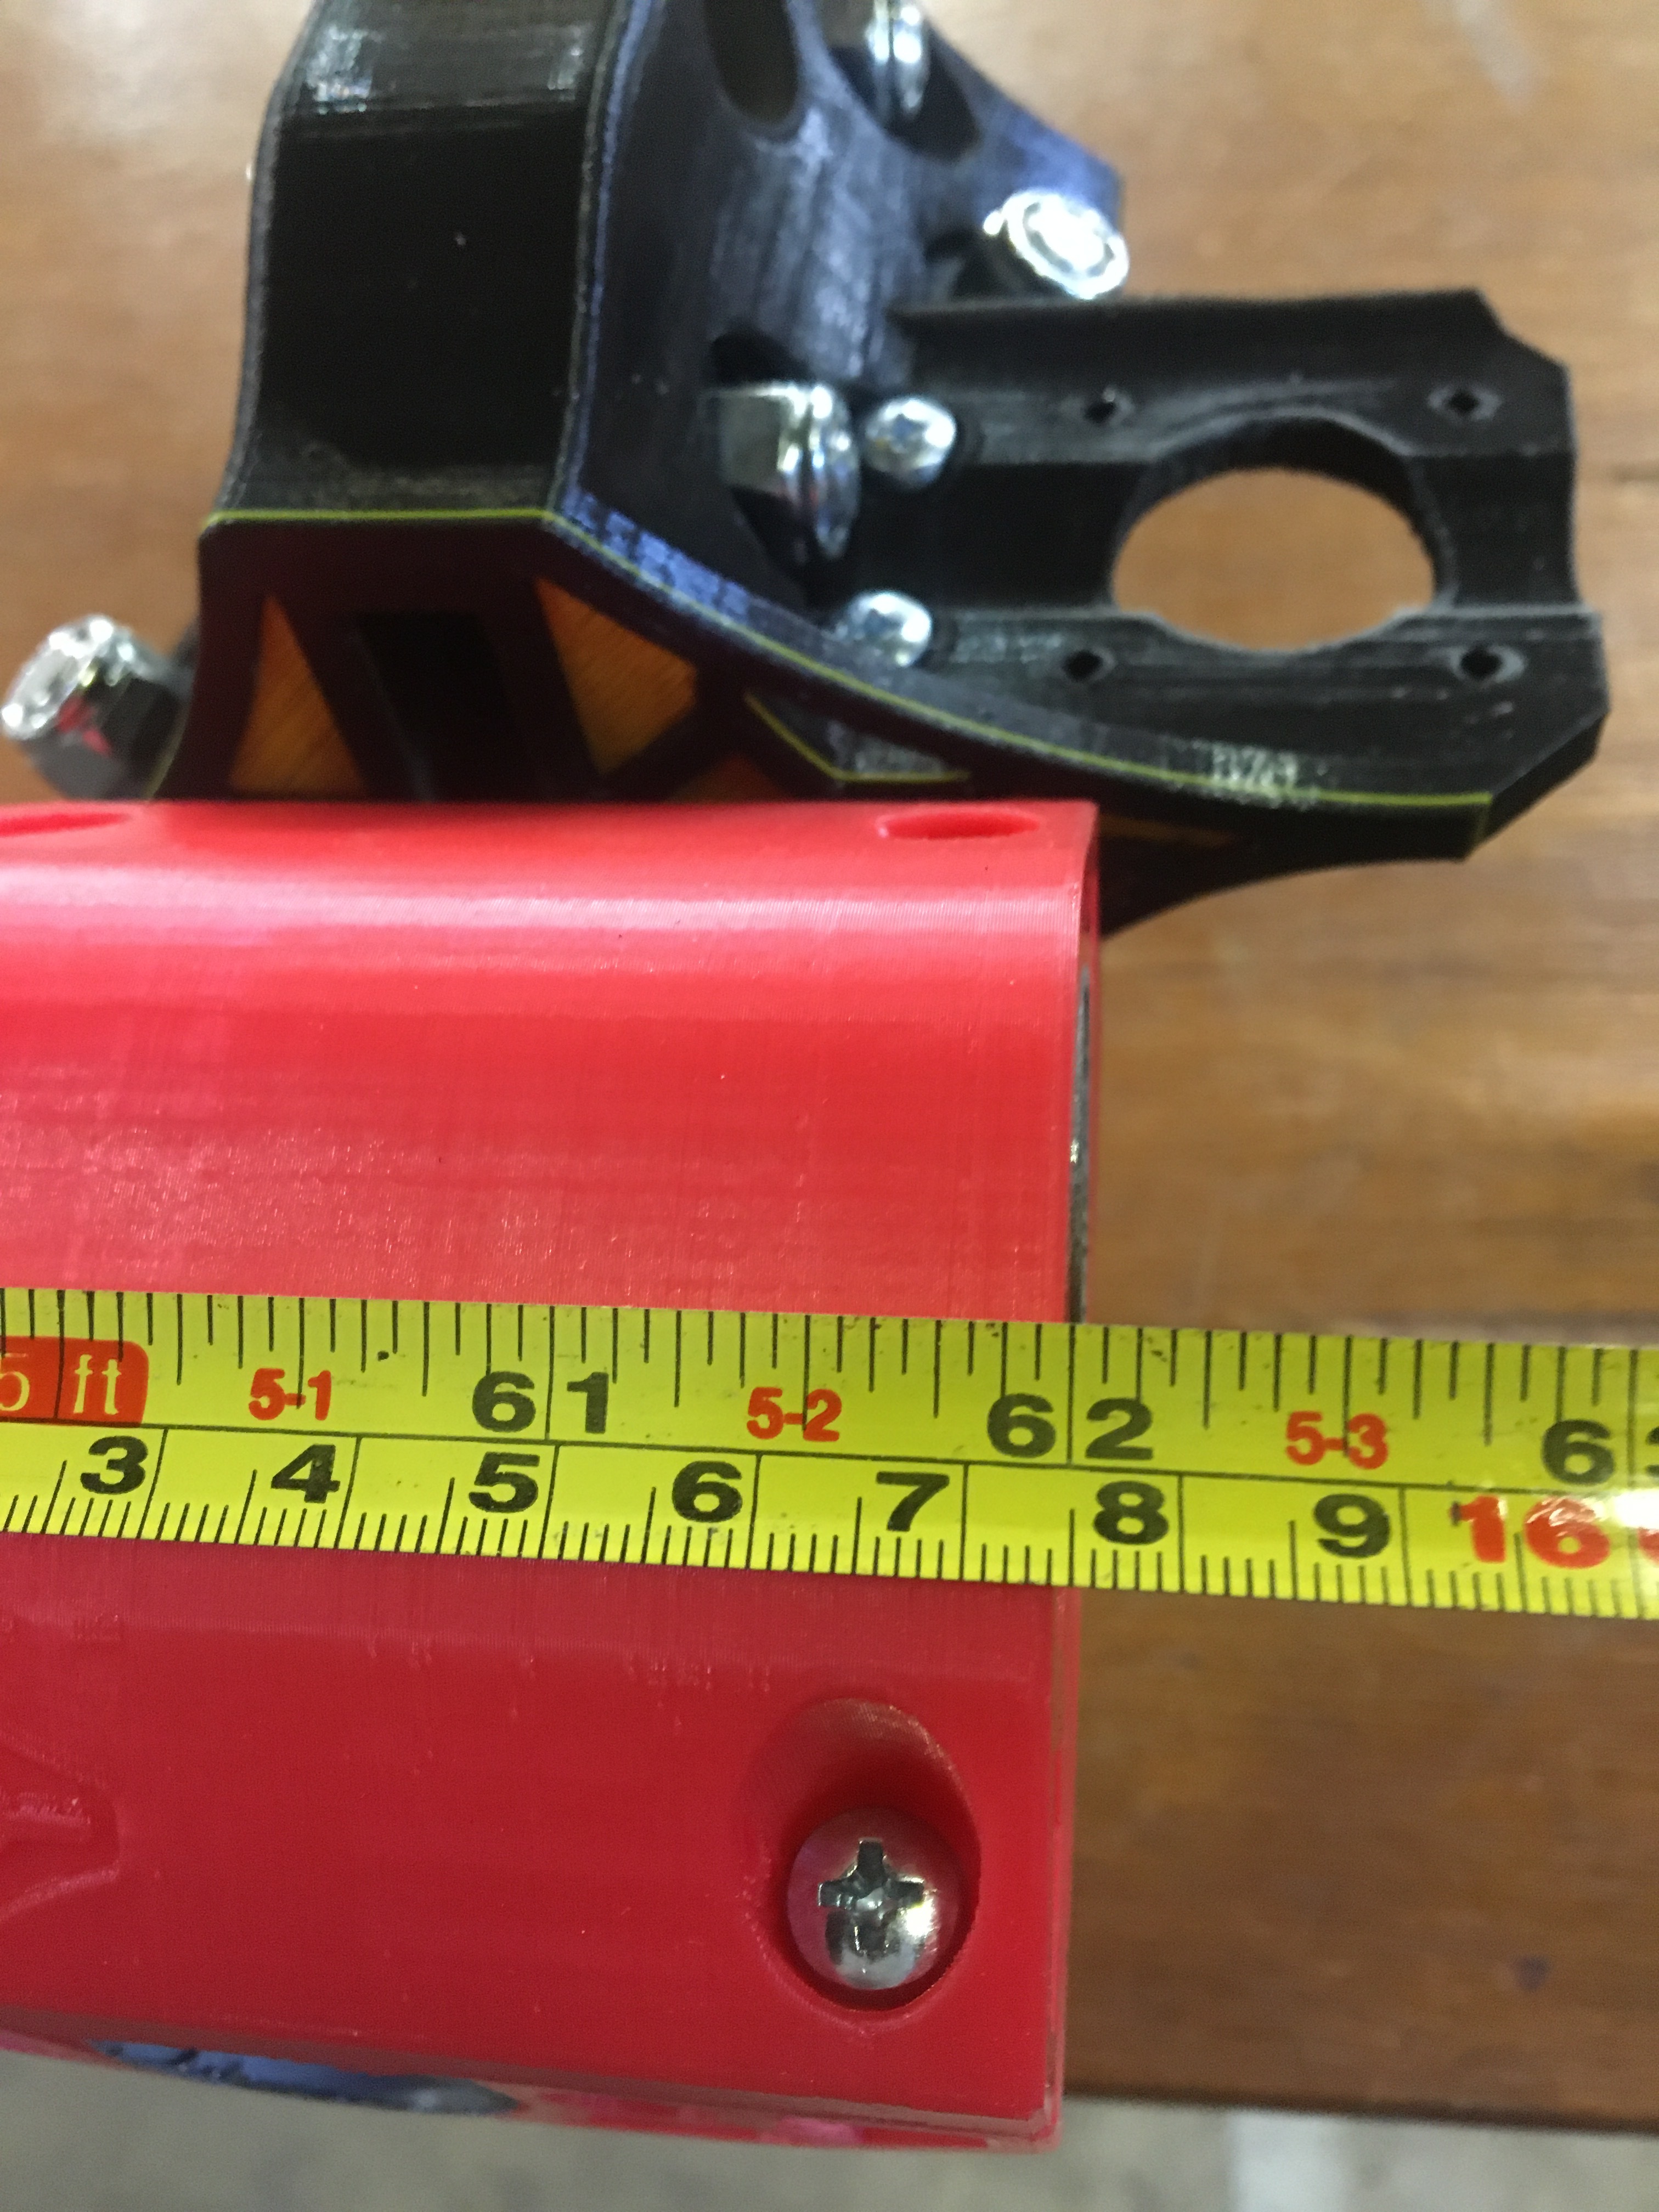
I have enough parts printed to be able to assemble the X axis today and i’ll be able to measure exactly the length required to span a 48” cut, which i’m pretty sure will be over 5ft.
The conduit comes in 10ft lengths so the remaining pieces would not be long enough to use for a 48” Y axis, but we’ll see how close it is. Worse case, 6 pieces of conduit would be needed to build it to the full 48” x 48”, so like $75 in conduit for a half-sheet machine, with a few nice sized scraps left over for another project.
I set things up on an old interior door to get a feel for things. Working as accurately as could be expected with only being partially assembled, it looks like 62” of conduit would give me a 48.25” X axis, which would leave 58” of conduit left over to give roughly a 44” Y axis.
So 4 10ft pieces of 1”EMT to build a 48” x 44” machine, or it would require 6 to build the full 48x48. $50 vs $75
With the corners assembled flat to the feet with no extra conduit height, and with the end mill that i currently have in the 660, it has about 2-1/2” of Z height and with no spoil board installed.
I weighed a corner assembly to get an idea of the amount of filament used. All of the corner parts were printed a .24 with a .4 nozzle, 2 perimeter 35% infill and an entire corner assembly weighs around 230g, so i figure i’ve got about a roll into the 4 corners.
The core was printed at 4 perimeters and 50% infill and weighed just under 600g. I’m waiting for a 4 perimeter truck to come off of the printer to see what a naked truck weighs.