I want homing, and I think I have a workaround without changing the firmware. First, if you set:
$23=3
…it homes to (0,0). This avoid the crashing associated when it thinks the machine is homing to max. Unfortunately, due to the switch placement, it leaves the coordinate system mirrored. My plan is to move the Y limit switch to the opposite end of the machine. Since I’m putting on a larger laser module, I have to remount the switch anyway. The result is not ideal since the origin will be on the opposite side of the carriage from the laser, but, assuming it works, still very usable.
Okay, sorry to add to any confusion - let me try again.
Yes, $23=3 does allow it to “home” without crashing, but as you say, one axis ends up mirrored or at least doesn’t follow a conventional “right hand rule” coordinate system because of the limit switch location choice.
Using $23=1 as the limit switch mask tells it that the Y limit is in the “max” direction which fixes the mirroring, but since it thinks the Y axis is 360mm long when it automatically tries to go to zero after homing it over travels and crashes.
I did play with a sequence of commands to prevent the over travel by temporarily reducing the steps/mm parameter and it works from the terminal but not when embedded in a UGS macro or gcode file - they don’t seem to like $ system commands.
Since I’m too lazy to type the required 5 lines each time the options are to relocate the limit switch or simply live without homing support and just position the laser manually. Either of which is completely acceptable - at least until the STLink programmer I ordered shows up and I decide to brick the controller for good
I watched it because i bought one, but i did not get much out of it. Big thing was he didnot like open and not enclosed. Makes sense i guess. Also concerns over how\what to cut. Not too concerned here.
We’ve had a number of these discussions in the past regarding the inherent dangers involved in sticking our hands into the innards of our equipment and/or using machines/chemicals/materials that require some level of caution and careful handling. And many/most folks reading this thread are at least somewhat familiar with most of these dangers and able to make up their own minds as to what they are comfortable using and doing in pursuit of their hobbies/interests. IMO our own @ttraband said it best…
I’m getting this issue as well. Successfully did the upgrade, Lightburn sees it and I can move it around with Gcode commands. It successfully homes but then moves along the Y axis in the opposite direction till it hits the rails and then tries to keep on going. Tried Setting 0,0 to all four corners in lightburn and that didn’t fix it. Tried setting machine dimensions to 100mm in x and y in lightburn which also didn’t work.
@Bigburlybug: There was a little more chatter on the Lightburn form regarding $N0 and $N1 commands which run automatically after a reset (or Homing command). I was hopeful that the G92 offset was embedded in that and could be easily changed, but alas it is not.
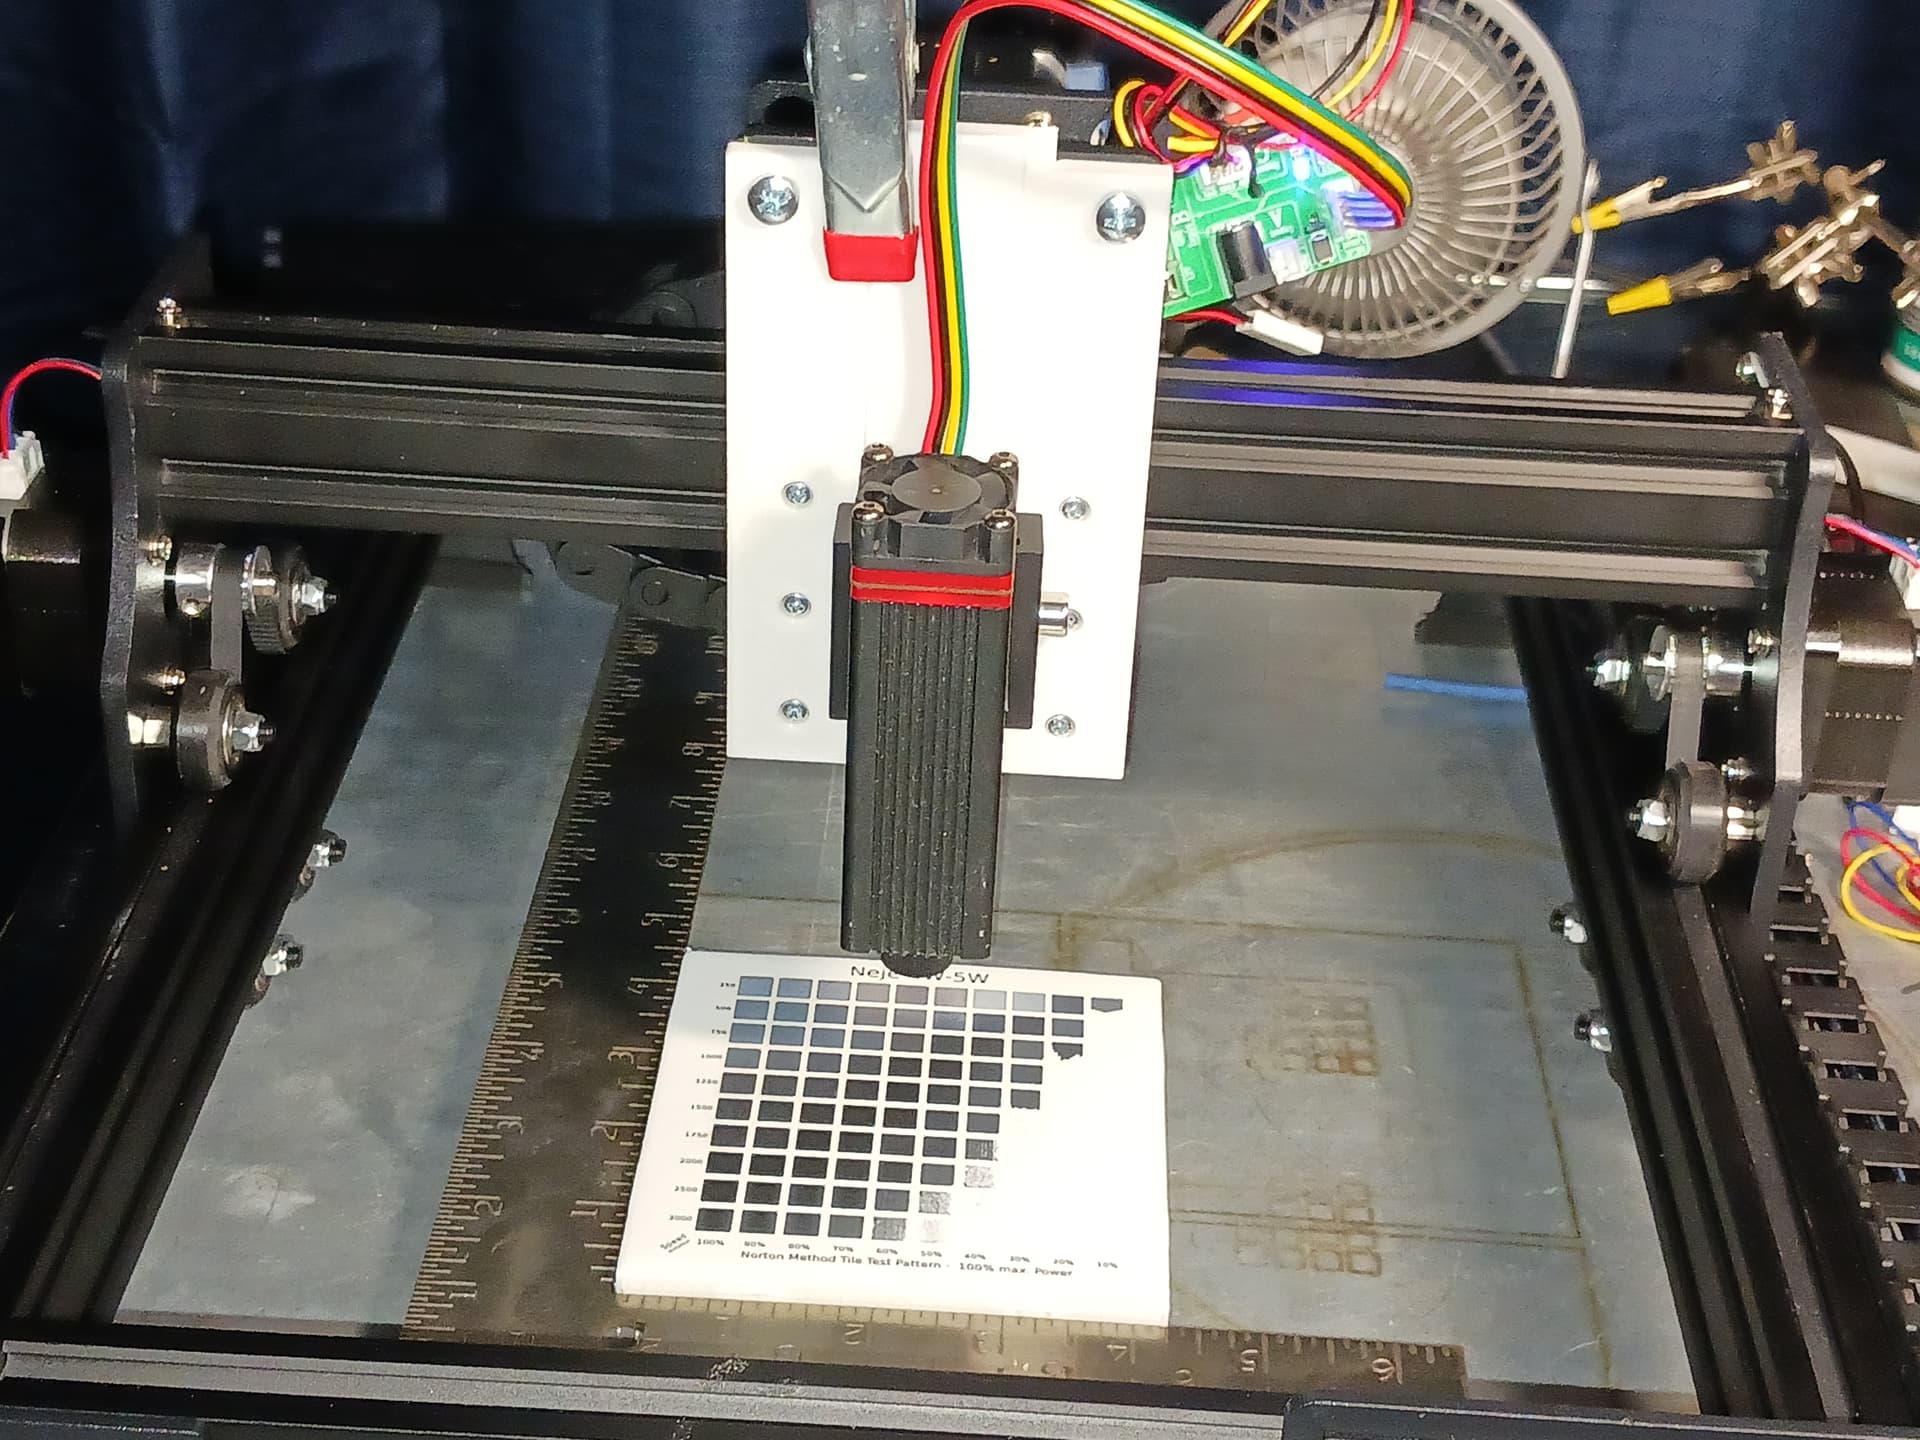
I also printed and installed David’s manual Z lift from Printables. It is super nice (easy to print and works great!) and I highly recommend it. It does however push the laser closer to the y limit switch to the point that it interferes with the rail before the limit switch can be activated anyway so trying to get it to home automatically will require relocating the limit switch regardless, even if the firmware can be fixed.
So, I think my next tact will be to move the Y limit switch. It seems like it should be easy enough to design a bracket that connects to the v-slot and extend the wire.
However I did spend a few minutes playing with tool paths and cutting paper from an arbitrary start point without homing. It is not really a hinderance and so much fun that it may be a while before I decide to bother with messing with the hardware/firmware anymore.
Thanks again to @dkj4linux for raising awareness on this machine, sharing the GRBL upgrade file and the Z lift mechanism!
I moved the switch and it did not solve the problem. It homes to the new corner, retests, and then attempts to move in a negative direction, causing all sorts of lost steps. The extra movement does not happen if I hold the switch manually, but holding it manually probably interferes with the retest. I want it to home so I can use fixtures for tiles, so I plan to just push the laser head to the front left corner of the machine and execute a G92. This will also mean swapping the move direction for X and Y.
I have been looking at this on Amazon off & on for last few weeks & saw they had one in stock today at the $80 price, so ordered it & will be here Friday. I saw they had a few in stock last week but was on vacation out of town until yesterday. Now I don’t have to build another laser engraver to replace the one I built my rotary laser from.
Steel plate below, small steel square, and 3-4 stacks of strong magnets between plate and square to hold position and elevate the square’s edge as necessary. I use the machine frame to eyeball the square… like winding sticks. I use a junk tile with pencil lines joining diagonals to position the laser and set the focus with a printed gauge block. In Lightburn, I use center “job origin”, “user origin”, and “set origin” and "“set finish position” to keep the laser in position from tile to tile. Frame as necessary to be confident I eyeballed things square and set the origin and finish position properly… and they usually are.
Takes only a couple of minutes to set up and works for small runs of tiles…
I’ve been convinced by both David’s advocacy and my own limited experience that homing is not necessary and not really worth pursuing for any practical purpose, especially if the machine can be left on so that it doesn’t loose position between workflow steps.
But after playing with it I am fairly certain moving the Y limit switch to the other end and changing the homing mask to $23=3 would get it to home to a corner as 0,0 with the controller in what would be the YMax and Xmin corner.
Sounds like a workable solution, and something like this may be what I end up doing. What I’ve been doing on the MPCNC is tape a piece of cardboard down and then have the laser cut out a tile-sized square from the cardboard. This creates an axes aligned pocket that I can use to position tiles until I power down the electronics.
The majority of the time, I don’t bother homing with my MPCNC, but it would be nice for repeated operations. Before giving up on “homing” with this machine, I’m going to play with using physical stops to see if it is accurate enough.
I am fairly certain moving the Y limit switch
All I can tell you is that it did not work for me. I have $23=3. It correctly homes to corner with the new switch, moves away from the switch and then does a retest, and then it slams into the switch and tries to move in a negative Y direction. Note this does not happen if I trigger the switch with my finger, which is why I moved the switch, but with a finger, I’m not allowing the retest.
I haven’t had a ton of time to play with mine yet but I was able to get it to home properly. I flashed the firmware and I know I played with the inverted Y axis or something like others mentioned. I don’t really know what I’m doing but it works so I’m not playing with those settings again. I thought I messed it up at one point but I found out I just moved something and it couldn’t contact the limit switch.
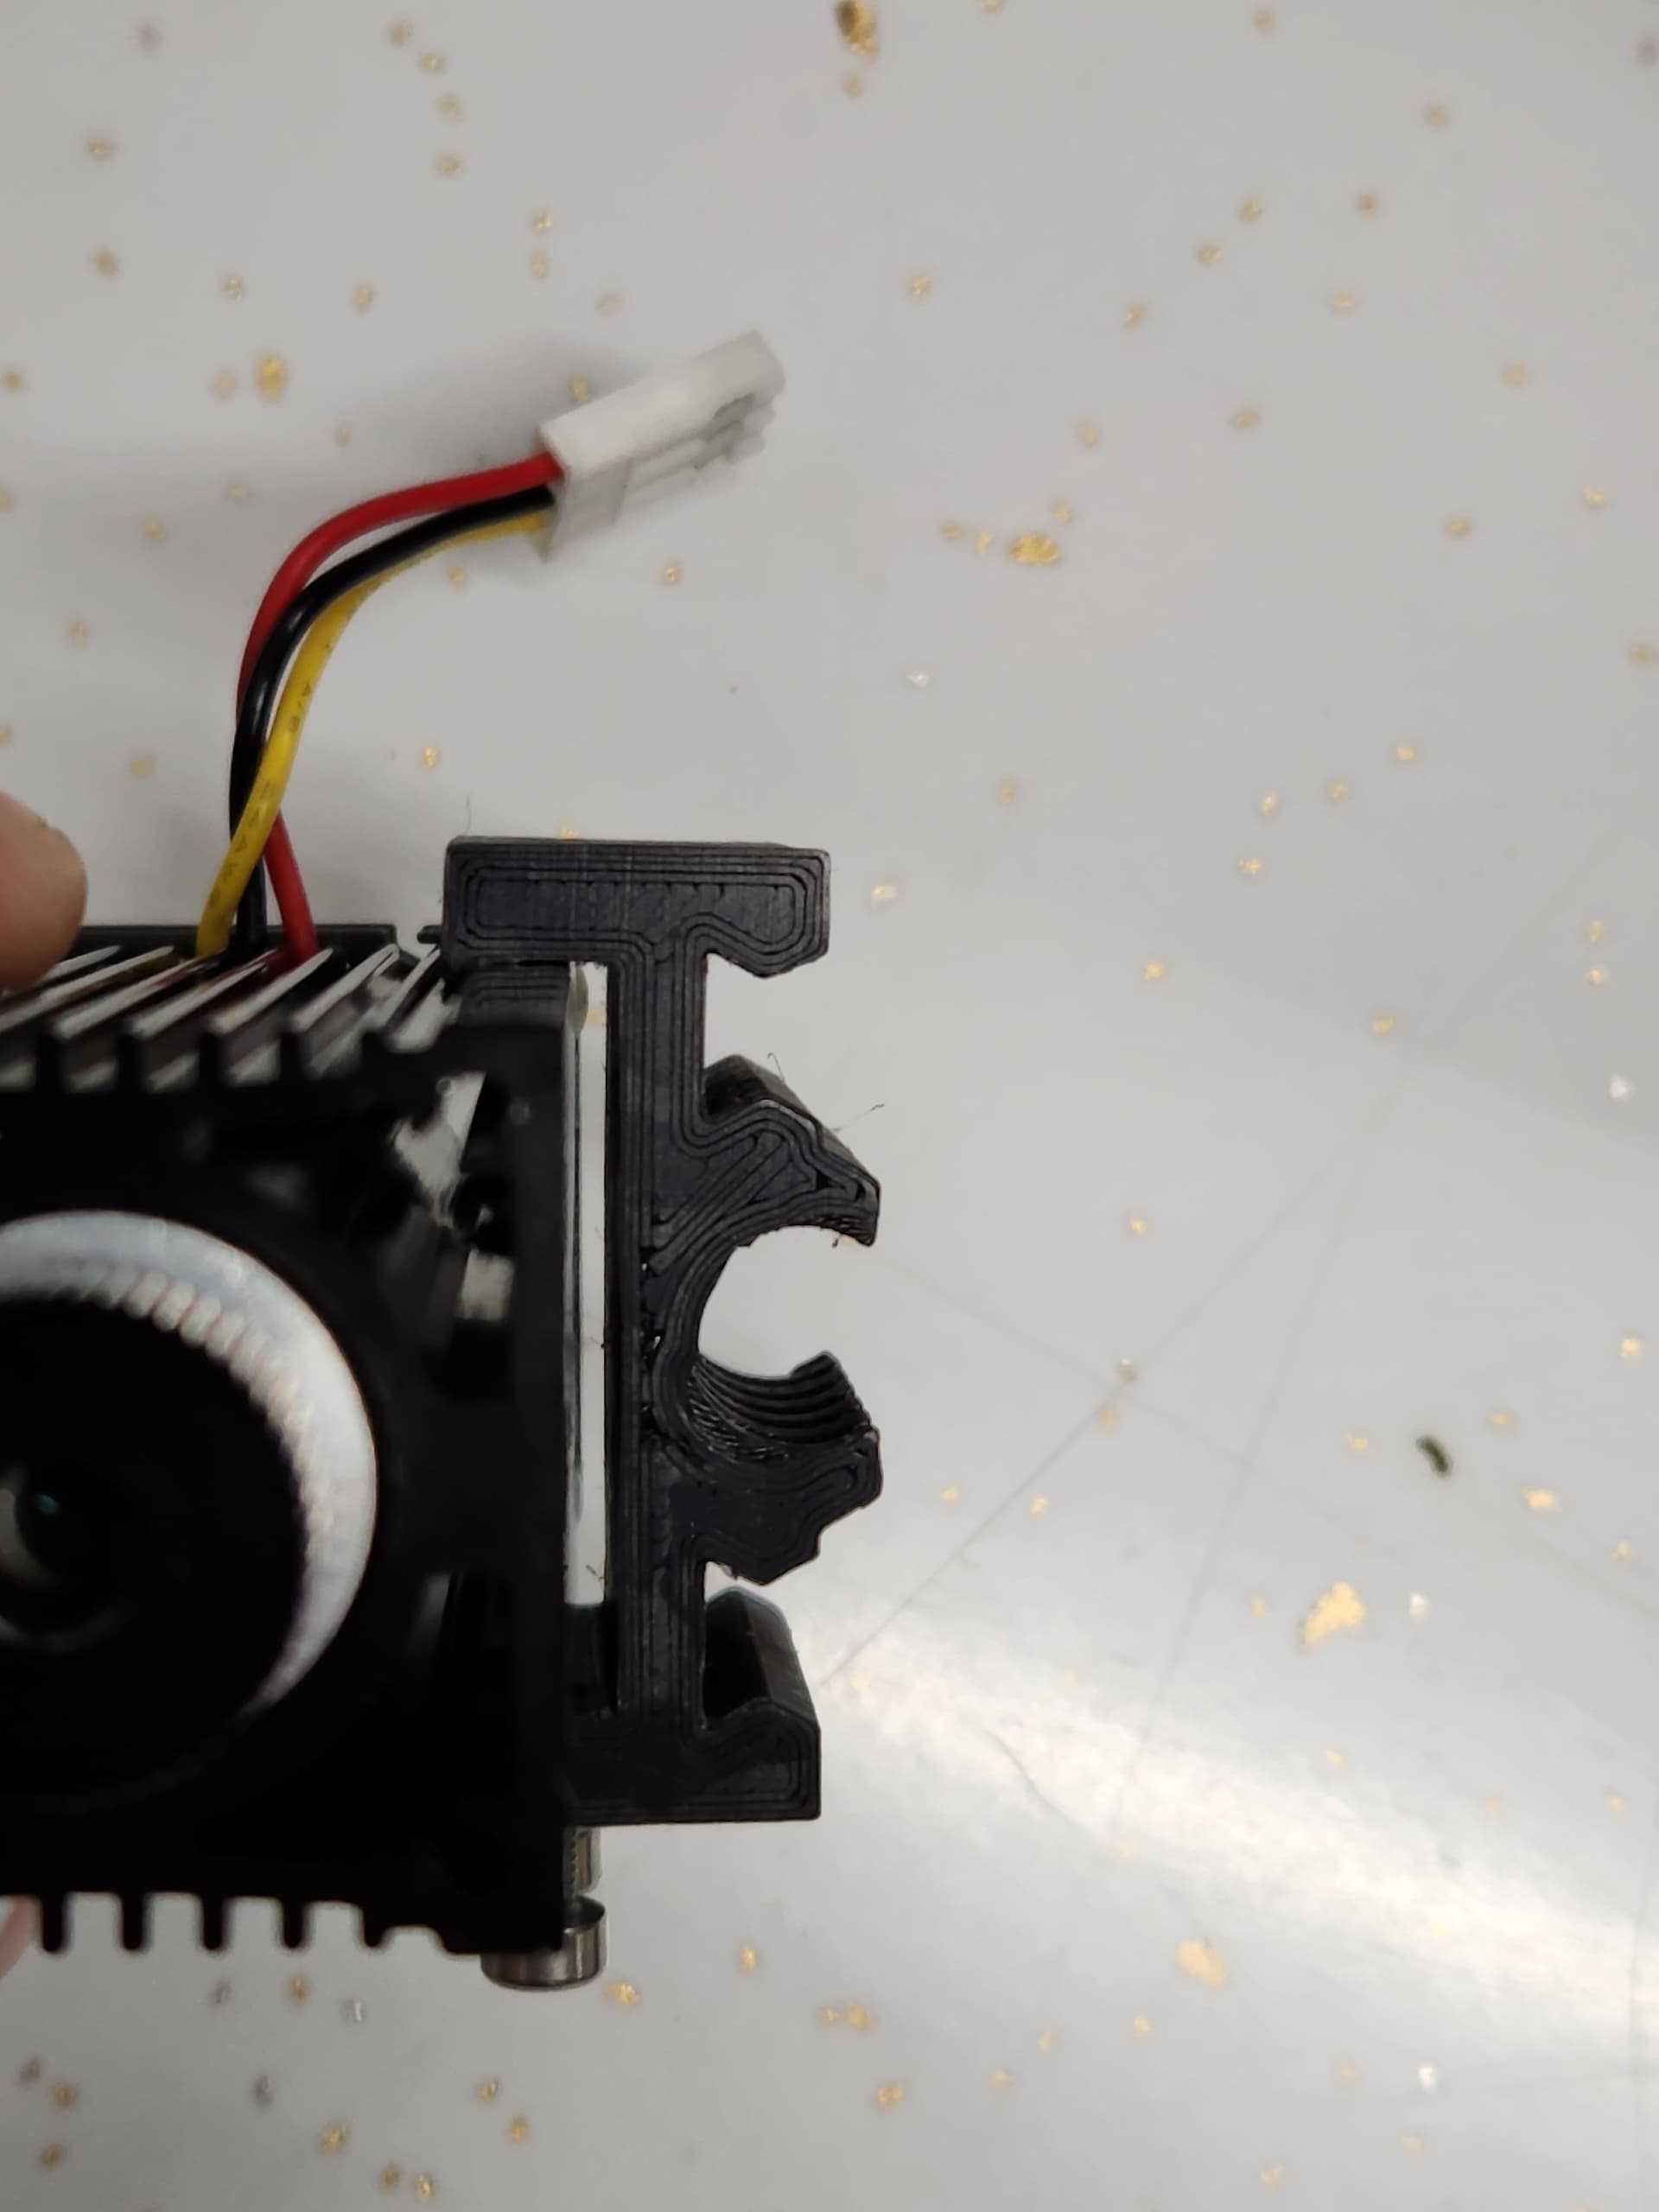
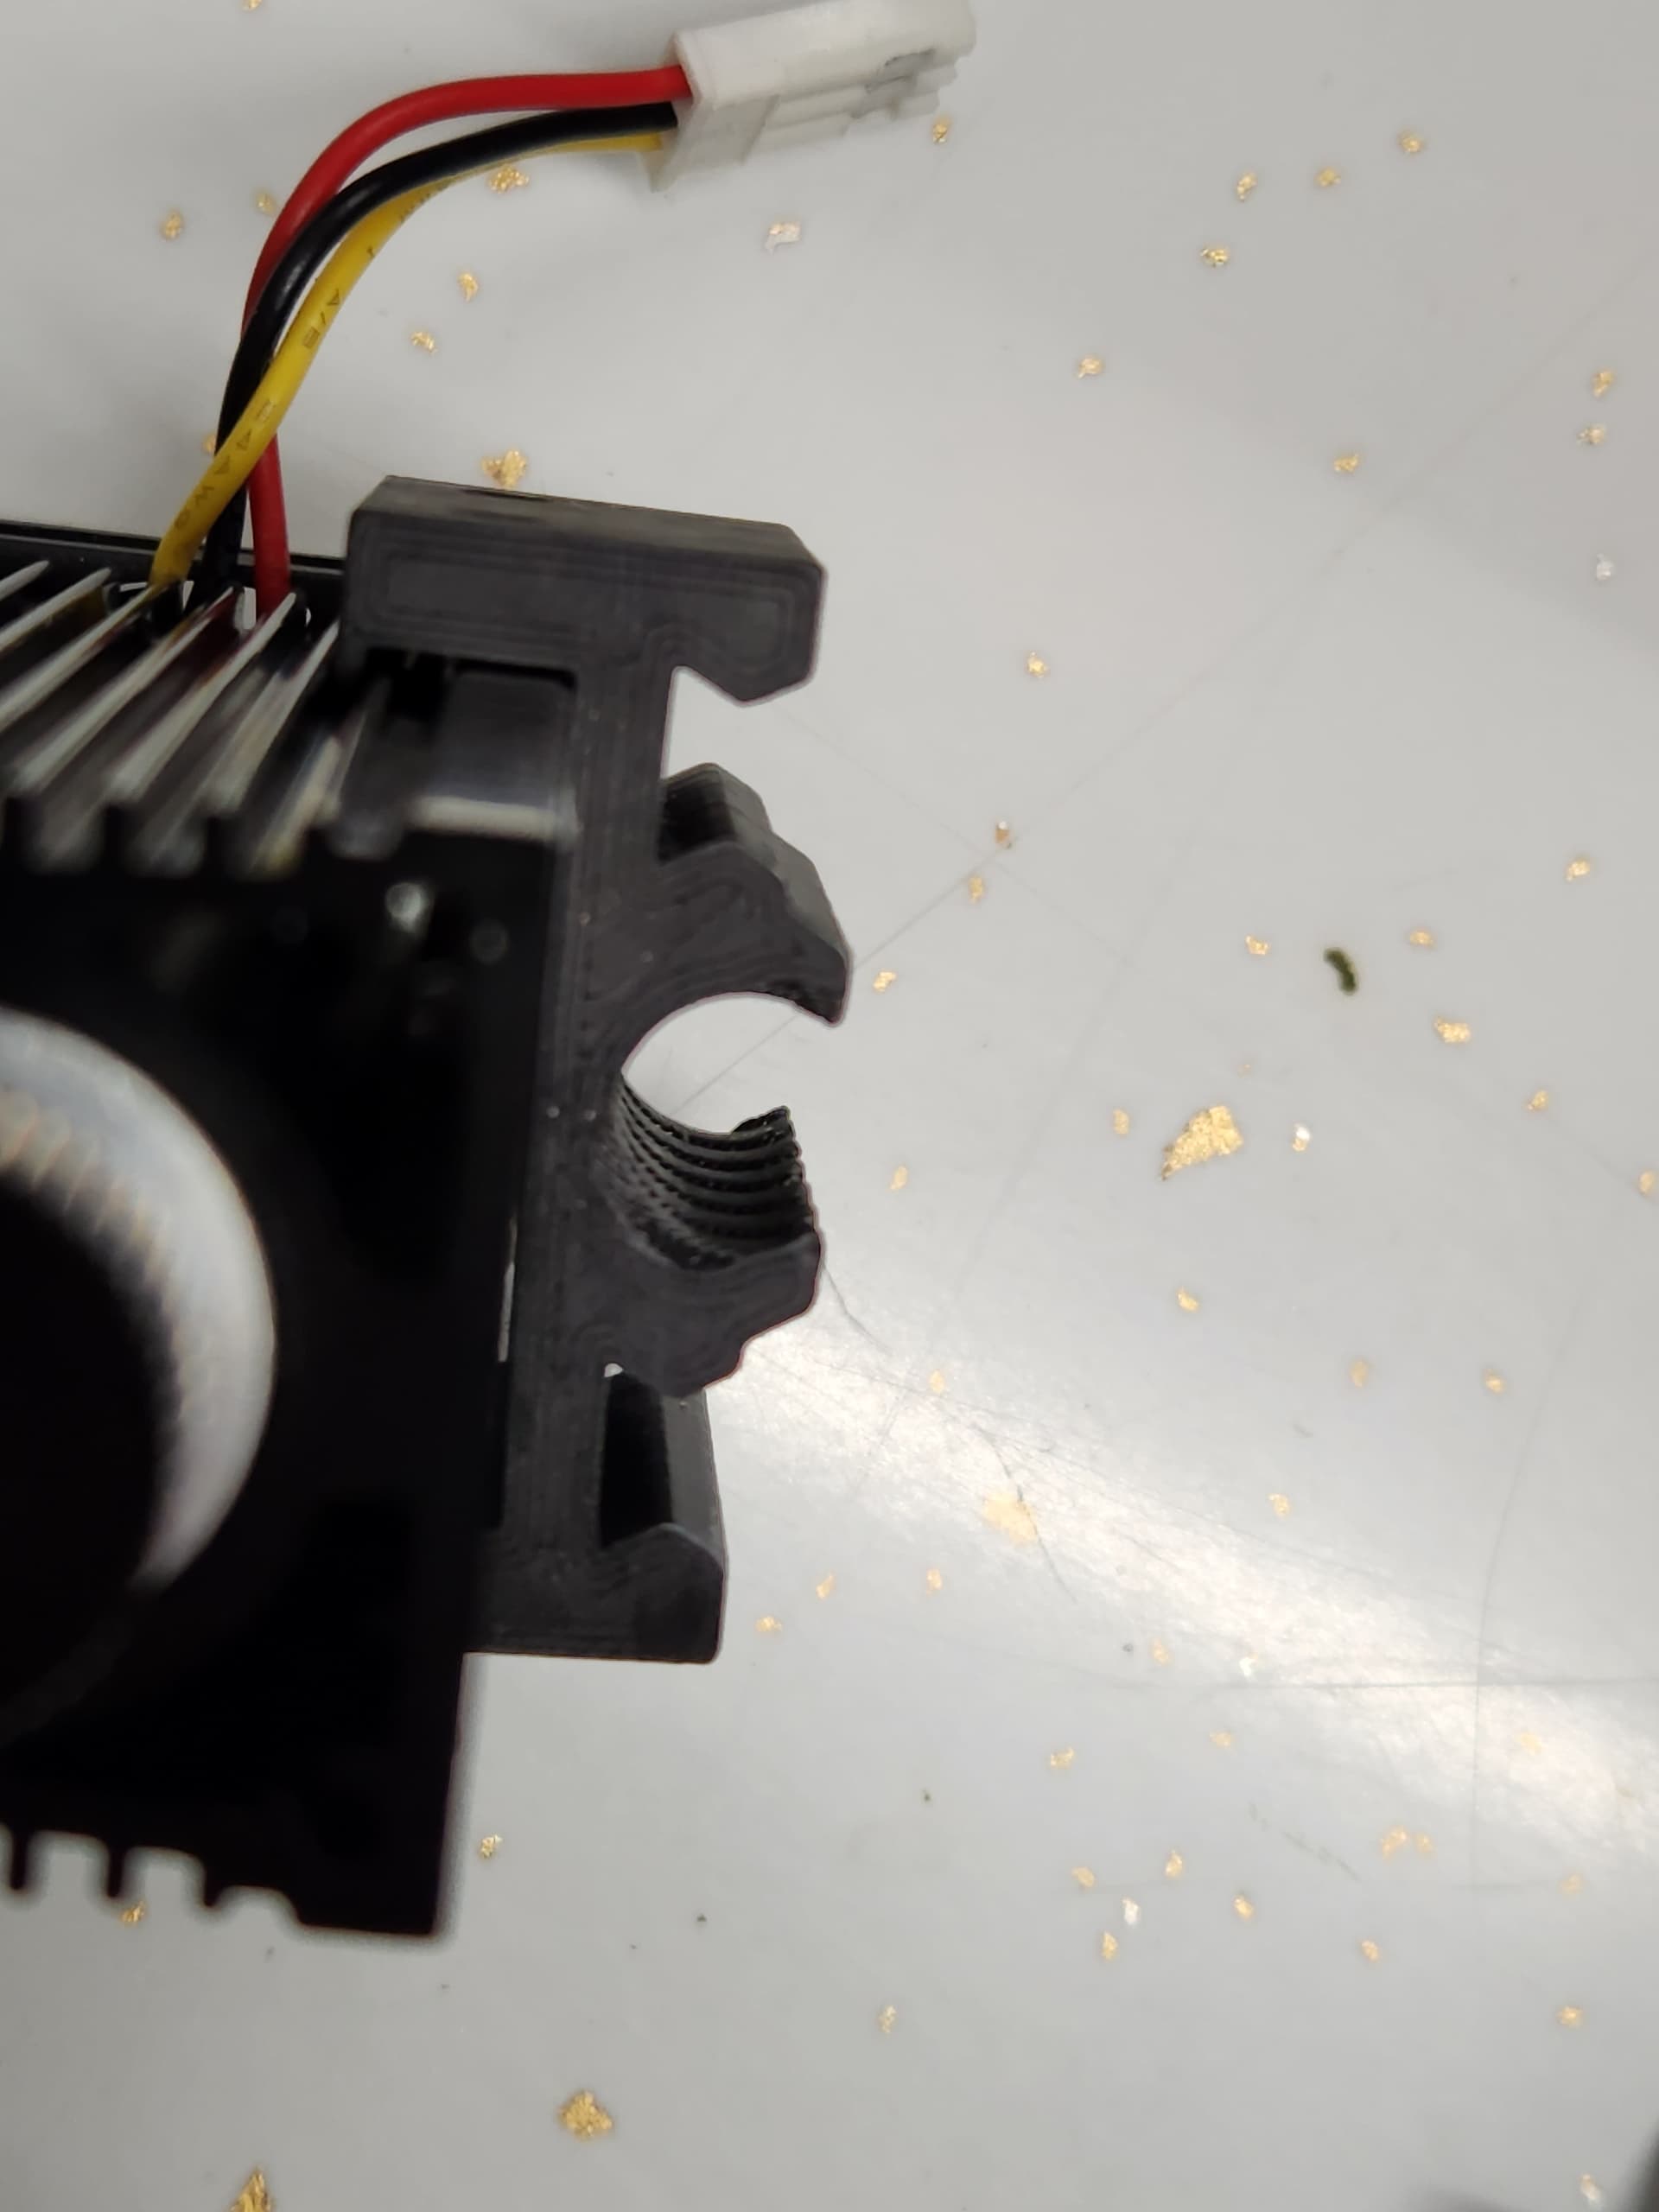
I printed and added the Z lift on mine. The carriage provided didn’t fit the laser head very well so I modified it to better align with the grooves. I’ll post the remixed part tonight for anyone else interested.
I also ran into the problem with the Y axis limit switch. If the laser is lifted up then it can home fine but if you lower it then it collides with the rails. I decided to just move the limit switch out 20mm to accommodate for the increased thickness of the Z lift. To do this you will need to replace the existing screws with M3-0.5 X 60MM flat head screws and then add 50mm long spacers. I made some printable spacers that I’ll add with the remixed carriage. This does decrease the cut size by 20mm on the Y axis but I’m a bit of a perfectionist who likes using homing so it was worth it to me. I’m still waiting on the screws to arrive but I’ll post how it works once they come in tomorrow.
I ran some initial test before adding the Z lift and I’m very excited to see what I can do with this little thing.
You can reset the max travel for X, Y, Z with $130, $131, $132 respectively. You’ll want to set it a bit lower than the actual physical travel so that you don’t bump and lose steps. On my Burly, a .1 mm difference keeps me out of trouble.
I rely on the documentation at the grbl/gnea github when I need to check the available parameters.
On my grbl systems (running on an Arduino/CNC Shield stack in a K40 laser and MPCNC Burly), all $ command settings are automatically persistent, and do not need to be reset upon reboot. This is one of the things that caught me off guard when first using grbl after learning Marlin. I was used to have to reflash to set bed size, etc. and did a little happy dance when I found out that was not needed. The only things I’ve had to re-flash grbl to change were to play with which axes are included in homing, and their sequencing. To start with, my lasser didn’t have a Z axis so I had to adjust the homing sequence to not try it. Later, when I added a Z table, I wanted Z to home first (to be sure it was at a safe height before X or Y moved). I was able to do this pretty easily following the self-documentation in the grbl source files.
Looks like they have another vendor with them in stock for $89. 9 left as of this posting. Also, according to the “about” it’s “The ideal gift for your lover!”. So keep that in mind
The travel limits are ignored during the homing sequence on the GRBL firmware posted by David for this machine. According to a post above by @rmarino there is something specific in the homing sequence that will require a modification to the firmware.
@ijustlikemakingthing: I would appreciate the remixed files - my printed carriage seemed to fit fine, but I’d like to take a look at what you did.
Also, any chance you can post the output from $$ ?
No matter what I tried with the travel direction and homing masks resulted different issues.
Setting the Soft Limits ($131=270) didn’t help because if you tell it that you are homing to Ymax once it touches, it thinks it is at Y=+360 and throws an “out of bounds” error.
Replacing the Y rails with some that are 90mm longer crossed my mind (I think a 1 meter 2040 cut in half would be long enough), but I kind of like the compact size as is.
The other thing I have considered is swapping the X and Y steppers. That would mean the laser was moving on a “Y-Gantry” across 2 longer X rails, but it would fix the mirroring that I get homing to the corner where the controller and limit switches are. (The shipped dual Y motor configuration appears to use a single driver and port with either a series or parallel wire harness - either way the wiring should be interchangeable.)
Rebuilding the firmware is an alternate option and someone is working on that, but so far he has been unable to flash it through the USB port. Adding a programming header looks pretty straight forward, but probably not any easier than any of the other options.
Same here, especially the “I don’t know what I’m doing” part. But I did get it to work well enough. 0,0 is bottom right but I can live with that. I played around with the $23 commands and inverting various axis (axii?) using the $3 = X commands unitl it homed on the limit switches and parked itself at the home position as 0,0.
I did a lot of $3=X commands. I don’t know if flips a bit or if its an absolute value. (Does sending $3=2 twice mean the Y axis is in its original direction or inverted?) But it works for me, hopefully it works for you.
Here is the carriage remix and longer bushings for anyone interested. The original carriage left a gap behind the laser, the modified design removes the gap and provides a much tighter fit to the sides and the grooves. See below pictures for gap comparison. It’s wasn’t really a problem but I wanted to fix it since I could.
The value is a bit mask. X = 1, Y = 2, XY = 3. Sending the same command twice does not flip or change anything. Your value of 3 for $23 means you are changing the direction of both the X and the Y steppers. Your values for $3 and $23 are the same as Curtis posted above. These values worked for him, but they did not work for me. Maybe I did something wrong since GRBL is new to me.