First, this is an amazing upgrade. My parts for the burly have been sitting in a box for about a year and I dumped them all to redo them with the new 1" parts. Ryan, thank you for your continual work on this product/project.
I have run into a few issues with printing the new parts that I did not have with the first ones. This could be with the orientation of the parts on the plate, but I cannot see any other way than these could be positioned. The major item I am having is bed adhesion. With the parts having the recesses and slight fillet on the ends, without support material and a 4 mm brim at 0 mm from the part, I cannot get them to stick properly. I think that if this was flat like the originals there would be no issues. Without the supports, the finish of the bottom ressesses are just ok on my printer. Maybe time for a new printer.
I am using support material in all of the holes, when the parts are oriented on their ends, with the overhangs. S3D is recommending this in all situations.
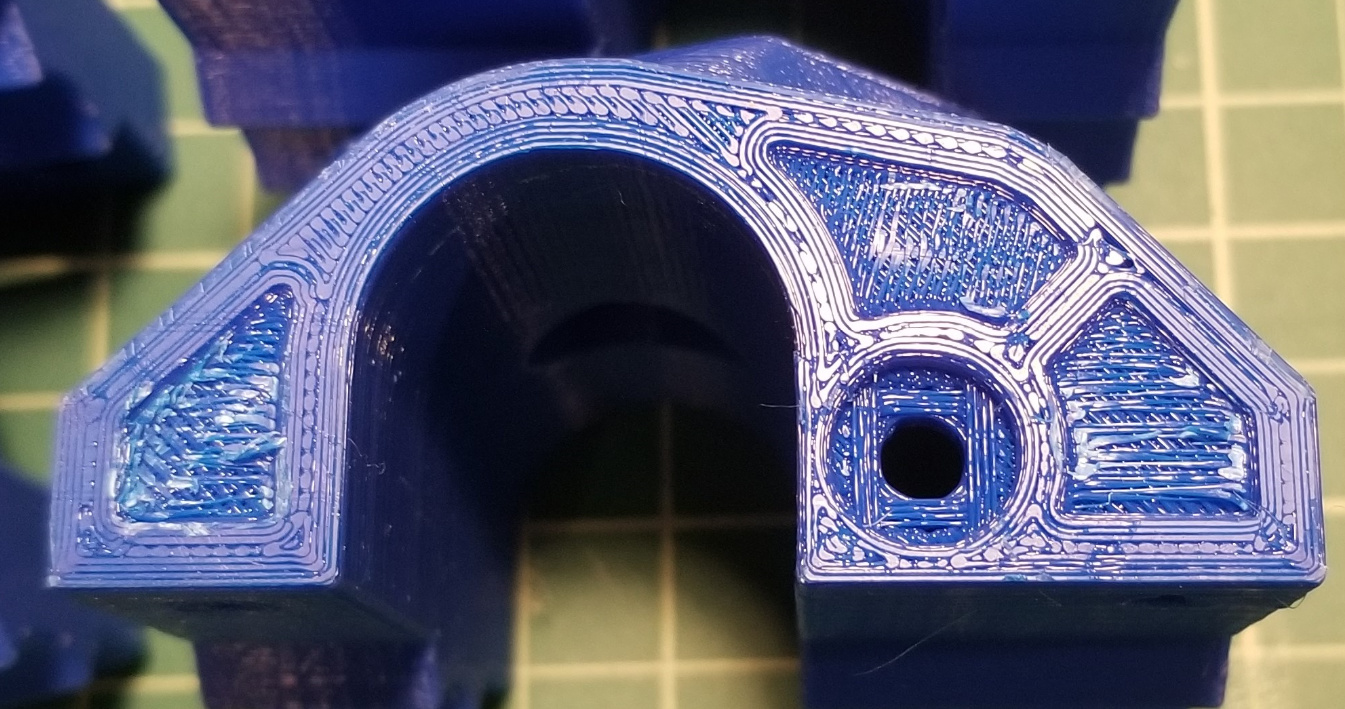
Outside of tossing the printer in the trash, which it should be, this is working for me. I know that Ryan said you should not need the support material, it is just not what is working for me. Here is an image of the finish.
I wouldn’t use supports, and I think the skeleton first layer might actually help with warping, but that is just a guess. If I was having trouble with adhesion on these parts, I would add a big brim. I usually use 5mm, but I have used 10mm before too.
The chamfer on the bottom also helps hide any elephant feet issues, so you can smoosh the Z in just a bit more 0.05mm or so. You won’t see the elephant feet, because of the chamfer. You will get really good stick though.
Jeff, Thanks for the note. I appreciate it. I actually tried doing it without supports, but did not have the brim that big. Again, terrible printer. It needs to be replaced. Even with good part cooling, bridging has always been a problem. As I continue to print these I will try adding a larger brim and no supports and see what happens. I have seen the pictures that Ryan provided and mine do not look that good. Removing the recesses is just an idea to help with this. Again, the upgrade is terrific and at 45% infill; these parts are incredible ridgid.
Overhangs like that are tricky to get “tight”. I think you need to have good part cooling, not have the temp too high, and have smooth extrusion. Your slicer also needs to have good overlap on the ends. It can’t be taking turns mid air.
I am convinced that no two thermometers are exactly alike. If you bump yours up by 5C, it will raise by 4-6C, but I don’t believe setting it to 60C is going to always be between 59-61C on every printer.
But I print 65C with HTPLA from protopasta. I wouldn’t necessarily use it for the primo. Because it is expensive and comes on 500g spools. I would print hatchbox at the same bed temp on my printer though.
Seconding Jeff’s comment on adding a brim. I was having the same issues with bed adhesion on the corner pieces (scrapped 2 of them.) On the most recent print I added an 8mm brim and no issues so far.
I second the brim, the 5 C bed temp bump and smashing the z down a little. I also suggest. Cleaning the bed with soap and water if it is removable and alcohol if it is not.
I have also solved PLA bed adhesion problems in the past by enclosing the printer. Cardboard box or some sort of tent like a photographer tent. Works well. Nothing too crazy because if you make it too hot around the printer the PLA will jam in the extruder from heat creep. With my fancy enclosure I close the doors all but a crack so it gets warmer than normal but not too warm.
I am using PLA, 60c for the bed and 220/210 for the nozzle. I am using the PLA+ from Inland Micro (Microcenter). I would use the ProtoPasta products, the HTPLA is great; it is the cost. I want to give them the business, but they are literally 3 times the cost. Do not get me started on the cost of 3d printing supplies and equipment that is made in the US. There has to be a way of getting the prices to come down.