A table! A table! My kingdom for a table!

So Jeff’s table build got me thinking, and it’s about time I did something with my MPCNC.

As it stands, I built it for a 25" by 37" working area, and it’s all sitting on a 3/4" slab of MDF, about 40" by 49" which is just sitting on top of an old kitchen table. While this works, it’s not the best arrangement, and I’ve been meaning to get to building a better table for it. This suffers from my classic syndrome of “It works, don’t **** with it.” I’ve lost count of the number of projects that got a temporary “Proof of concept” build that turned out to be a permanent build because it worked well enough, even if it could/should have been nicer.

Actually, a couple of projects that were done years ago that are getting a second look now that I have the CNC, but I also need a good flat assembly table, and right now the CNC isn’t it.

I’m faced with a couple options.

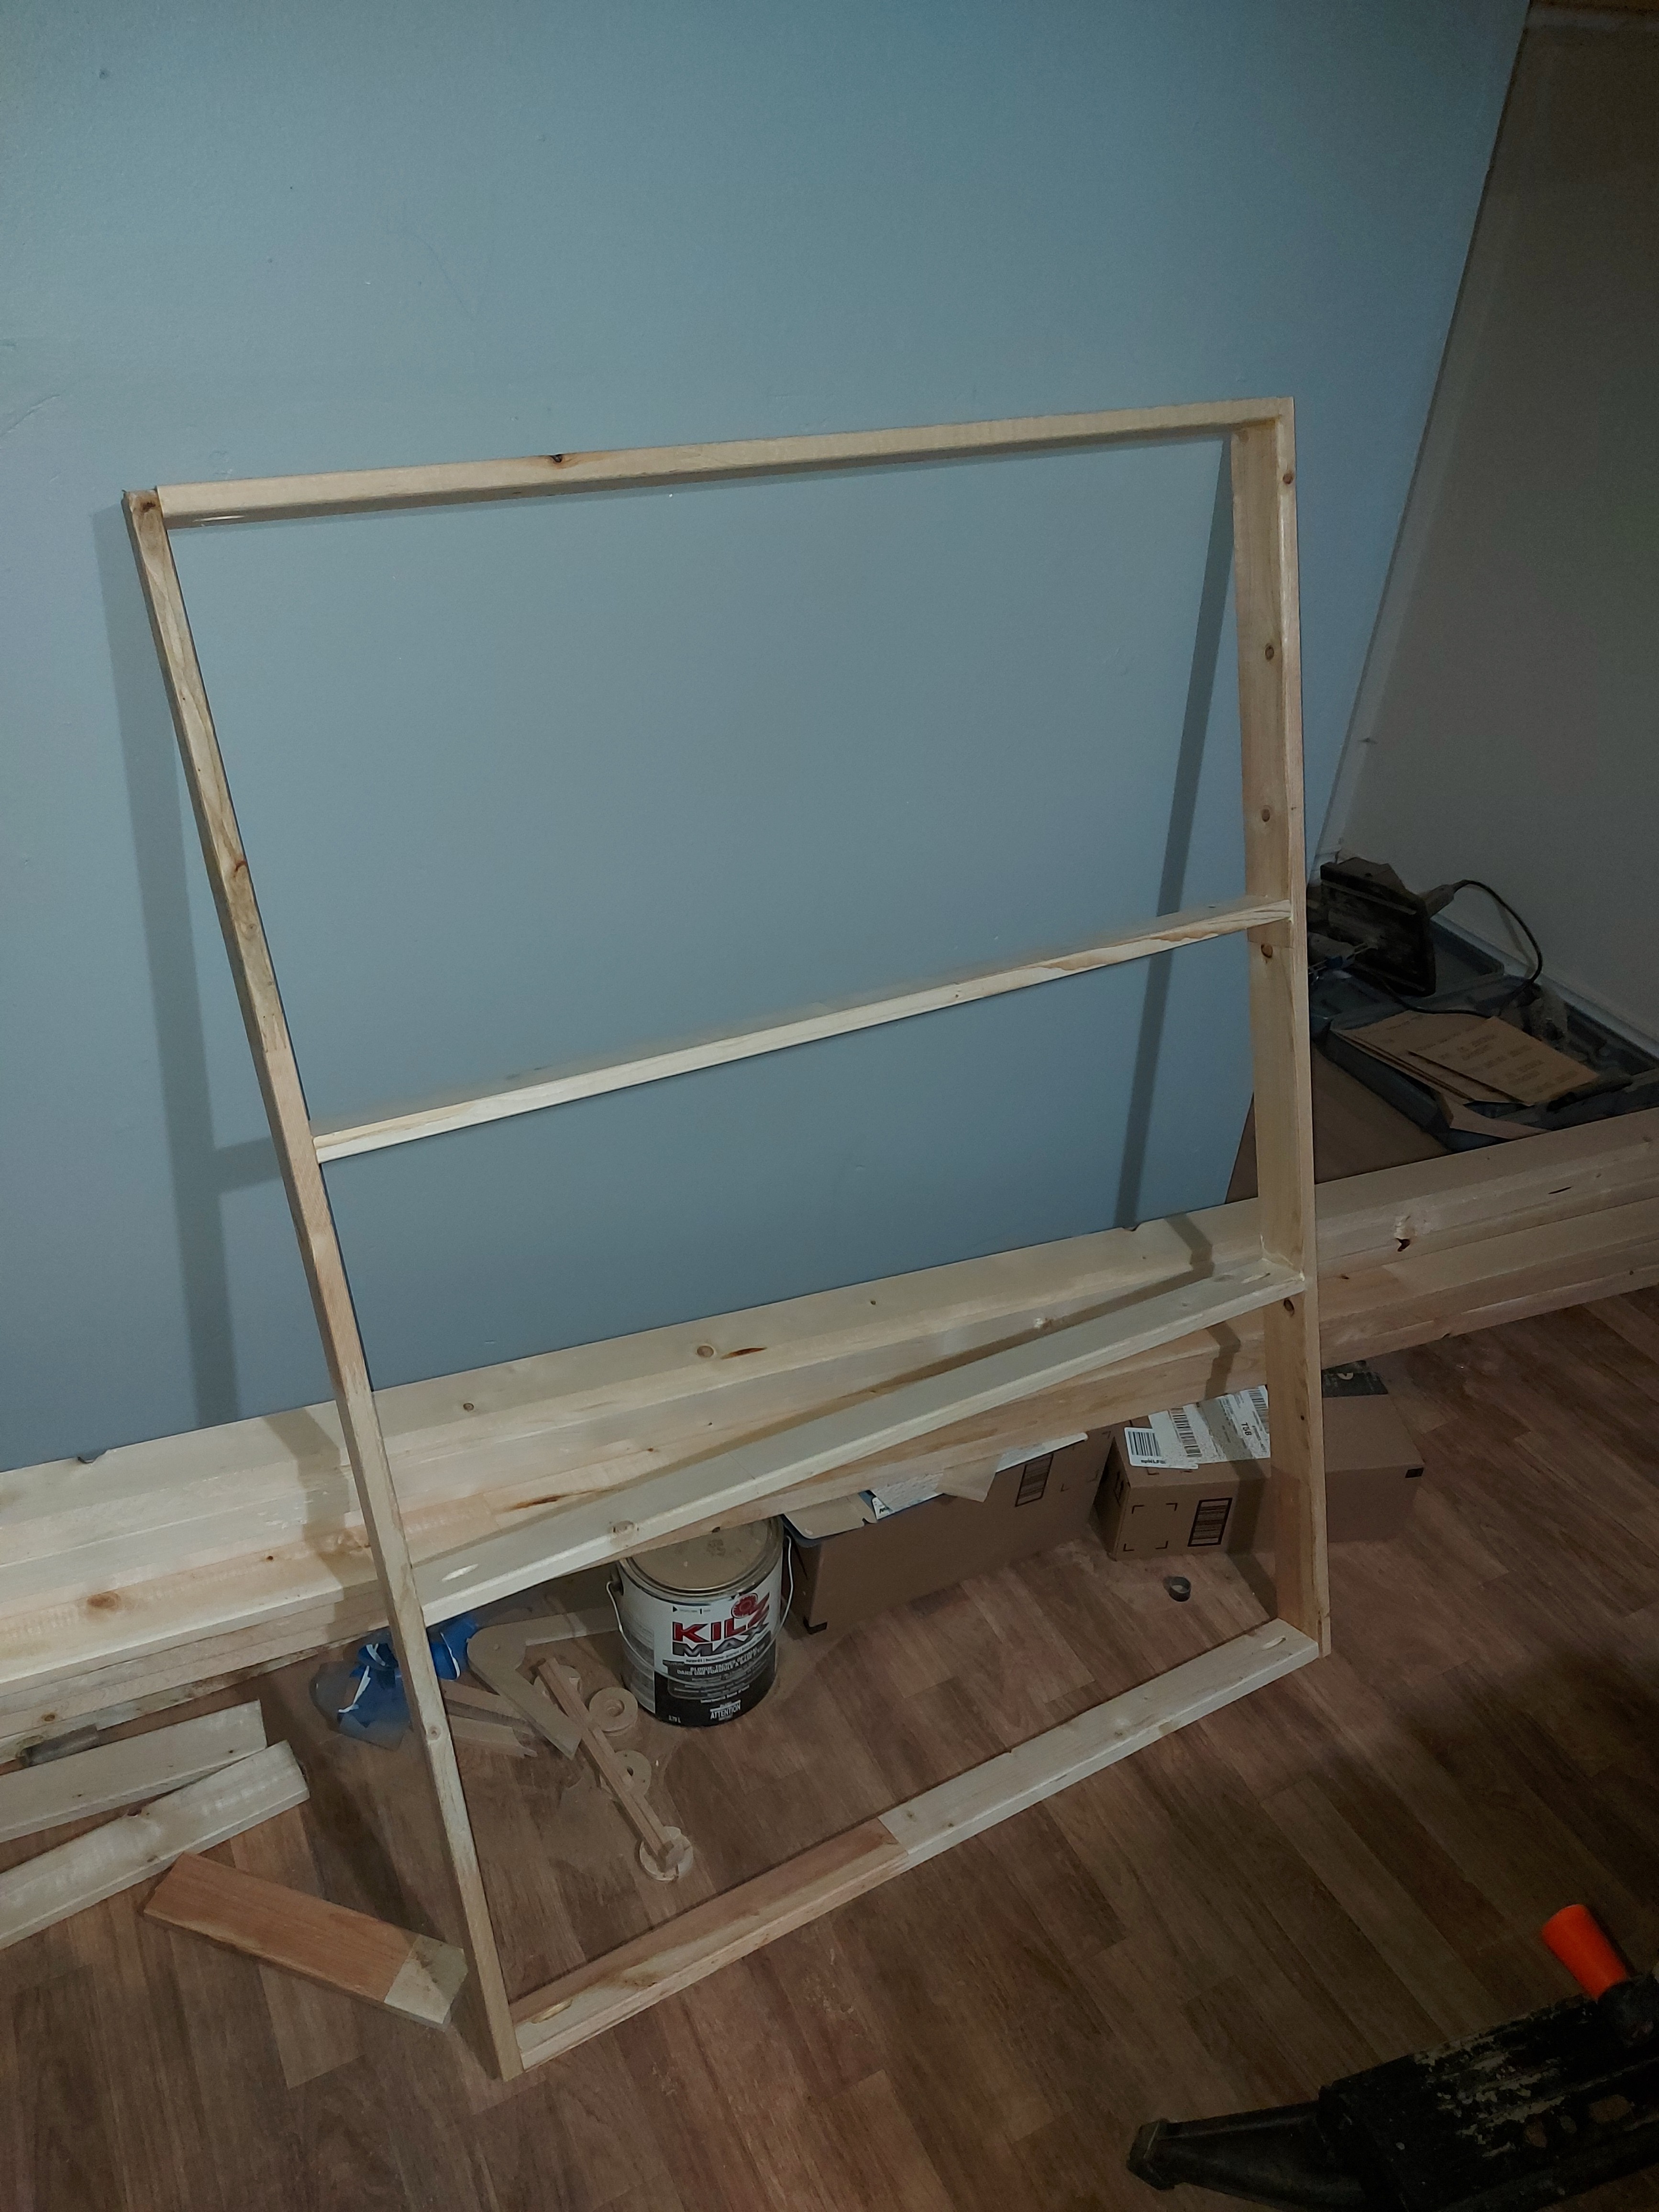
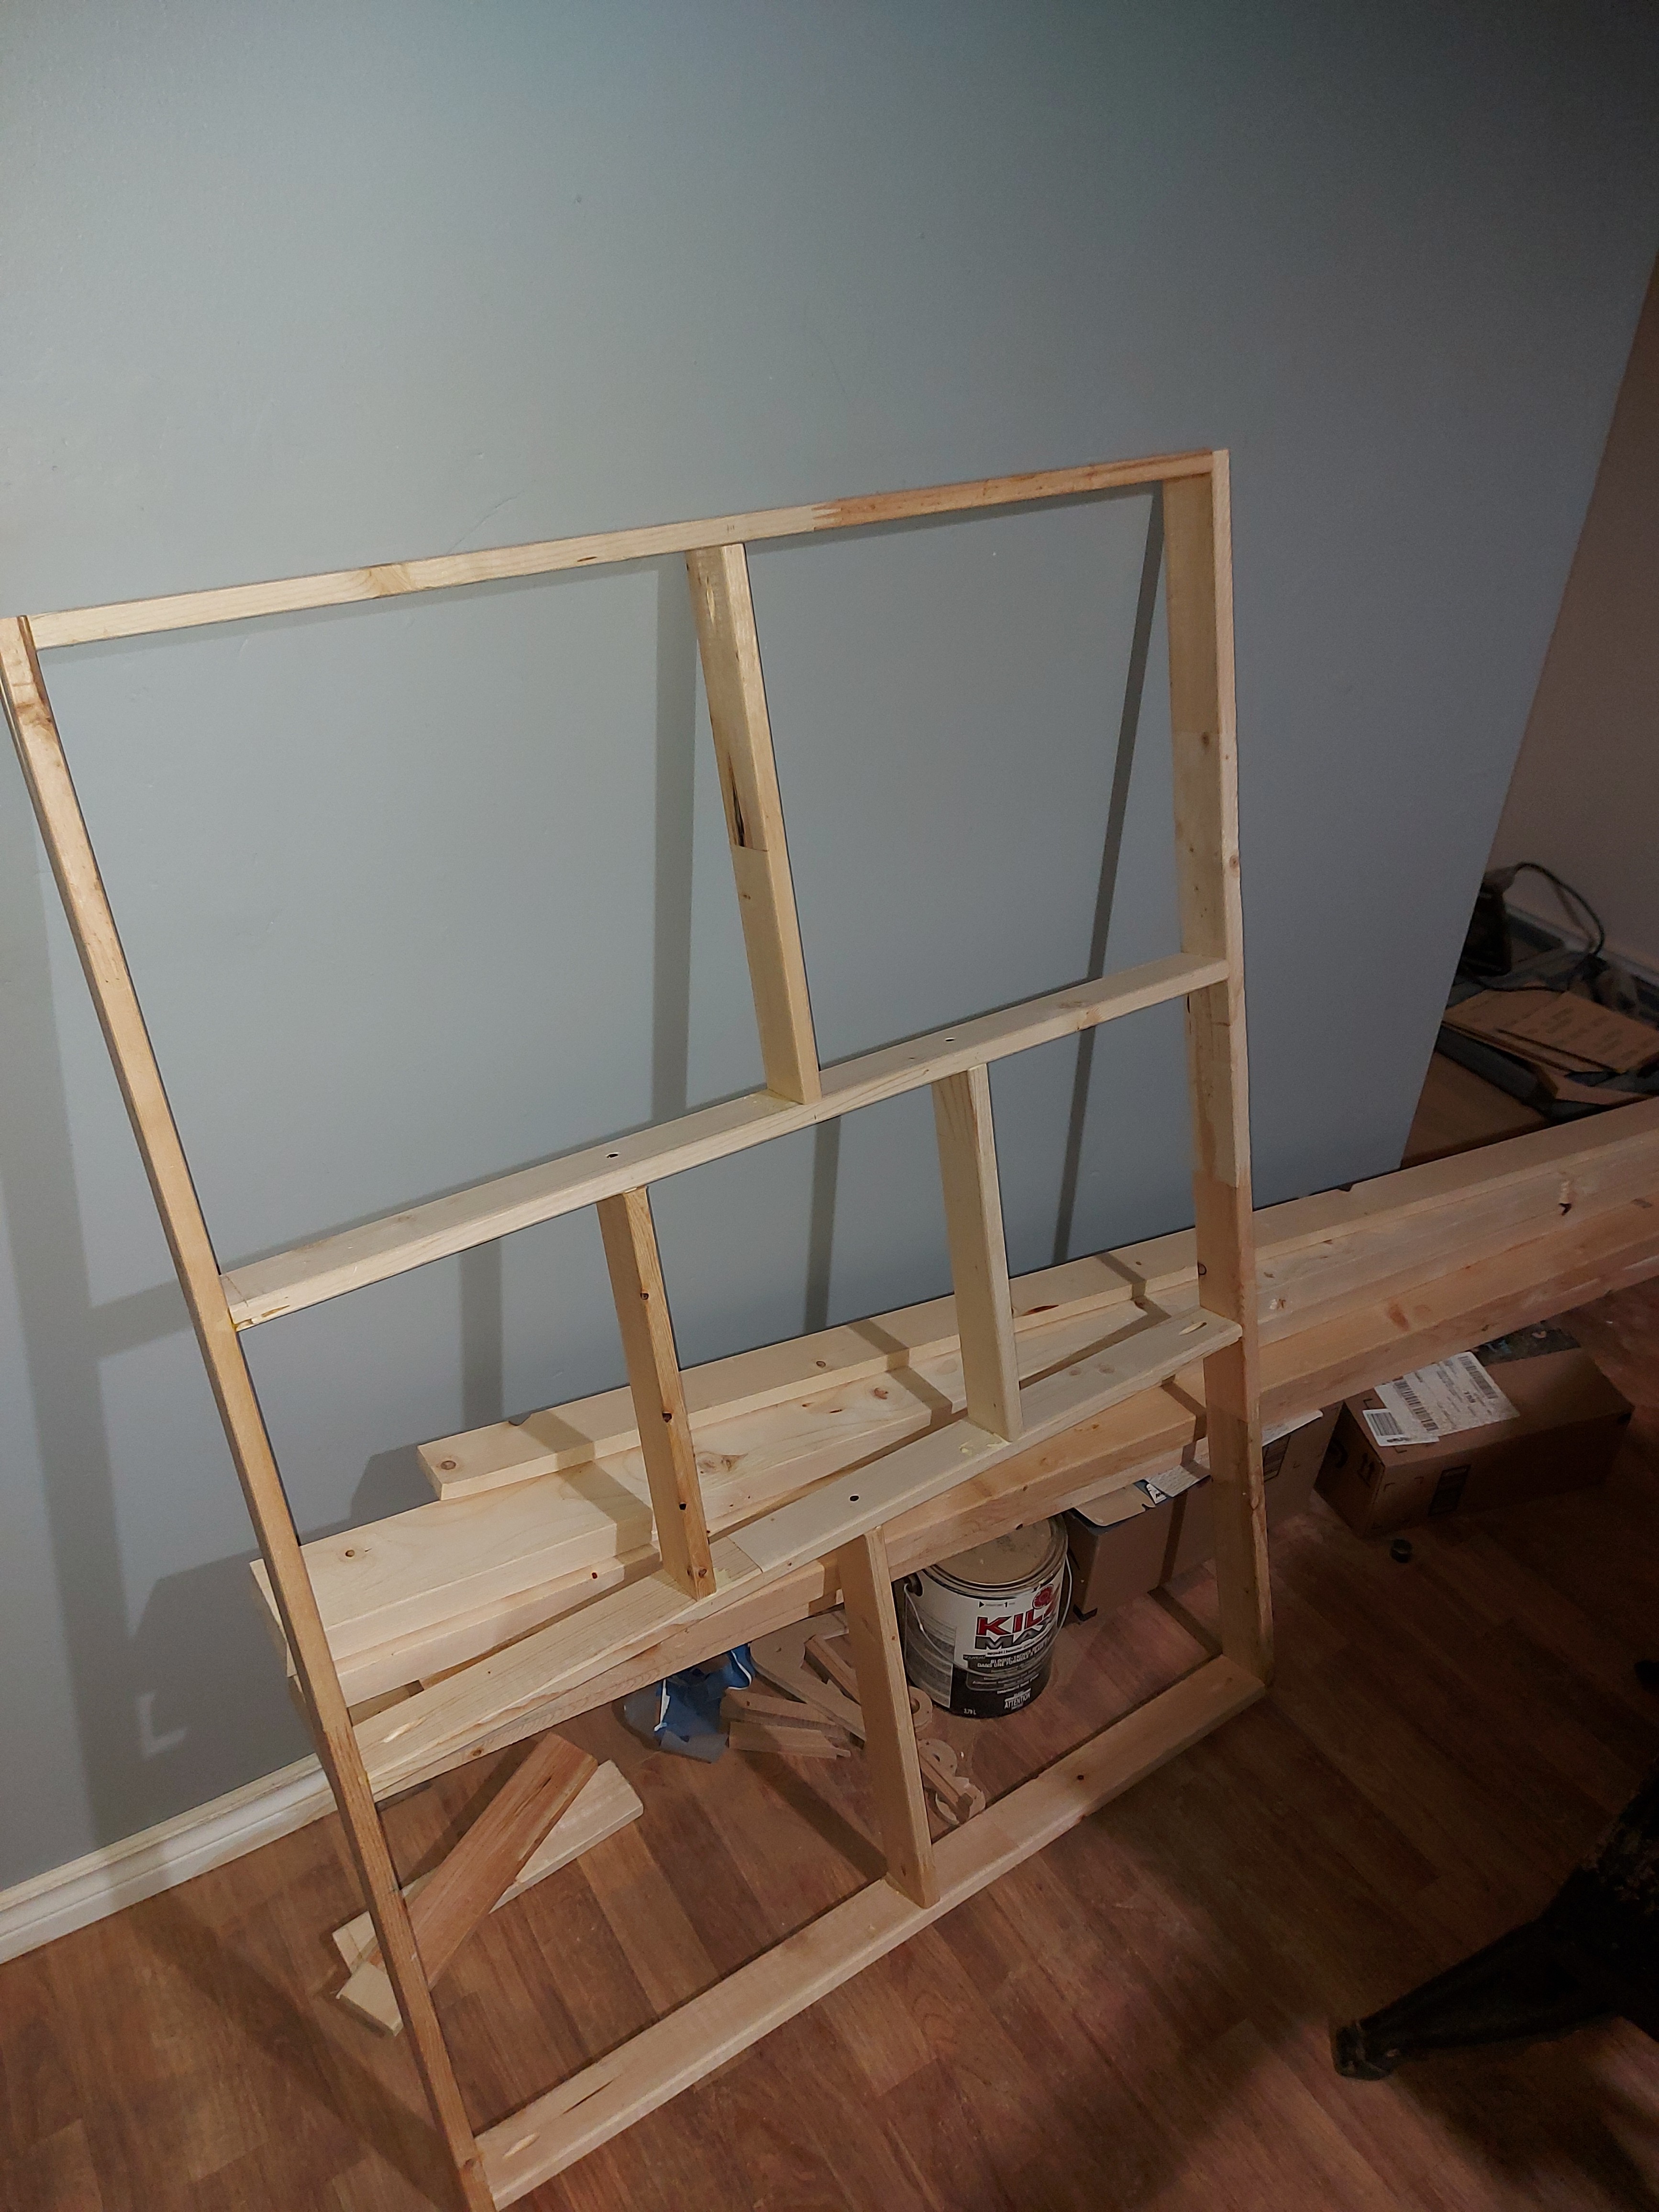
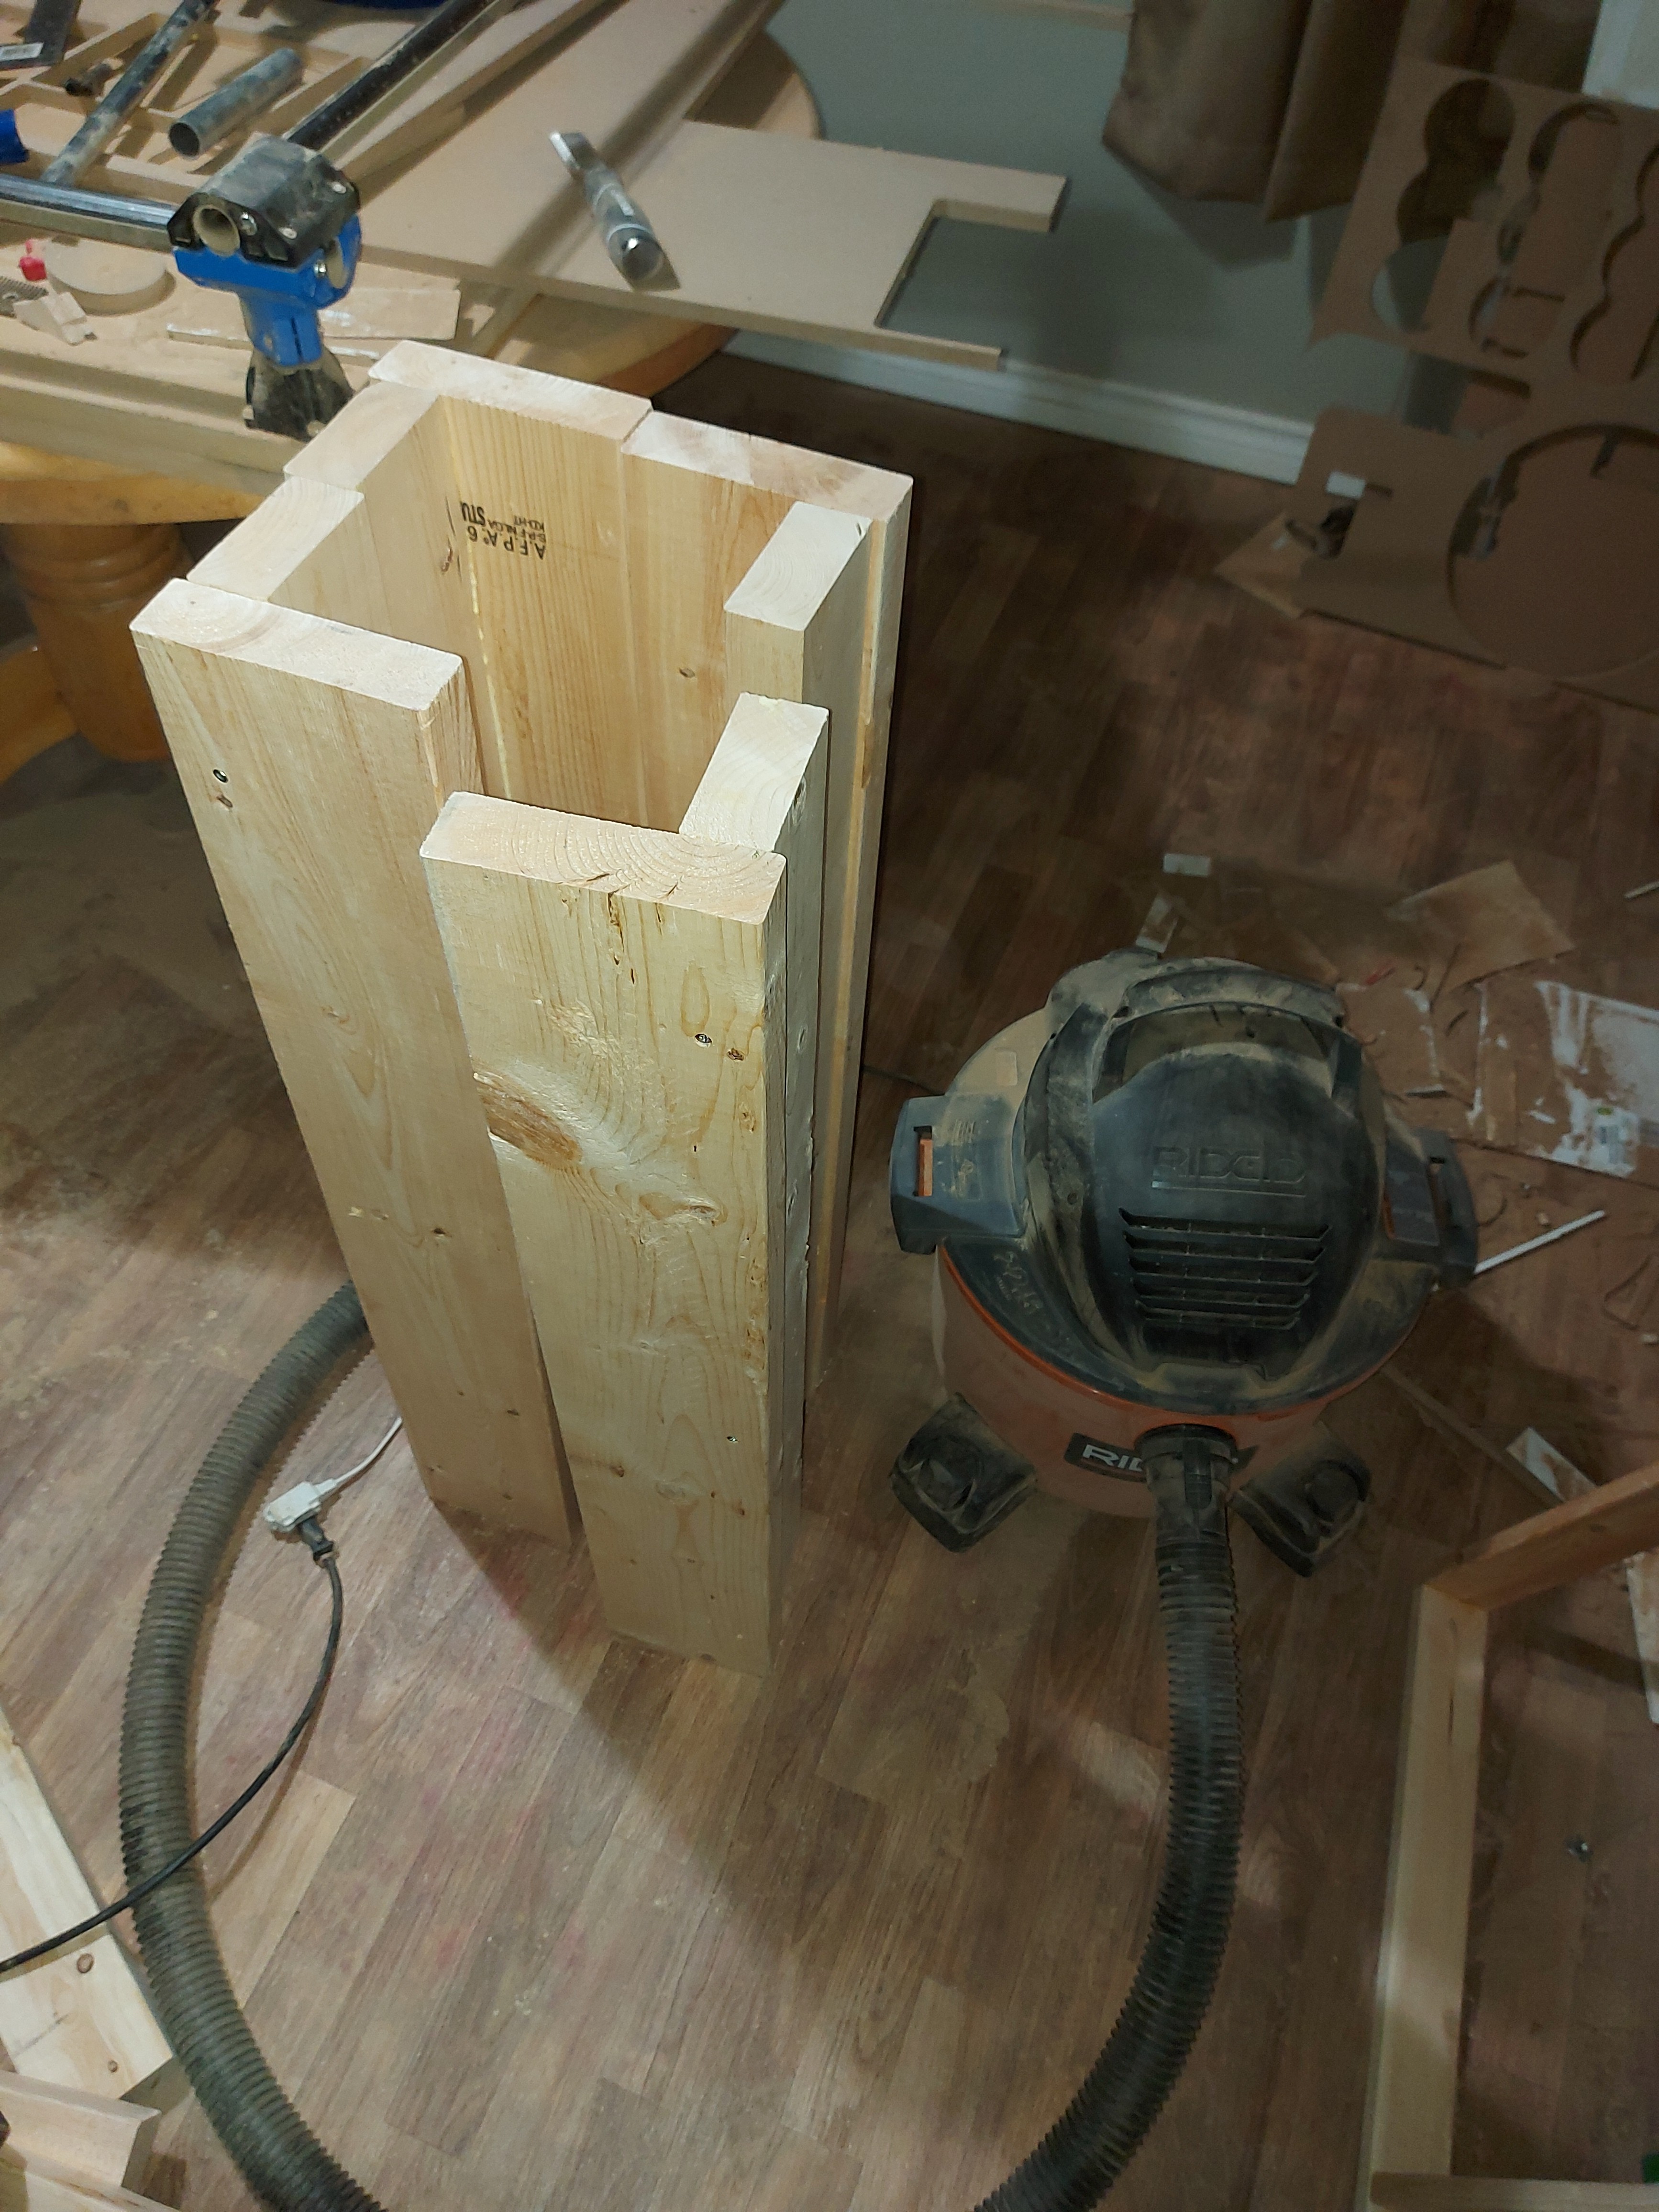
  1. Get off my duff and build the torsion box for the Primo. I have a sheet exactly the same size as the 3/4" base already cut, it just needs stringers and some glue, then legs. (I was thinking of using 2X4 and 2X6 corners, maybe height adjusters for levelling, or just make a wedge for one corner to prevent twisting forces on the box.

  2. Build a smaller torsion box for the Primo, reducing the work area down to about 18" square, and get off my duff and get started on a LowRider2. I have some materials earmarked for a LR2 already, including some 3" square steel tube, which I intended to weld for a table base, then I could just bolt a spoilboard down to it. (The steel frame would also force me to dig out my MIG welder and get that set up, lol.)

Of the 2 options, even though I do plan on building the LR2, I probably really should build the torsion box for the Primo regardless. The kitchen table WORKS, but it’s a bit low, and isn’t as flat as it really should be. (My plan for stuff that needs accurate Z depth – like my Zen table bottom layer – has been to surface foam to the required size which makes quite the mess.) I guess I’m trying to convince myself to just build the box. I can use it as an assembly table when I resize the Primo. (More arguments to convince myself.)

I am thinking of making the “cells” for my torsion box about 10" by 12", so a grid 4 by 4. It would be nice if it wasn’t too heavy, but it’s going to be MDF, so it’s not going to be lightweight. Some mass will help keep it stable too, so that’s not really a terrible thing.

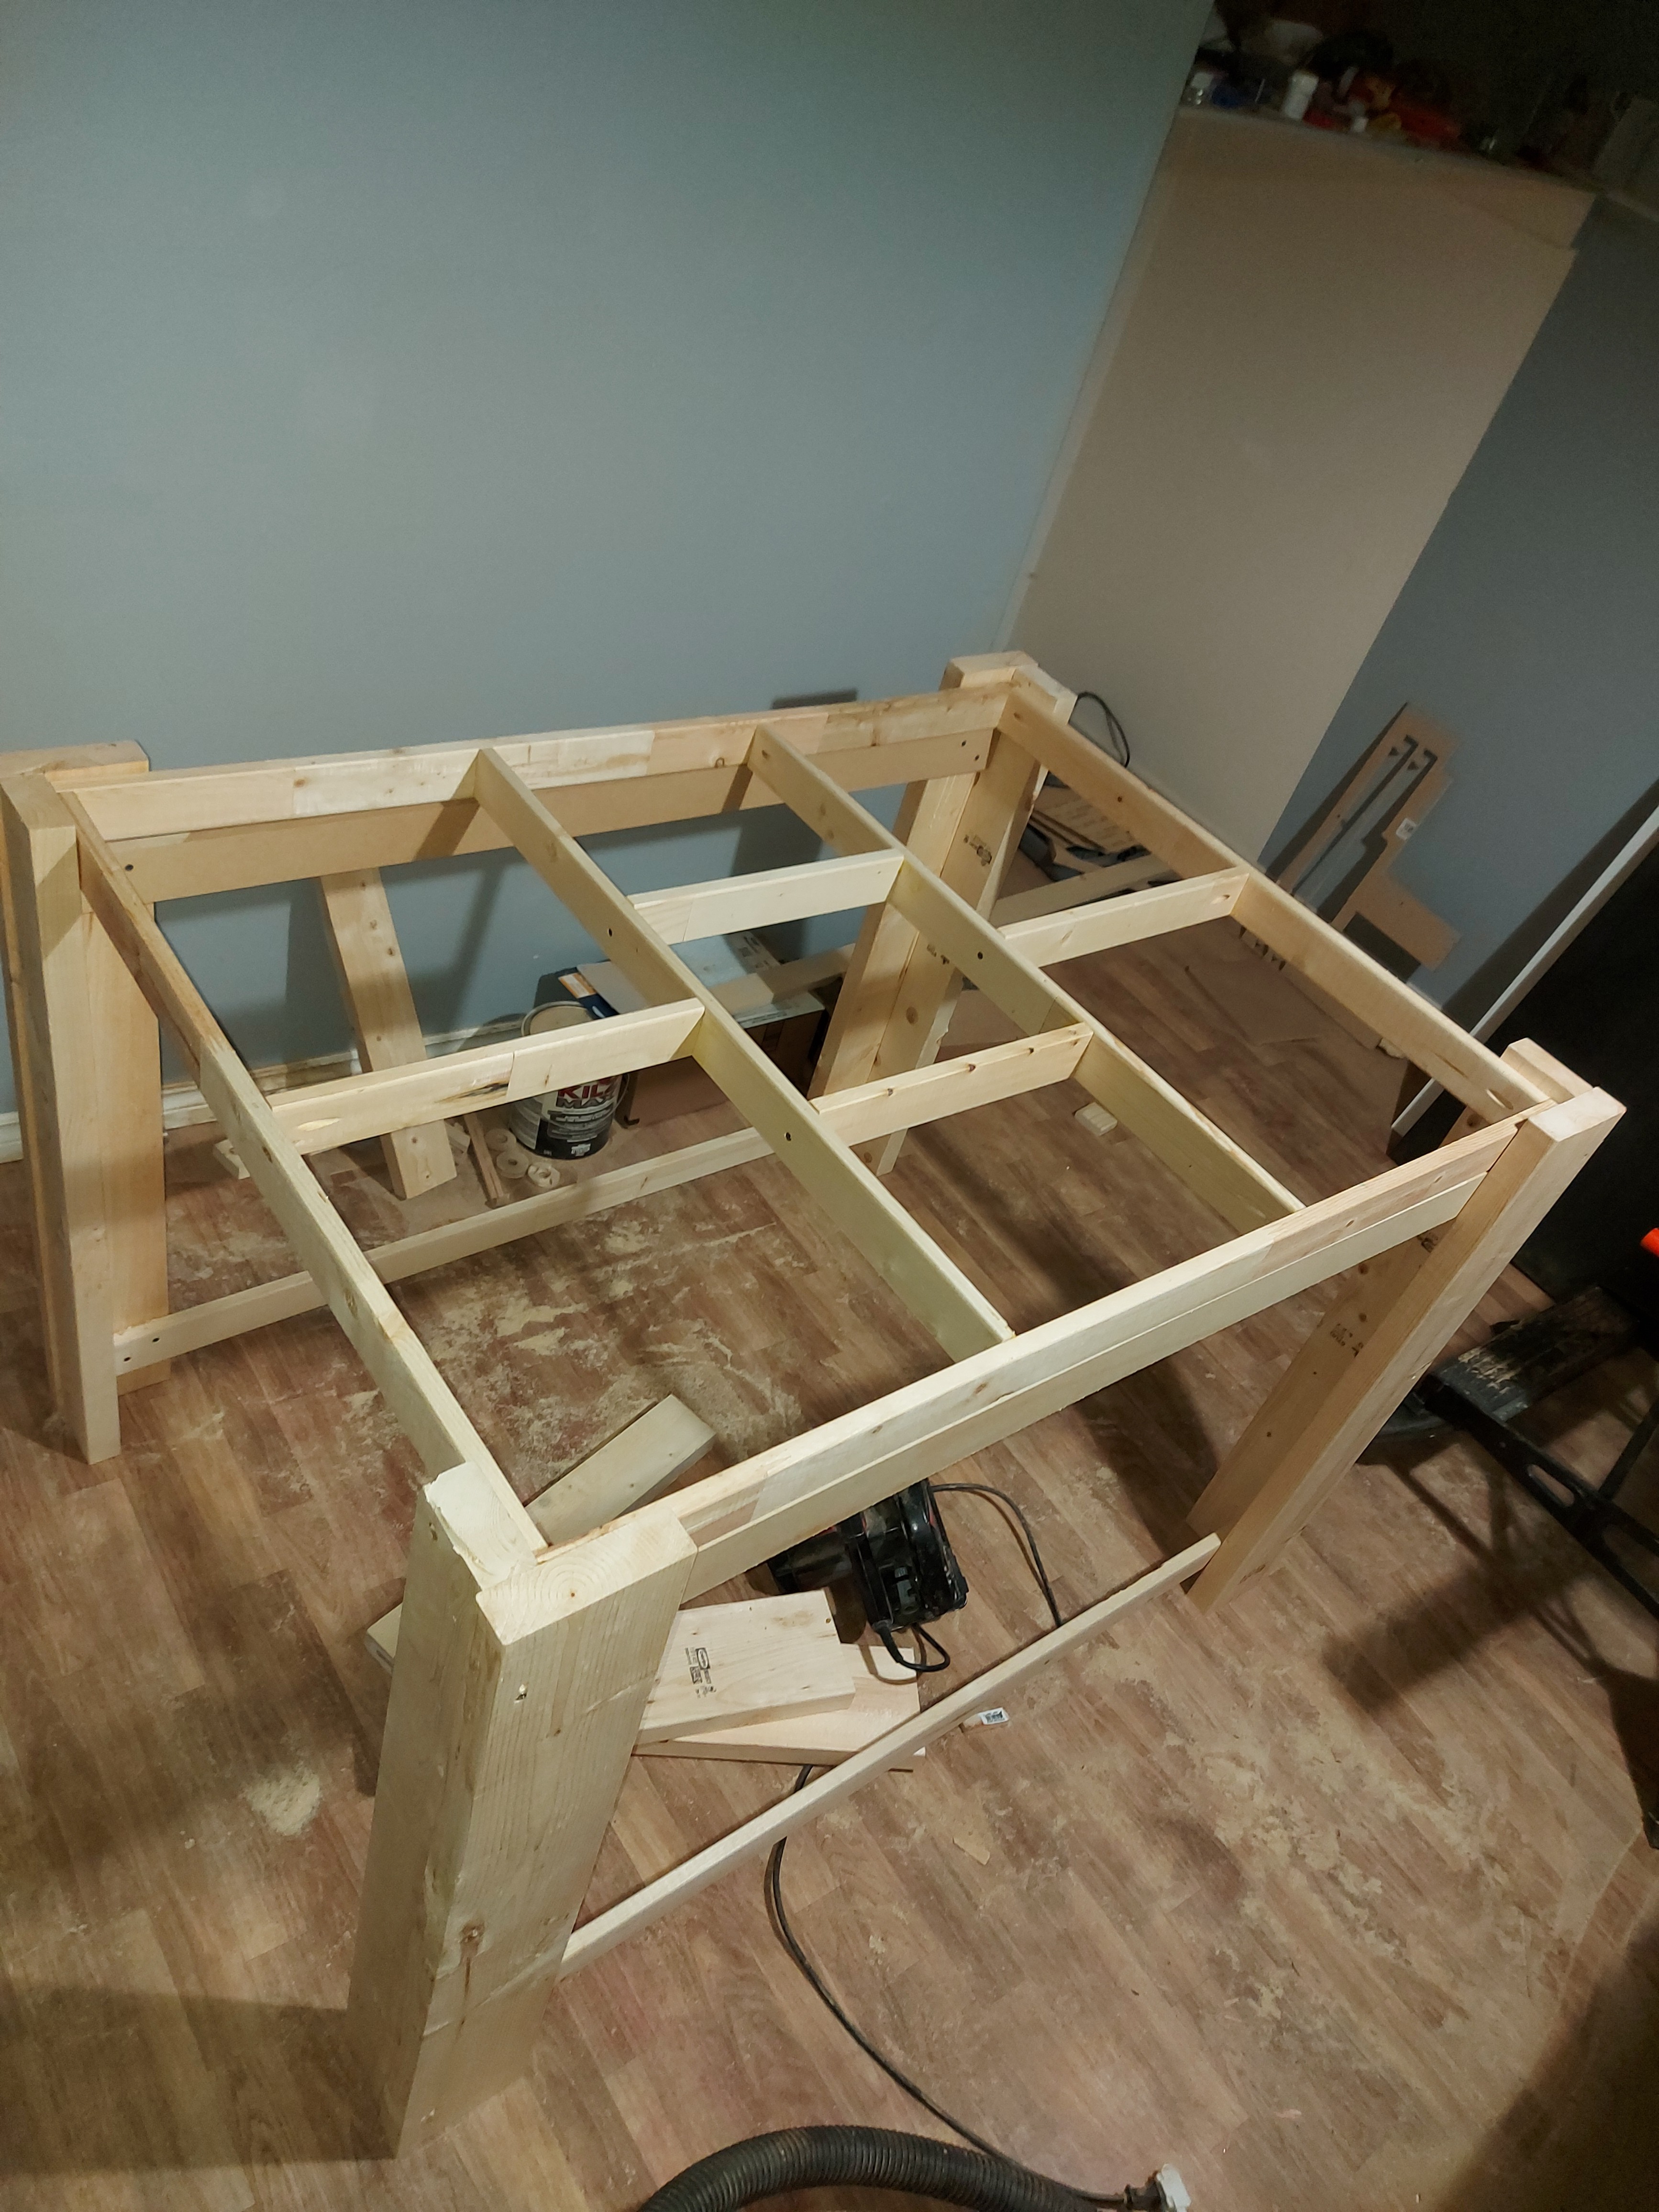
Eventually, it needs to be possible to take it out of the room.I suppose I could leave the legs so they can be unscrewed, but maybe making a structure so that the torsion box sits on an under frame would be a good idea. That’s kind of the plan anyway, to have under table storage, and borrowing liberally from @jeffeb3 a slot for the shop vac seems to be in order so that I stop stubbing my toes on it walking around at night.

1 Like

Well. If you’re looking for inspiration…

Then get off your duff and build the torsion box! What are you waiting for man? Move! Move! Move!

:slight_smile: Hope that helps.

Now… pardon me while I go back to contemplating a LR2 build for the 3rd time this year…

There’s nothing wrong with making a “minimum viable product” and then following your passion elsewhere. It is also nice to have a project to focus on for a few weeks and end up with something a little “over the top”, but if it makes you happy when you see it, then it was effort well spent. If it convinces you to visit the shop instead of the couch, then all the better.

Building the torsion box for my LR was fun. I was pleasantly surprised at how little work it was, and how strong it ended up being. Mine is 60" long, and IIRC 30" wide. I only have two long pieces of 3/4"x3" and then 5 stretchers (So that is 15" on center, basically). I only have 3/32" masonite on the top, stapled in place. The stretchers are held with screws and everything was regular wood glued. After it was dry, I propped one end up with a tape measure (the whole thing is very light) and put a 50lb vice in the middle. I didn’t see any sag with my level.

I guess I am saying, 10"x12" might be overkill. And just making a box, with 2 internal stretchers might be enough to get a very solid MPCNC bench.

I have also always liked the idea of making a basic lattice structure under the spoil board, and then using the CNC, level the supports with the bit, and then attach a spoil board, and ideally, it would stay perfectly trammed. IDK if it would work in reality. But I like the idea of getting a surfaced spoil board, without making 5 pounds of MDF sawdust and without spending an entire afternoon hoping it doesn’t mess it up.

I definitely wouldn’t shrink the MPCNC until you at least have the LR. I am also not sure if it is worth keeping the MPCNC once you have the LR. Honestly, one CNC machine (of any variety) gives you so many options that a second doesn’t seem to add much. Unless you are doing lots of work (or your CNC has paying work).

An assembly table (if you build bigger things, especially) should be lower to the ground, so you can comfortably get to the top of things while you assemble them. But we don’t all have the luxury of 10 purpose built benches :slight_smile:

1 Like

Ah, the purpose for shrinking the MPCNC is to improve its capability to do aluminum. I’ve been doing A/V gear and have had need of odd shaped heatsinks lately. I also plan to do more PCBs which don’t need much space, also the Primo can stay in the basement while the LR goes out to the garage.

Regardless, I wouldn’t change it until I have another machine running.

So now it’s a matter of strategizing.

Okay, I thought that 4 by 4 cells might be a bit much. I think I’ll go for 3 by 3, maybe 3 by 2.

The idea of using the CNC to make a level platform for the spoilboard is appealing, I don’t know that it’s easily applicable for me in this case because the machine is already bolted down. Maybe if I were willing to sacrifice the current base I could re-do it. That idea has some merit, though I dislike the waste of material. Not sure that I can use the primed MDF for anything else at this point… Well, I’d think of something. But that does change the whole strategy for building the torsion box. If I spend too much time thinking about it, I won’t get started.

I’ve already been delayed too long trying to teach myself CAD with FreeCAD. I have a feeling that I’m doing something wrong, a relatively simple drawing goes kaboom, and won’t constrain, then nothing but a restart of the program will allow even simple constraints. It got bad enough yesterday that on a fresh document, I drew a rectangle and when I gave it a simple symmetry constraint (Both top points symmetrical to the Y axis) it told me that it was conflicting. I had to delete my previous document, I just couldn’t save it, and trying to load it broke everything else.

Much as I feel that the writing may be on the wall for Fusion 360, I might go back to it to learn.

Trying to do up even a simple box in CAD and trying to do an assembly is so far beyond me. I can do 2D drawings, and visualize assembly in my head, but I haven’t learned enough to put it together in anything more sophisticated than TinkerCad. I know it can be done, I just don’t know how. One tutorial I was watching went from “Pad the rectangle out to 10mm” to “Now I’m going to make a quick assembly with all these other things I prepared beforehand.” explaining that I might want to use a different workbench, so he wasn’t going to go into the one he was using. Gee thanks.

Well, next weekend I’ll be picking through the lumber at Home Despot looking for some straight pieces. (Yeah, that’ll happen.) At least I should find some that I can make straight.

1 Like

My torsion box under my 24"x24" Primo is a 2x2. I used 3/4" mdf for the top, bottom, and all stringers. At the time I didn’t have a truck, so all parts had to be able to be cut from 4’x4’ pieces of MDF. This was back when the 525 version of the MPCNC was still the newest version.

Prior to that, my platform was a simple piece of OSB sitting on top of my table saw.

The entire torsion box built from 3/4" MDF is very heavy, and overkill. If I had to do it over, I might use 3/4" MDF for either the top or bottom, but I’d use 1/2" for the internal structure and sides and probably a 1/4" piece of plywood for the other top or bottom. I’m not sure of the benefits of having the thicker piece on top vs bottom.

I didn’t use any fasteners to hold the top on; simply relying on good joints and wood glue. My thought at the time was I didn’t want any metal near the work surface in the case the bit crashed into them… years later and I now have a spoilboard full of threaded inserts. Just goes to show that design ideas change.

1 Like

Yeah, I have no intention of making the whole thing from 3/4", just the top. I was going to make the stretchers and sides from 5/8", which I already have. but useful information, thanks!

I also have spoilboard with threaded inserts on top of the 3/4" MDF base, but I have to rethink how I did that. The threaded inserts are on a 100mm grid. I thought that with hold-downs about 90mm long that would be okay, but it’s amazing how many times the holes are in exactly the wrong place for what I want, and I have to re-plan the project in order to clamp the material down.

I am thinking though that I have a doubt…

What @jeffeb3 said about having 2 machines kind of resonates. When I built my second 3D printer, I decided to dedicate the new printer to only printing PETg (Since the old one absolutely refused to do it.) and keep using the old one for ABS and PLA. The result was that I’ve printed maybe twice in PLA in the past 3 years, the old printer didn’t work well, and now doesn’t really work at all. So I can see that having more than one CNC is only useful if each does something that the other cannot. If the LR2 can do my custom heat sinks and mill small aluminum parts, then I won’t need the Primo.

I know that I don’t have room for a full sheet LR in the basement. My workshop is only 12’ square, and I need to be able to walk around the machine. I could probably do 4’ by 4’ though. A half sheet working area is probably enough, and then it can stay in the basement. The problem with the garage is that it’s unheated, and it gets cold in the winter, so I don’t use the tools in there half the year, but I want to be able to do some projects with the CNC regularly. I did want a longer working area for some things. My life seems to involve an inordinate number of small to medium projects around the house. Maybe 4’ by 6’ is doable. I’ll need to look over the measurements.

So… I still want an assembly table. This might end up being the fate of the torsion box. It can live in the office, though if it does, it might end up covered in work stuff. I’ll have to figure that part out… My office space is notorious for stuff spreading over every available horizontal surface…

Still have to build the box. I should be at the table saw instead of on the Internet…

1 Like

I had the same problem. I made the following hold downs that solved that problem. There hasn’t been a size yet that some combination of the blocks wouldn’t hold.

I have the one mpcnc and the one laser engraver. I could see where having more than one machine that can do the same job would mean one sat most of the time. I would like a second printer, but only because it’d be nice to print multiple objects at the same time. The cnc doesn’t take as long for most tasks, so less of an issue.

It sounds like a 4’x4’ lr2 might be your best choice. Another option I just thought of would be to have the smaller lr2 in your basement, but build it in a way that you can carry the gantry up to the garage. You could have a larger table up there for when you need it, but let the machine live on the smaller table most of the time.


In the meantime, here’s the start of a 1X3 frame for the torsion box. The openings are 16", 14", 16" because my framing square is 16", and it was easiest to glue and pocket screw the frame together using the square to keep the stretcher in place and square.

Going slow and easy for the pace. I’ll put the other parts in tonight to complete the box.

I have a piece of 5/8" MDF that I had intended to use as a bottom skin, but I think I might change that and use some 3/8" plywood instead to try keeping the weight down.

First project for the new pocket screw jig, or else it would have been assembled with visible drywall screws. Not that I’m fussy about the appearance of this, function is far more important to me. Probably drywall screws for the purely internal stringer joints.

1 Like

I really like the kreg jigs. They do take some getting used to. I have a few extra holes in mine where I didn’t set it up right and drilled through the plastic.

1 Like

I have a bunch of pocket screws in mine. It works great, but:

  • I always have trouble doing things like mating 3/4" with 1 1/2". It always takes me a while to figure out which measurement goes where.
  • When the screw first leaves the first board and enters the second, it needs to be super clamped or it will wander down the side and mess up your perfect alignment. Clamping in the direction pulling the boards together is the most important so the screw can’t push them apart while it finds its grip.
  • I definitely need to use the clutch on my drill. If I over tighten them, the heads of the screws will shear off. I set it pretty low (it’s about a 10 on my drill, but I don’t think that is an absolute scale).

But they are reasonably strong. My desk is using them. They are easy to hide in most projects. Very quick and easy.

1 Like


Pitting in the other stringers, yeah, one of the pocket screws walked about 4mm, so one of there is just a touch longer than it should have been. Letting the glue dry overnight. In the morning I’ll make the decision to either use the 5/8" MDF or go buy another sheet of plywood.

The 1x3 dimensional lumber is so much lighter than the MDF stretches I had planned, but until it’s put over a skin, not as straight as I’d like. These were the straightest ones in the store, but that’s not saying much. Still, with a skin screwed and glued on, it should flatten nicely, then the machine can get glued on for the top skin.

1 Like

FWIW, I’ve been working on a multi-part folding table for my Lowrider, and I used underlayment ply for the bottom of the torsion box. It’s cheap and light, and seems to have produced a rigid box. That project has been stalled for a couple of months, or I would have posted about it, but it is mostly done.

1 Like


Legs. A 2X4 glued and screwed to a 2X6. More than solid enough, I ought to be able to jump on the result, so long as I attach the table to the legs solidly.

I use corner clamps to hold mine together.

I have more problems figuring out which screw length to use if the boards are different thicknesses.

I’ve found having a dedicated driver for putting in screws works a lot better than the drill does. If you don’t have one, you should consider it. The day I first used one was a life changer.

1 Like

An impact driver? I use those, but I suspect it would have been worse.

It’s the 1/4" driver that comes in most drill/driver combos. I have the dewalt set.

I usually run the kreg screw in with the driver and the first time it ‘clicks’ I stop. I know the click is a hammer of some sort to help with driving long screws, but it seems to be just about the perfect torque for the kregg screws without destroying the heads.

Now that I think about it, I don’t think I’ve ever torqued the head off of a kreg screw even with letting it click a few times to pull a joint tighter.

I’ve had it shear the head off. I have also have it split the wood. Stopping at the first click makes that make more sense to me.

I have a power screwdriver. Not nearly as strong as a drill, but more than enough to drive a screw.

Normally I would drill pilot holes. One of the pocket screws did split the stock at the end. I pulled the screw out, glued and clamped the wood then drilled a pilot hole through the pocket hole. I’ll need a longer drill bit to do that with the pocket holes properly. I was only able this time because there was an existing hole to follow. Fortunately, I’m not that concerned with the aesthetics for this such that the pocket holes weren’t even necessary.

I bought a set of corner clamps, but the ones I got aren’t very good. I don’t think they’re meant for anything longer than about a foot.

So I have a sheet of 5/8" MDF already, but wanted to go get something lighter, but apparently I missed the times lot that they have a guy to operate the saw. They’re sending him home early…

Anyway I put struts on the legs. I don’t have the cross struts on yet, but decided to test the fit of the box frame

If you get those legs attached rigidly, I don’t think you will need cross bracing. Mine is rock solid. The corners are 3" overlapped, glued and nailed. My old bench was wobbly, but the corners weren’t glued and the screws loosened eventually (they were wood screws, bolts might work better).

Looks good though.