Thank you again everyone for all the help getting the laser module up and running. Guffy that tip to use the fan pin with Mosfet to ground and a different pin for the +5 source was genius.
I used the laser to cut this 30 mm Kaizen foam. I focused the laser to be focused at 15 mm up from the spoil board. So it would have the same cutting power for both halves of this material. I did not use any air assist. These were cut at 30 mm/s at 78% power on a 15 w laser. It took 13 passes to cut all the way through but I could have stopped it at 11 passes. I just wanted guaranteed clean cuts all the way through. The head lowered .1 mm per pass. I did learn that this worked great to cut anything inside the foam but the outer edges cooled off too quickly in my cold garage. So around the edge if I was trying to trim off 1 mm it couldn’t cut all the way through the foam. It needed at least 3-4 mm of insulation around the edge before it could cut all the way through.
These are order takers for our sales reps to use at conventions. The clipboard will be used to take the order and hold everything they could need.
[attachment file=82491]
Next I will be cutting 62 mm tick kaizen foam for use in some tool boxes that will be shipped with the booths to the same sales conventions. I am not sure yet if the laser can cut through that. If not I have a new foam cutter pen that works like a long soldering iron. That should work if I make a tool mount for it.
Big thanks to Ryan for designing an amazing versatile CNC machine that can be scaled up accommodate large material like this. I need to rebuild my MPCNC to handle material stock up to 4 ft long so I can cut an entire sheet of foam all at once.
Those are my thoughts exactly. 62 mm is crazy thick for a laser. The cone shape of the beam probably won’t be able to make a clean cut that thick if it can get through at all. But since my boss already bought the 62 mm foam I will give it a shot. I really don’t think it will work though.
Great idea to just use two layers of 30 mm foam. I will probably see if that will work before I go the route of the cutting pen. That would save me a lot of time.
We used to cut foam for our toolboxes with a dremel and home made router base. Used black on top, and bright red or yellow for the uncut bottom. Made it real easy to see if a tool was missing before you left the jet. Laser would have been soooooo much cleaner! This was back when a red laser pointer cost over a hundred bucks though. Diode lasers over a watt were still mostly lab experiments. I did try cutting some of those interlocking exercises mats on my mpcnc. It got stringy, but I recently watched a Winston Moy video with him cutting foam. Might try again.
Guffy. I can always count on you to bring something cool to the conversation. I glanced at the link and my interest is peeked. I’ll give it a good read after lunch. I do wonder if I can do something to make it work.
Barry. I remember those old Red dot lasers. My 4th grade teacher brought one into class. It was the size and shape of an electric pencil sharpener. Cost over $100 at the time. We tried to hold mirrors around the class and bounce it around. I remember it hitting my eye and I saw the prettiest red light display. It looked like a kaleidoscope. Lucky for me it was a weak laser and its focus beam was blurred from the mirrors to be wider than an inch. So it didn’t damage my sight.
So… I am making something for my girls 8th birthday. She loves horses! Since I have the laser attached I decided to try my hand at a laser engraving using Image 2 GCode for the MPCNC. Cool program. But I realized I didn’t have a clue what speed to use with my laser on the wood I had chosen. So I made a cool Gcode file that will allow me to test the effect of a laser engraver on different materials at different power levels and different speeds. I will be posting that file on Thingiverse in the near future if anyone wants a copy. Anyway. Here are the results.
This is the results of a version 1 of the test file.
[attachment file=83309]
[attachment file=83310]
I decided to use the 10mm/s line in the Image2Gcode app. I should have gone with the 12 mm/s. But still it looks good enough. She will love it.
Shoot that is something to do with certain versions or settings in the program. I need to try to figure that out before I add it to the laser page. It was an issue but I am almost certain it was fixed.
Yeah! I’ll try it out. The problem (confusion) is there appears to be several different versions. I got confused when I read that thread last week and wasn’t sure what version to use. So I just reread the entire thread.
Github - Vilmany URL . (Version 1.0 Says it is 4 years old.) This is even the one listed in the Help about and the first version that comes up on google. This is the one I had with the dark bug on horizontal.
Then in the thread you just linked me to… The first post says this one it the most current version…
Github - Uthayne URL. (Version 1.0 says it is 3 years old) According to users this one also has the Dark spot bug.
But then I see your edit note in that first post that links to a direct download post later on page 8 in the thread. This one appears to be a v1.1 even though the help about still says V0.6. Reading along the middle of page 10 it seems that this version 1.1 has an issue where it uses commas instead of decimal points. It also suffers from the dark spot bug. (Looking at Gcode it produced.)
Then there is another version that Josef made and posted on page 10 that fixed the dark black bug. So it looks like this is the best version. (Just by looking at the gcode they produced. I can see the difference.) I’ll test a burn later tonight.
But it looks like that first post should be edited to point to this 4th version. I am calling it 1.x.
I knew it was a mess but didn’t think it was that bad. Let me know what seems to work and I will link it on the laser page. Then hopefully we will get more people trying/confirming it.
Well bad news. The black spot bug is in the first three versions I mentioned.
The fourth version doesn’t but it has a different bug. With Png files it makes anything that is transparent black. So it works with bmp and jpg.
All four versions ignore the speed that the user enters.
So it looks like we need someone to get in and fix some bugs. Otherwise this is what we would need to say. Use the fourth version. Don’t use png files with transparent pixels. After the gcode file is created move the Fxxxx command to one of the G1 lines. If nobody volunteers I might be able to clone the branch and see what I can do next week.
Funny. You and I are thinking along the same lines. I was going to test that one next. I am a little worried that one may not work as well with the MPCNC. It doesn’t use a constant speed like the other one did. It sounds like it varies the speed. As we both know the MPCNC is a little heavier so it accelerates slower than other laser engravers. I will test it and see how it works out. I could be reading the description wrong. It may just be using a free movement speed and a constant burning speed. Cheers.
Completely agree. I literally JUST thought to myself, “without that forum I’d be completely in the dark on all of this stuff…I’m so lucky”. Engraving underway in the shop. In a half hour or so we’ll have a verdict and then when it finishes two hours from now I’ll share my results. Looking very promising thus far - especially compared to what I had been getting. Maybe I’ll share those failures too so others can see no matter how bad it looks it can get better ; )
Made a laser engraved sign for a neighbor. Pine wood, black spray paint then sanded down. If I were to do it over again I would use black Acrylic paint instead of a spray paint. Then I used a light colored water based stain and finished up with a satin clear coat.
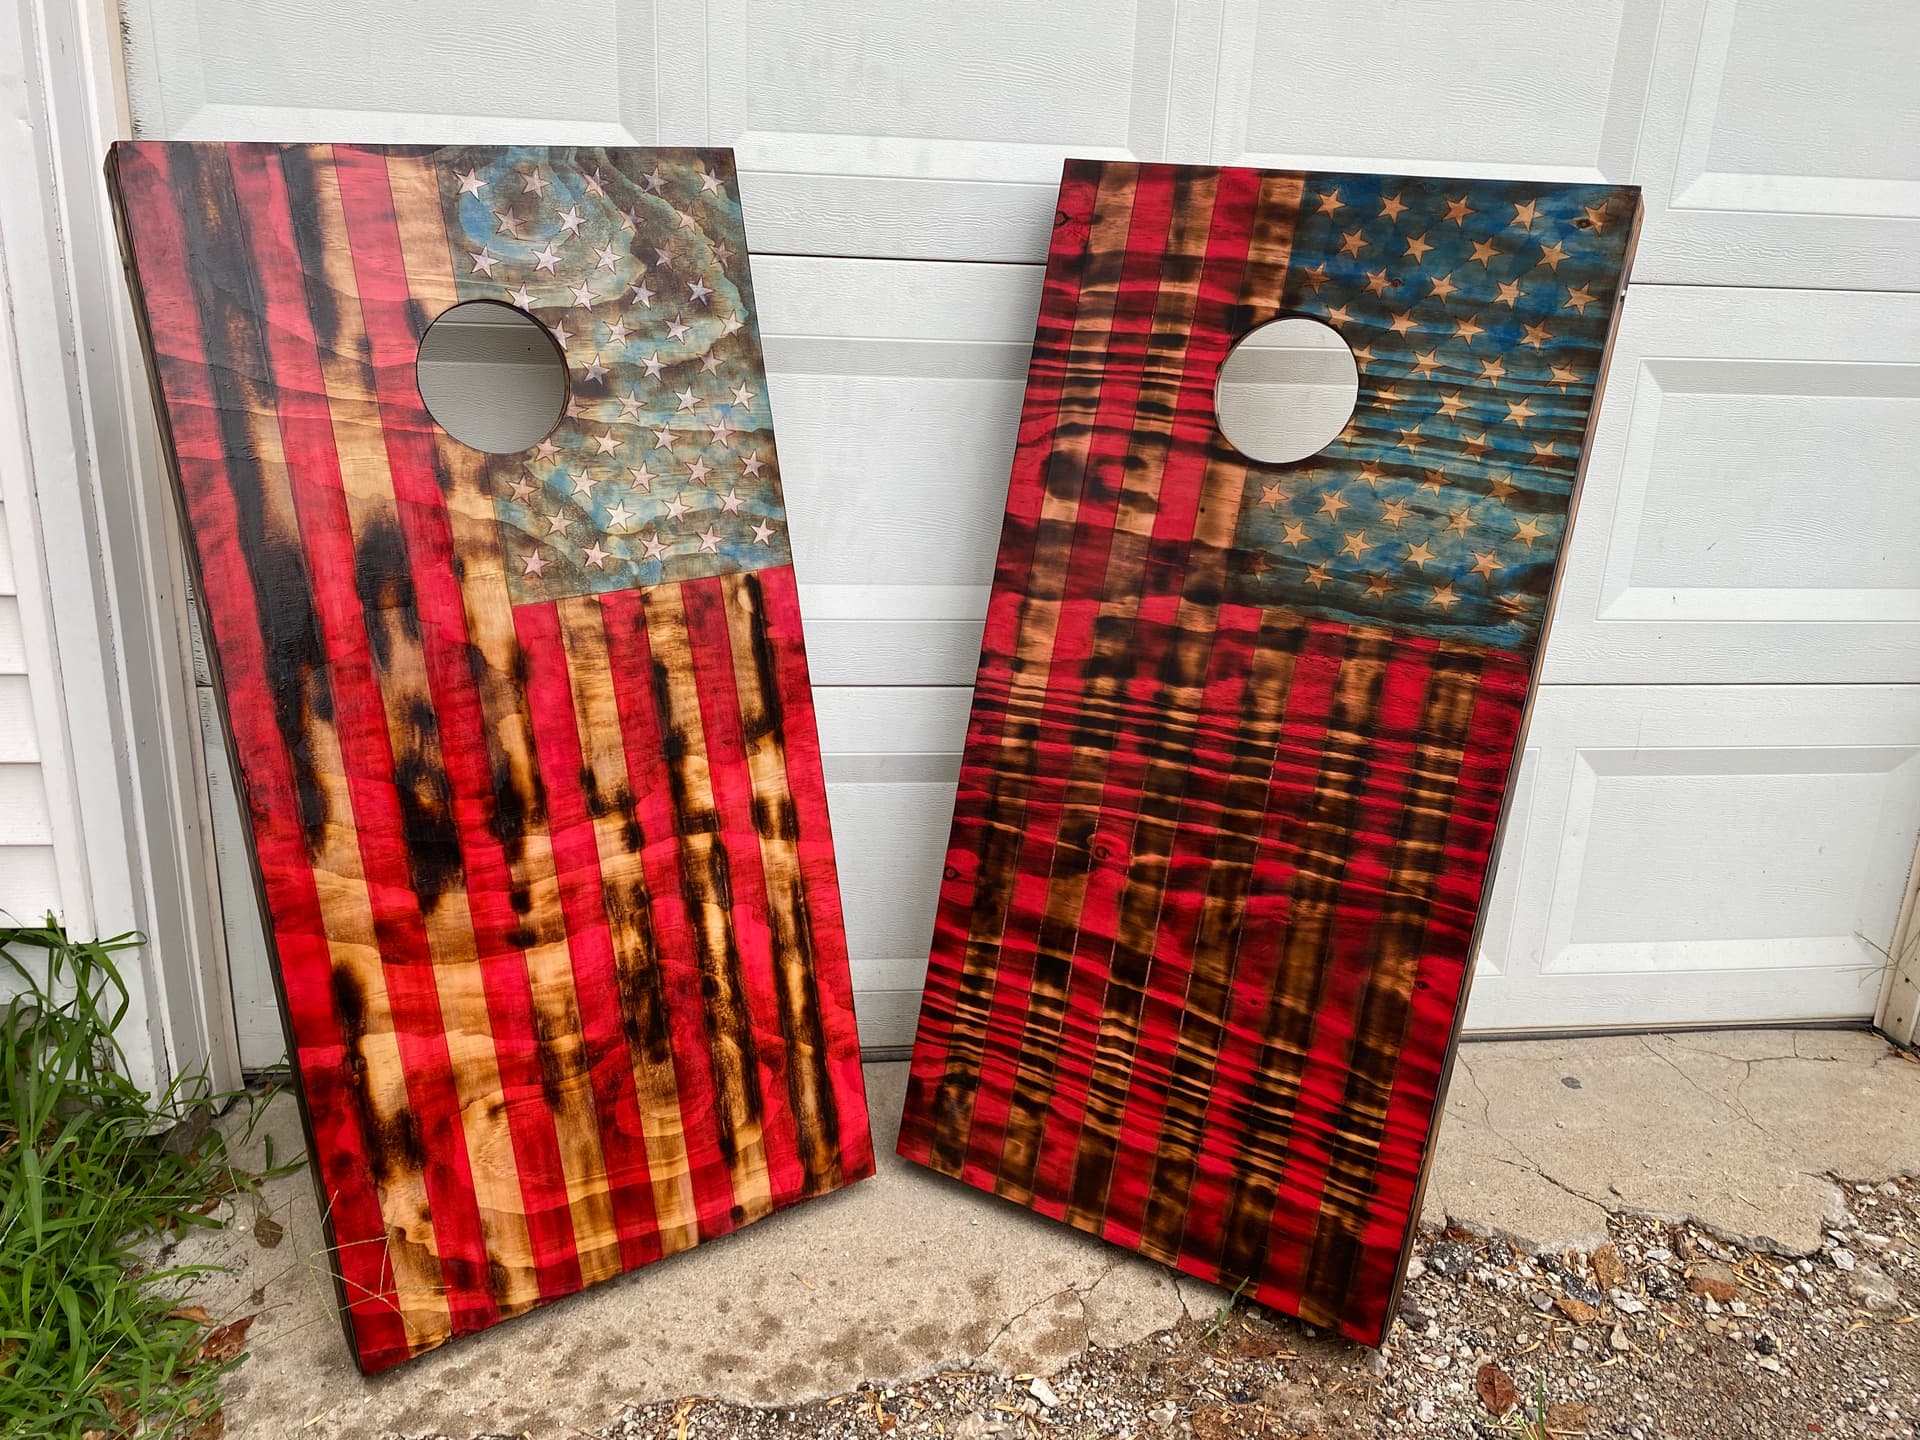
I finally finished another project worth sharing. Used my machine to cut the wood then laser engrave the pattern. Burned the wood pattern with a torch. Used a wood dye for the colors. Then used the torch again to hide mistakes. Finished up with polycrilic.


