I’ve had a LR2 up and running since November of 2020 as part of COVID project with my Dad. In that time I’ve learned how to design, program and machine all types of projects I never thought I could do in my own home. Truly remarkable what a bunch of off the shelf parts and printed plastic can do.
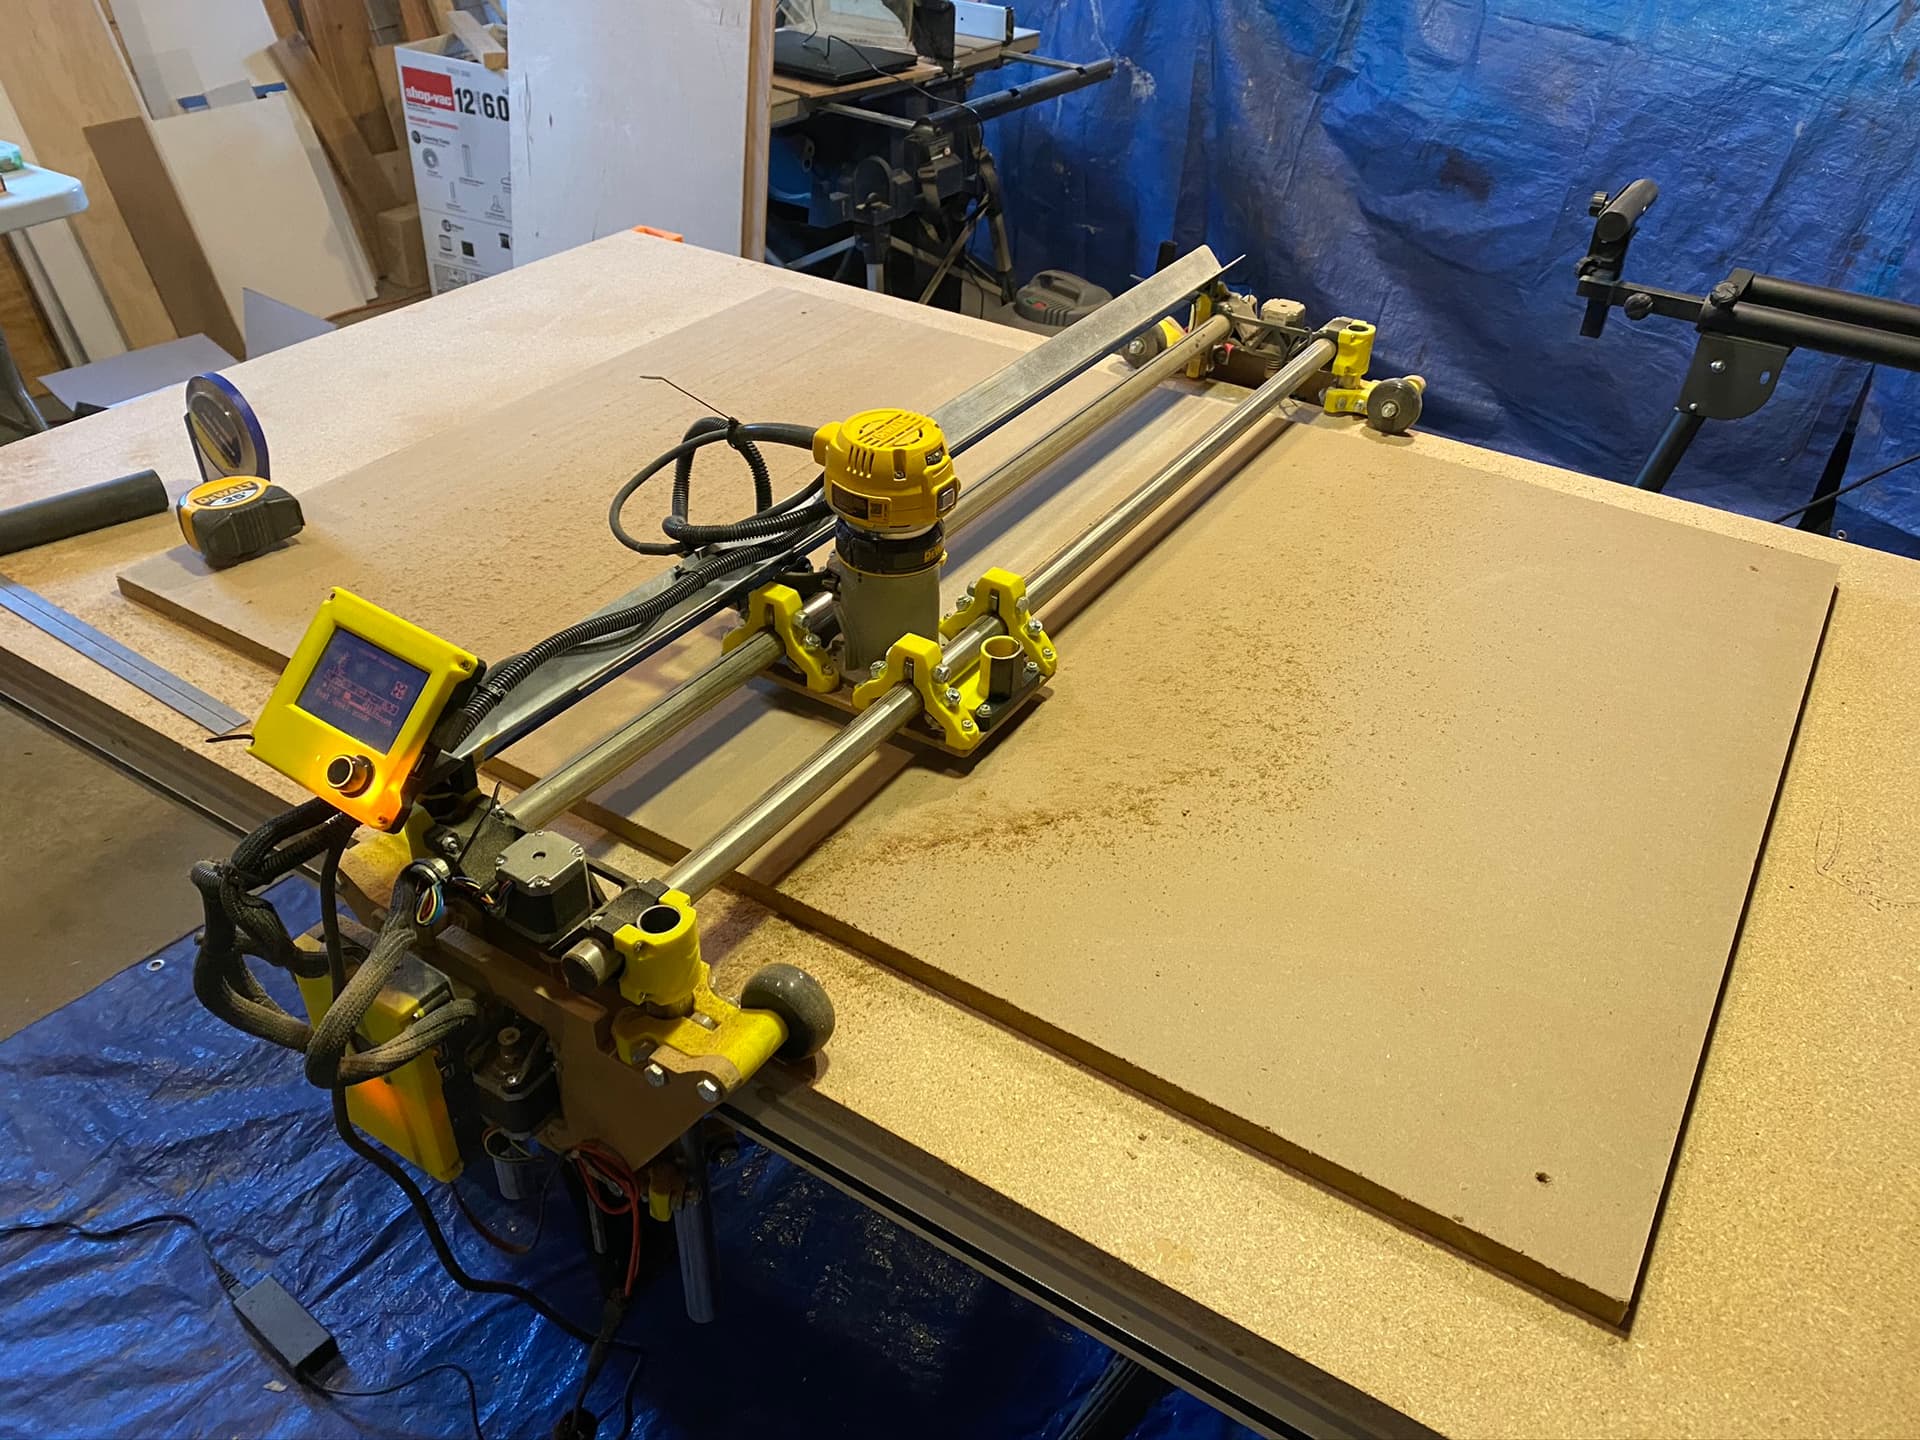
First Lowrider Build in November of 2020
With a bunch of projects under my belt and a move to a new workshop, I was looking to rebuild the Lowrider using the knowledge learned from running the machine as well as from the community on the forum. A lot of time was spent creeping here to see what most people did to increase the capabilities and functionality of the machine. With a focus on reliability over raw speed, there seemed to be 2 items that made the most sense - a more rigid frame and dual endstops.
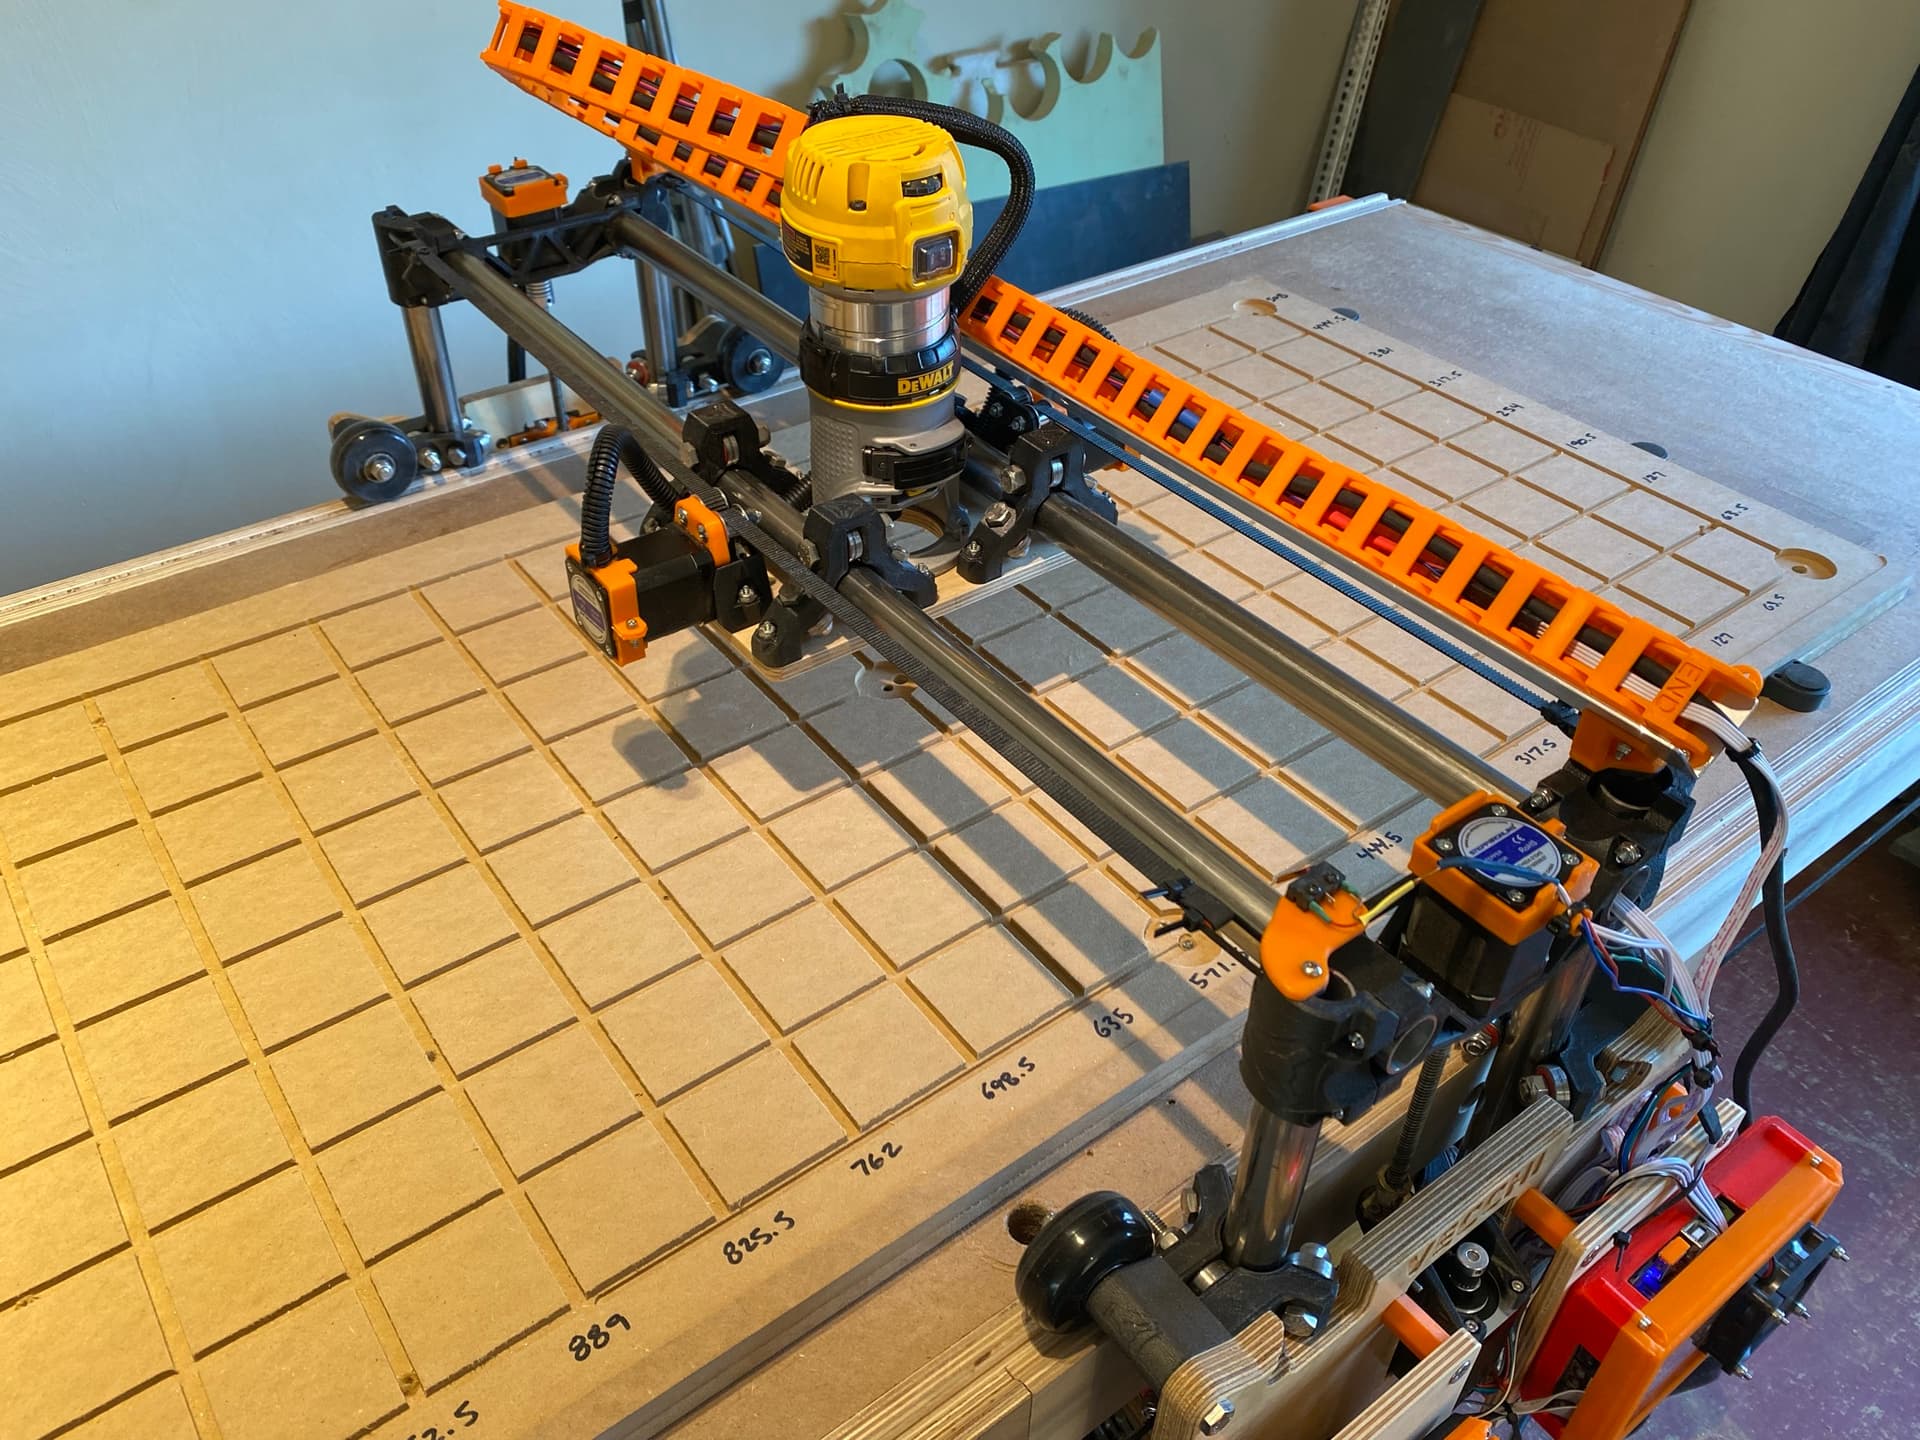
Newly rebuilt and refreshed LR2 in 2022
Of course I couldn’t stop there. On top of that I wanted to give the machine a bit more power just in case and to make the user experience a bit easier. Looks help too. The result is a super sturdy machine that is a joy to use. It is faster, more responsive, and looks much better. Maybe it’s overbuilt but that’s the way I like my projects. Once I have some more time I’ll post a video showing the final product in action.
Below is what I did and my thoughts on each item. These modifications were all done at one time so the individual effectiveness of each item is hard to measure. However, there are several things I can recommend given my experience.
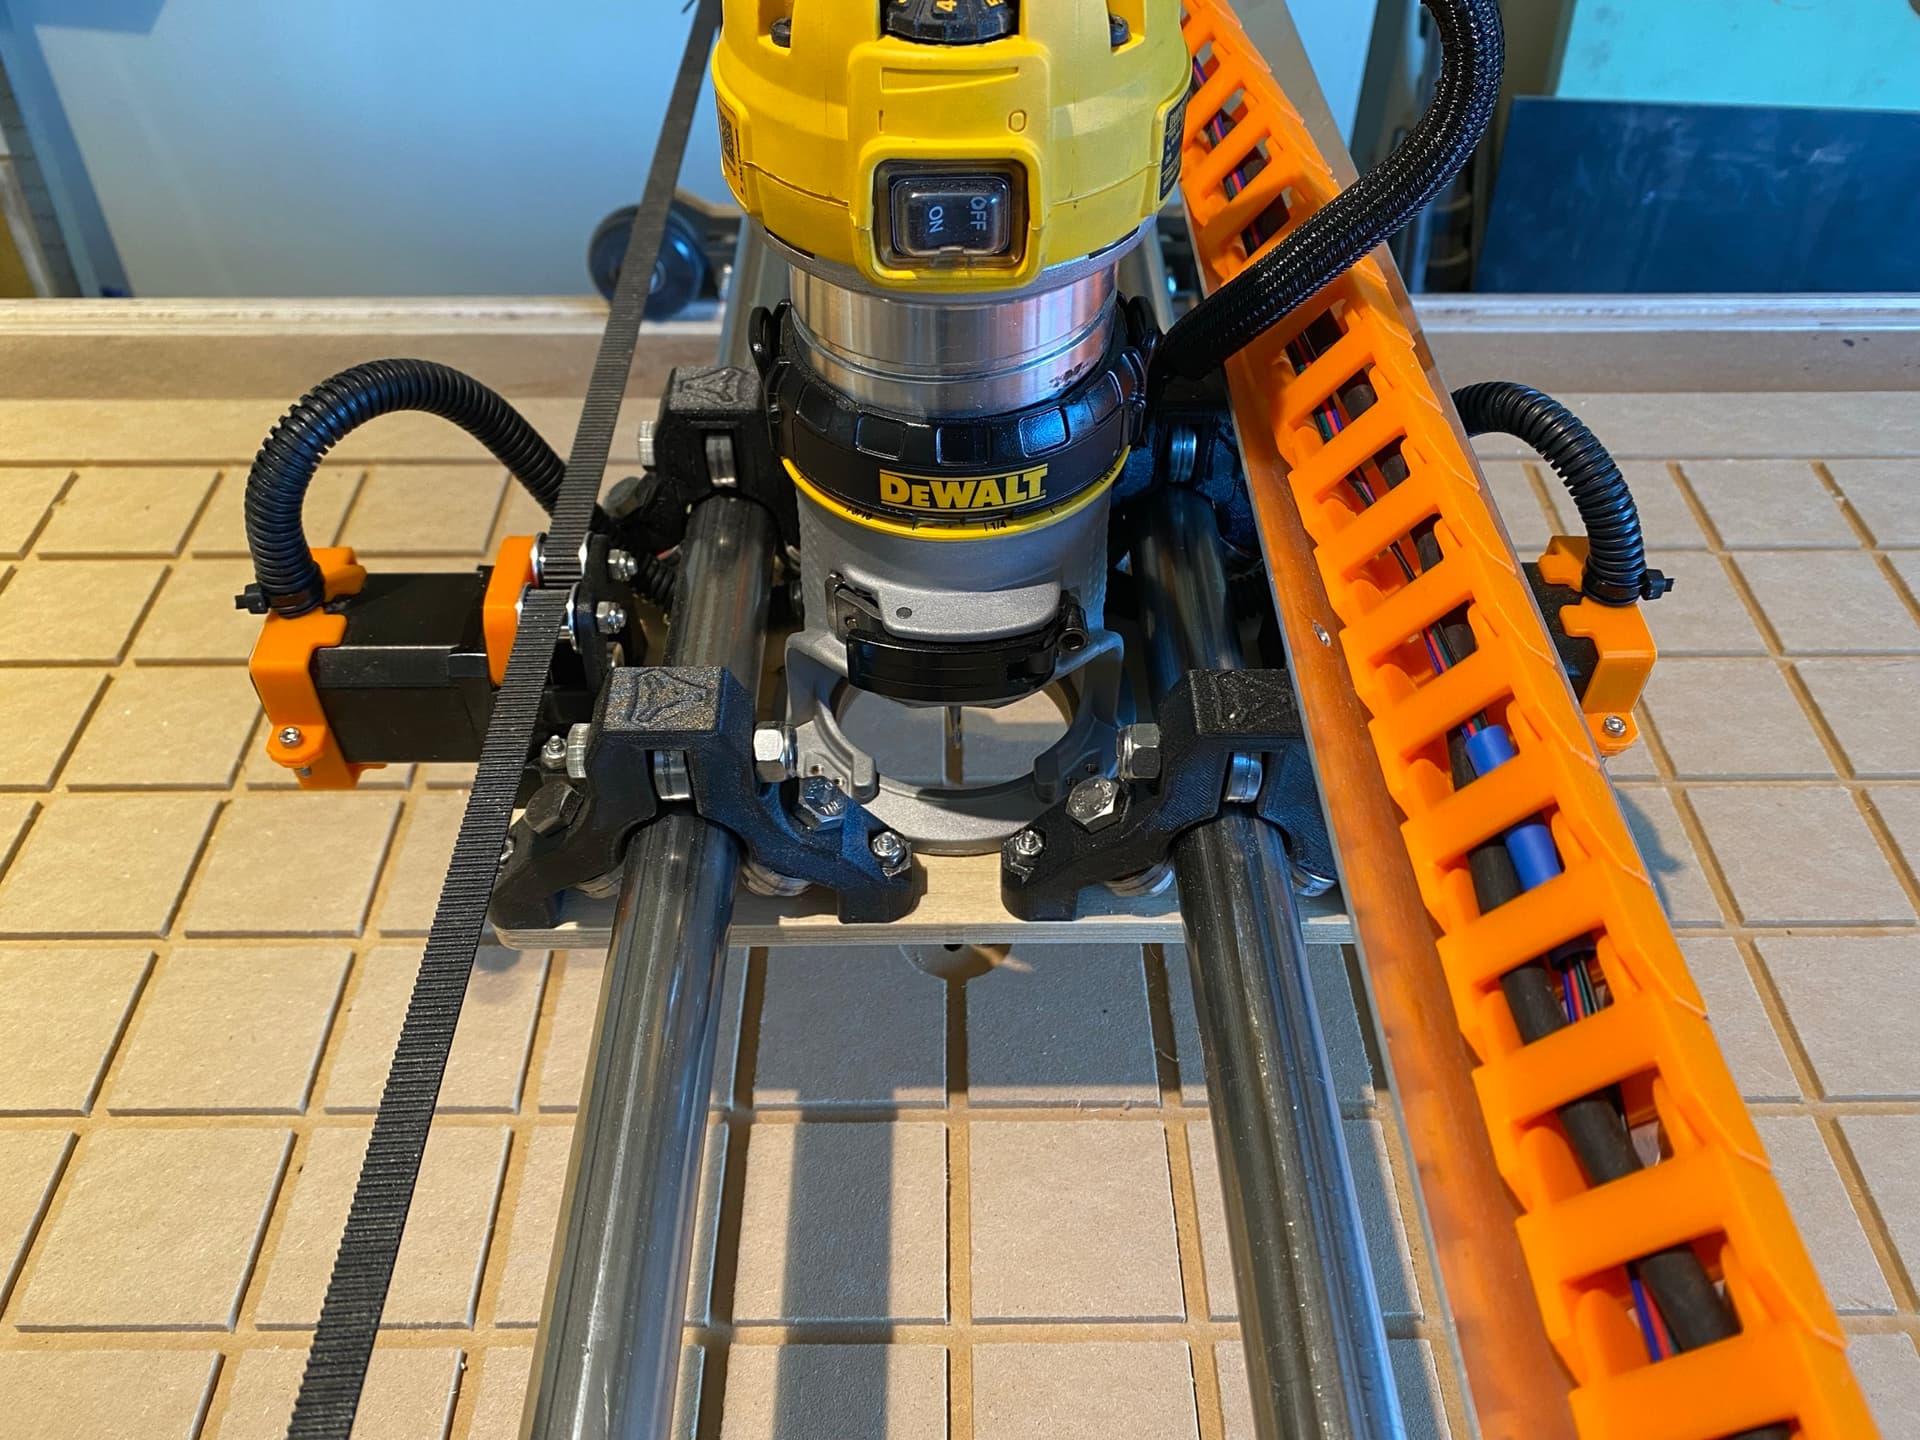
Carbon Fiber PETG Parts (Highly Recommend)
Part printed at .28mm layer height and 75% infill
The structural parts were printed in 3DXTech CarbonX PETG+CF filament at 75% infill. Accent and miscellaneous parts were printed in Orange Polymaker PolyMax PLA.
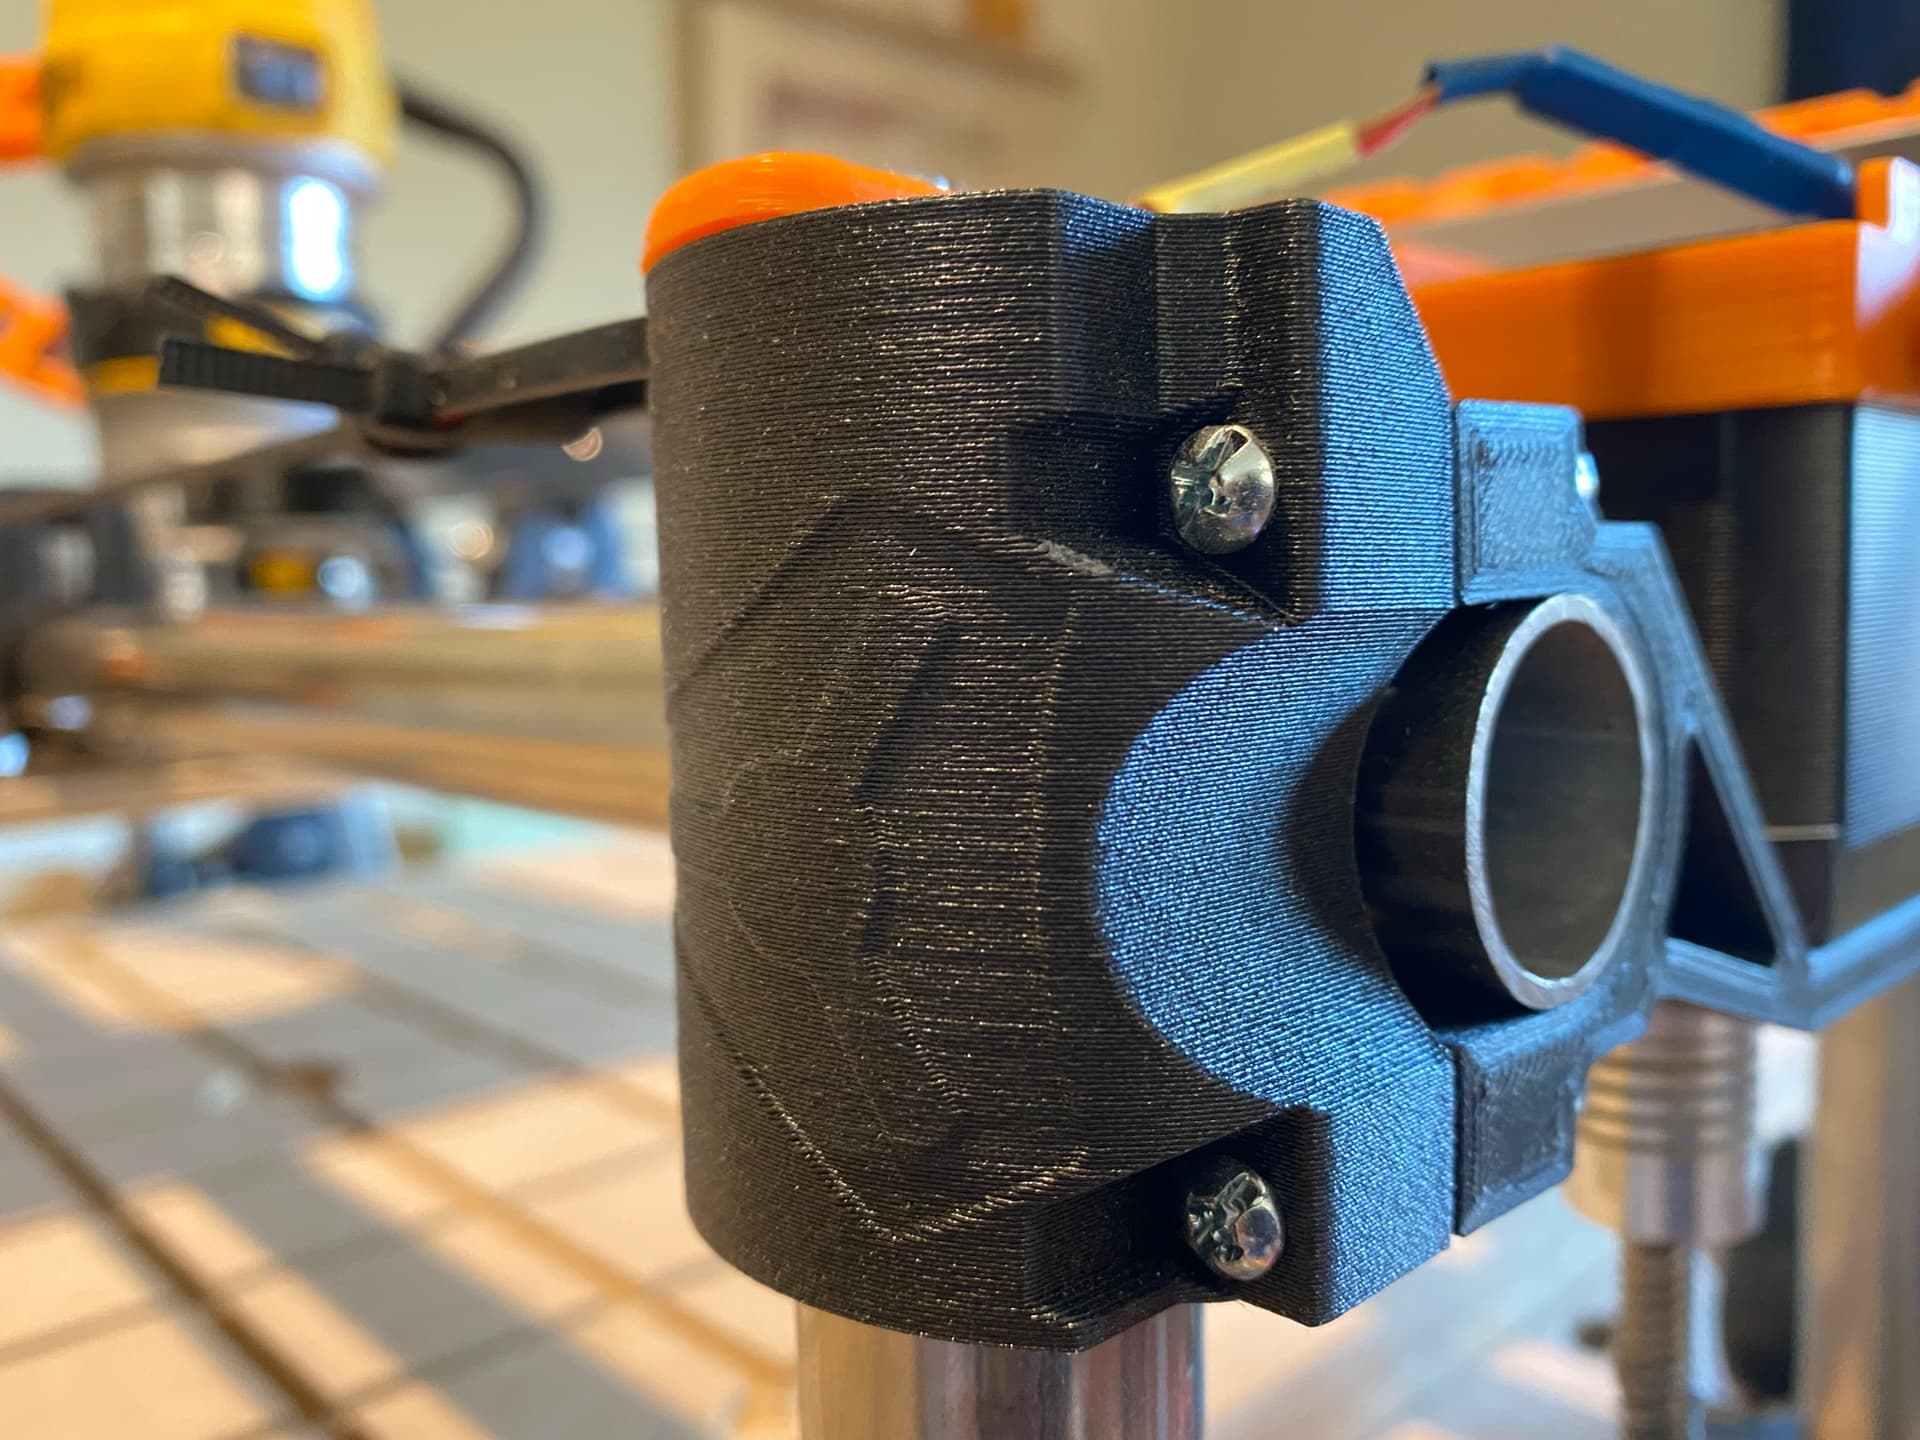
If there is one thing I could recommend from this refresh is the PETG+CF which prints amazing! The finish is almost akin to charcoal from a campfire and hides the Z wobble from my cheap Ender 3 very well. You will need at least a hardened steel nozzle to print on a stock Ender 3 though.
The PETG+CF is SUPER rigid as compared to bog standard PLA and much more heat resistant. Rigidity is very noticeable without any scientific measurement. When the steppers are engaged the CNC is rock solid even with the Z fully raised. The PETG+CF won’t let you overtighten bolts as easily as PLA will either. There is an audible squeak once its parts start getting tight and it puts up a lot of resistance.
Even with the added cost, I can wholeheartedly recommend this PETG+CF filament. Even if this is an initial build I’d recommend it. If your printer is capable, ABS, ASA, or PC with the added CF may be an even better choice.
Note: If you have to drill out your holes to clean them up, any PETG+CF shavings that end up in the thread of the bolt WILL seize the nut. Be sure to clean the bolts. You were warned!
Dual Endstops and Touch Plate (Highly Recommend)
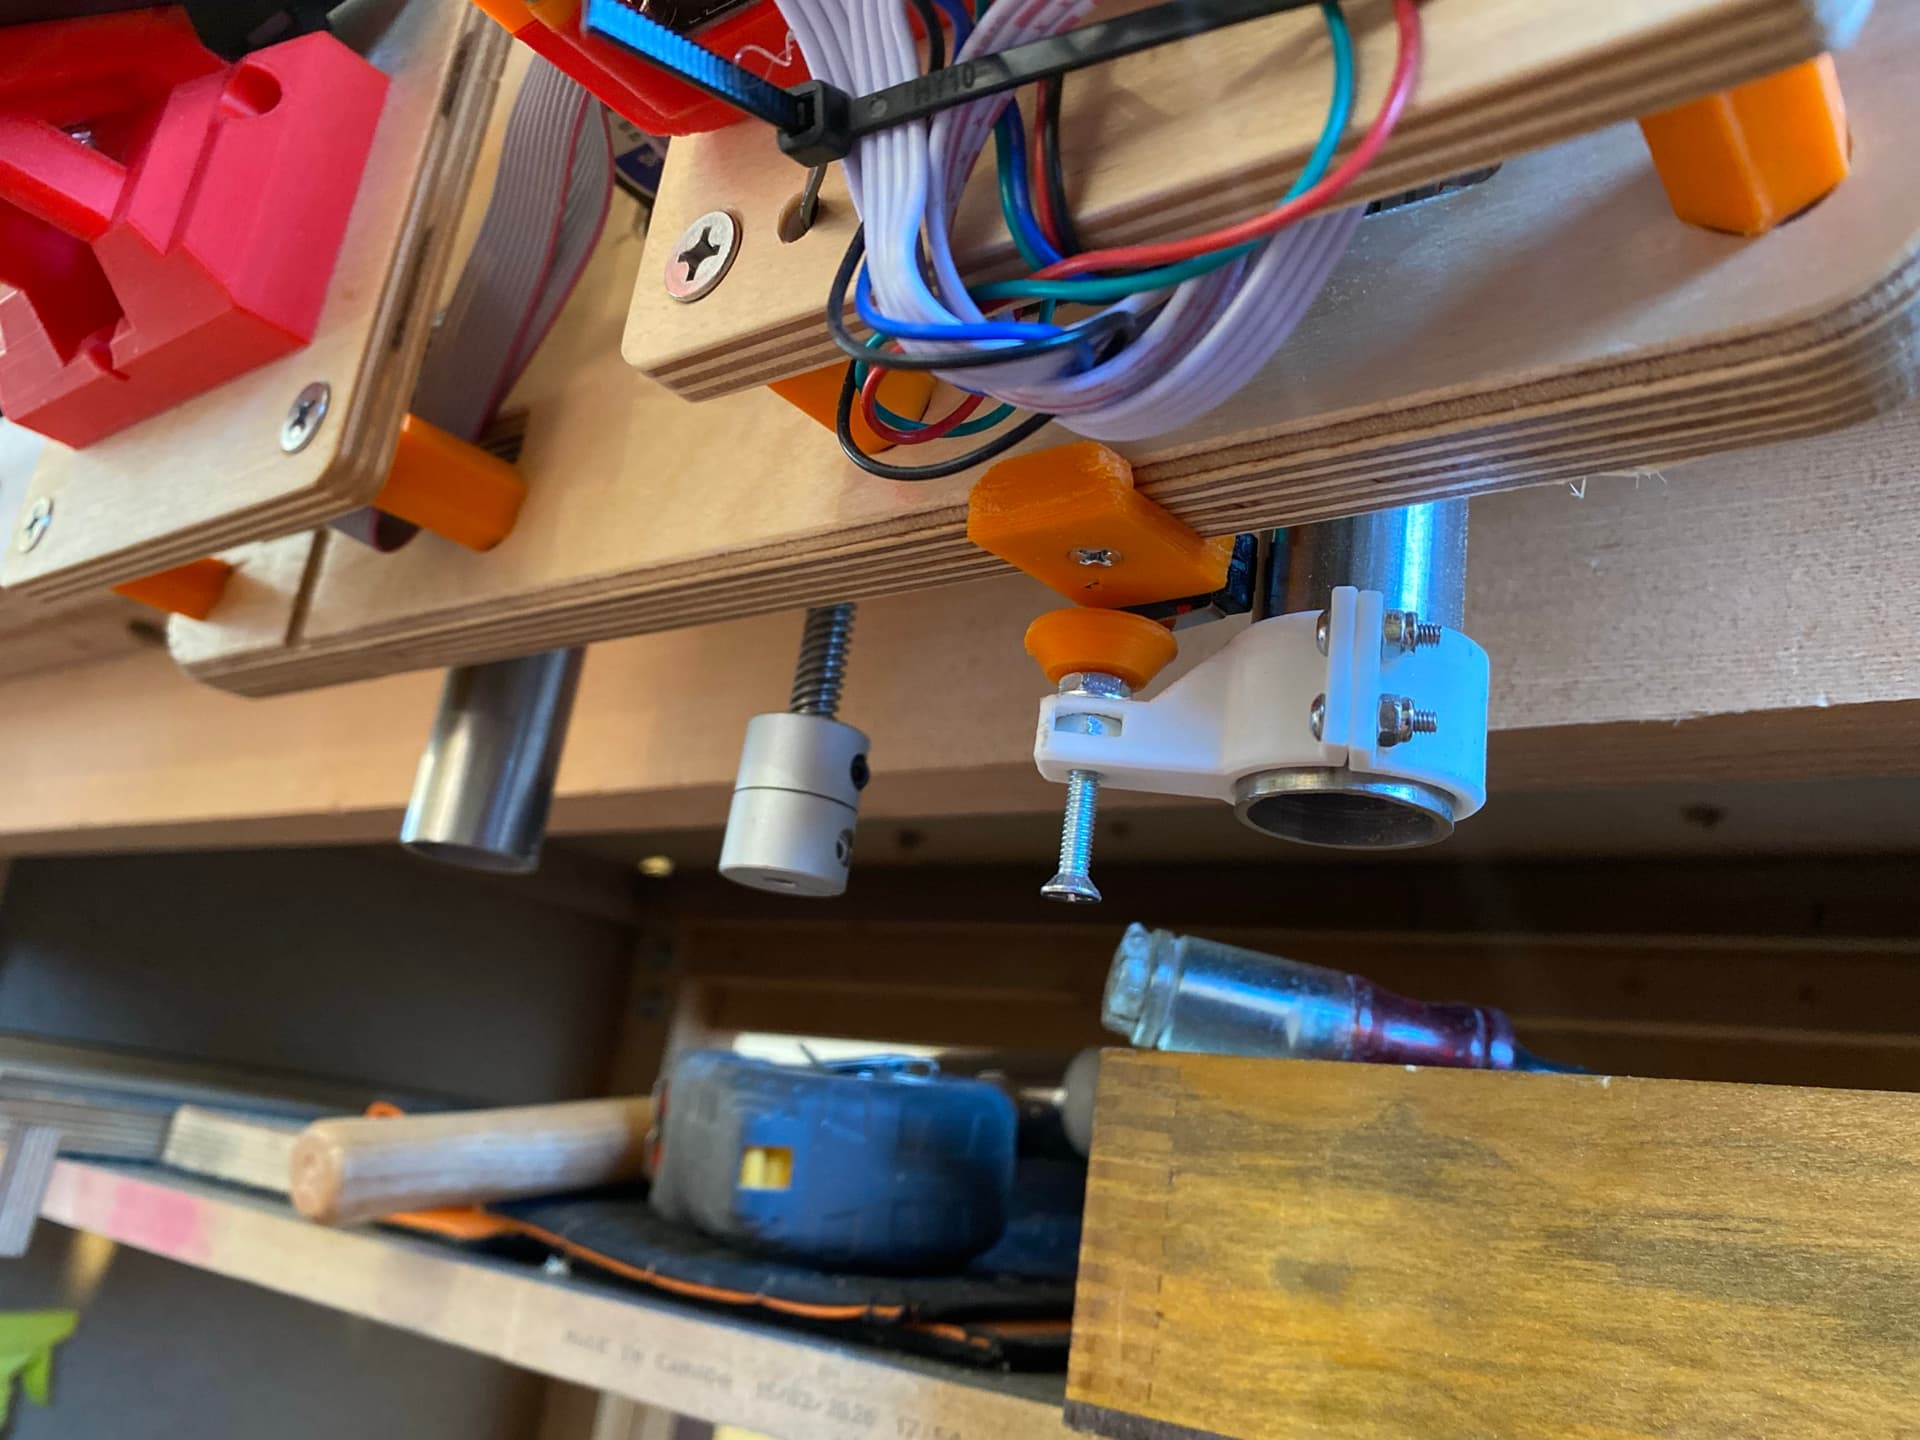
Z endstop and switch. Y axis belt and endstop combo
If you are thinking about upgrading to dual endstops I say do it. Auto squaring is nice but the real benefit for me is being able to reference your build volume in a 3D (or I guess 2.5D) space consistently. Having a default origin is such a nice convenience. You can easily recover from power loss or a malfunction. And being able to use a touch plate for multiple tool changes is SO much easier - dare I say essential. I’m sure there are even more uses for the endstops as well. Very, very handy and worth the extra effort.
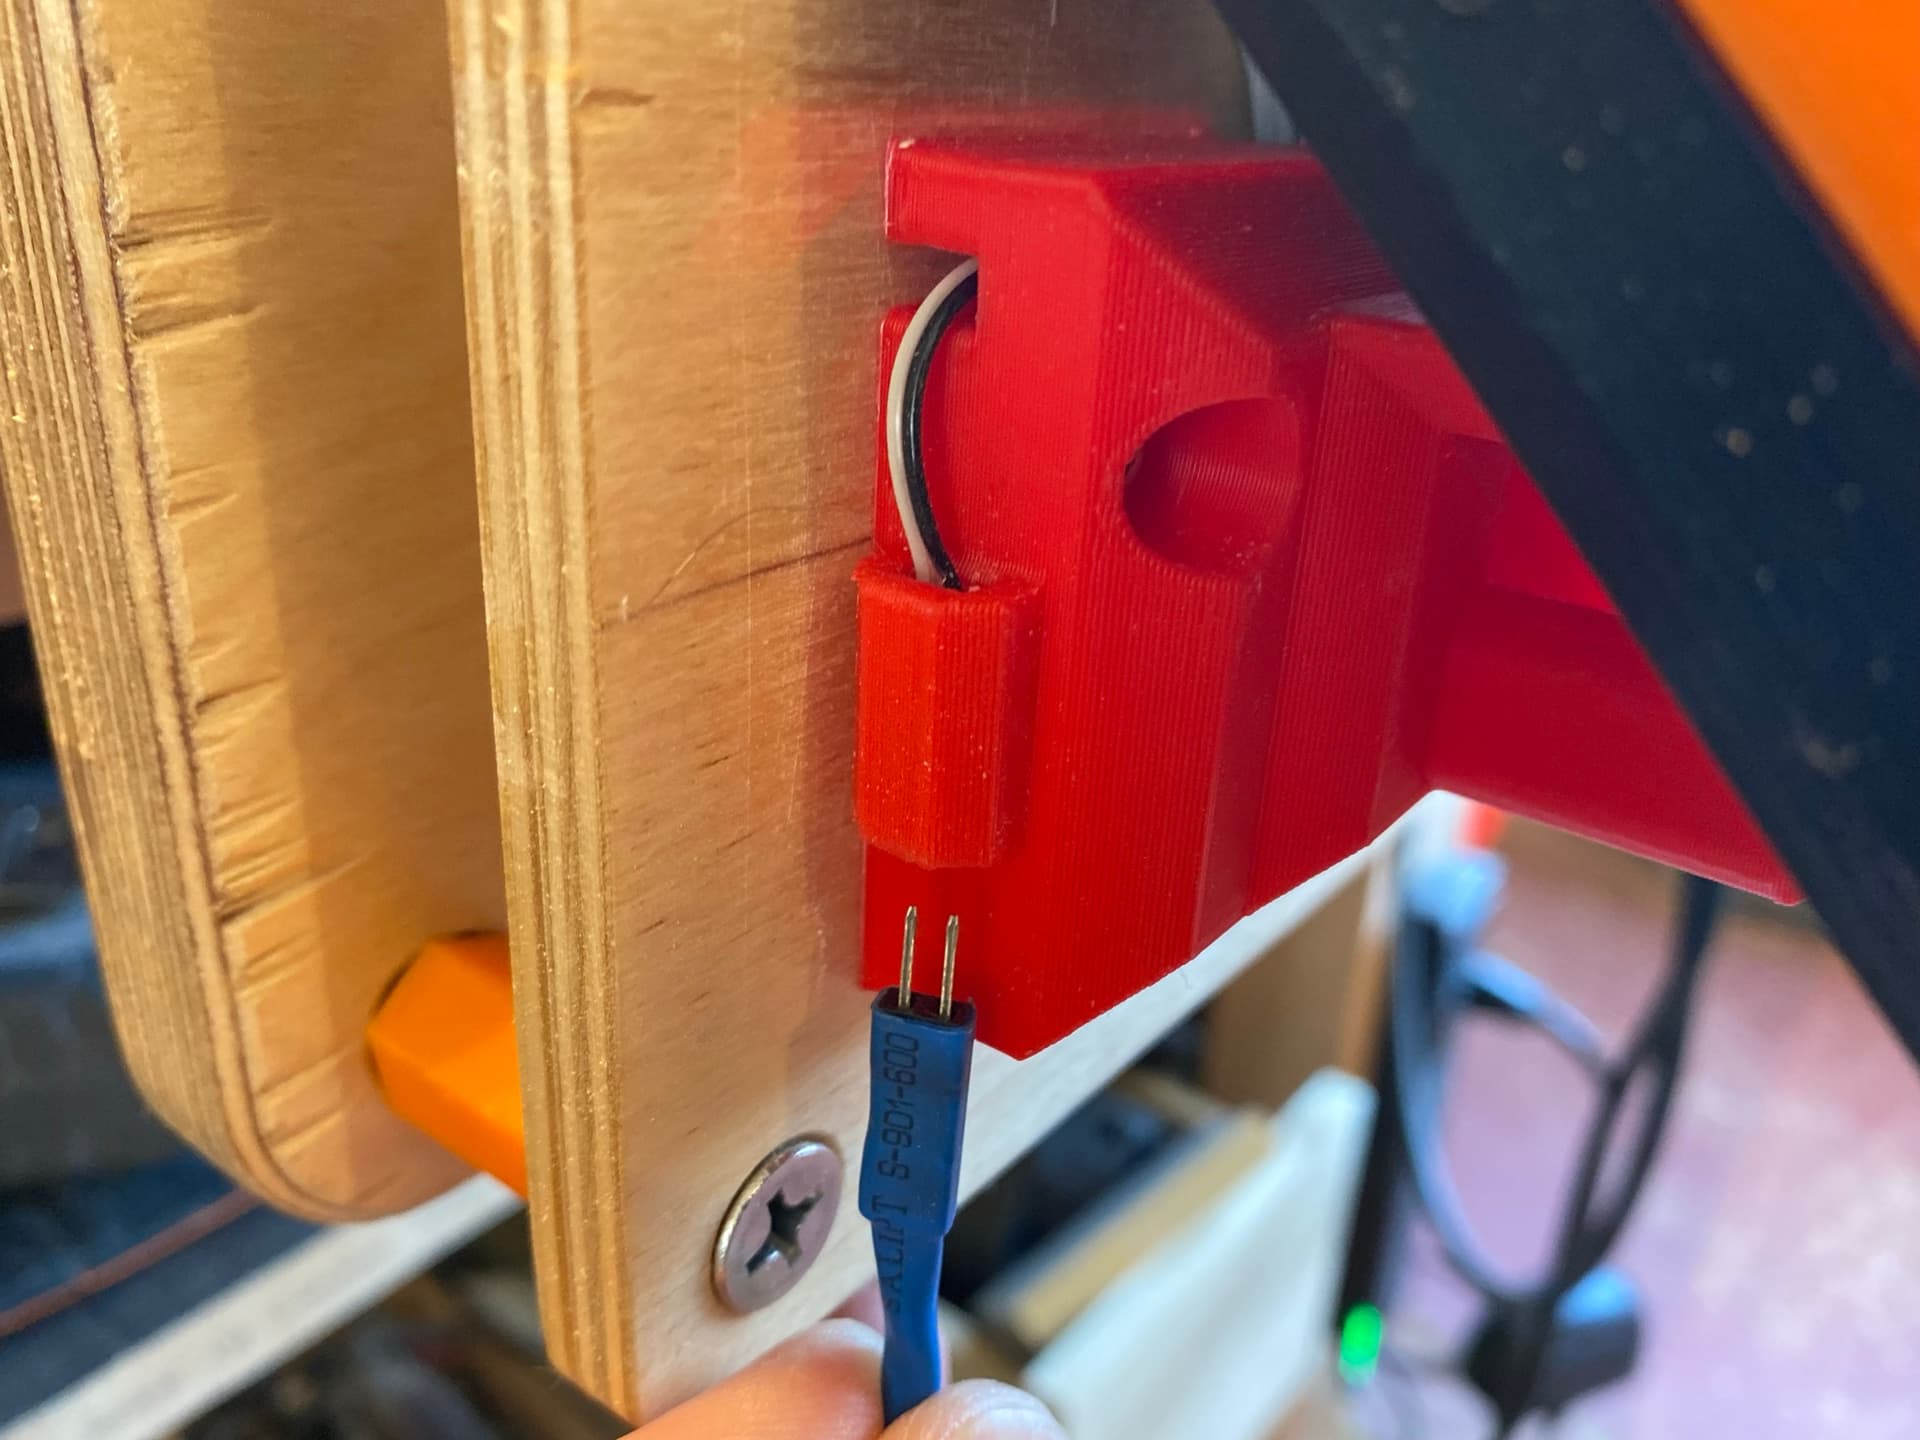
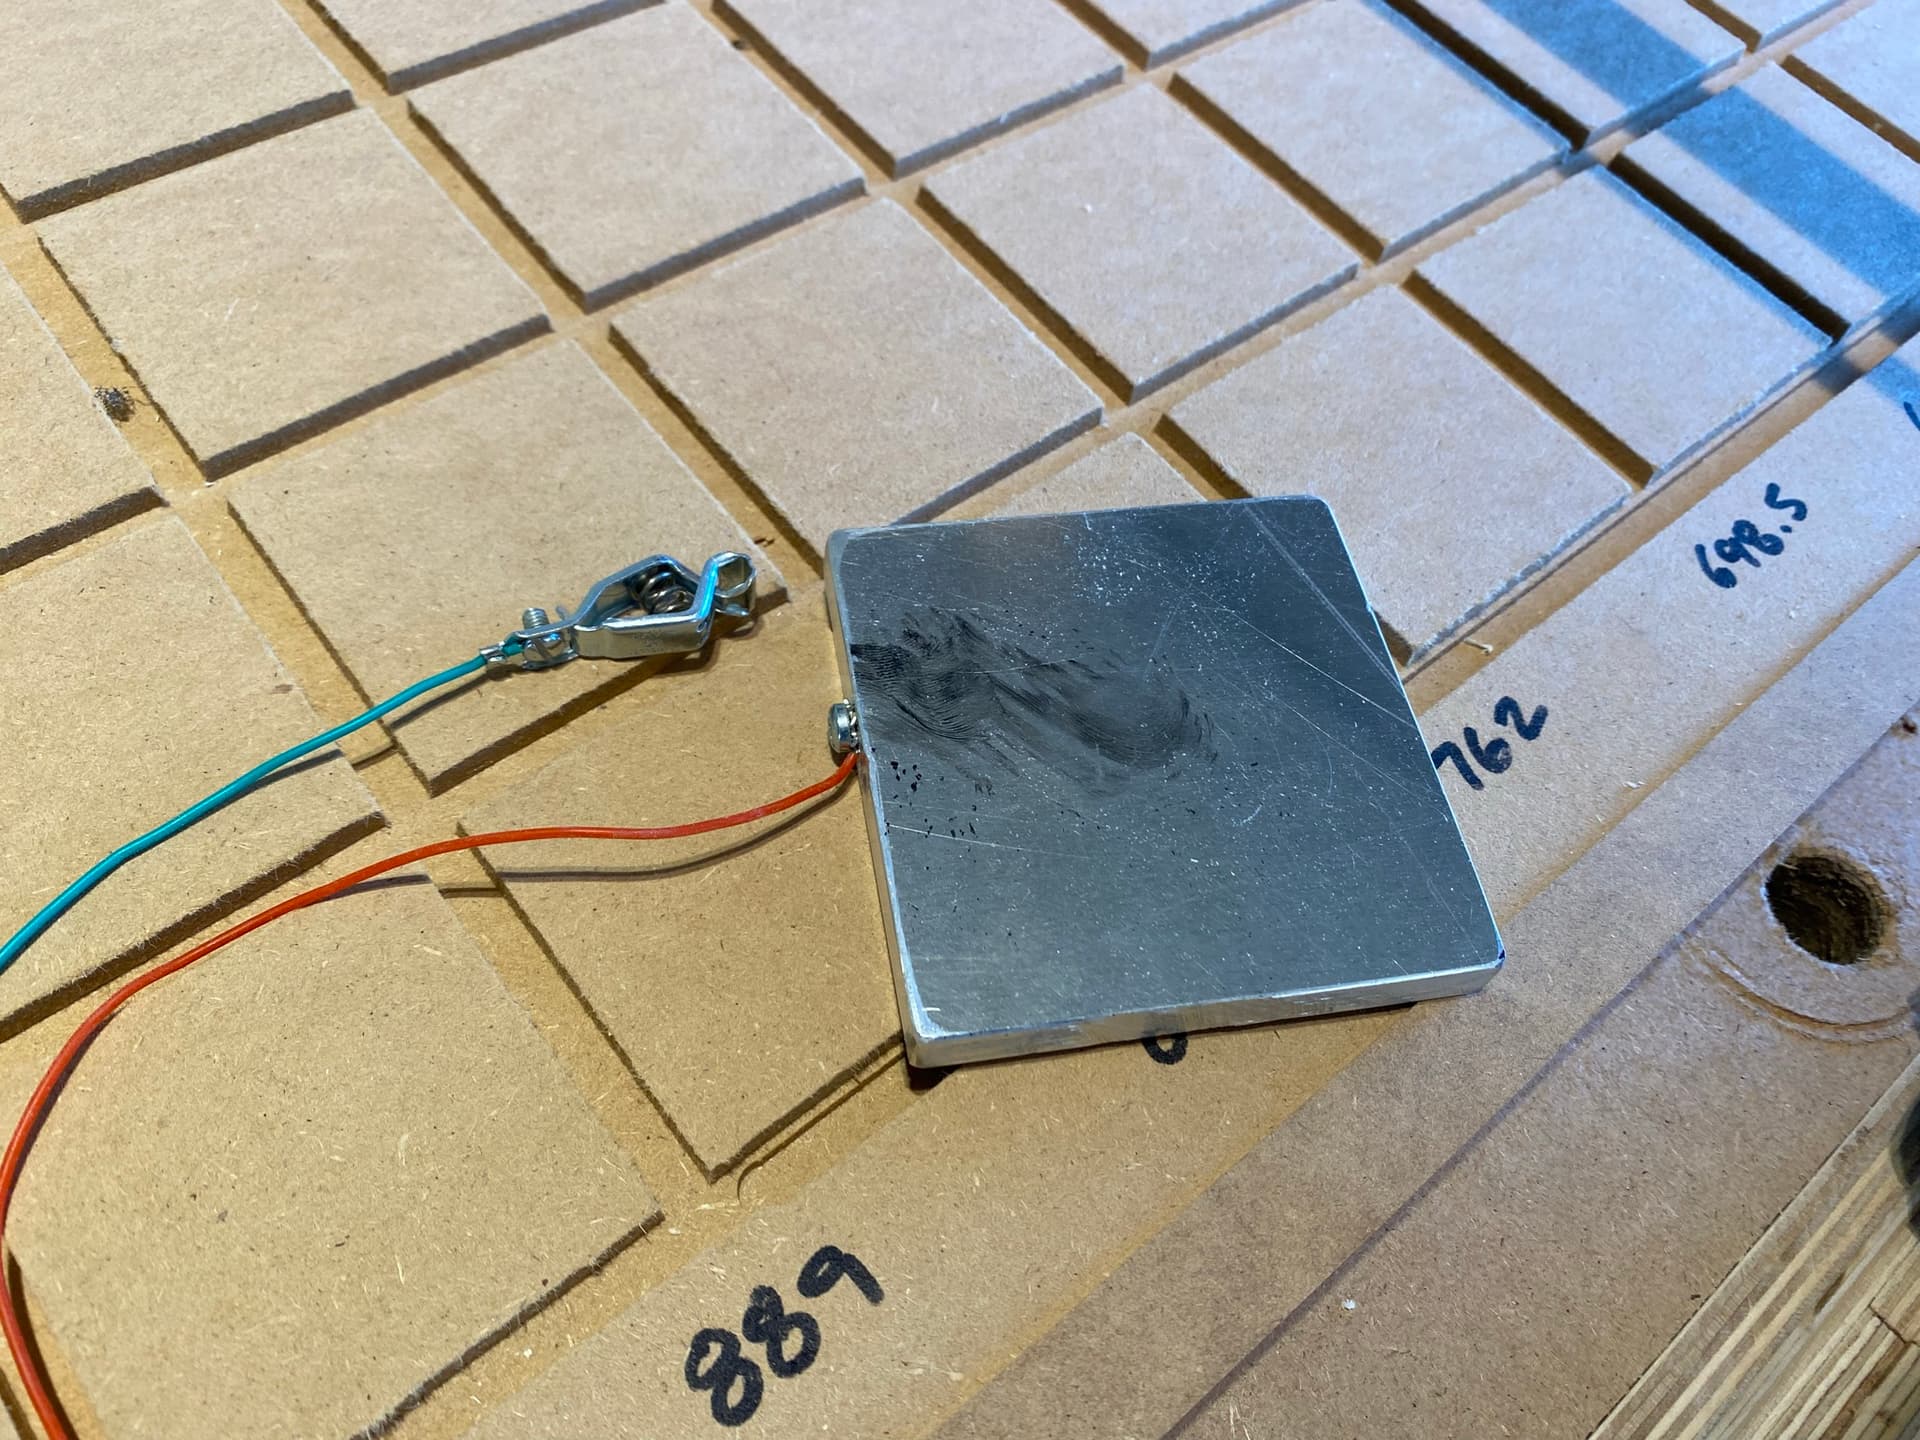
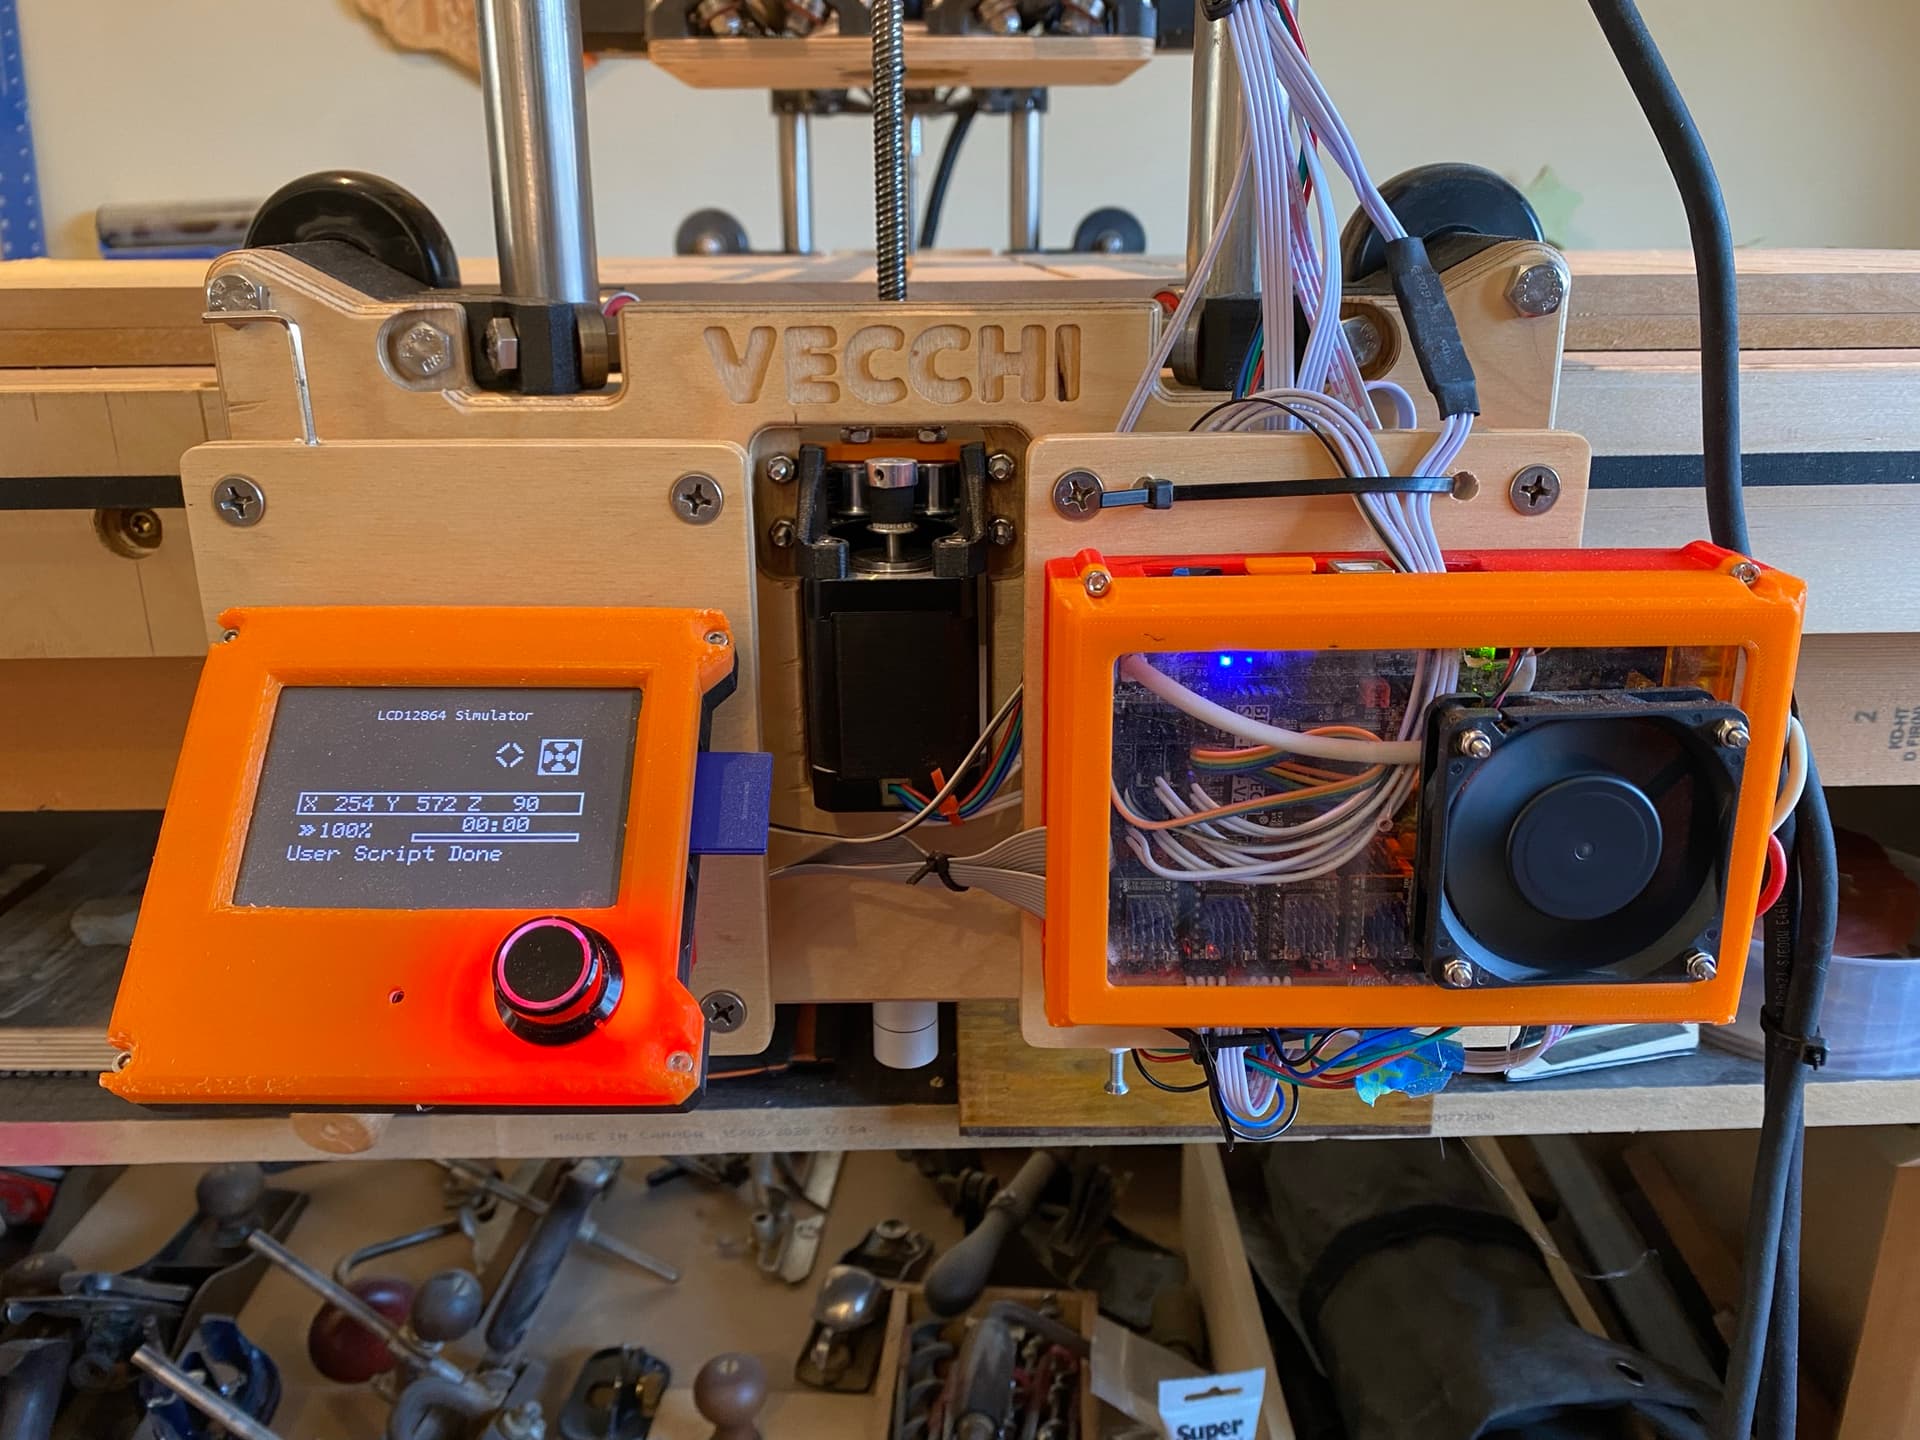
Touch plate port added to screen mount. DIY touch plate and probe clip
All that being said if this is your first build and you’re brand new to CNC the endstops will add a bit more complexity to the build. Especially since (as far as I know) the physical endstops themselves are a DIY solution. You can always add them later as I did.
SKR Pro 1.2 EEPROM (Highly Recommend - if your board doesn’t have one already)
My SKR Pro 1.2 didn’t come with an EEPROM. For changes to stick you needed to change the firmware or use some other less than ideal solutions. This is fine but a huge hassle when trying to tune. The EEPROM was $11 and plug and play. Easy recommendation that eliminates a lot of headaches.
Other Mods (Testing would be needed to gauge effectiveness)
Thicker Y Plate
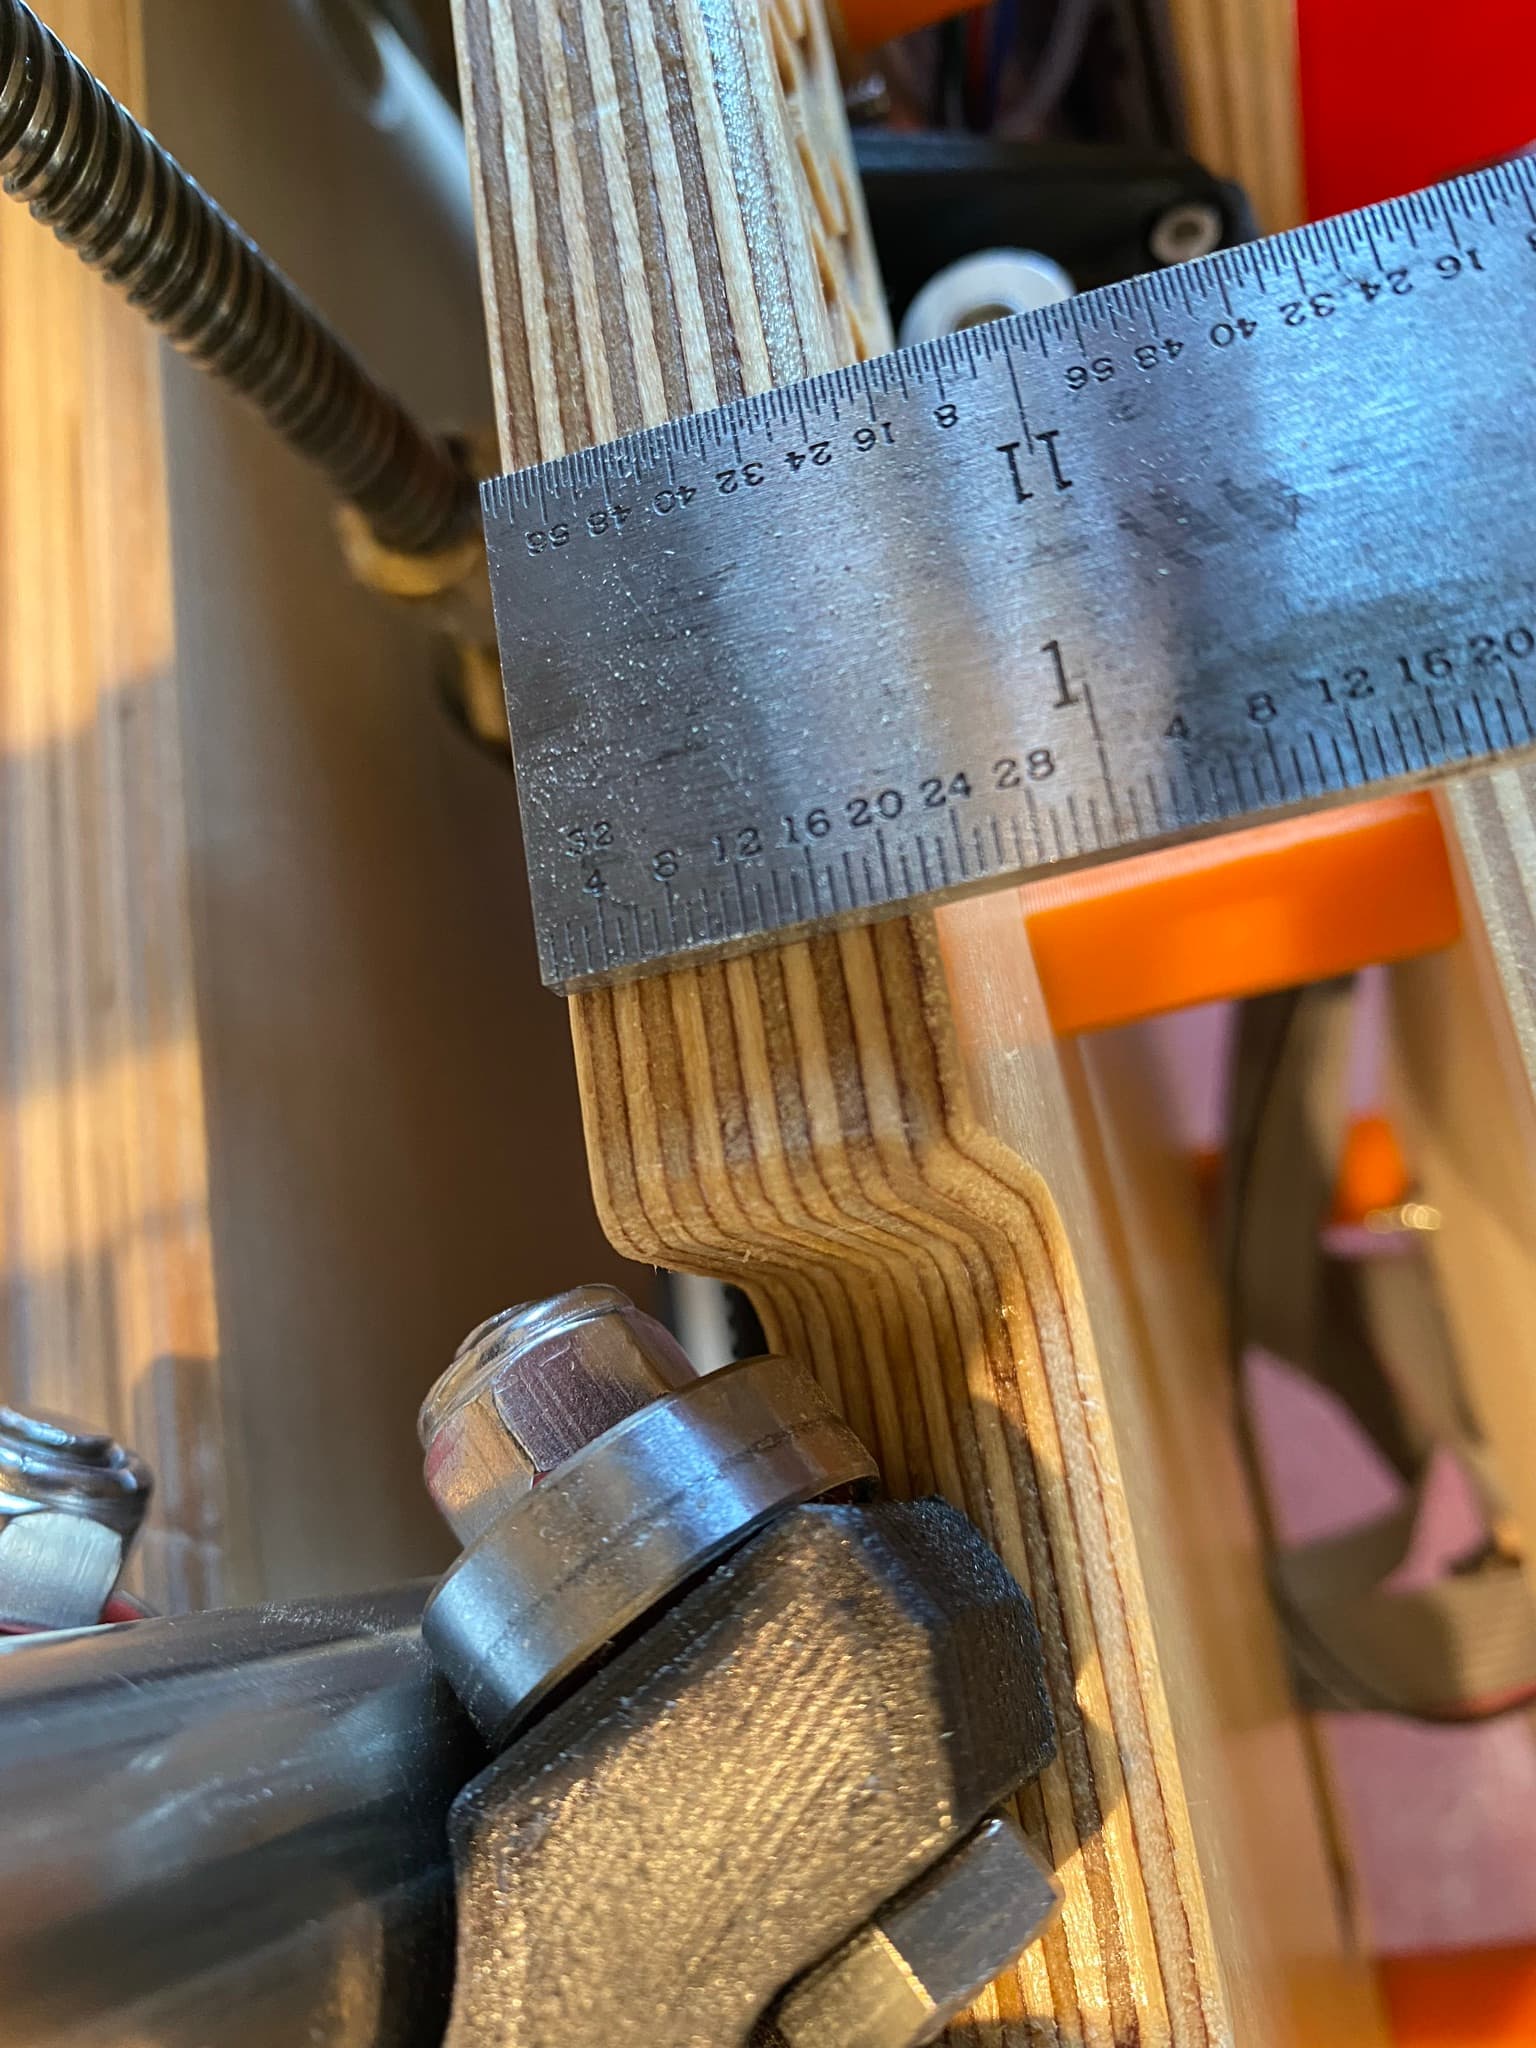
5/8" cabinet grade plywood for Y plate
The old Y plate was made out of MDF per spec. This worked fine but since I was redoing everything, thick cabinet grade plywood was used with a custom design to accommodate the hardware. This turned out to be a great upgrade adding to the overall rigidity of the build.
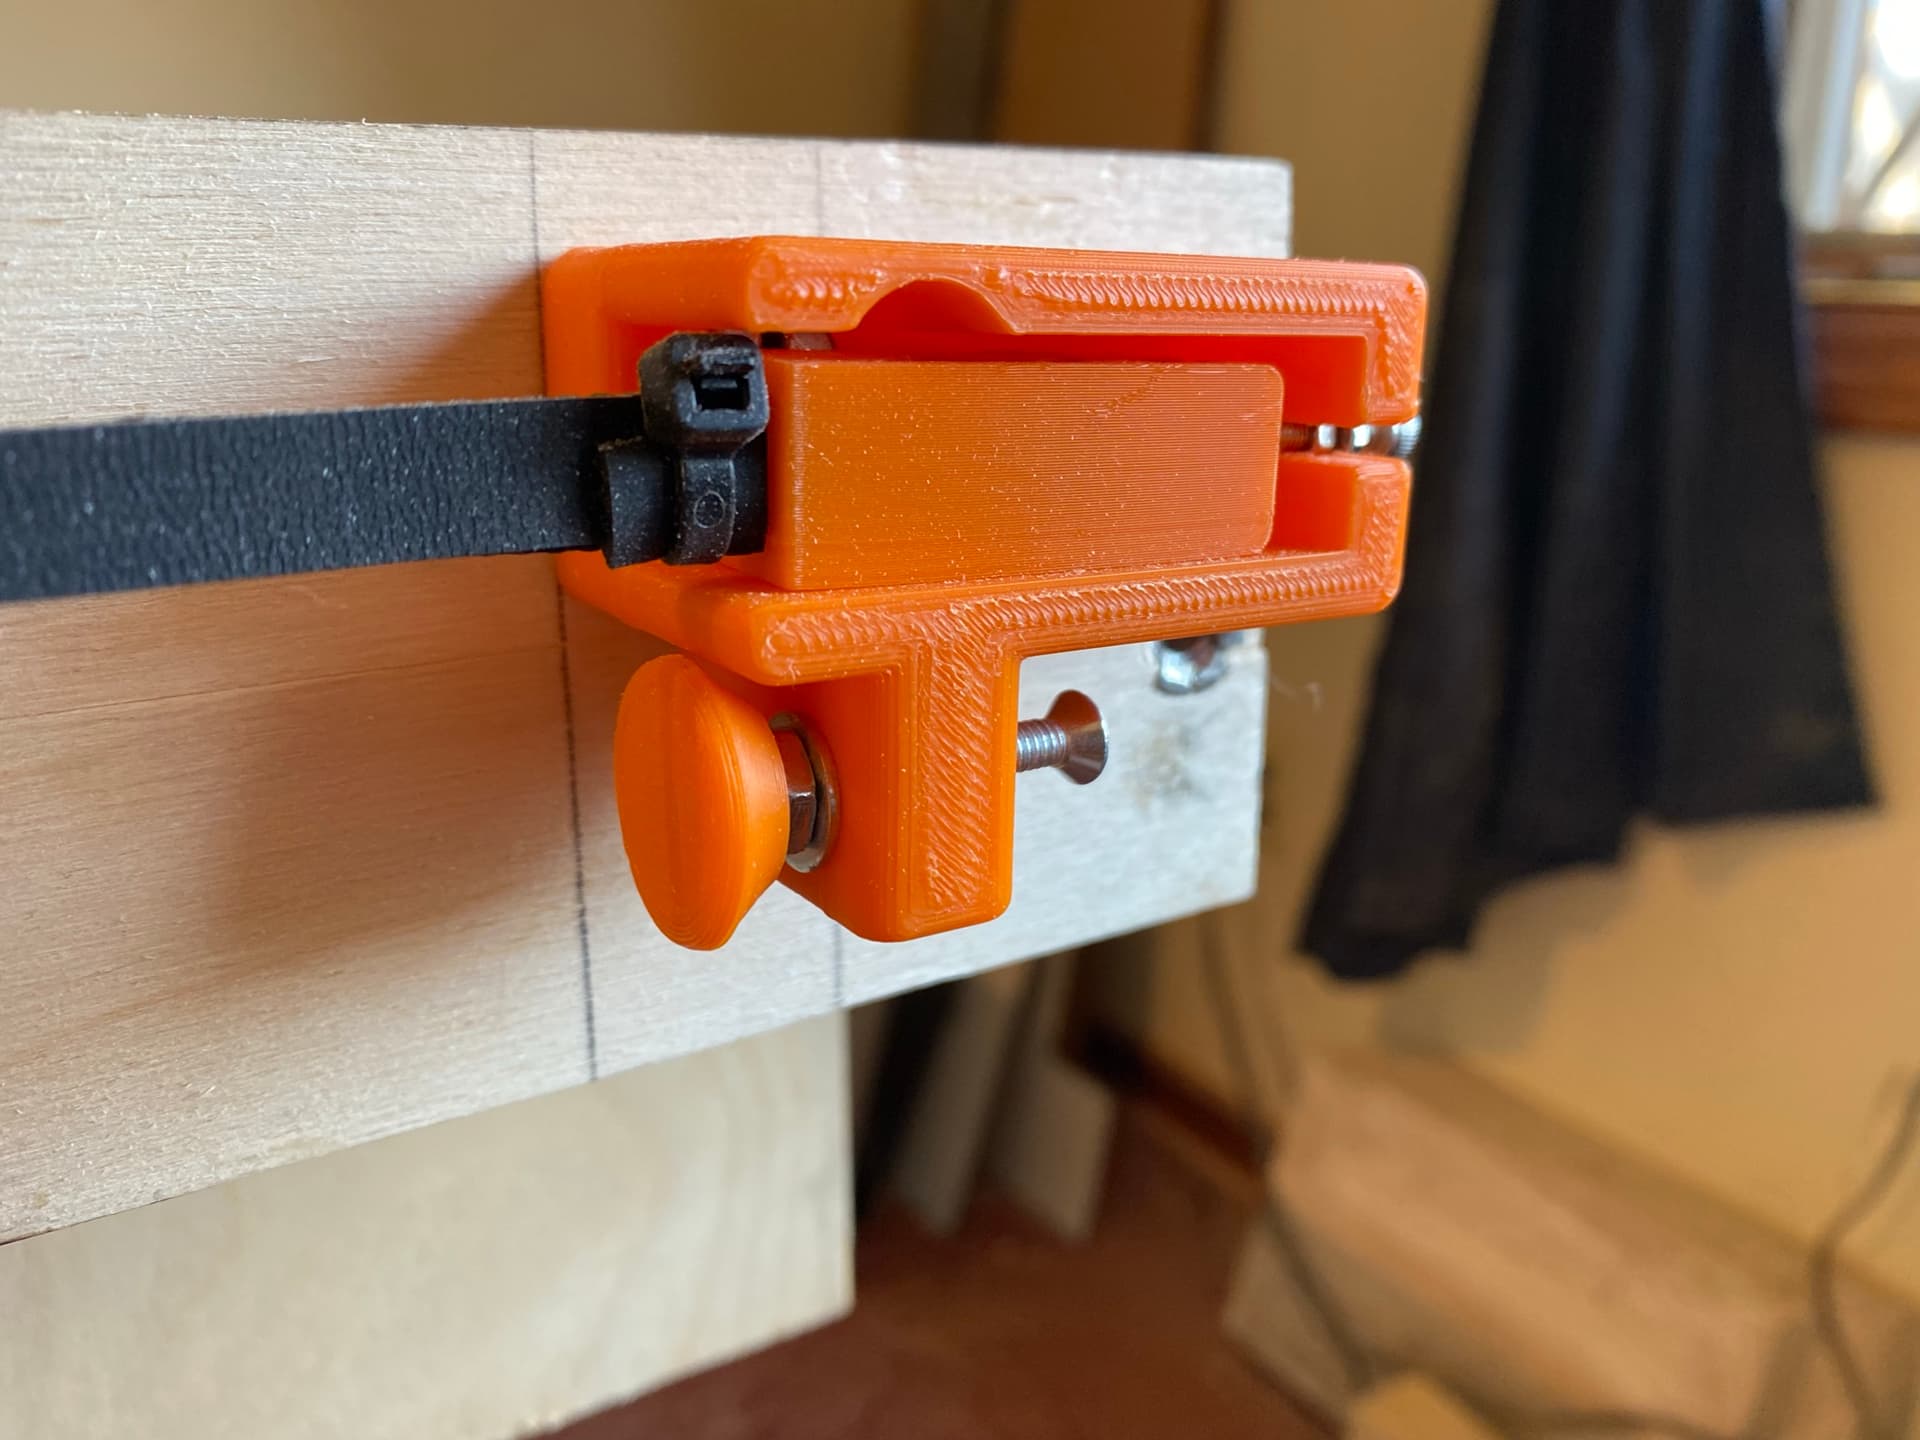
Furniture bolts were used in the “main board” so I could add “daughter boards” to it without having to drill holes or modify the main structure. Also helps to hide cables.
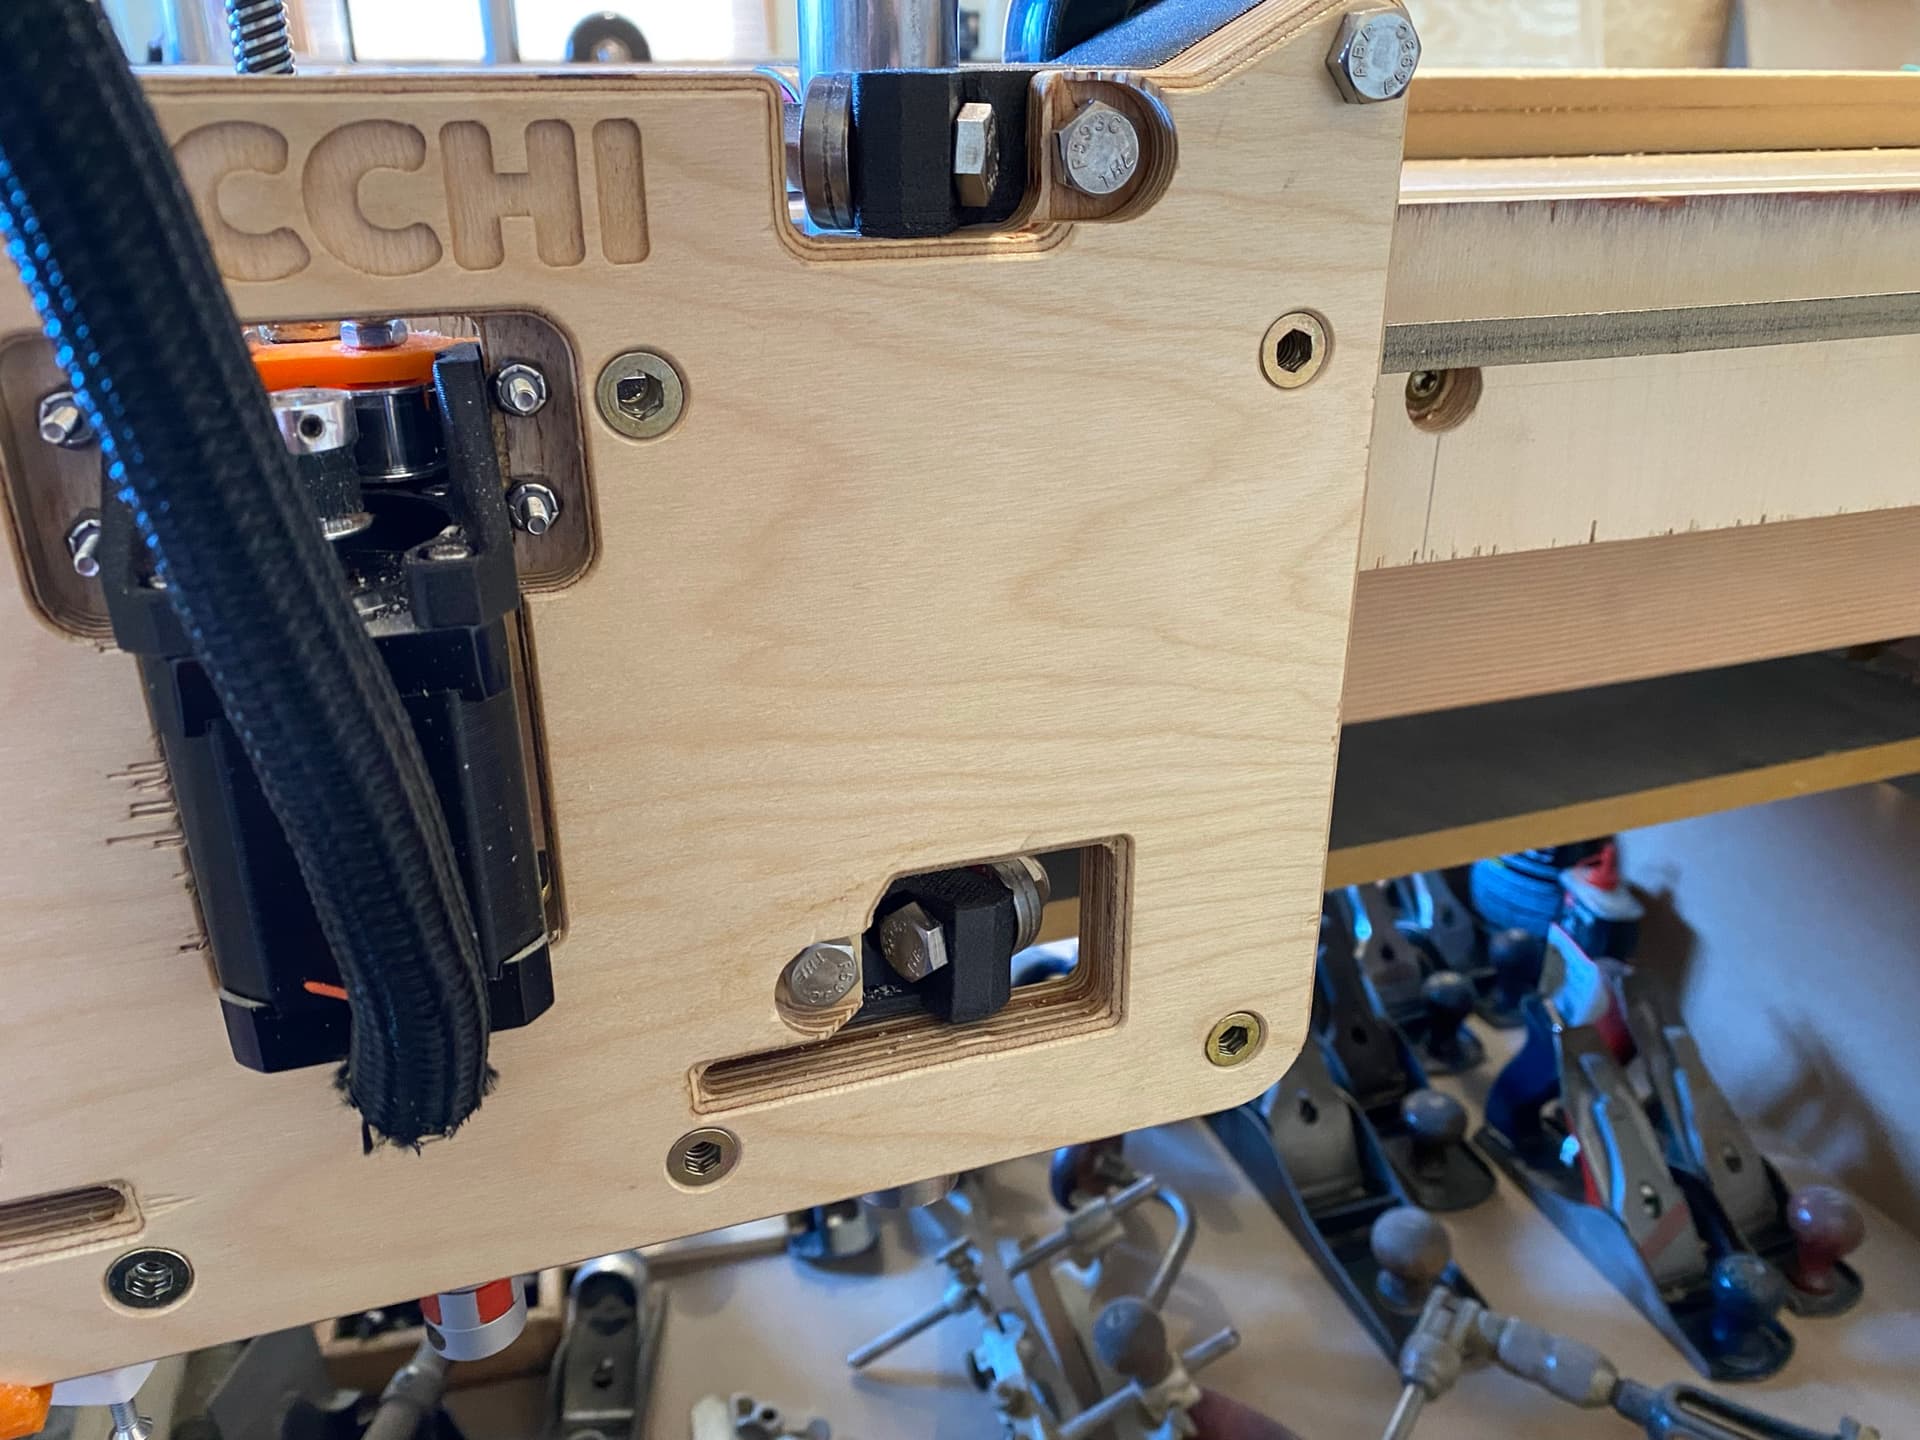
Bush league mounting system
Y Rail Groove
A lot of people suggest this mod. It’s OK and maybe my implementation isn’t the best but it works. One nice feature is that because the wheels don’t touch the bottom of the groove, chips can fall into there and out of the way of the machine. It does add some rigidity across the machine but not game changing.
Dual X Motors
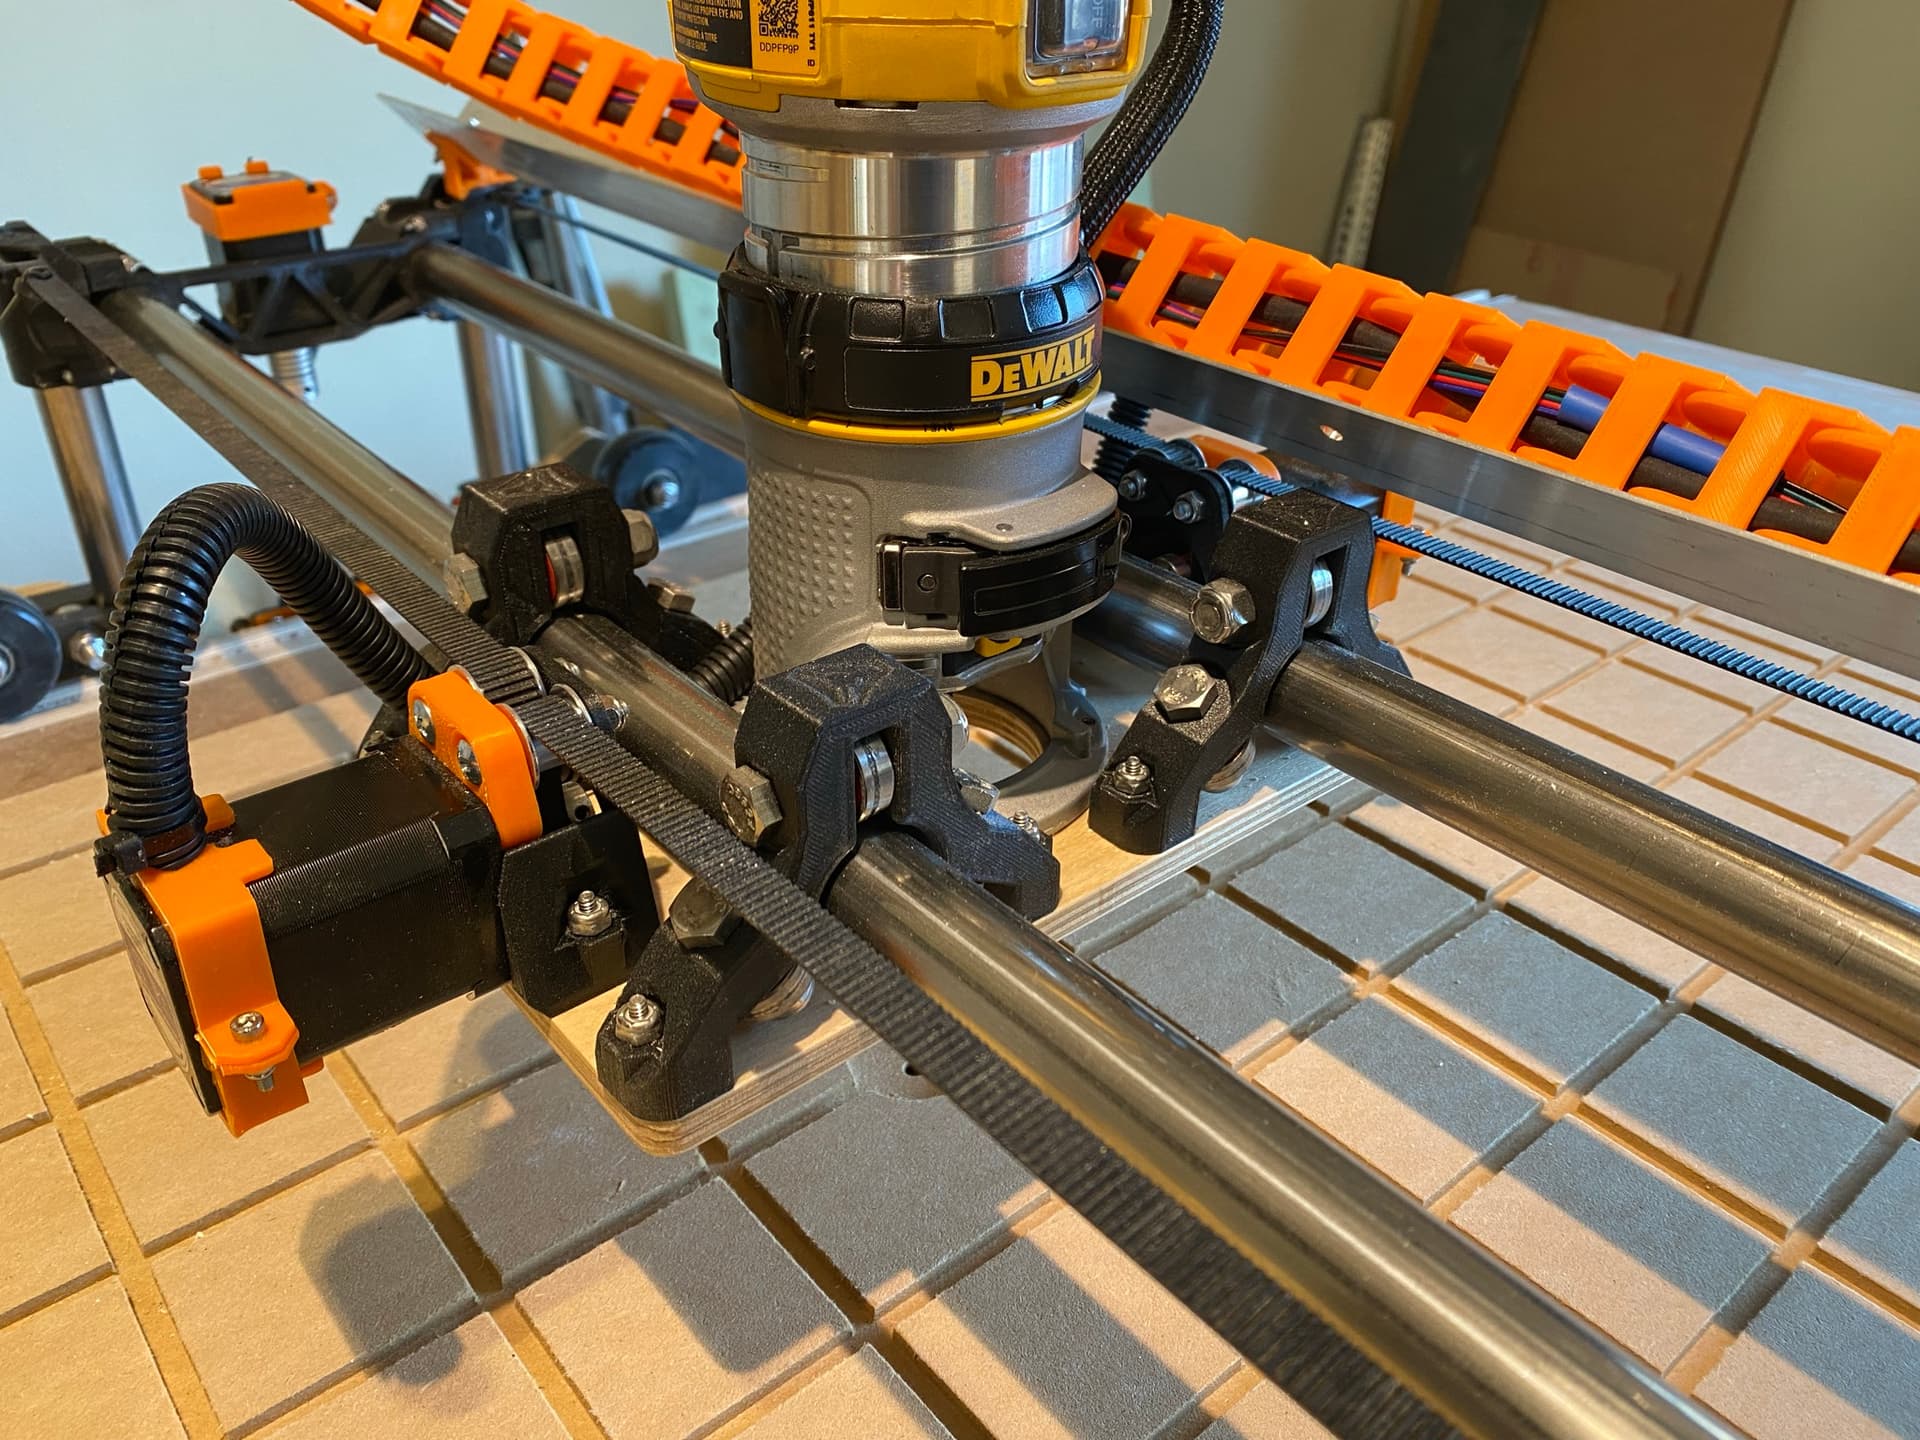
My X axis always seemed to be the weakest part of my initial build and the vacuum port on the LR2 never seemed to work very well for me. So I decided to ditch the port and at another stepper. The mod was fairly straight forward and it does SEEM to be more rigid and powerful. Operational hours will tell if that is the case over time.
Beefier NEMA 17 Steppers
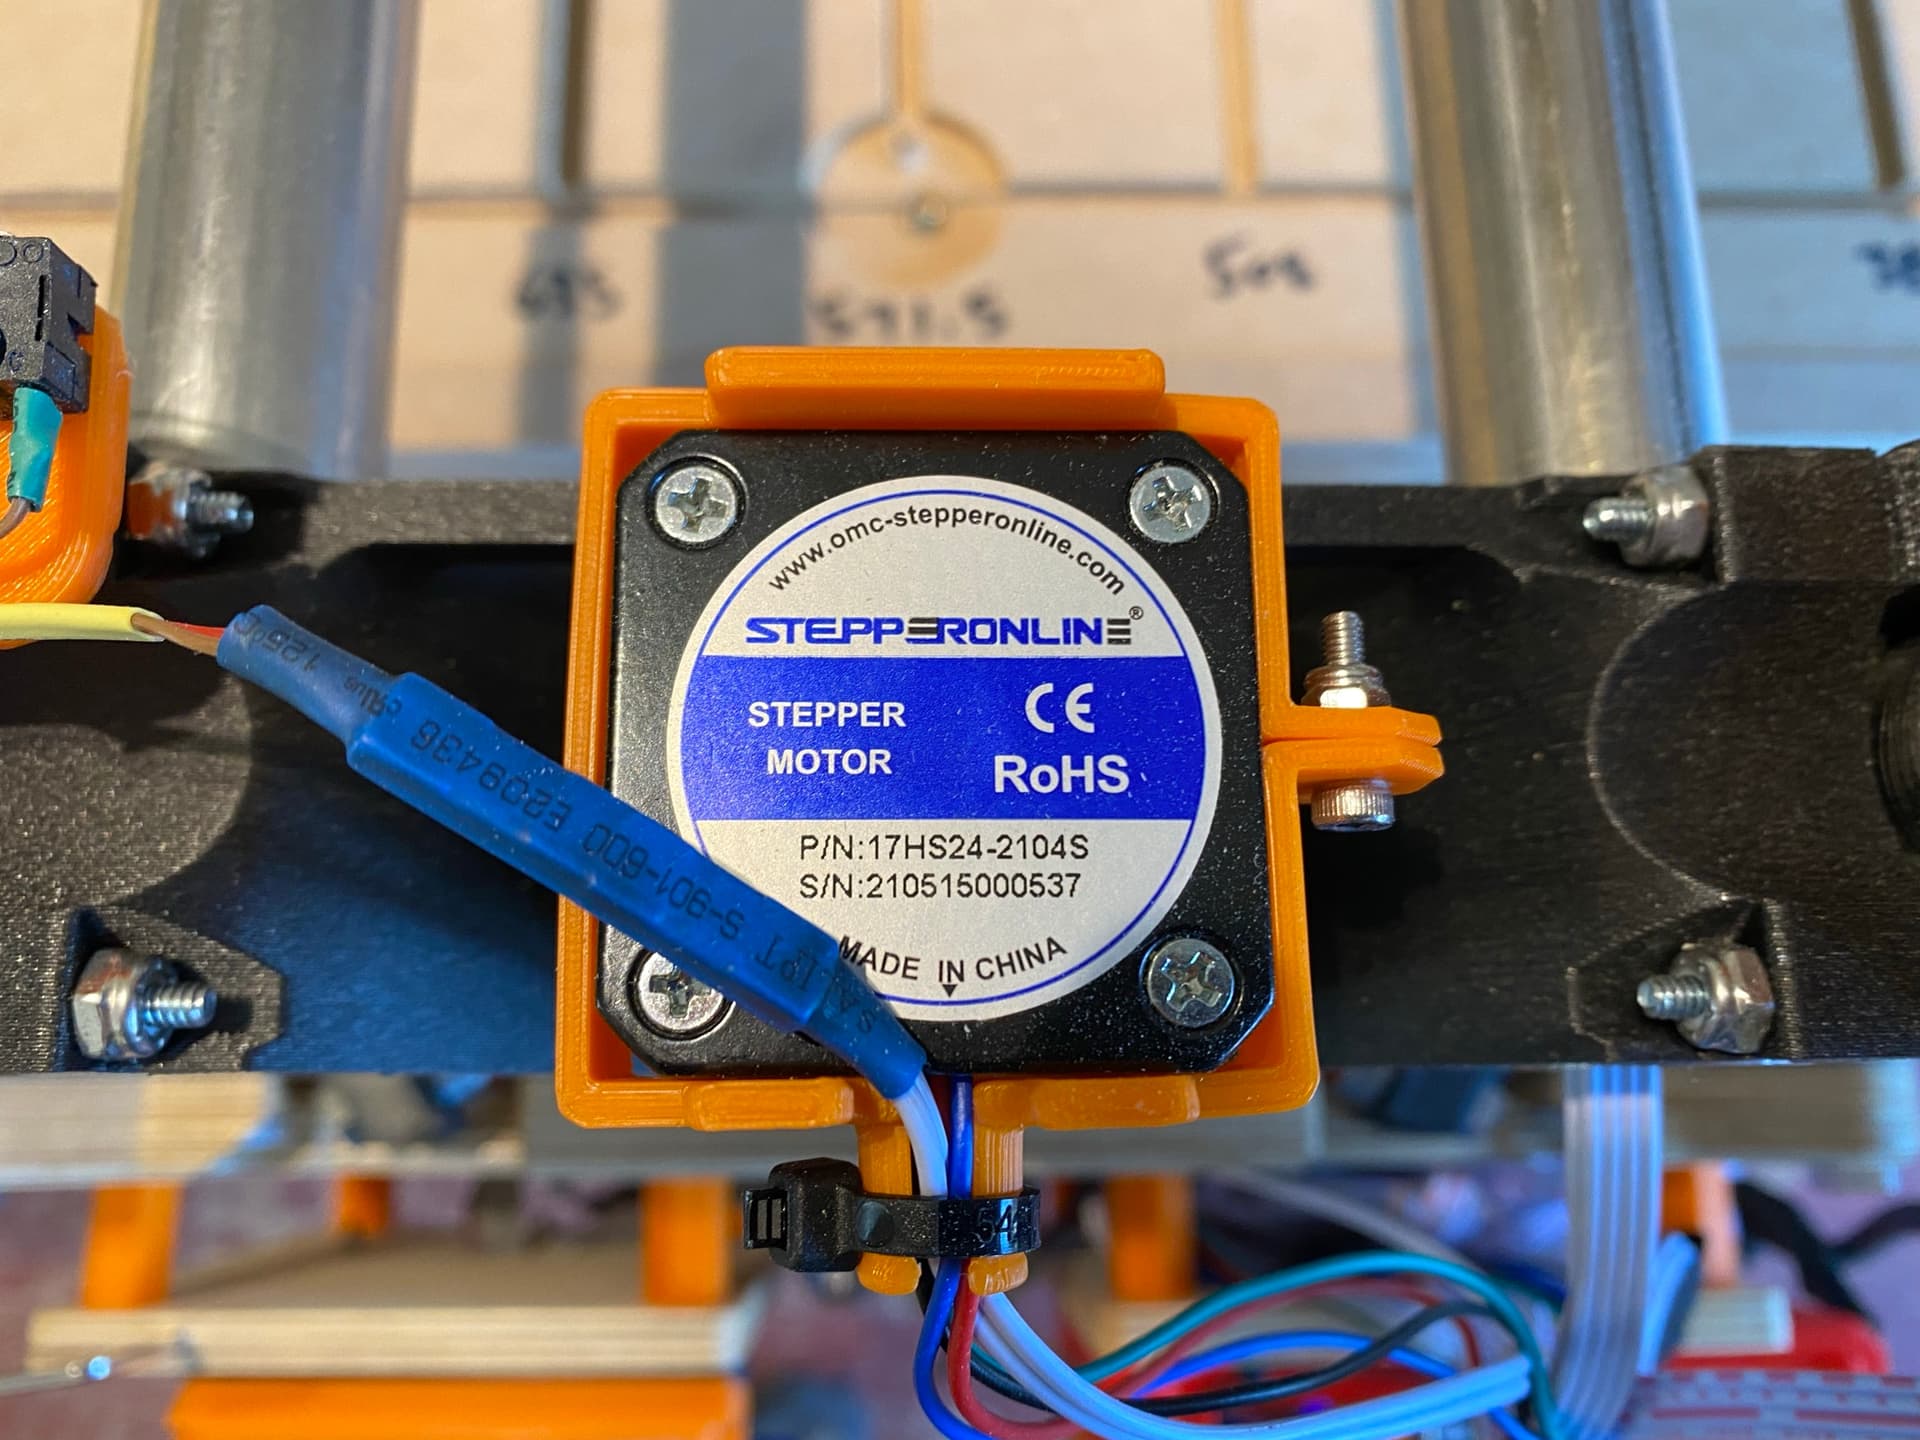
I went with slightly higher spec NEMA 17 steppers for the rebuild. This wasn’t based on any scientific reason but it did stick with my theme of overbuilt. The steppers were able to take quite a bit more current than the previous steppers though while running noticeably cooler than the previous steppers. More testing would be needed to prove if these really do make a difference but given the price it was worth it for peace of mind.
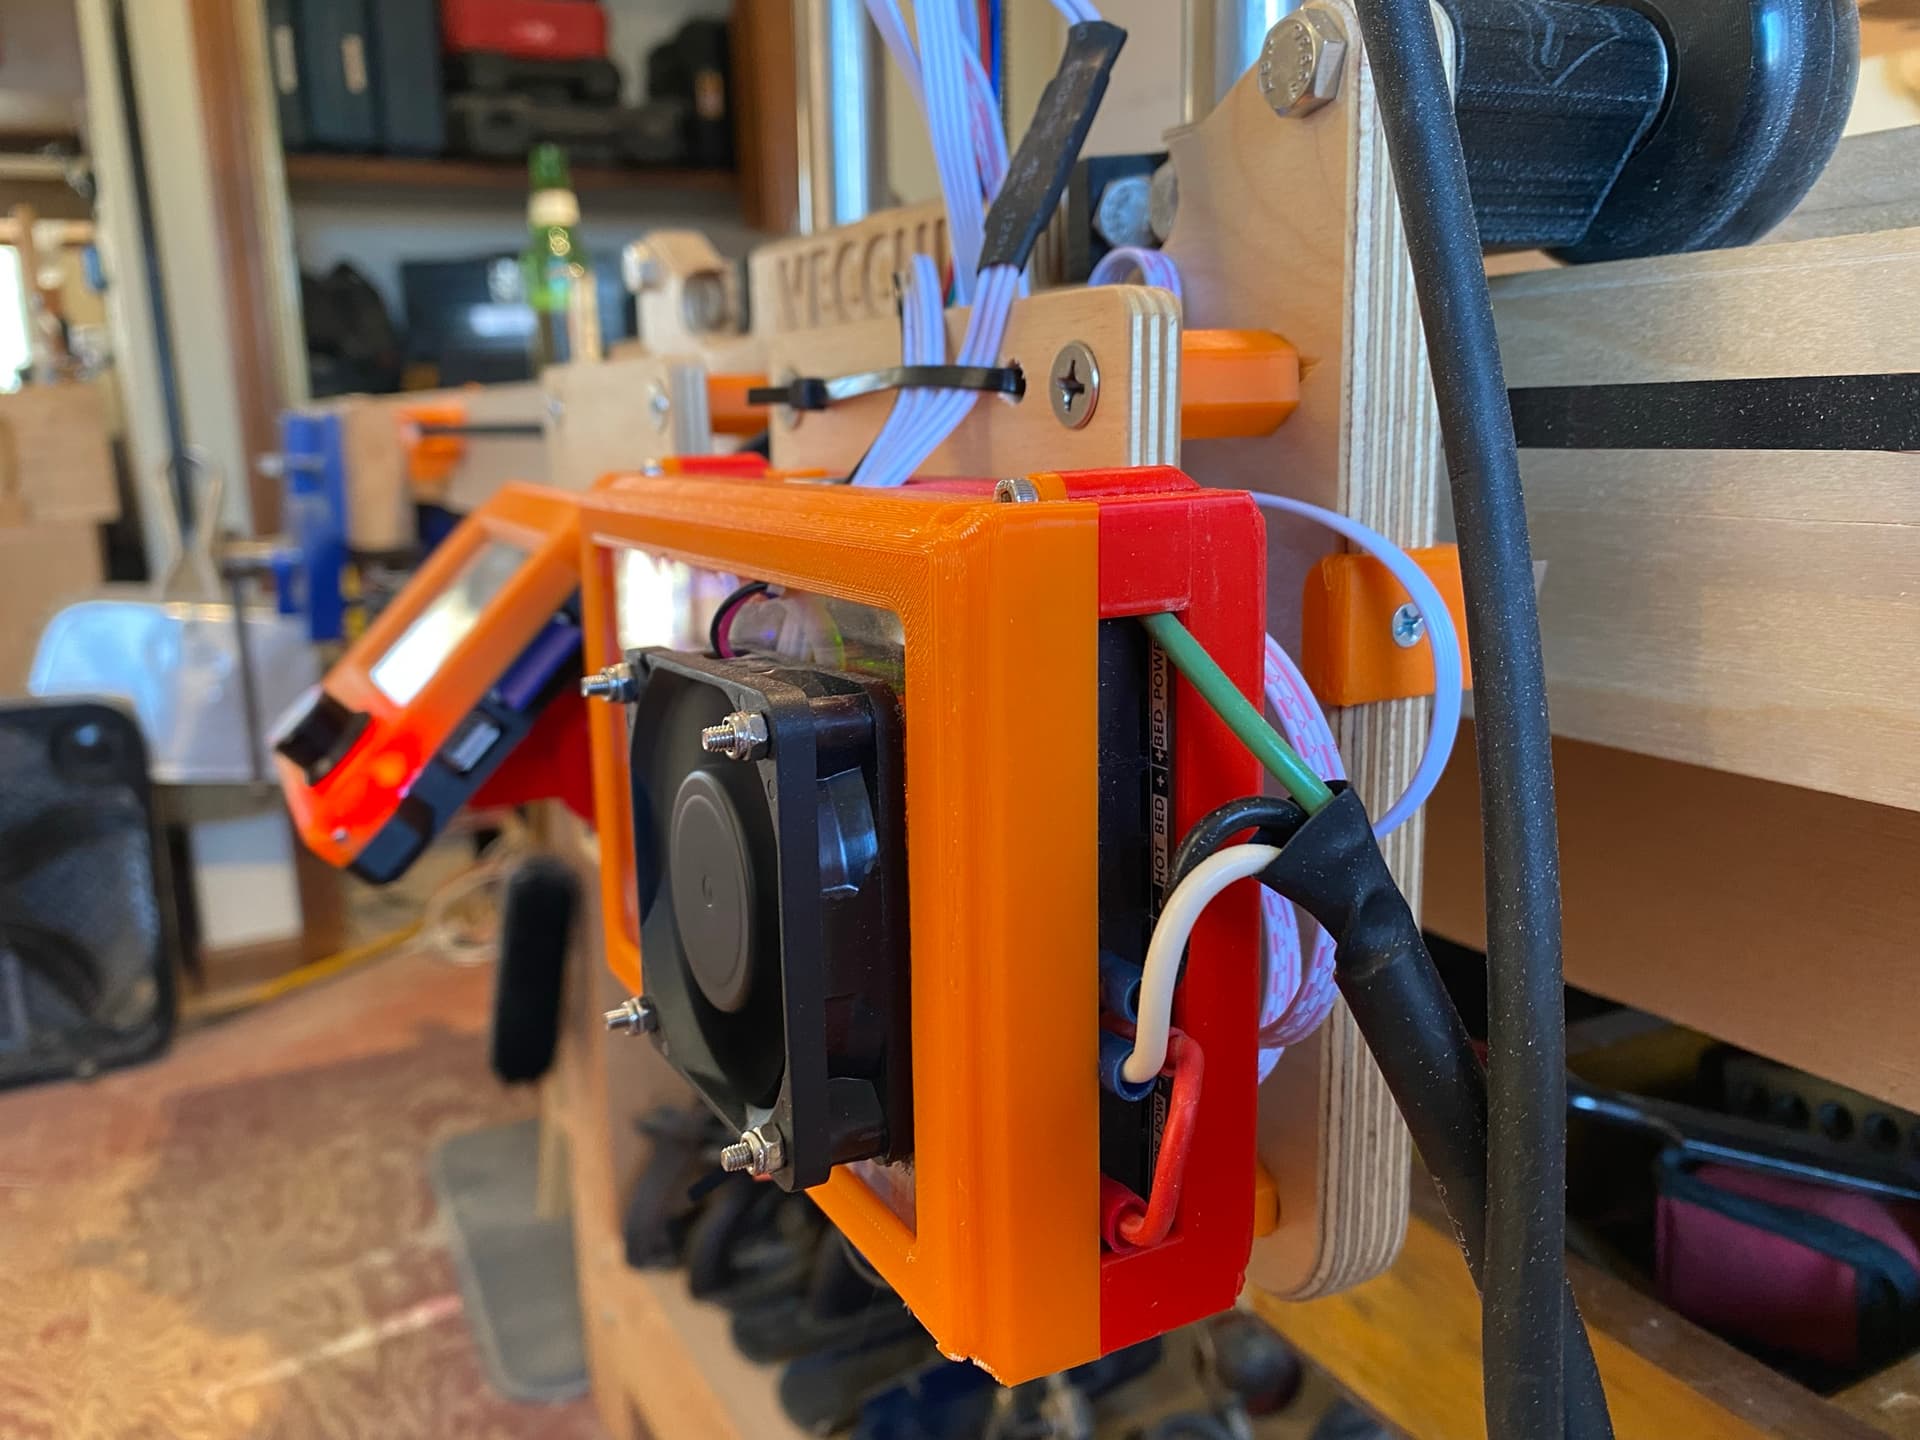
Stand Alone Power Supply
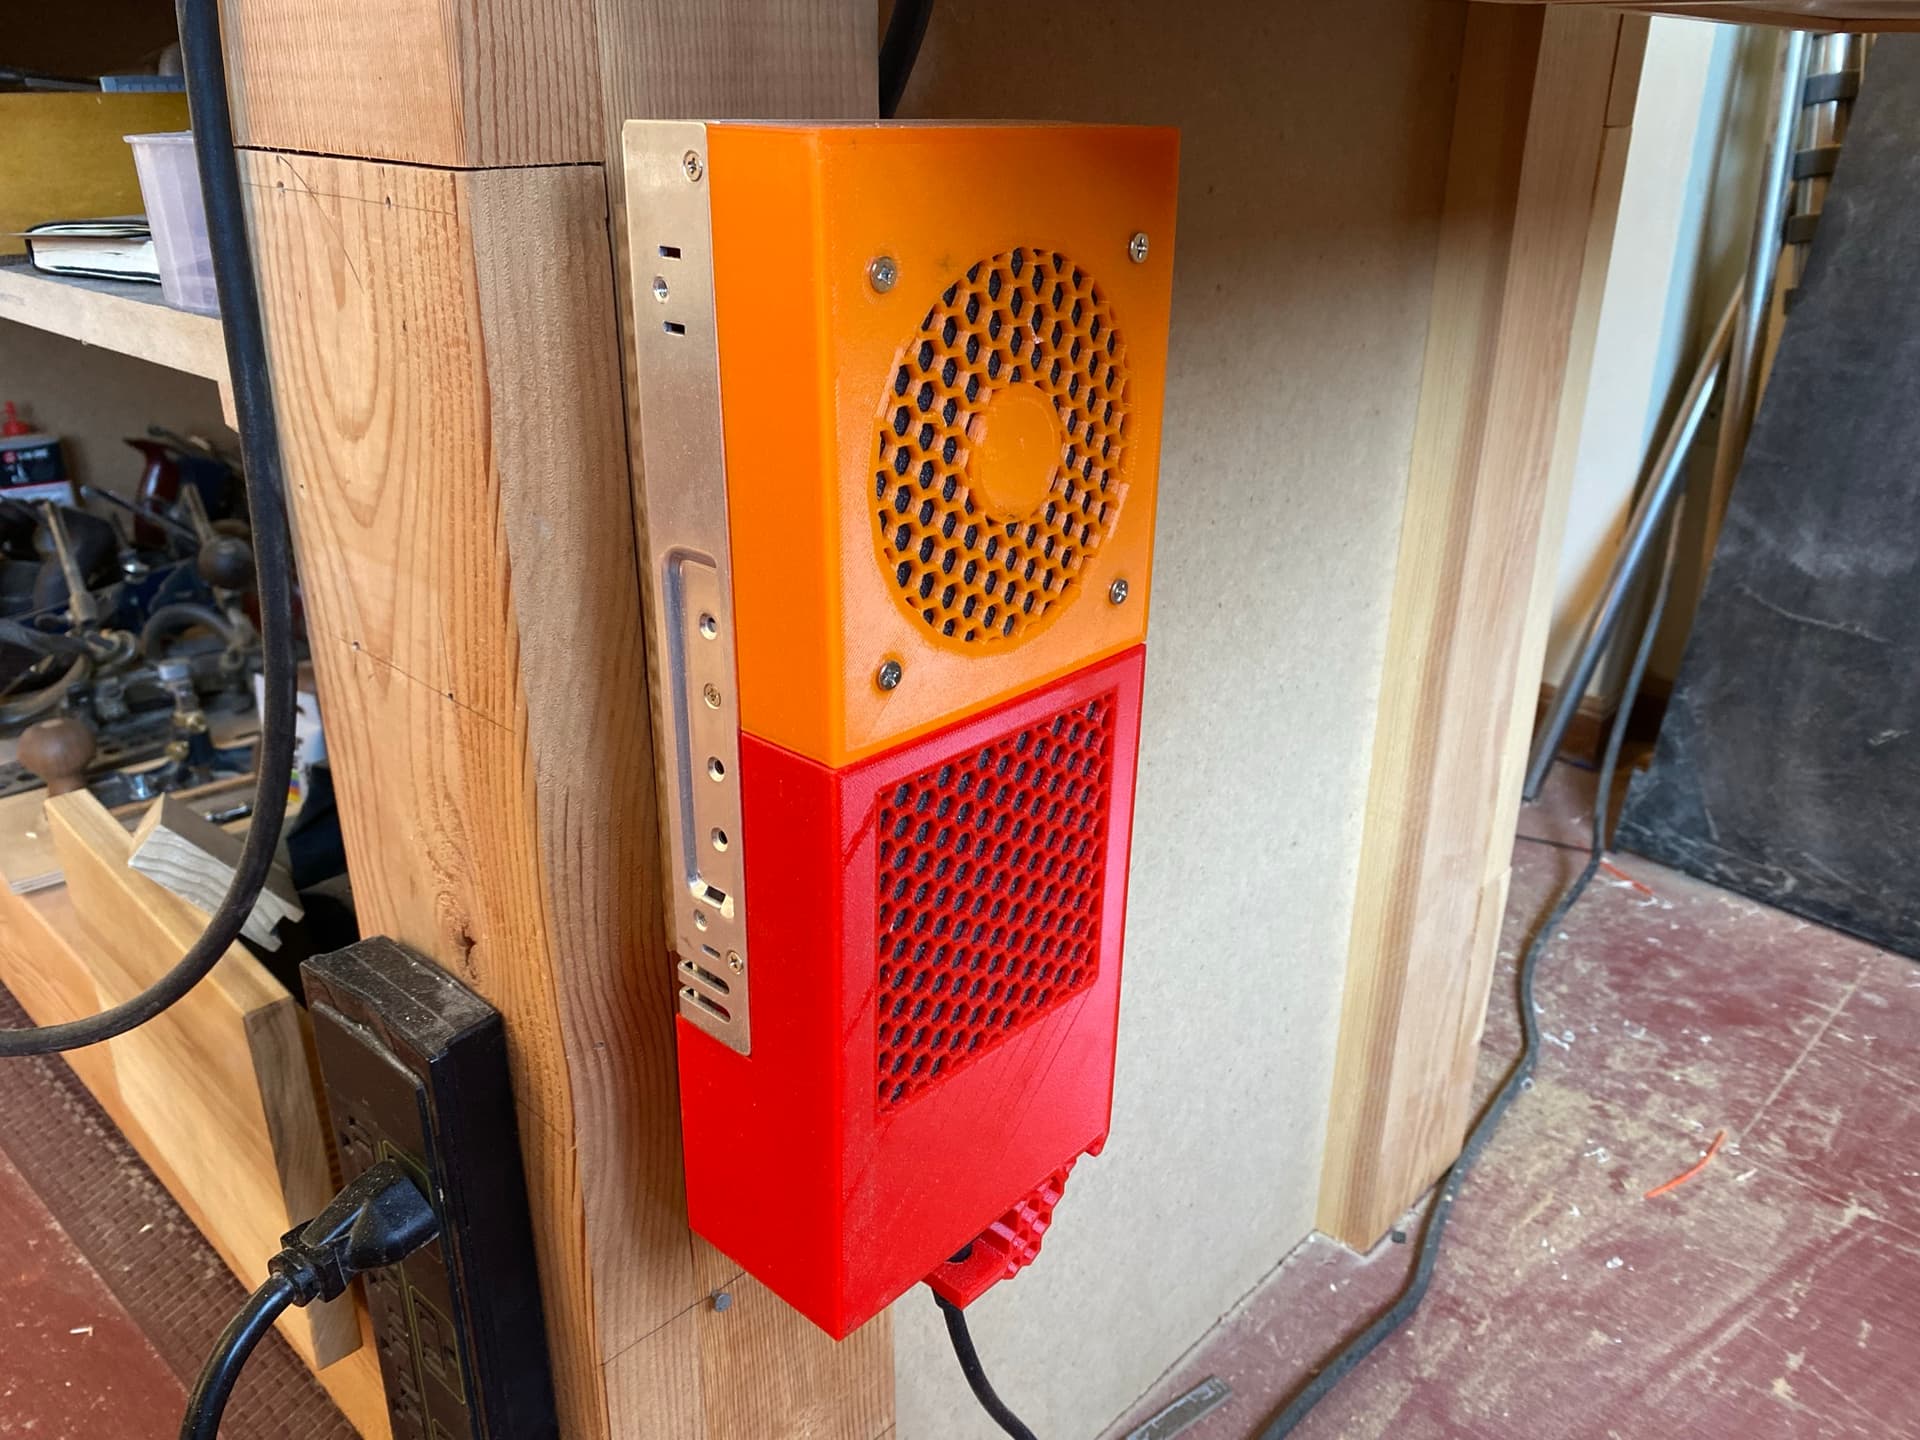
I wasn’t keen on the dangling AC adapter that I had on the previous build so a Meanwell 24v Power Supply was used on this build. A custom case was printed from Thingiverse to tidy it up. Firmware was changed to 24v. Not sure how much this change matters but it still looks a lot cleaner and runs nice and cool.
