OK, here’s the picture when I started:
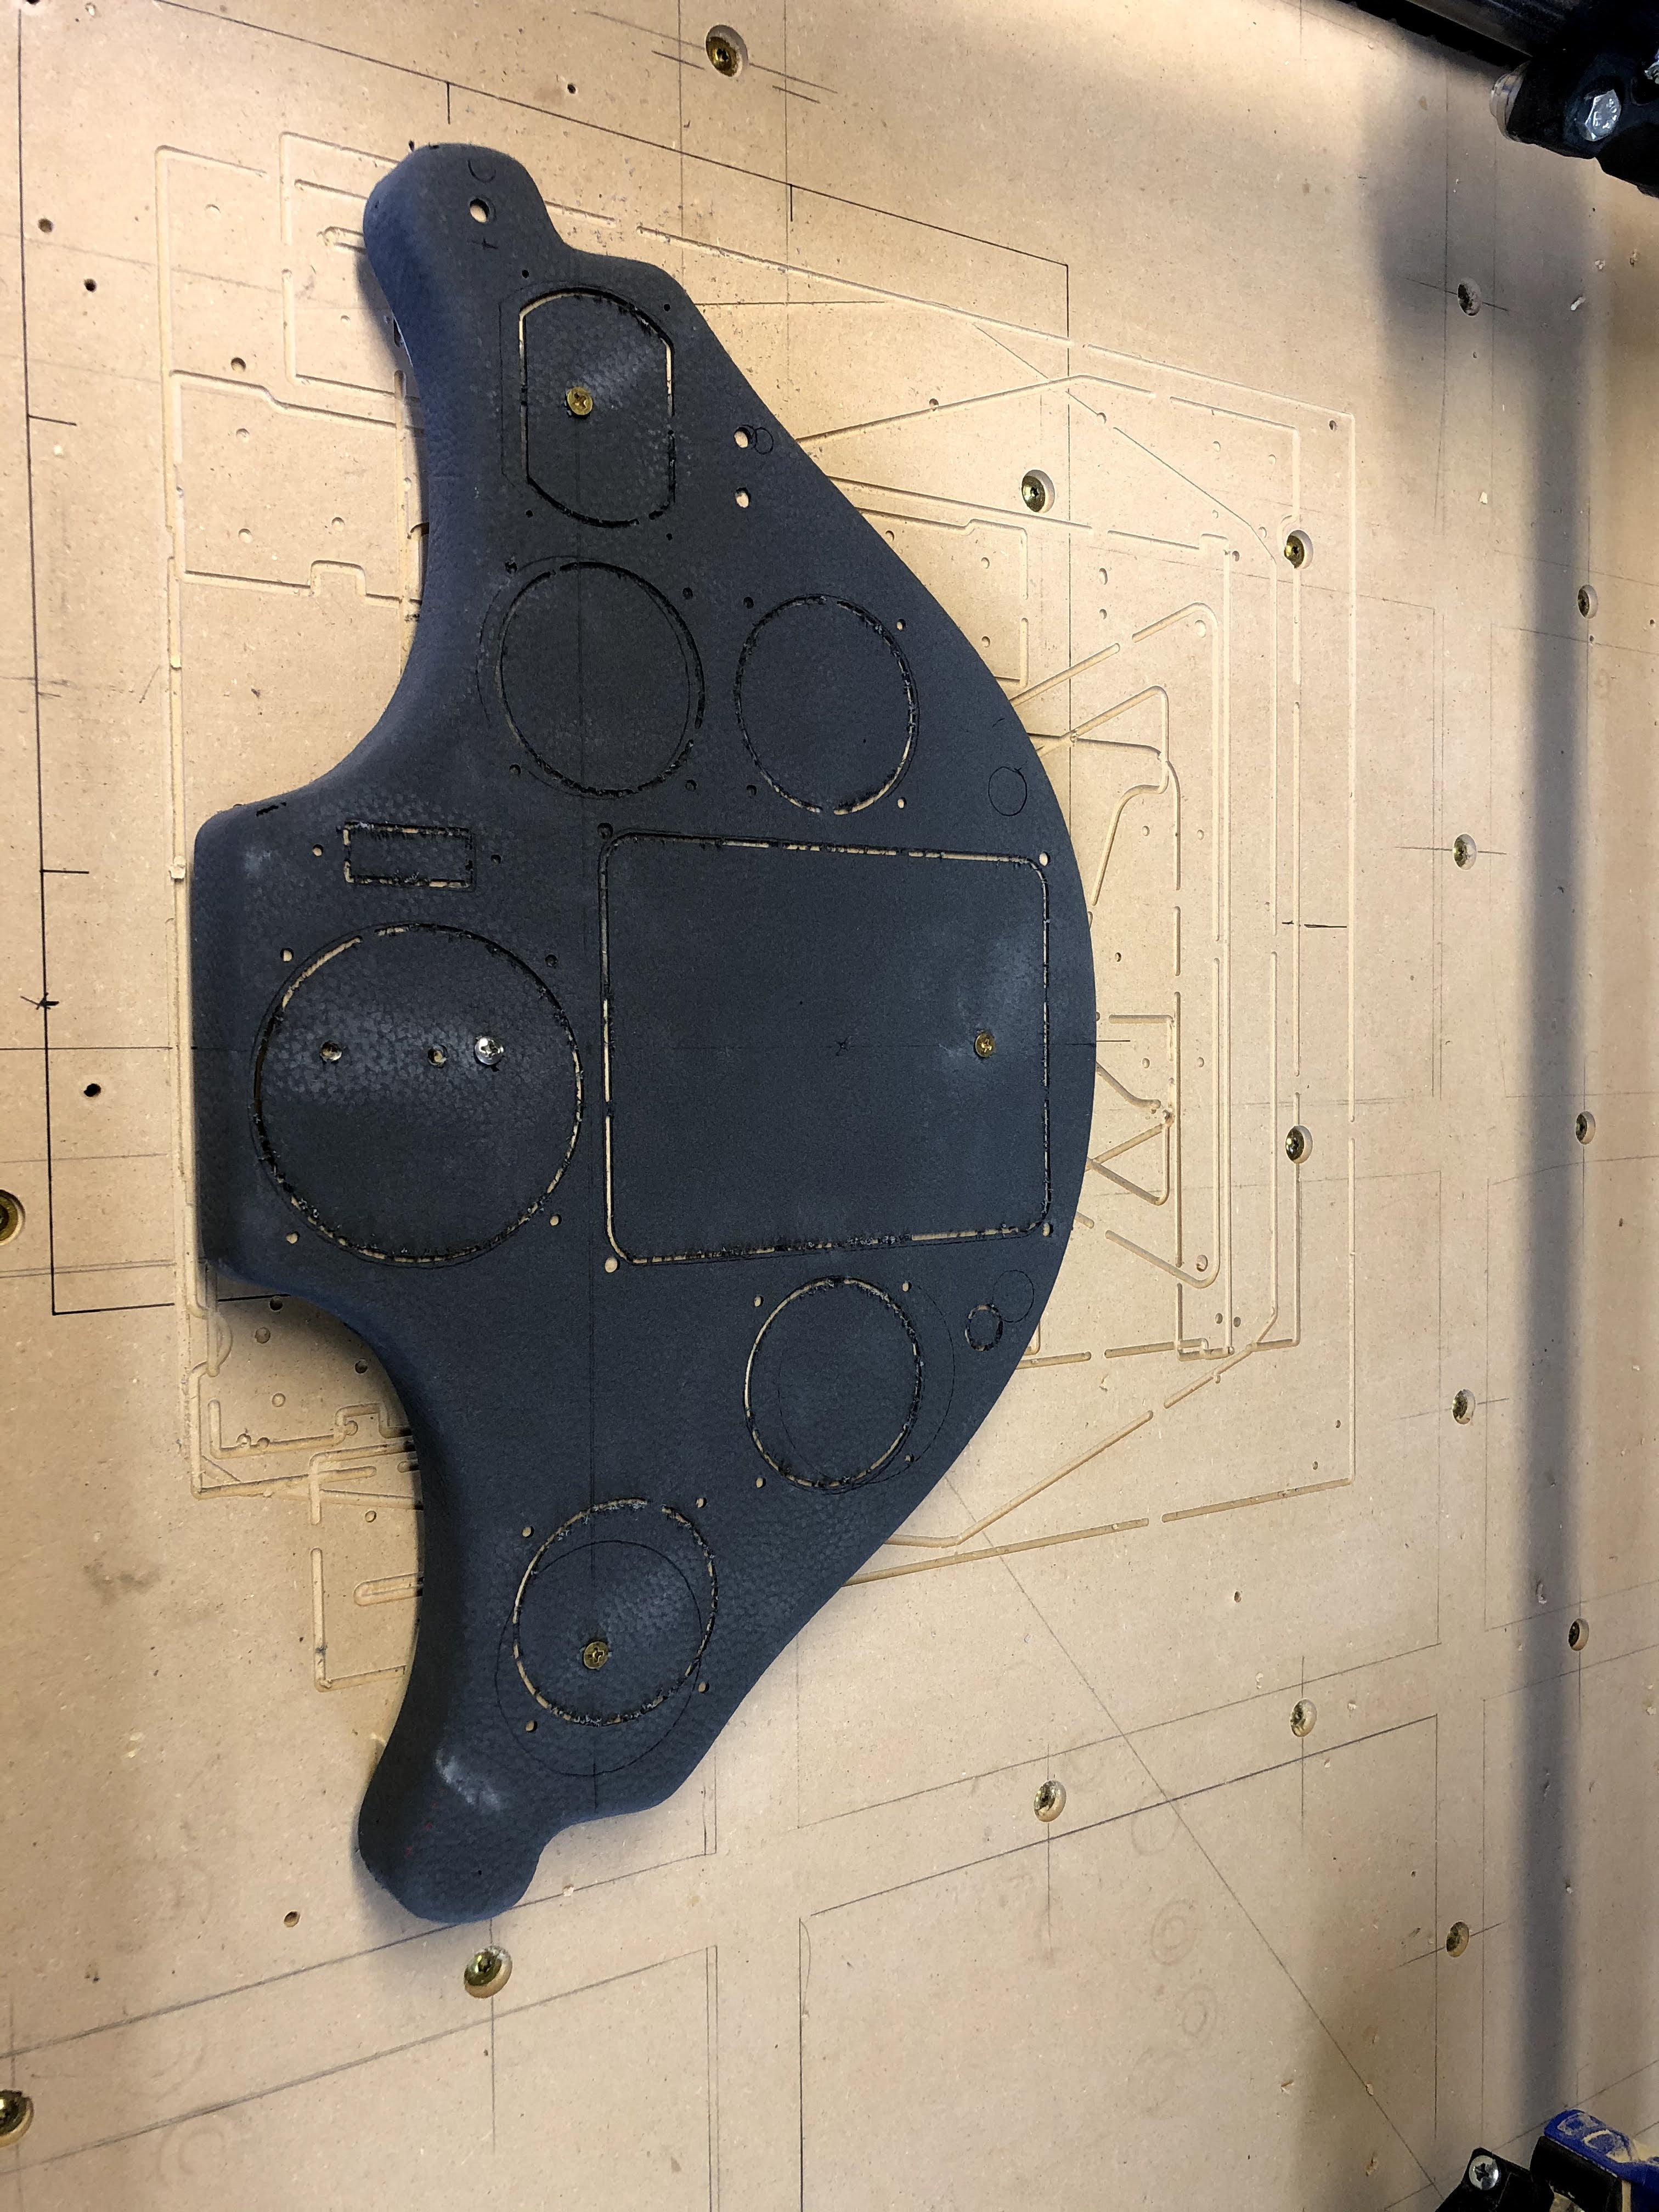
And here’s the finished (NOT) part:
BUT… There was a problem. All the opening were smaller than designed, and I was using the same instrument patterns from the previous panel. ??? Everything was about 1mm smaller.
As you can see, I needed to build up the surface of the table to allow the wrap-around of the panel blank. So the part was done (so I thought) and I removed the supports and put the router away before I found out the openings were wrong.
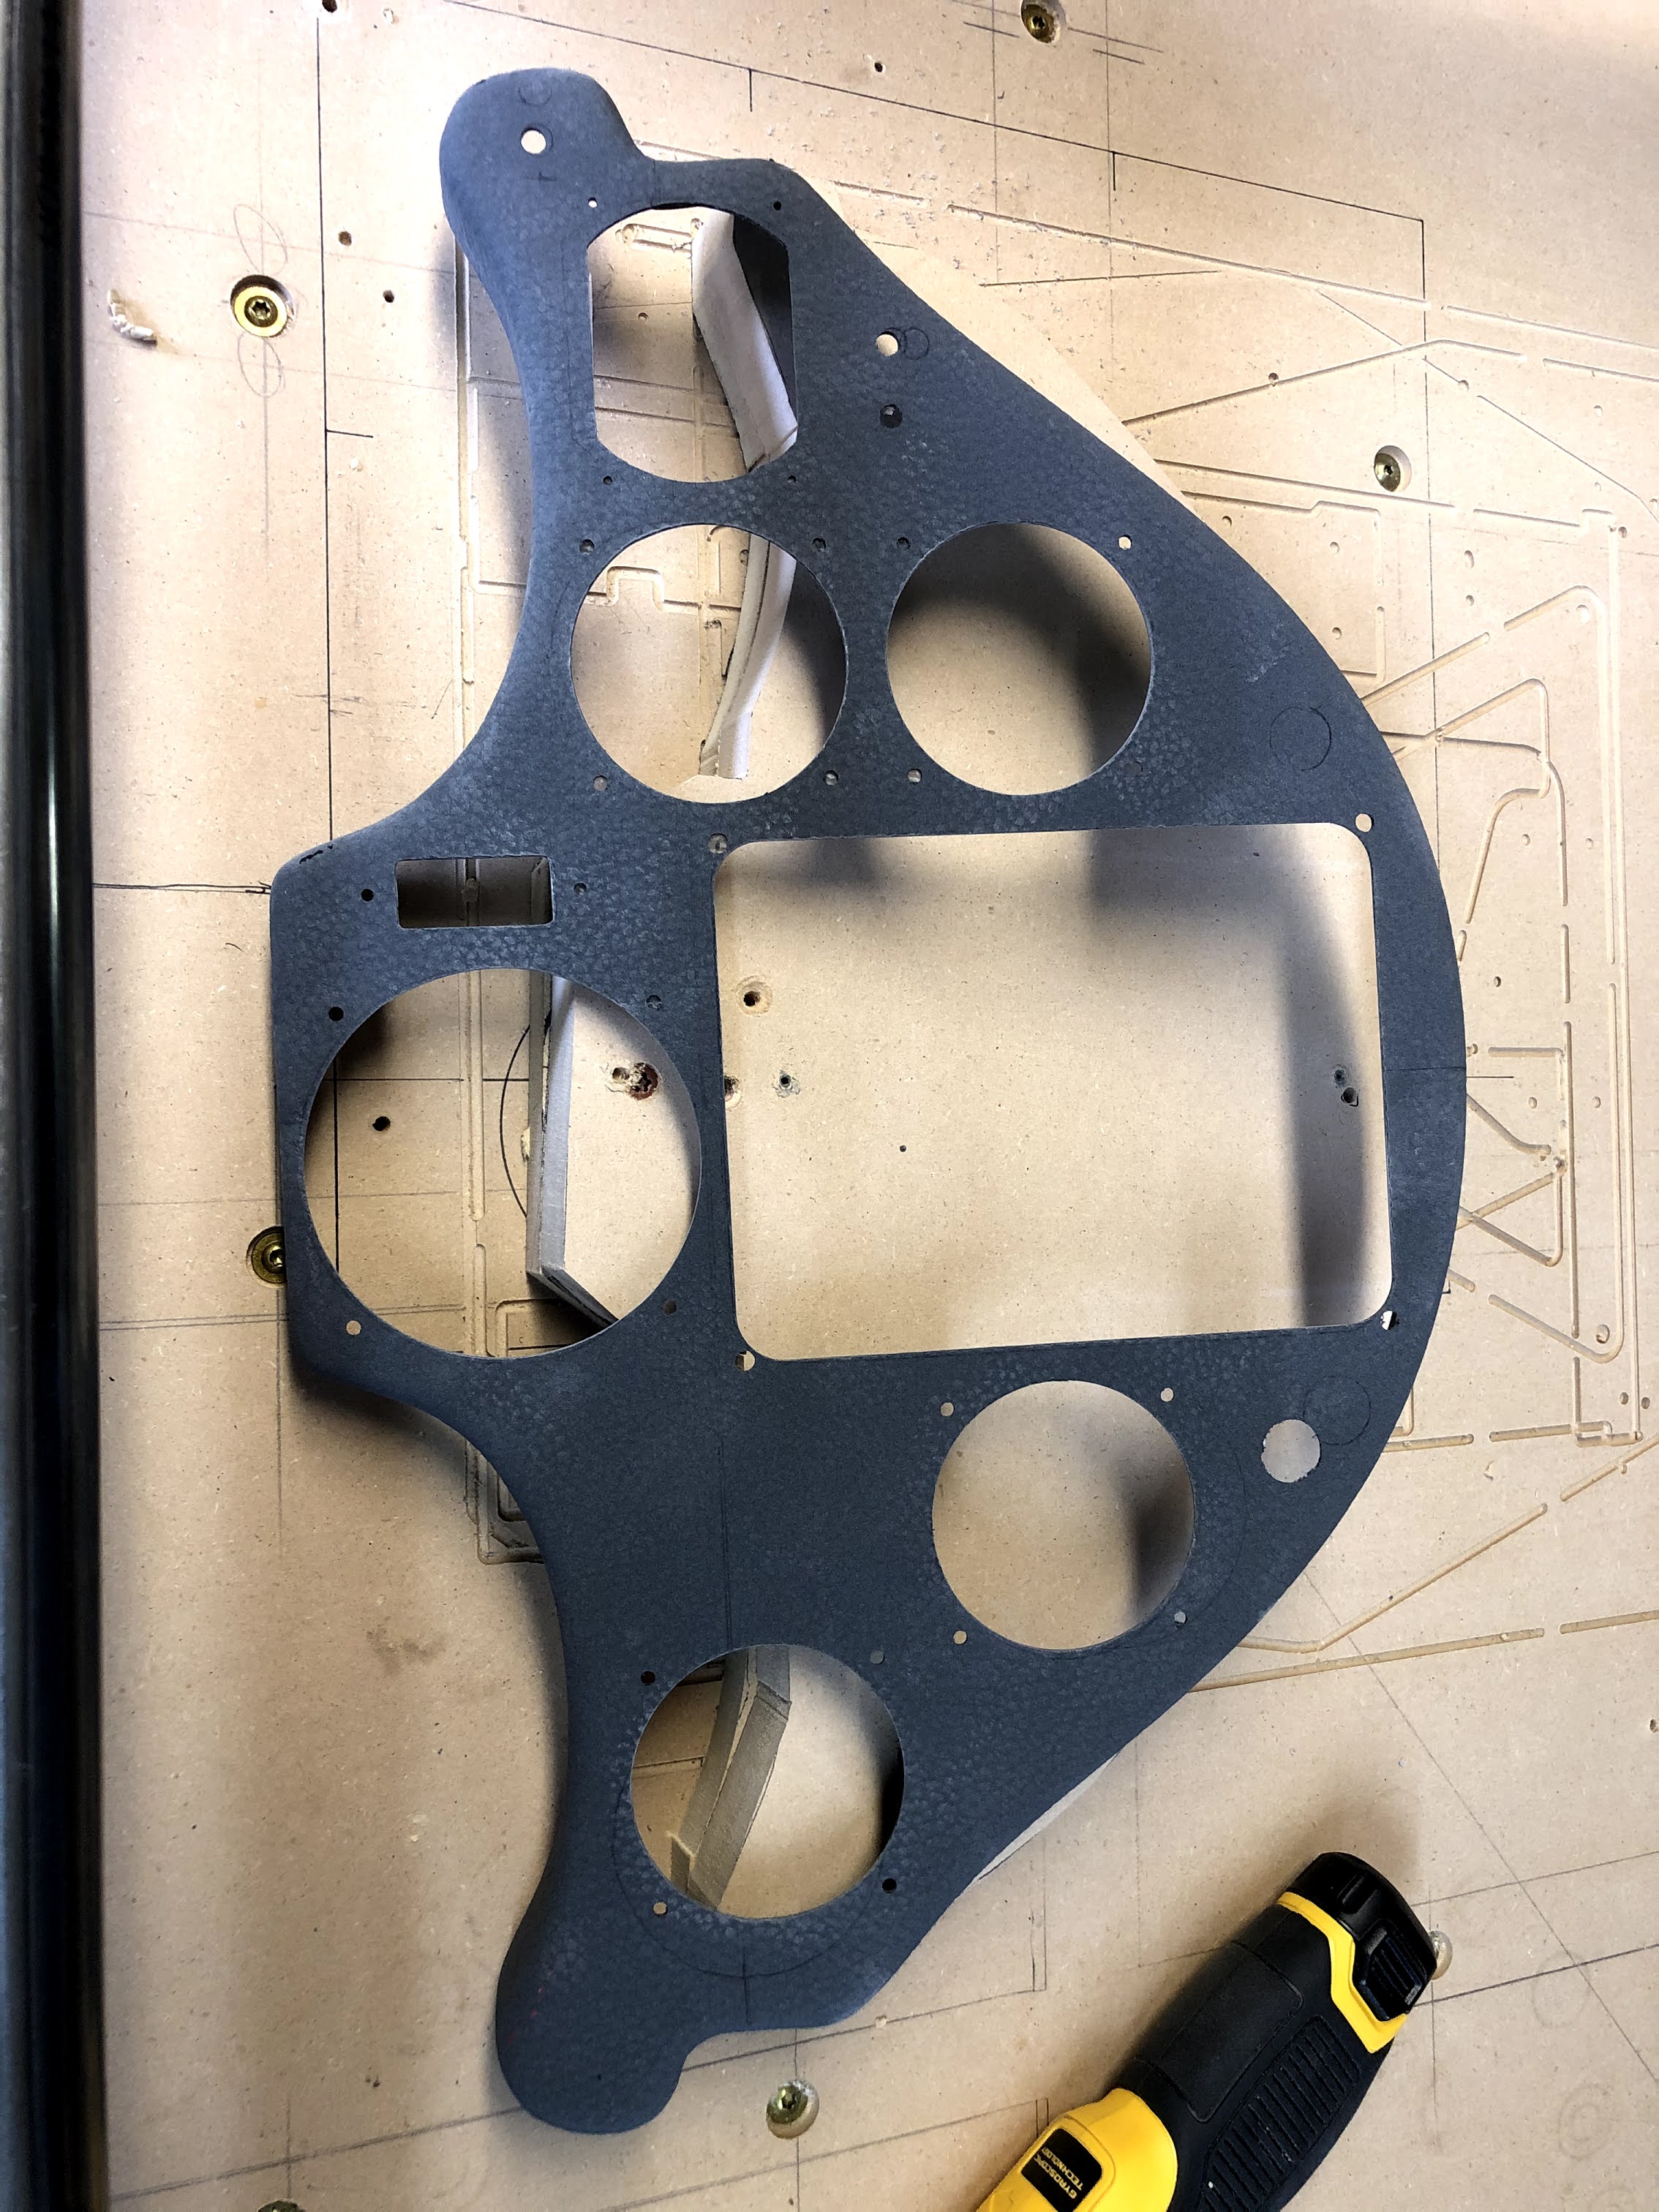
The cause of the problem was that in EstlCAM I had the 1/8 inch bit selected, but the one in the machine was 1/16!!
I was faced with opening up ALL the holes by 1/16 of an inch. Not what I wanted to do, and it would not be as clean as the router.
I needed to register the part on the router if I wanted to re-cut the holes with the correct bit. But the supports were gone, and the part had been screwed down with screws in the center of some of the holes that were now gone. That was the thing that I was most concerned about. I only have one of the panel blanks, and I didn’t want to have to patch it to re-cut it, or wait to get another one shipped to me.
This is how I solved the problem (after getting frustrated enlarging one hole).
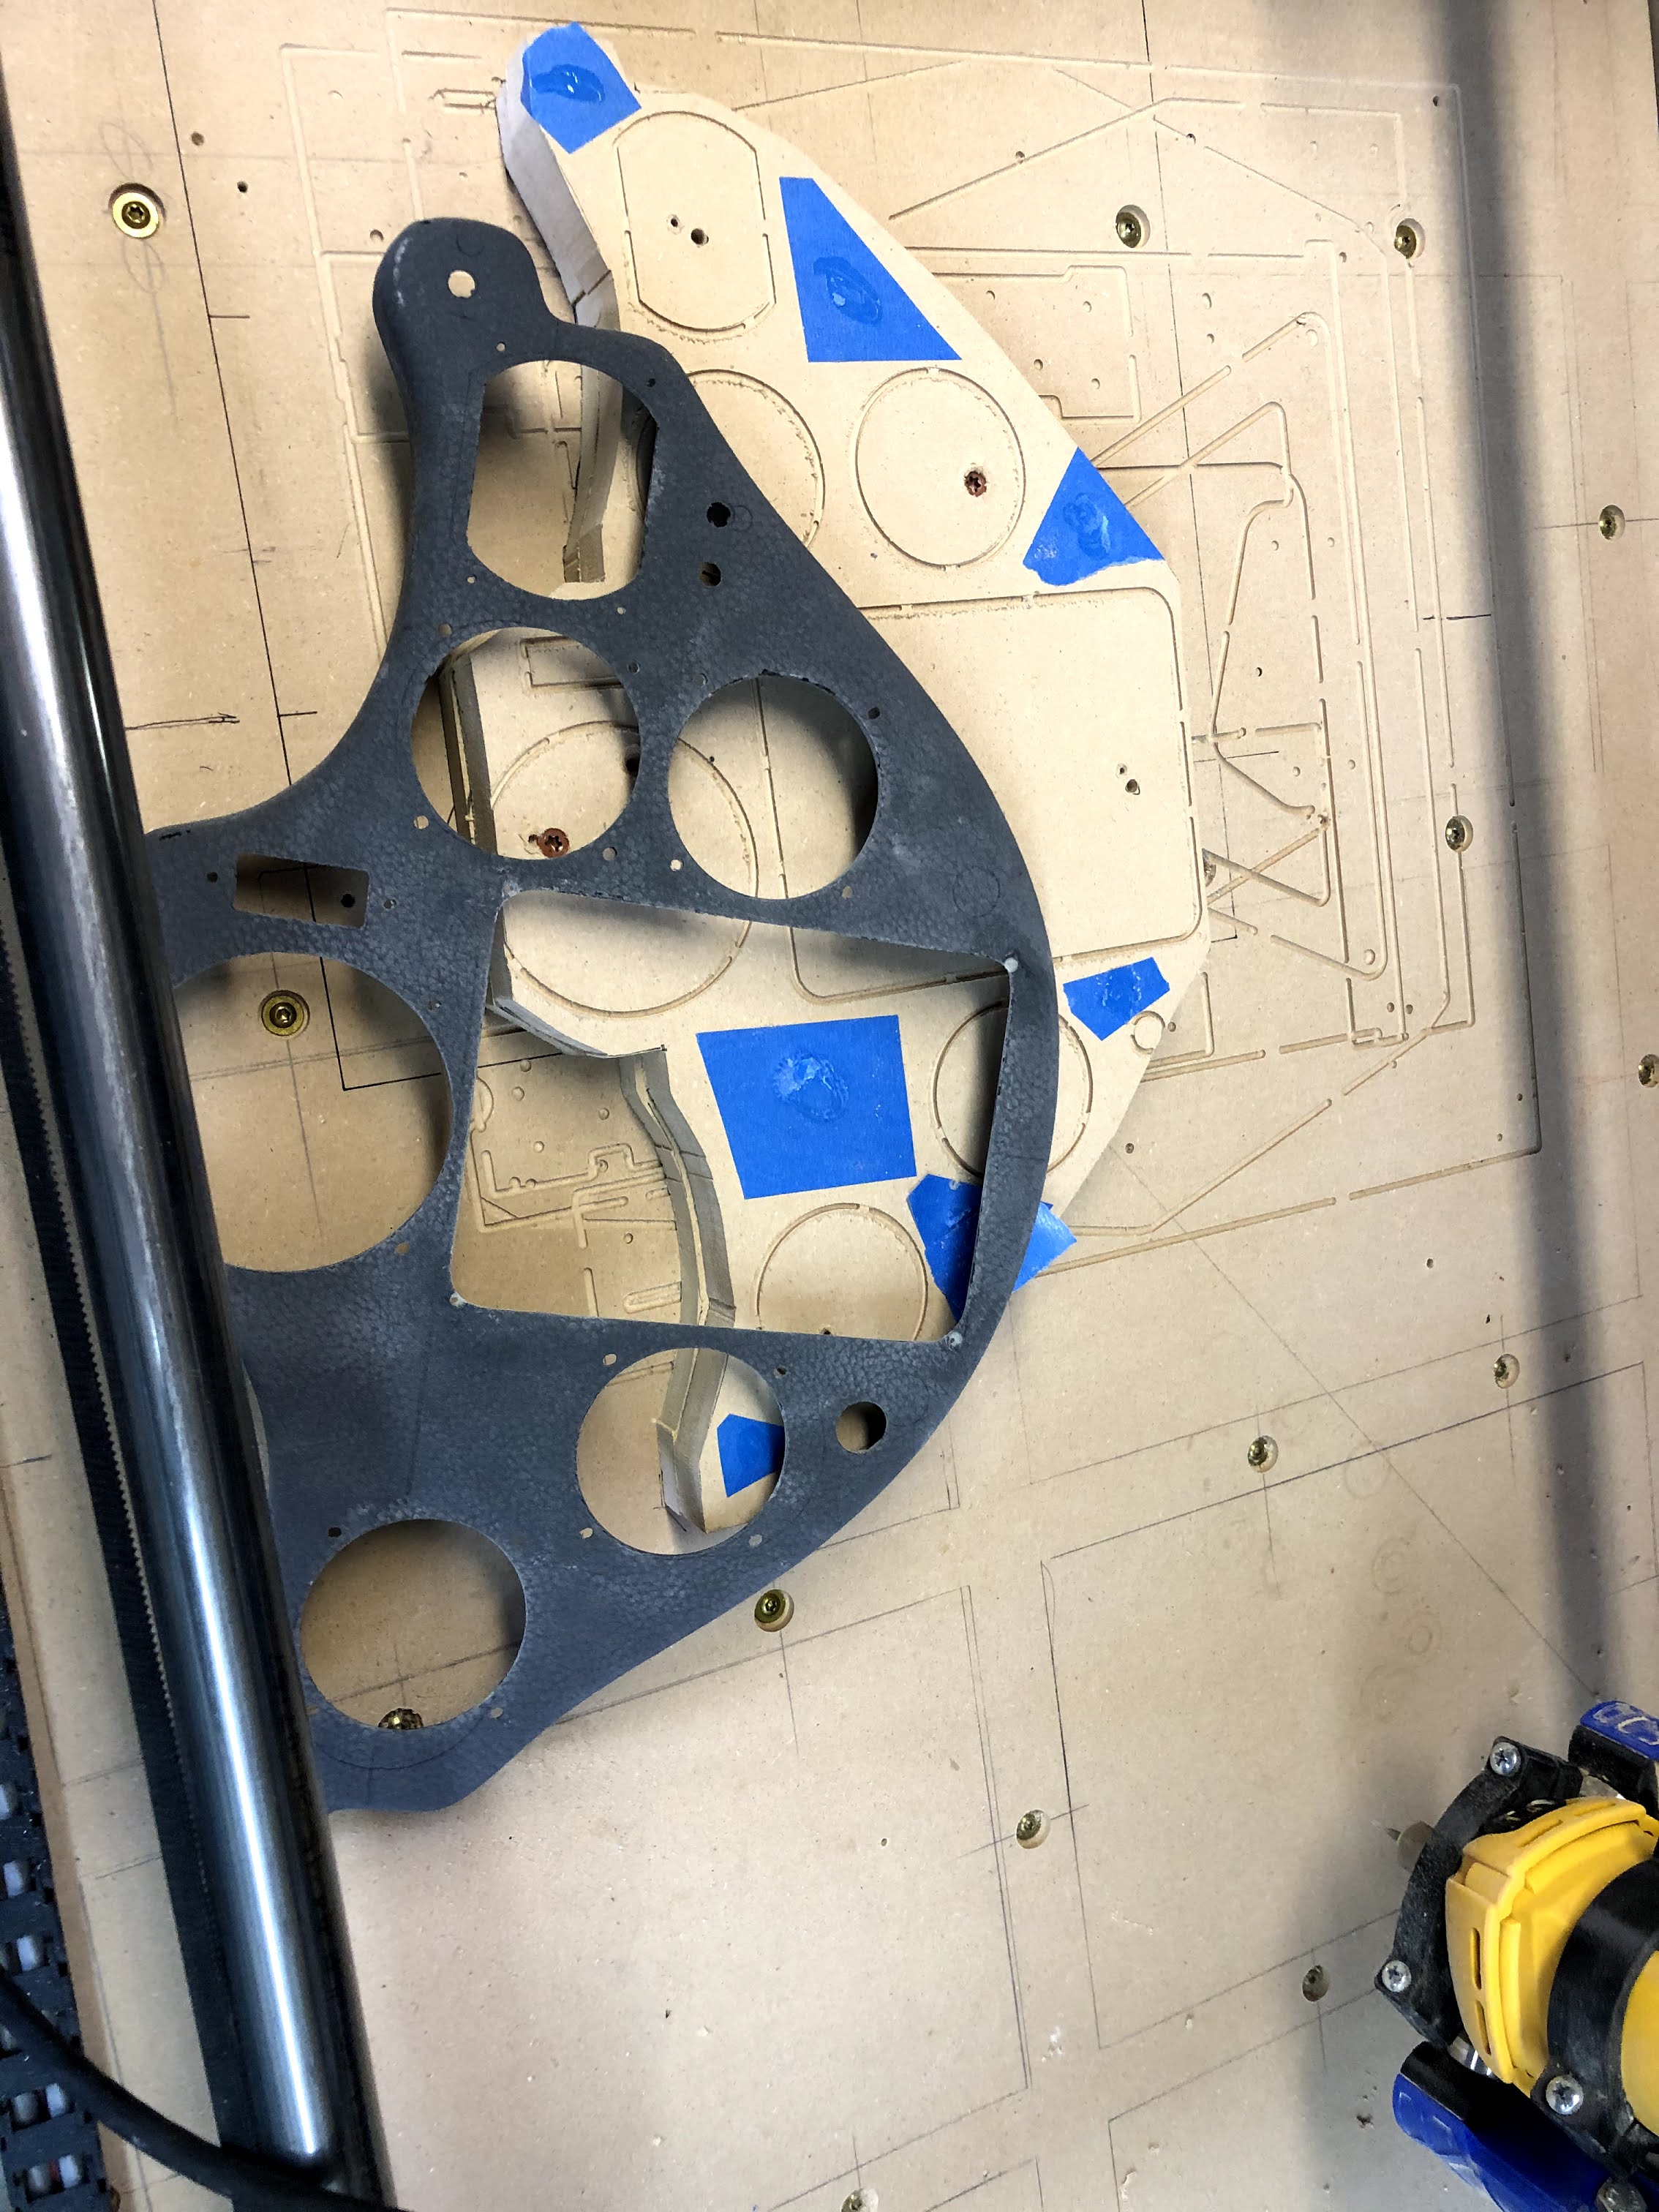
I installed the supports back. In order to create an alignment pattern that fit the old location, I ran the same gcode on the top of the support/spoil board MDF. Now I could align the part back into position relative to the router. Registration solved!
How to hold it without screwing it to the surface. All the holes, large and small, needed to be re-cut, and I didn’t want to make additional holes just to mount it to the spoiler board.
Blue painter’s tape and superglue to the rescue! Tape in selected places on the back of the part, and matching tape on the spoil board. Glue on one surface, accelerator spray on the other and hold them together (aligning with the pattern now on the spoil board) for a few moments.
I then ran the gcode with the same 1/16 bit to verify position: very close! Swap the bit to the correct 1/18 one and run the code again.
Hallelujah, I have a good panel (except for the one hole I opened manually).
The picture of success:
Lesson learned, Check, recheck, and verify before you hit that on button!
Mike