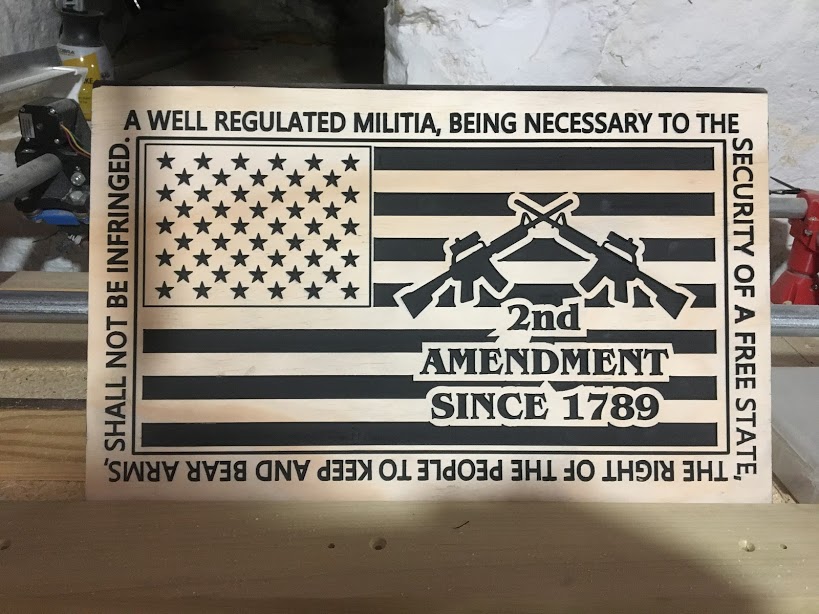
Seems flags were or are all the rage. I know alot of people pride themselves in doing it by hand but I built the MPCNC to work. I used a pine stair tread for material because it was cheap and also flat but had the rounded edge that had to be cut off or profiled off. I also did another (Stained) in edge glued board which was much thinner but still seems to work and is also flat.
That takes me between 1-2 hours total with dimensions of 11" x 18"
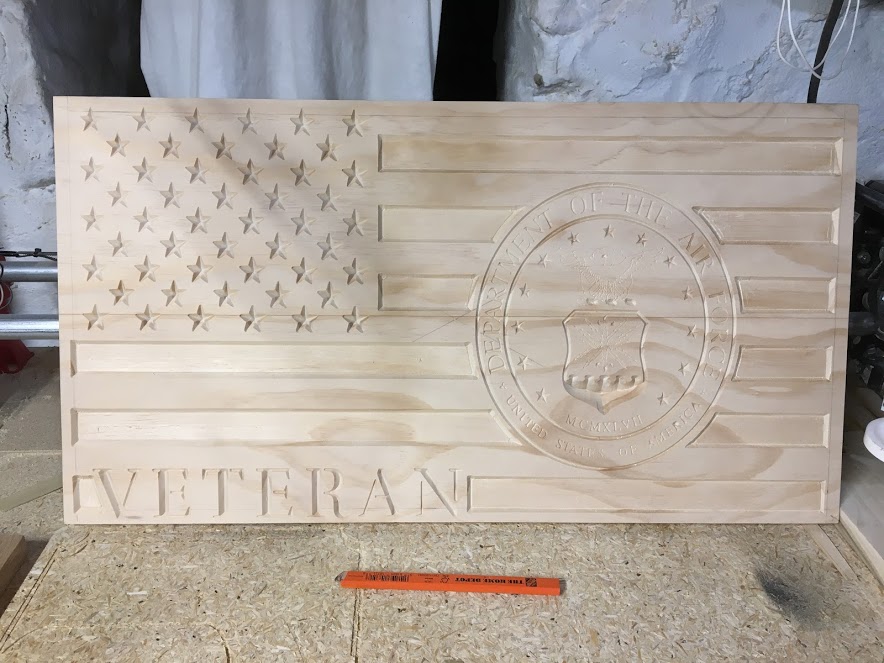
This one was two planed pieces of pine joined together and measures 14" x 26"
This took around 3 hours and im hoping the fine details show up after painting the inlays.
Im trying to figure out how to crank out the smaller ones the 11" x 18" faster though, id like to get it all said and done within an hour if its possible on the MPCNC. Im using a 1/8 end mill for the roughing and a vit 60 deg for the stars. Im averaging around a 30 IPM for most tool paths. Im working if I need to go bigger with the end mill??
Bigger tool won’t help much. I’ve tried to do roughing in with a 1/4" bit. The machine/router just doesn’t have the oomph to push the larger bit through the wood faster. You end up using smaller DOC, cutting slower, or using less step over, so it takes about the same amount of time.
What type of pocketing are you doing? Are you doing an adaptive pocket?
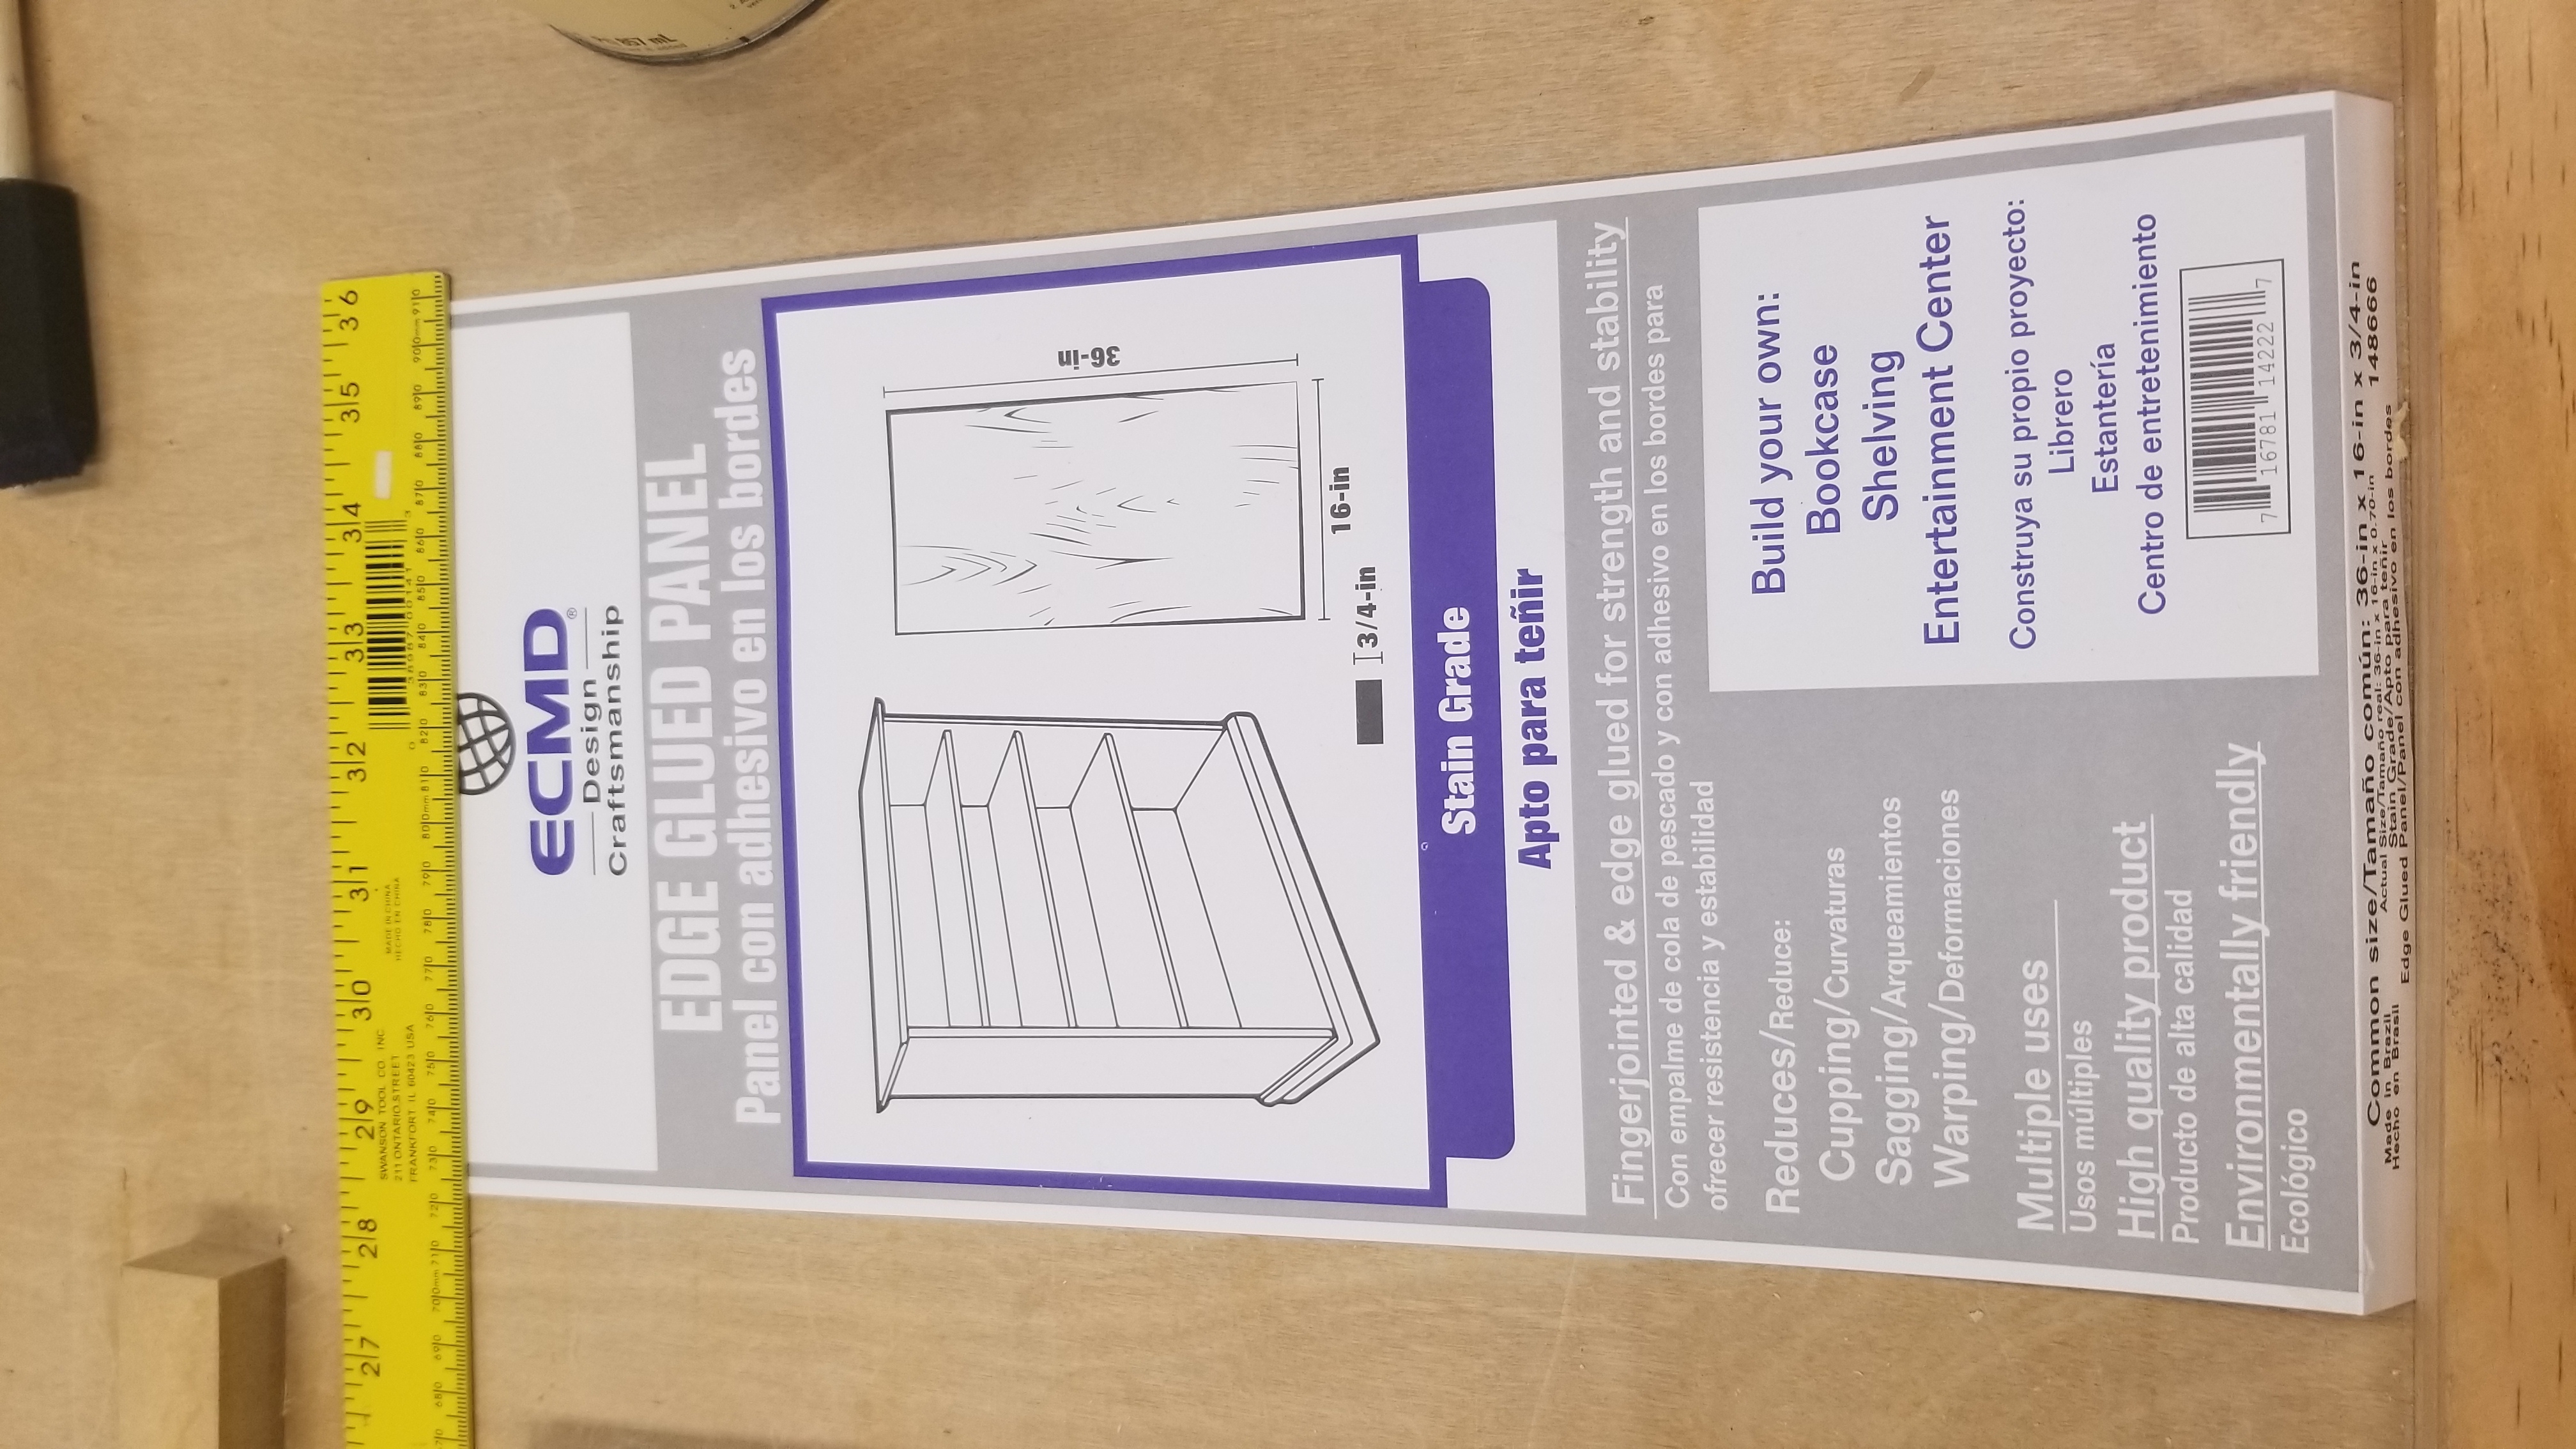
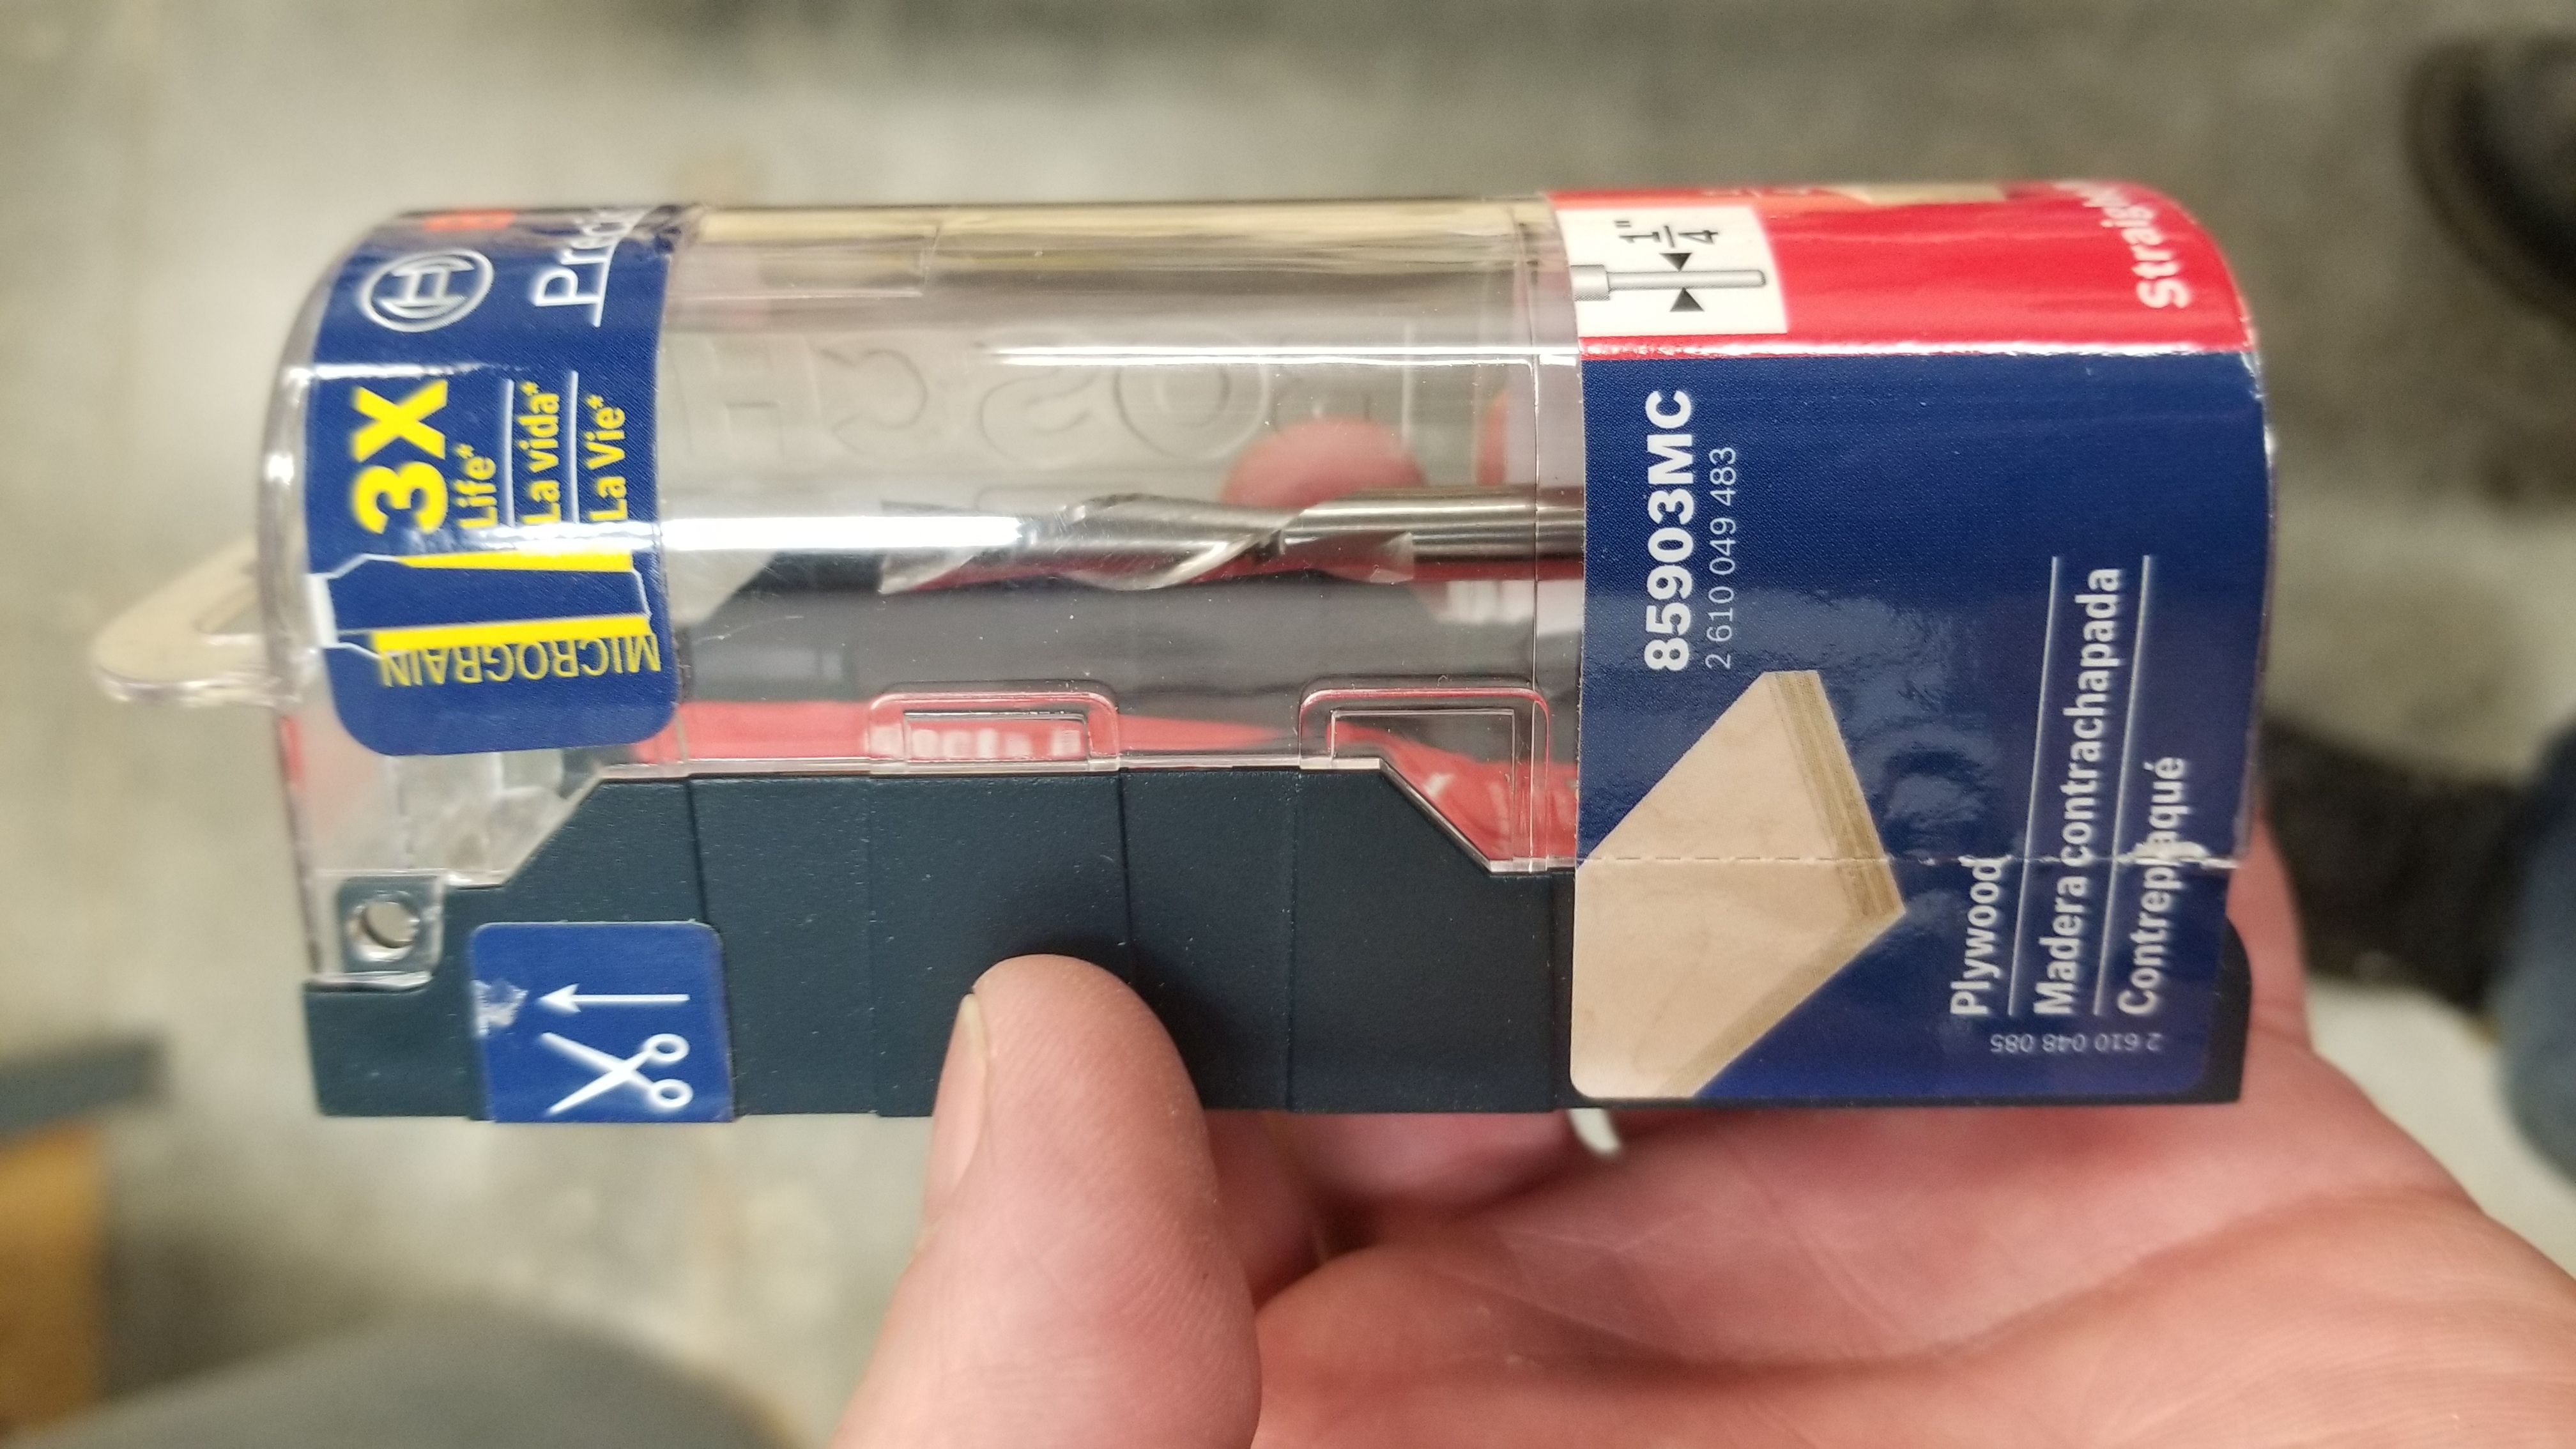
I use a 1/4" downcut bit and it takes me about 7-8 mins to do the stripes on mine. I use preglued panels from lowes that are 16x36". I do those a single 2mm pass.
Not familiar with Adaptive pocketing honestly is it something in Estlcam? I ended using Vcarve and I chose the v carve option and im stopping it at a depth of typically .008" with a 1/8 end mill which can do it in one pass usually. It gives you an option to use a end mill to do the roughing which im either using rastering or offset. I havent quite figured out which one I like more though.
Bear in mind that’s just for the stripes. I use ESTLCAM, and when doing flags I use 2mm depth per pass. I do believe that the wood I’m using is softer than what you are using tho, so that would probably explain how I can buzz thru those so quickly.
The last tip I will throw in is, do the stars in 2 separate gcodes. This will save you quite a bit of heartache, as you won’t have to worry as much about not being able to get the wood completely flat. This saved me from getting the star fish shaped stars sometimes.
Make toolpaths for the tops 4 rows of stars. Set your Z zero about the middle of those rows. Then make seperate toolpaths for the bottom half of the stars. Just make sure to rezero your Z around the middle of the second half. It sounds more complicated than I’m describing it, but it’s worth it in the long run. It sucks to have a good piece going, only to have it ruined with bad stars
This is the truth. I didnt want to do it because im lazy for the longest time lol, but if you take the time to re zero in critical areas like the stars it will come out better. I cant tell you how many unions I ruined because of uneven surfaces. You will see it in the stars if you v carving on a uneven surface and zero in a different area.
Re zeroing in very fine detailed areas that will be v carved also is key. Ive lost a bunch of stuff due to a few thin lines not showing up in a v carving because I zeroed in a different area (typically the center).
The best solution is to plane your wood or run a surfacing bit over your wood right before and skim the surface.
So I dont know if I can get away with a 2mm cut all at once but it might be worth trying. What is your feed rate with that depth of cut? And what were you using a 2 flute 1/4 dia end mill right?
Im not sure about the order of cuts in Vcarve but ill have to check that out im sure it would shave a few mins off to do it in the order closet to each other.
Looks like its not offered in Vcarve as its meant for wood and soft materials. Shame thought looks like it cuts down in carving time significantly. I struggled with Estlcam for too long though and needed something that had a design option, undo, and good preview window.
are you doing the tricodal milling to do 2mm DOC per pass? i watched Christans video on it and it sounds like it might be rough for the MPCNCs? he talks about the bearings getting hot and what not
No, and I cant see that being very fast either. For the 1/4" down cut and v bits, I use 2mm depth per pass. Are you still running the ramps board btw? If so it might be worth experimenting with a arduino and a cnc shield. It will only cost a few bucks. I use the openbuilds controller with the CNC shield, and that allows me to instantly change my feeds on the fly. This allows me to try different speeds instantly. It’s really helped me tune my setup. 2mm down per cut, then adjust feeds as I hear the machine in a bind. If that makes sense. Lol