I have my stock always at a known fixed location from machine’s home in the LR2. I would like to automate the initial setup so that no matter where the machine’s head is when I turn it on, it homes itself, sets the predefined WCS offset (G54?), probes the ‘Z’ height of the material and starts the job. I think the following recipe by @jamiek should do though it does not automatically probe the Z height.
Home your machine
Invoke G54 to switch to machine coordinates
Perform G92 to set the home position to 0,0 in machine coordinates
Jog to your workpiece origin (or the machine automatically goes to the workpiece origin at the predefined location)
Start your g-code after adding these to your start/end g-code:
Perform G55 to switch to workpiece coordinates
Perform G92 to set your current position to 0,0 in workpiece coordinates
Run your CAM commands (runs in workpiece coordinates)
After finishing, perform G54 to switch back to machine coordinates
Move to your safe machine location in a safe way, e.g. G1 Z100 (or whatever your maximum height) followed by G1 X0 Y0
Questions:
First of all is it possible to automate the above at all or there is still some manual intervention needed? Pls note that I have independently tested homing and z probe and they work ok.
If so, how do I add the above recipe to the gcode generated by Fusion 360? I am using guffy post processor but could not see any place I can add a custom code at the beginning/end.
You can add custom code by putting it in a separate file and referencing it in these two settings:
The last time I played with these settings, they did not handle absolute file paths, so these files need to be in the same directory where you write out the g-code file. I don’t know what you are using to send the g-code, but some senders also have provisions for start/end code.
I’ve played with the codes you specify in my head for repeated work, but since I’m a hobbyist that mostly does one-off creations, it has never been a priority to figure out. There is a phrase in the g-code reference for G54 that is tantalizing to me:
with EEPROM support they may be restored from a previous session
I’m not sure what needs to happen to enable this feature…maybe a simple M500, maybe enable a feature in Marlin. Once enabled and set, the (0,0,0) coordinate in workpiece coordinates would be the same offset from the machine coordinates, so no G92 in workspace coordinates, and you could have multiple fixtures, each with its own workspace.
is still some manual intervention
The one fly in the ointment I see is Z height. You say, “testing homing and z probe…,” but I’m not sure what that means. Typically attaching the clip and setting the touch plate is a manual operation. You could ground the router bit and attach a touch plate at a known location, or you could use a switch at a known location, but this only allows you to set the Z height at the spoilboard. Some carving is best done by setting the Z height at the top of the stock. For wood anyway, I see a lot of variation in thickness.
Curious to see what you come up with as I’ve been thinking of doing this also. I can tell you that in the makita you can’t ground the router body as there is no electrical contact between the cutter and router body so for z height I think a switch is the only option to prevent having to clip on a lead.
Are you using Marlin from the website here with SDCARD? I have been studying up on auto0.g auto1.g etc.
This could work for you. You place what code you want to run on start and it should run. Now, right now I do not have endstops on mine, I am planning on adding them.
My plan was to do what you are stating, home, then set x, y to a specified coordinate, then zero at that coordinate.
So Just for Clarification, this could make your CNC MOVE on START, so just be very CAREFUL with anyone around you that may turn it on!!
What I am thinkin I may try,
On start
Home,
pause (make screen pause until I press button)
then move to corner where I place markers to start all material I cut
Reset Zero to here,
Then maybe pause (press button)
and now Set z with a touchplate.
It is good to know that an M500 saves the offset to a workspace. Thank you. I look to incorporate it into my workflow.
The code you posted has some weirdness. I don’t know if this is something you have missed, or you are doing something sophisticated beyond the context of this script segment. Typically, M666, M906, M203, and M914 are set just once and then saved using an M500. After that, they become the defaults loaded by Marlin. Typically, a M501 is not needed since Marlin loads the defaults when it starts. There is no G28.2 g-code in the Marlin reference. There is a G38.2. My guess is that Marlin is forgiving enough to make it work. To home, you can do:
I didn’t understand this stuff when I started with my LR a year+ ago. So I’ve just been working in one workspace, starting from a hard stop on my table, moving a set distance to a known corner where I place rectangular workpieces, and writing down any “custom” origins I set. At the end of my cuts I would reverse the steps to bring the gantry back to the hard stops. Not too complicated as I used a macro for the standard positions I was using. But…
After reading this I switched my workspace to G55 (from G54) in cnc.js and saw the machine coordinates relative to the original origin at the stops. Gah!
Almost more important than the x-y origin is the z-origin. I don’t have endstop switches so I always jog the z at the end to park it. The possibilities now!
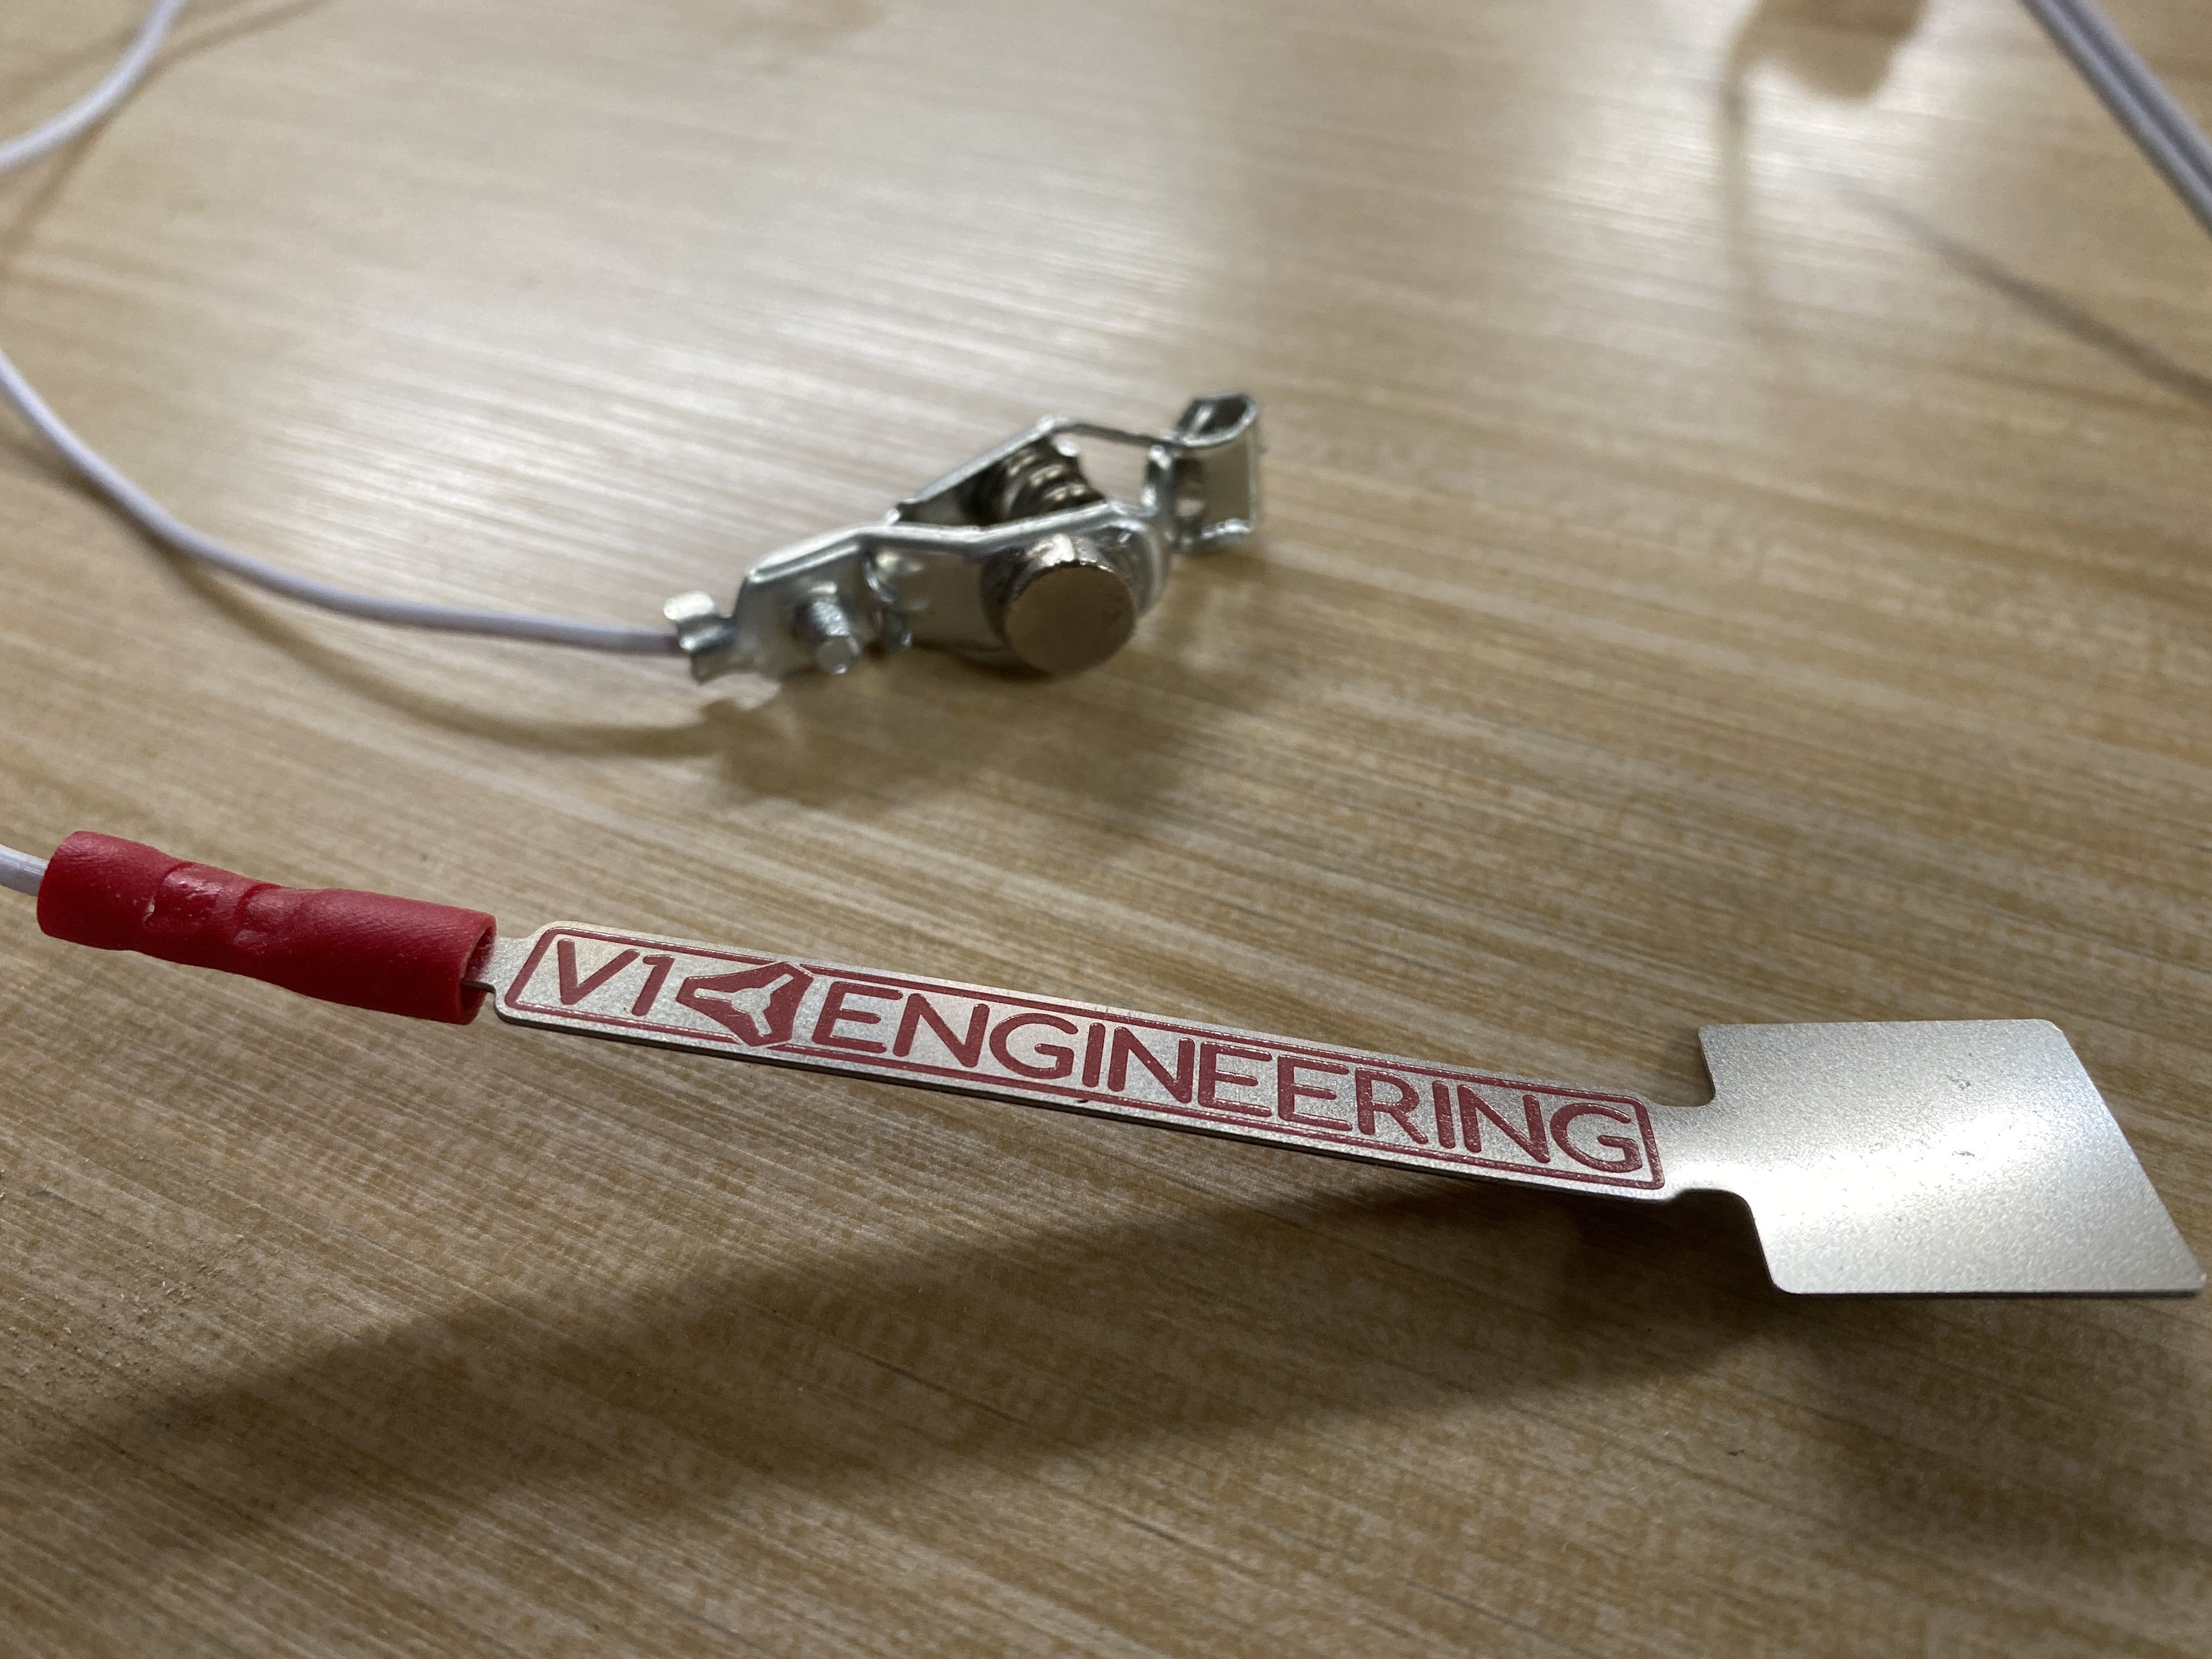
I’ve got a magnet superglued inside the clip of my Tiny Touchplate so there’s no longer any need to actually clip it to the bit. Just get close to the bit or collet nut and it grabs hold, and a quick jerk pops it off again.
Check just for continuity after I had mine epoxied to a small bolt head and it worked great but eventually caused intermittent contact failure resulting in my v but going through my touch pad… Went back to clipping it onto the bit to be safe
Good reminder! Mine is CA’ed along the edge of the magnet with accelerator fillets. I used a gel glue, so I don’t think it was thin enough to wick under the magnet, but I check it each time I use it.
Thanks for all the suggestions. I was intrigued by the idea of using macros. So, I installed cnc.js on a Raspberry Pi and connected it to the machine. The interface is easy to use and so is the list of Marlin commands. After a quick read up of the doc, I wrote the following macros that should alleviate the pain of going through these operations manually.
Power On Test: Due to lack of space, I have to stack my 8’ x 5’ LR2 vertically against a wall. This forces me to align it every time I intend to use it. A Power On Test will help me ensure that my endstops are working fine, the wheels and the bearings are not binding, the pulleys are not loose, the cords and the vacuum hose are not coming in the way, etc.
; Switch to MCS

G53

; Absolute positioning

G90

; Verify the connections of the endstops

; Home Z explicitly before X & Y

G28 Z

G28 X Y

; Set relative positioning. Get closer to the work surface without worrying about the height set as default on power up

G91

G0 F100 Z-100

; Validate the X axis travel at the near end of the Y axis

G0 F1800 X1370

G0 F1800 X-1370

; Validate the X axis travel at the far end of the Y axis

G0 F1200 Y1400

G0 F1800 X1370

G0 F1800 X-1370

; Return to the start and bring down the Z axis to its rest position

G28 Y

G0 F600 Z-28

; Return to absolute coordinates

G90
Setup Stock: This essentially establishes a WCS with its origin at the corner of the stock and aligned to the top surface.
; Switch to MCS

G53

; Absolute positioning

G90

; Home Z explicitly before X & Y

G28 Z

G28 X Y

; Move to the corner of the spoil board. The stock is also aligned to start from this corner

G0 F1500 X73

; Switch to the WCS

G54

; Establish this point as the home position (Z will be established after probing)

G92 X0 Y0

; Move to the center of the stock

G0 F1500 X610 Y700

;G0 F1500 Y700

; Relative positioning

G91

; Initiate Z probe after getting closer to the work surface

G0 F300 Z-80

G38.2 Z-20 F30

; Absolute positioning

G90

; Set the position of the probe to the height of the probe block

G92 Z20

; Move up by 10 mm and travel to the beginning of the stock

G0 F300 Z30

G0 F1500 X0 Y0

; Move to the top of the stock

G0 F100 Z0

; Store in EEPROM

M500
Resume Job: This will help resume the machine from a known good state if a job gets terminated prematurely due to an unexpected failure or if I have to execute a long job with breaks in between.
; Retrieve the stored settings from EEPROM

M501

; Absolute positioning

G90

; Home all axes

G28 X Y Z

; Switch to WCS

G54

; Move to the stock's origin

G0 F1500 X0 Y0

G0 F100 Z0
Shutdown: Brings the machine to a safe position where I can just yank out the power without worrying about the Z axis falling under its own weight and damaging the stock or the endmill.