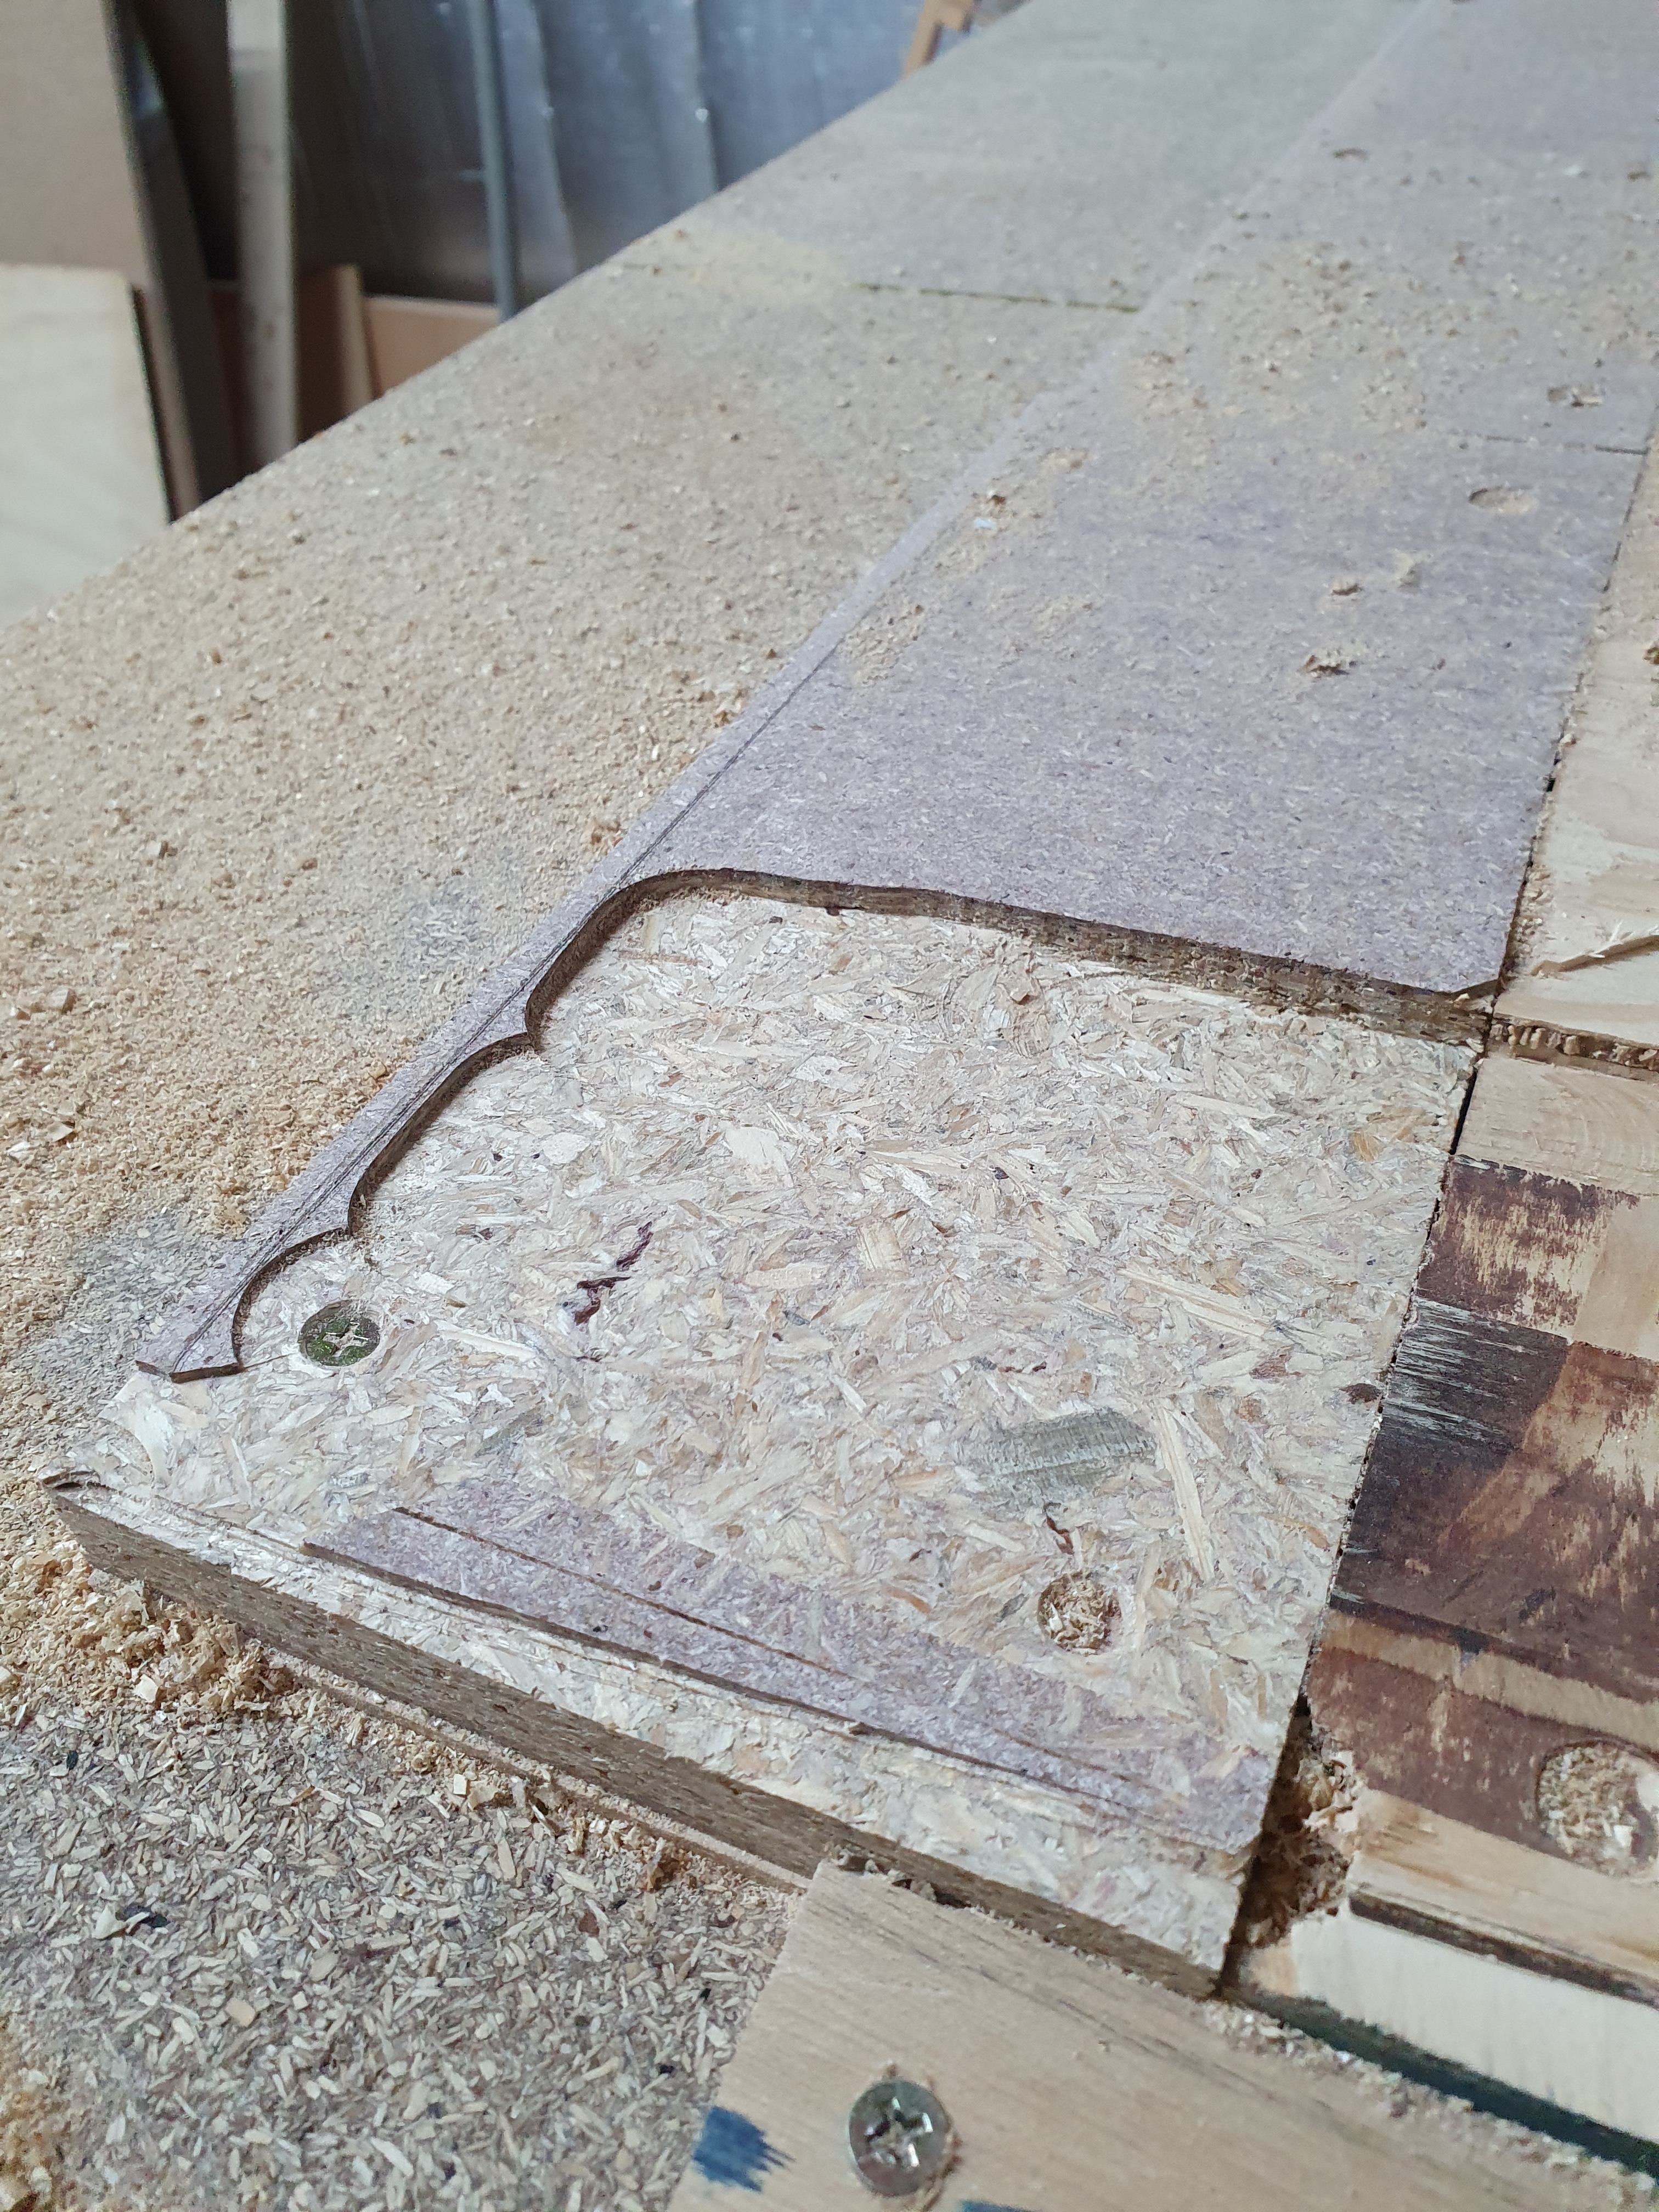
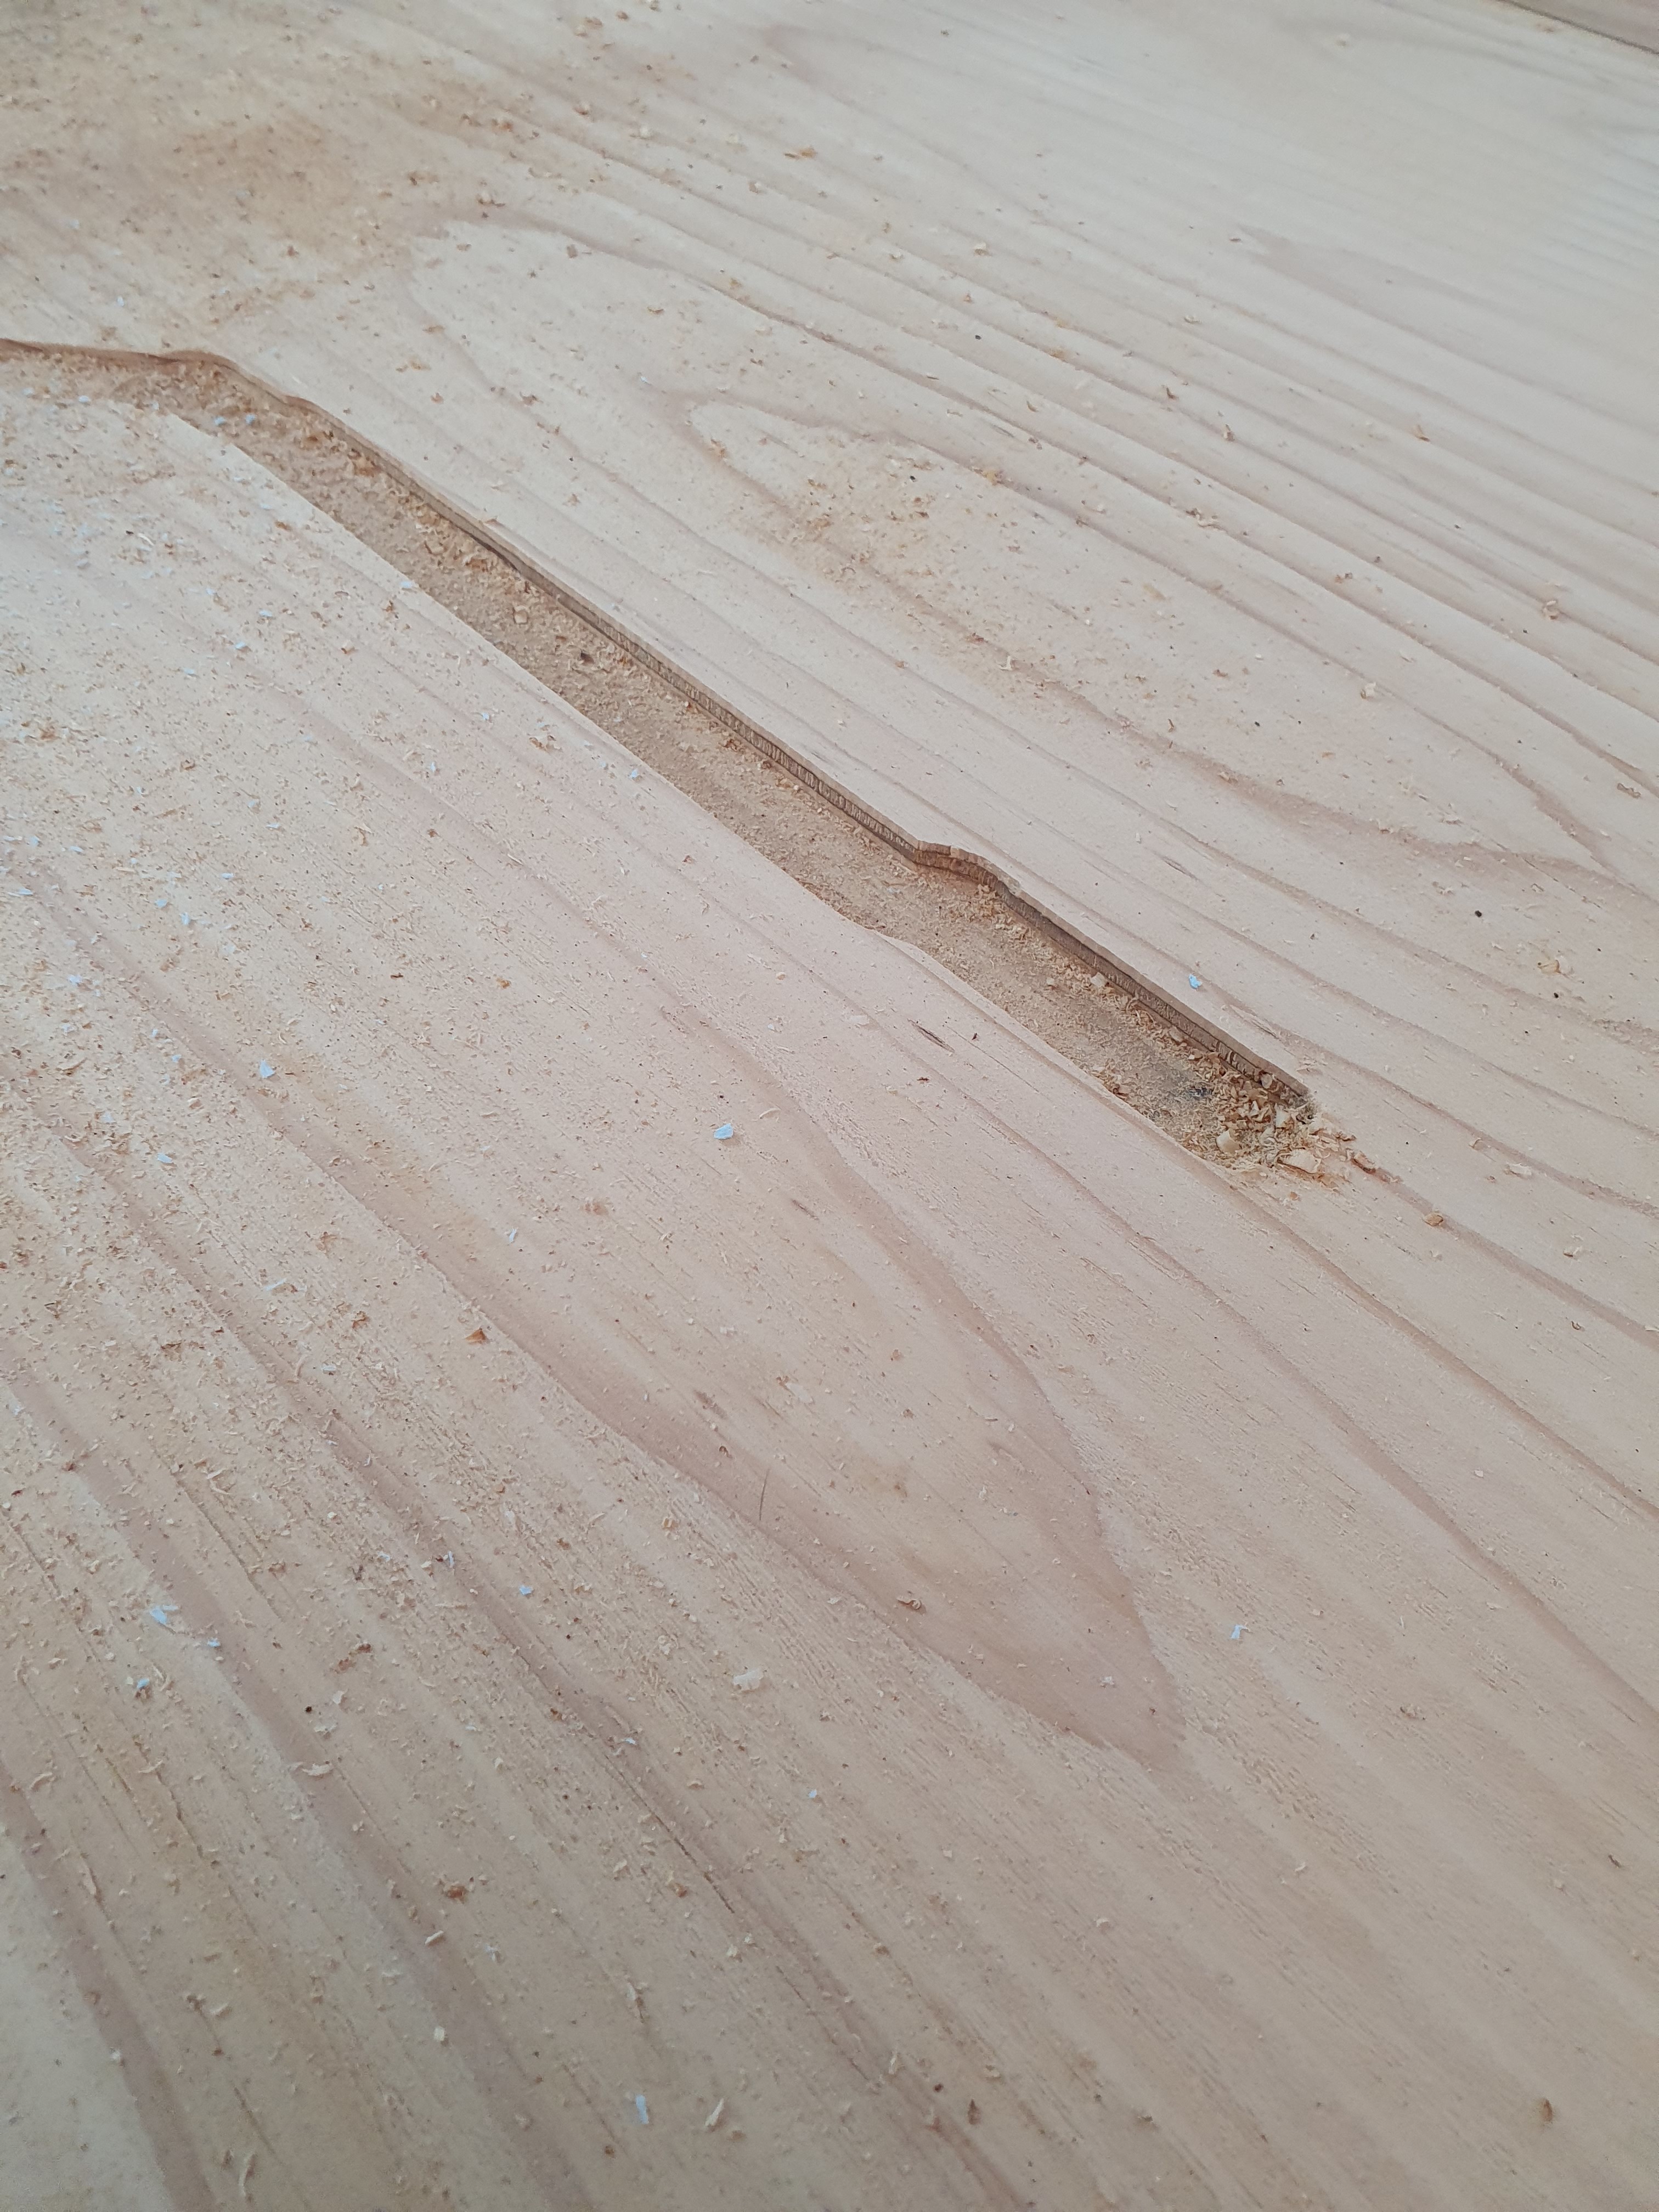
This is a pic of my latest bed leveling attempt.
Estlcam v11
Brand new 25mm bit, depth per pass .5mm, feed rate 15mm/sec, rpm 9000, stepover 75%, total tool path depth 1mm, start level 0.5mm, pocketing strategy linear
I set the initial Z height so that the bit was just kissing the top of the spoil board. All I can think is that I need to zero the chords somehow. It seems the LR2 thinks it is higher than it is, and immediately plunges 1mm. But that doesn’t explain the progressively deeper passes.
Repetier Host v2.1.6
I have no idea why each successive pass cuts deeper.
Seems I have all but @#$%^ up my spoilboard, which is OK, I can get another one. But i have no confidence that this bizarre behaviour won’t just continue. Any idea what I’m doing wrong?
Losing steps in Z due to speed being too high? Tries to lift the router for the next pass, doesn’t get it as high as it thought, takes the pass, repeat.
So you’re suggesting slowing the feed-rate down? To what? 8mm/sec? I was going by a recommendation here on the forum, but happy to halve the feed-rate.
I think this might be a symptom of my Z-steppers struggling. I dropped the AMAX Z right down to 25, which certainly helped. Before I did that, the Z-steppers were skipping with even a finger’s weight added to the gantry. Ryan (I think) said I should check that I had the steppers were connected in serial (which I didn’t understand, to be honest) but I sent him a picture of my board, and he said it was OK. They just seem to have no grunt at all… They even drop after a bit of inactivity even though they’ve been engaged and are supposed to be holding at (say) 50mm
As I say - I’m running out of ideas, and the frustration is mounting.
Are you sure the issue is the machine itself and not the table or the spoil board?
Maybe it is just that they are not flat at all, if you use a depht gauge and measure the height between your gantry and the board you milled at several spots, is there any significant difference?
These kind of woods are not well known for being flat or even, thickness can vary quite a lot.
If the machine was going down, then we would likely be able to see some deep line patterns on the milled places. But they look pretty smooth to me on the picture. For me it looks like a very clean cut on a very uneven surface.
Hi,
That’s an interesting observation, but I ran my fingers over the cut area, and there is a sudden and pronounced drop in level as a result of the cut.
I’m going to sleep on it, and give it another go in the morning. If I stuff it up again, I’ll have to film it so that you guys can take a look… Possibly do a levelling on a 300mm square piece of foam I have…
Did you buy the kit from Ryan or did you source the parts yourself?.. I’m thinking you may have bought the lower powered stepper motors if you sourced them yourself. I believe the correct stepper motors are 42x42x47mm in size. I assume you have set the ref. voltage for all the steppers.
In Estlcam, after you have jogged the bit to where you want the job to start from you can zero X,Z and Z by sending the command Zero from the command line
This is using estlcam as a controller, which won’t work with Marlin. Be careful, because Estlcam will flash boards it can’t really handle if you ask it. In Marlin, there is an option in the screen for set origin. If you’re using repetier, you need to send G92 X0 Y0 Z0 and then send @isathome.
My first thought was the same as Dui’s. It doesn’t have to be much, if you start with a fresh board and you have 4mm difference in Z, your first cut thinks it is at 0.5mm and 15mm/s, but ends up at 4.5mm and 15mm/s with a 25mm wide bit! Yikes.
I would do some measurements first. Go to the starting place, set your 0. Then raise the bit 2mm and slowly jog around. If you hit somewhere, raise it 1mm again and jog around. You will find out where the high spots are and get a good idea of how much depth you are going to need to take off.
For example, if the middle is 5mm higher than your starting spot, then you’ll need to take off 5mm, at least. So your first run needs to be 5mm higher than the corner.
If you are skipping steps in Z, it sounds pretty obvious. It sounds like crunching gears, even though it is completely electrical. Skipping steps in Z is caused by high Z speeds. Not the 15mm/s, it is the plunge speed, and the Z travel speed.
Another possibility is that the coupler is loose and the leadscrew is slipping.
If you have a Rambo, it’s not an issue. There’s nothing to set. If you had a RAMPs, or something else with DRV8825 or A4988 drivers on it, you have to adjust the reference voltage on the drivers. With the built-in drivers on the Rambo, it’s not an issue.
This morning I checked the grub screws on both couplers. All very firm. However, the near-side of the gantry (where the router is currently) has almost no puff at all. Sometimes it just sits there skipping steps. With the slightest upward finger pressure assistance it seems perfectly happy. Likewise, the slightest downward finger pressure is sufficient to set it skipping steps again.
Entire kit bought from Ryan.
It “feels” like only barely sufficient current is getting to the Z-stepper to make it move, and any impediment is enough to make it throw up its digital hands in surrender.
I am a complete novice when it comes to electronics but I do have a digital multimeter. Maybe it would be a good idea to test the current ?
You can’t measure the stepper currents directly with a multimeter unfortunately but you can measure the supply current at the power supply. I would start by trying to isolate the problem. It sounds like all the steppers are under powered but certainly its possible to have a bad connection in either the X or Y axis. Are the X and Y axis wired in series? The Z stepper should be able to hold its position indefinitely when powered. If it drops on its own after a while perhaps the driver is over heating. I assume this is running from a 12V power supply, is that correct?
Update:
I loosened all the fittings, and re-squared the gantry. Then just sufficient tension to hold everything in place.Checked all rollers, and loosened some of them. Used a 290x380 piece of Blue foam for the new leveling test. Peel. 1mm DOC. 25mm bit. 30mm/sec feed rate.
Now to return to leveling the spoilboard.
Suggestions re: feed rate and overlap? I plan to creat a slightly bigger work surface than I need (by 30mm each way) so that the bit gets to cover the entire spoilboard. Outside cut (Part) Then peel pocket. 1mm pass (the surface is almost flat after my first attempts). 45% stepover.
Edit:
Table levelling begun. But on both X and Y axes the router “jerks” in a series of regular movements instead of travelling smoothly. And then suddenly, both start travelling unhindered for a while. I double checked the grub screws, and they are as tight as I can make them without stripping them. And yet the quarter-second hesitations persist. Little regular jerks - about 3 or 4 per second. It even jerks when the bit isn’t touching the table, as it does in some places.
I’d post a video, but I don’t know how to do so on this forum.
My guess is it is replacing that circle with a gazzilion little line segments, and it can’t send them fast enough. You can try turning on arcs/G2/G3 in estlcam. Or you can try a different usb cable, maybe it is have errors and isn’t reaching top speeds.
Turning G2/G3 on didn’t help. Slowing down the feed-rate did. But I still have erratic (and unacountable) Z-axis drops. Don’t have another USB cable.
Finally decided to write dedicated gcode to do the job. A simple rectangular spiral from outside to inside, configurable for any size table, any bit diameter, feedrate or stepover %, All straight lines.

