Cheers everybody. I want to build a boom arm for my workshop. I have watched several videos, read several build threads etc. and arrived at the drawing below. The question I now have is: Do you think I could cut material from the long holders in the form of holes or cutouts or whatnot to make it lighter without losing stability? Thickness of the wood will be 18 or 22 mm. Any thoughts and ideas are appreciated.
Without material characteristics and max load estimates, it is hard to make any determination. Any cutout will impact the strength, but it may not impact enough to make a functional difference. You can approach it from one of two ways. Either prototyping, or using a CAD program to generate a suggested design. You could just cut out two arm segments, one with holes and one without, clamp them and apply a max load to see what happens. Remember to include the leverage the arm will apply. Fusion 360 has Generative Design which I believe is still free and might allow you a better way to determine the best shape for the holes.
My unprofessional opinion is that cutting triangle holes or circles will not affect the ability for it to support weight (I am imagining the weight pulling down in that image). But it may make it floppier w.r.t. twisting, or turning (if a force is applied into the page in your picture).
The first 3/4" on the top and bottom will resist tension and compression and keep weight from pulling it down way more than the internal stuff.
But the “skin” on the front and back side would be responsible for tension and compression when keeping the arm straight. Cutting holes in the skin would make that harder. It may also twist, which is more dependent on that internal structure and the front/back skin.
The end pieces in the post might mitigate all of that though.
Just my guess. I am not a mechanical engineer, like @Ryan.
Use cases? Lifting palettes of concrete mix onto shelving units? Plucking kittens from loft spaces? Randomly attacking annoying neighbors with an attached nailgun? Air or powder nailgun?
The force will be applied “into” the picture, the arms are the cutouts for top and bottom, the little squares are the supports in between them (every 20cm). The sides will have some other wood that is not in the picture, I figured it might not be much since top and bottom are fixed to each other anyway.
I am maybe going to entertain the idea of prototyping, don’t have too much time on hand.
And usage: the big whole in the centre of the arm will have a 50mm HT-pipe, the one above a small pipe for an electric cable. So basically it only has to carry its own weight. I thought about adding a camera mount at the end as well, so we might add a Sony Alpha too. Maybe a kg?
Whats your final shape ? Are you making a long box section like the link ? Are you using plywood ?
Jeffeb3 is right in that the front and back skin are resisting the torsional stress.
In this case the internal dividers are breaking the box into smaller boxes which also helps to resist the torque, so I think you can cut holes in the long holders as long as the holes don’t go across the internal dividers.
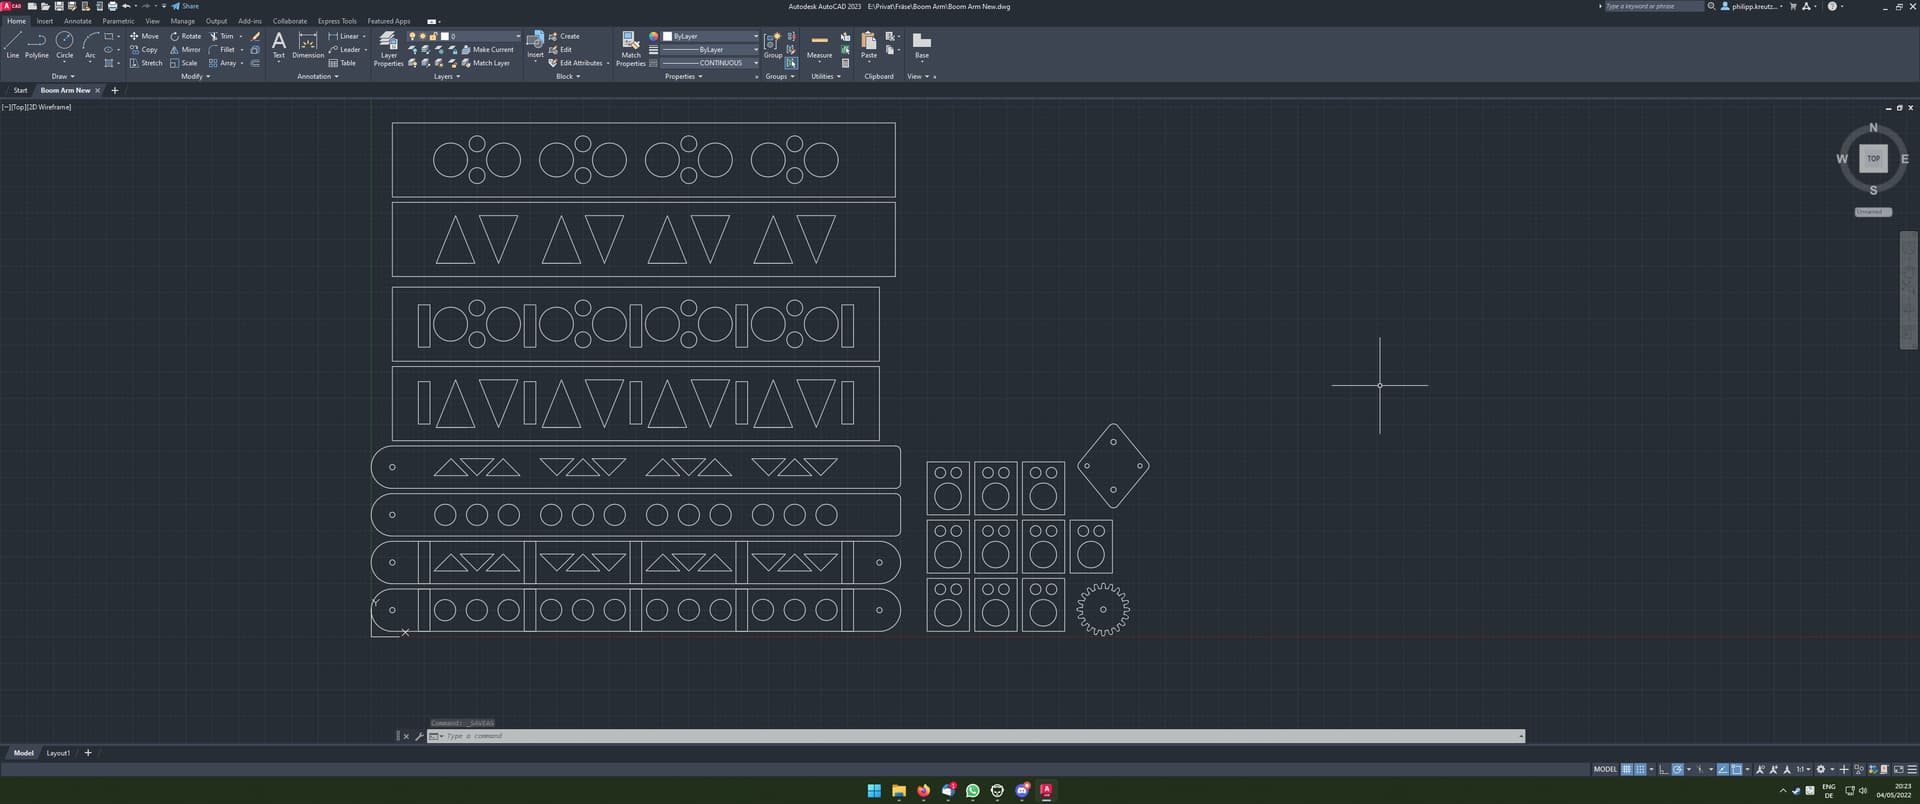
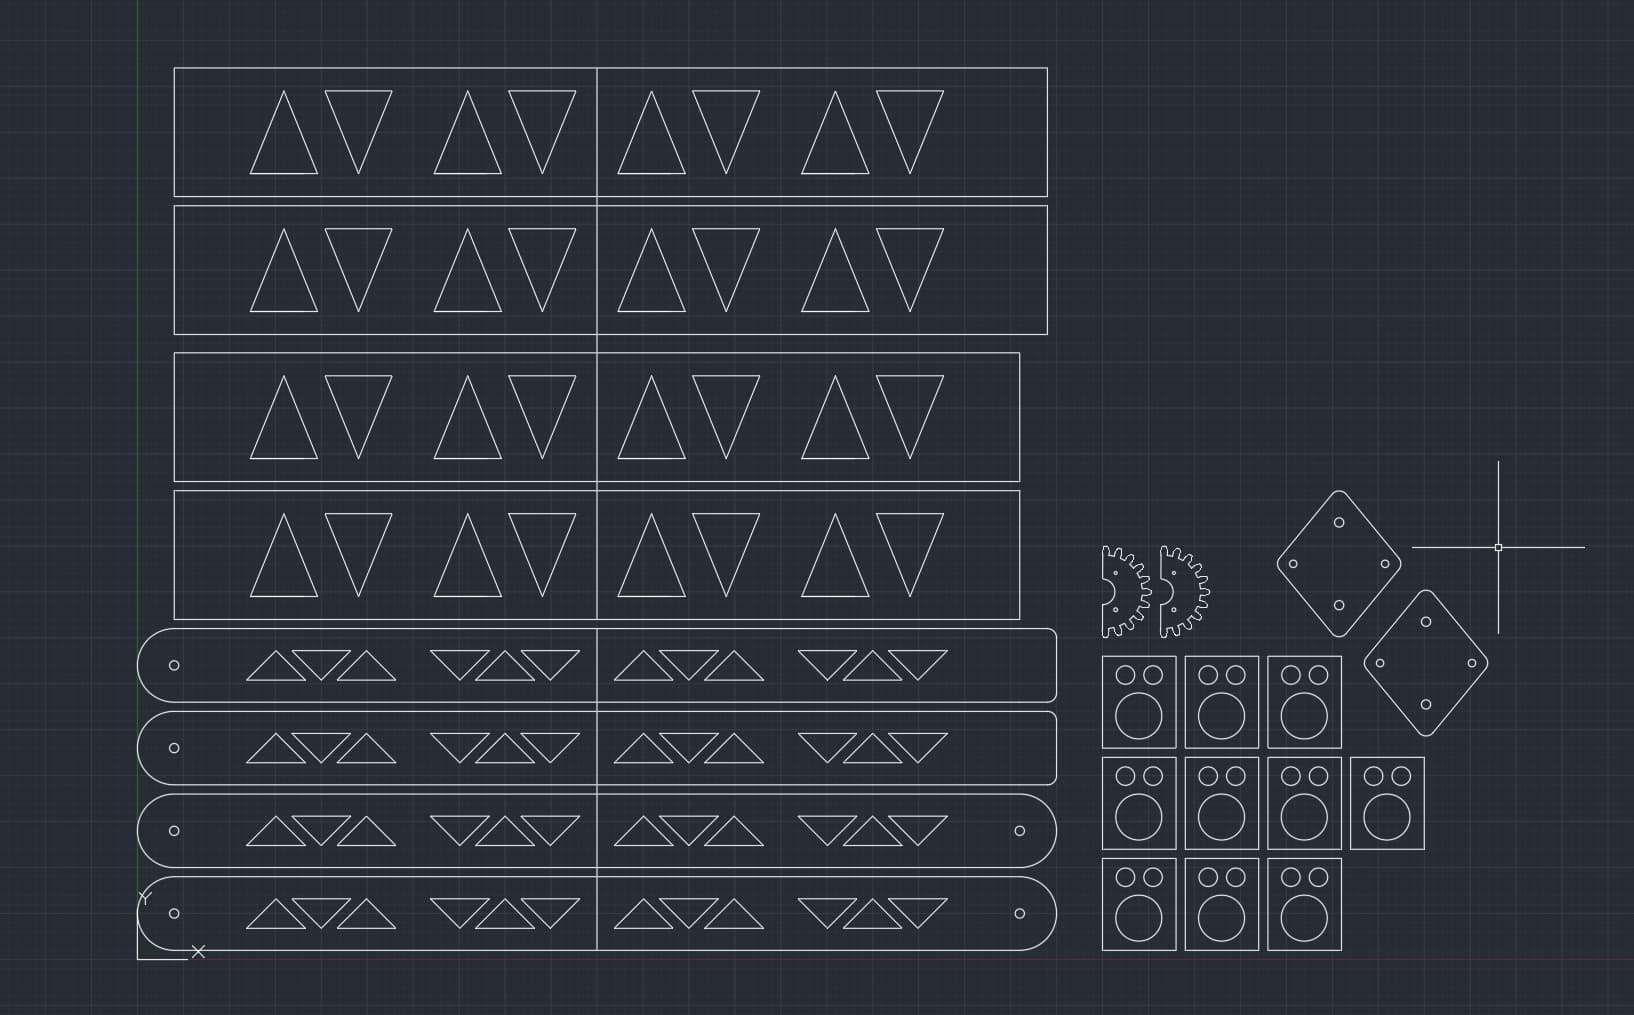
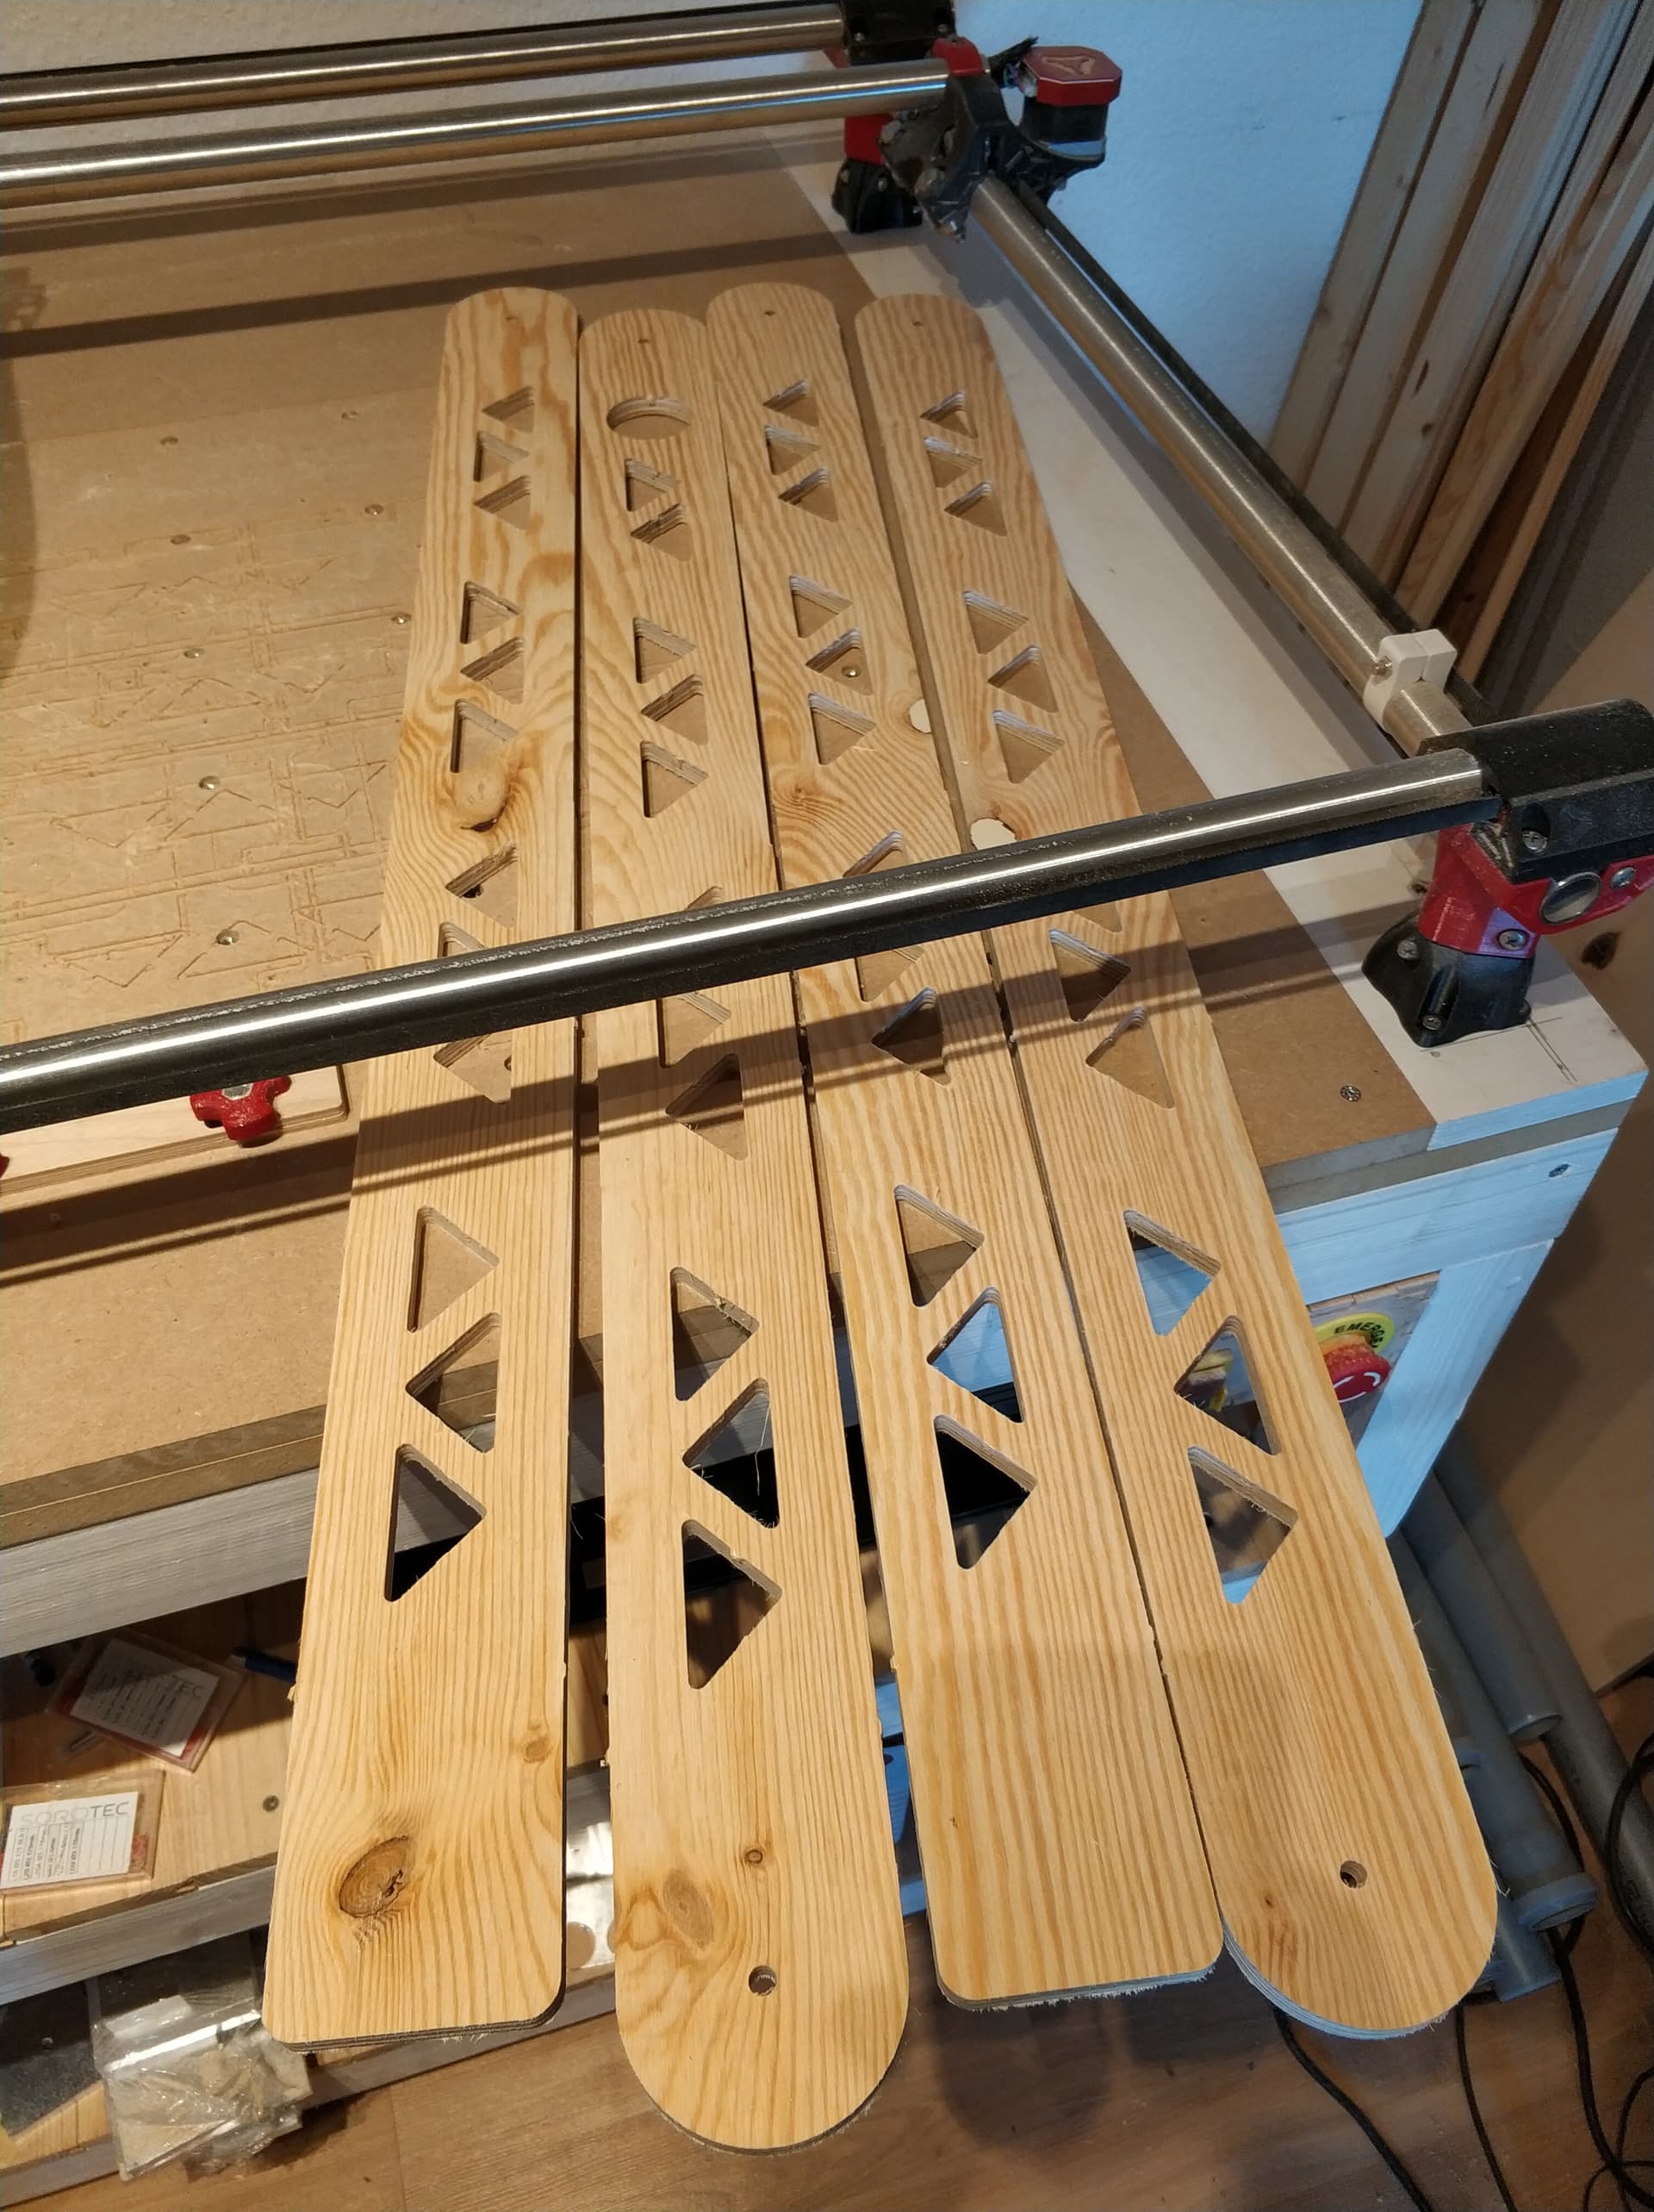
Okay, I got a new version with the sides as well. I have two designs: circles and triangles. Personally, I think I like the triangles more. To illustrate why there are gaps in between the pattern I left the spacers in half of the beams to show where they will be. Hope it is clear what I mean.
I think that’s going to be it. The lines in the middle are so I can cut it in two programs. The center joint and the gears are maybe going to be aluminium, but one never knows. You guys think it will hold? Place your bets! No maths allowed…
I altered the plans for 12mm, 22 would have been hard to cut anyway… Thanks for the input. I will also fillet the ends, forgot about that because I was pretty sure the bit would do that for me anyway, but I think I need bigger fillets.
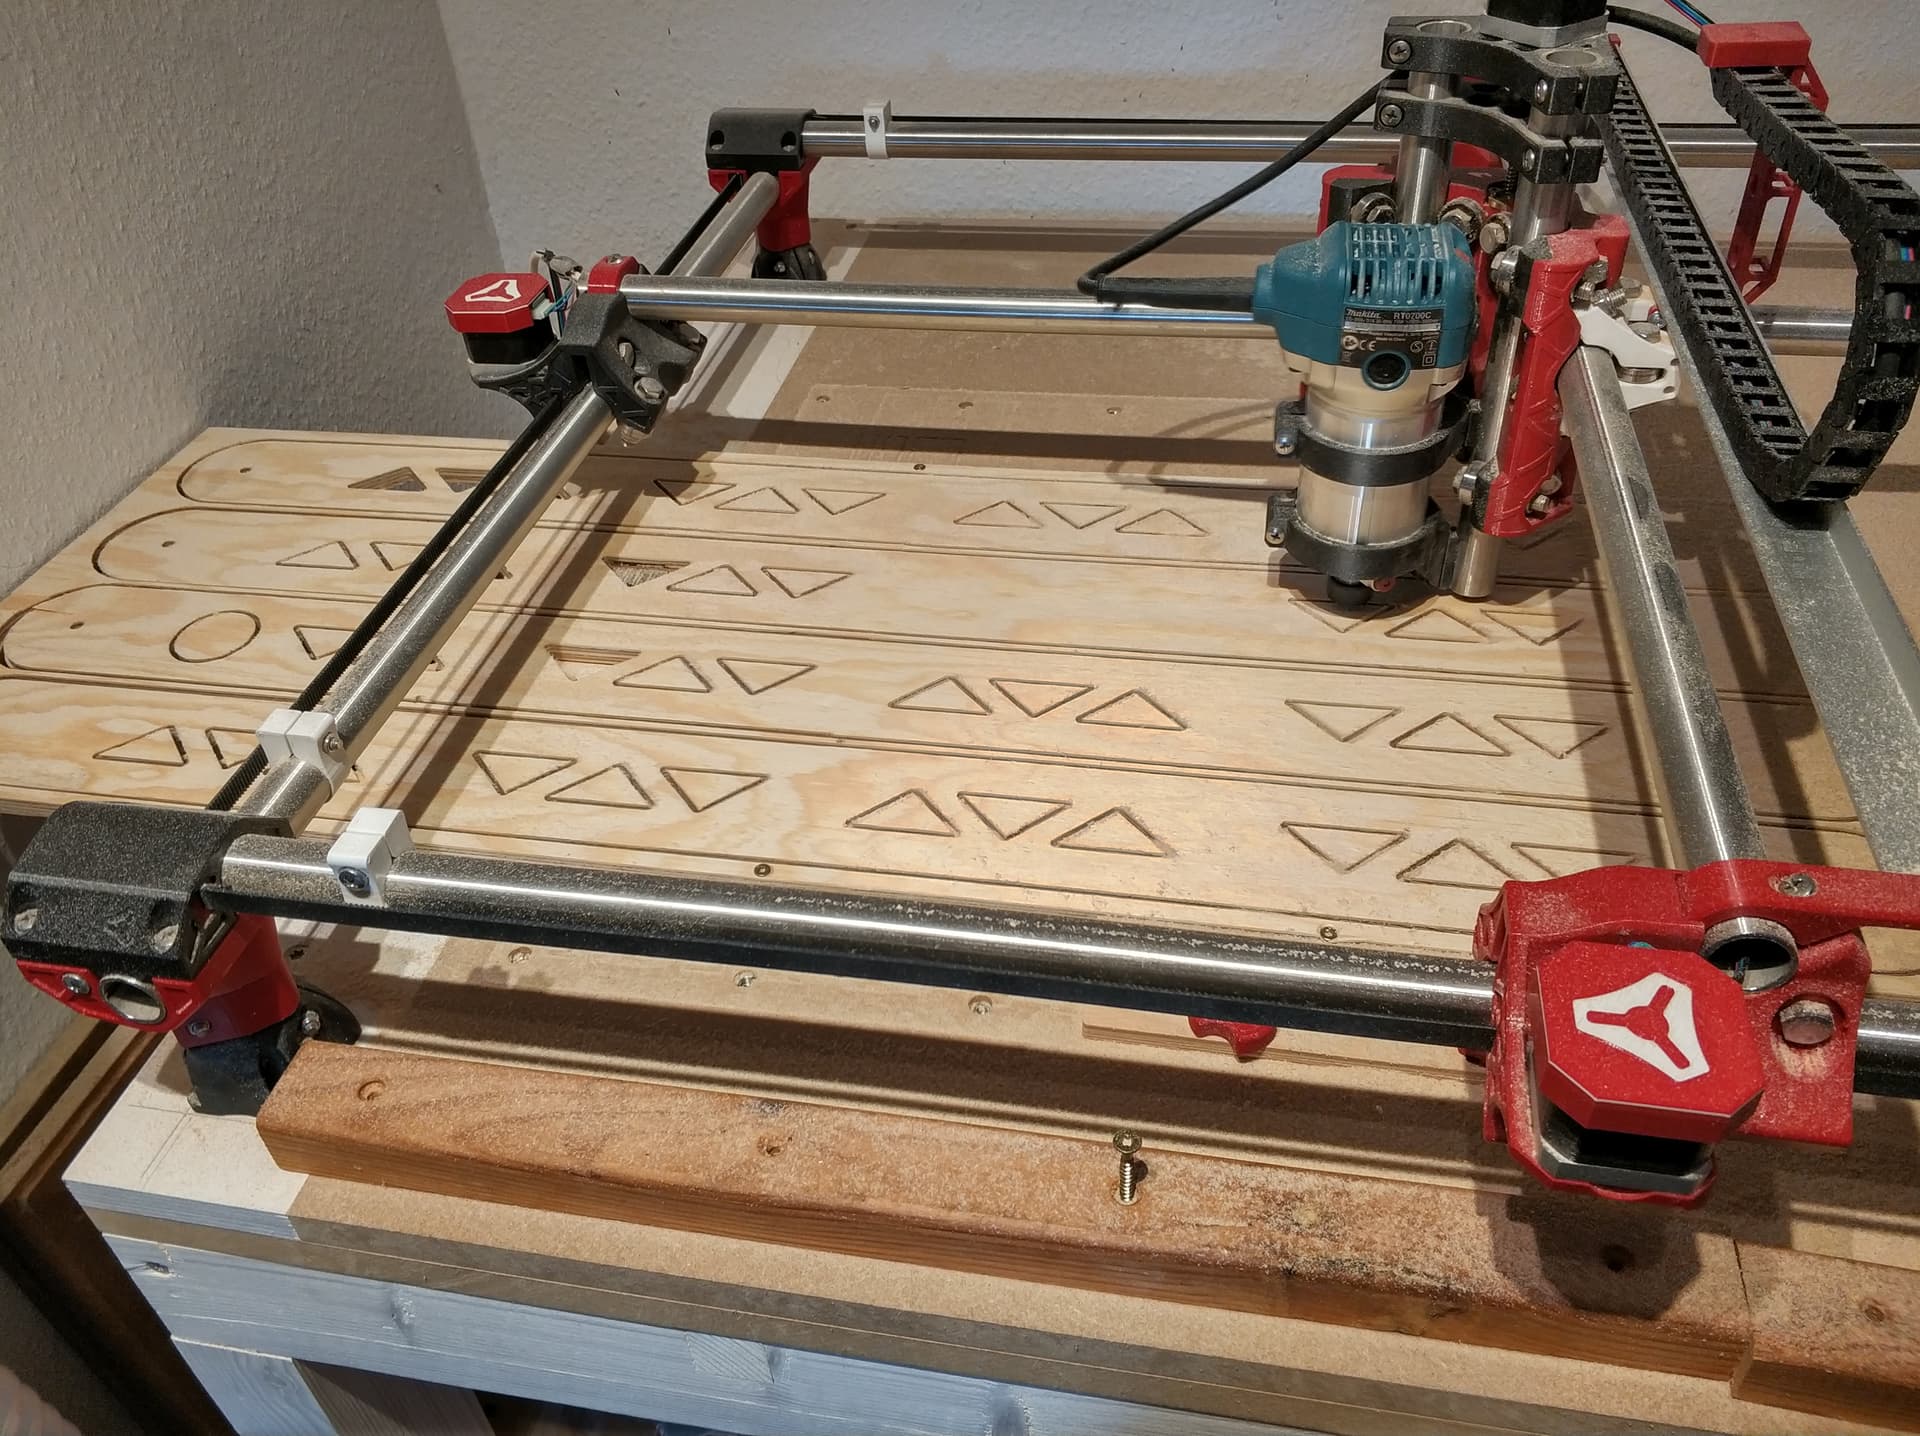
Finished grading exams, I am back in business! Had to split the program in two, funnily, two of those do not connect well, the other two do. No idea why, but it is only a mm.
I think I am going to start adding a hole at 0,0 and then ending with a hole at 0,0 on all jobs to double-check they all begin and end as expected. Doing the LR3 plates with a tool change has me more nervous of making mistakes and not seeing it.
That’s why I put endstops on my machine waaaay back when. I had a repeatable start position to reference. Even if I didn’t start there, I could go to my starting offset, and rezero.
It would be more of a Quality Control check for me. Instead of checking every set of plates dimensions or against a previous cut, that come off the machine. I could just glance at the hole and see if it is round or oval. Then I know the tool change didn’t get too violent.
Exactly currently I am paranoid about shipping bad YZ plates. I am getting perfect results though so far. So I will not mess with the gcode until something screws up.