Hello All -
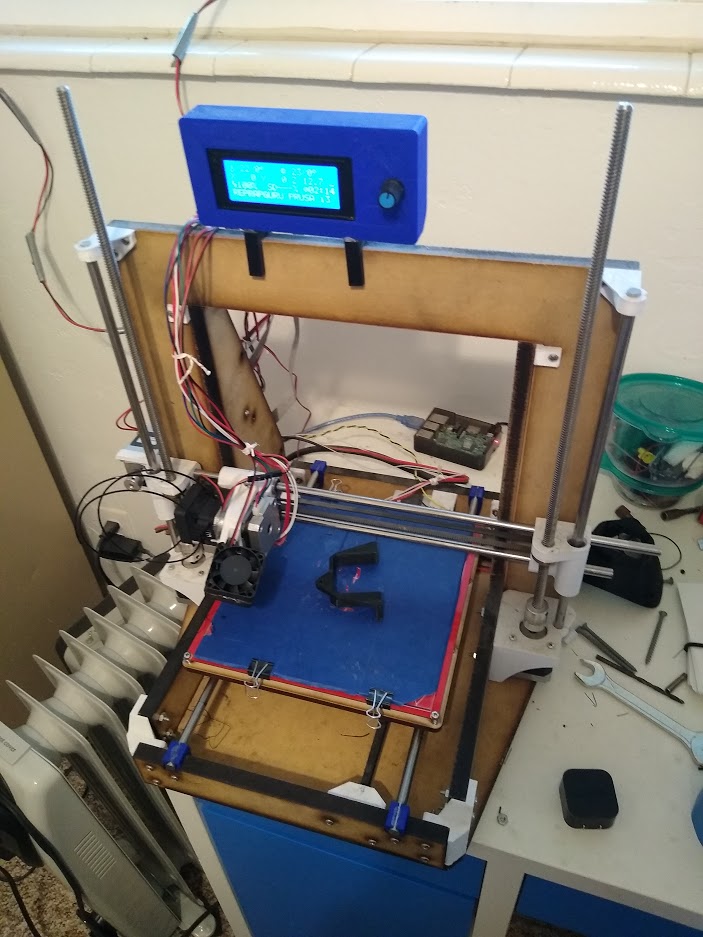
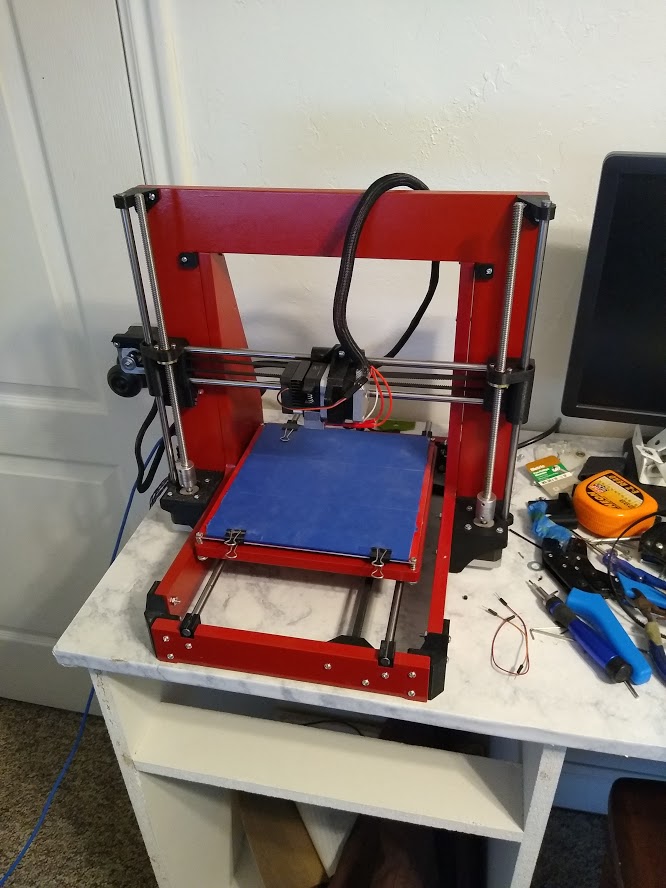
I just finishing my second MP3DP and wanted to show it off. I built my first one a year ago and never posted about it – so I will probably display that one as well. Both of these builds were based on old kits that I purchased from RepRap GURU about 5 years ago.
Now that I have the second printer complete, I am going to disassemble the first and make it run great. I have learned a lot since doing both these builds and I know there is room for making the second one look and run better.
Old MP3DP
New MP3DP
7 Likes
I am running the old machine with a Ramps 1.4 Board with Marlin. The new machine is running a BigTree Tech SKR v 1.3 that I purchased a year ago. I finally got around to using it. It works great! I will be mounting it soon as I print out a case for it. It doesn’t fit the mounting holes on the side right now. I will be adjusting them accordingly.
After printing a test cube, I noticed some things that need to be improved. The extruder bracket holds the extruder/motor loose, causing it to wobble. A piece of electrical tape around the motor will tighten it up. Also, for some reason, some of the parts holding the bearings are too big. I had a bearing under the bed come out. I normally just super glue these in place.
I did try something new for the bearings this go around. I packed them with axle grease. I had some leftover from packing the bearings on my truck. I was wondering how it would work and it turns out, it works great! Those bearings glide over those rails with very little effort.
I will be installing the base on the new machine like I did the old. It seems to run just a little better and makes things just a little more tidy. I will be modifying it though. When I need to get to the underside, to undo the belt, I have to take the entire base off. It would be nice to have a cutout in the center to quickly undo/install the belt.
Overall, I am really pleased with where I am at with the build. So far so good. Still a few things to tweak here and there but those will be done soon.
Next step will be to hook it up to a Raspberry Pi with OctoPrint and connect with AstroPrint.
1 Like