Hello,
Starting a build log now that all parts are on order and I have started printing. I ordered the Primo bundle from V1 with SKR Pro, and ill be building with a workspace of 32"x18"x3.5". Using 25.4mm SS conduit. Not much else to say yet.
Hello,
Starting a build log now that all parts are on order and I have started printing. I ordered the Primo bundle from V1 with SKR Pro, and ill be building with a workspace of 32"x18"x3.5". Using 25.4mm SS conduit. Not much else to say yet.
Welcome.
Enjoy the process. I’ve been documenting my build too. So far a week of printing, printing and more printing and I haven’t finished printing the A color parts. So don’t be surprised how long it takes. I’ve logged the time in Excel and am over the equivalent of 4 days straight printing!
So please add pics and share as you go along!
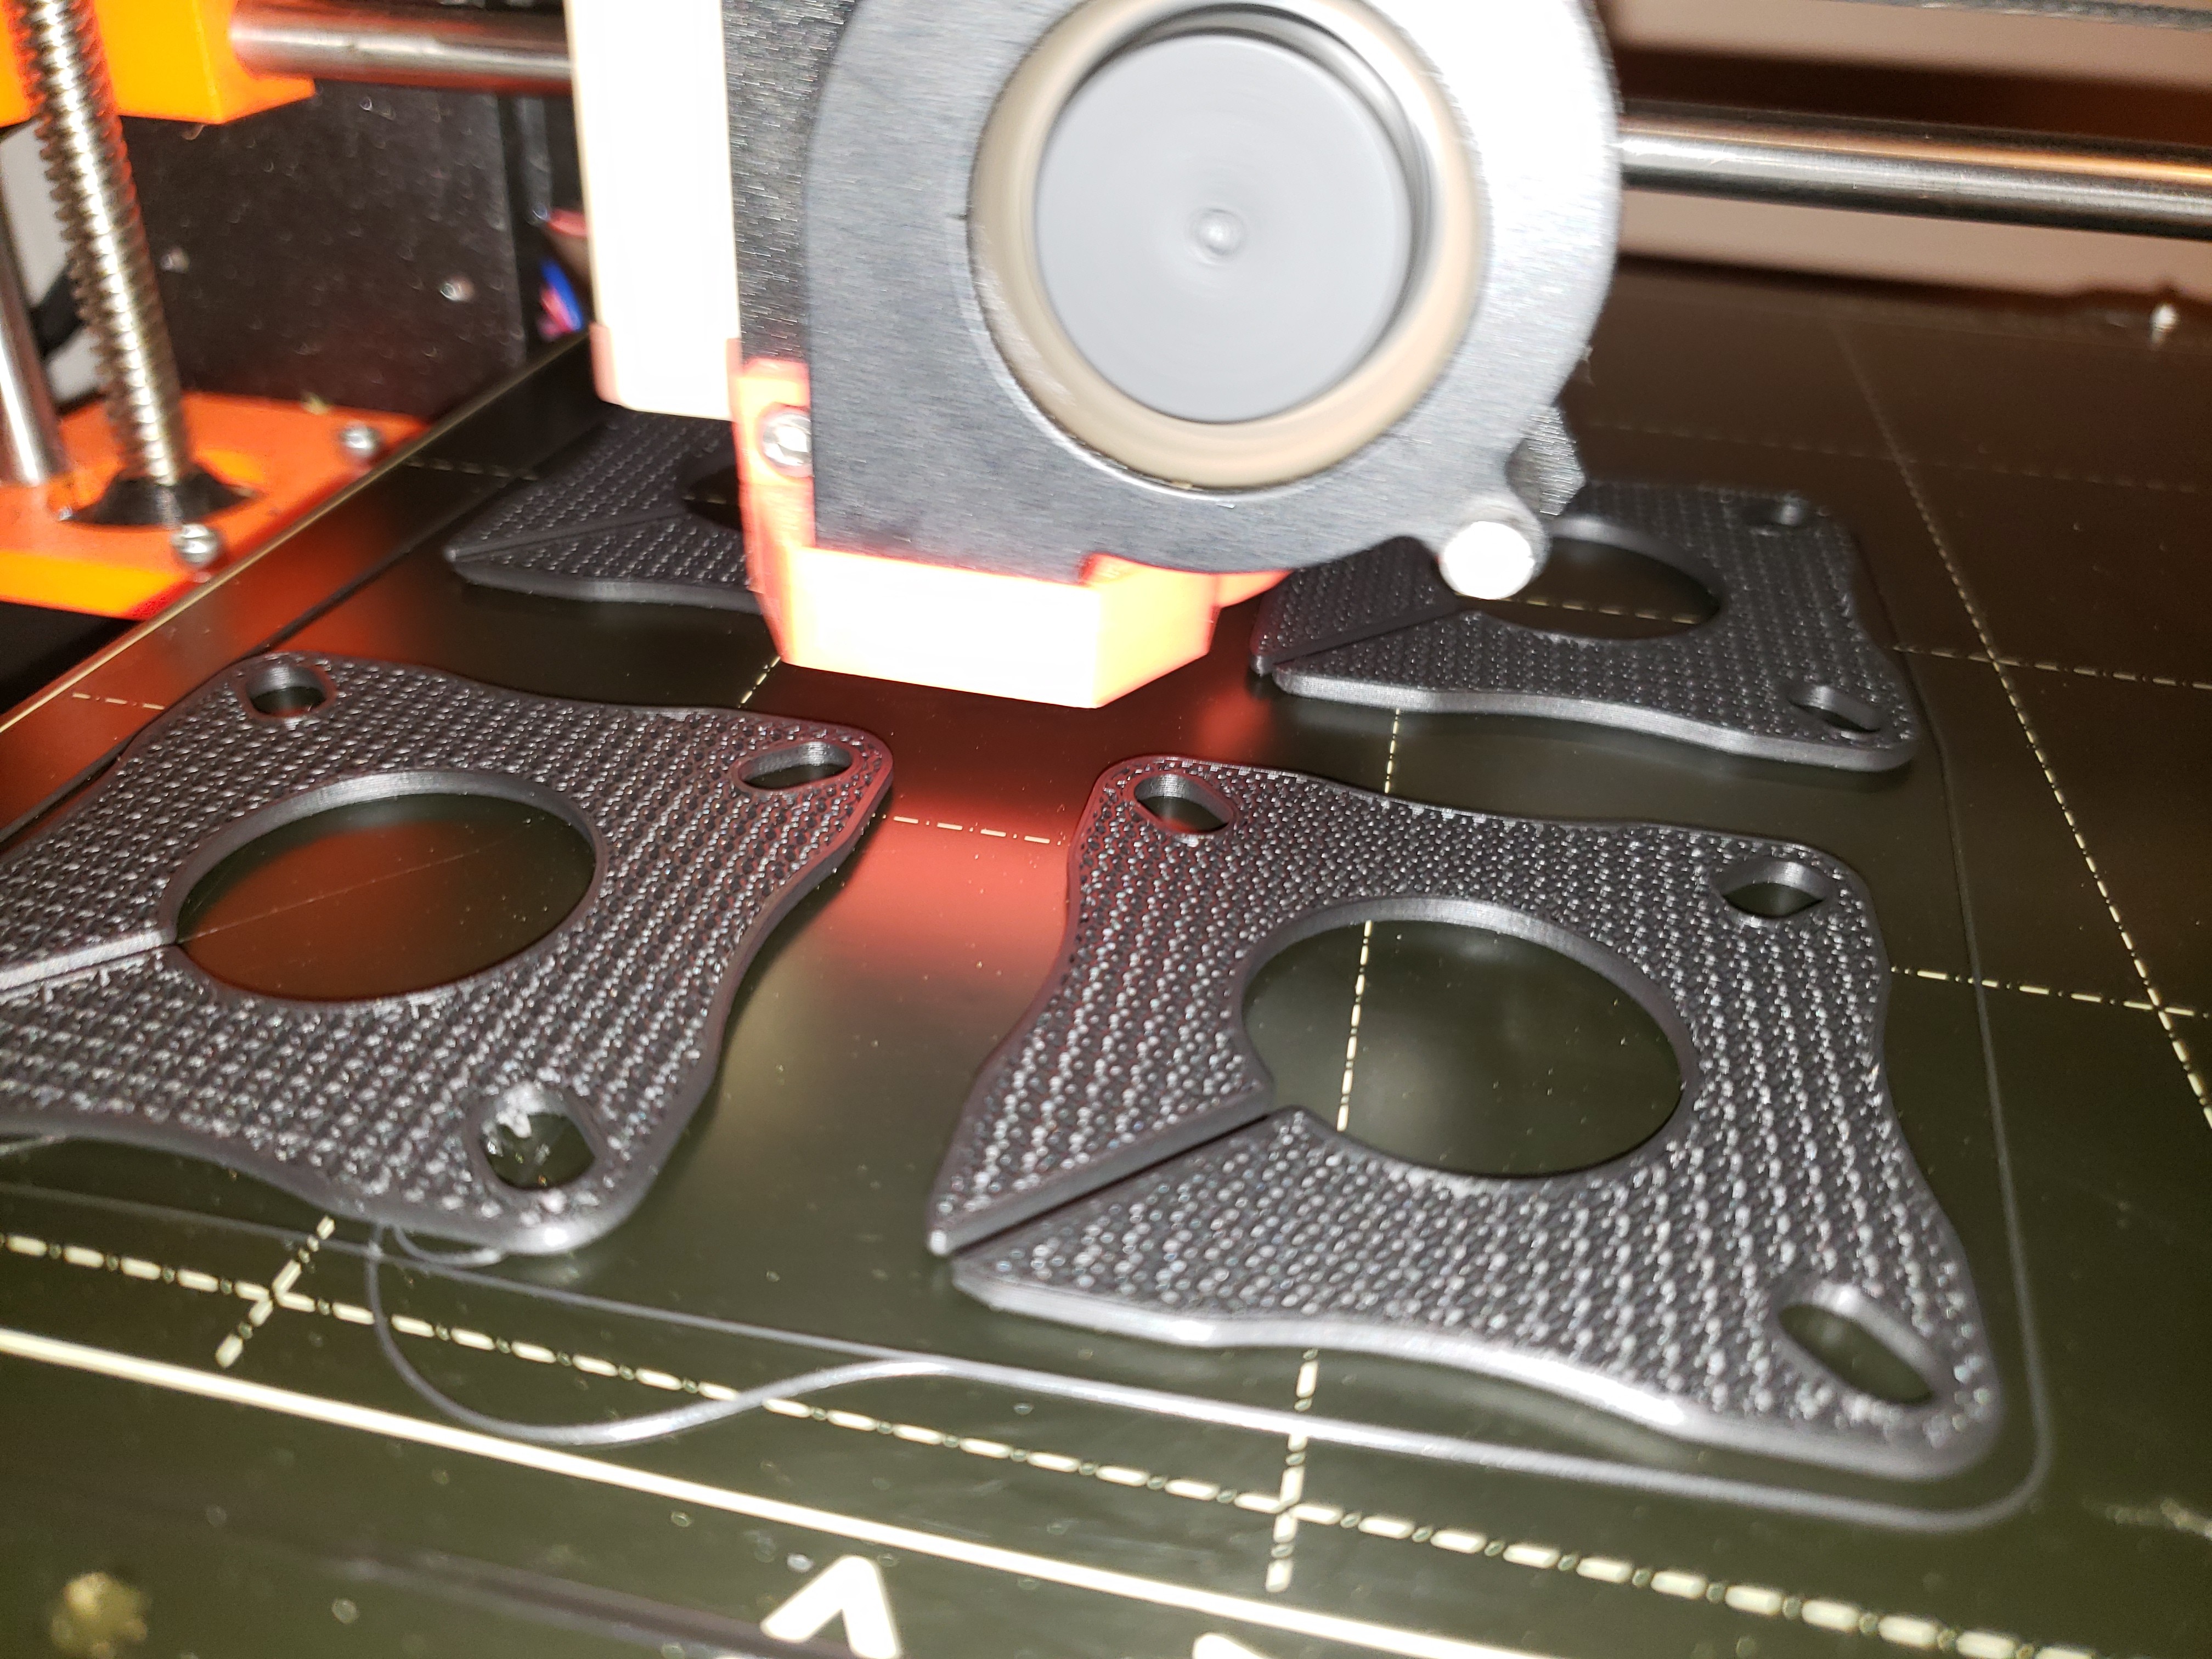
Almost done printing the feet. Meanwhile parts are starting to show up.
I’m hoping to start working on table soon, but its my wife’s birthday next week so ill need to do a few projects for her before I get rolling much on this. I’ll keep the printer running in the meantime.
Good, looks like 50% of one and 25% of the other. ![]()
Looking Good!
Do you mind if I ask which cable chain STL you used?
BTW if you are interested I’ve posted my build too. It looks like we are close as far as printing! So I’m going to follow your build closely. And hope you do the same to mine!
Hey Tom
I have been following your build and eoll continue to. It looks good.
I just bought the cable chain. It was cheap on Amazon and its made out of nylon, which I can’t currently print.
Thank you for following my build.
Yea I don’t know how to print nylon yet. So guess I’ll worry about the cable chain when I get closer to that.
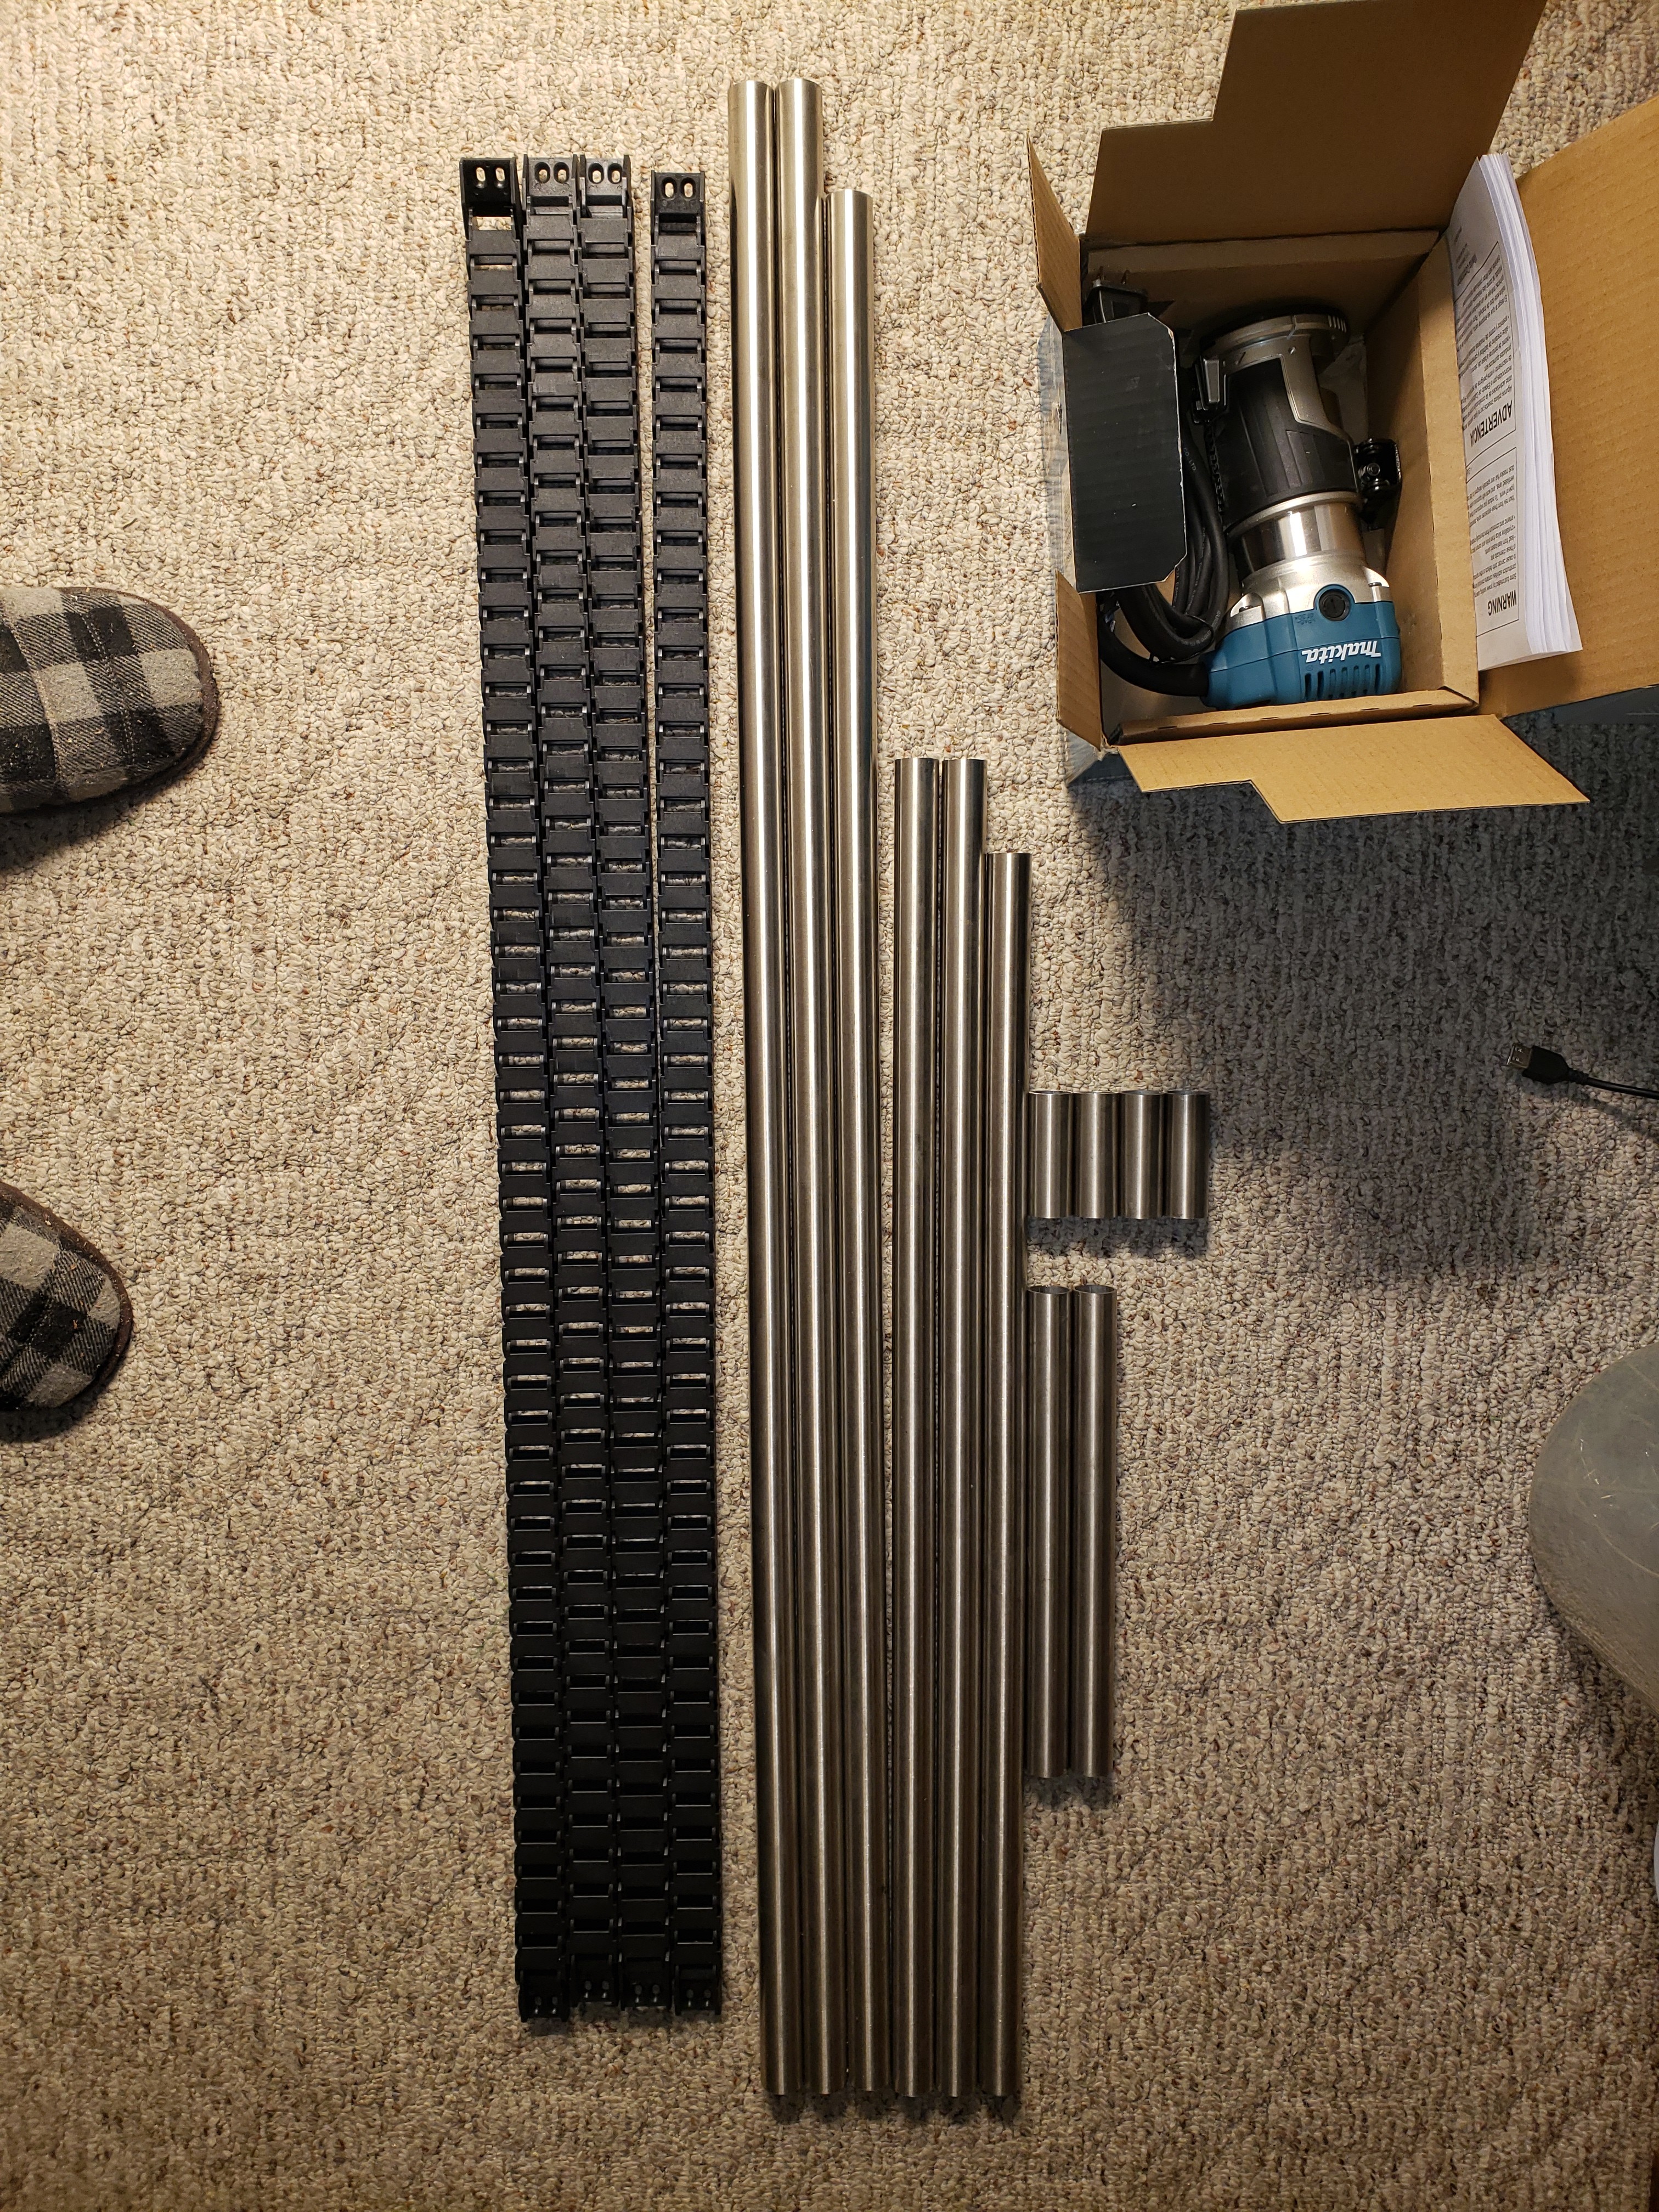
Fast shipping from V1! Kit showed up today. I have almost everything to start my build.
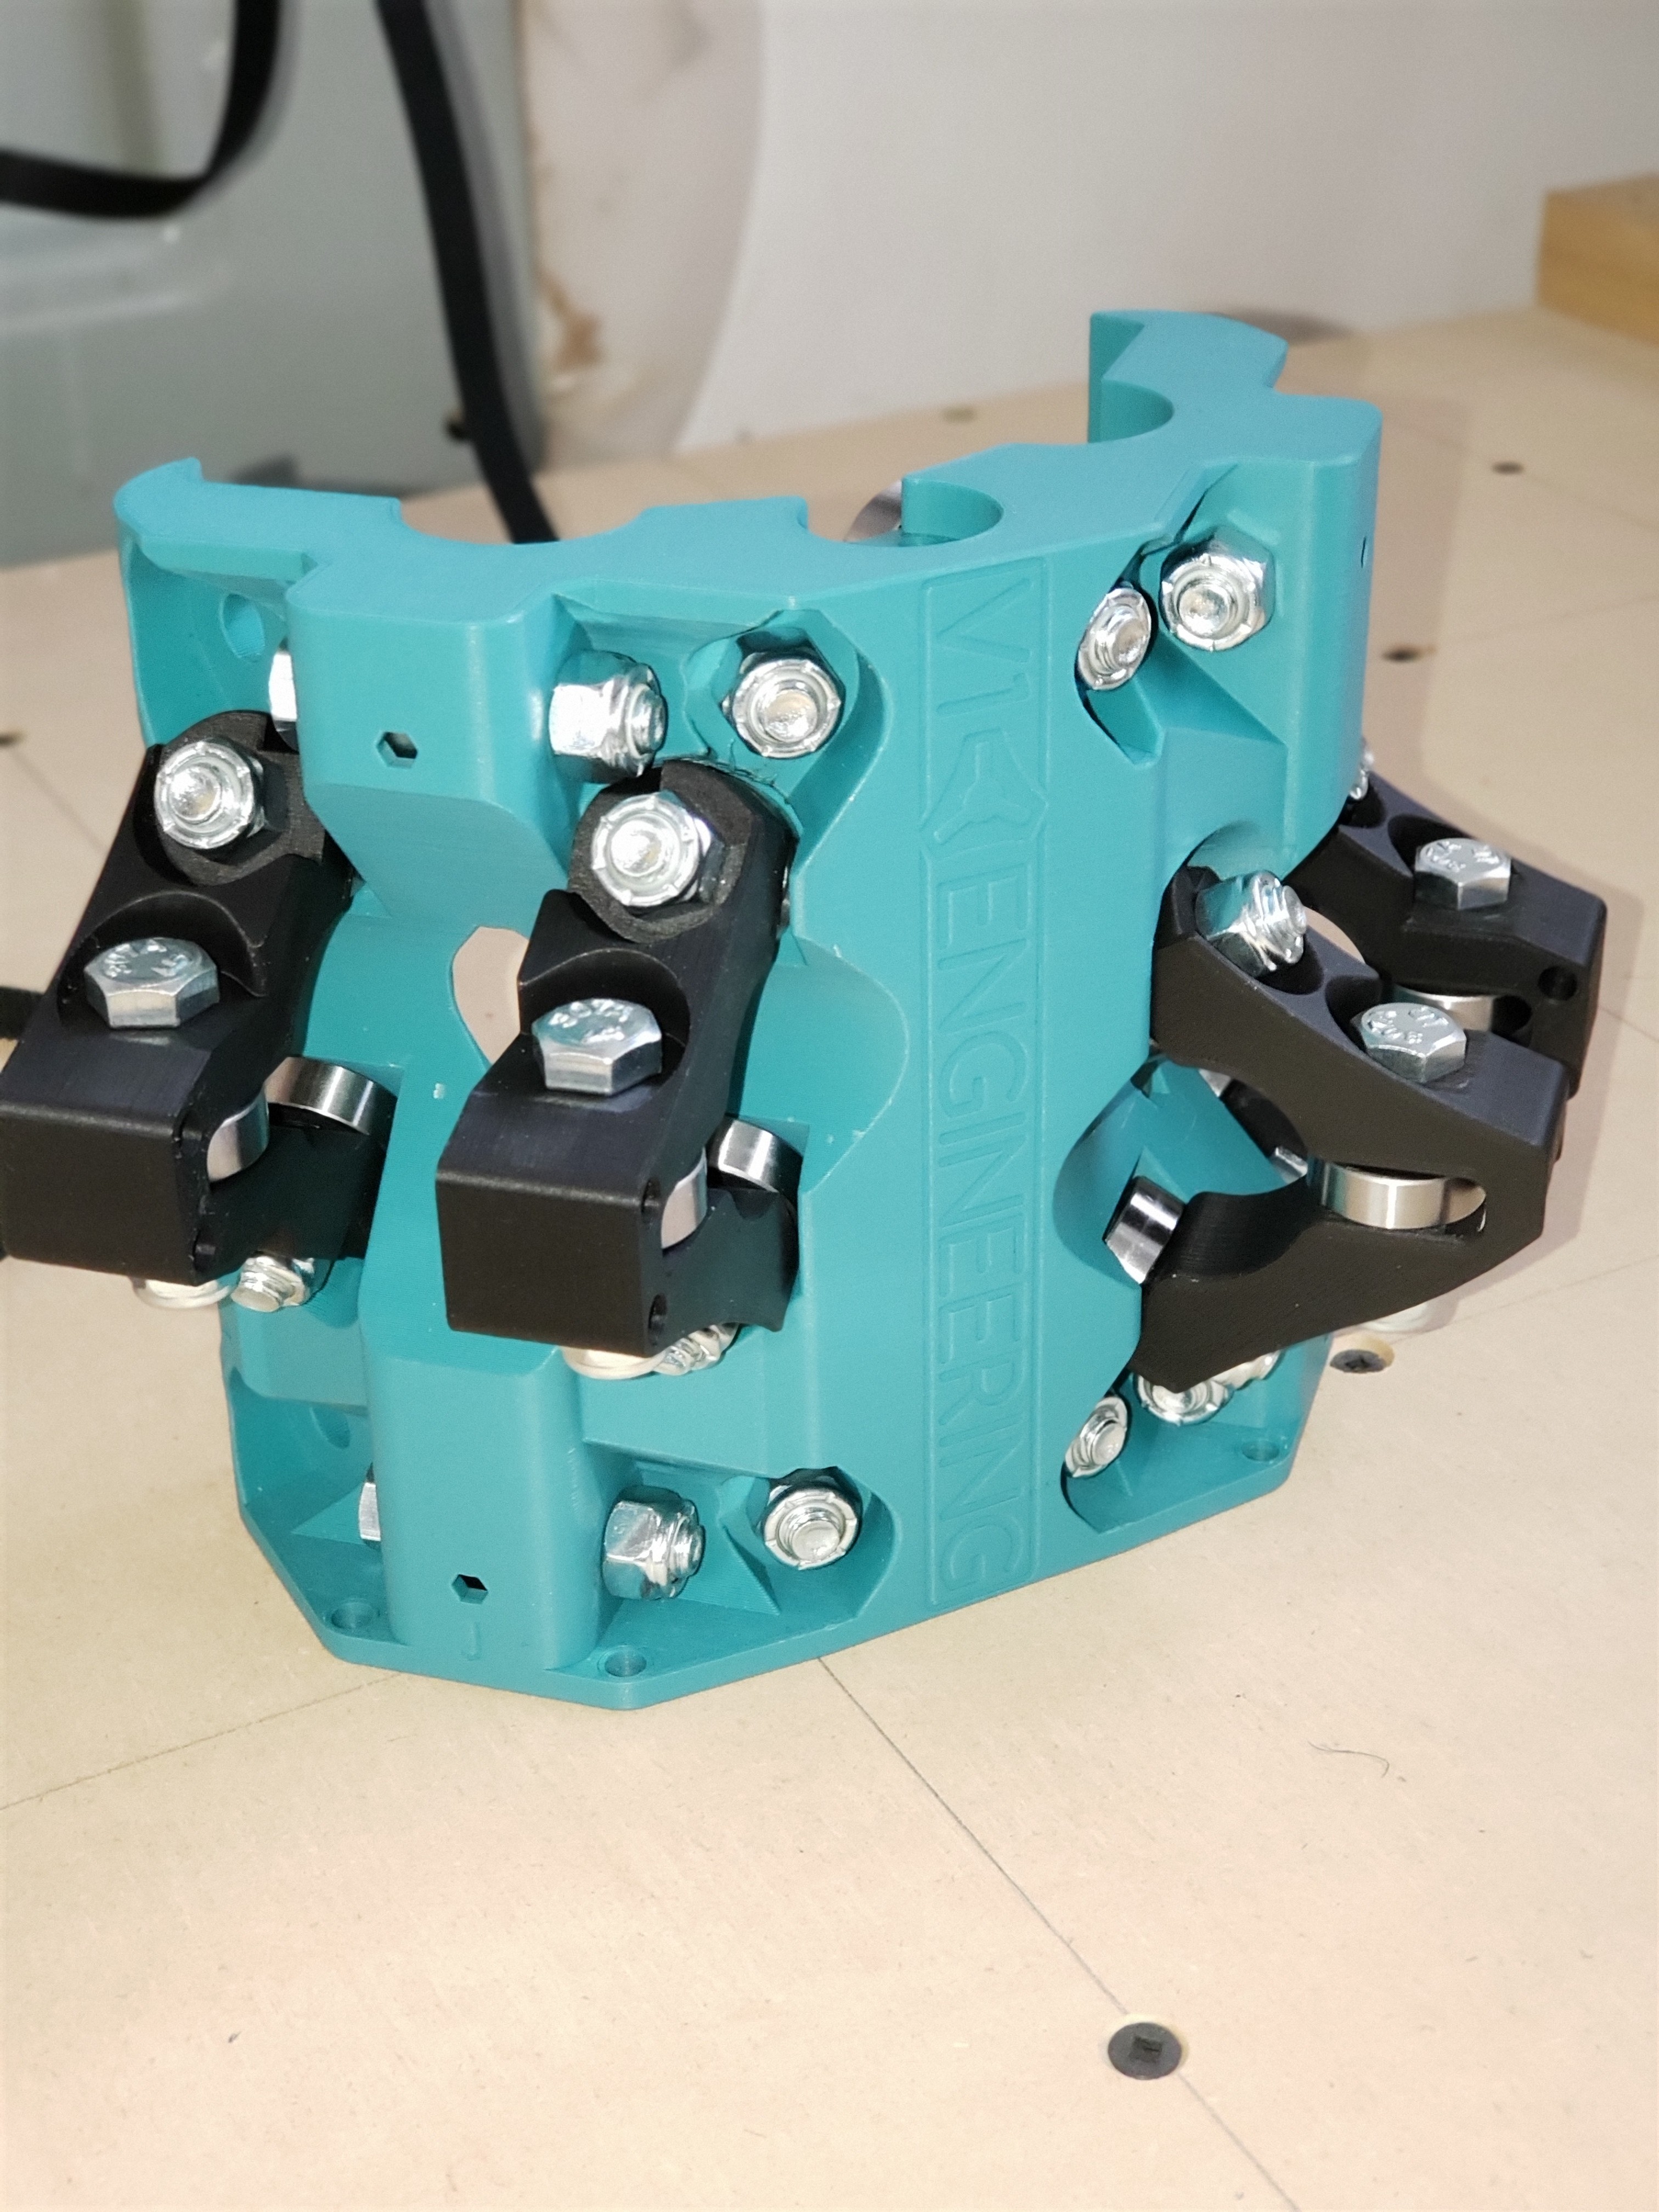
Printer is just working on trucks and then moving on to ‘B’ color parts.
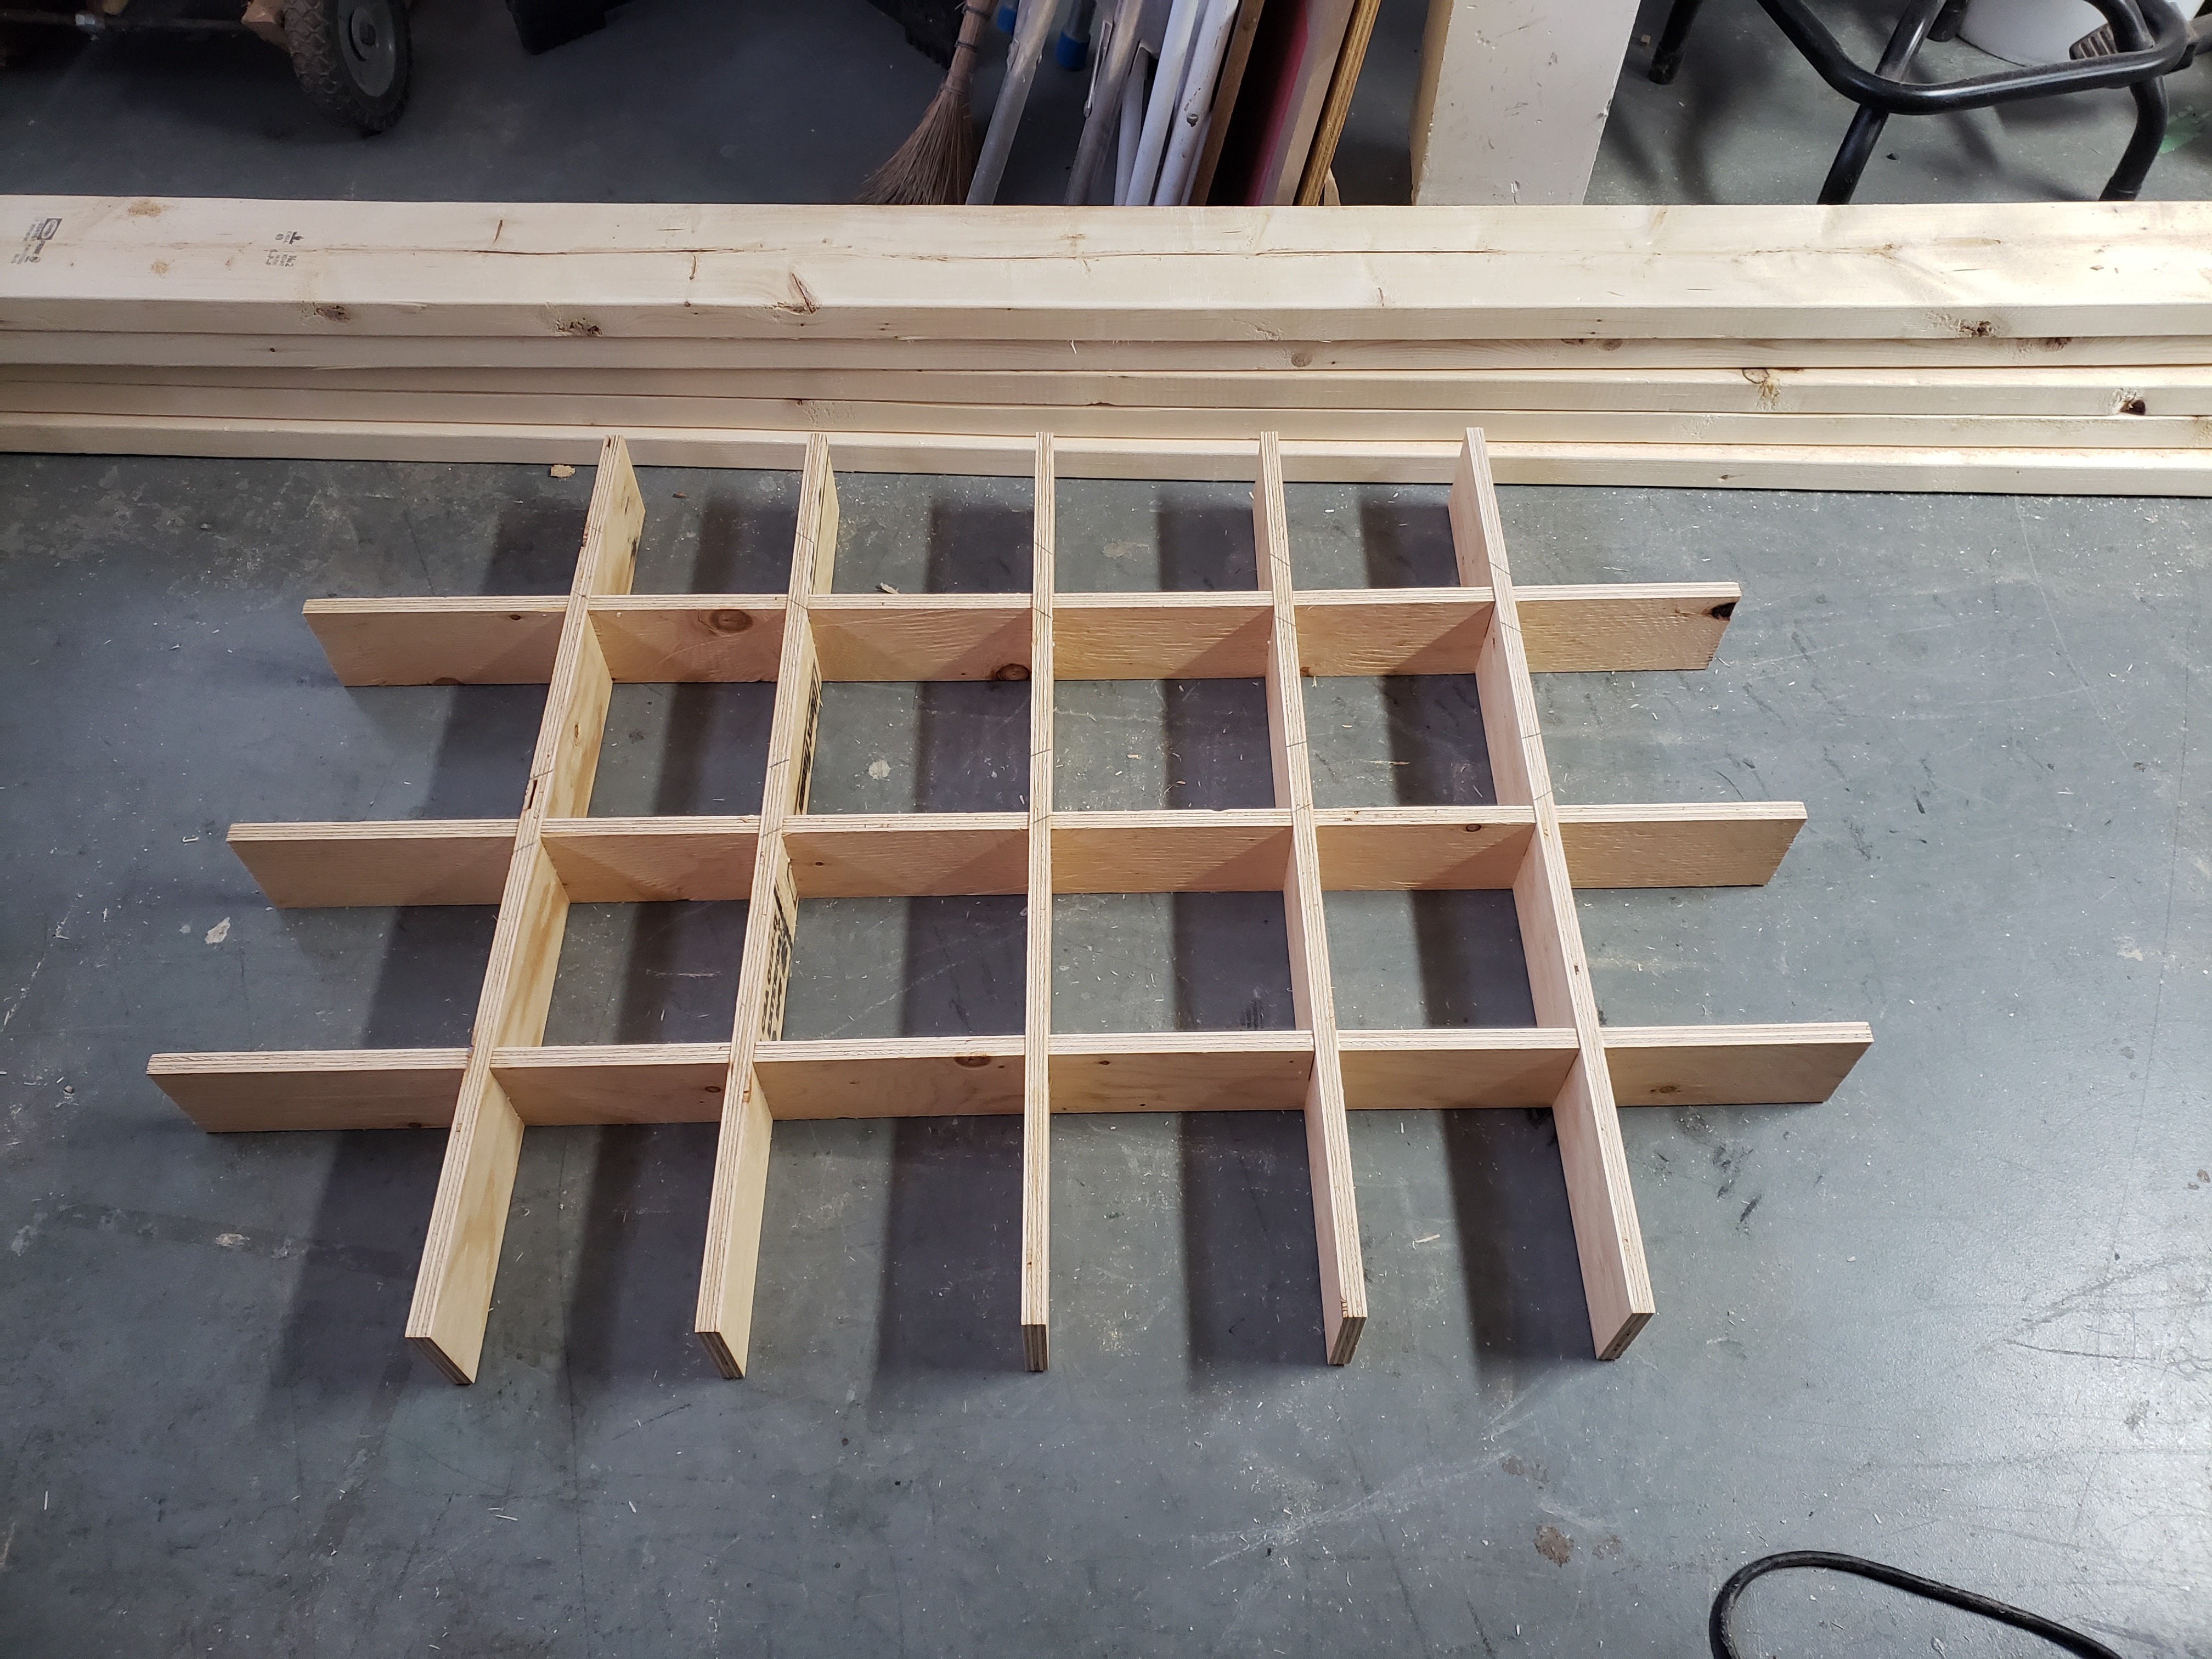
While the printer keeps working ill need to start on a table, hoping to get that going by this weekend. Then should be able to start building the MPCNC next week! 
Congrats.
I’m almost done with my A parts. And getting ready to start printing B parts.
How do you plan to build your table?
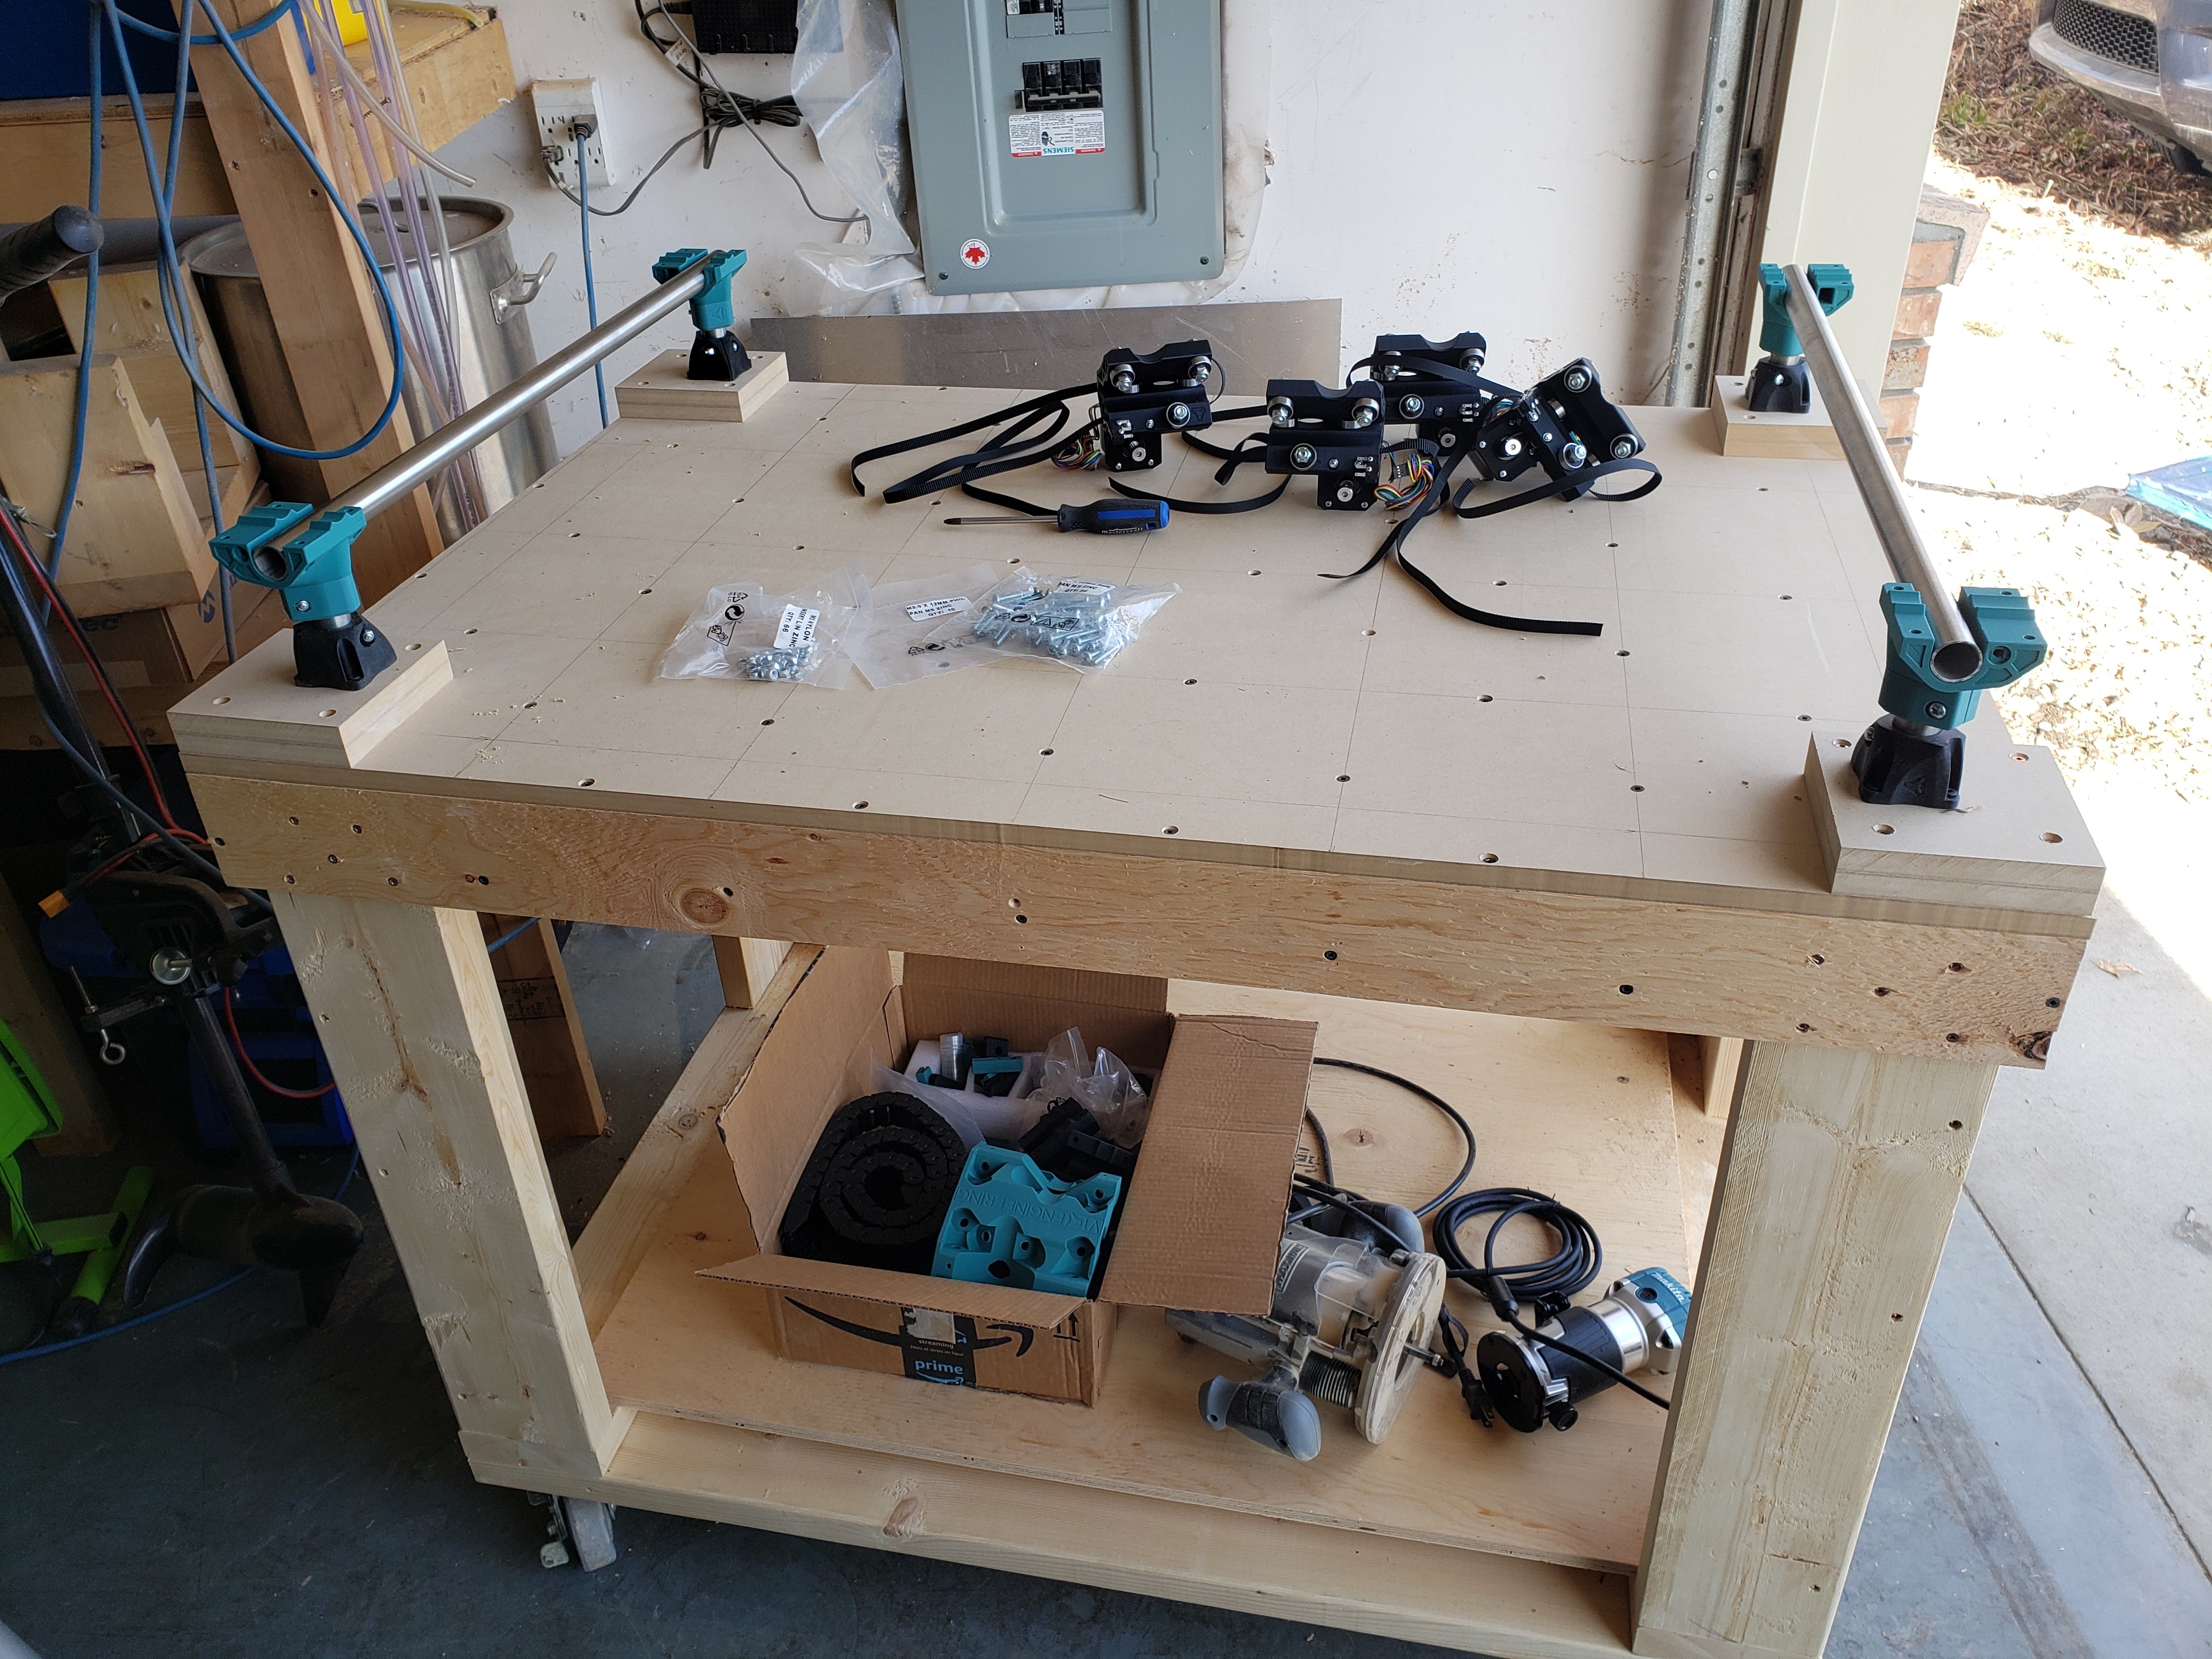
Thinking ill do a torsion table top to keep things nice and flat. Ill put a shelf or 2 down below to keep stuff on hand . Ill put casters on it for portability in my small shop space.
Ill raise the feet on the MPCNC up by a boards width and put an mdf spoilboard on the top.
Very nice!
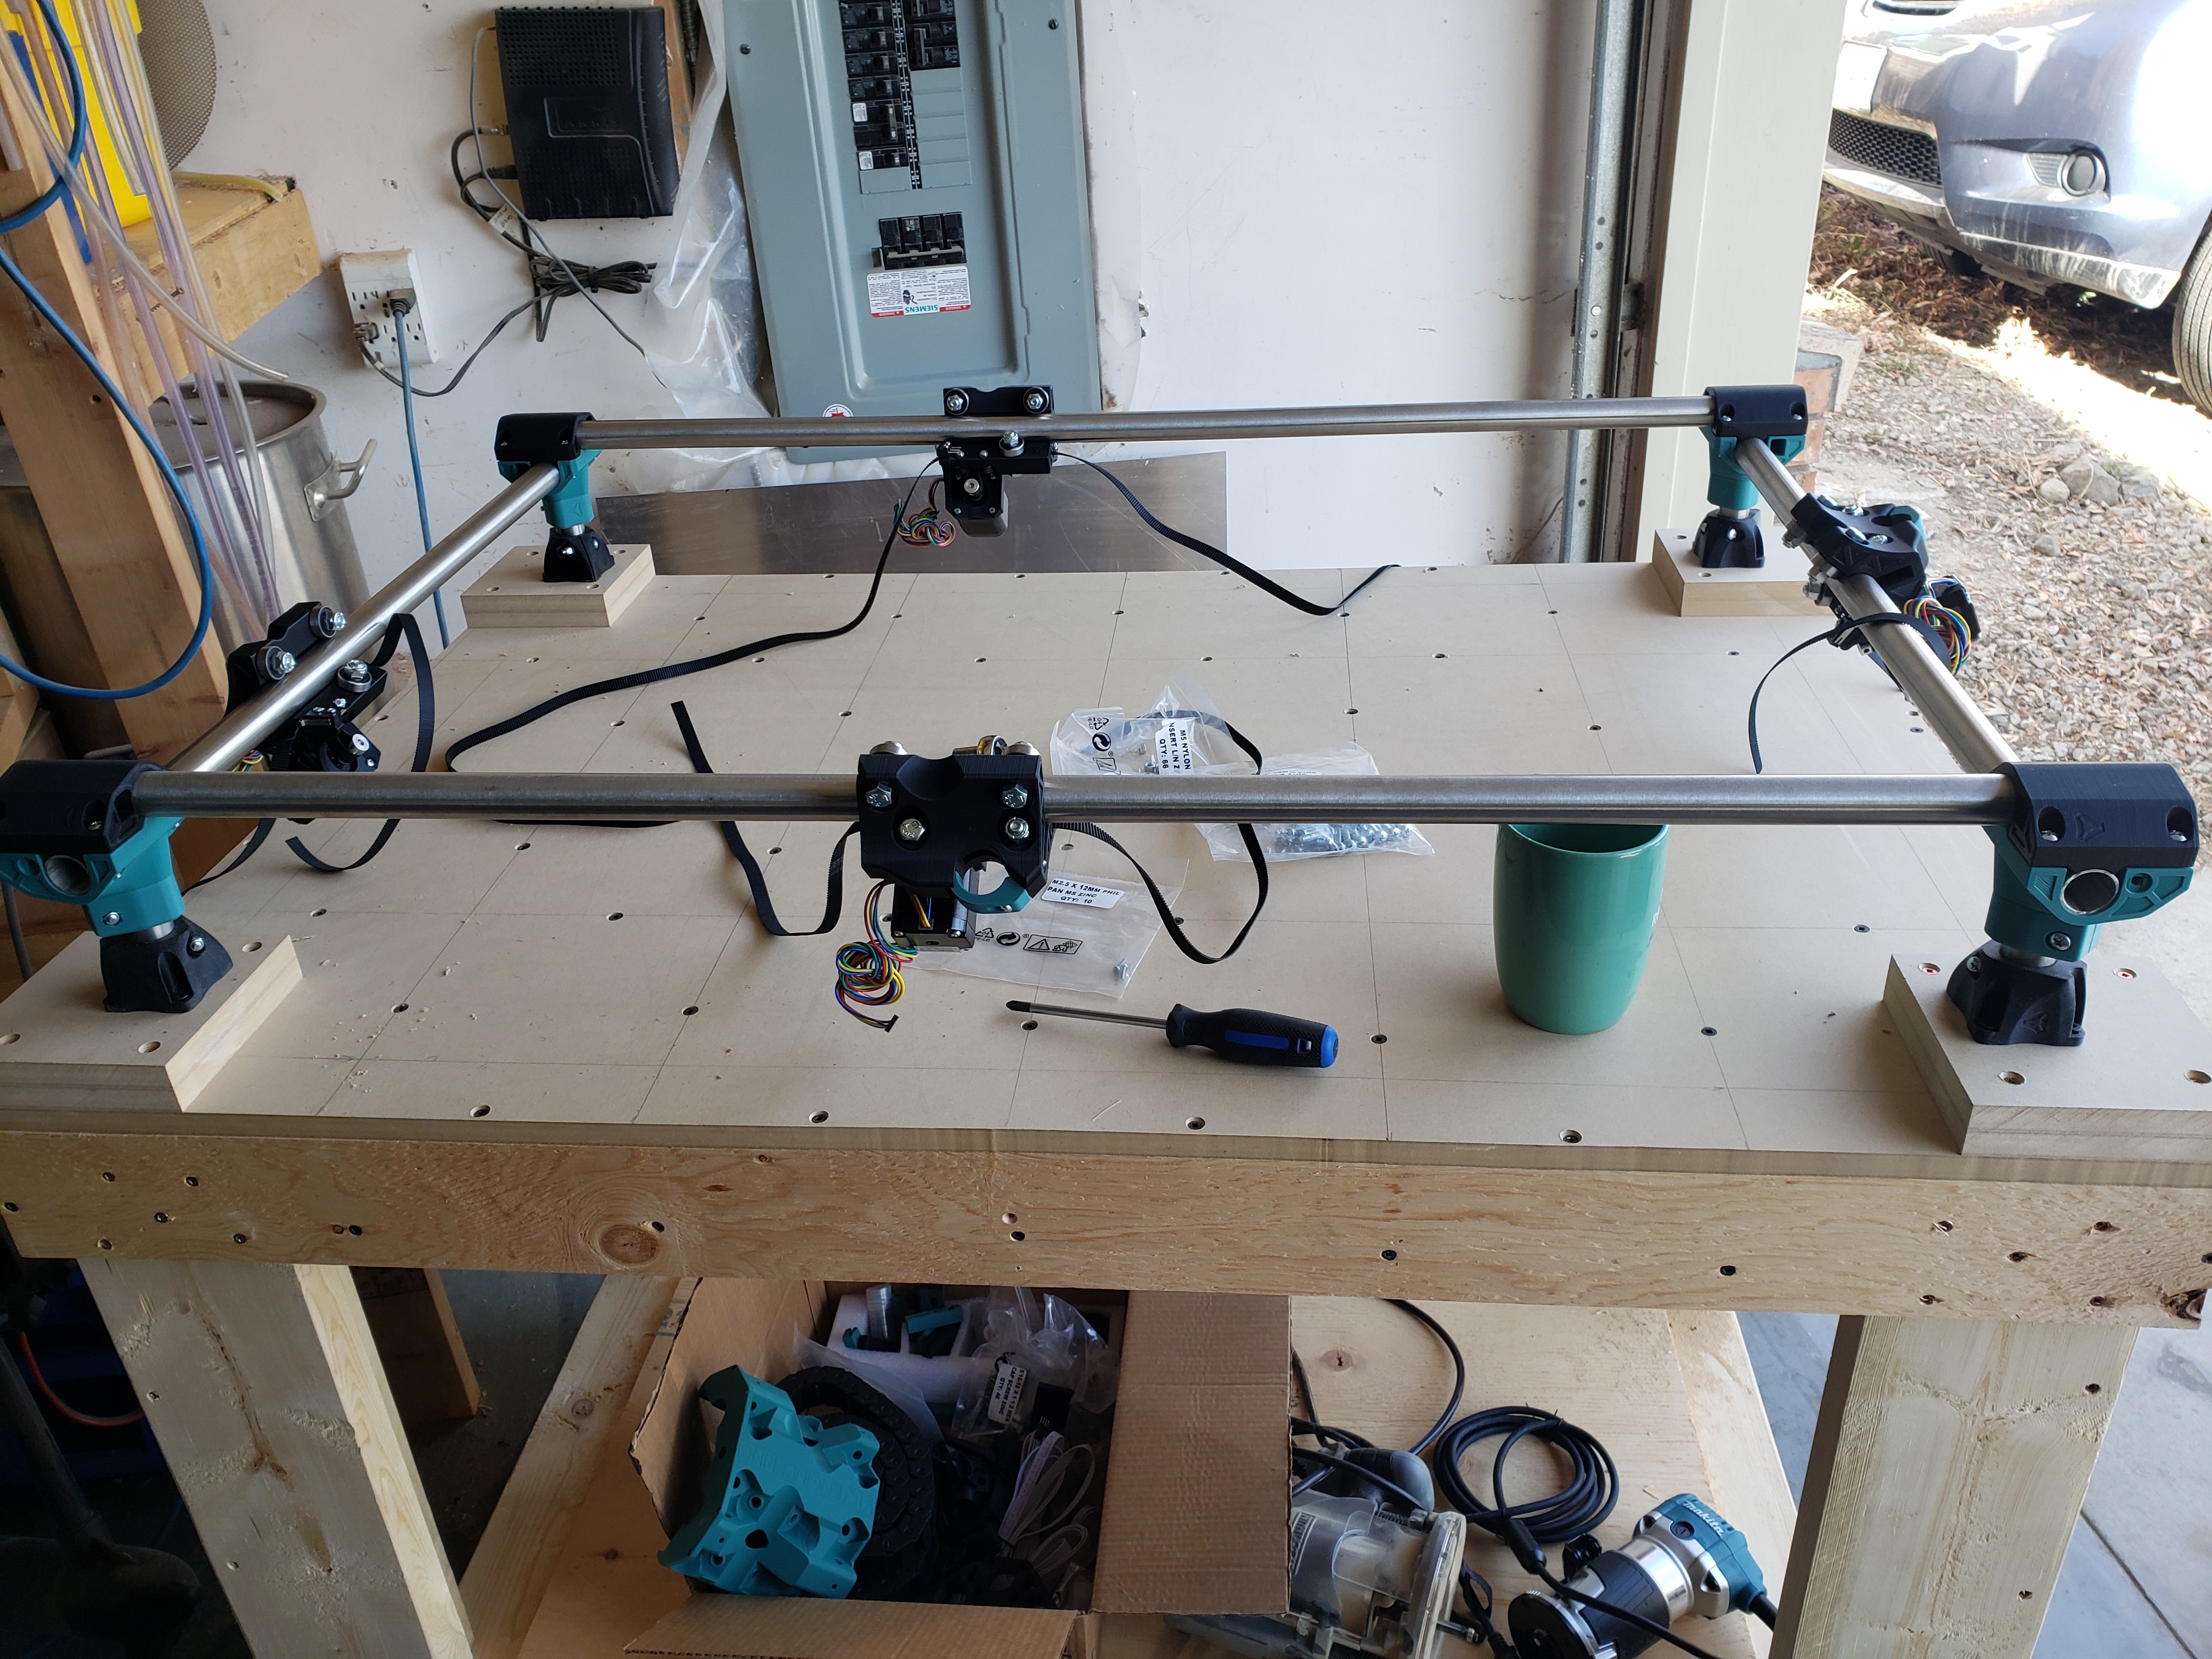
So. All parts are officially printed. Now I’ve got my base square and level, trucks are assembled. Onto the next step!
So I am at the stage where I am installing 2 m3x10 screws to hold the lead screw nut. But the screws don’t grab inside the core…anybody else experienced this issue. I might try to find some larger screws.
Well…, the M3 bolts were too small to properly hold the leadscrew nut in place. i used some CA glue and threaded in the screws, waited, and unscrewed them to form threads in the holes, problem solved…kinda.
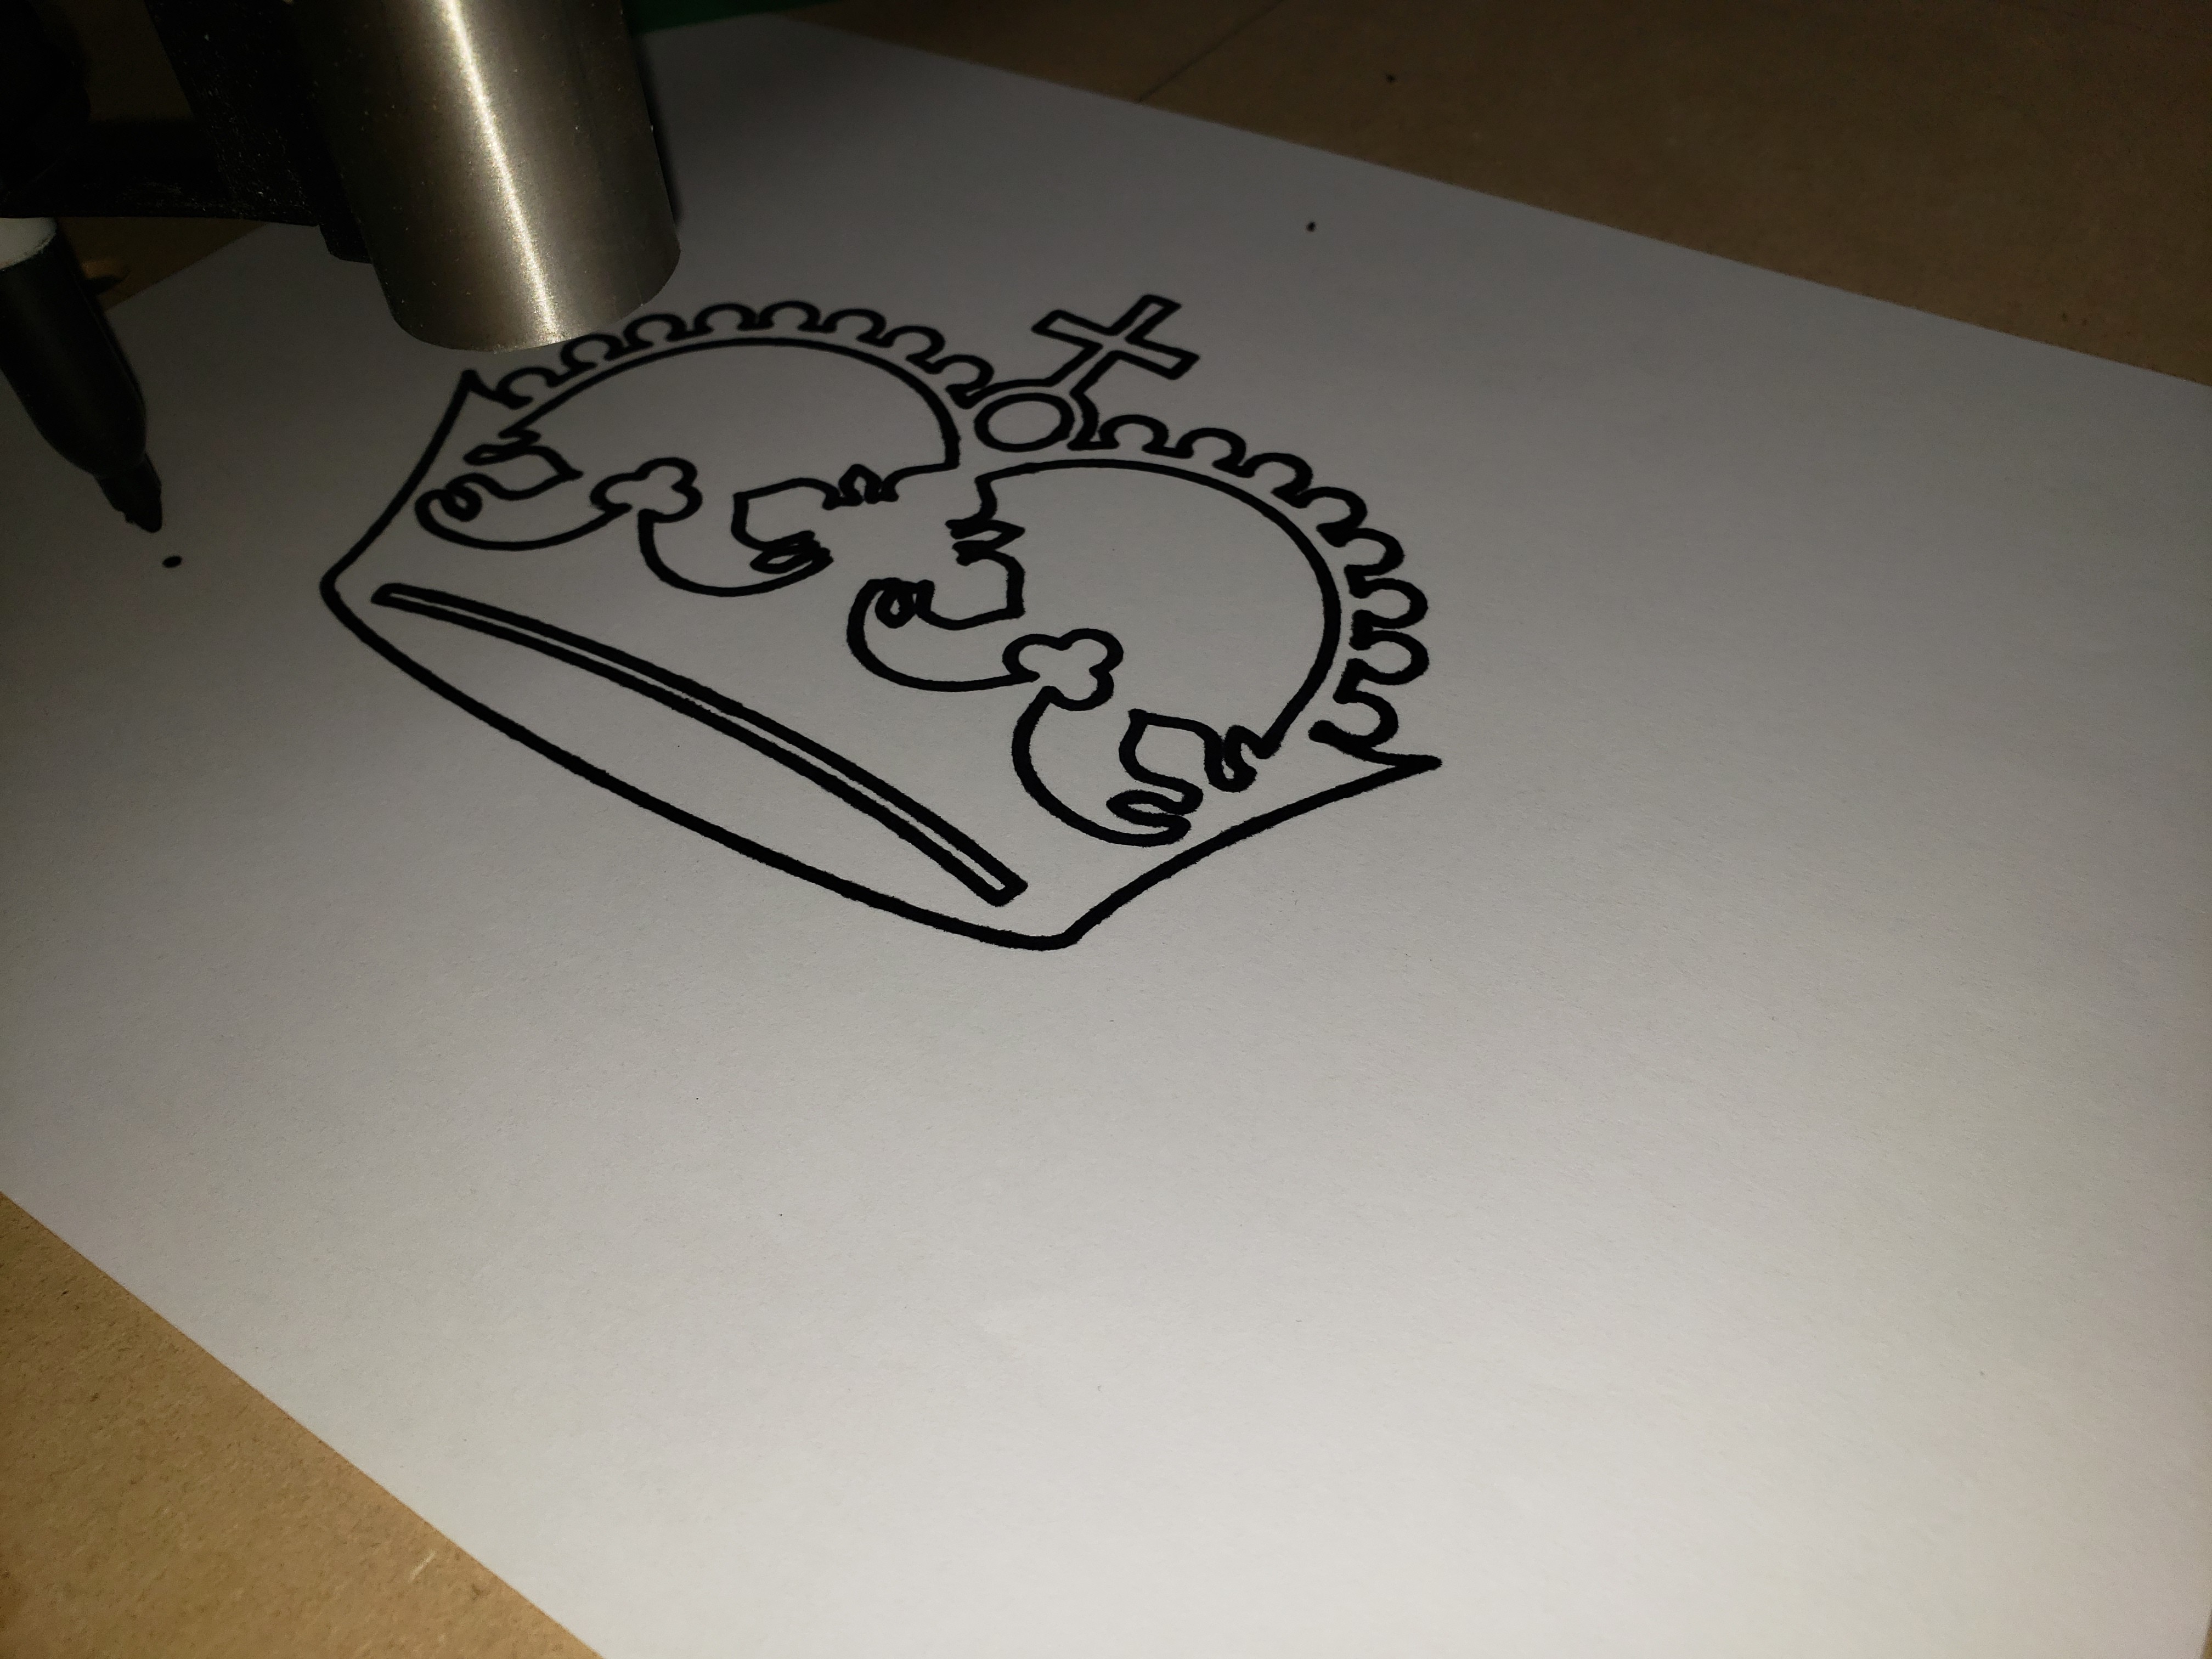
Anyway. Did a few more things and…it moves and works! I haven’t started cutting yet because first i need sone wire management.