Building the "Repeat" printer

Shoot, I thought I linked the firmware zip somewhere. I will see if I can upload something.

For sure, I appreciate the notes!

I am fairly certain left is 1, right is 2, back is three. You can look at any config.adv file and it has a little diagram just like you made. I can confirm when I get a little laptop time.

No mesh tables. That error might just be the TFT config missing something. I have my start gcode in the other thread.

1 Like

Uploading: Repeat and TFT.zip…
Okay this has the marlin build, and the TFT files.

For now any testing you do should be from the marlin side. You can use the TFT side but I am pretty sure it needs to be setup to work properly…it injects commands.

steplocation

The stepper locations can be changed I just used the default
to have one less edit to keep track of.

1 Like

shoot, file is too big let me get it in google drive

I think this will work, did I share it right?

https://drive.google.com/file/d/14_kvvZW5kjY-KYtj5TRAilbNmu9CfSFe/view?usp=sharing

Most of what I’ve been doing with the TFT is terminal mode anyway, to send direct gcode commands. Mostly G0, with some G92

I’ll do some testing to get to placing the nozzle on the front left of the bed, so that I can set my stop offsets. It’s really no big deal to swap around the motor connections, so I’ll just make them match. The closer to stock firmware I can use, the better.


A coat of paint, just waiting for it to finish curing before I bolt it on.

It says I need to request access (which I did) buy you can share it so that anyone with the link can see it. Probably safest.

Edit: Z motors swapped, homing tested and working.

3 Likes


And there is my baseline reference for 0, 0, 0

And this is the Marlin mode screen. So I have an extra 60mm of Z. My X and Y offsets from home are a bit different as well.

As a bonus, I still have enough extra in Y thst the BLTouch should be able to probe anywhere on the bed at all that I might think about reaching with the nozzle.

I’ll do the bilinear leveling as well, so I have to edit the coordinates of the mesh grid, as well as determine X/Y for the 3 point ABL.

I have a kendo practice this evening, so not sure if print testing is tonight or tomorrow, but coming soon!

5 Likes

It’s printing… But I am having trouble getting the prints to stick to the PEI/steel sheet. Not sure if it’s surface temperature or the plate just needs to be printed. Very frustrating after waiting through the G34/G29.

It’s really fast when it’s trying to print though, and the Hemera is amazing. Almost no drool at all even through the hotend is 250° through the whole proceedure. Fantastic control!

I’m going to do an isopropyl alcohol wipe-down and try printing again so I can register for a serial number. (Not done, still lots of cosmetic stuff that needs finishing, but functional.)

2 Likes

Okay, I don’t understand something…

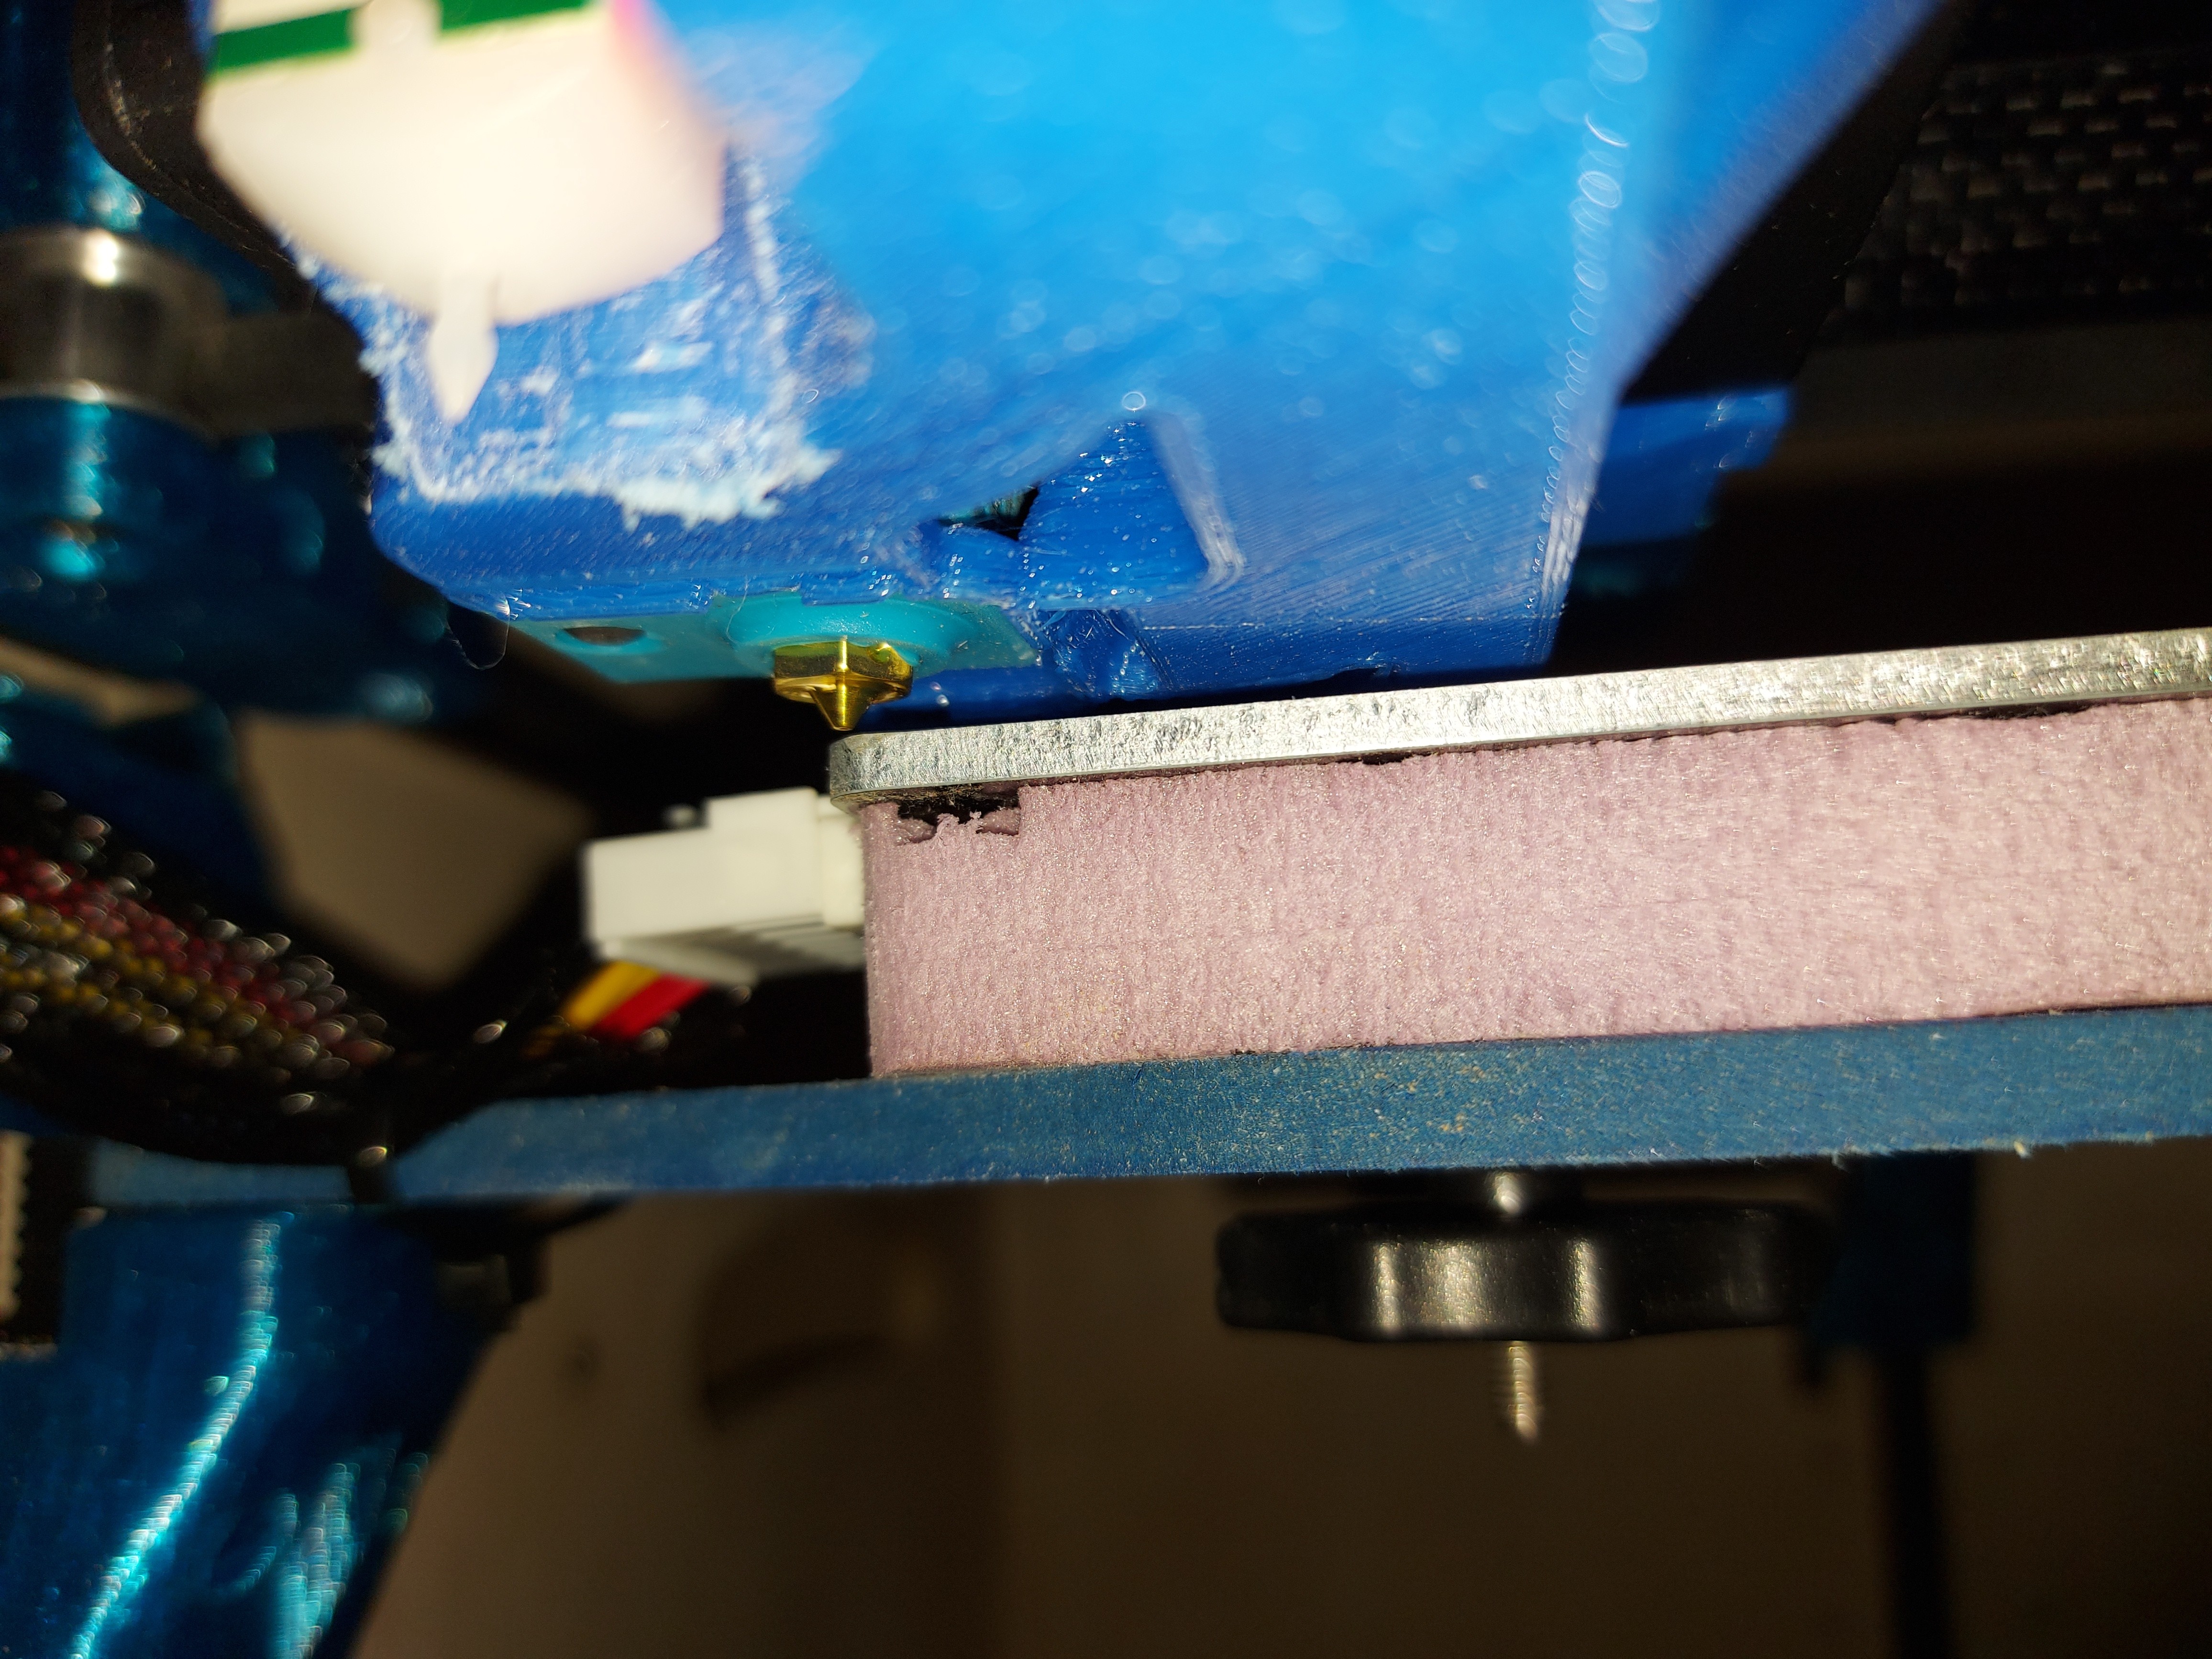
I consistently get a bit under 2mm of printing, then the print head picks the piece up off of the bed. I think when the bottom layer cools just enough, and it completely lets go.

I looked at my first 2 prints, and throught that there wasn’t quite enough “squish” there, and maybe that would do the trick. I reduced the Z probe offset from 4.75mm to 4.65. Same result, and an identical looking first layer. Ok. Maybe a little more. 4.50. Nope. 4.2? That ought to have the first layer squished right down. Nope. no visible change at all in the first layer.

I don’t want to change it more, because I don’t want to crash the head into the print bed, so I’m looking for suggestions.

if you’ve got 10 minutes or so…

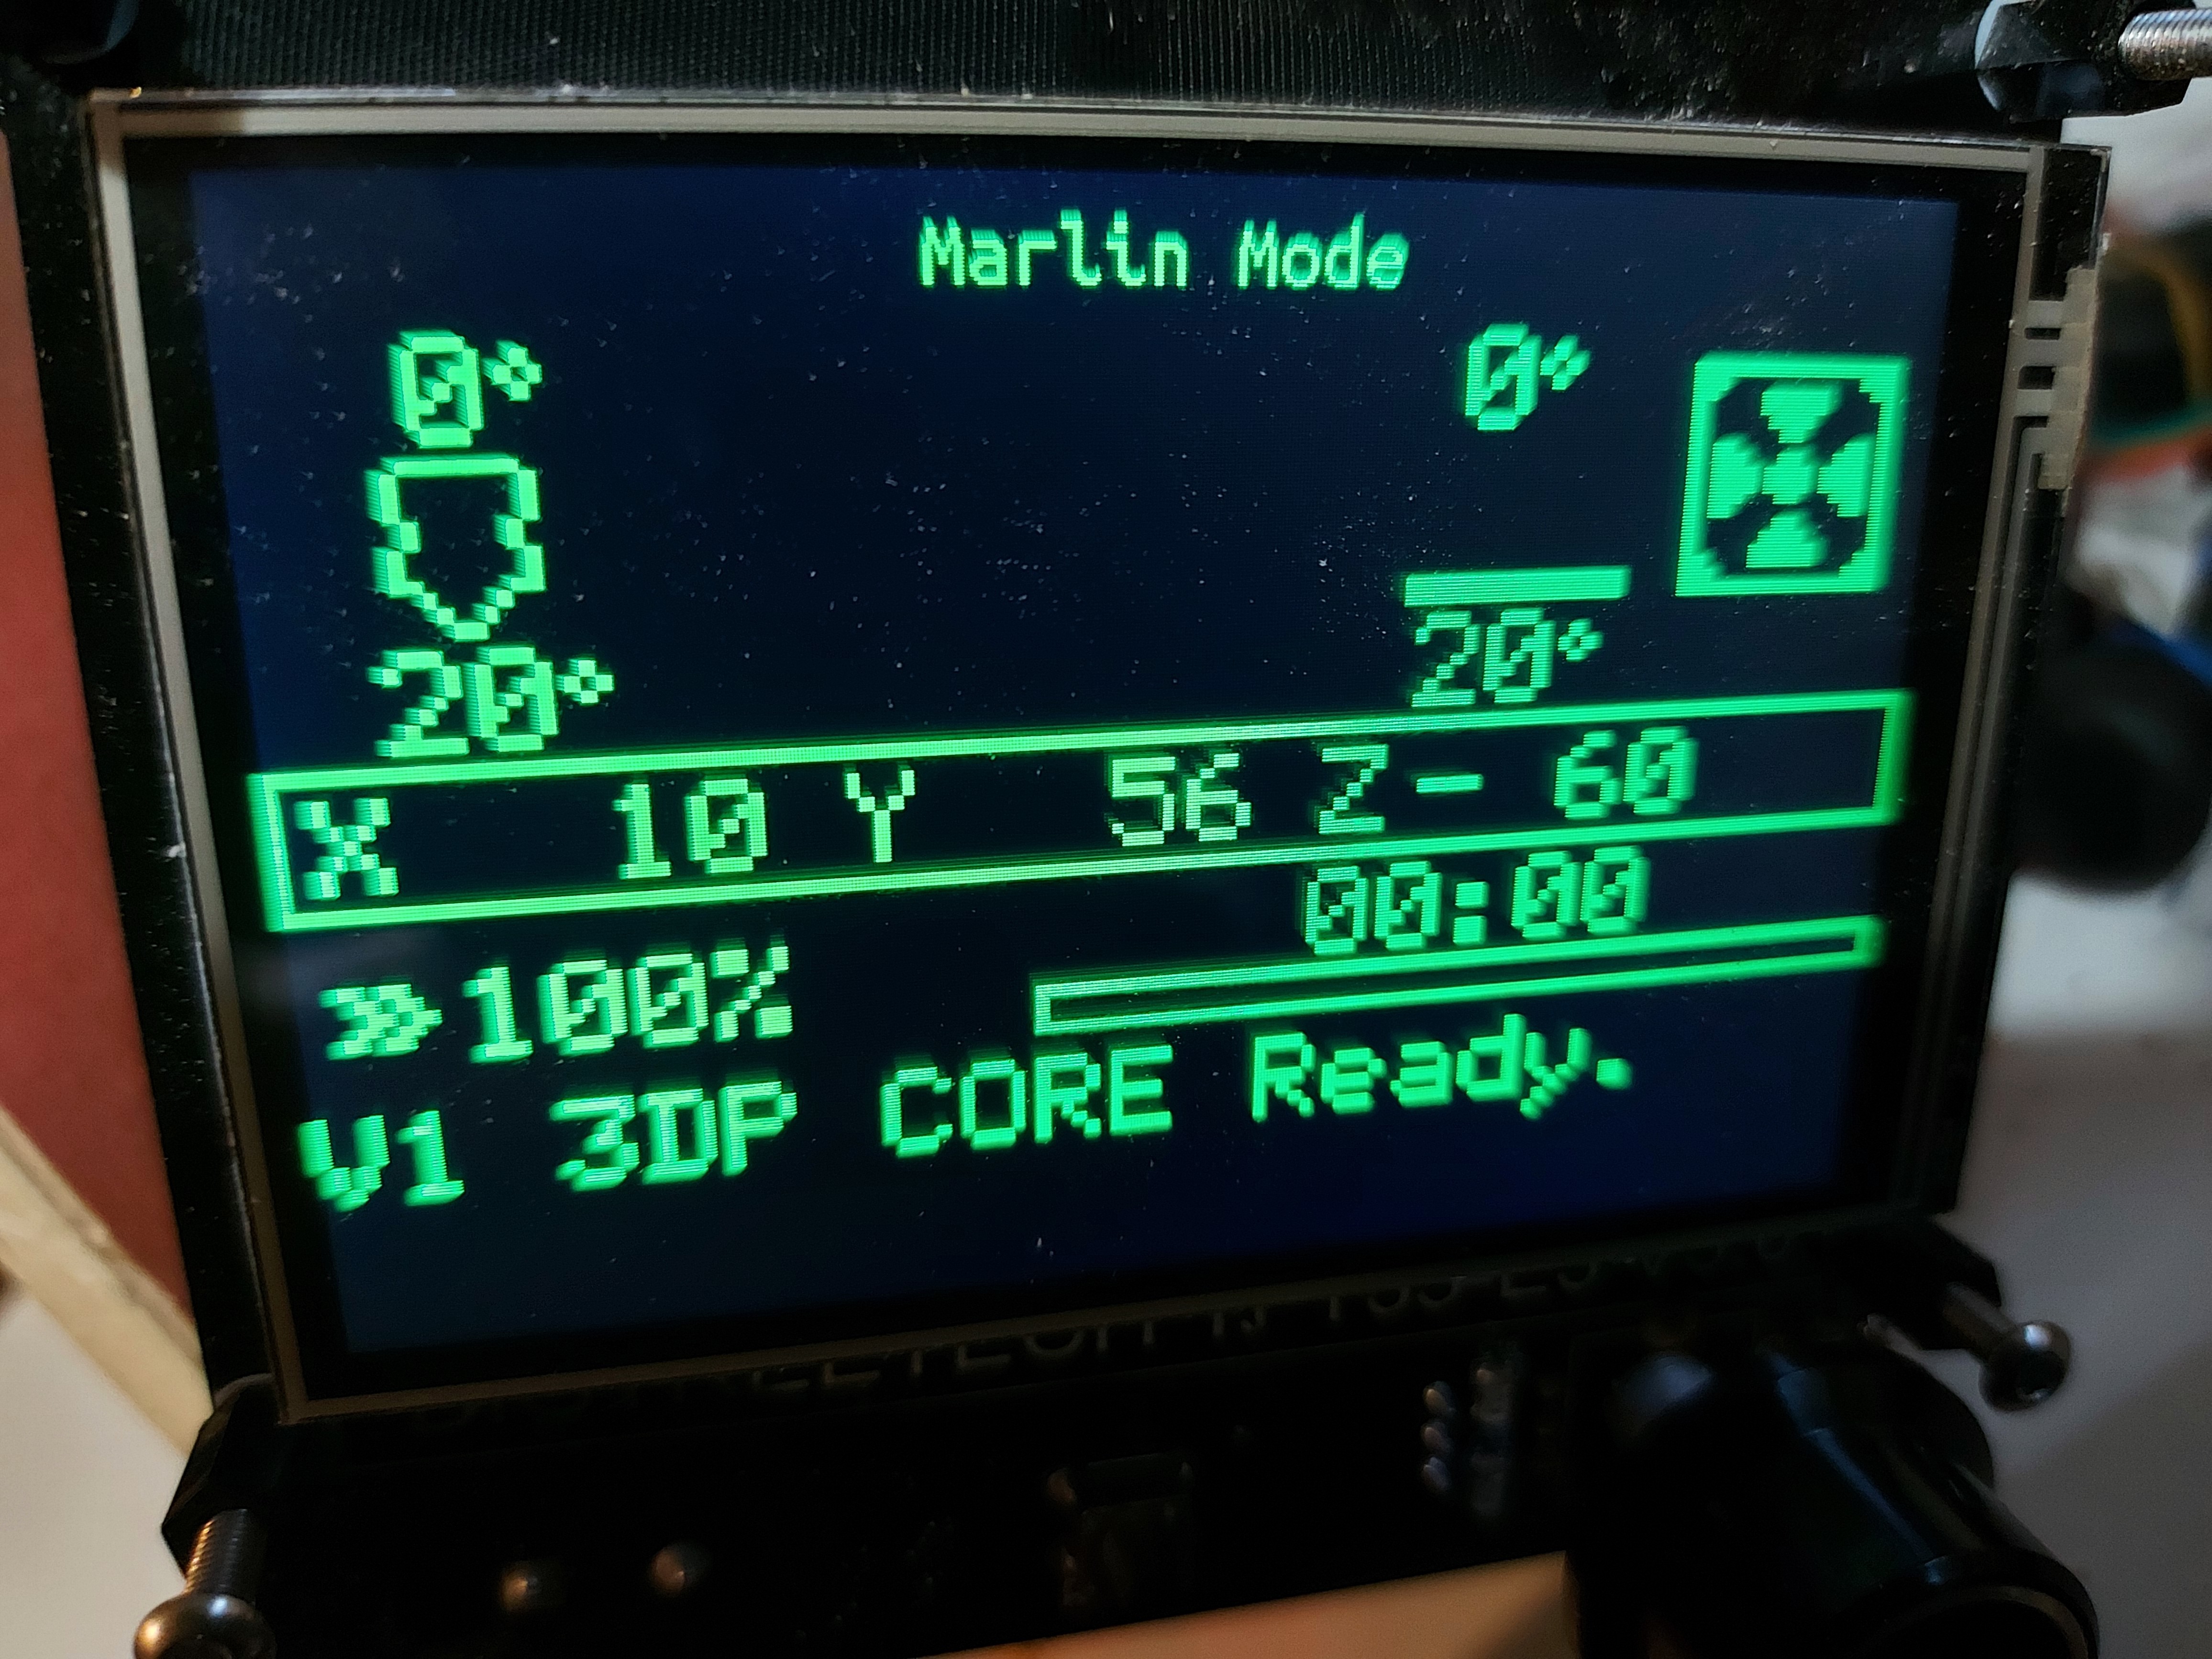
So first off, the G34 only uses the front left area of the bed… But still works. It has taken as few as 4 iterations, typically seems to take 7 or 8. I tried adjusting the probe positions but no dice.

G29, on the other hand works brilliantly, covering right to the edges of the printable area.

I’ve got 6 pieces now of the bottom 1.3-2mm of the same print lifted off of the bed. I don’t think I’ll give that bed surface purchase a very nice review on Amazon… but it could also well be that there simply isn’t enough squish. All 6 pieces, the first layer looks like it isn’t making good contact with the bed material, the “laying on top” look. Visually, there isn’t much gap between the nozzle and print bed, it doesn’t seem much different from my other printer (Also using a similar E3D V6 heat block) which has no such issues.

I was pretty sure that the probe offset should adjust the distance from nozzle to bed after completing the G34 and G29, but I’m not seeing a change. I’ll try compiling that change into the firmware. I’ll also look one more time for the G34 probe coordinates. I’m sure that closer to the edges of the print bed would produce better results, but that’s lower priority, since … it works.

Have you tried isopropyl alcohol and some steel wool? PEI sticks very well to PLA for me after that treatment (I keep alcohol wipes nearby to give it a boost every dozen prints or so, but steel wool is for a bigger refresh). I use 60C and it sticks well, then pops off clean when it cools. I can even get it to stick when the tool is too high and I get a little inverted elephant foot.

How are you adjusting the Z offset? M851 works. But you should also enable babystepping. You can use the screen (double click, IIRC) and adjust it while it is printing the first layer.

It may not be PEI. Looking more closely, it never actually says what the coating is.

I did clean it with isopropyl, it wasn’t enough to make a difference. No sticking. Even if I squish it down. I’ll see about getting a 12"x12" PEI sheet so I can have actual bed cohesion.

Nuthin’ is ever easy…

I haven’t tried PEI with PETG. But I have seen some people say it sticks too well and others say it is fine. Just be aware of that. I know you like petg.

Yes, and I use a PEI sheet on my current main printer. It does stick somewhat aggressively, but isn’t too difficult to separate. I put a buildtak sheet on the MP3DPv2 and I found it more aggressive than I like with PETg, and even more so with PLA.

I did buy a PLA spool, but it went with the MP3DPv2. I didn’t have much luck with it, but I was trying to print too hot. I still have an older PLA spool. Maybe I’ll try that with lower temp settings on this build surface. Just gotta pop it in a low oven for a couple hours to dry it.

1 Like

Might need a little gluestick with pei and petg. The glue acts as a release agent. They can bond really well sometimes.

1 Like

I just do a alcohol wipe before each print, every few months though I will need to do alcohol and a mr clean magic eraser…then everything sticks. I think that is only needed when I mess up and and have greezy pizza hands or something though.

1 Like

Thanks for suggestions guys.

I’m sure that this is not PEI. Not sure what the coating is, but I’m sure what it isn’t. I have a PEI coated plate on the way. This one is probably OK for PLA (I have some of that coming, too.)

I have found that as long as you’re reasonably careful with the first layer, the PETg and PEI don’t bond too badly, and I’ve seldom had real problems getting my prints off of the bed. For most things that I print, I like the durability of the PETg. It’s not quite as rigid as PLA, but also not as brittle. It can take a little more physical abuse for many household tasks. Plus most of the stuff that I buy is rated safe for food storage, so I have things like lids for the water jug I keep next to the coffee maker. GThe somewhat higher temperature resistance is also useful. It’s not quite able to make things withstand being on the dashboard of the car… but at least when it melts I can still get it off. I had one car with a pretty much permanent PLA smear on the dashboard from a phone holder. Don’t print those in black…

I will be putting the front on the printer today, and trying to print some PLA on the print bed that I have. I strongly suspect that it will go better, so long as I can remember what temperatures everything actually works at, lol. The firmware preheat is set for 196/62, so I guess I’ll start there.

1 Like

Lately I have been printing pla at 215/62

2 Likes

Oh, nd in the “weirdness I have no explanation for” category…

In the video above, you can see the G34 behaviour where it just uses the front/left 200mm or so of the print bed. After enabling babystepping, it started using the whole bed. I changed nothing else.

Anyway, since that’s the result I wanted, I’m not complaining, it was just weird.

I separated out the G28, G34 G29 into a separate Gcode file so that I can re-try printing for different bed adhesion strategies more quickly, but I hope to be able to keep that startup code.

Looks like my PLA spool has arrived, so off to try that.

1 Like

I use the different strategies depending on how big the part is that I’m printing.

Little trial and error… PLA doesn’t stick well either. Temp verified with my Ir thermometer, and it WILL stick… at 135°. O.o It seems that I can turn it back down after a while though.

Even then if this printer weren’t so smooth, the nozzle will pop it off.

1 Like

I have a coated glass bed from BTT(BIQU) that had a similar black coating, but it was like a screen almost. Didn’t stick for sh@t, so I just ended up slapping a PEI sheet right on top and that works pretty well.

1 Like