First of all. Want to say thanks to Ryan and the team of hardcore followers for creating such a fantastic beast of machine! I’m at the very start of my LR3 journey as of making this post with pretty much 0 woodworking knowledge under my belt! My hobbies currently is more towards 3D printing and more recently electronics but I’ve always wanted to turn my eye to bigger things!
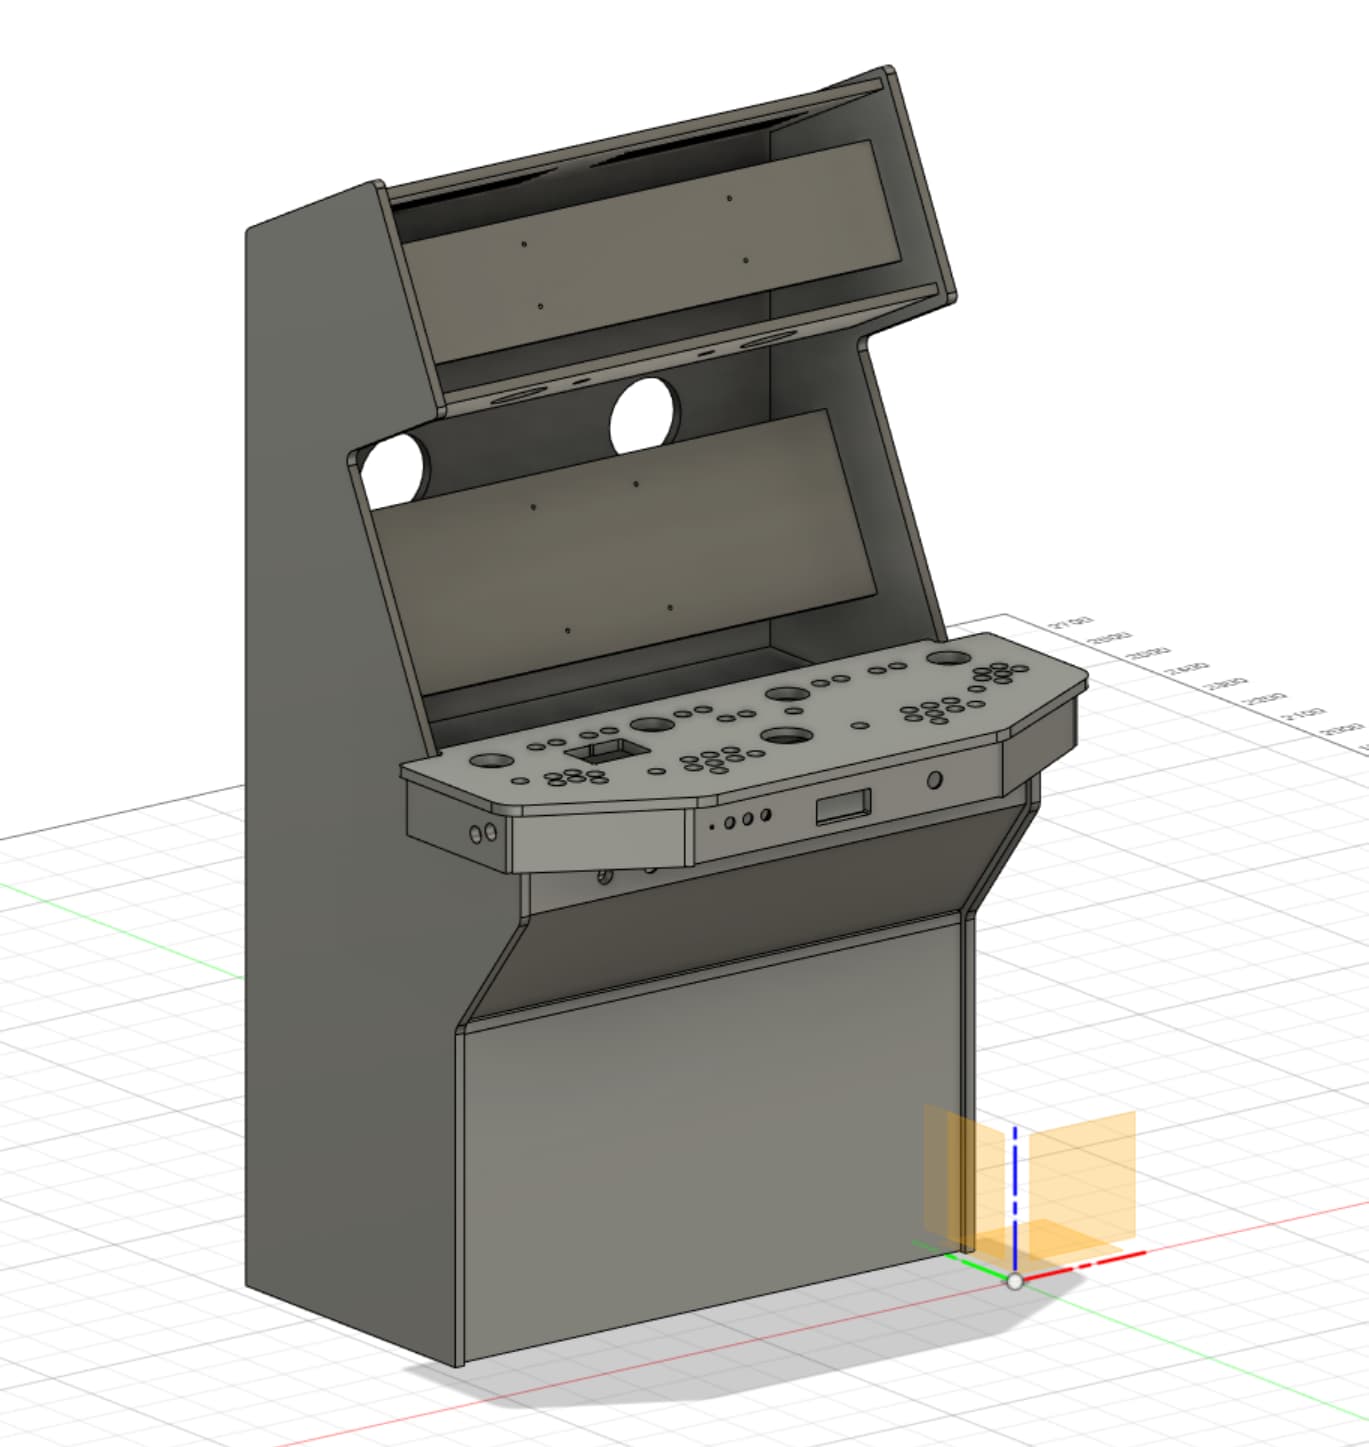
What has spurred on the build of the LR3 for me is I have designed, with some help, an full size arcade cabinet which will be my initial forte into woodworking. It requires some CnCing amongst other things and so I found the Lowrider a perfect fit for taking my hobby to the next level.
At this point I am still planning my LR3 build, but would like to go the full size sheet size if I can make it work. Love that the new design keeps the table usable when not cutting - makes this thing a lot more attractive.
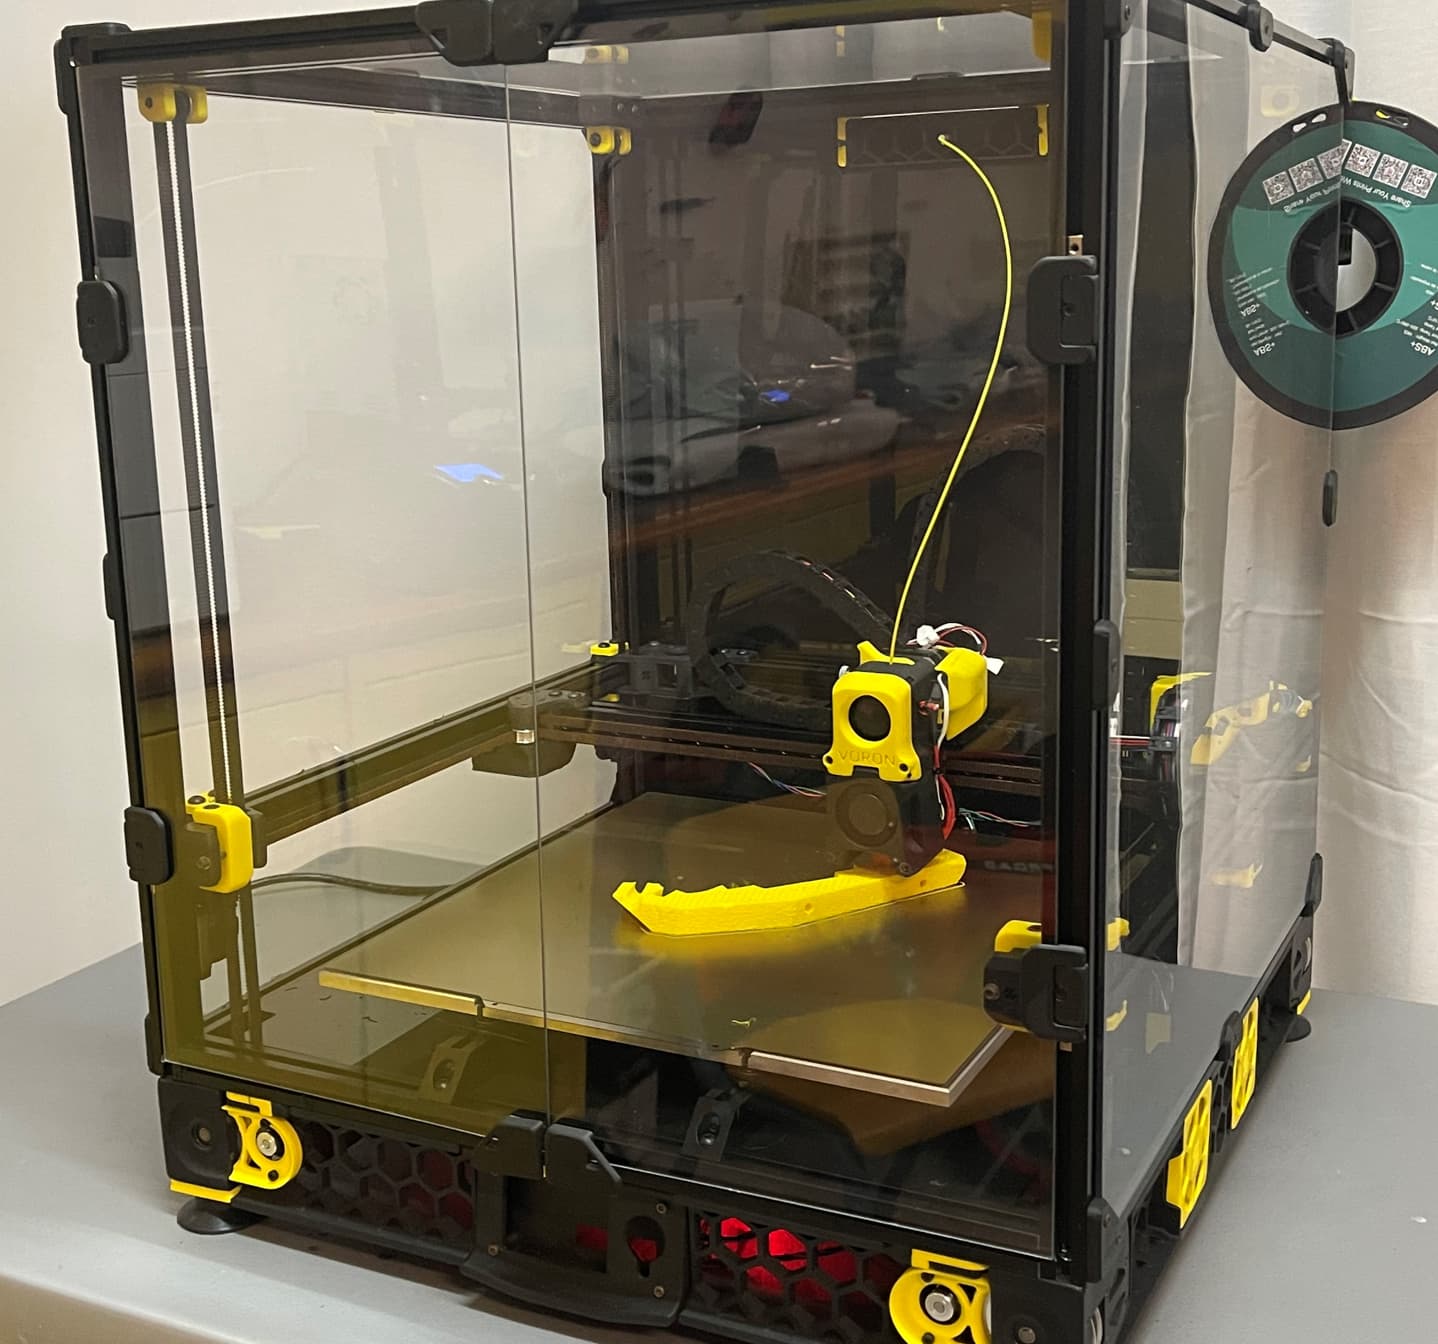
Going for a yellow/black style to match my printers and because my daughter loves yellow. Maybe one day she’ll love CnCs
I’ll be printing in ABS and trying out the fuzzy wall to see how that effect goes. Looking forward to seeing it come together. Why not start with the LR Core!
ABS tends to get weird dimensional issues, but if you have your printer and slicer settings dialed in for it, it’s good for high abmbient temperature resistance.
This is true. I would say my printer is “semi” dialled in so I’ll see how I go. Vorons tend to do very well with ABS. PLA would be my preference, but I find my Ender 3 a little bit more hit and miss - plus I dont have yellow PLA lol.
hehe. Thanks. Its based on this design by Daniel Spies (an arcade builder on YouTube). He adapted that design for what I was after which was essentially less thrills hehe. The monitor is 43inch however, and yes a Marquee screen also which adds nothing to gameplay but coolness factor 1000%
very cool! It would be amazing to have the upper marquee be a screen. The shape seemed a bit wide, so I wondered if it was a specialty screen. I’m making a tiny desktop arcade unit and I’m wondering how best to put a fun marquee on it. I was thinking a multicolor led-lit laser etched acrylic sign, but the screen is way better. Is your screen going to be the touch screen menu to select the game on the screen below and then show game graphics of the one you are playing while the lower one runs? You could really make this interesting.
Haha yeah cool. Laser etched is a cool retro look, but I do like the cool factor of a marquee screen. I plan on purchasing this unit https://iiyama.com/nl_nl/products/prolite-s3820hsb-b1/ - which is the same one used in that video. But I don’t get to do any of that coolness until I get the Lowrider up and ‘riding.’
At this point I am getting through the printing pretty quickly and waiting on a few parts to come in - namely the control board and some other bits. My main focus now is trying to get the table figured out. Originally I was thinking the big sexy full size, however after consideration and the dimensions of a work bench I inherited from the purchase of my house and the projects I intend on mainly working on, I’m am now thinking to go a bit smaller.
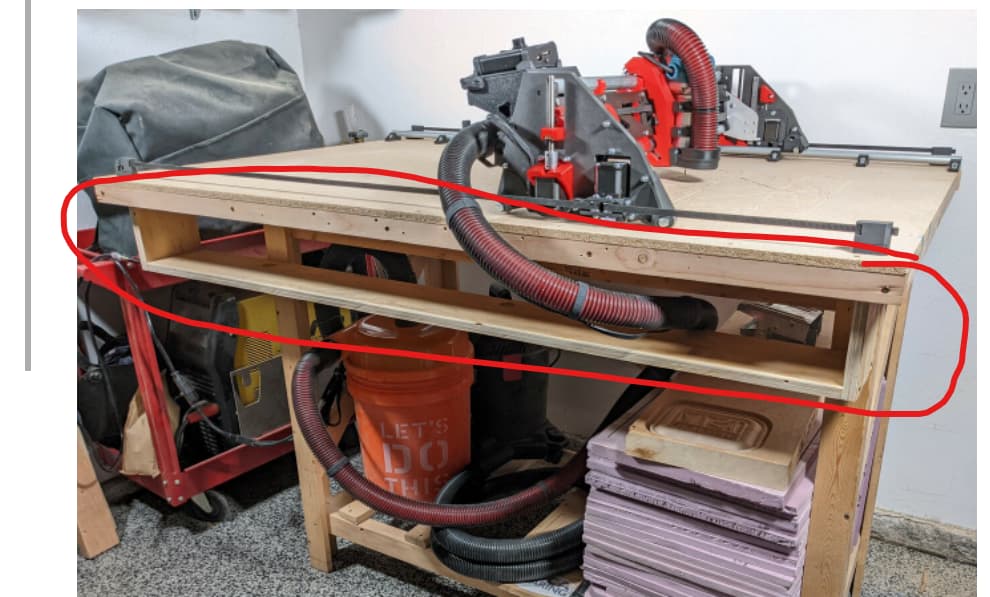
The dimensions of my current table is 640mm x 2000mm which is nice in length but not amazing on width. It has a built in spoil board also which is a nice bonus. I would like however to extend the width out to the full 1200mm working area which would mean extending the actual table width to 1545mm. This I thinking I’ll need advice on…
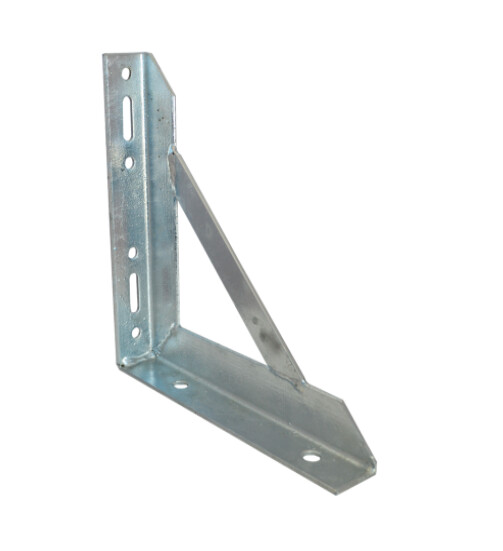
Based on the LowRider 3 photos - it looks like the attachments to the table itself are screwed into the spoil board itself which I like the idea of to get going quickly. I am wondering though - how would I go about extending out the table - If I extend out on both sides I’ll be adding a 45mm overhang - would 2-3 of these at the edge and middle do the job if pointed to the legs of the workbench?
Whatever you do, just make sure you don’t have any sag. Either the rail or the wheel side will be riding on the extension, and your Z will move up and down, following the contour of the extension. I should qualify this by saying, your extension should follow the contour of your table. The lowriders can follow an arc along Y, but for precise cuts that arc would have to be the same all the way across the width of the table.
Ahh that looks really nice. Something like that definitely looks looks like what I need (short of rebuilding the top of the table. Thanks for sending through the visual - GREATLY APPRECIATED!
Will do some measuring/design and see where I end up and report back.
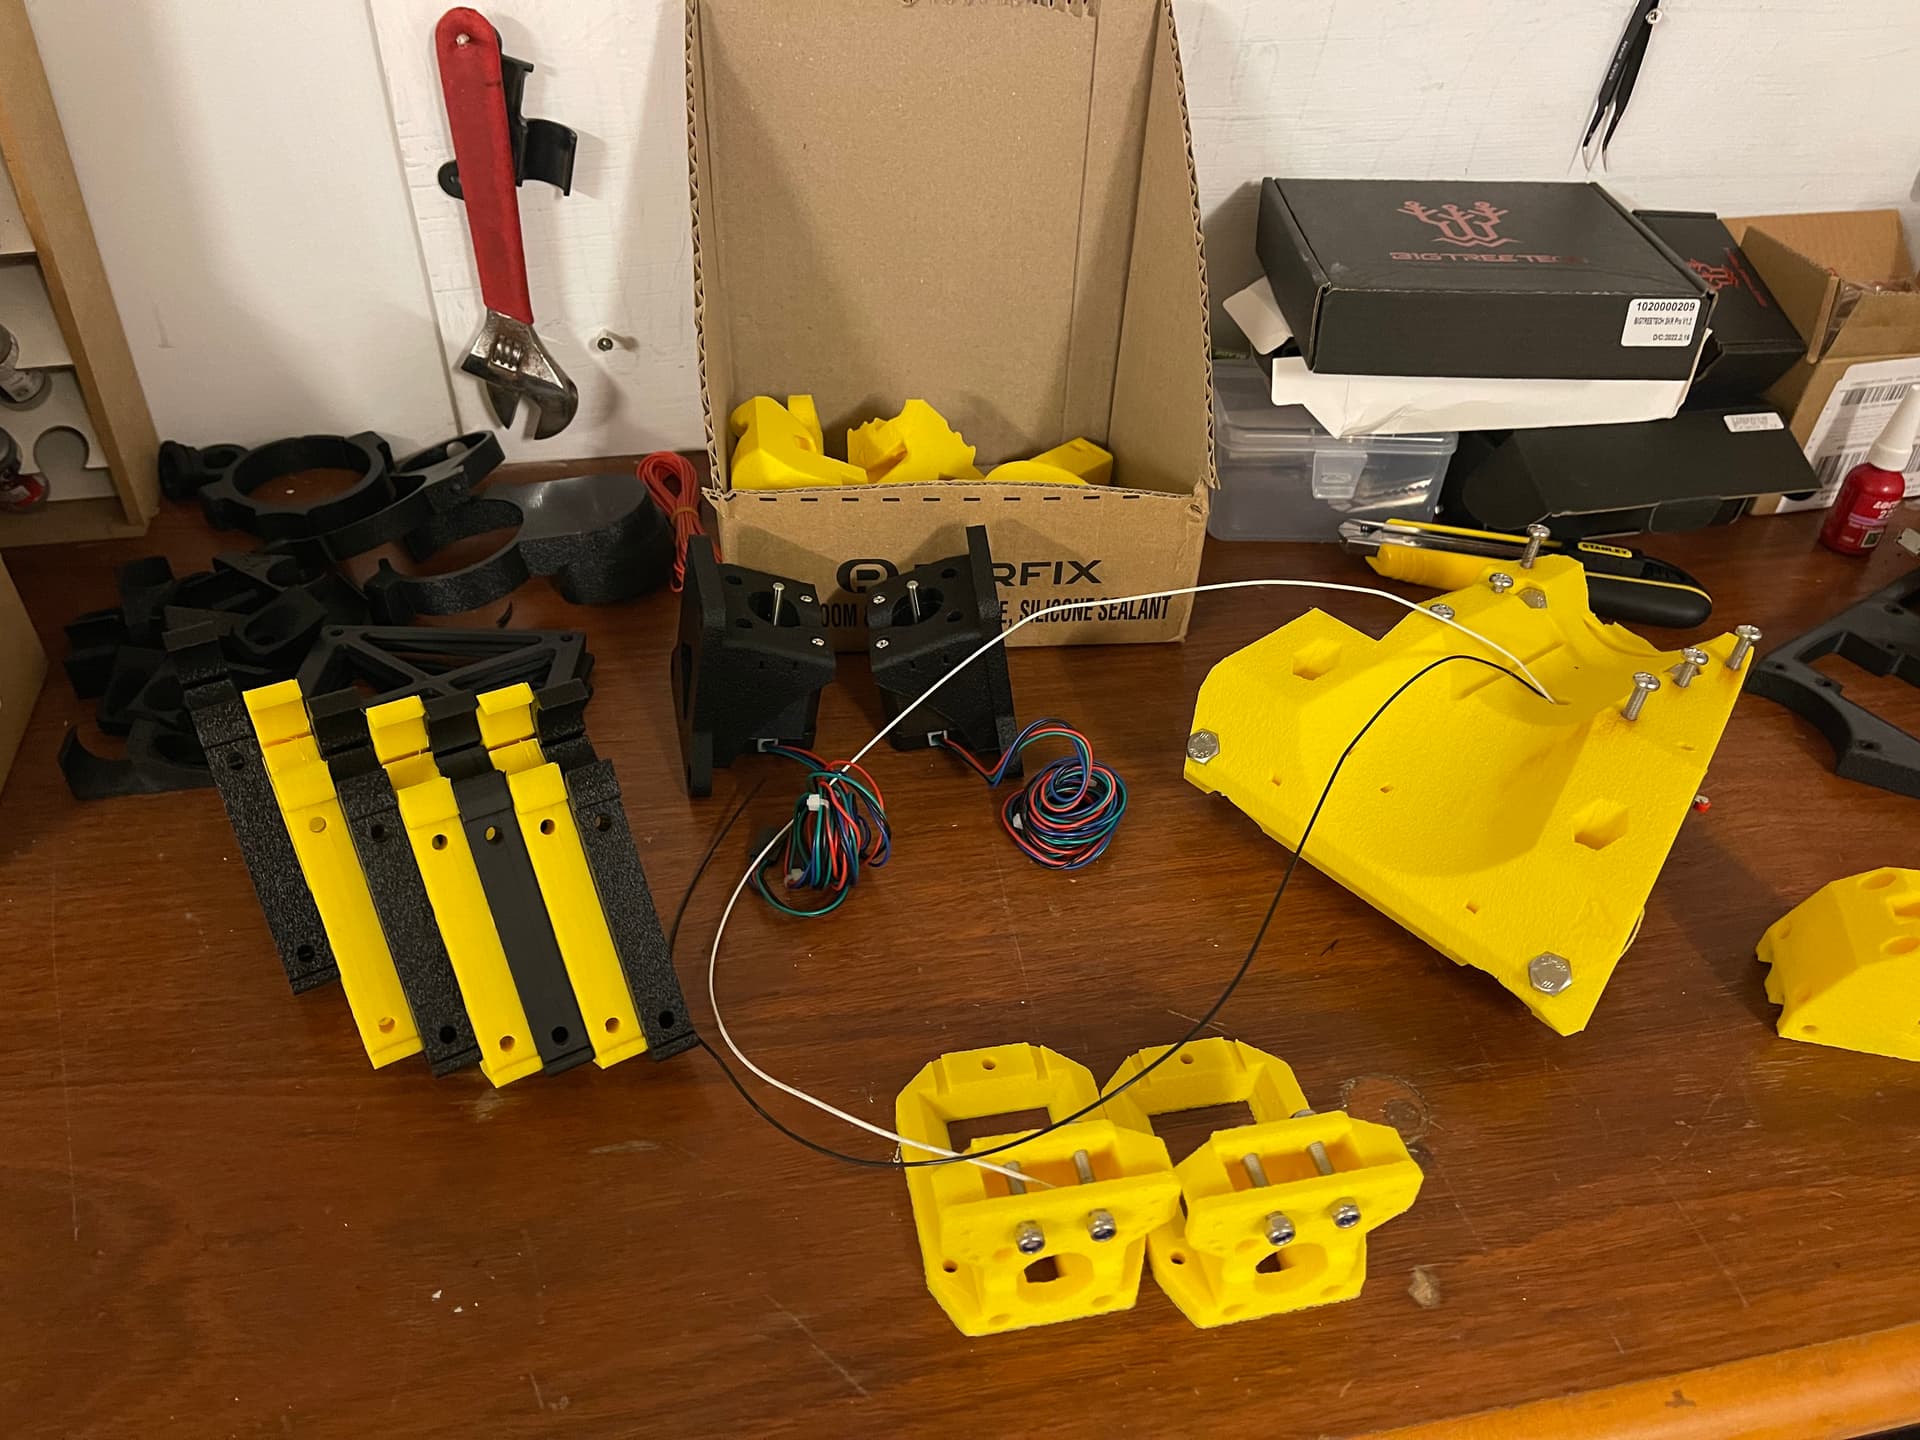
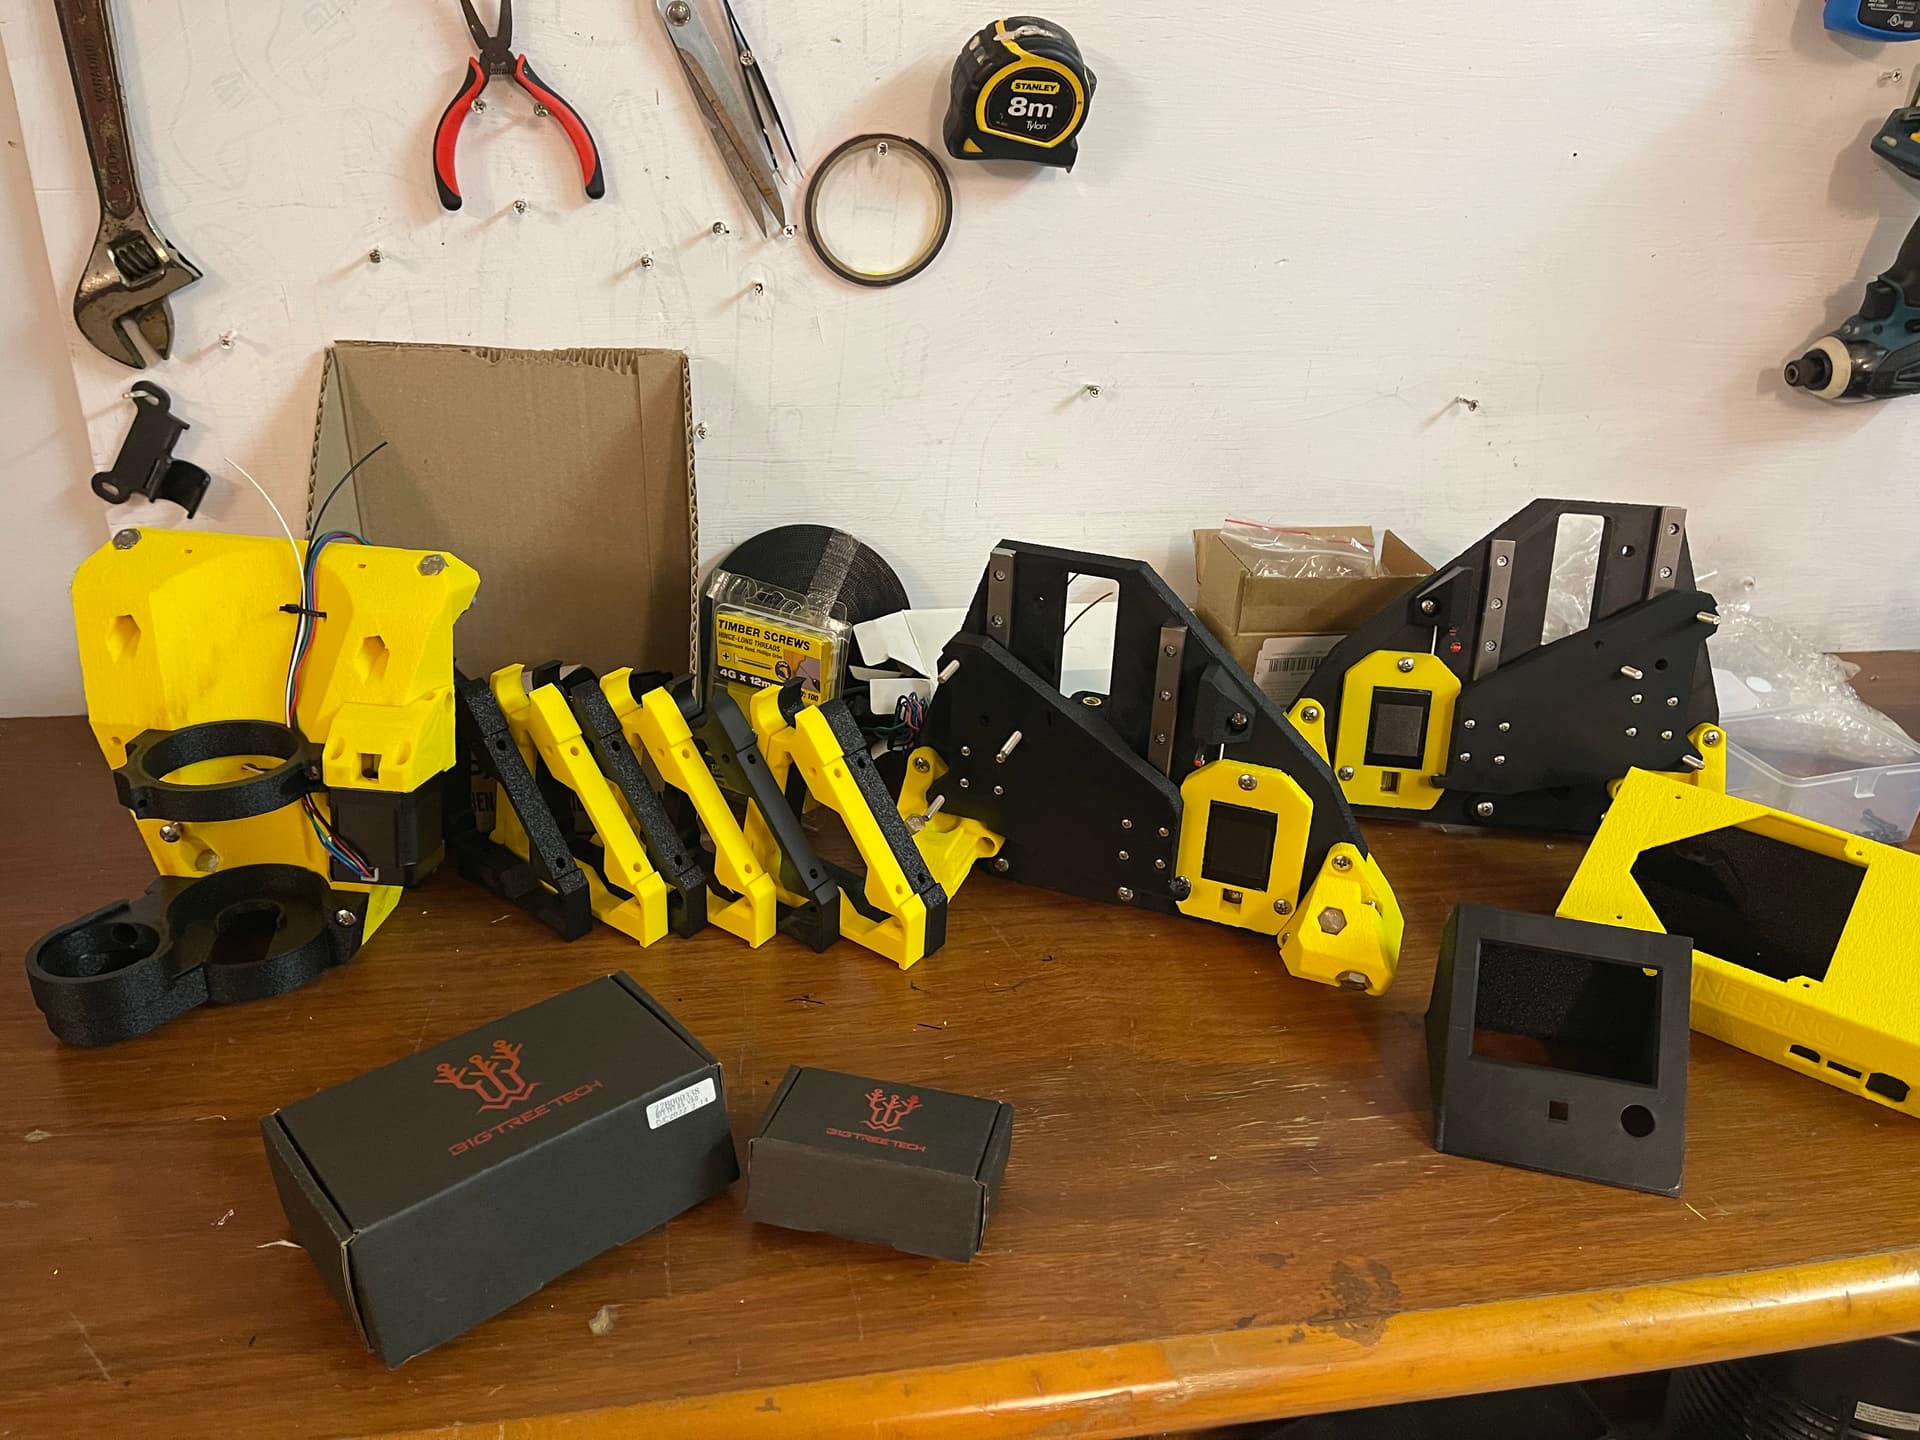
I am yet to start the table, but have progressed significantly on the build of the Lowrider itself. I finally received all the bits I was missing and so have gone ahead and put the majority of it together where I could. Some family shots of the components:
The next step will be to get the piping and of course tackle the table. I have decided to build a new table using a full sheet of 32mm MDF (2440x1220) rather than trying to extend what I have got. I think this is the right thing to do anyway… Any advice welcome! My thought here is that I can create a simple table where I can swap out the top if and when needed. I’ll probably chuck the other table on a local sale group.
This will limit the size of the cutting area, but I figure once the arcade cabinet is done my upcoming projects wont require such a large cutting area anyway. That’s the idea anyway.
PS. Love the TFT screen case design by @DougJoseph - Fantastic and spacious design!
To be honest I haven’t shopped around for it yet. Was a recommended model, but was going to order once I was in to the build. I saw it on eBay for about $1200 AUD from memory, but not seeing it anymore, so may need to find a similar screen from another manufacturer.
Why? You looking for something for a similar build? Would be good to know if you have any recommendations.
yeah I think you are right there so I’ll need to hunt for something new. Maybe something of AliExpress or something. Doesn’t need to be too fancy but definitely want some sort of second screen ion the top. Let me know if you come across anything (if you are looking).
The marquee lcd I use in my cabinets is somewhat smaller but looks and works great. I can’t post a link but it’s titled " VSDISPLAY 14.9" 1280x390 LCD Screen LTA149B780F with HD-MI DVI VGA Audio Controller Board M.NT68676" on Amazon.
Thanks, @CNCLuke, for that model name. I looked it up on Amazon (search link below), and the pricing seems much more reasonable (at $120 -$145 USD), however, it seems to be a smaller screen than the other one @matt.isonic was looking at.
The more affordable screen you mentioned is 407mm wide (x 136mm tall), compared to the other screen being something like 965mm wide. Possibly two of these smaller ones could be installed side by side, and two would still be cheaper than one of the other ones.
Definitely not a direct drop-in replacement for that beast If you’re keen to display fairly standard arcade marquee images available you’d want to keep close to that aspect ratio though, so your could do four(!?) of these but they’re far from an edge-to-edge display, so you’d have an ugly gap. Not to mention driving four HDMI for the marquee alone.
Otherwise you end up back in commercial marketing display territory (and higher price points), but they’re out there like the GVision S37AE-OV-400G is much closer to the original part and is around $1,200 USD. You could look at consumer ultrawide, but most of those are curved nowadays. Might be neat to adapt the cabinet for a curved marquee though!
@matt.isonic, thanks for sharing, never knew I needed a Marquee screen before this thread. Daniel’s arcade projects are ridiculously over the top. Awesome. Added link to his channel, and this thread on my future projects backlog, cheers!
Your fuzzy bumblebee LR3 is looking great. Curious to learn how your table build goes, hoping to decide and build one this week.