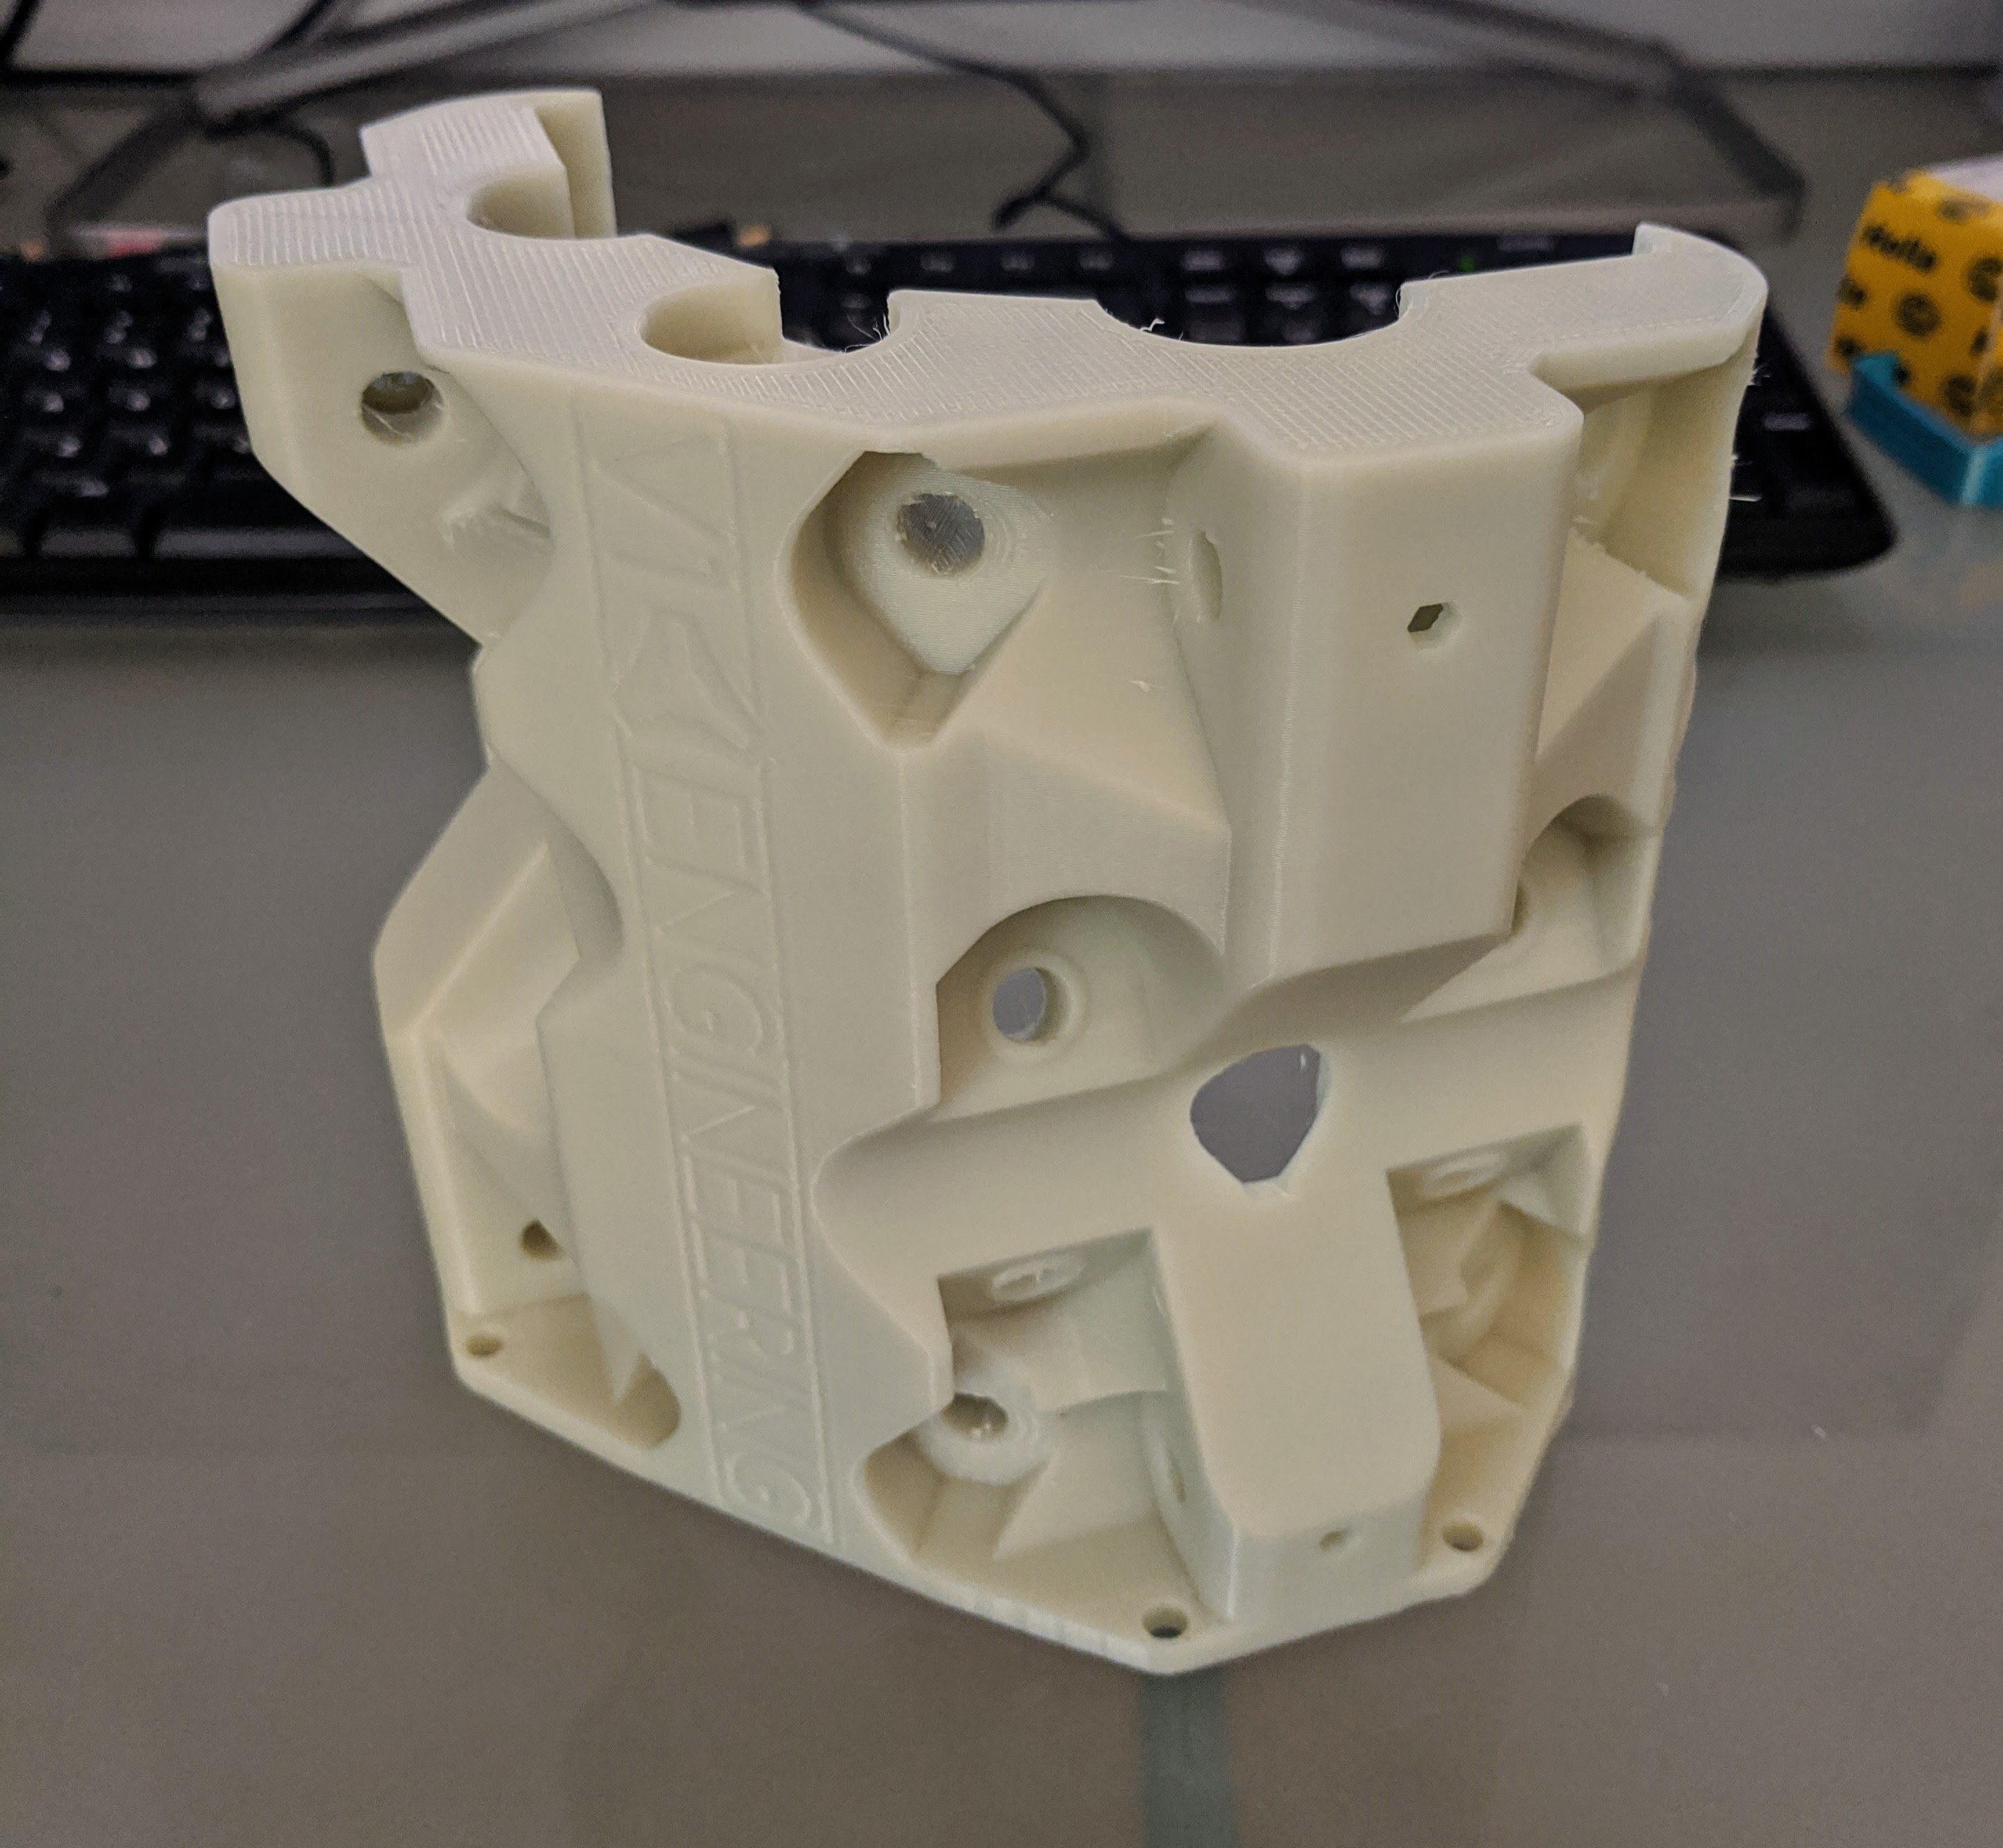
After abusing the snot out of my Burly build I realize a lot of the printed parts are now broken,
i.e. the center has cracks in it 3 of the 4 corners are broken and more besides, so rather than repair those bits I’m going to upgrade it Primo.
Very surprisingly even in its messed up state the machine was still able to cut out a 3mm aluminium part yesterday, but investigating what I thought was just a lose belt revealed a lot of problems with the machine. I don’t think sitting in a steel shed where daytime temps will have exceeded 50c over the last month helped matters either.
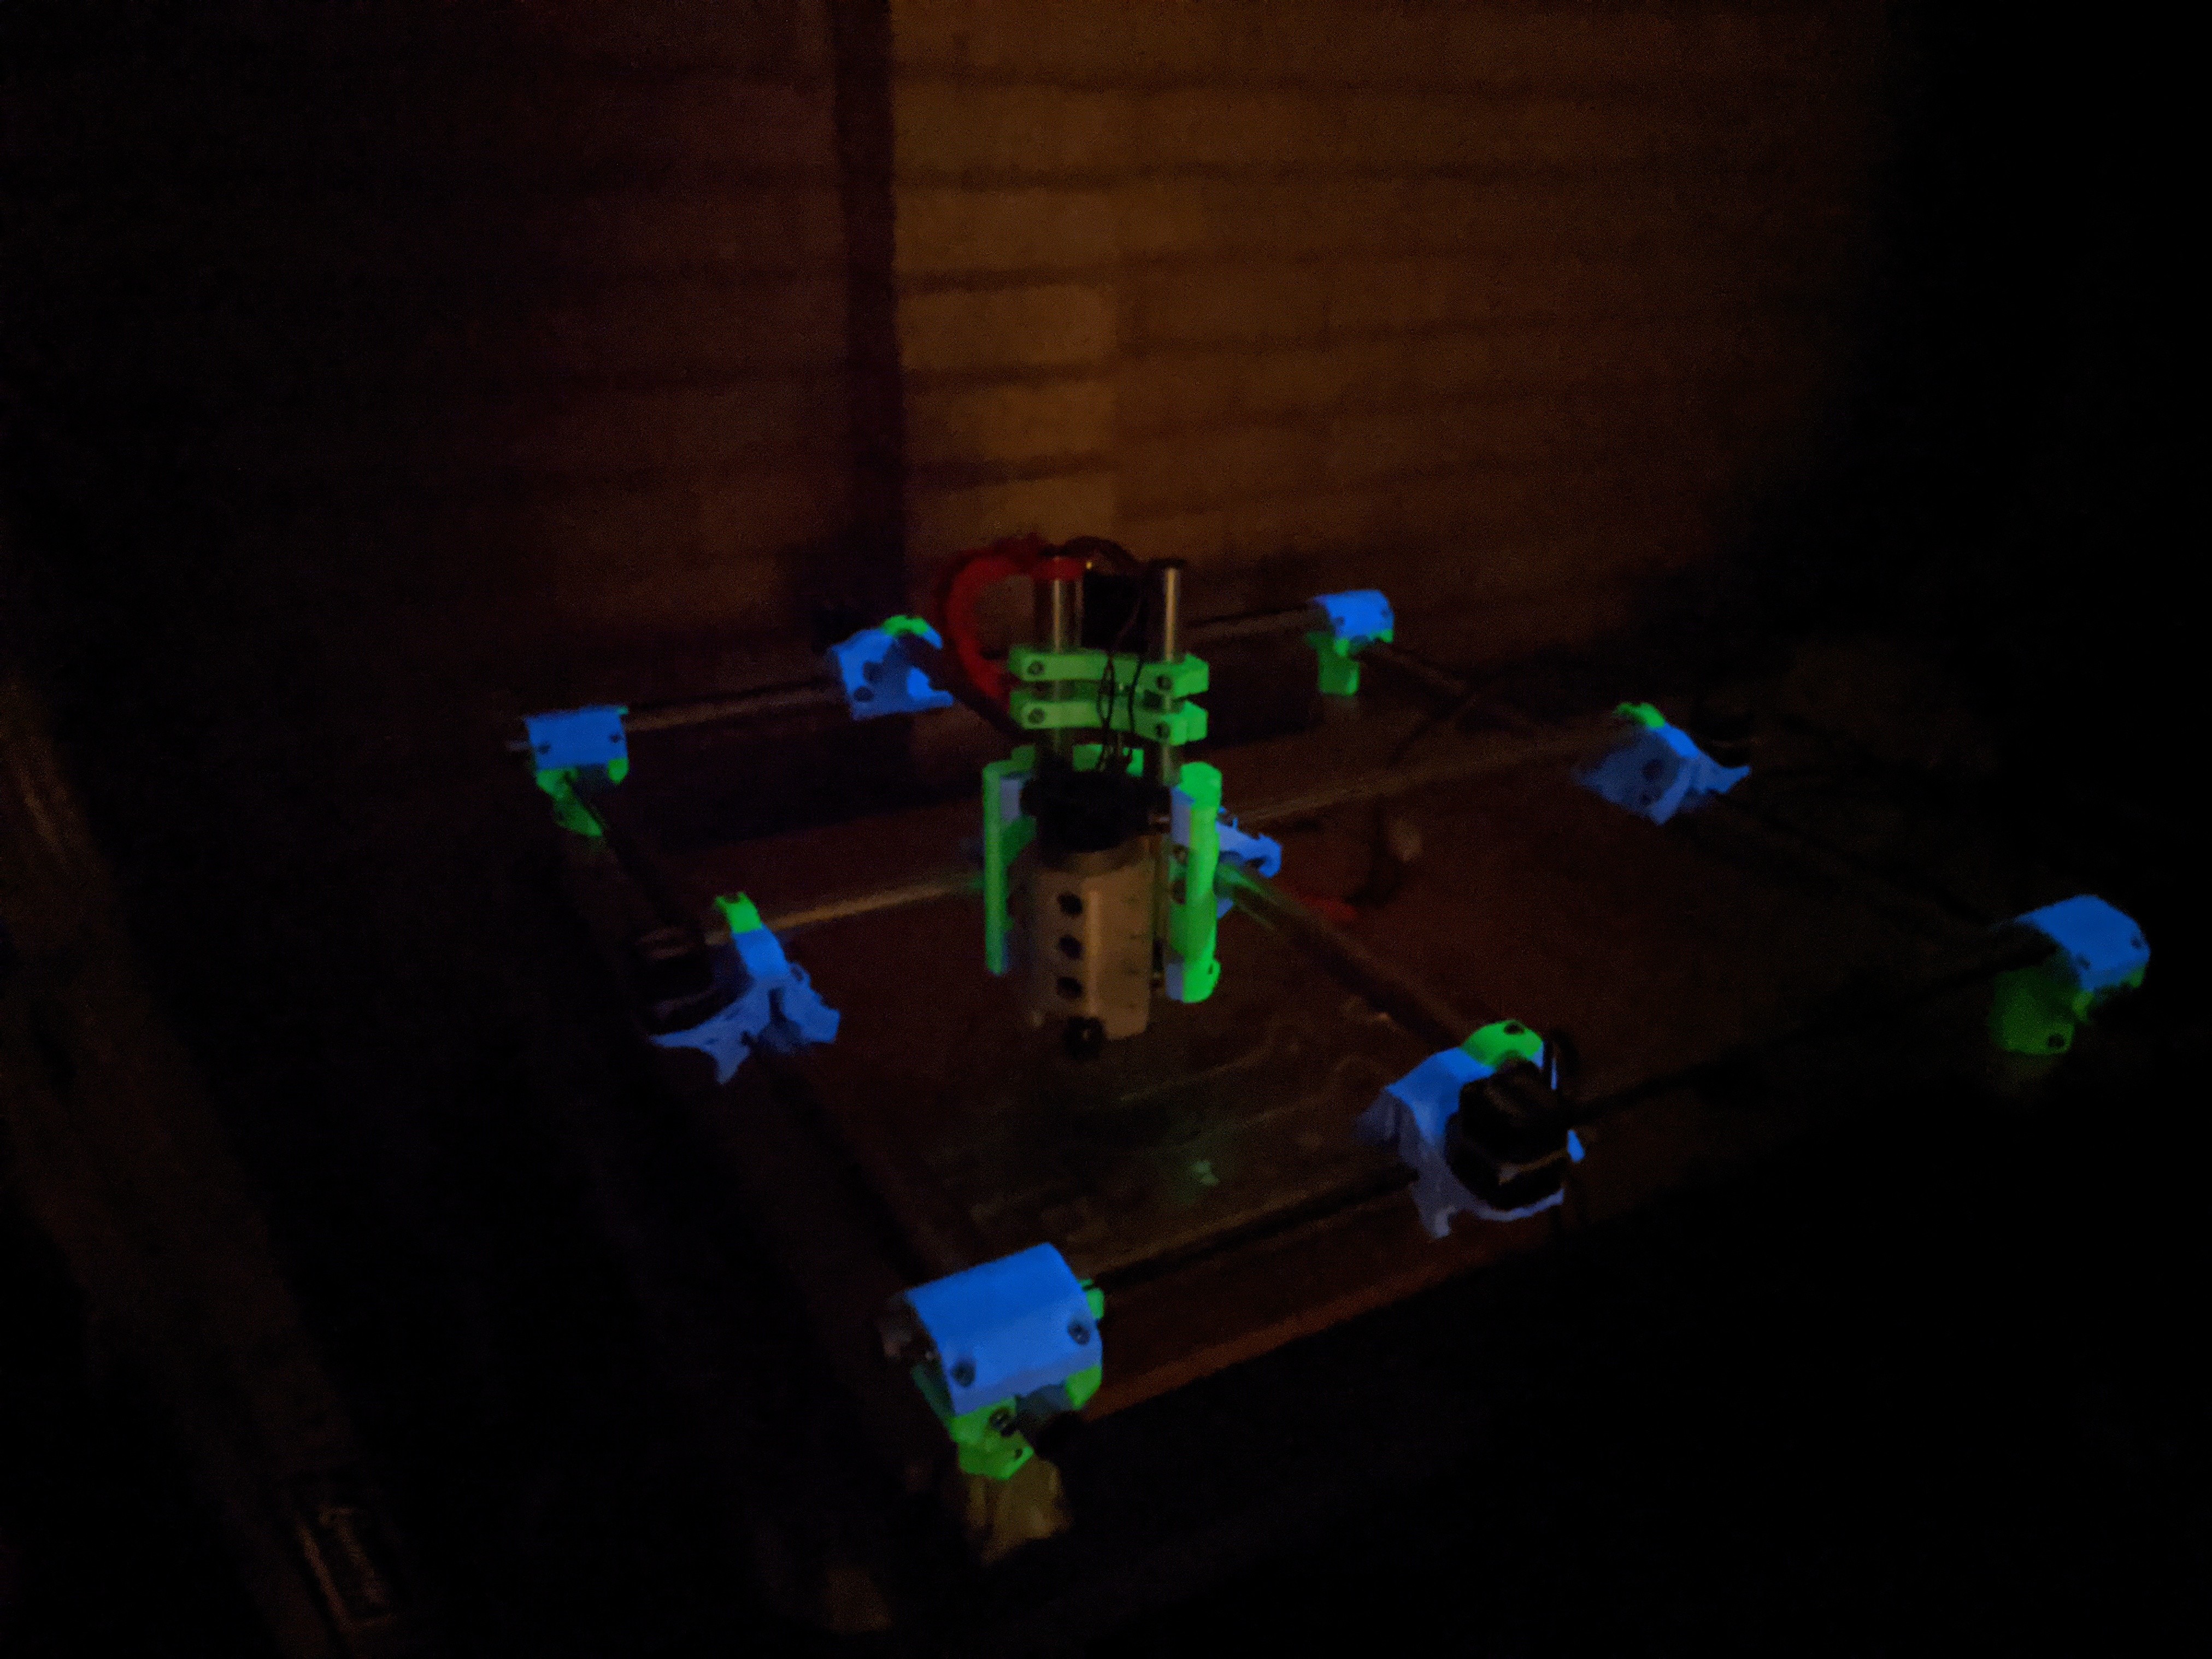
The parts are going to be printed with glow in the dark ABS purely because I got a pile of it cheap.
It’s pretty apparent to that me that the Primo is a good step forward in design from the Burly, hopefully I won’t incompetently wreck this one as fast.
I keep testing it going faster and faster and it keeps just dealing with it, though I think I must be close now to how fast this thing can sensibly get through the material? X and Y speeds are being limited by the firmware and trochoidal depth is now at 7%. This is at least 4x faster than I could go before I rebuilt the machine.
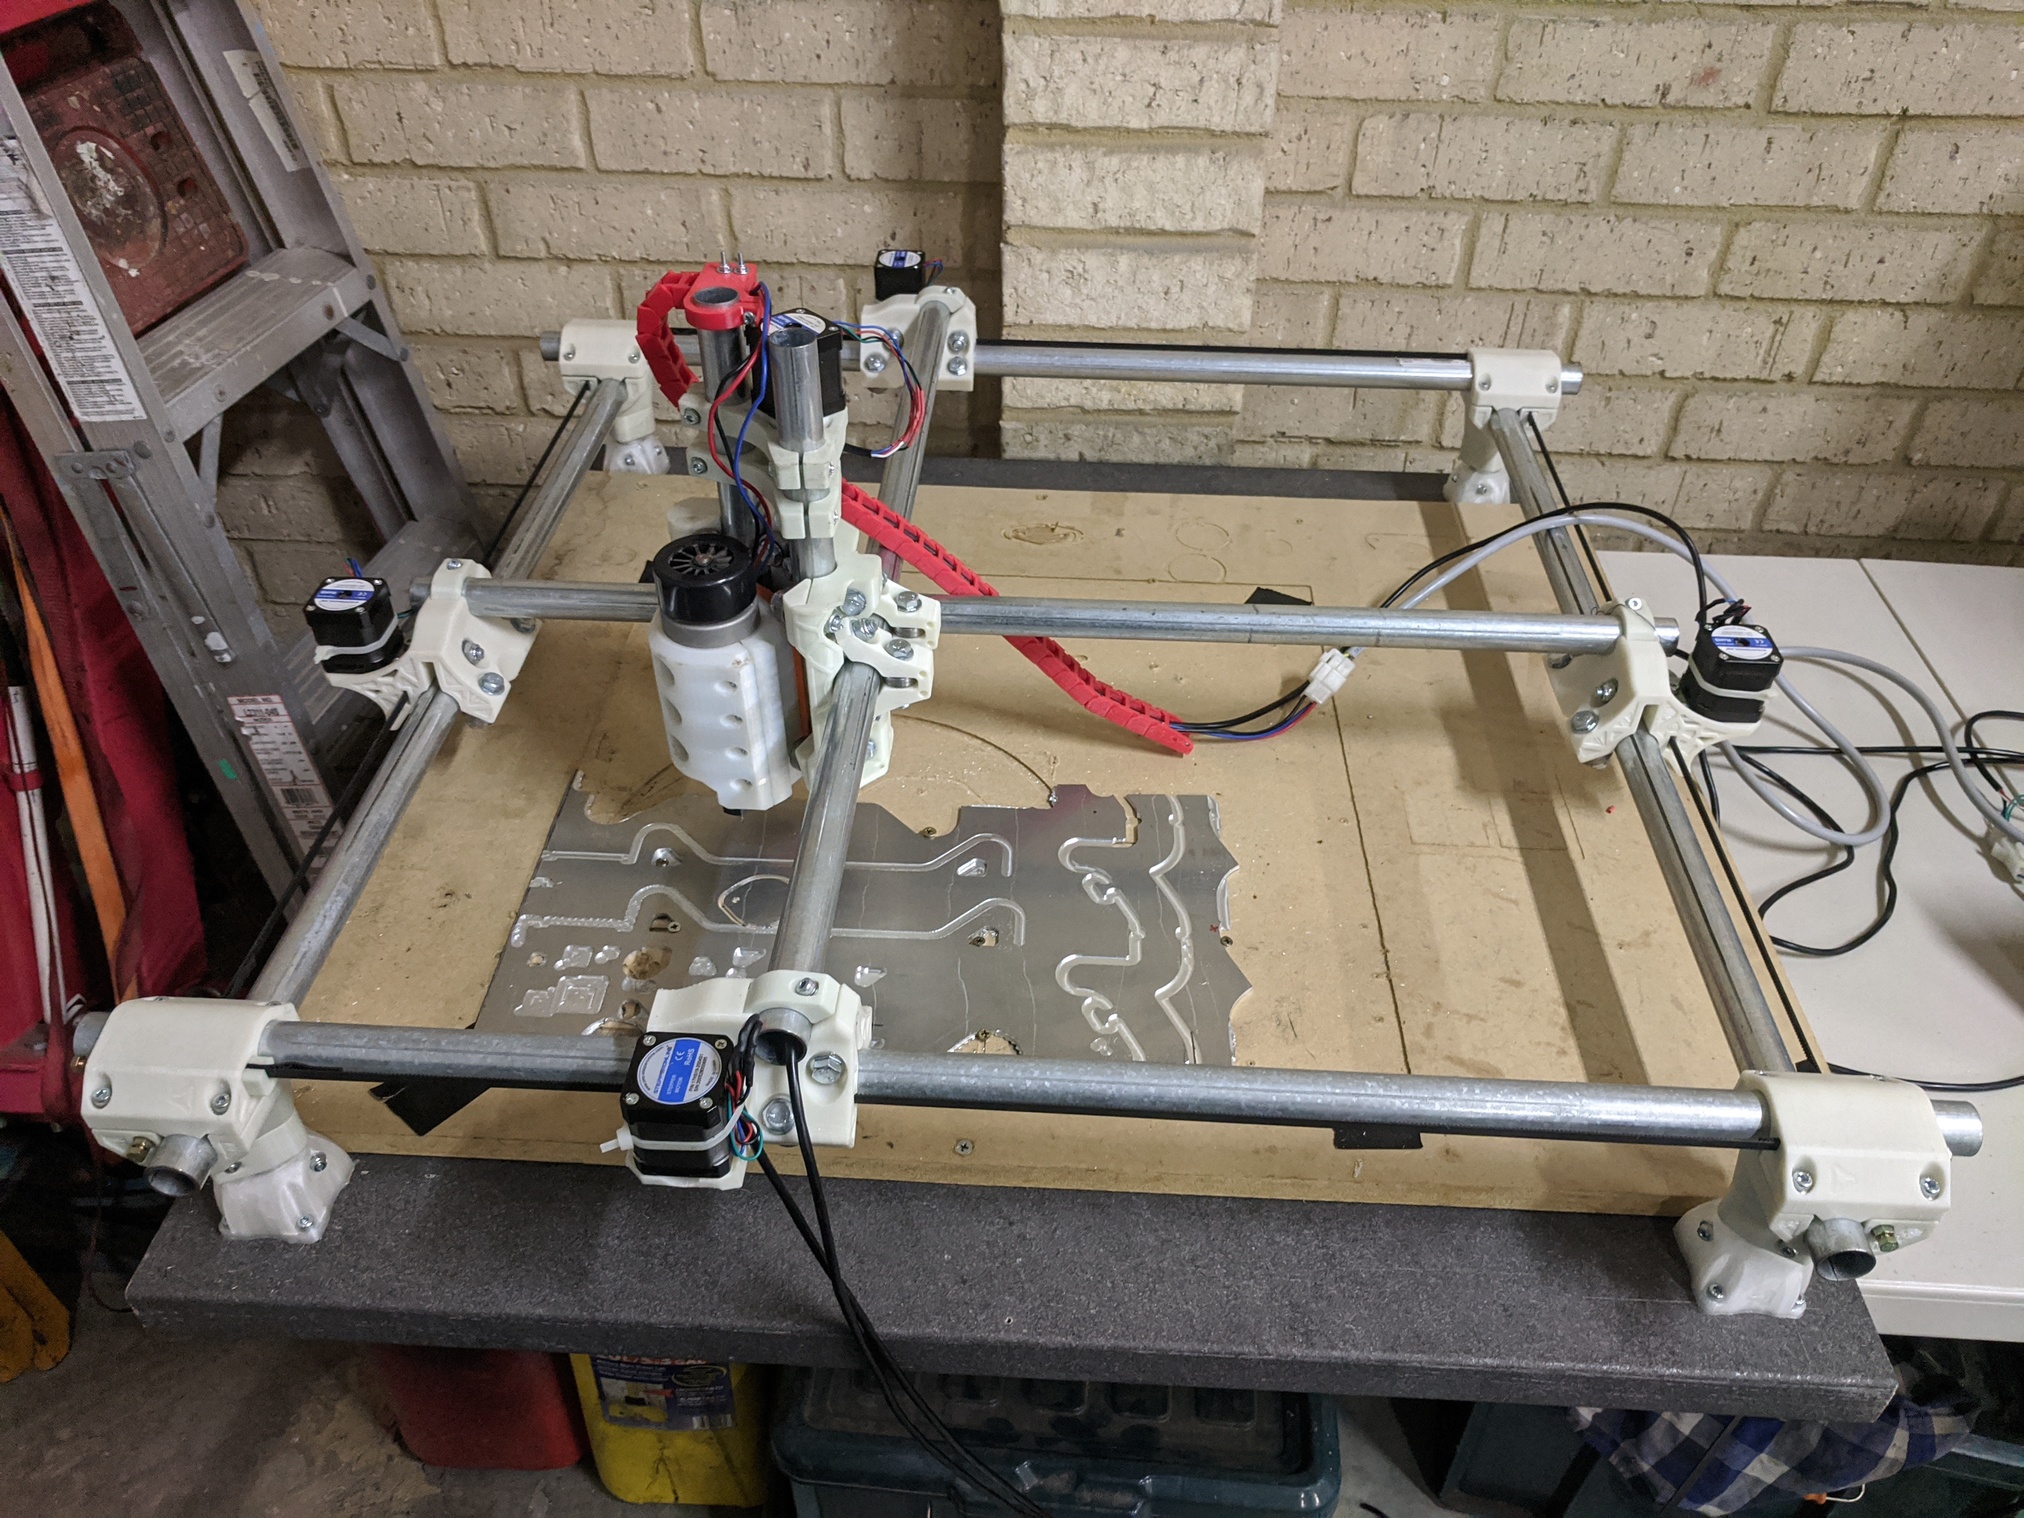
The paper plot BTW is just to help me get the part in the right place so I’m not wasting material.
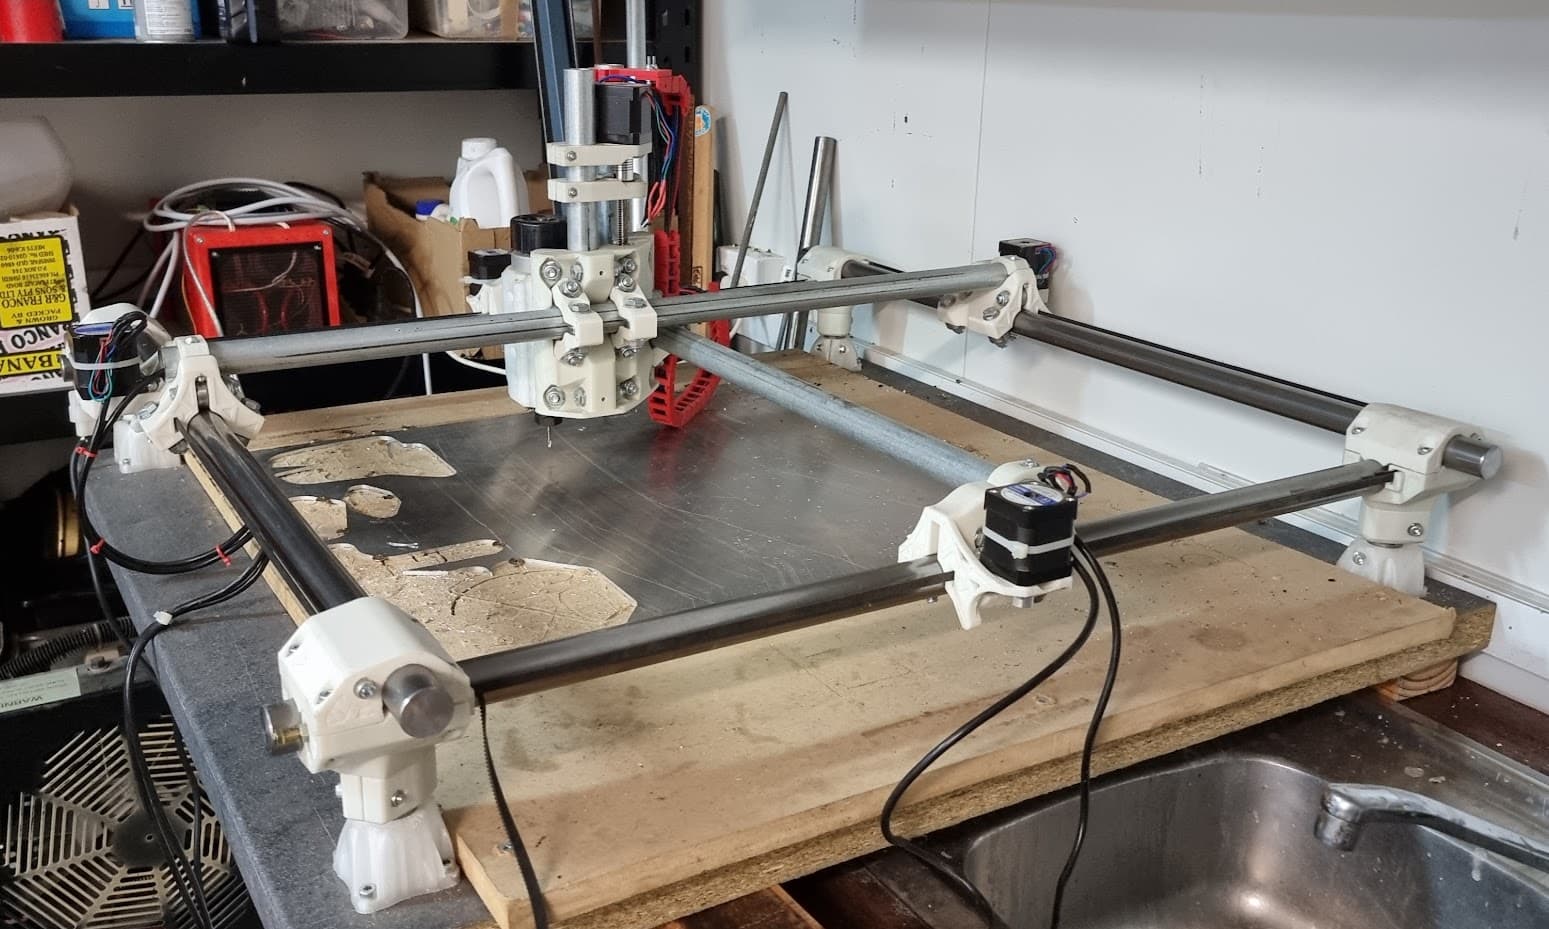
I’ve been planning to do this for at least a year now, I’ve replaced the static tubes with solid bright bar.
6m of 1" bright 1045 is about A$100, so not an expensive job if you can deal with the stuff.
I have a 5kg-ish chunk of metal that i sat on the middle of a span to measure the deflection, compared to the tubes it went from a 0.25mm deflection to 0.1mm. I’m fairly convinced that there’s a mass damping effect going on also.
I’d not run the machine for a long time before doing this, so I can’t give a back-to-back comparison, but the tone of the machine has changed, and I’m convinced its vibrating less.
Next is to replace the moving tubes with heavy wall CroMo