I am almost done with a Lowrider 2 build and am stuck at the cable management portion. Has anyone created a good step by step tutorial or best practices for arranging the cables, using ties/tubing/drag chains to keep everything tidy and securing the shop vac hose? My table is 48" wide and I plan to put the shop vac beneath the table because I don’t have overhead space to suspend the hose.
I’ve seen a number of posts and pics with approaches, but I guess I’m just hoping for as straightforward a tutorial as I can find to avoid common pitfalls like cutting things too short, causing tangles and causing friction points, etc. Has anyone made a video or doc that you can point me to?
I have assembled everything, connected belts and wired just for the purposes of testing (to make sure things move and in the right direction). I have nylon tubing and aluminum angle but have paused for fear of screwing it up. Any URLs would be greatly appreciated. Thanks.
I suggest you lay out your cabling on your work surface to see where it lays, and determine where it make sense to run supports/trays/chains. The tape measure trick is popular (enough to be auto-linked when mentioned), and works with and without external support for managing cables. For your vac, I’m not gonna touch that with Barry’s double-bucket. Just be careful about creating too much drag on your gantry, and don’t be afraid to chase your spindle by hand for a while until you find a solution.
Above all, don’t let fear of failure paralyze you. That’s how I ended up building a Burly a few months after the Primo came out… And why the above photo exists.
Thanks for the advise. Yeah, that’s pretty much where I am but, being unfamiliar with the operation and how the wires behave during the full travel of the gantry, I was trying to shortcut the process a bit and see how others handled it. The only pictures I’ve seen show one or two angles of someone’s machine and not enough to really understand how they have the wires cut, wrapped and fed. I suppose if there is no step-by-step available, I’ll go back to the method of guessing and moving slowly.
I like that tape measure idea and intended to give that a try anyway.
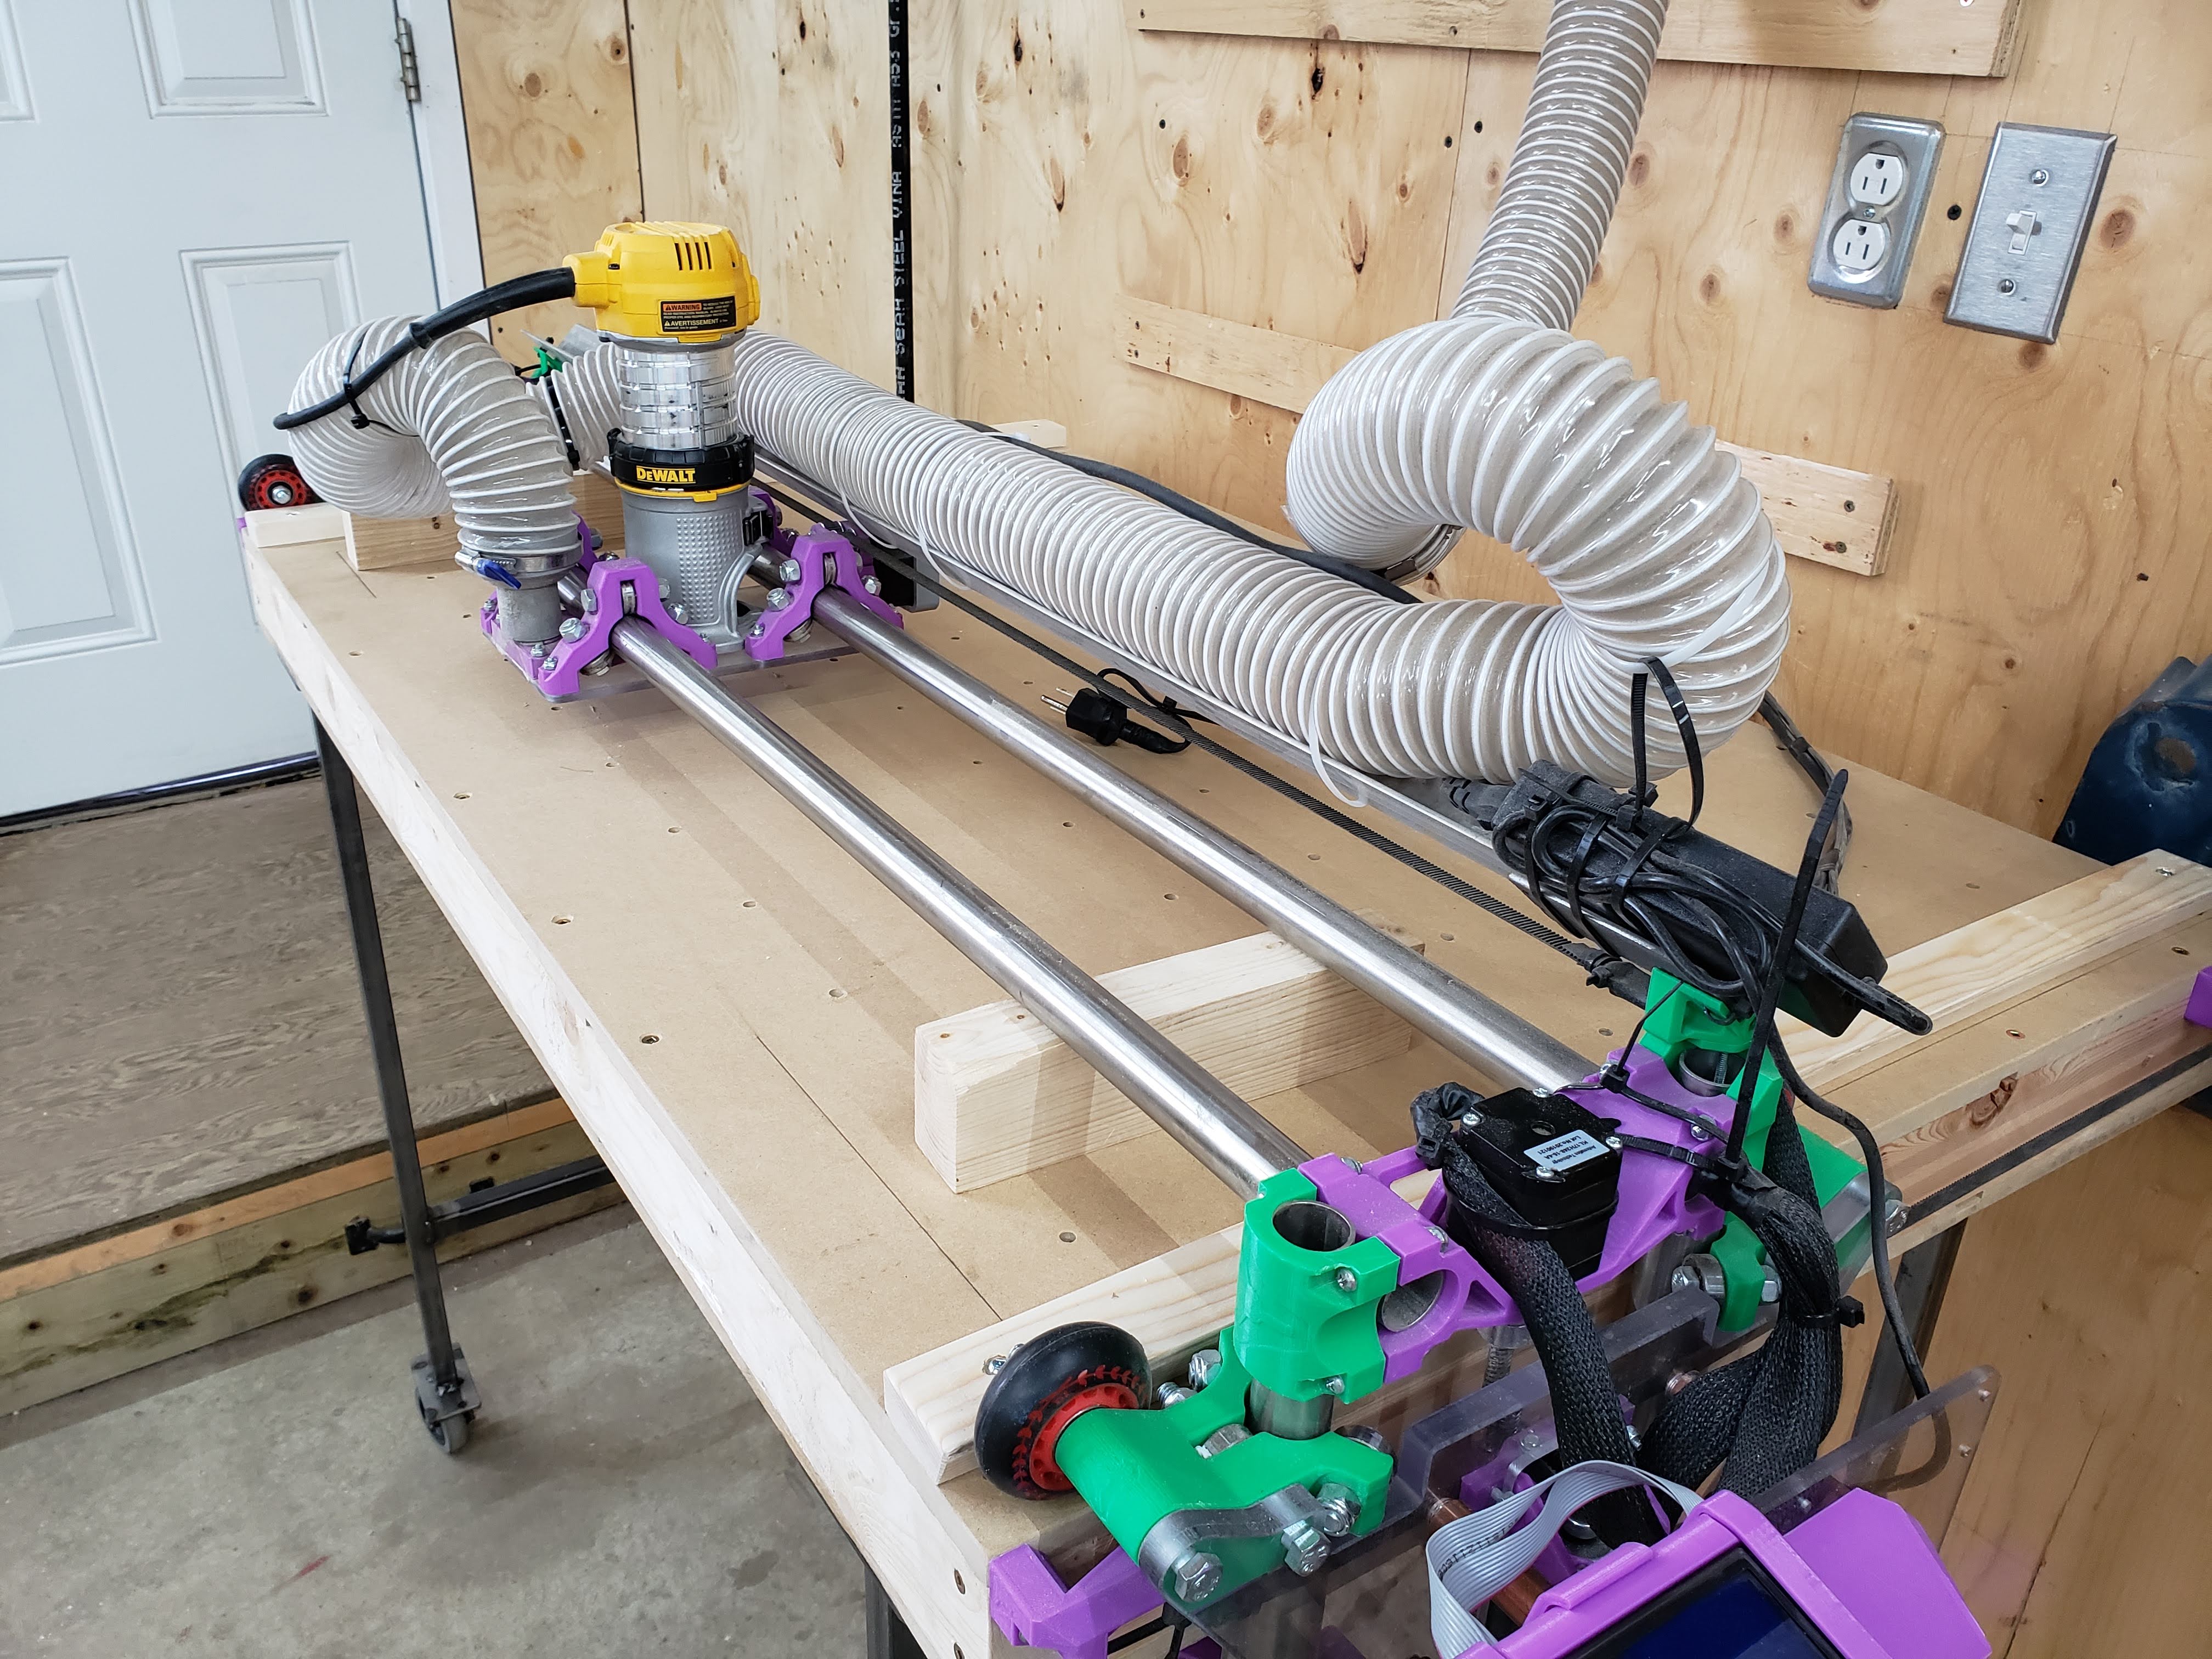
Thank you! These pics have good angles so I think I have the idea now. I’ll take another shot and see if I run into any snags (pun intended). This should help quite a bit.
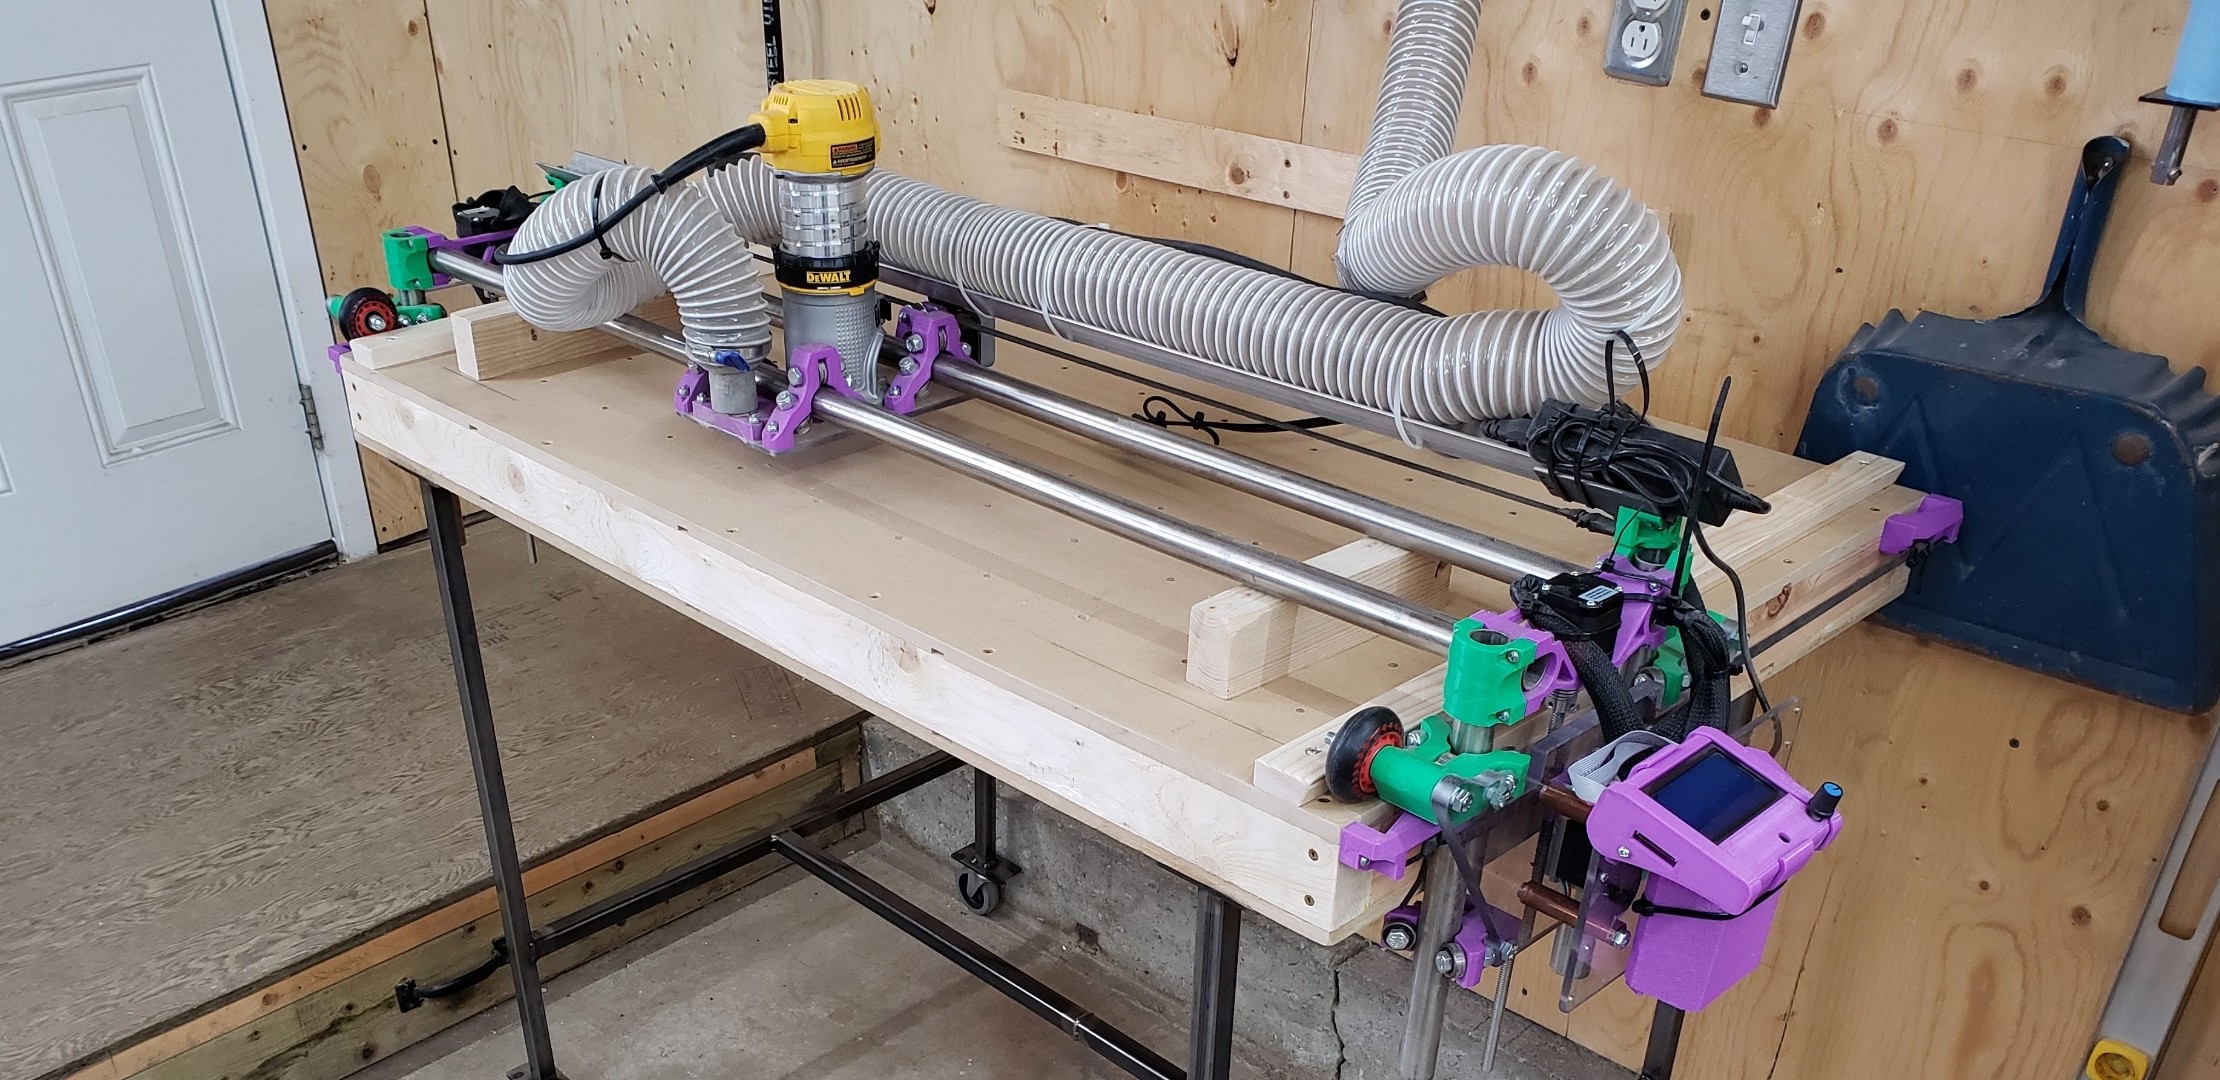
One thing… Can you please share a pic from the other side so I can see how you handled the gantry stepper? That’s the only thing I can’t see here. Thanks!
I confess I’m a bit of a neat freak when it comes to cable management. I had thought of a tutorial thread, but given that my build is endless and my first effort, was a bit embarrassed at the prospect of teaching others how to suck eggs!
I lay the wiring out a couple of times as though I’m building a vehicle loom.
Start with the end furthest from your controller, plug everything in step by step and bundle it temporarily with zip ties or a bit of tape just to keep it tidy. Work your way through every wire until you end up with a bit of a mash of loopy bits at the board - that will make it easy to shorten the wires later.
You might get an idea of that here: (sadly there’s a lot of nonsense to go through but you might glean something!)
Once you’ve done that - put the loom where it will end up and make sure that you have enough slack to plug everything in.
Pull it all out - I like to use automotive loom tape (fluff tape) to keep it all together permanently so I tape it, then when I finally have to I cut everything to length. If at some stage I want to make the table wider, I’ll just make two little extension cords for the bits on the “opposite” side of the table, and the board side will stay put. Not sure how clear that is
I’m kind of the opposite of @bitingmidge . I tend to go with whatever gets the job done, then tidy up a bit after. (Or sometimes, not so much)
I would advise that you read a bunch of build threads and see where people had hang-ups, or where things went wrong. Also, where things went right. I didn’t have any real problems with wire management with my LowRider, though things are still a little messy right next to the board. I should have had more provisions for tie-downs.
Most of the time, I don’t know what I really need until it’s working. Then I go with triage. Things that need to happen for proper function of the machine I’ll do right away. Things that need to happen so that I don’t have to babysit the machine (like pulling wires away from moving parts) get scheduled, and things that will work, but don’t look nice… Well, maybe that happens, and maybe not. For example: With my MP3DP “Repeat”: Wire not reaching the endstops, or not allowing full motion of the print head were addressed right away. The wire harness to the print head being all loose, I put off until after I had it printing, but I’ve got that into a nice harness now, so that the wires stay away from the hotend, and I don’t need to keep them out of the way myself. The wire from the Z stop that is a little too short to go in the loom, or all of the wire management at the board end… Still in progress, because everything works well now. It’s difficult to know the scope of the individual problems until things are working, or at least together enough so that you can visualize it working. I could have spent a lot of time solving some of the problems that I foresaw during assembly, but some of those turned out to be no real problem at all. Other things that I thought were trivial turned out to be more serious.
In the case of the LowRider, most of what you need for management is already in place. The rest of it will depend on your solution for mounting the control board, power supply, supplementary parts like a stop switch, and will vary. There are as many good solutions out there as there are builds. Much if it will depend on what choices you make.
Like you actually get things finished and usable you mean? Ouch!
We are so opposite in the wiring thing that it’s not funny - I don’t think there’s anything wrong with that either. I guess it comes a bit from motivation too - in this case the build was part of the joy of the thing for me and I’m certainly in no hurry to get it making sawdust. My approach does burn time and you’ll have to love re-doing things if you get a tiny bit wrong!
Ok, so now I really fit in here… my wiring is a half done mess, but fully functional. I was anxious to cut something and get it dirty, that neatness was put on the back burner. I’ll get to it soon as I build the enclosure to soundproof it…
At work all my machinery controls are neat and tidy, wired correctly and labeled. Hope none of the maintenance guys ever see it in its present condition. I’d never hear the end of it…