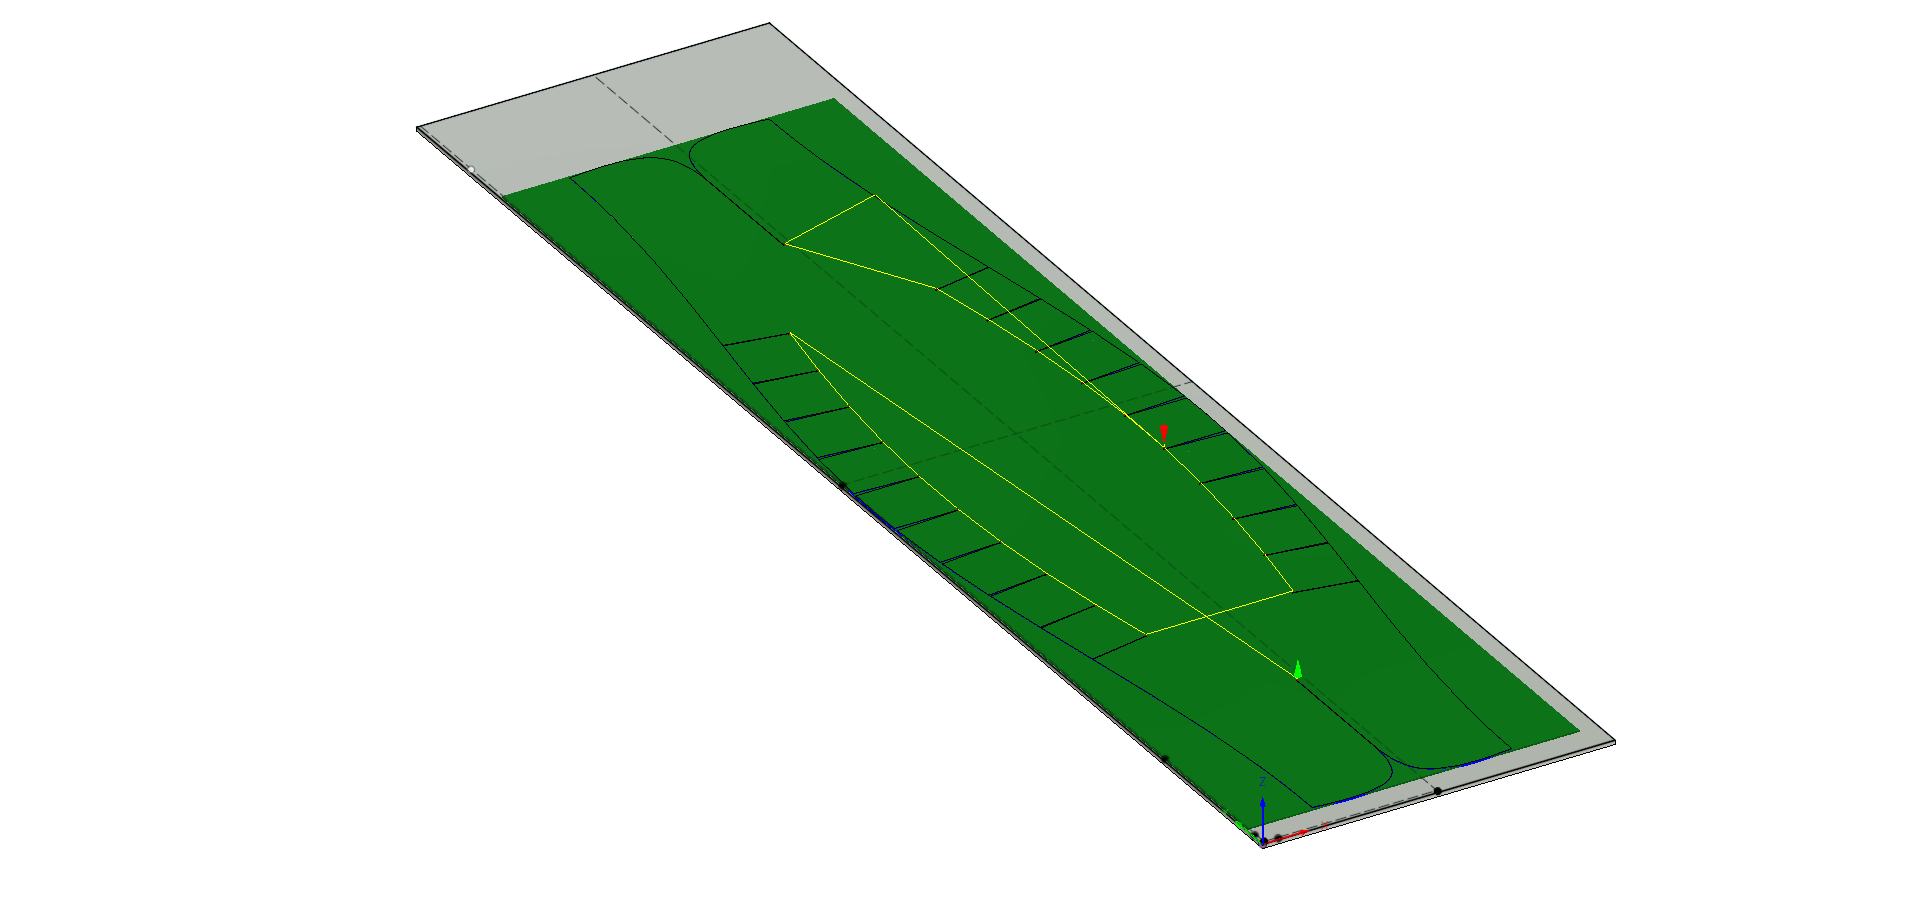
Found this while researching kiyaks. I cannot believe how easy it is going. Scaled to size in Fusion then cut on the lowrider. I expect to have it shaped in the next day or two.
First try to bend the ply failed. The orientation of the plywood relative the bend was off by 45 degrees. The plywood I’m using might be too thick at 4.753mm (3/16"). Even after soaking the plywood for 3 days fully immersed in water it still failed to bend enough.
I’m scarfing some 3mm ply along with more 4.763mm ply, making sure the bendy part is oriented perpendicular to the long axis of the canoe, and of course… trying again. Making scarf joints is not something I can do easily, however I found a circular saw jig that should speed things up considerably. I can post a picture of the canoe cracked in half, but I think most have seen a sheet of thin plywood crack.
Sorry to hear that your skin didn’t take the bend.
I would think something like a router sled set to the angle of the scarf would be easier to manage than a circular saw for scarfing stock that thin, but I haven’t seen the jig you’re planning to use.
Honestly, I’d stack and clamp the pieces on top of one another with the set-back to establish the scarf slope and go after it with my belt sander. I’d expect aggressive paper in any power sander should do the job reasonably well. Use the lines revealed as the ply’s disappear to keep things aligned.
I agree, a router sled works very well. I just don’t have the physical means of making that happen just now. Hence the creative alternative. Fortunately the jig has been done before. I’m just following instructions. We’ll see if I can make it work.
I don’t think so. I had the ply oriented incorrectly and was using 3/16" meranti. Very stiff stuff.
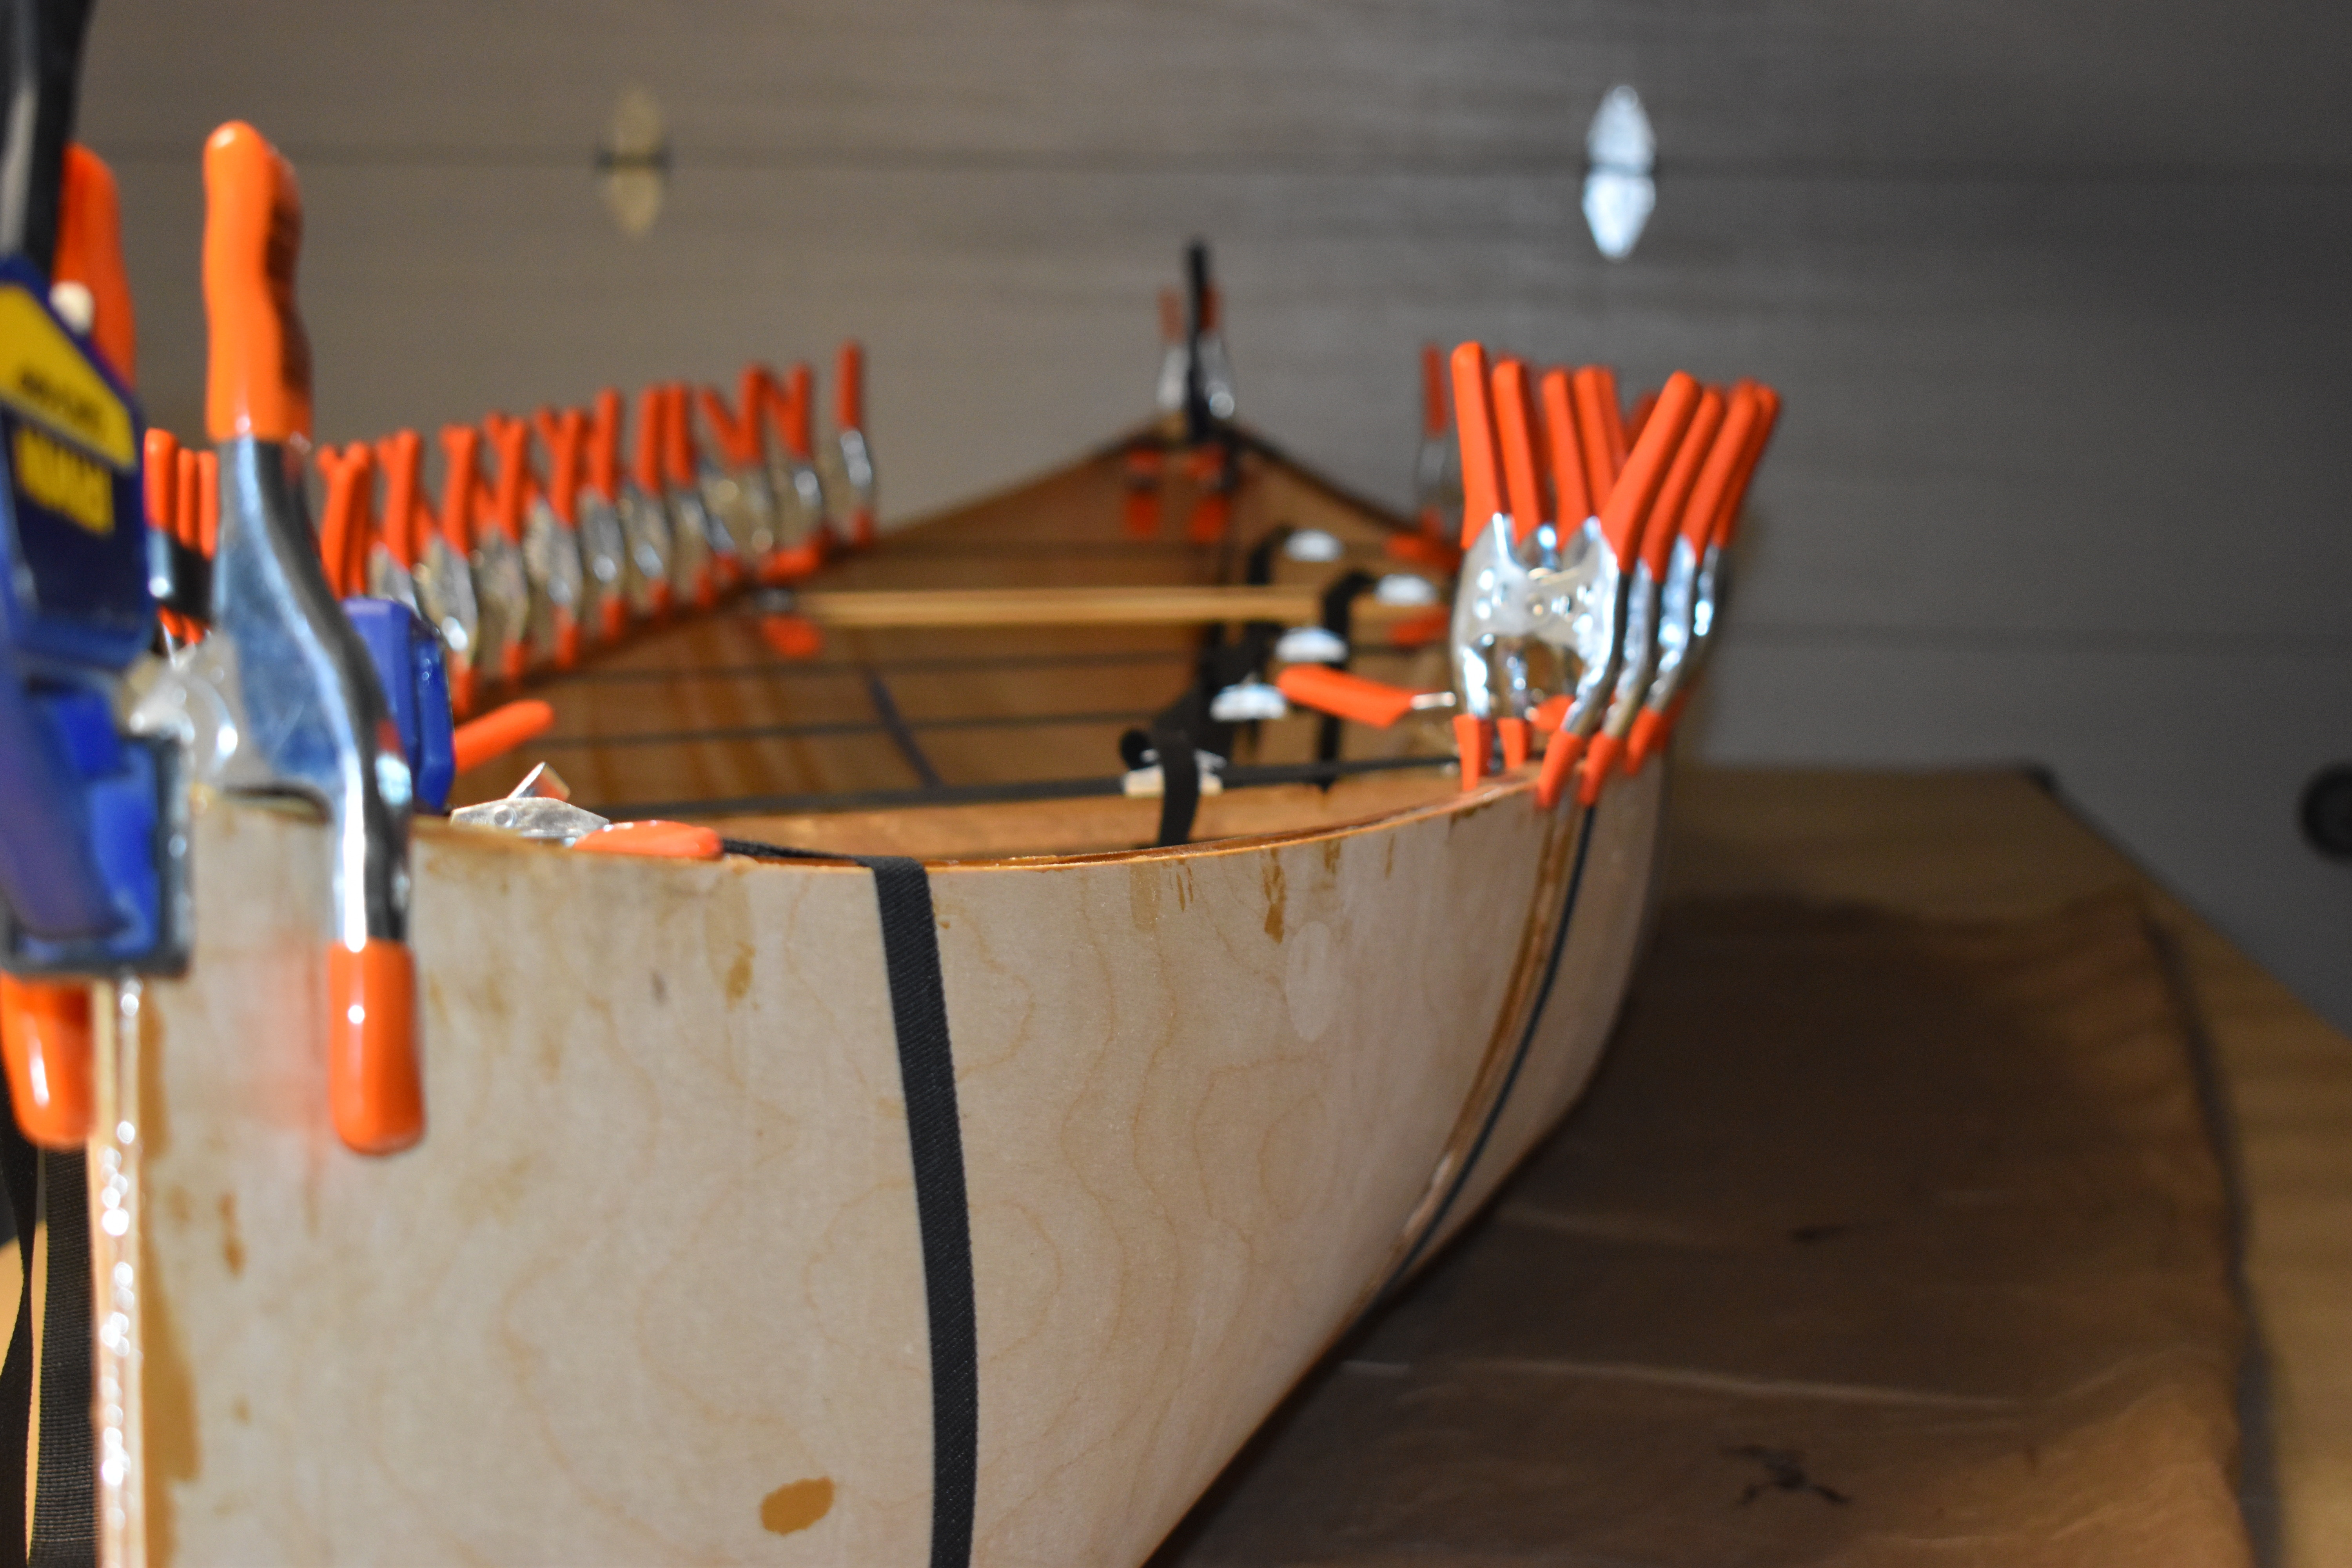
I’m closing the gores on some 3mm baltic birch and will show the results when I’m done. Thus far I can say that the right orientation paired with 3mm ply makes things much easier.
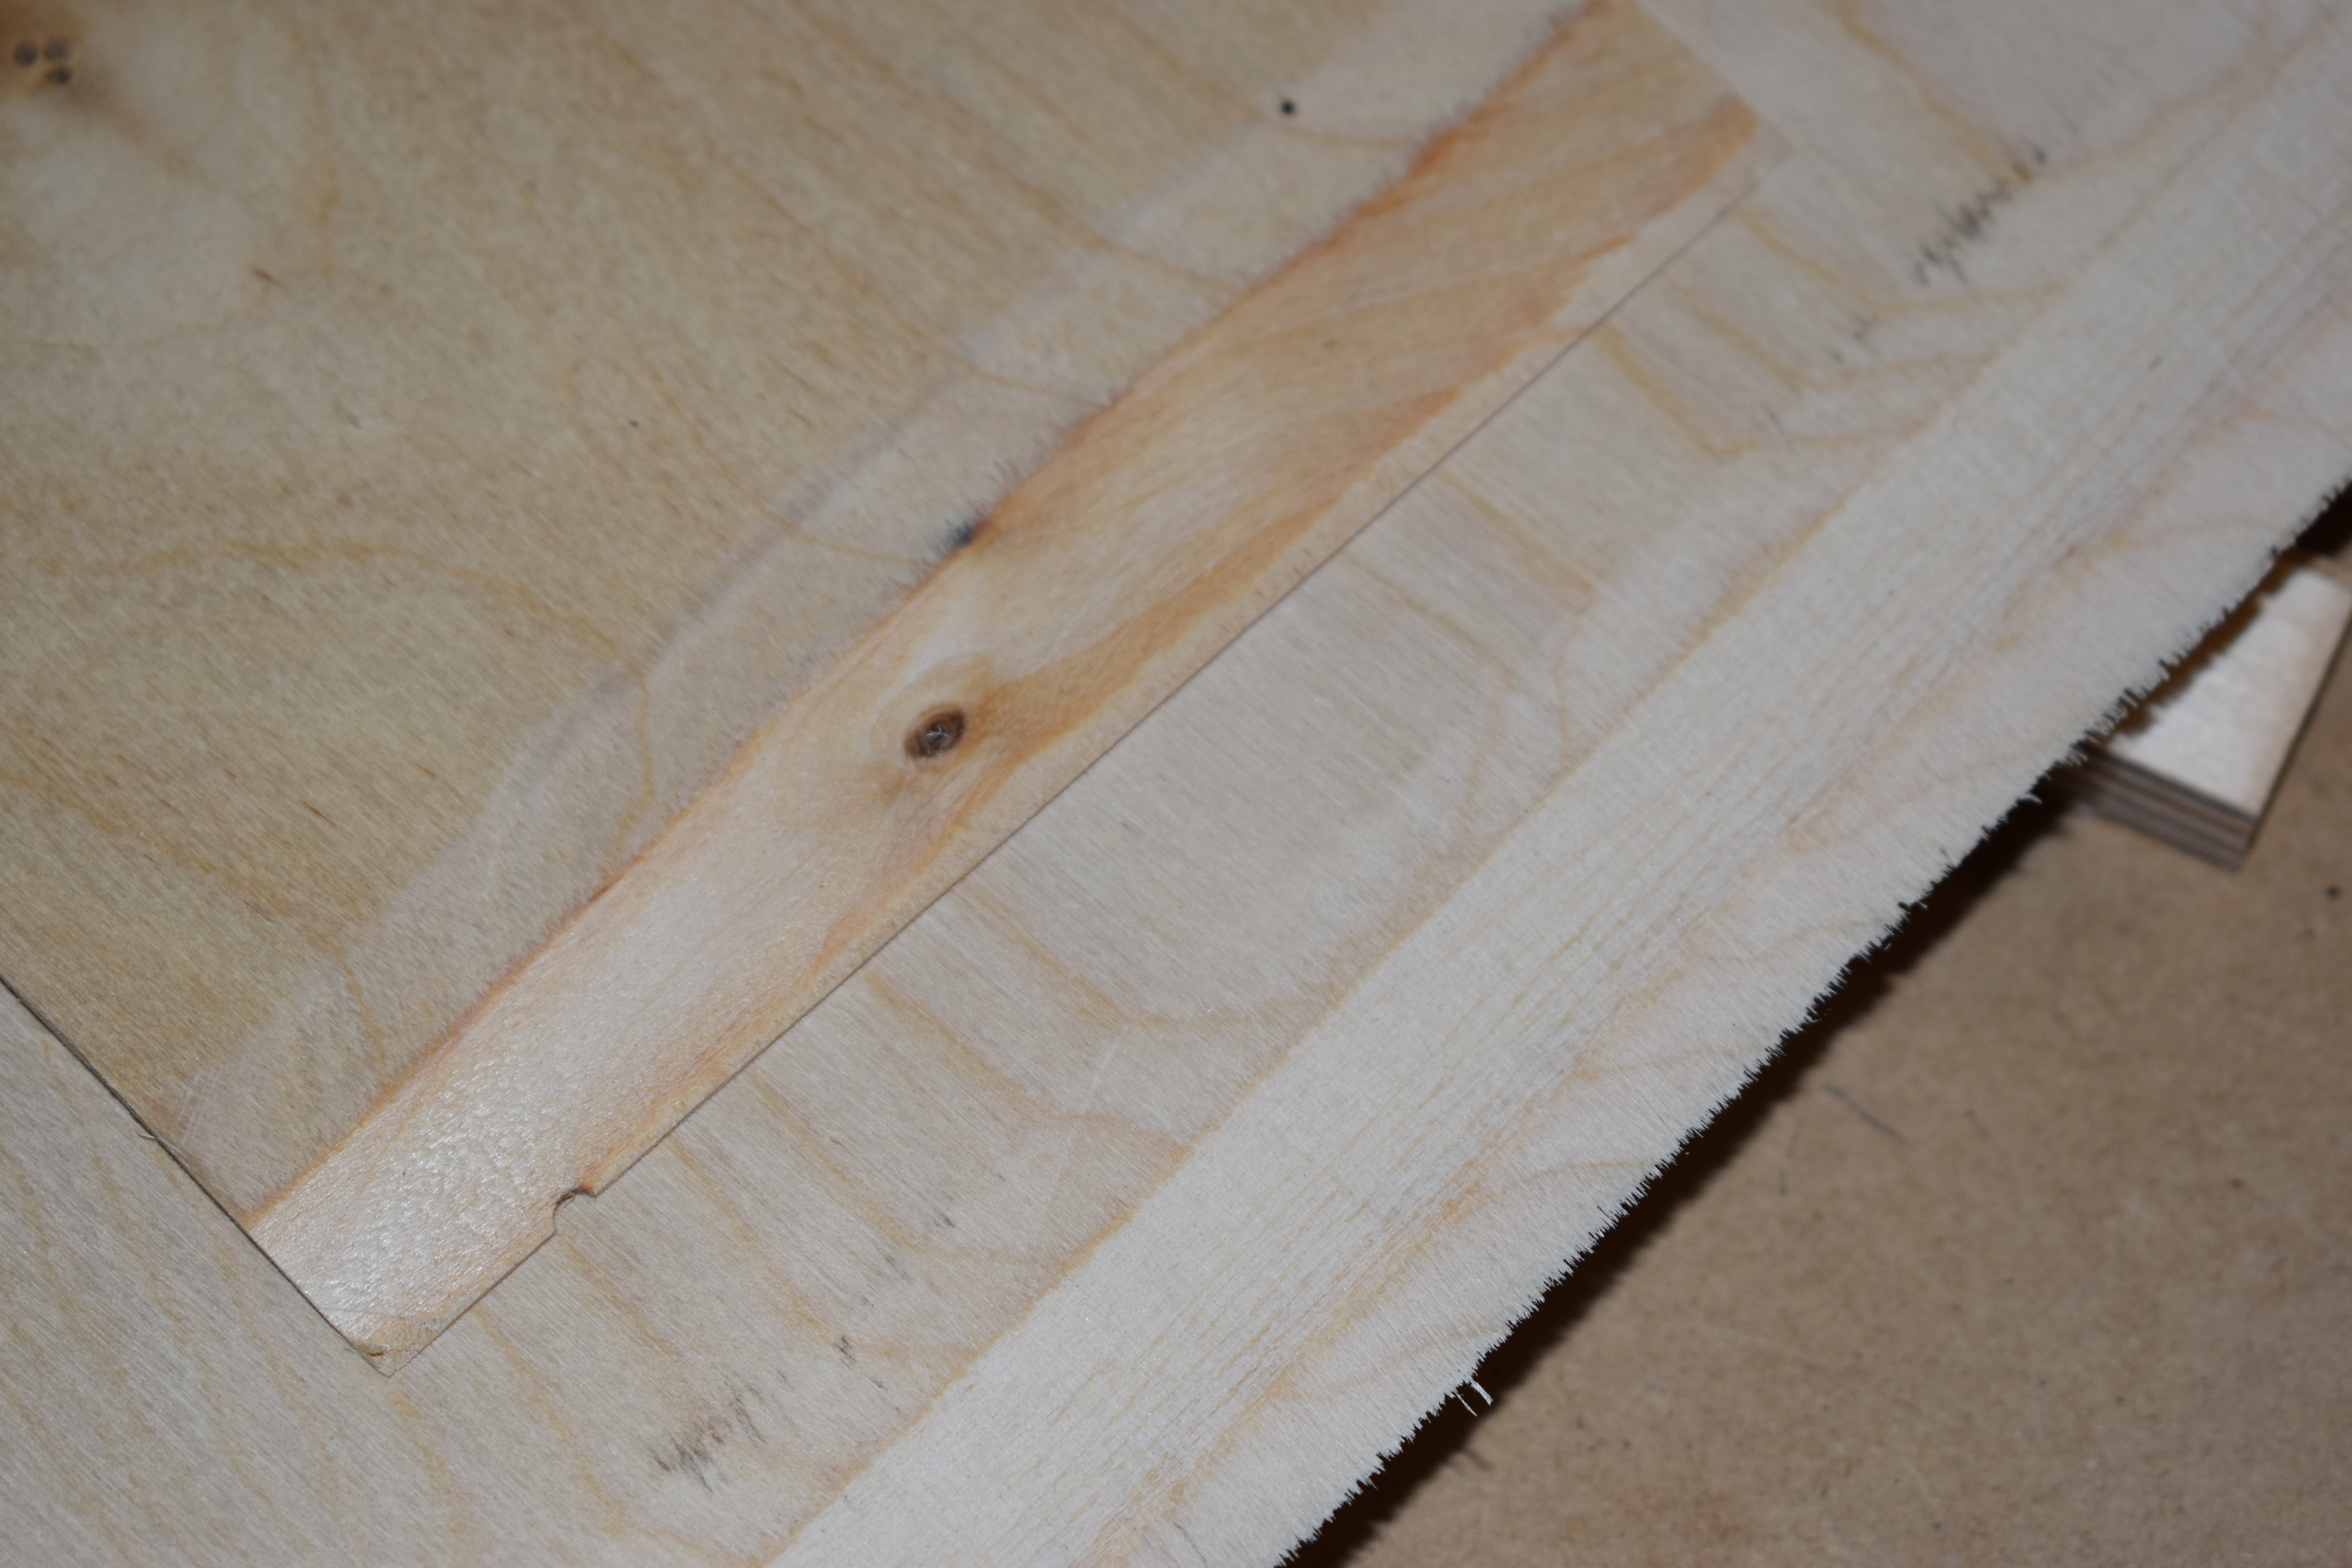
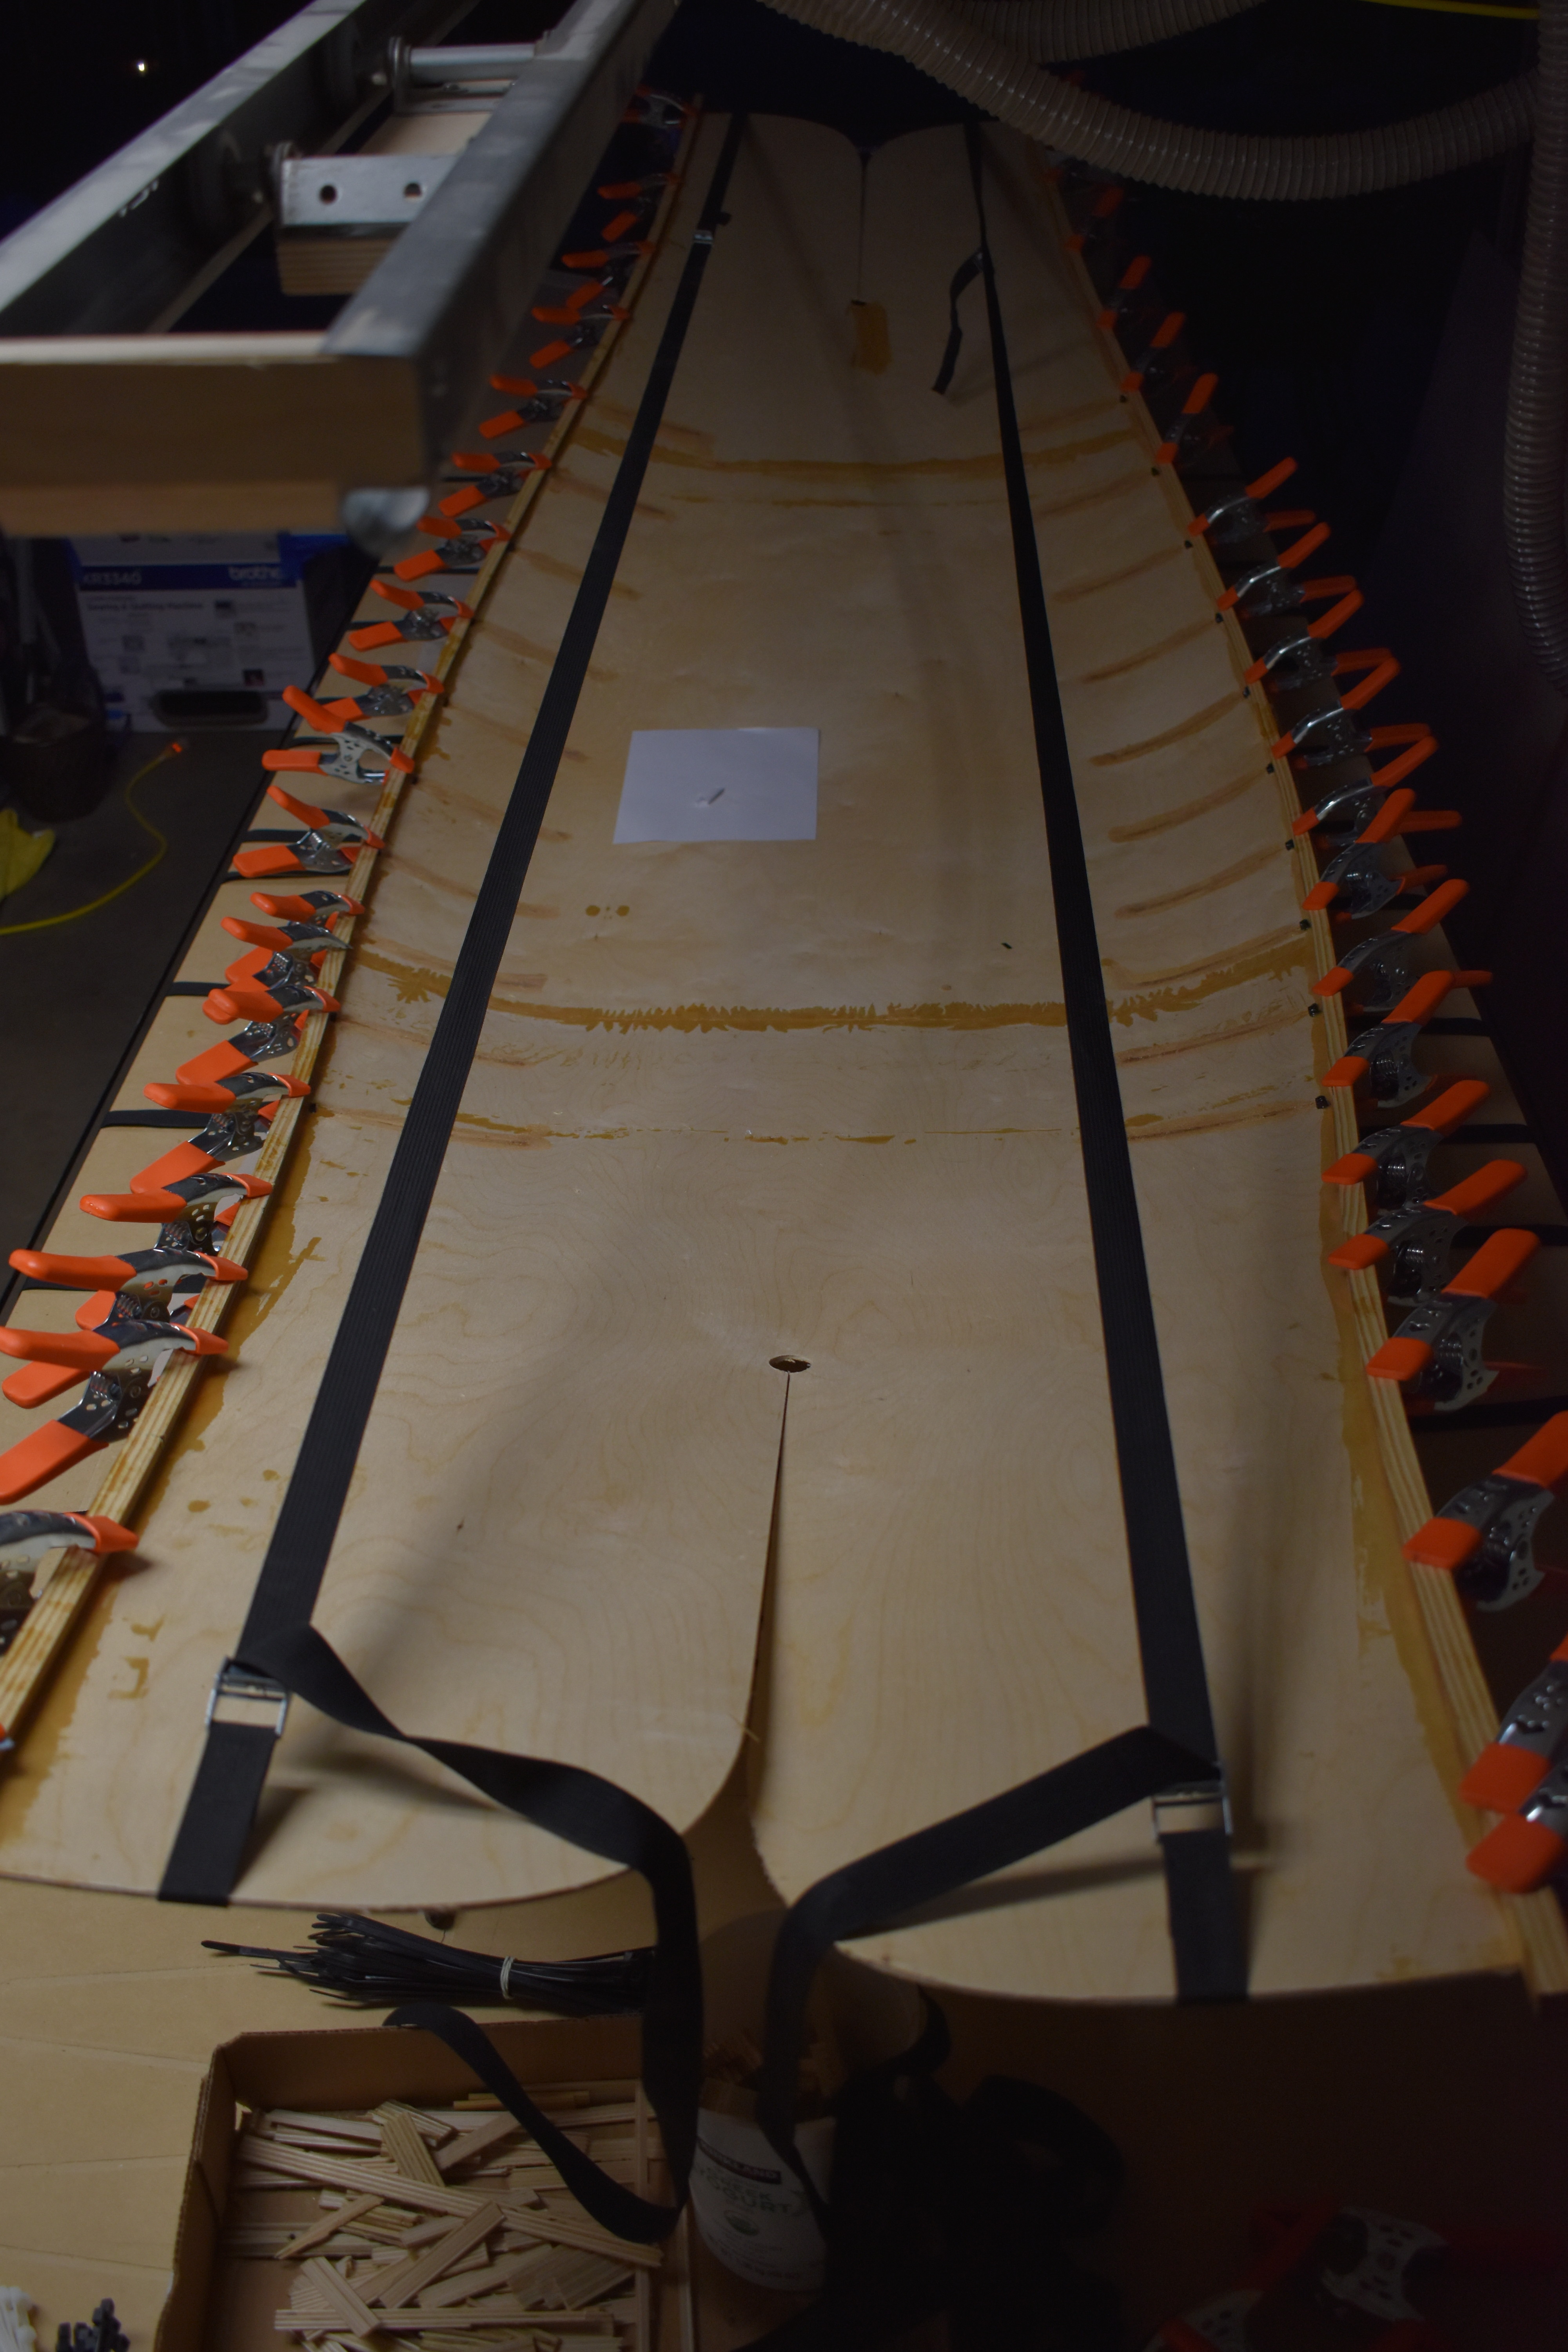
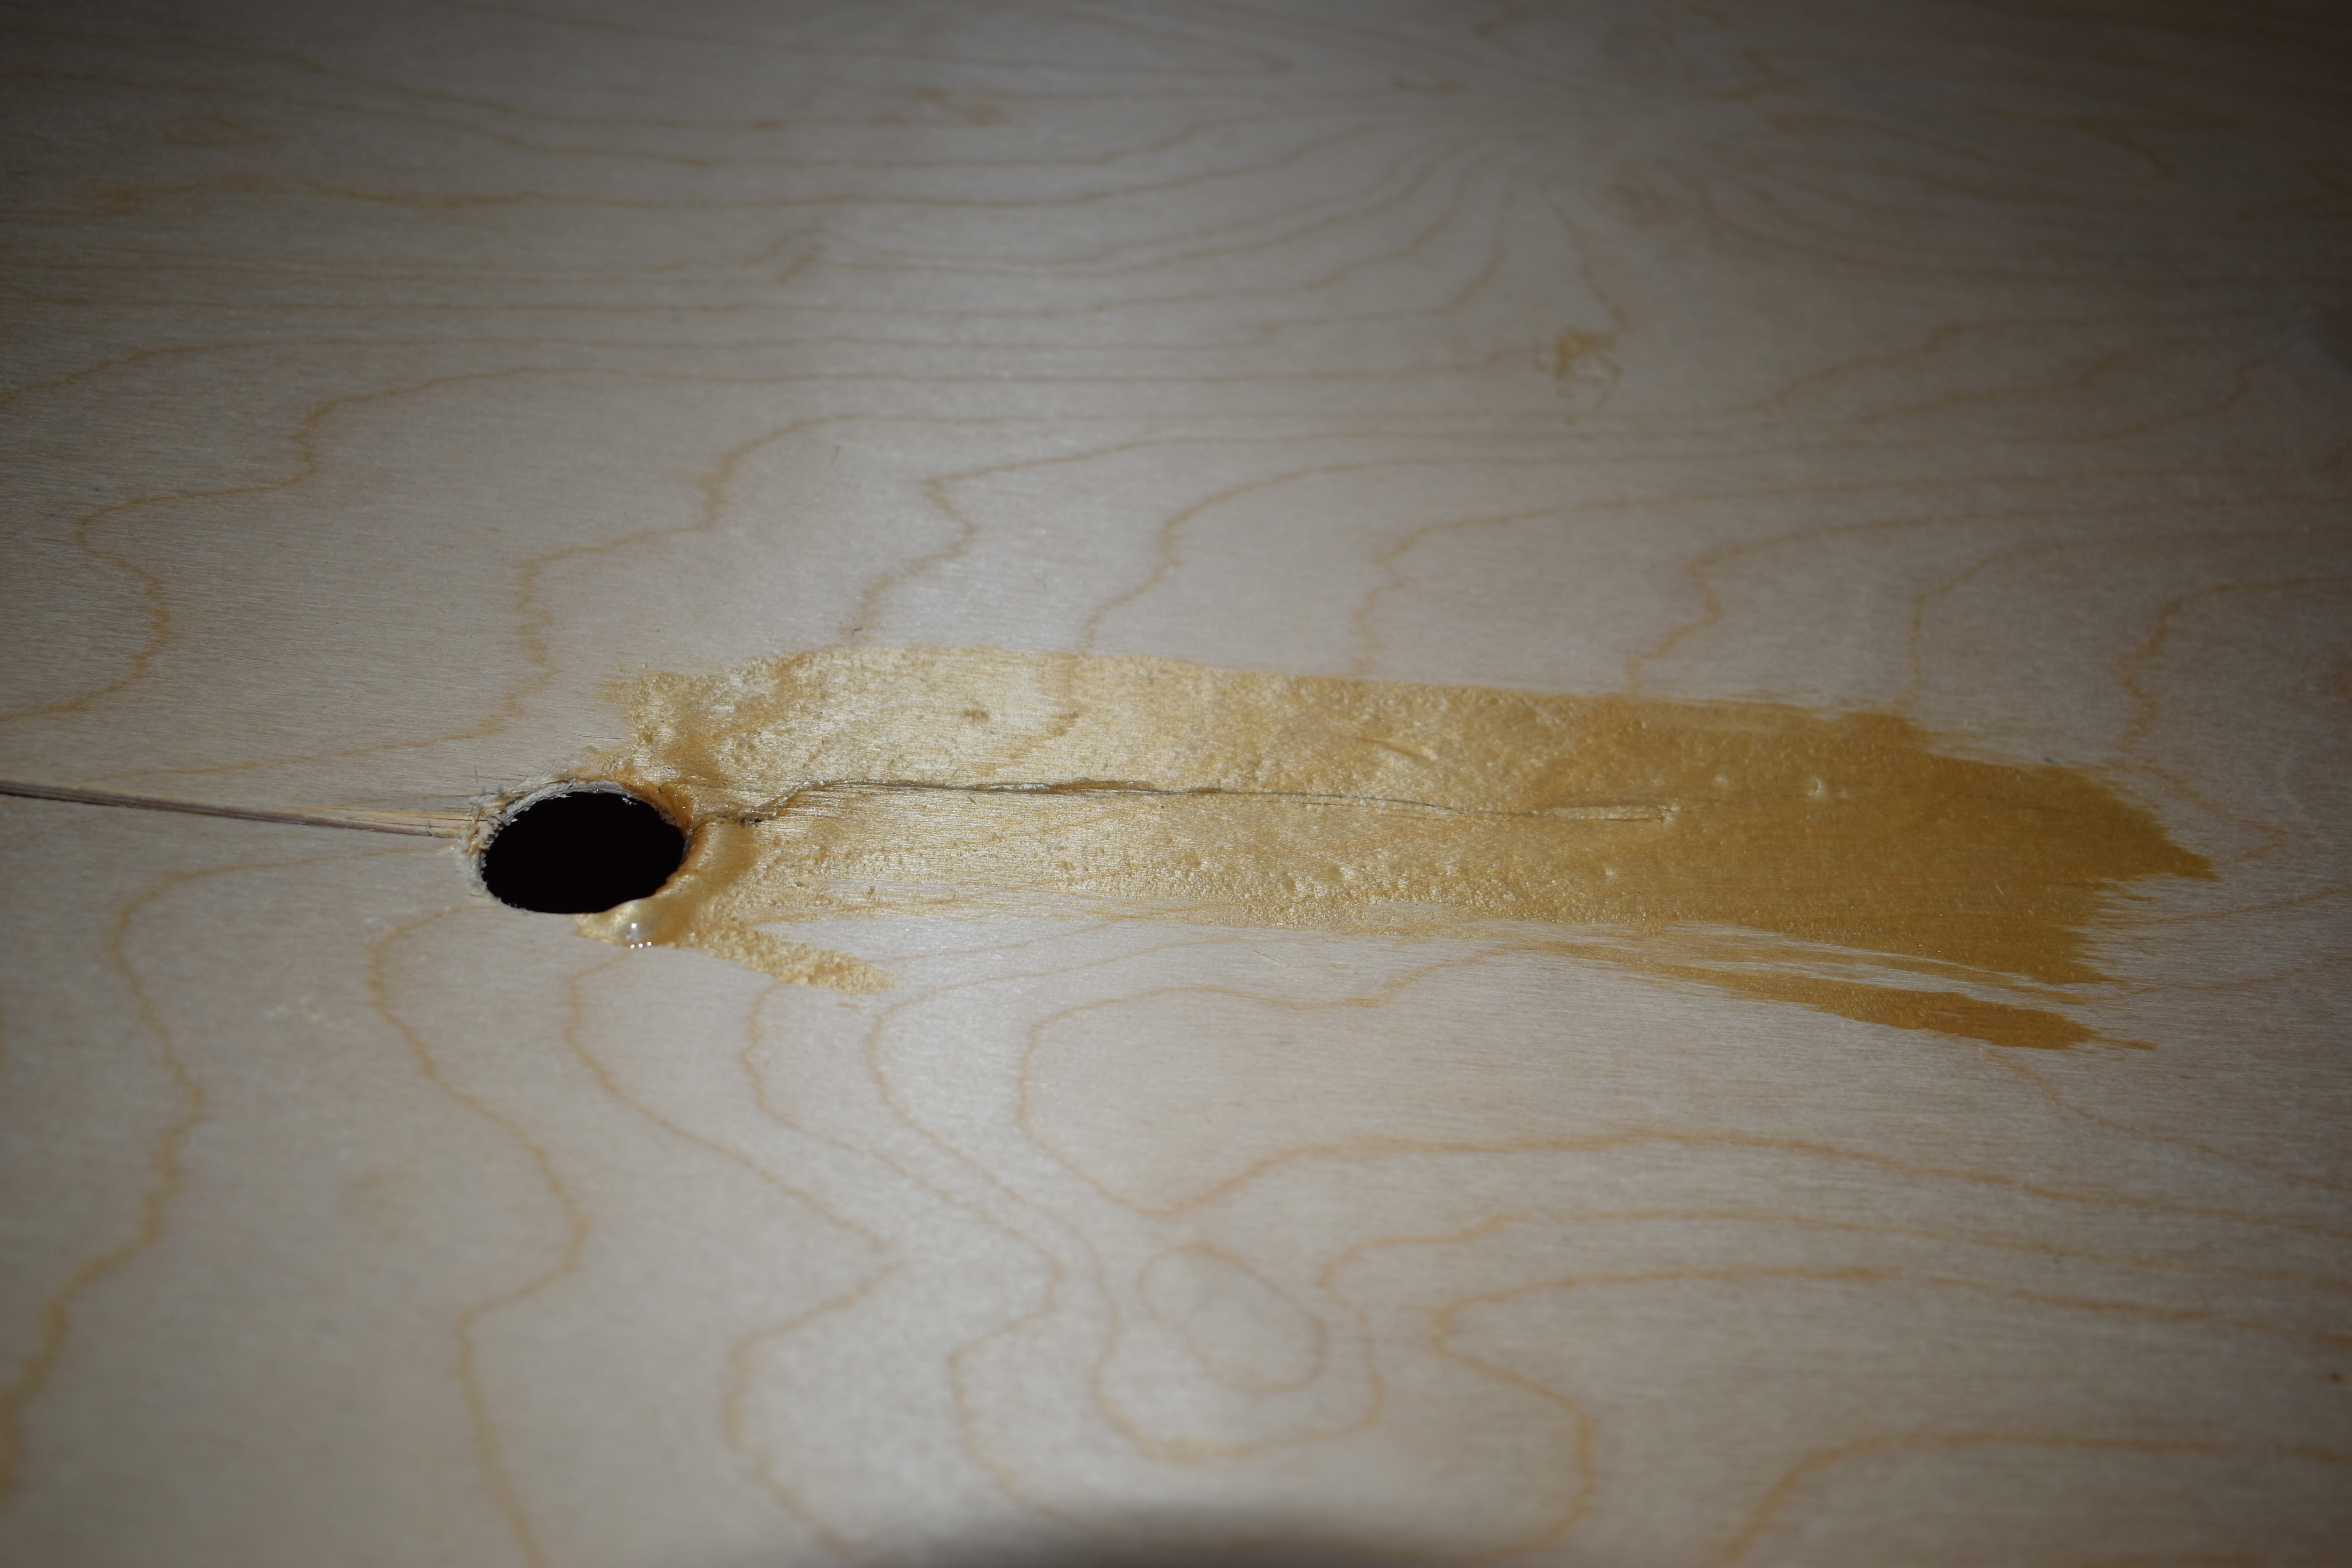
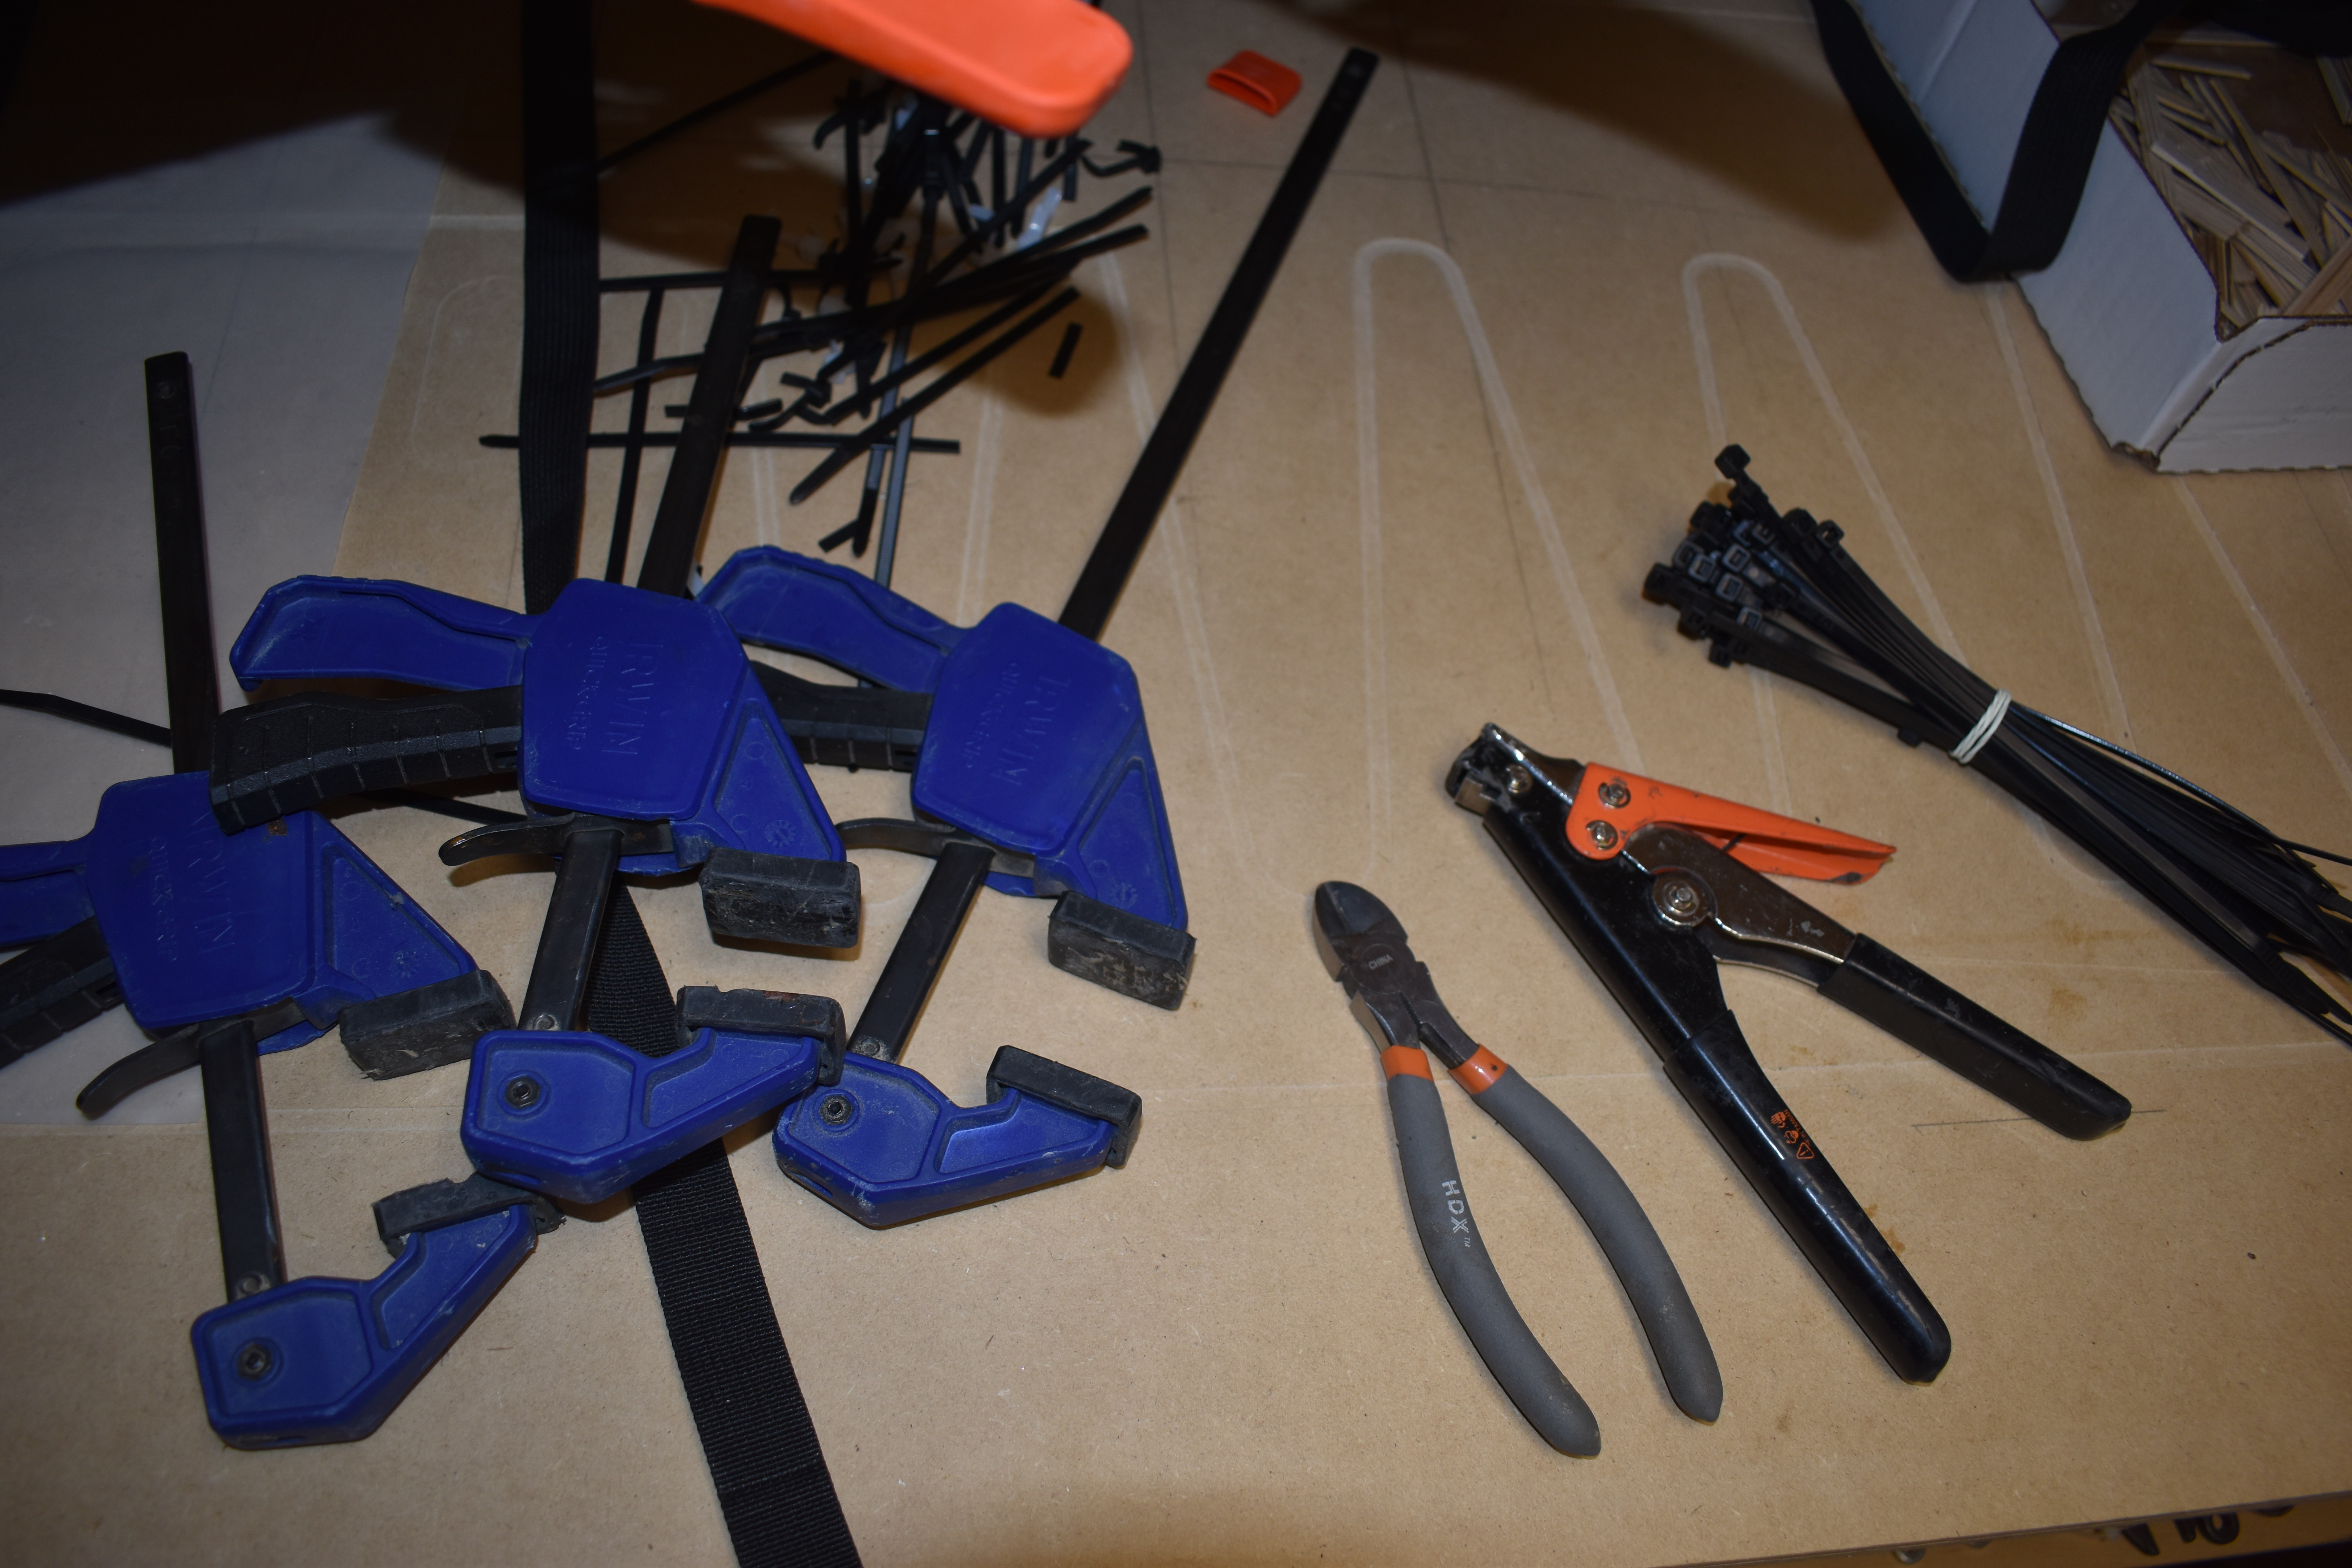
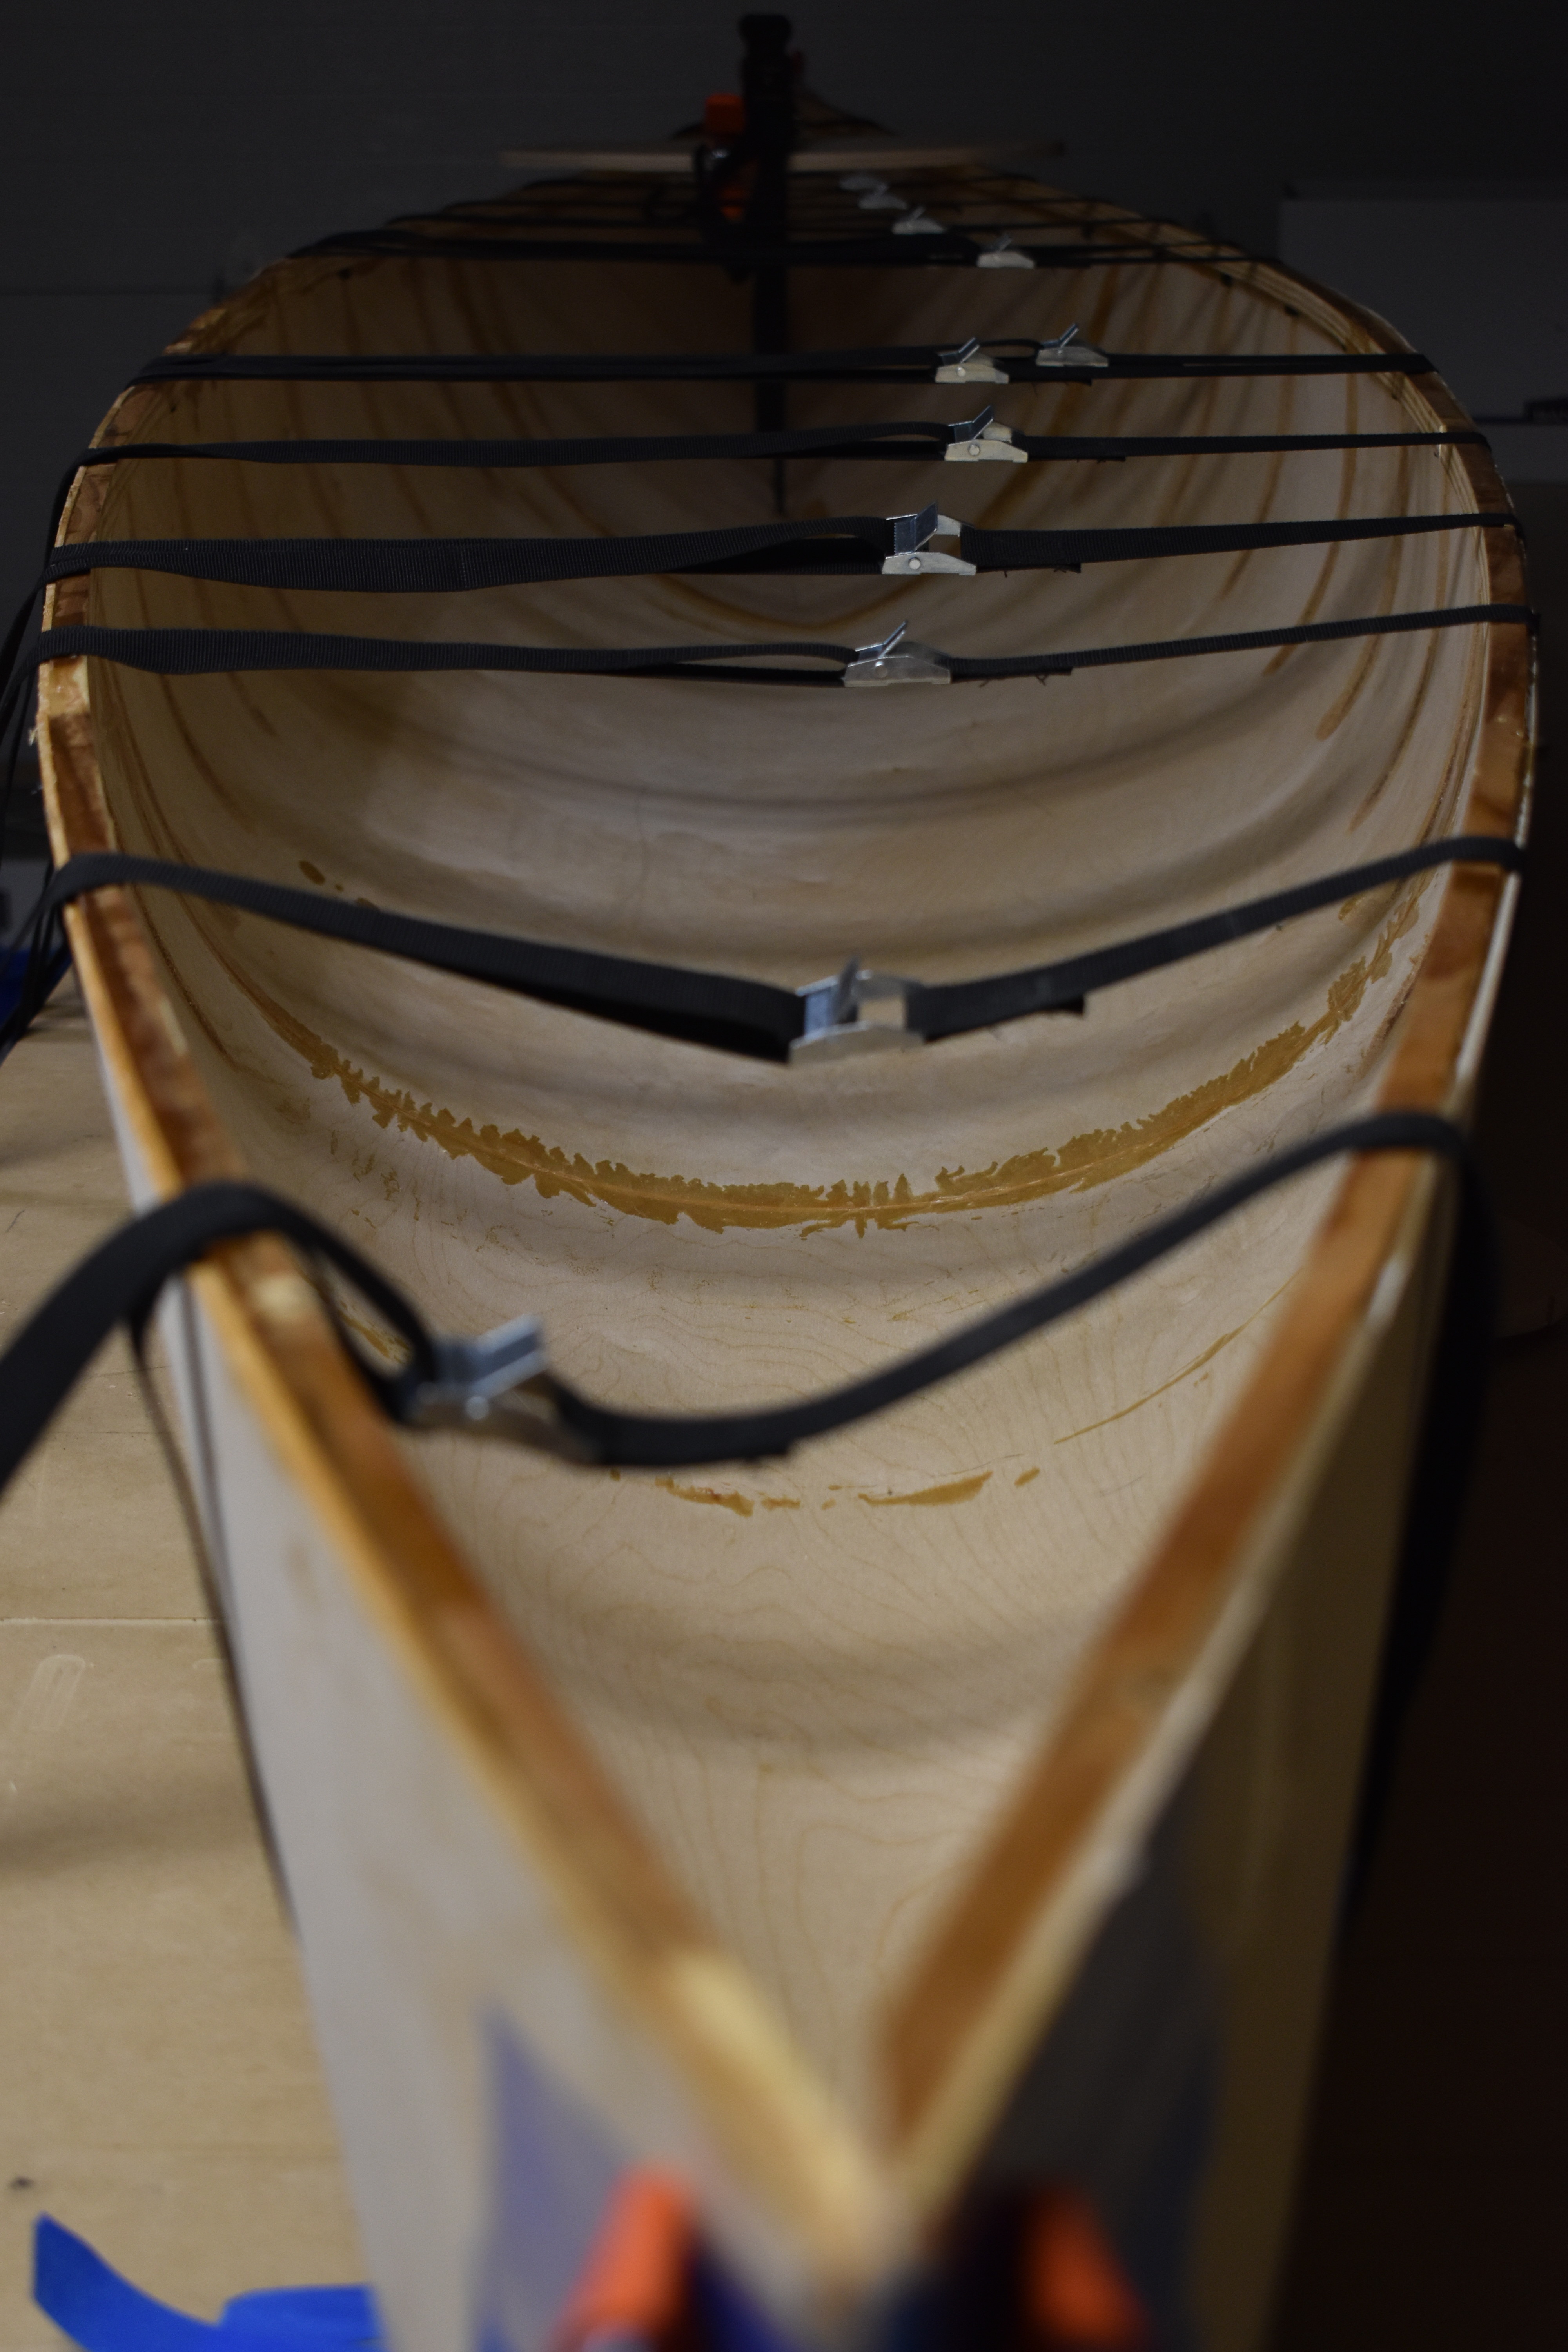
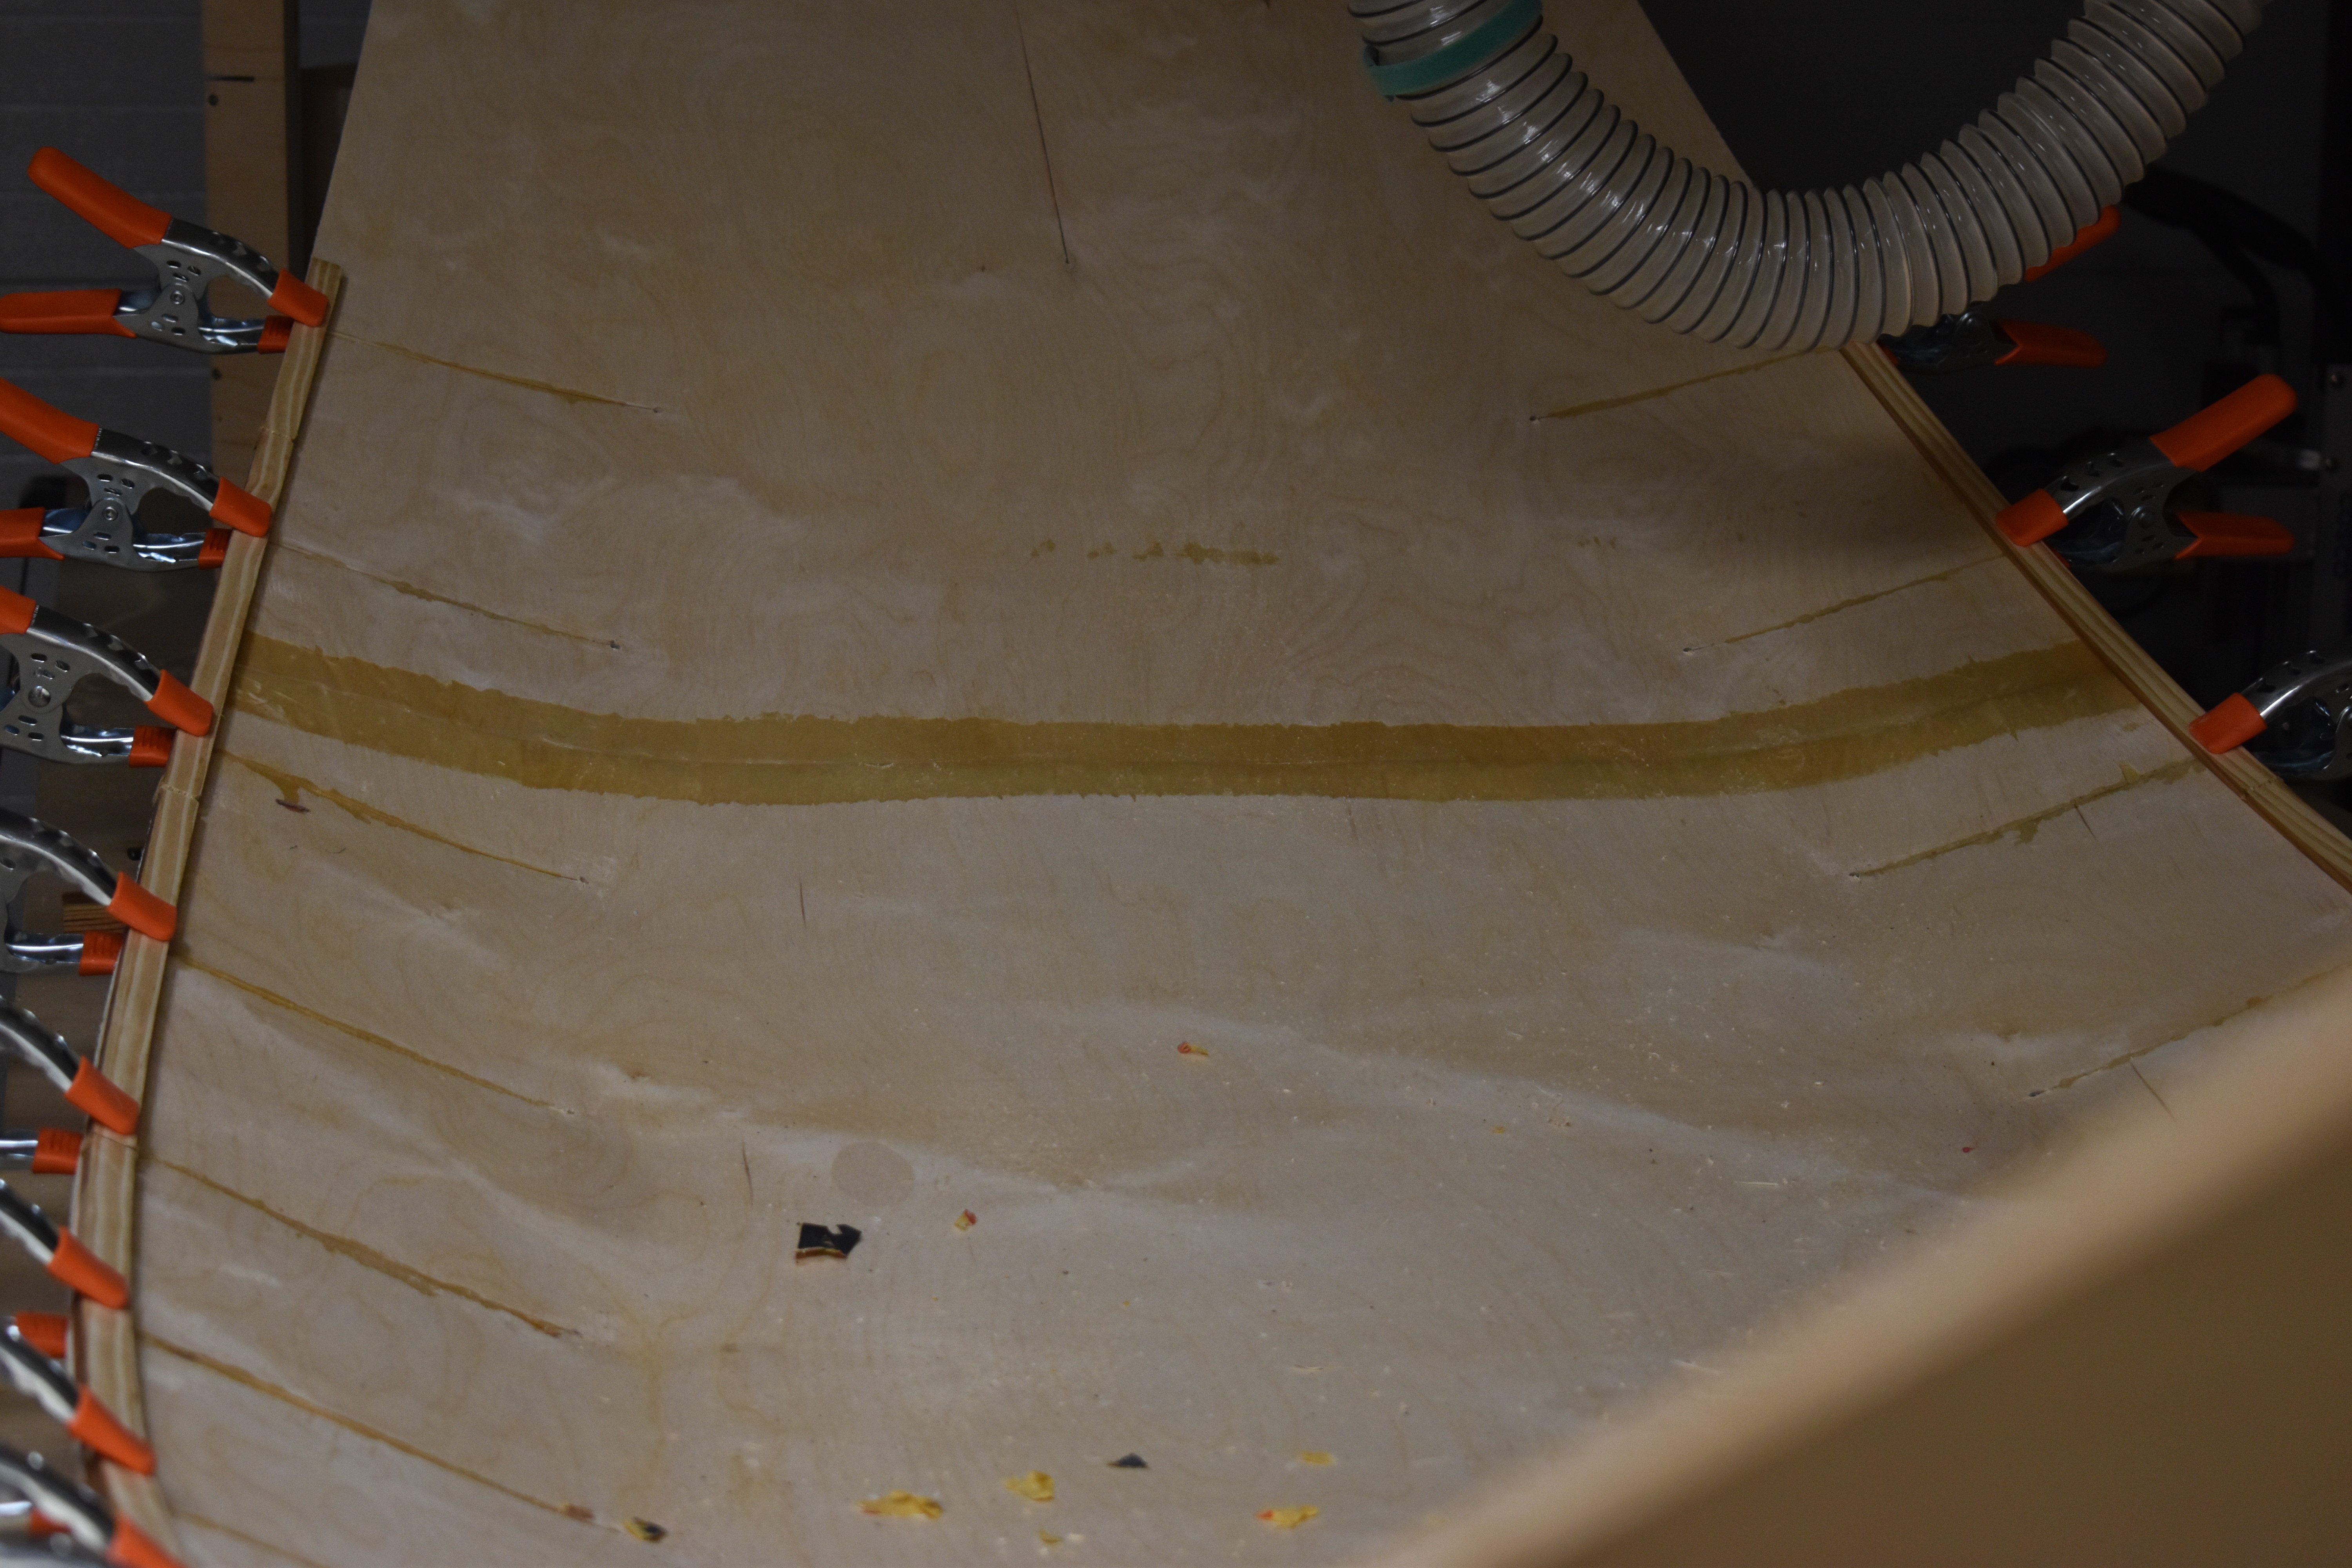
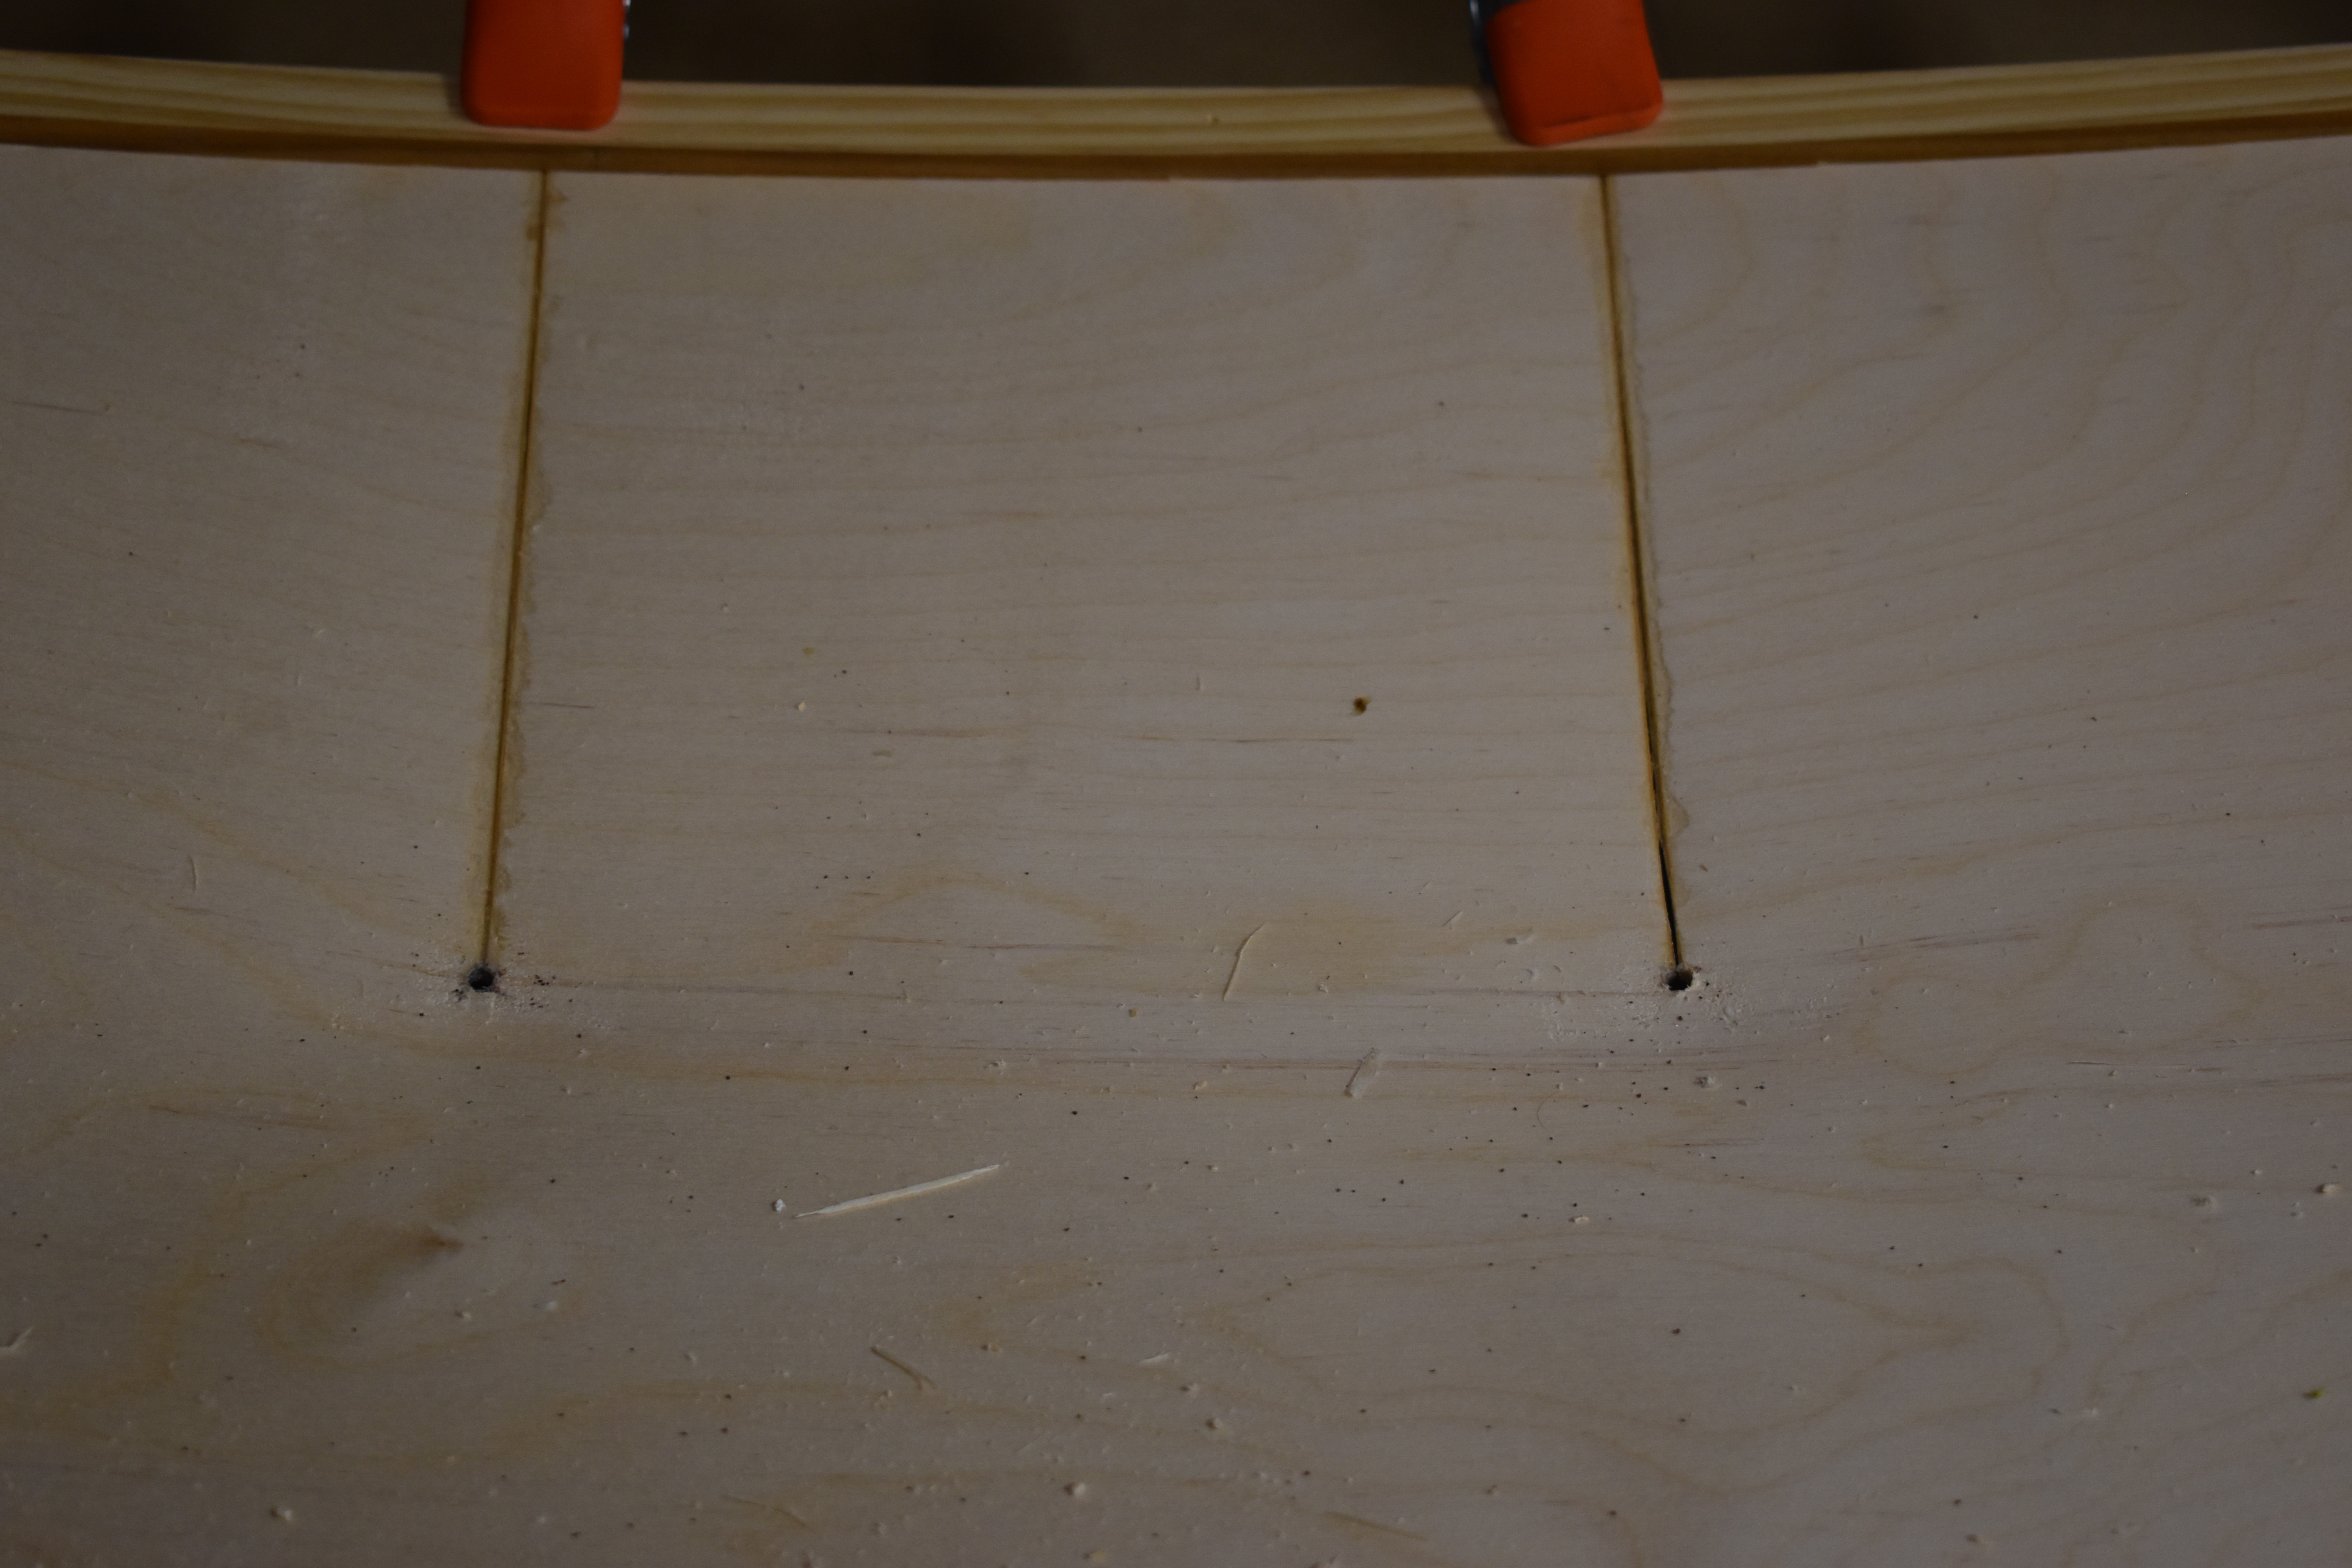
Here are a few pics of the gores closed. I had a very hard time with the Meranti 3/16", but the 3mm baltic birch went much smoother. I closed the gores with zip ties (couldn’t make CA glue work) and I must add that a zip tie ratchet is an awesome tool to have on hand for this. I used a clamp on each side of the gore then used another to bridge and pull the two clamps together thus closing the gore. This is the first time I’ve used epoxy so don’t get too judgmental with the horrible job. And, this is the “learn from my mistakes” canoe. I will be making two or three more. You can see the crack at the box covered in copious amounts of epoxy. I also added that oversize hole to alleviate stress during bending.
Yes, I think that is the direction everyone has gone with jointing sheet goods for canoes/kiyaks. In reading about boat building, I learned that 12:1 scarf joints are very good for thin sheets and decided to go that route. I think the puzzle joint method would work for most applications, however this canoe is bending so much that I decided to go with the tried and true scarf joint.
Yup, I remember how stressed I was getting the scarf right on my kayak 25years ago. I had to freehand it with a belt sander back then.
You’ve inspired me to break out the old Chesapeake 17 and do a complete refinish of the old girl. Much sanding and varnishing ahead as shes been untouched for 10 years and the varnish is completely shot.
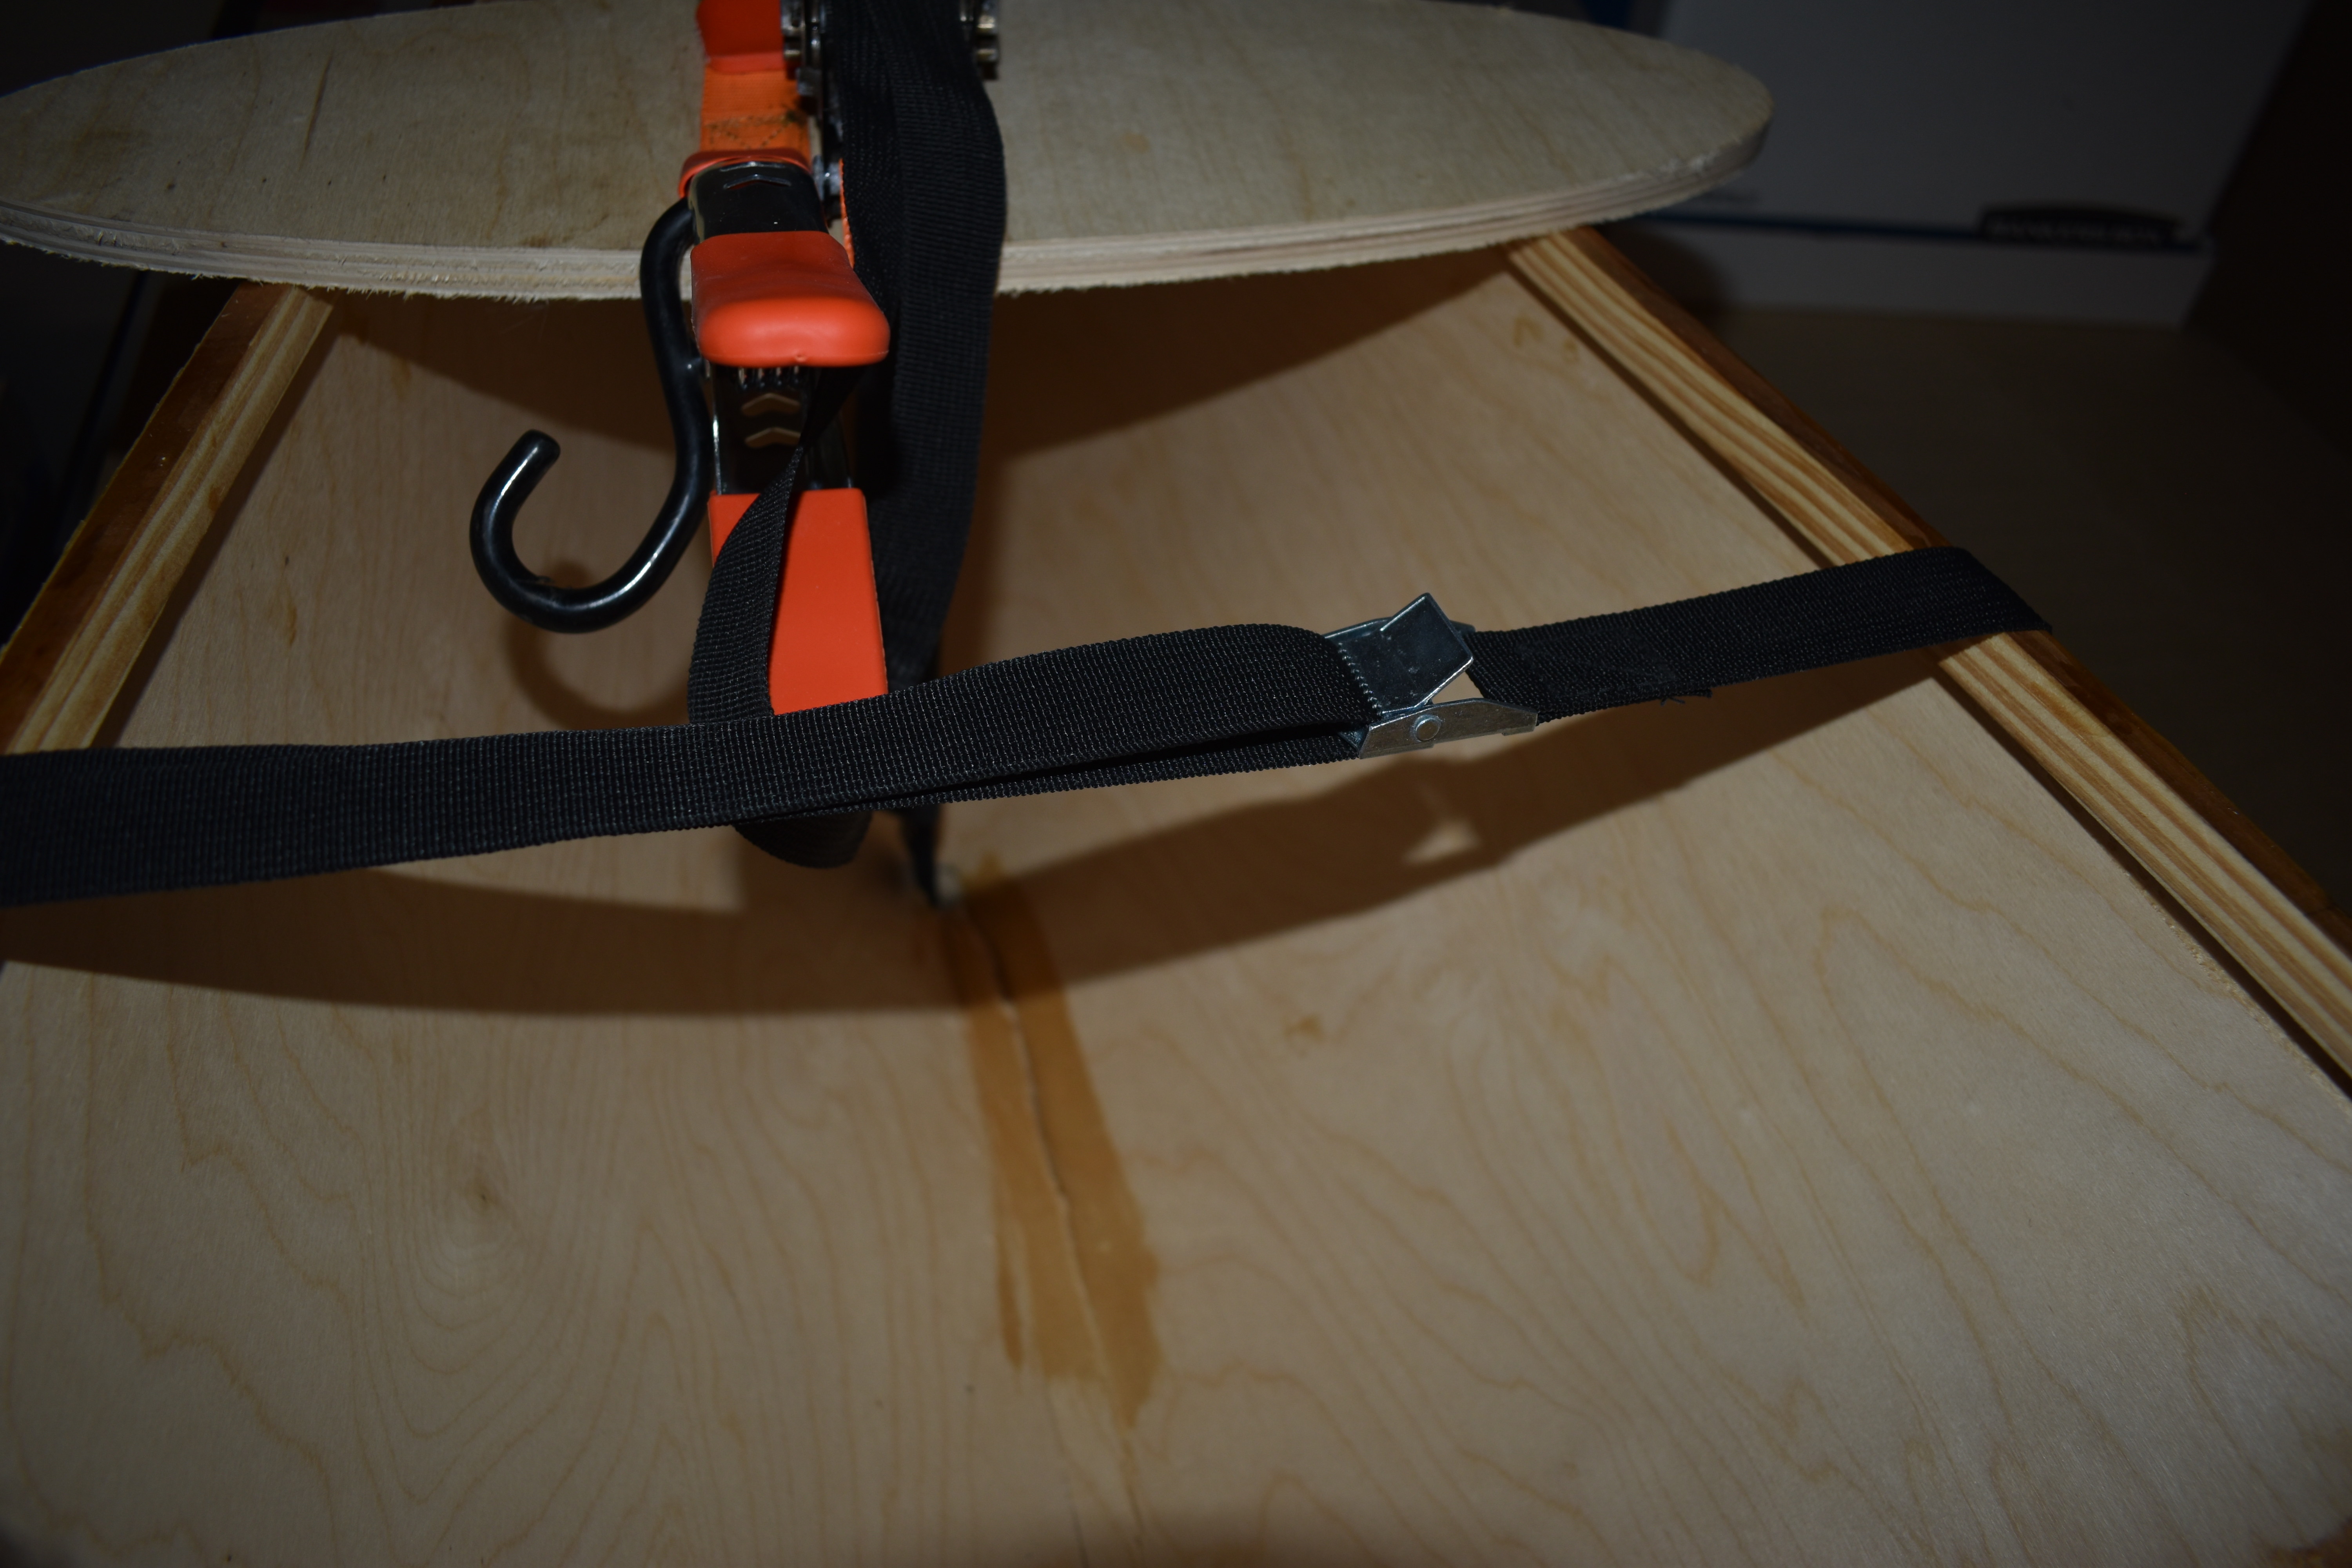
The crack continued to propagate as I tensioned the straps. This was resolved by lengthening the relief and adding compression. Compression was required for the canoe to shape (bow out) correctly. Hoping to test this prototype with the weight of one large child soon!
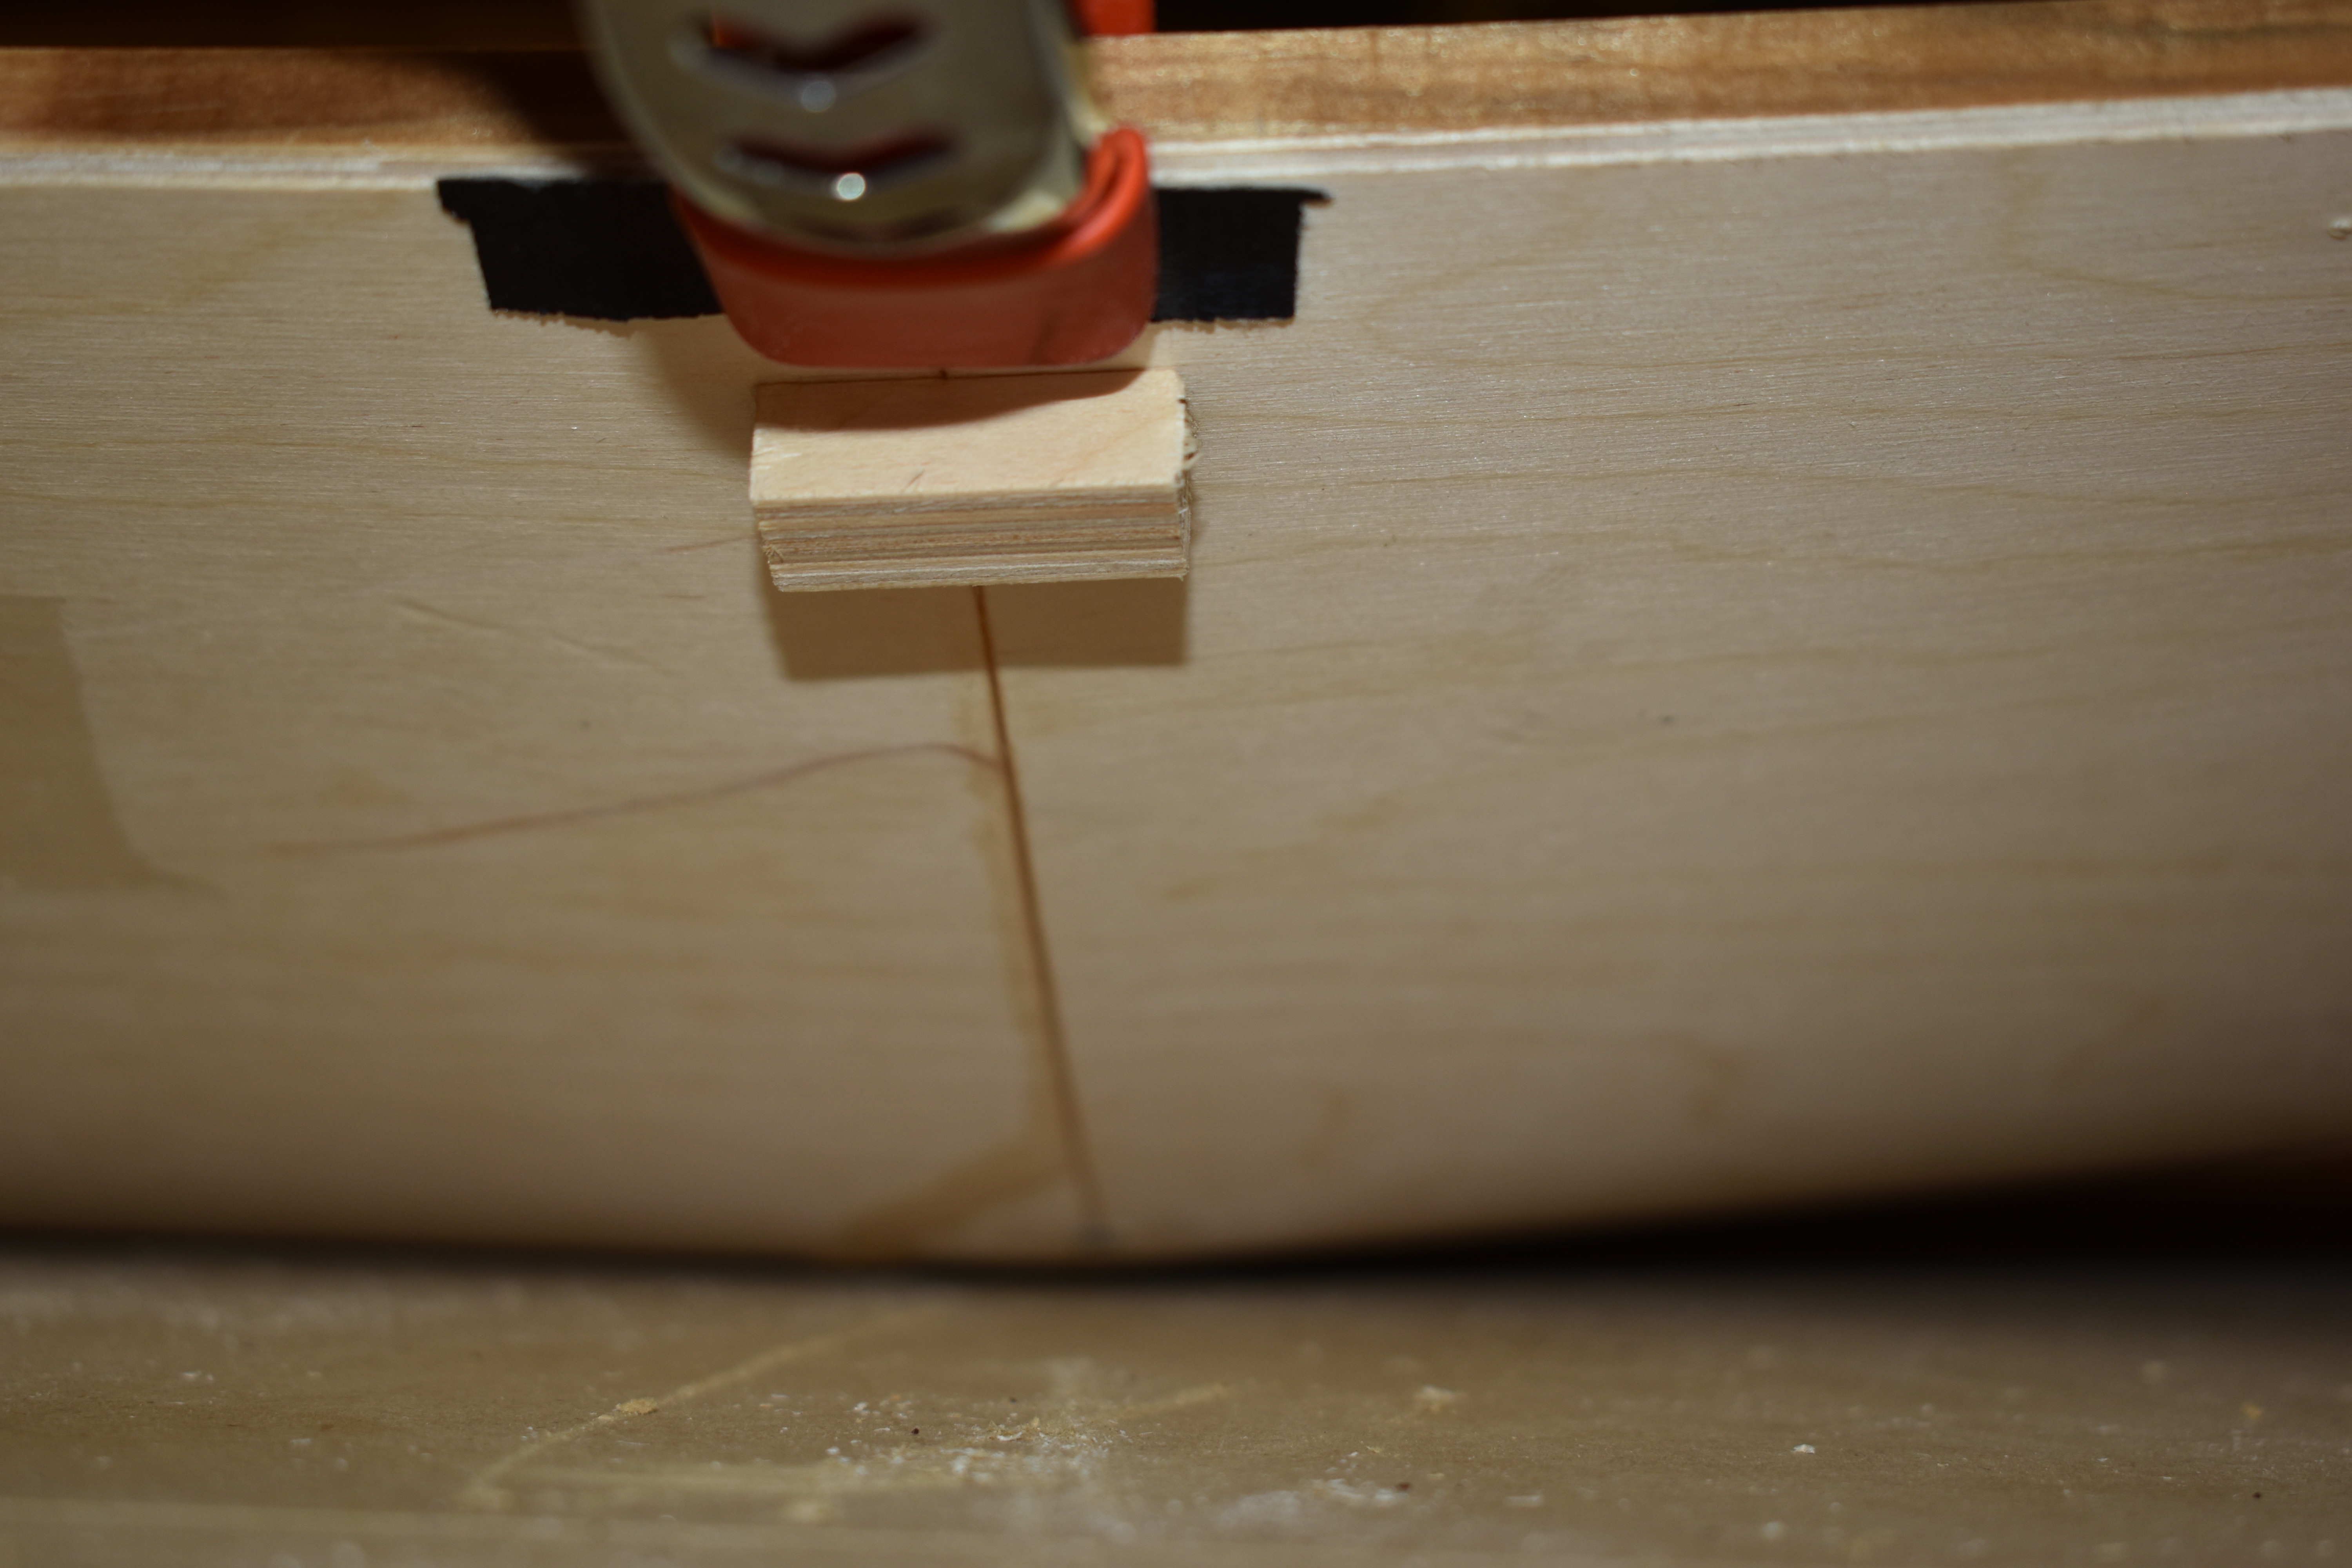
The lowrider sure makes this easy. Moved on to another canoe and tried to get the superglue to work when closing the gores. Had to step up the clamping pressure and drop to 50 grit sandpaper. It works ok now, though the small block is essential to reduce bending stress.