2 Likes
Looking good so far!
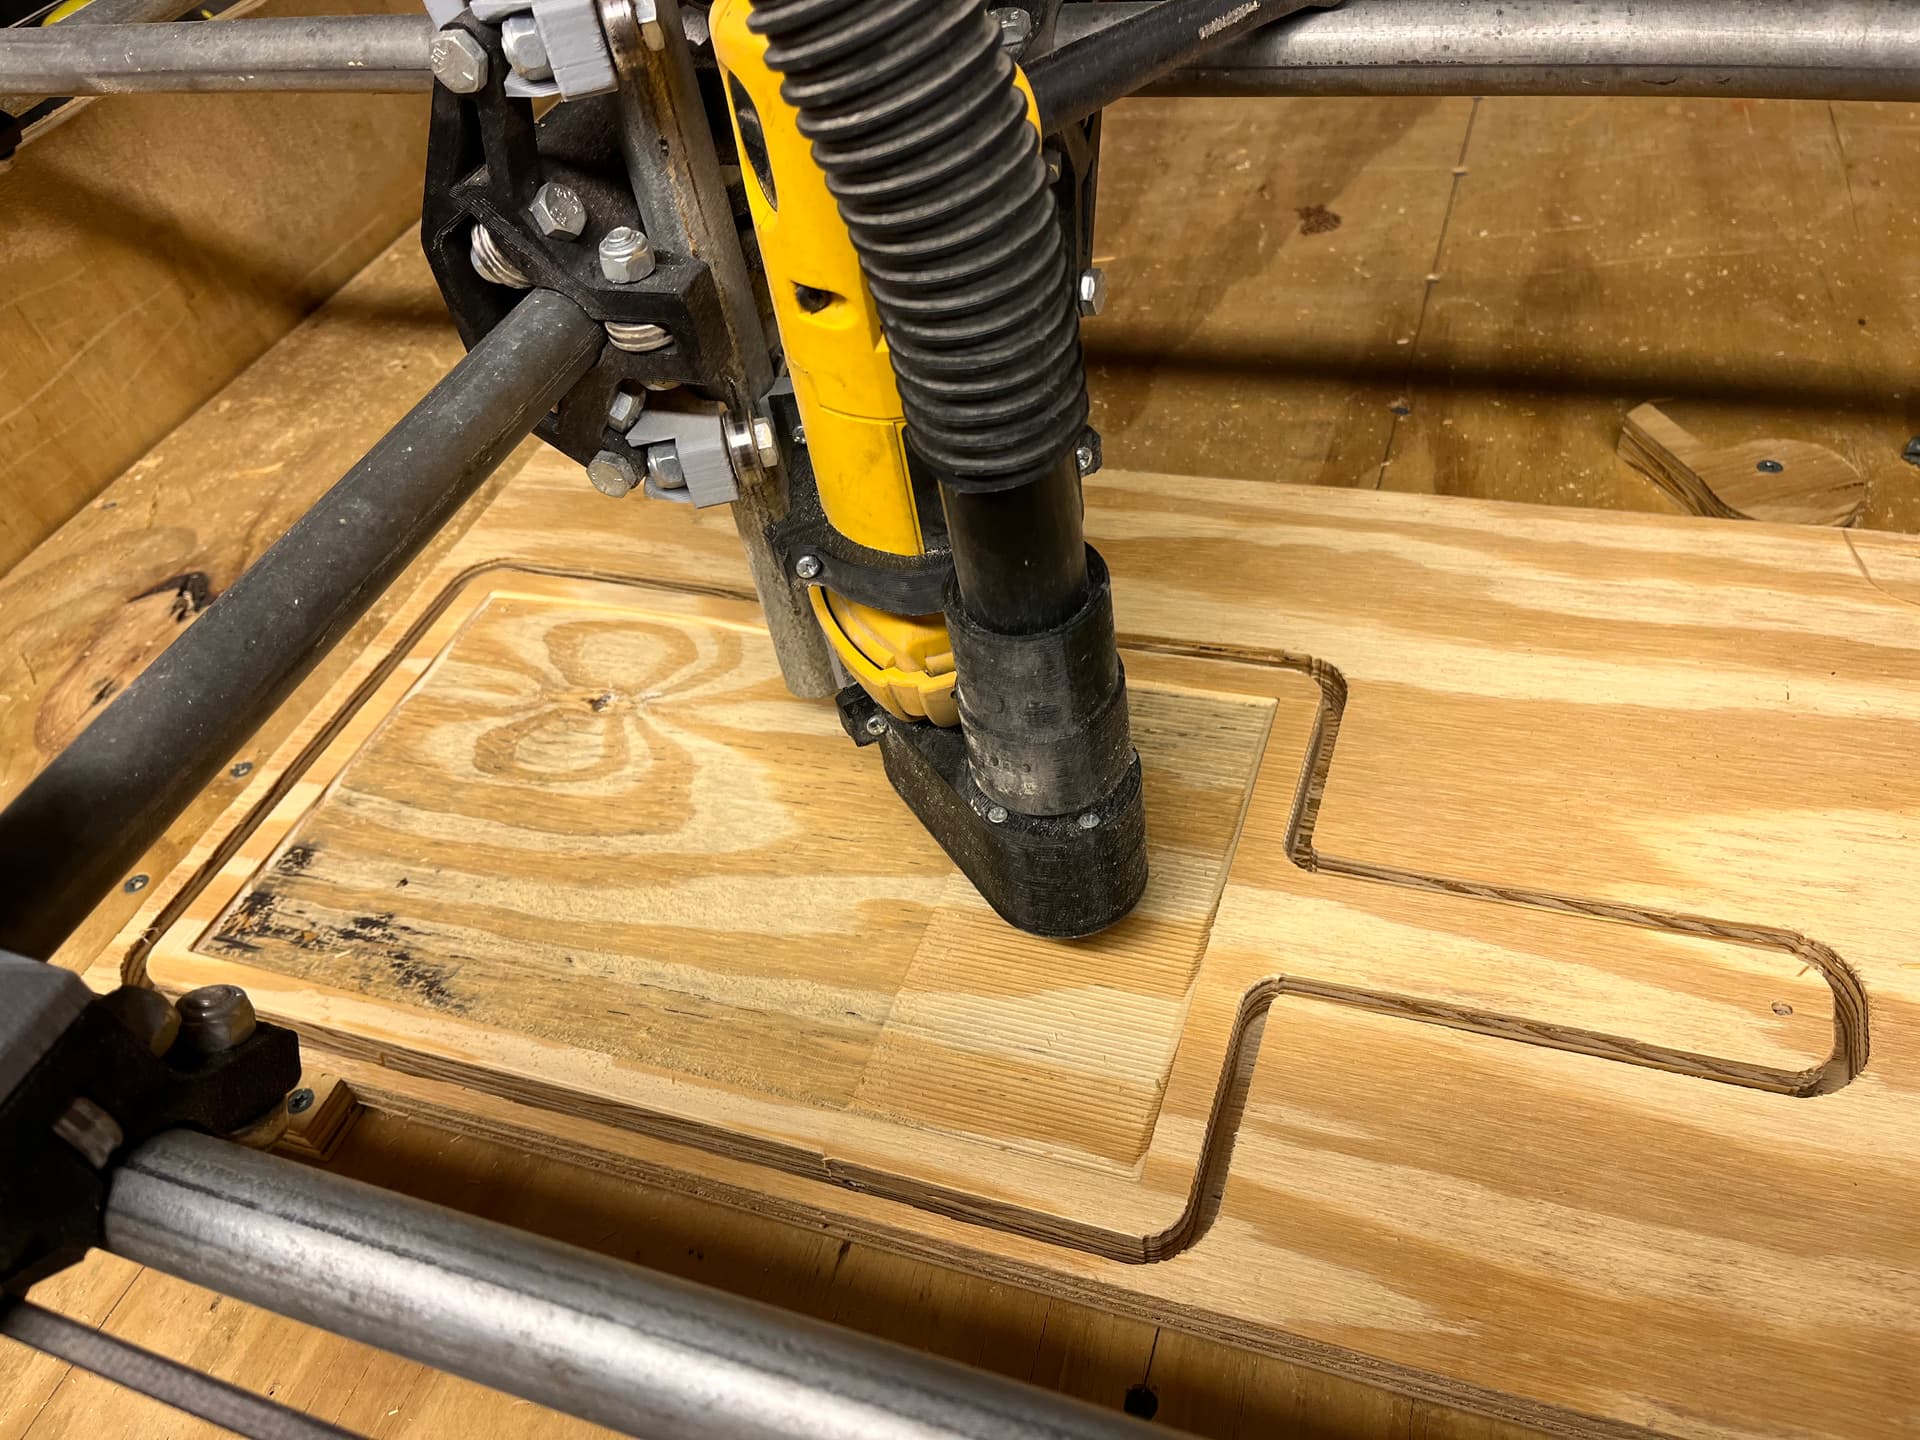
BTW, I suggest swapping operations and cutting the middle part out first, then cut the hole, then the perimeter. That way the material that helps hold it in place isn’t weakened by previous operations. You will find it easier to get a better finish on that middle cut this way.
3 Likes
Yeah that’s how I normally run it but the 3D cam in estlcam didn’t ask me what order so I’m gonna have to figure that out
Make several CAM files: On for the center, one for the hole and one for the perimeter. That’s what I do on the instrument panels.
Mike B
Up at the top there is a drop down for machining order. If it is something small you can do it as selected, or bigger stuff you can go through and re-select in the order you want. Super key to doing longer stuff and minimizing travel and mess ups.
I will most likely be making 33 charcuterie boards and coasters for some of her clients for Christmas. So by the time I’m done I will have it figured out lol.
Thank yaw for the guidance I’m glad I was cutting a scrap piece of 3/4” plywood. Rite after I took that picture, my plug for the x axis had worked it’s way unplugged just enough to cause the shutter of death and messed up my board.
Is there a reason you’re using 3D cam instead of doing multiple 2D operations (pocket the inside, drill holes, cut the outside)?
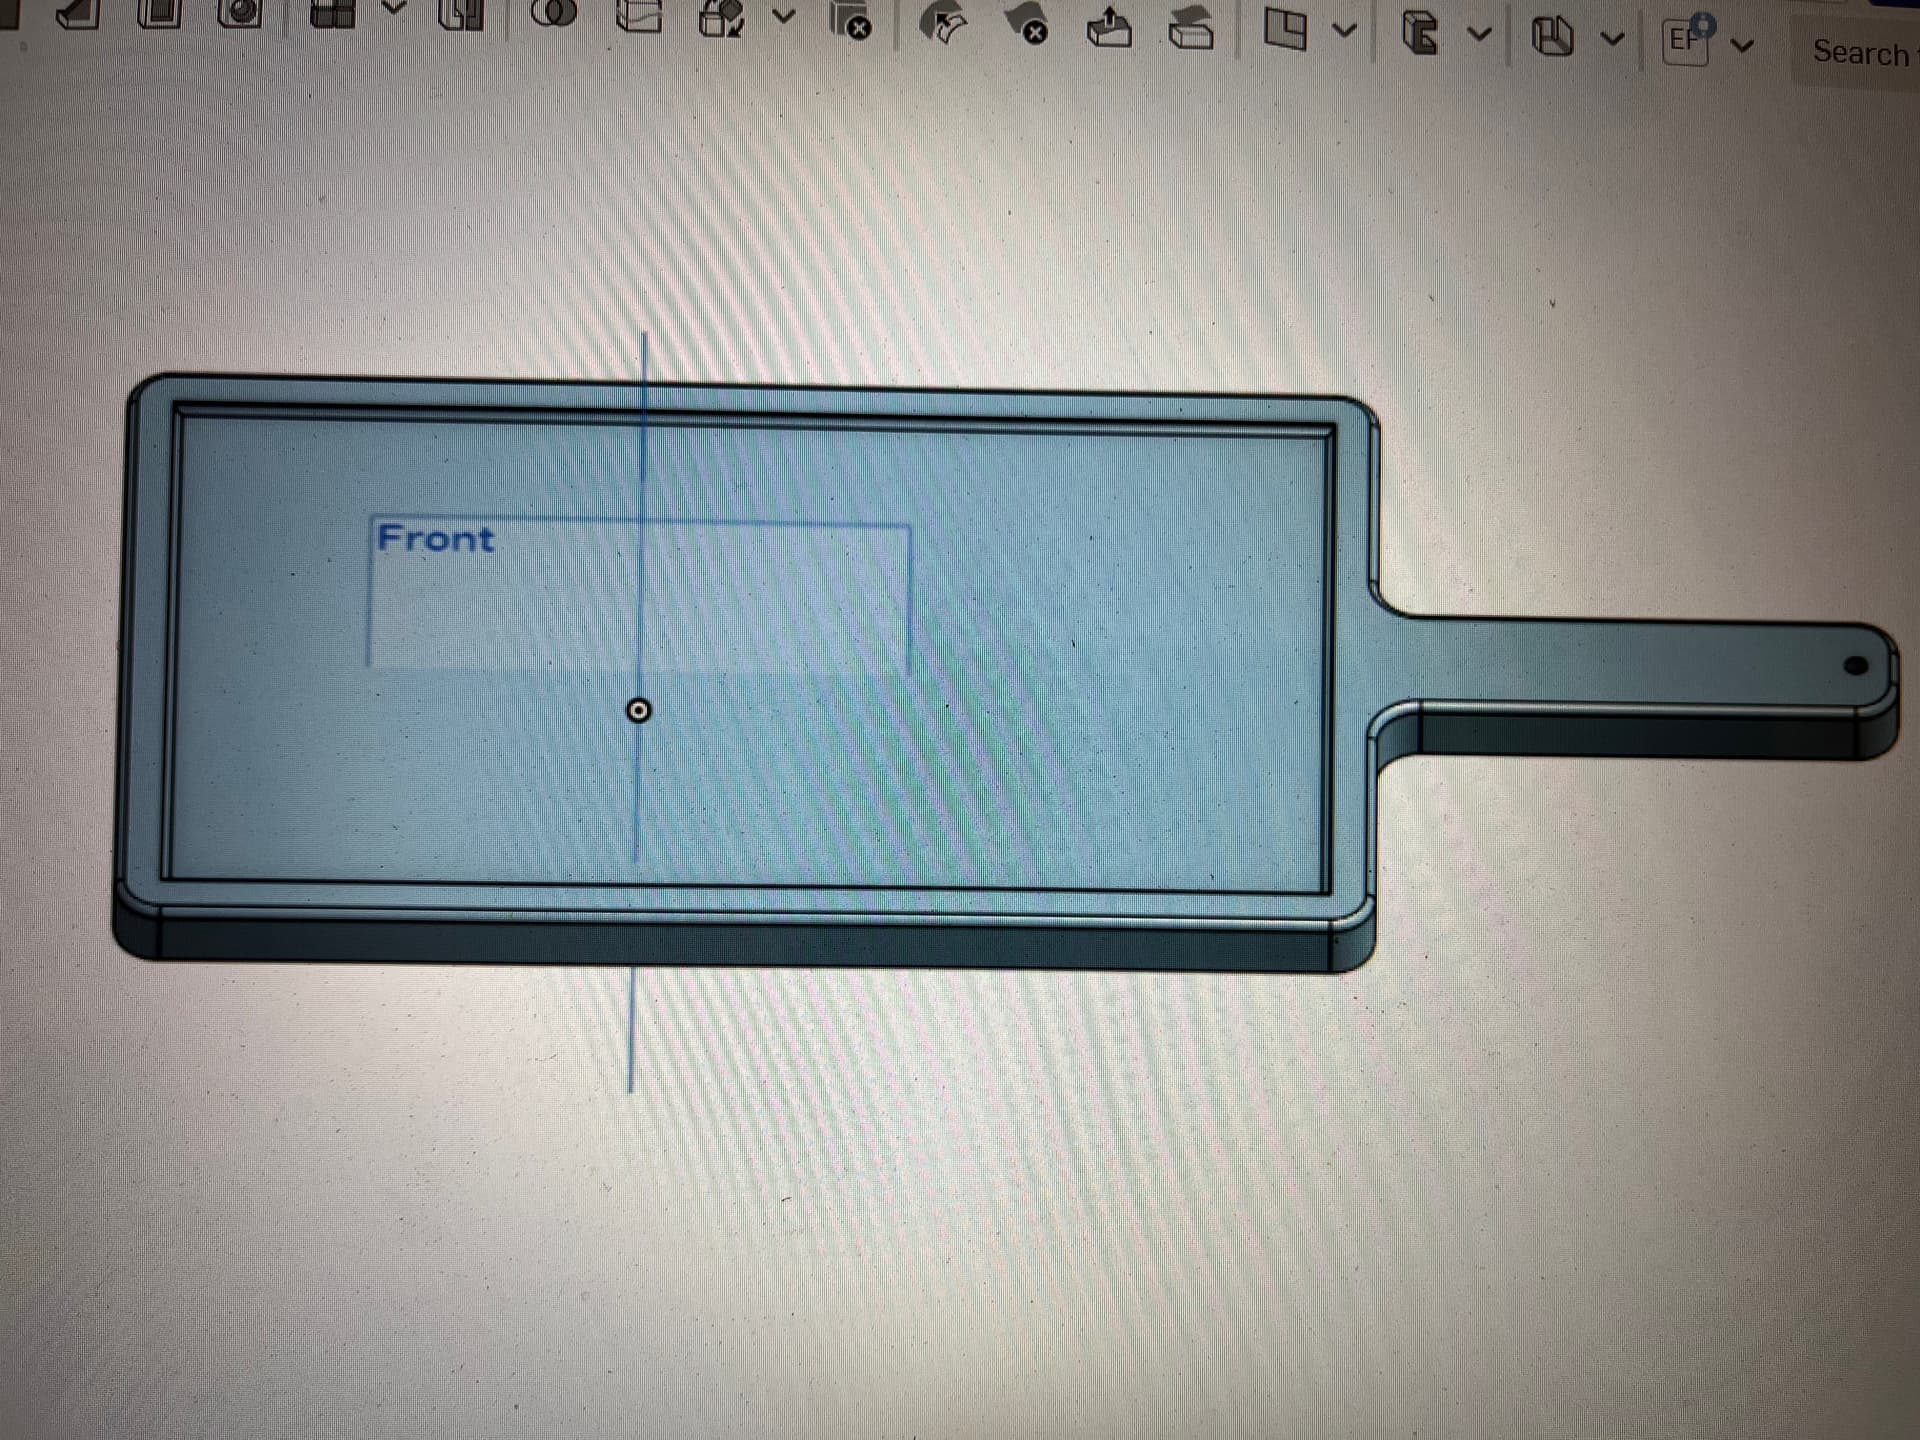
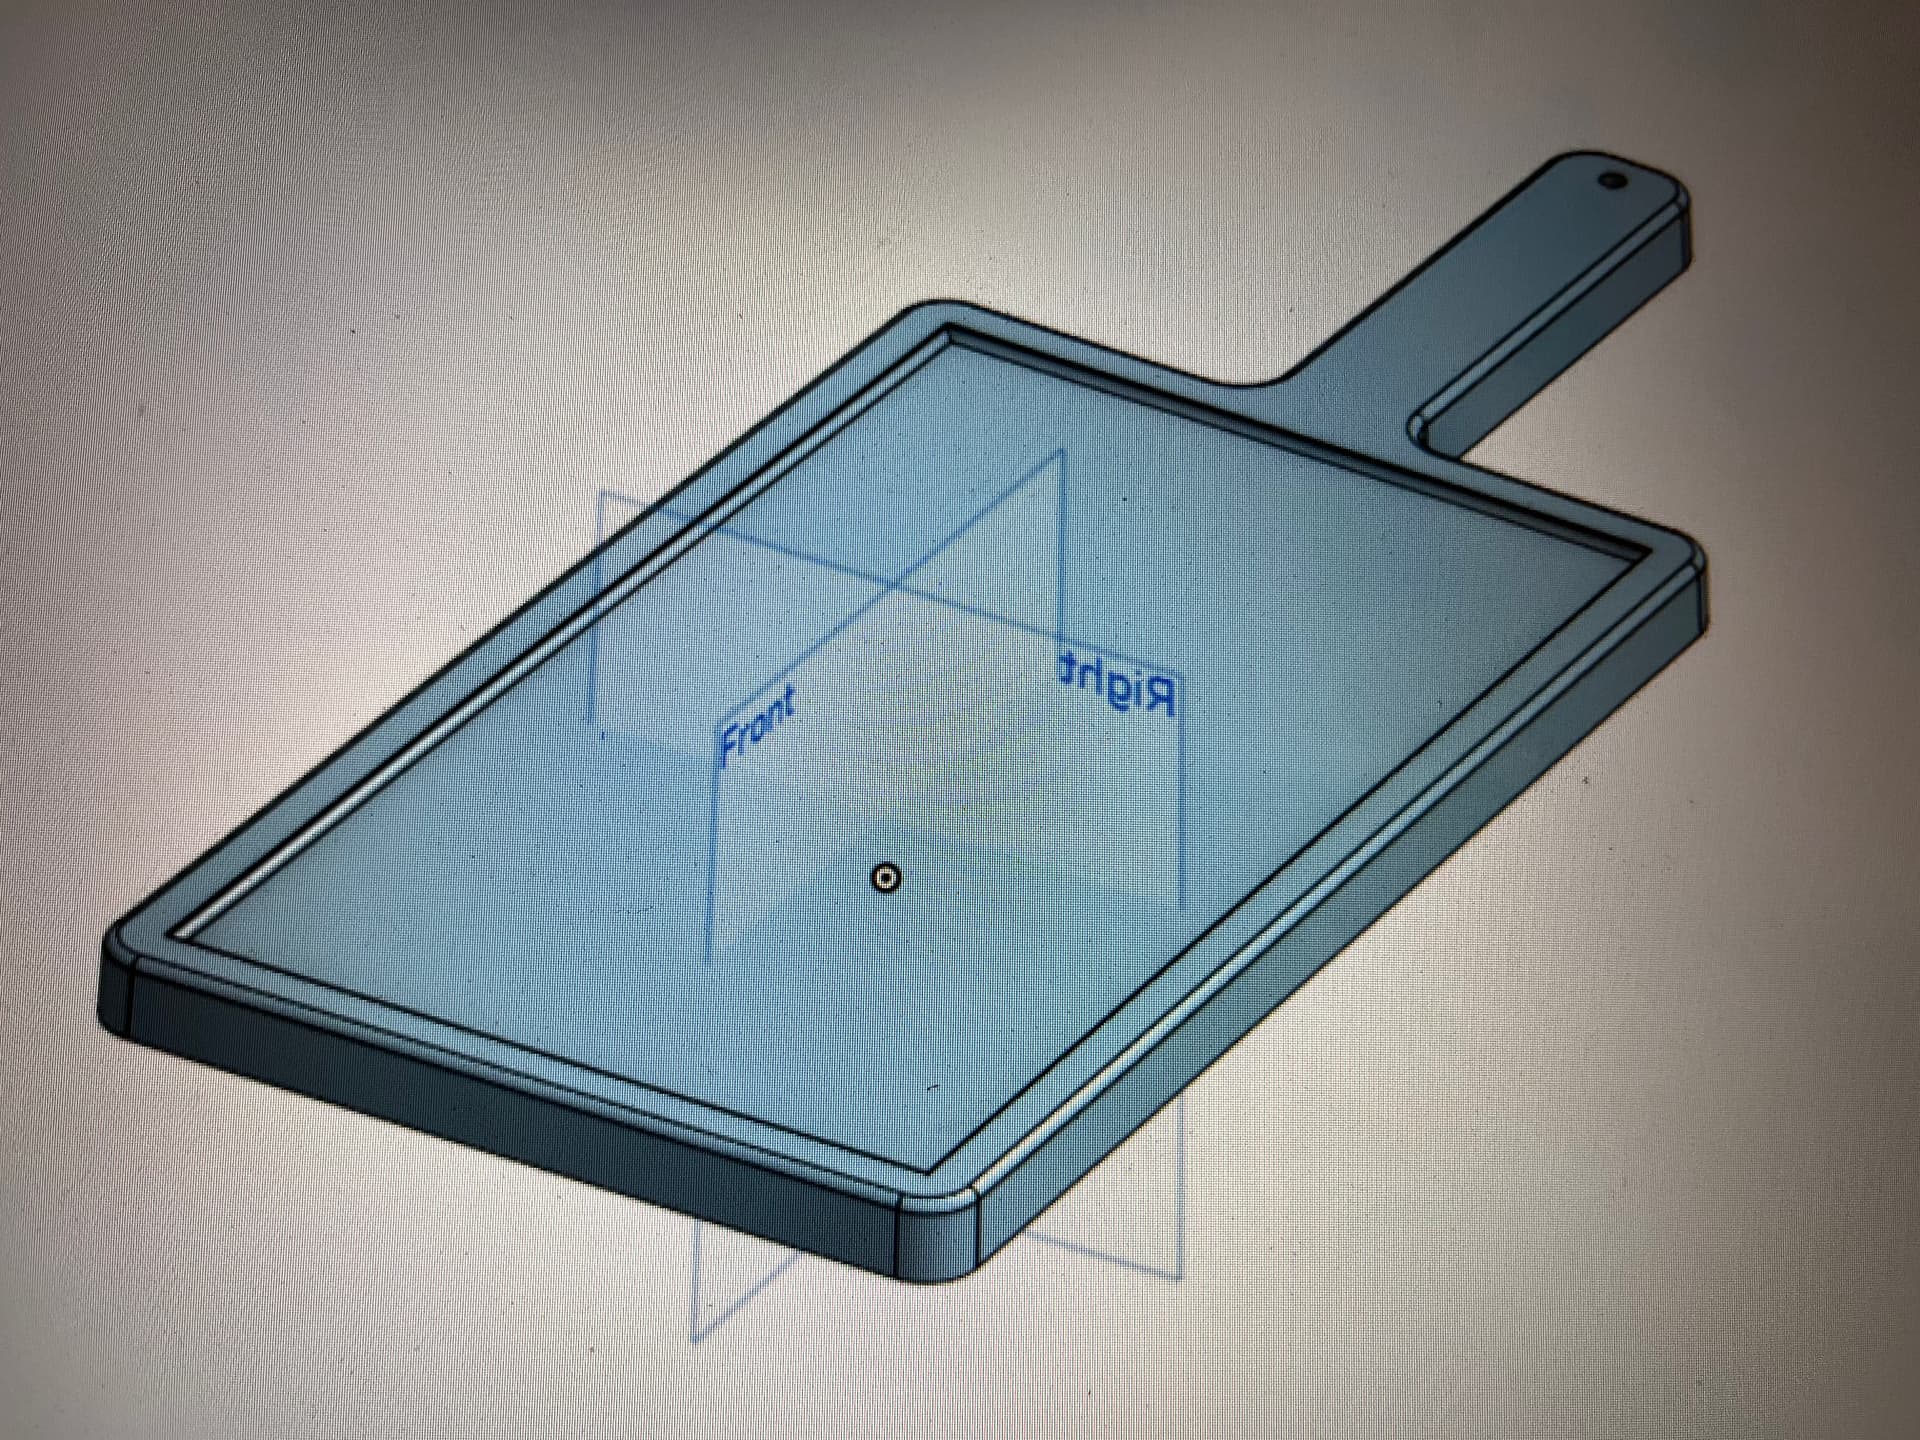
No reason I just designed it in my CAD so I figured I would see what the difference was in operation.