I’ve taken the plunge. MPCNC plus 1" Printed Parts and miscellaneous accessories ordered and already shipped. Boy that’s fast. Steel Tubing ordered precut to size. I already have a BTT GTR V1.0 board with 5 2209 Drivers and the TFT 3.5 E3 display. The current plan is for dual endstops and a dummy extruder. I’ll have to get one more 2209 if/when I get the extruder.
Next is make a space in the garage and build the table.
I posted the start of a build log in Dec 2020. Then I went dark. As I near completion of my MPCNC I thought that maybe I should post “The Rest of the Story”.
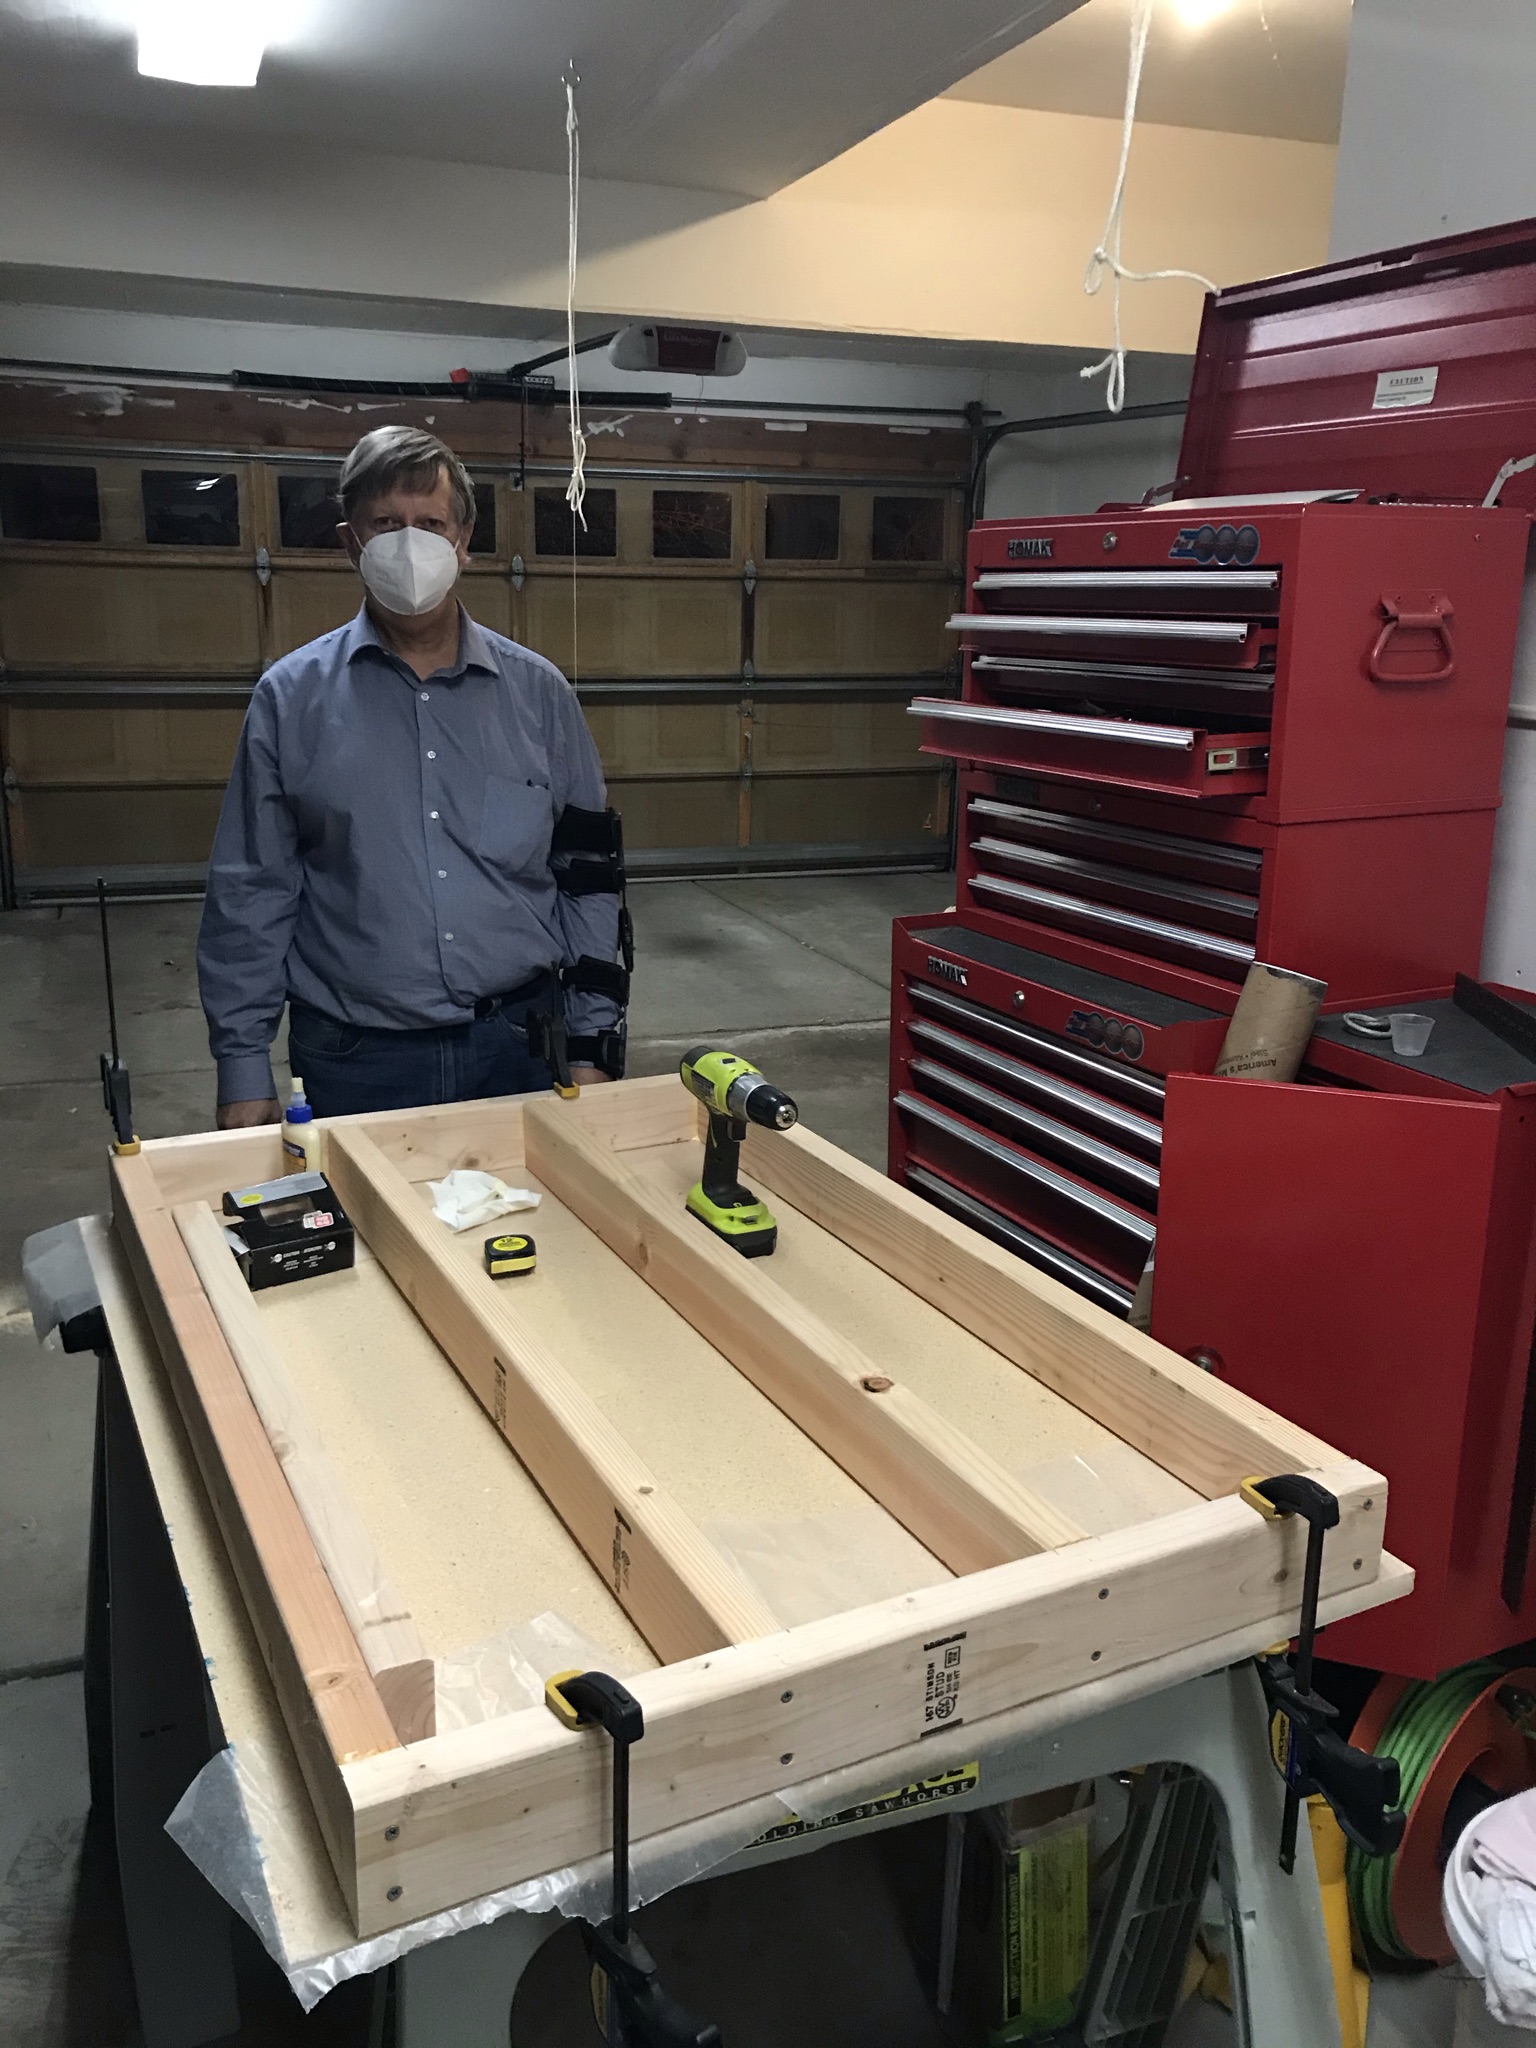
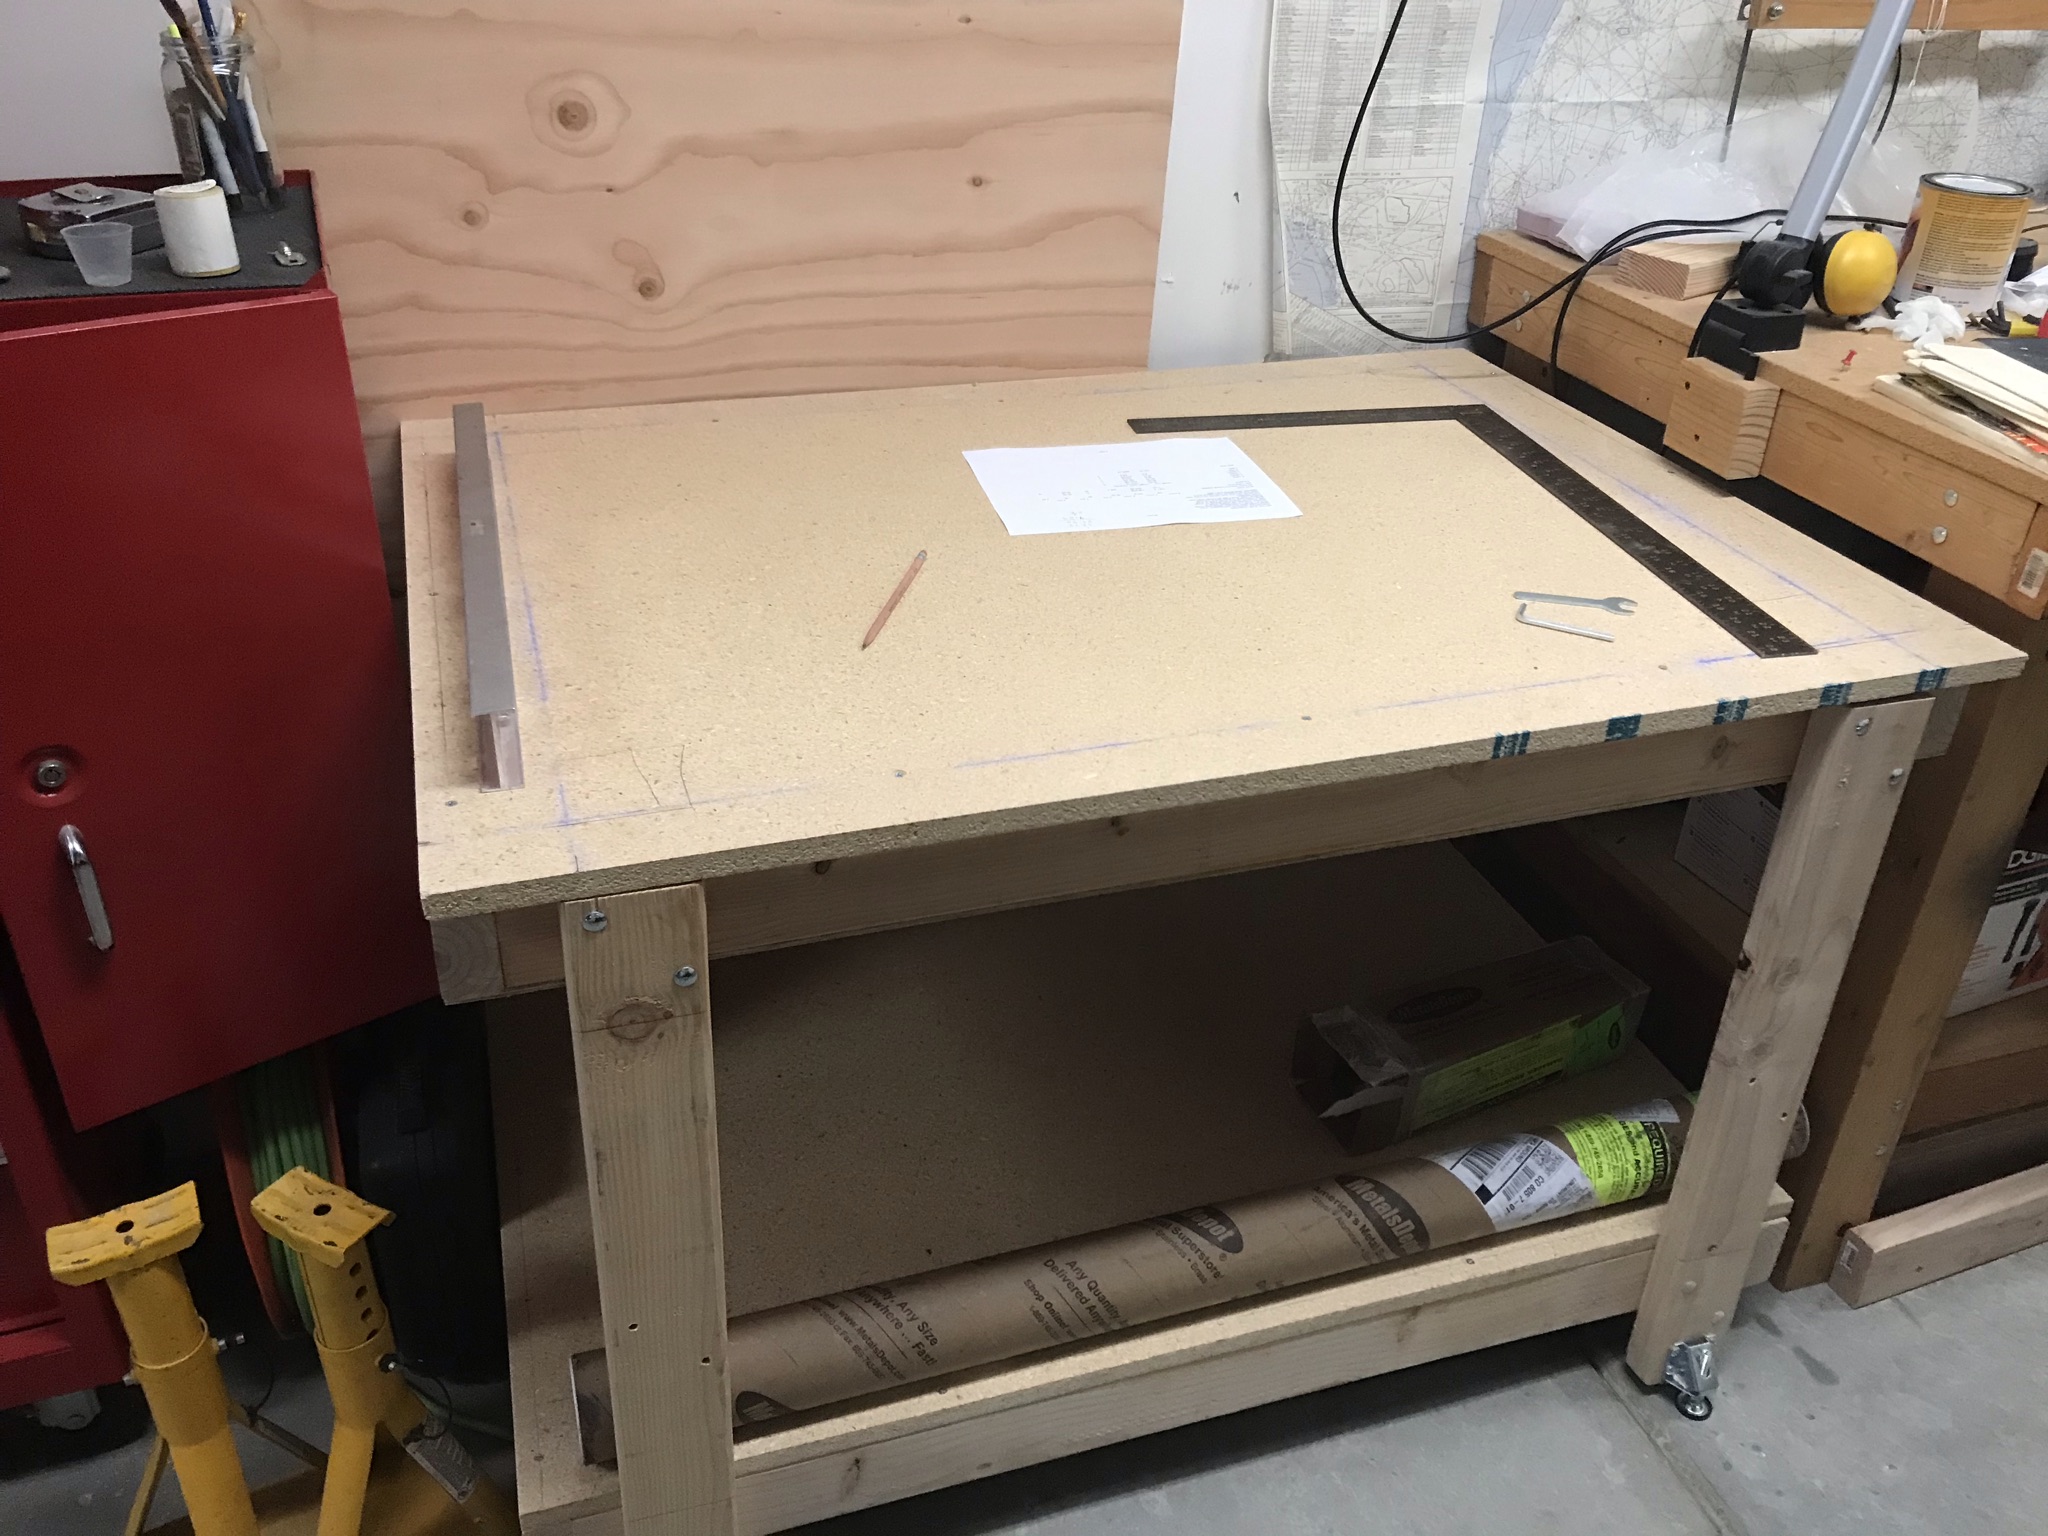
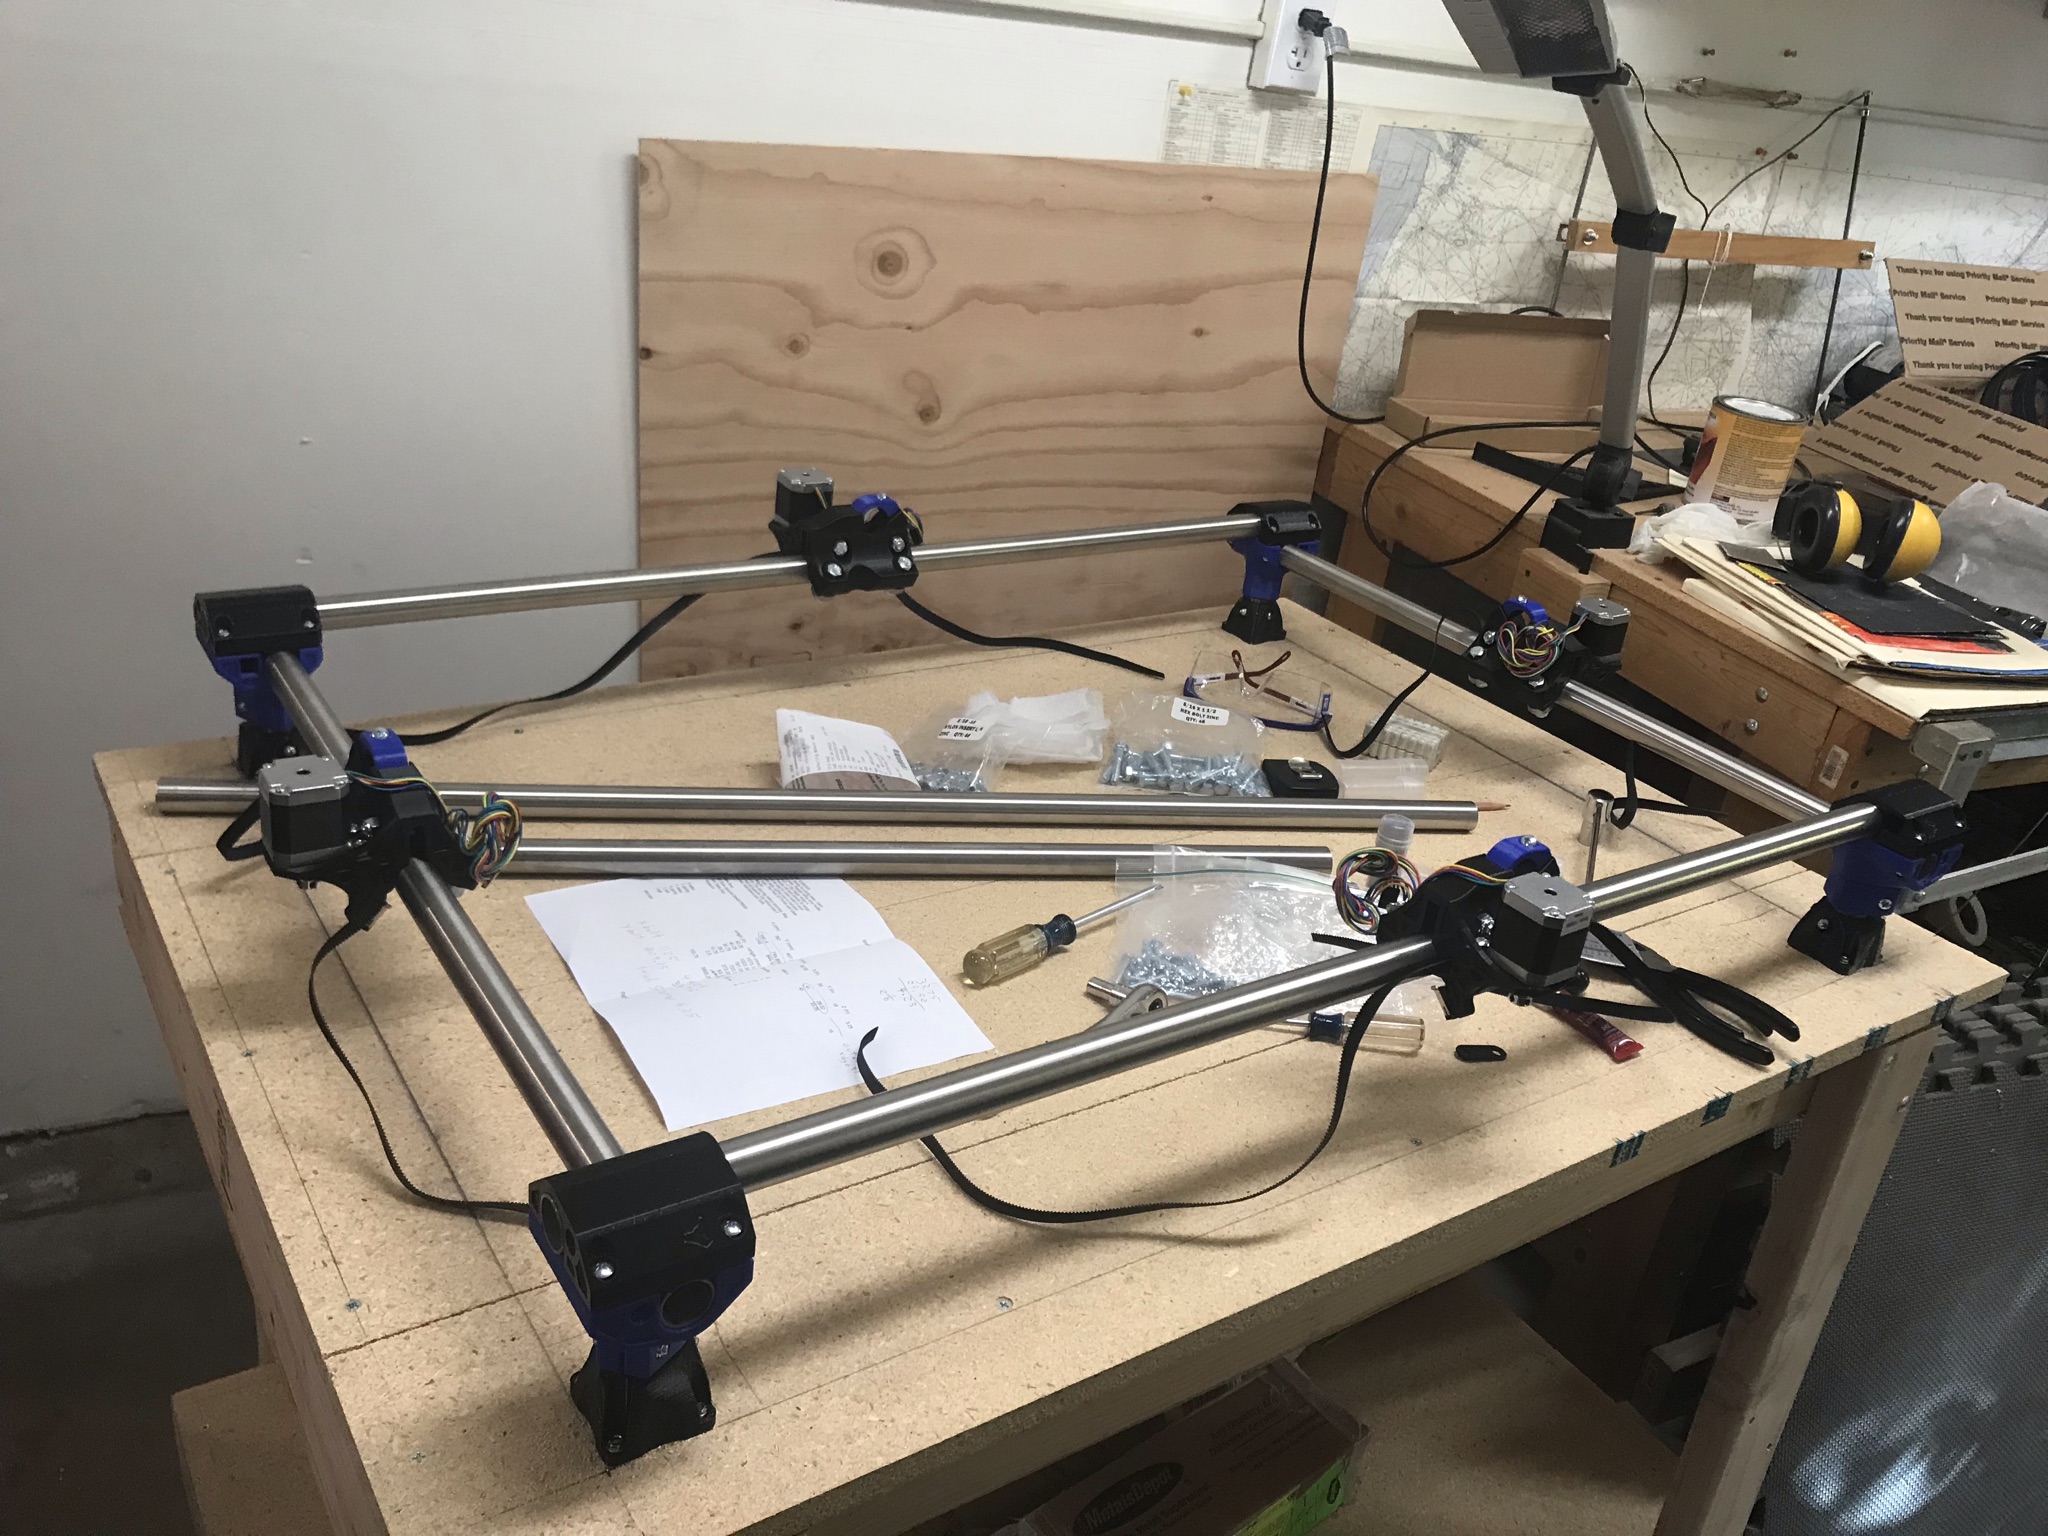
Space was made in the garage. My MPCNC kit arrived neatly packaged slightly before Christmas. I decided to build a 2x4 and 2/3 MDF table for the MPCNC. While acquiring the wood I allowed the MDF to slide down from the shelf into my outstretched hands. Pop goes the bicep tendon. The friend that I was shopping with me helped get the wood out to his truck and unload it in my garage. So slight progress but a big setback. Repair Surgery was at the end of Dec and then a brace for 3 months. It’s really hard to build things with on arm not working. My respect for those who deal with disabilities grew 1000 fold.
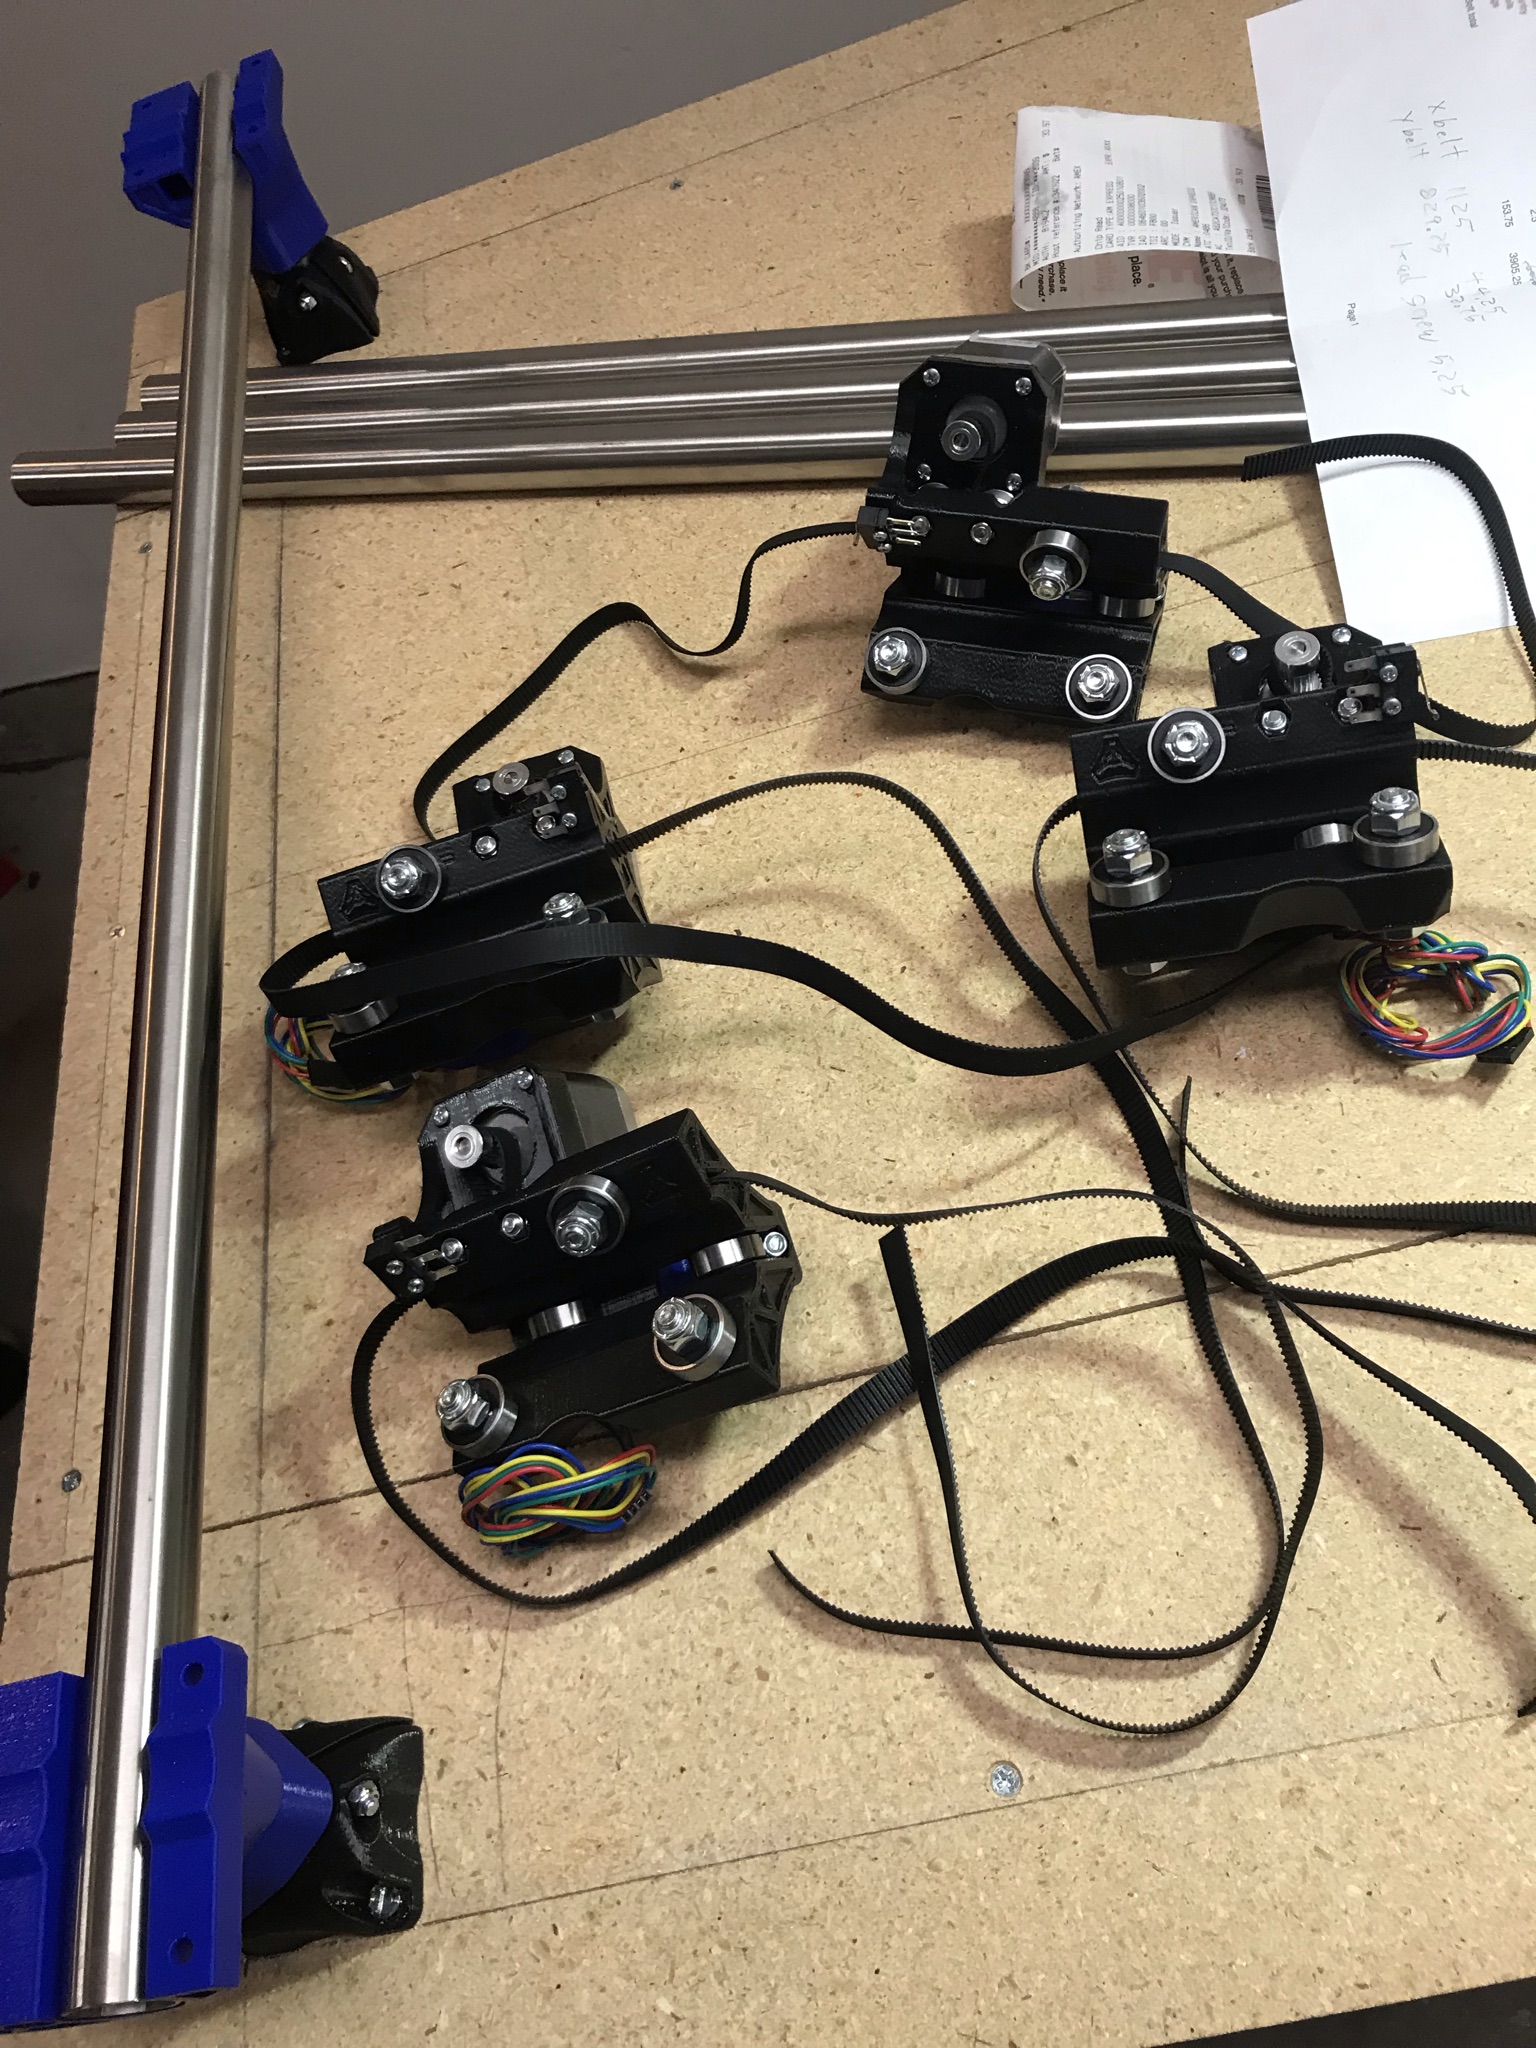
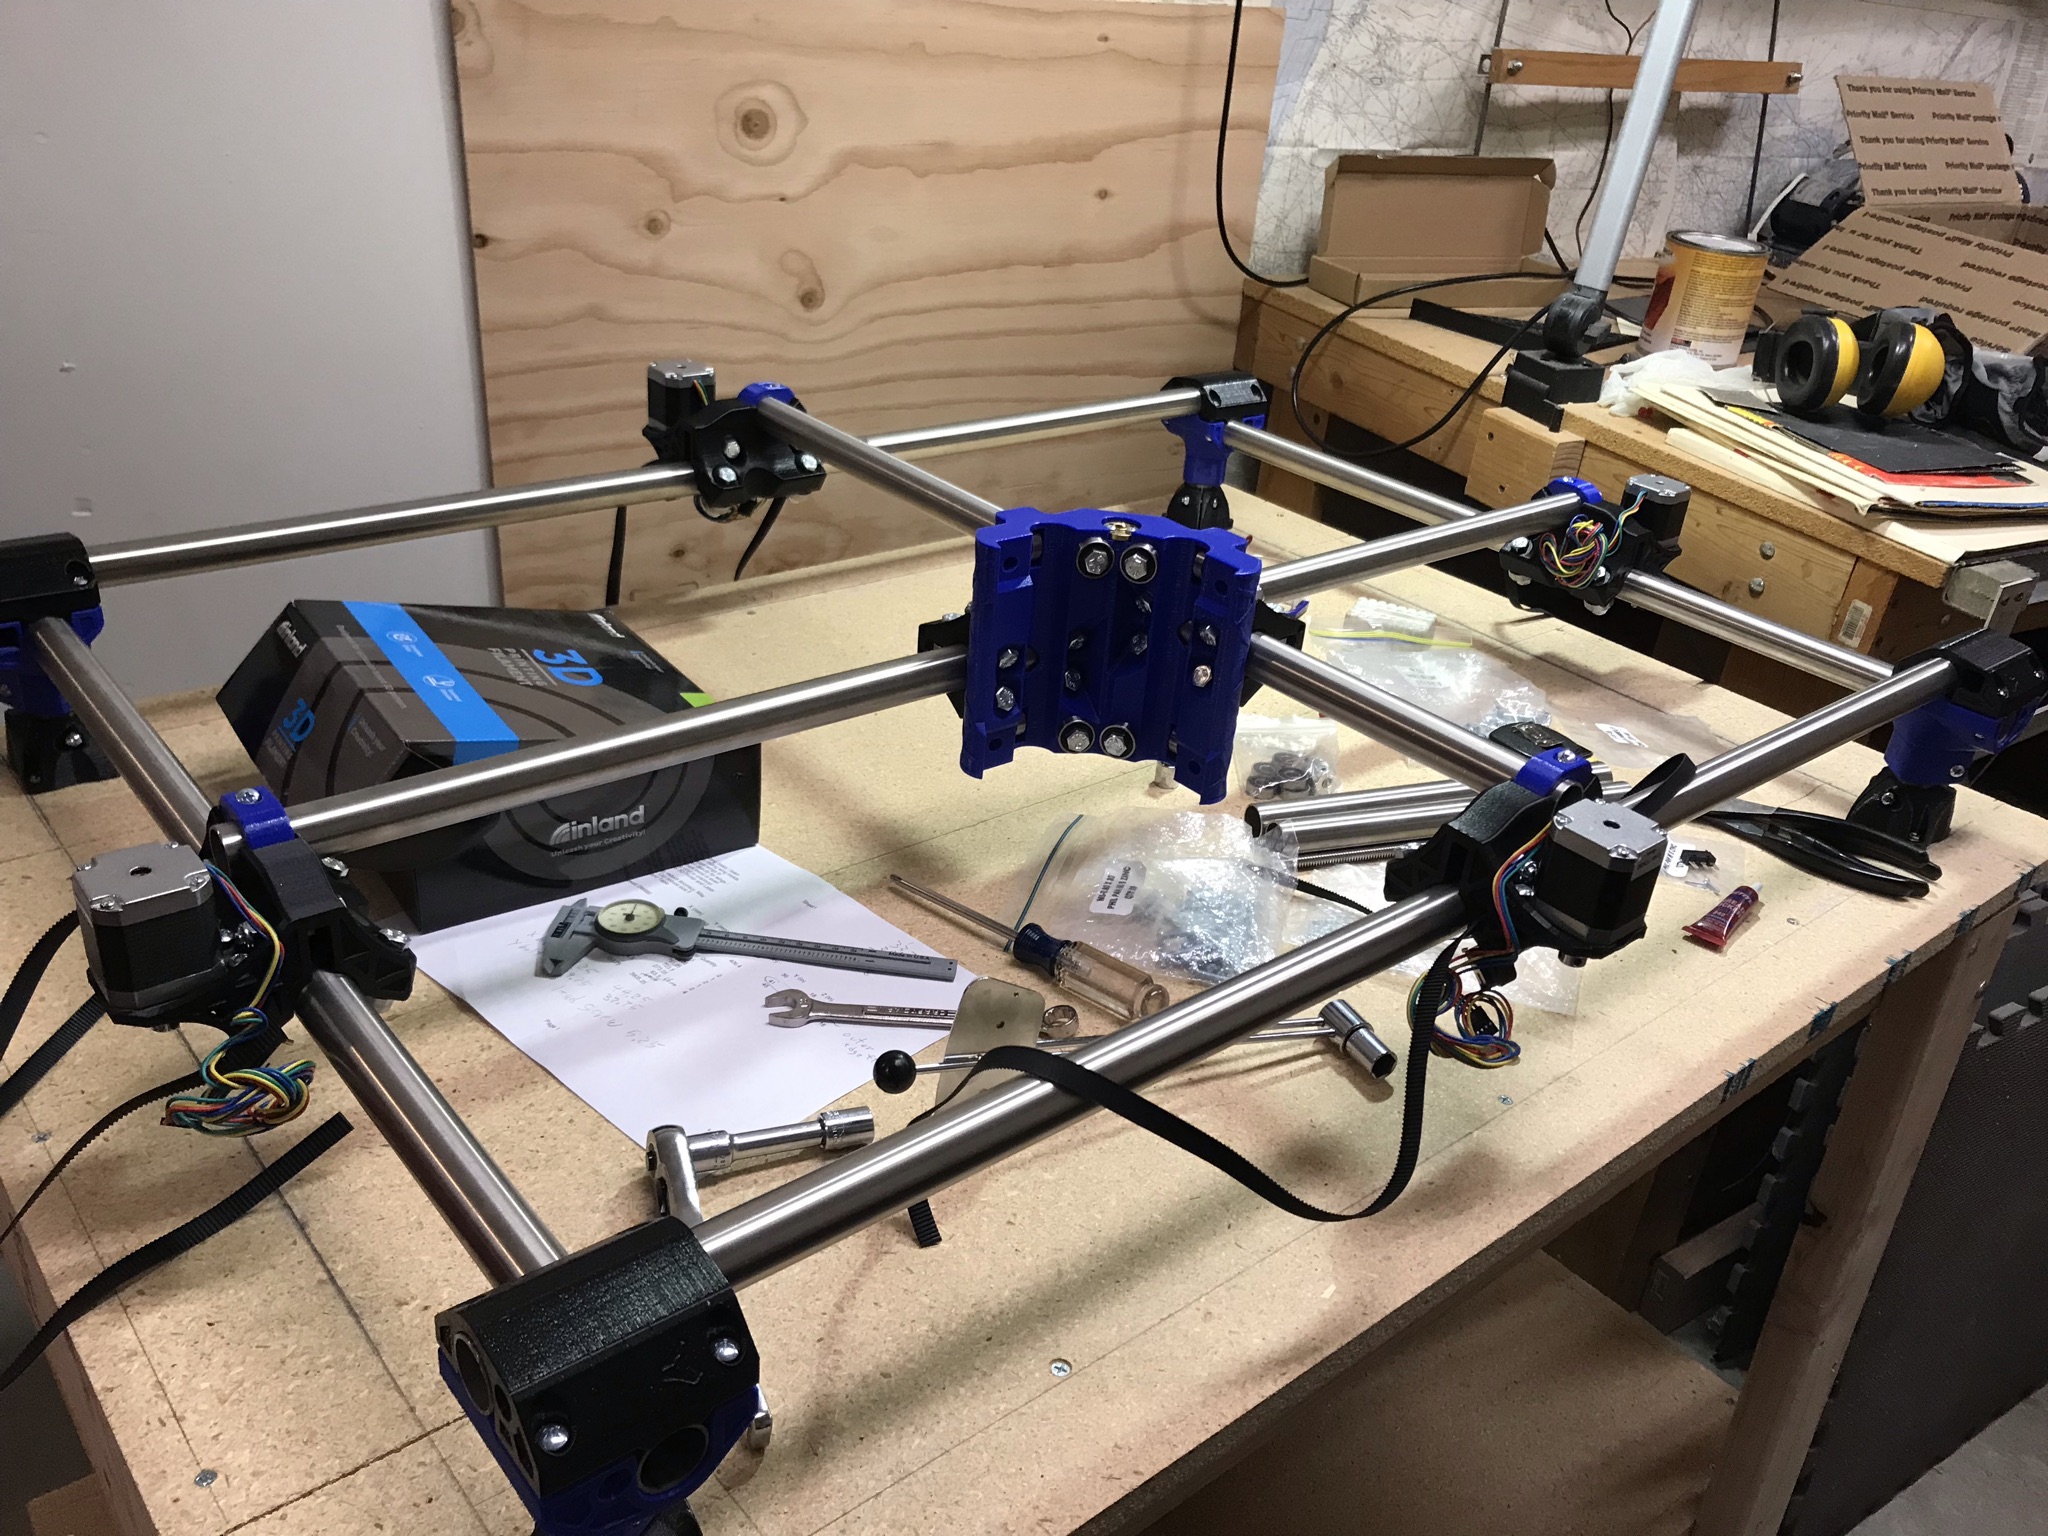
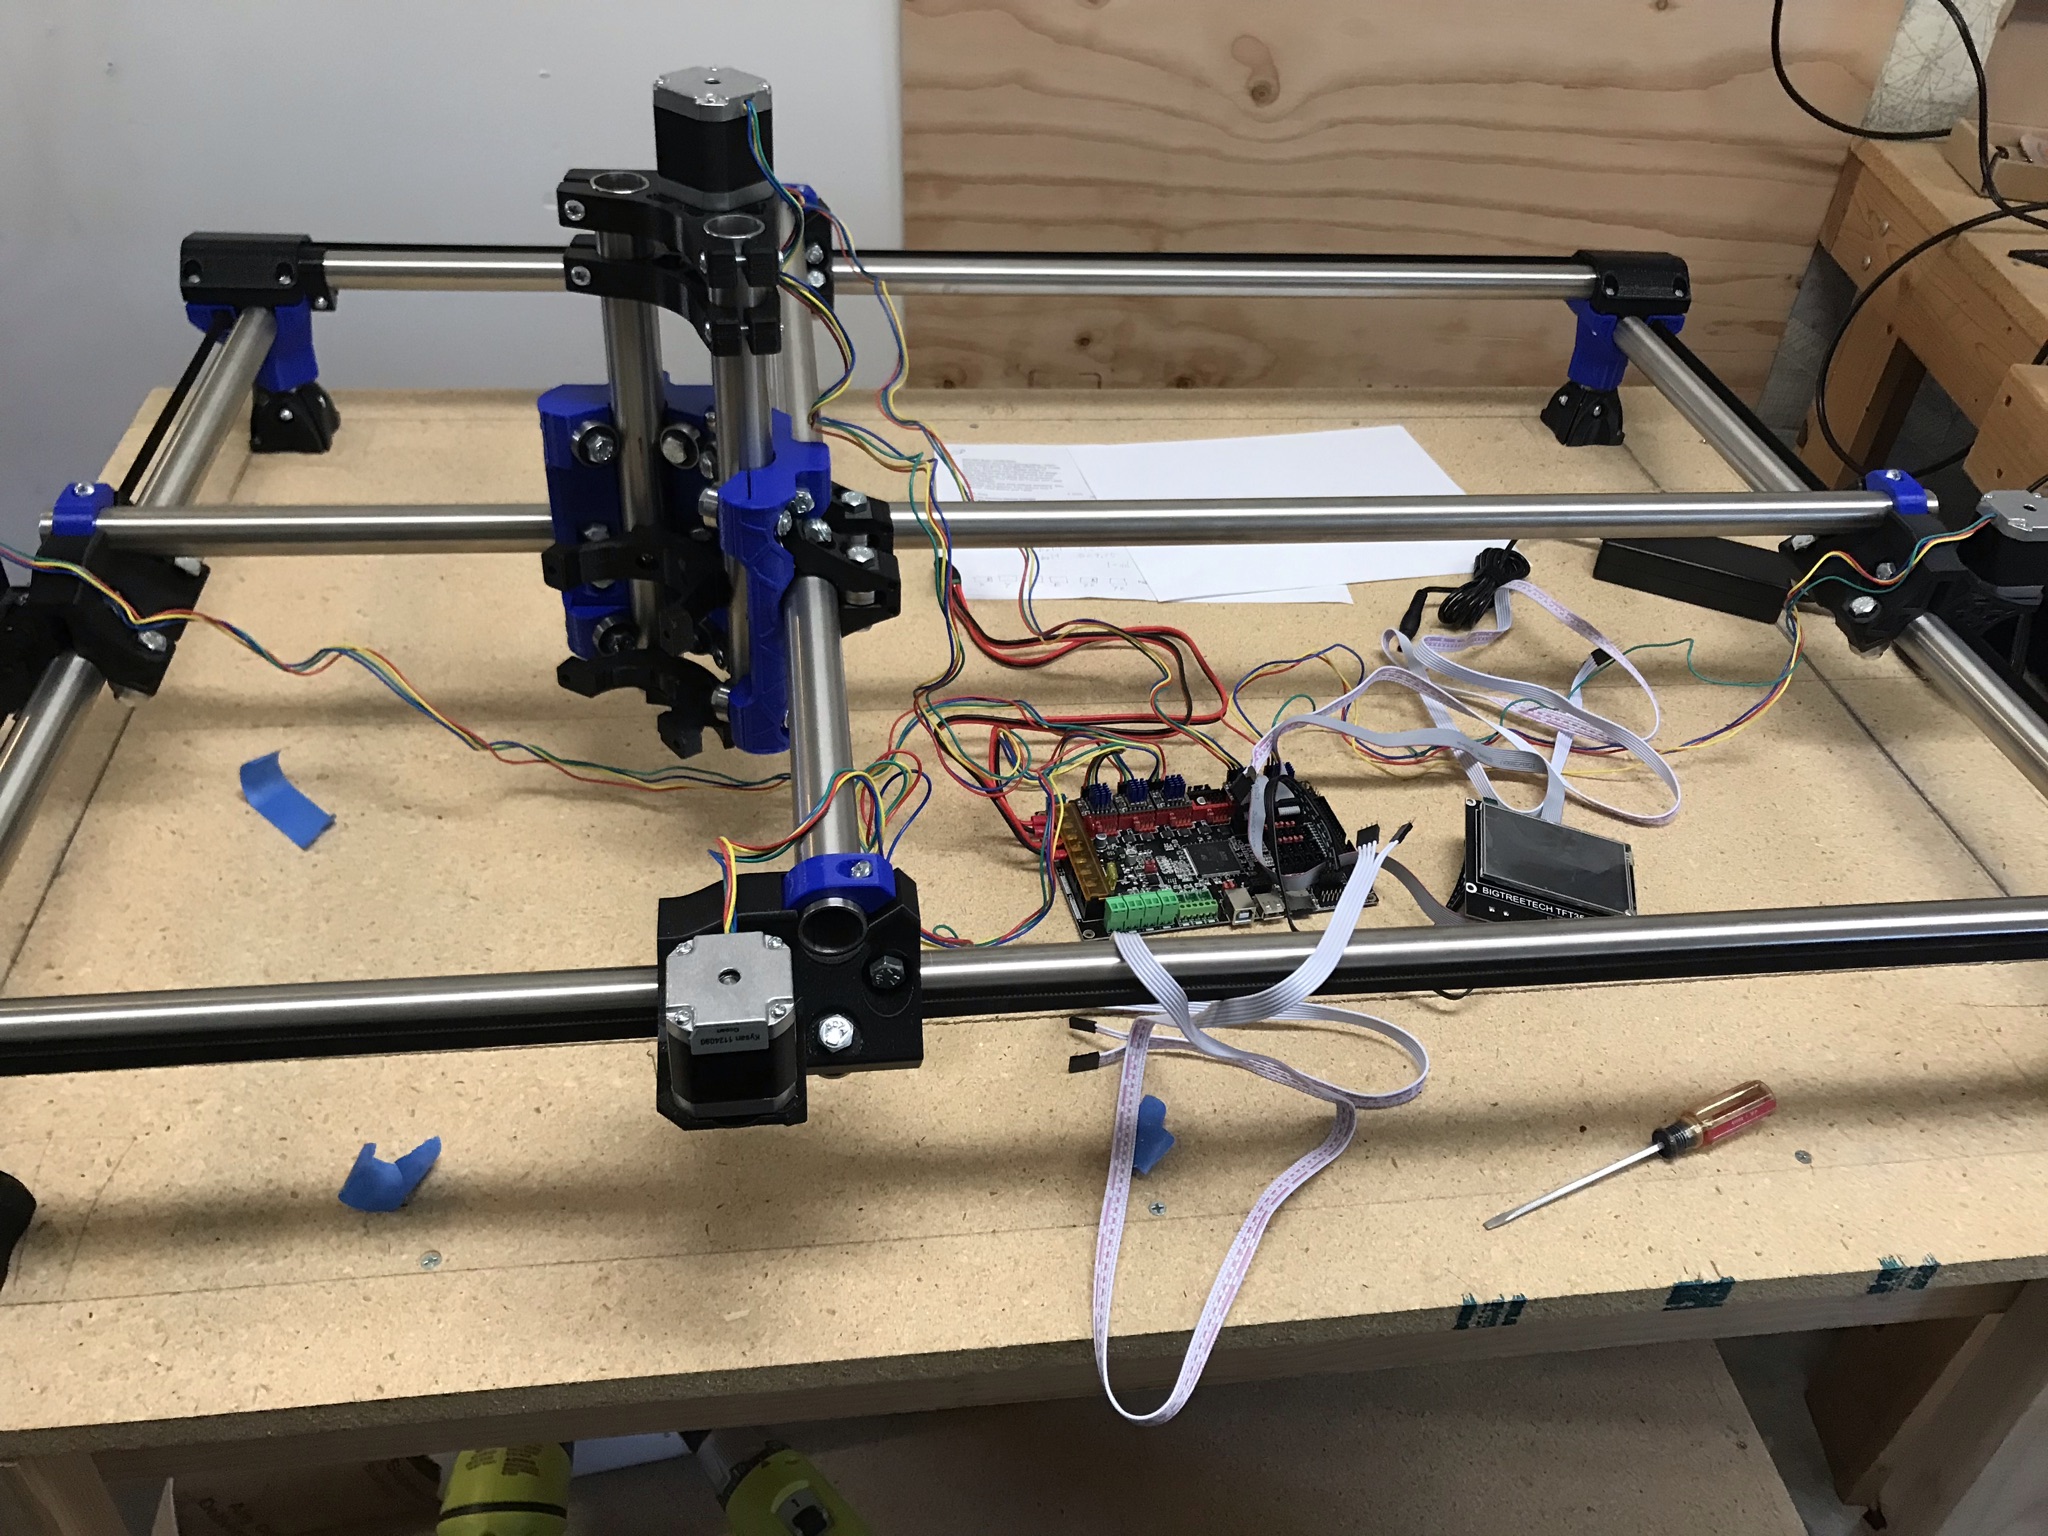
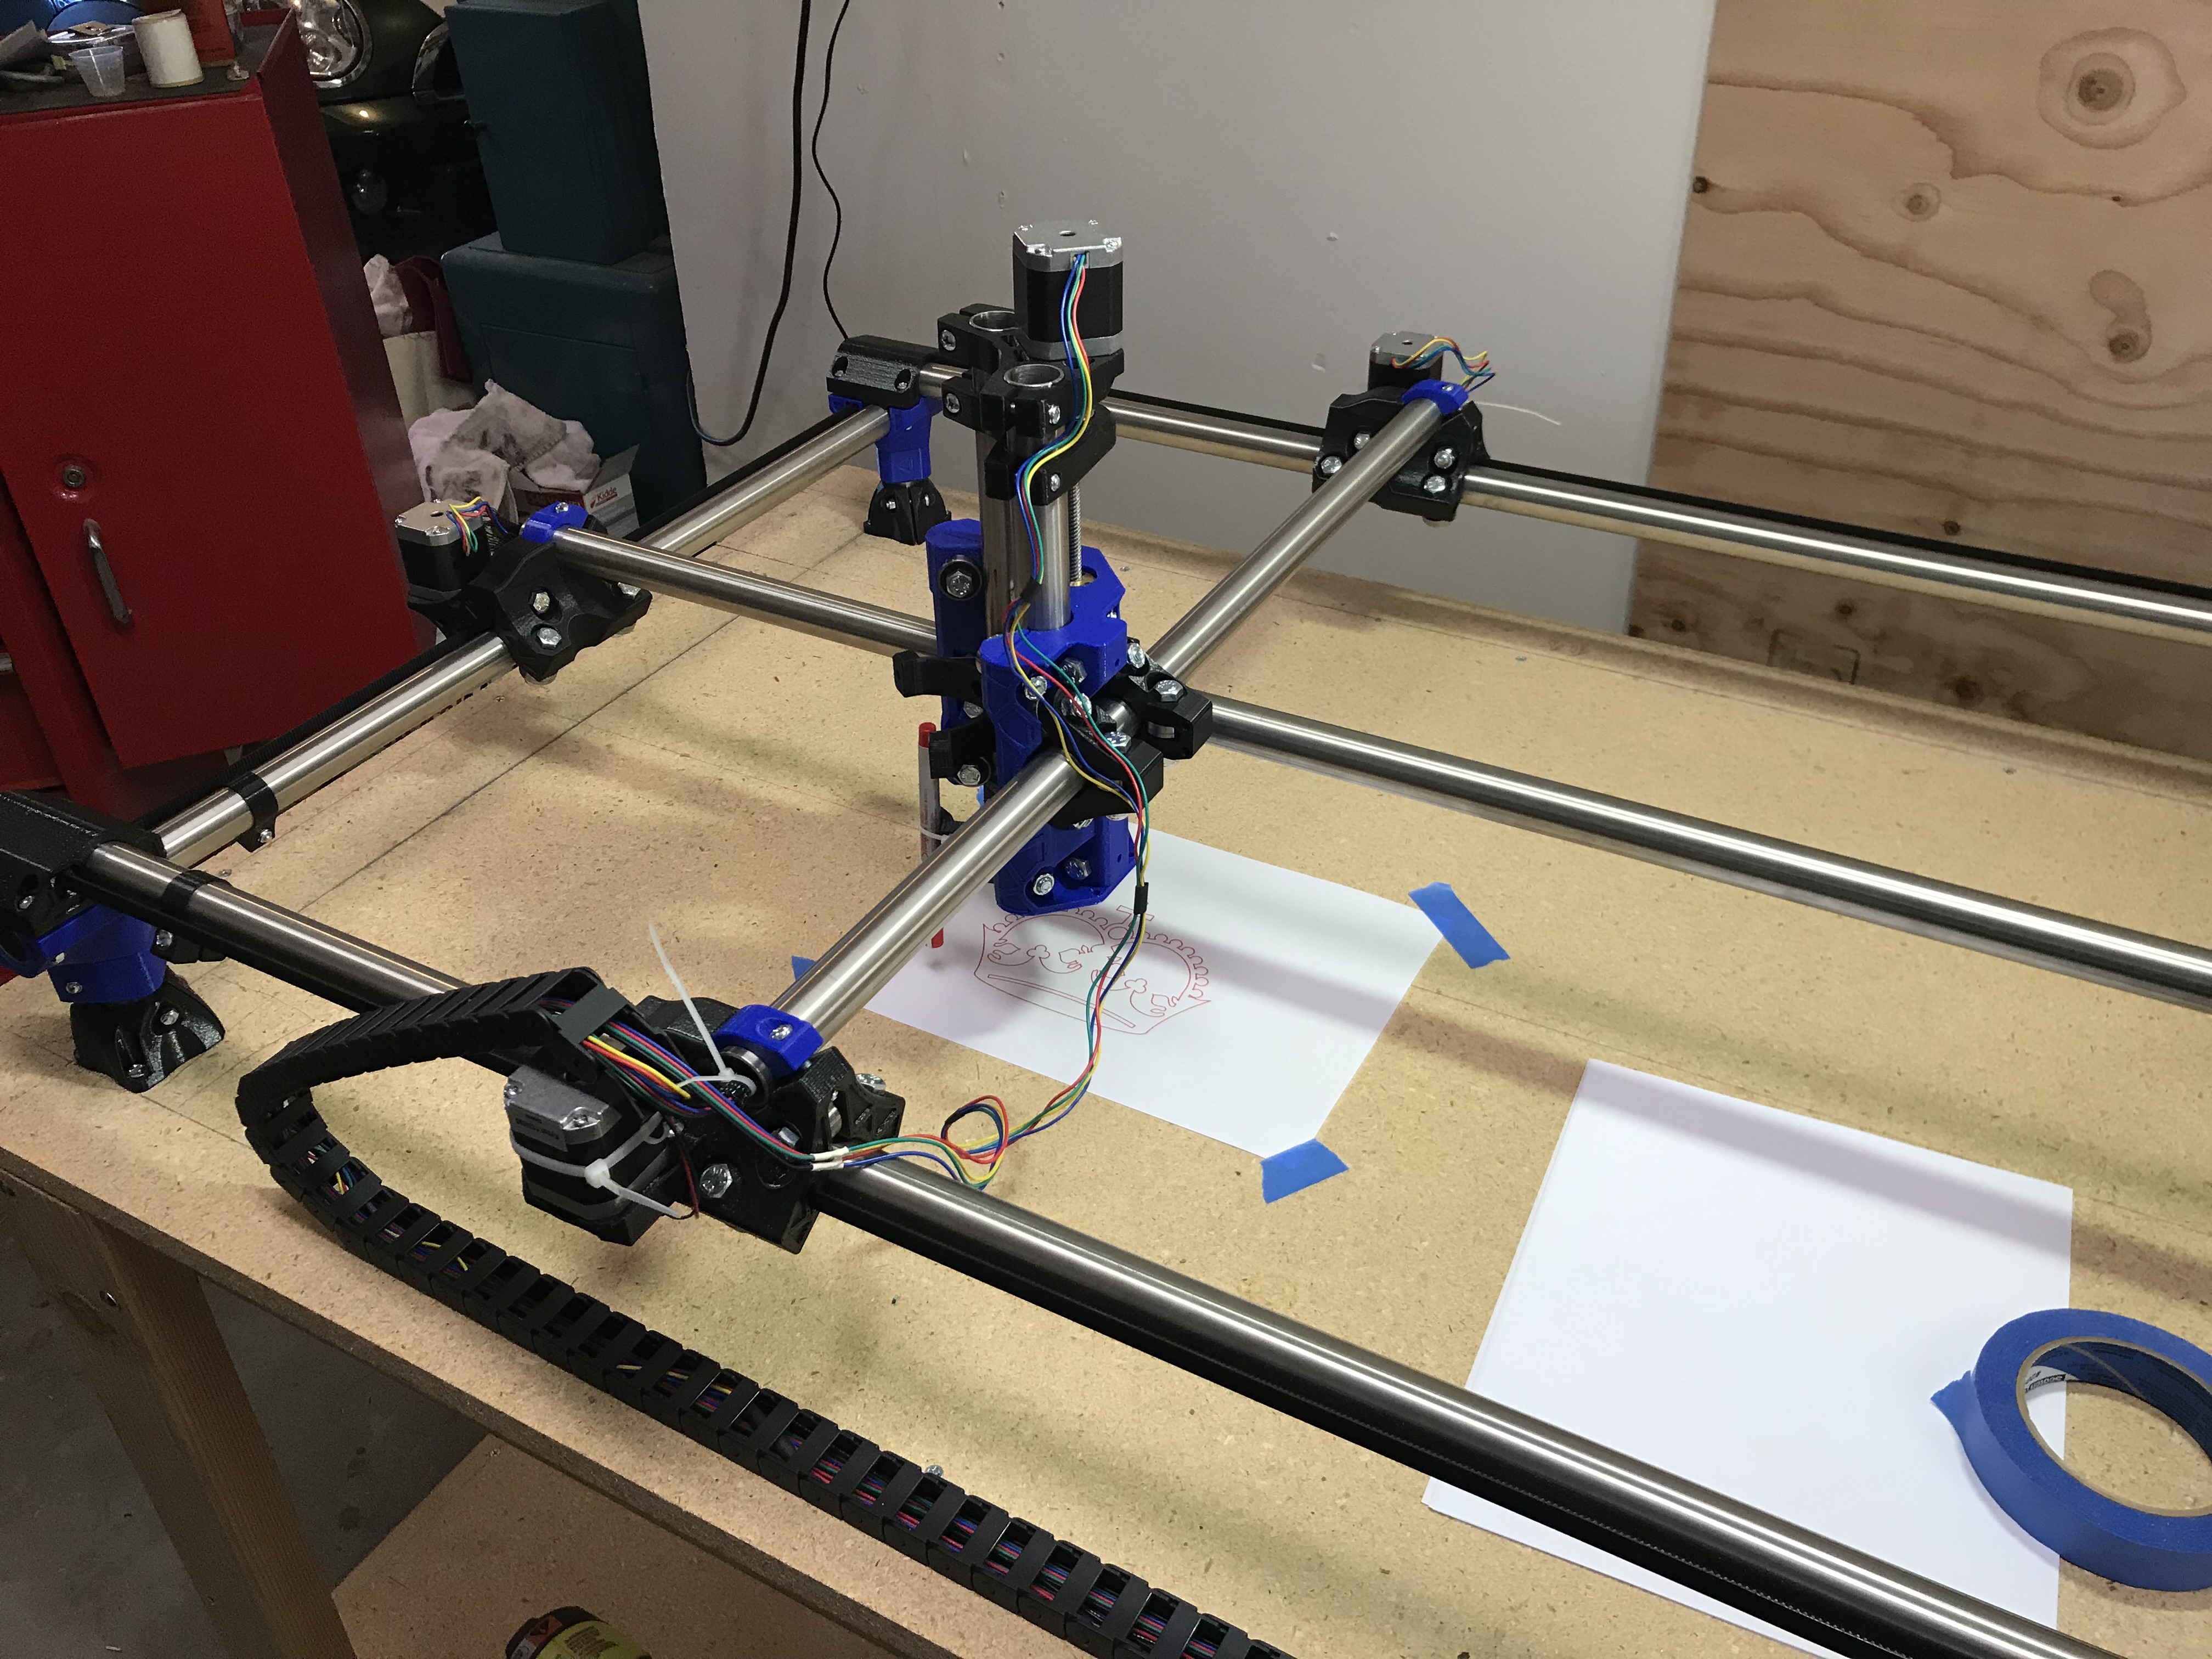
After the Z-axis was installed, I got impatient and wanted to see it move. So I hookup the steppers to the control board. This would be a great way to route your control board.
After jogging each motor individually to get the directions right, I taped a pencil to the tool holder and drew the Crown. The power supply from V1 has a circular plug and a receptacle with screw clips for the wires. It makes a good emergency stop! My son manned the E-Stop during this testing.
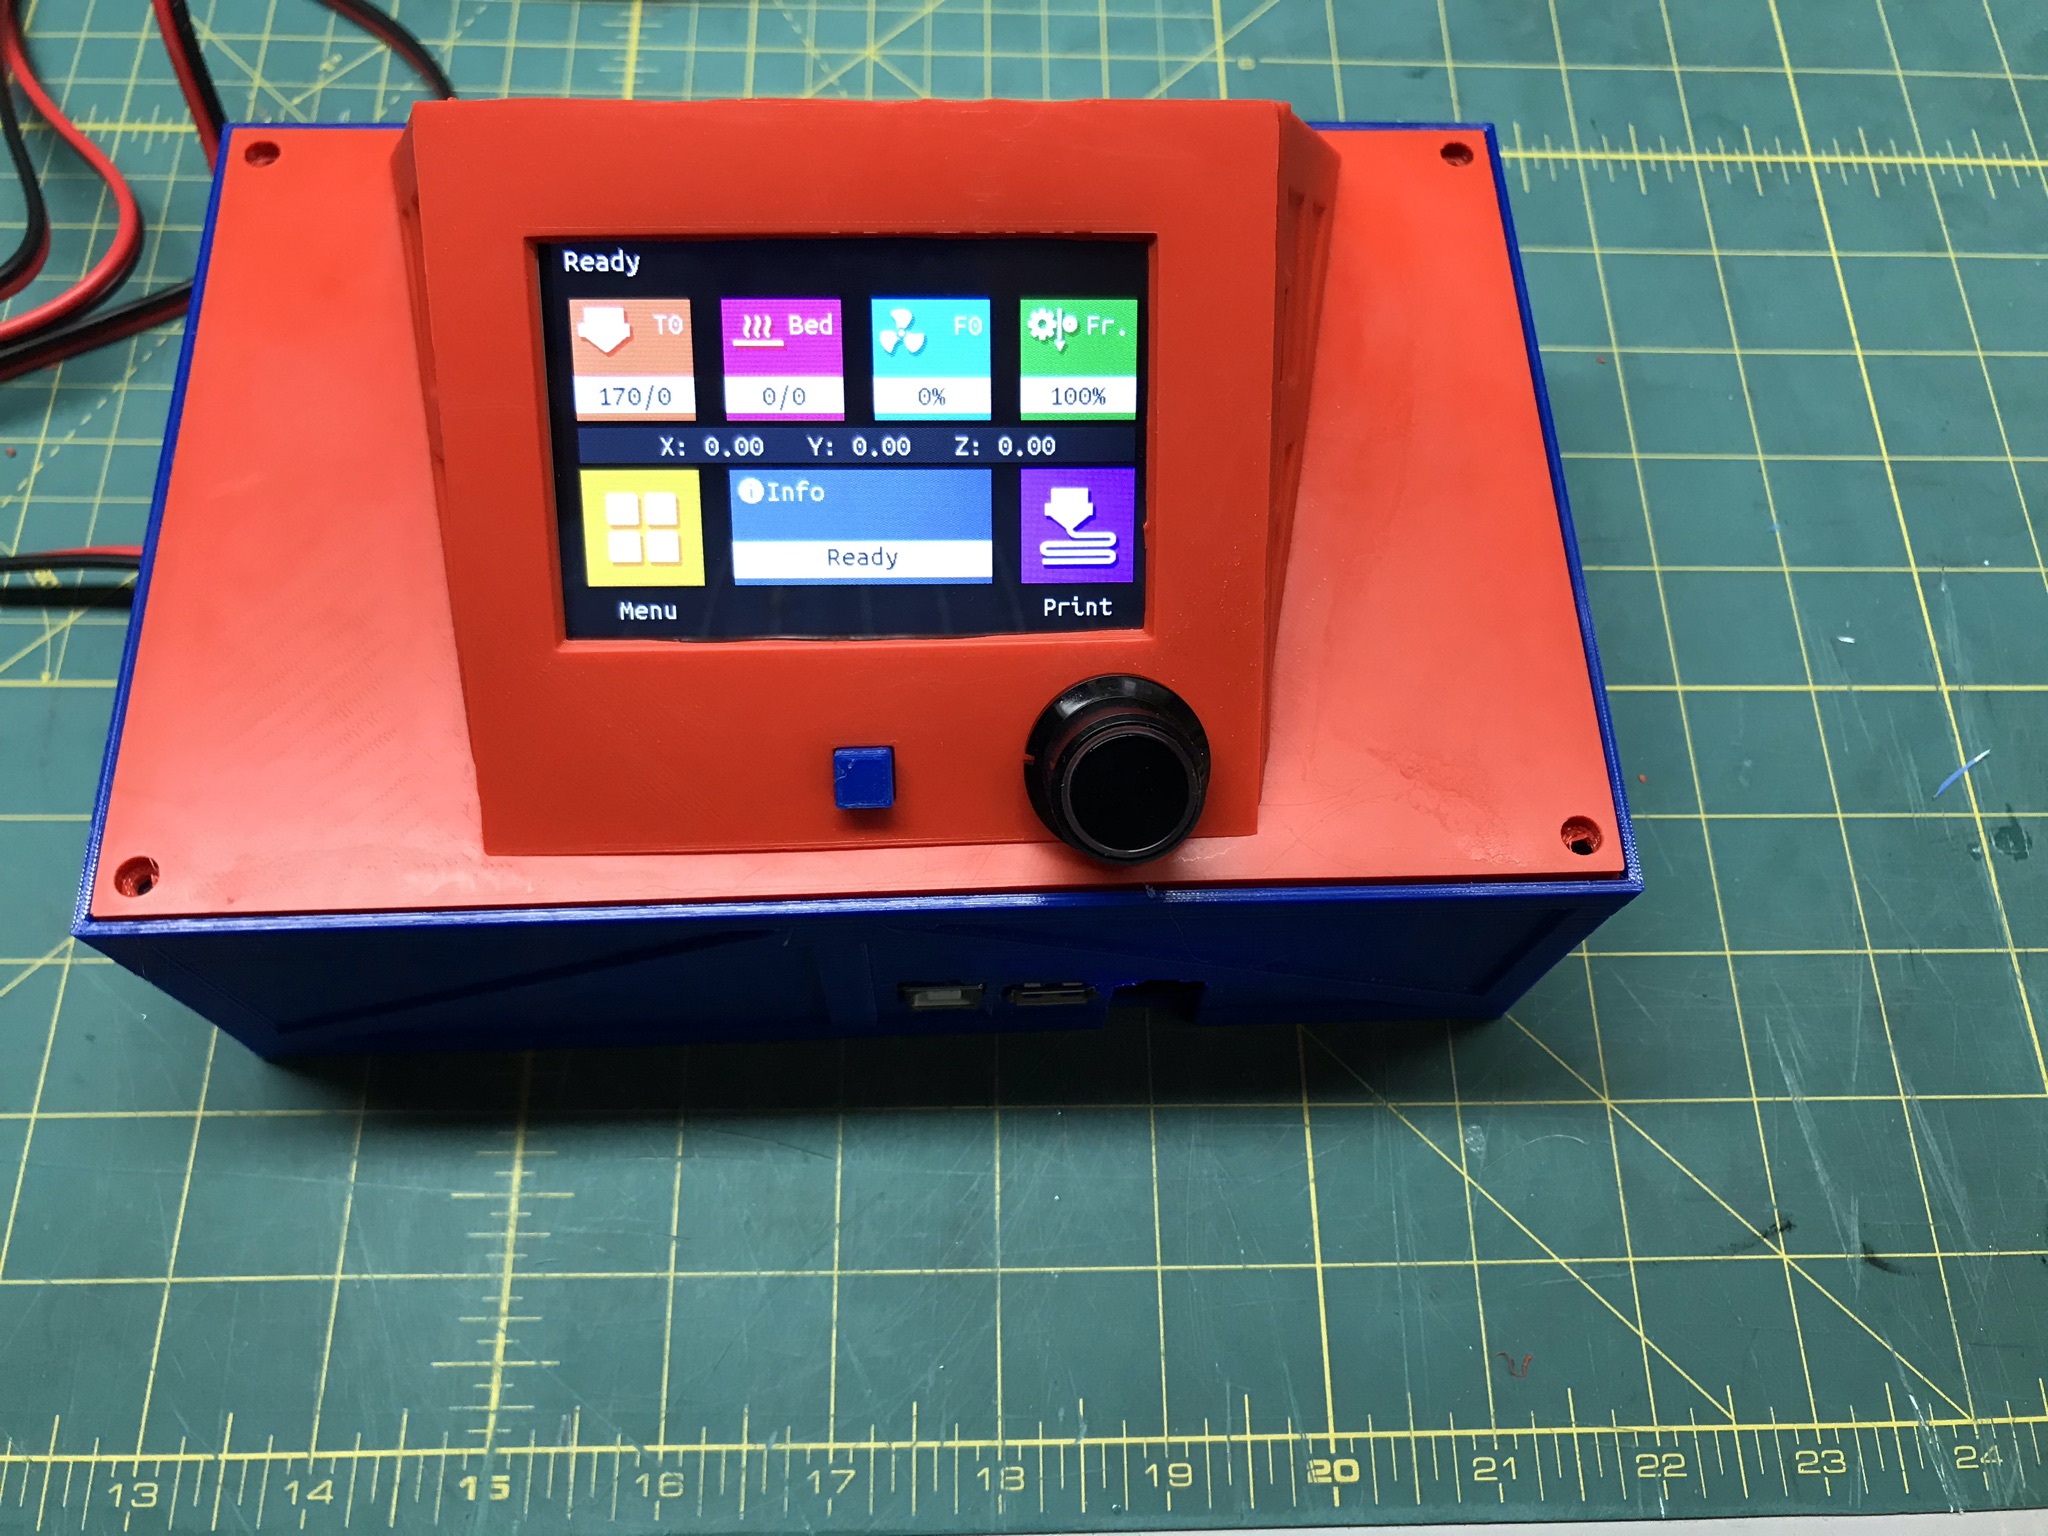
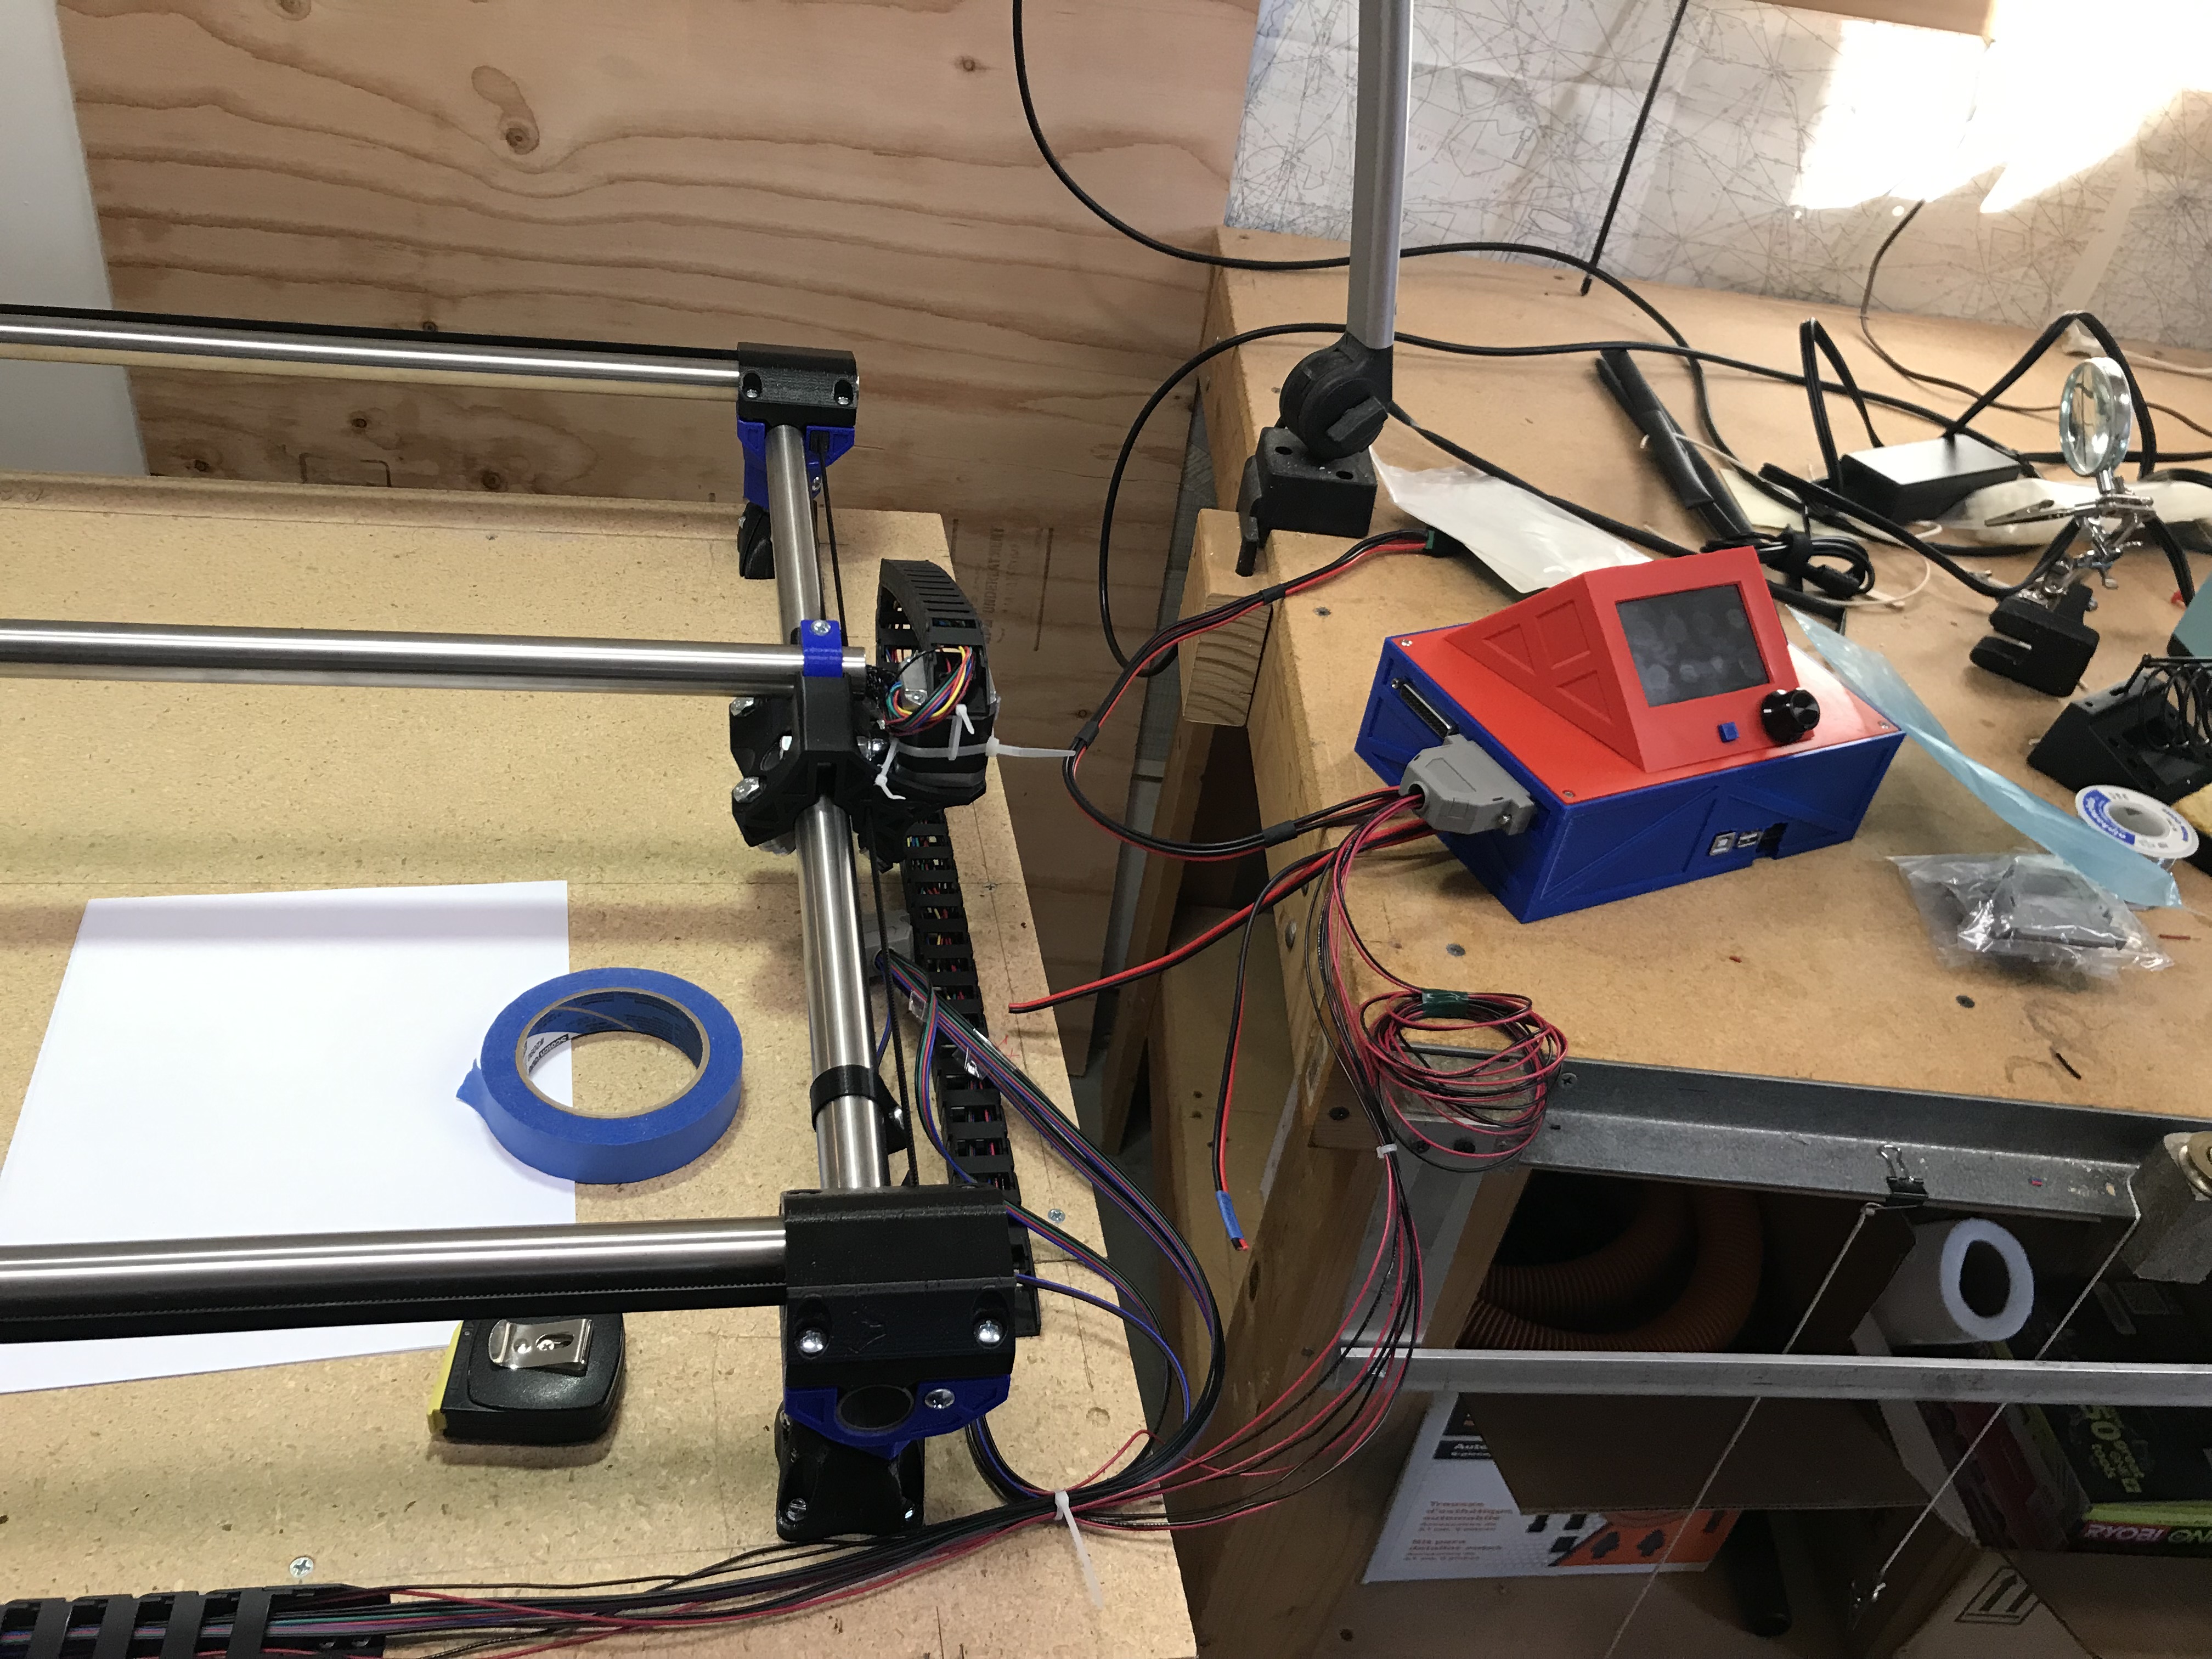
Operating the touch screen while dodging the core seemed like a bad idea so I modified the SKR box to fit my GTR and a friend printed it for me.
That brings me up to date. I need to finish the wiring and find a place to put the controller. Maybe a slide out shelf. Then endstop adjustment and final truing. I’m excited to start cutting with it.
I’m considering adding and extruder and removable heated bed to use as a poor mans printer. Eventually, I would like to build or acquire a printer. Any suggestions on extruders and how to mount a bed so it can be leveled?
“Why?” you ask. Well, I can get some printing experience. Use it to print the parts for a printer and maybe even reuse the extruder and bed on the final printer.
Now that I’m up to date, I’ll try to keep the log up to date as I finish and start to learn how to mill.
Eek. Glad to see you healing. That sounds like an awful injury.
Your progress is looking very good. And that garage space is so nice.
I have to say that the MPCNC is not a beginner friendly printer. I am not good at recommending printers to start with, but I know they can be had for pretty cheap these days.
Not that it won’t work, but it would be harder than a dedicated machine.
Decided to take Jeffeb3’s advice. I’ll build a dedicated printer. But maybe I’ll add a laser to the MPCNC at some time in the future.
Wiring is much cleaner with some cable chains. The endstops are positioned but I still need to draw the big rectangle and measure it. However, I just couldn’t resist making a nice Crown.