Consecutive numbered tokens, serialize workflow

Yesterday I was asked to build a wardrobe for a fair with a big party tent. I’ll first explain why and how. I am a member of an amateur musical group.

To earn some money to buy stuff for the musicals we take care of a wardrobe at the annual fair in Gaanderen (the Netherlands). It is in a truck trailer. When people go to the big party tent and want to hang up their coat, hey bring it to us and pay an amount of money to hang it up and guard it. They get a token to get their coats back when they want to go home. All members of the musical group have a shift in the wardrobe. The earned money goes to the club. Normally we earn about 1500 euros a year by doing so.

3 years ago the wardrobe broke down, I temporarily fixed it (saturday night 02:00…), but now I need to build a new one. The wardrobe needs new tokens. These are quite expensive. Think about 650 euro for 1200 double ones. One stays in the wardrobe, the other is given to the client and received back in exchange for their coats.
I was thinking if it would be possible to mill our own tokens with a lowrider2 or 3. The lowrider 3 is in its finishing stages right now. When i make the tokens about 33 cm, I could make about 3200 of them out of 1 sheet of 12202400 mm. I already made a test drawing.

Now the real question. I want to make tokens with consecutive numbers: 0001-0002 until 1599. Does anyone know a way to do that in fusion360 or another program, including CAM? I normally use
fusion360 (i have a teacher licence) and ESTLCAM. I cant find a way to automate stuff. can you help me and our club?

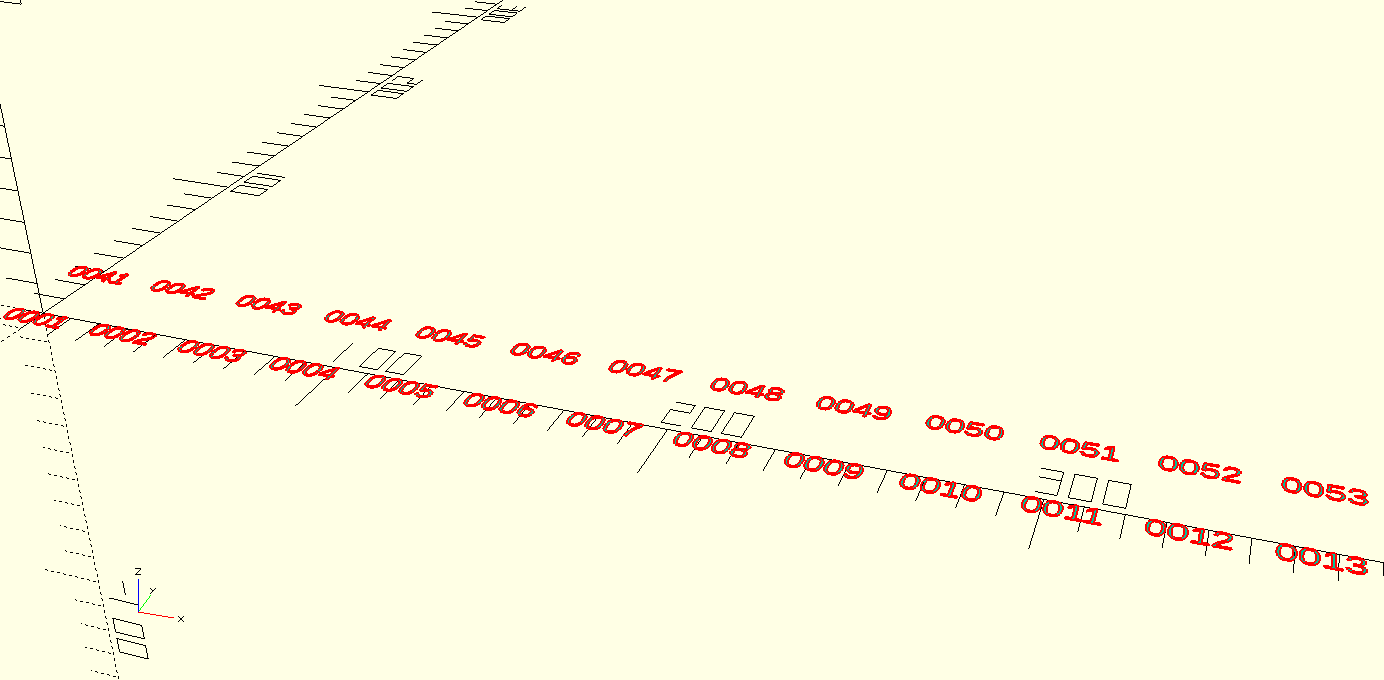
It should be something like this:

OpenScad can do it easilly for sure, maybe @jamiek our expert would help you if gentely ask him for.

1 Like

This is very doable. I’ll give it a shot.

My biggest concern would be, if an svg file has both thru-cuts for the perimeters and holes and engraving for the numbers, I’m not sure how Estlcam will know the difference without painfully marking them individually.

Perhaps it can be two files and Estlcam can load them into layers. Then all the numbers can be selected easily and set to a different depth.

I would suggest arranging in panels with maybe 100 numbers at a time, and not the entire sheet, or else a failure would be really hard to recover from.

1 Like

i’d like to see your shot :grinning:

I can also make smaller batches on my primo (60x60 cm)

The layers make sense to me. First engrave the numbers, then cut everything!

The size of 30x30mm is not critical…

I assume you mean 33 mm not 33 cm. Some thoughts:

  • Your layout does not account for bit diameter.
  • You really need to think about how to hold these down. That would be a lot of double-sided tape, but if you go with tabs, a lot of finish work would be required.
  • A laser head on a LR would work well and avoid the hold-down issues. I’m not sure of your stock thickness, but the better NEJE laser heads should cut 8mm or more.

As for your actual question, I would kludge something together with Fusion 360. Other solutions like OpenScad would cleaner/better, but just in case you want to play with something kludgier:

  • Generate columns of numbers padded with leading numbers in Excel or similar.
  • Do a vertical, rectangular layout of some number of tokens. The spacing would have to be an integer multiple of your character height.
  • Use Fusion 360 text tool with the pasted column of numbers. Use blank lines to space the text.

Once you have a column figured out, you insert “blank” lines in your spreadsheet numbers. That way building the rest columns would just take minutes.

2 Likes

I’m agree with the laser advice, i did double face engraved ornaments for Christmas and it was very easy.
Better to have an honeycomb or diy alike and air assist.

Lock your stock position with a fixed reference L shape , engrave and cut the first side, remove your stock and parts, replace your stock at the exact same face and position thanks to the Fixed L shape and put your parts at the same place but fliped and engrave the back.

For number iteration i just checked and Lightburn seems to implement it:

2 Likes

The serial/sequential numbers feature in Lightburn is a good find. Even if the numbers were to be cut with a router, he could author the tokens in Lightburn and then export the SVG or DXF. Kockie_nl: Lightburn costs $60, but there is a 30-day, full feature trial, which would get this job done.

Try this and see if it works:
tags_and_numbers.zip (34.6 KB)

Import tags first, and then use File → Insert to import the tag_numbers.

Estlcam is a bit goofy where the first file that you open, it ignores the coordinates in the file and automatically “helps you” by aligning the (0, 0) coordinate with the lower left corner of the bounding rectangle of the artwork, regardless of the coordinates of the SVG file. But when inserting into an existing project, it does respect the coordinates of the file.

Now under View, select Layer list to enable the layer list, and you should see two layers.

Click the “lock” and/or the “eye” to disable one of the layers. If you have only one layer unlocked, then you can pick Automatic Functions → Create Objects Automatically, and for the tags and holes for instance, pick ‘parts and holes’ so it will create an outer contour for the outside of the tag and an inner contour for the hole.

Then hide the tag layer and enable the number layer, and you can generate the toolpaths for the numbers.

The layers apply only to the artwork and not to the toolpaths, so once you have created both sets of toolpaths, it’s pretty much impossible to select only the tags or only the numbers. But a workaround is to use different tools. Even if it’s the same tool twice. The little magnifying glass on the right side of the tool list lets you select all the elements using that tool, if you want to set depth for example.

Here’s what it looks like in OpenSCAD:

The dimensions are all adjustable of course. If you haven’t used OpenSCAD before you would first press “Render” (with the hourglass) and then File → Export → SVG.

Then in the file where it says tag_or_digits, change to 1 or 0, and again press Render and export. The grey items are just for visualizing and disappear when rendering, so it allows exporting tags and numbers separately. For a given size grid you should be able to export tags only once and change numbers and export numbers several times to get all the panels you need.

Feel free to ask if you have questions.

5 Likes

Wow, thank you all for your answers :grinning: I have some reading and trying in front of me. I already bought a NEJE (big) laser, so a nice opportunity to get it to work.

I will report back. Thanks again!

Still not made any tokens… I tried to change the script to be able to make 1 row of tokens with the same number instead of 2, but i didn’t find the solution yet. Can you put me on de right track @jamiek ?

The “grid_dtag” module produces the grid of double-tags. You can replace the “double_tag” on line 29 with simply “tag”, and it should produce a grid of single tags instead of double tags.

But the pitch will still be single space horizontal and double space vertical. To pack tighter vertically, remove “2*” on line 28 (row multiplier) so it will be single spaced instead of double spaced vertically.

I am not in front of my computer to test it right now, but that should be enough. The rest should work the same.

2 Likes


I owe you one!

Can I buy you a beer or coffee?

1 Like