Been working on my Z axis, and finally concluded that the wheel brackets were the issue. My machine has been outside in the hot sun, cold, etc, etc for a long time. Many of the original printed parts are getting rather wonky.
In this case, I could barely pry the bearing out of the slot, much less get it back in.
I haven’t touched my printer in a while, didn’t want to take the overhead on that.
So here’s what I did:
-
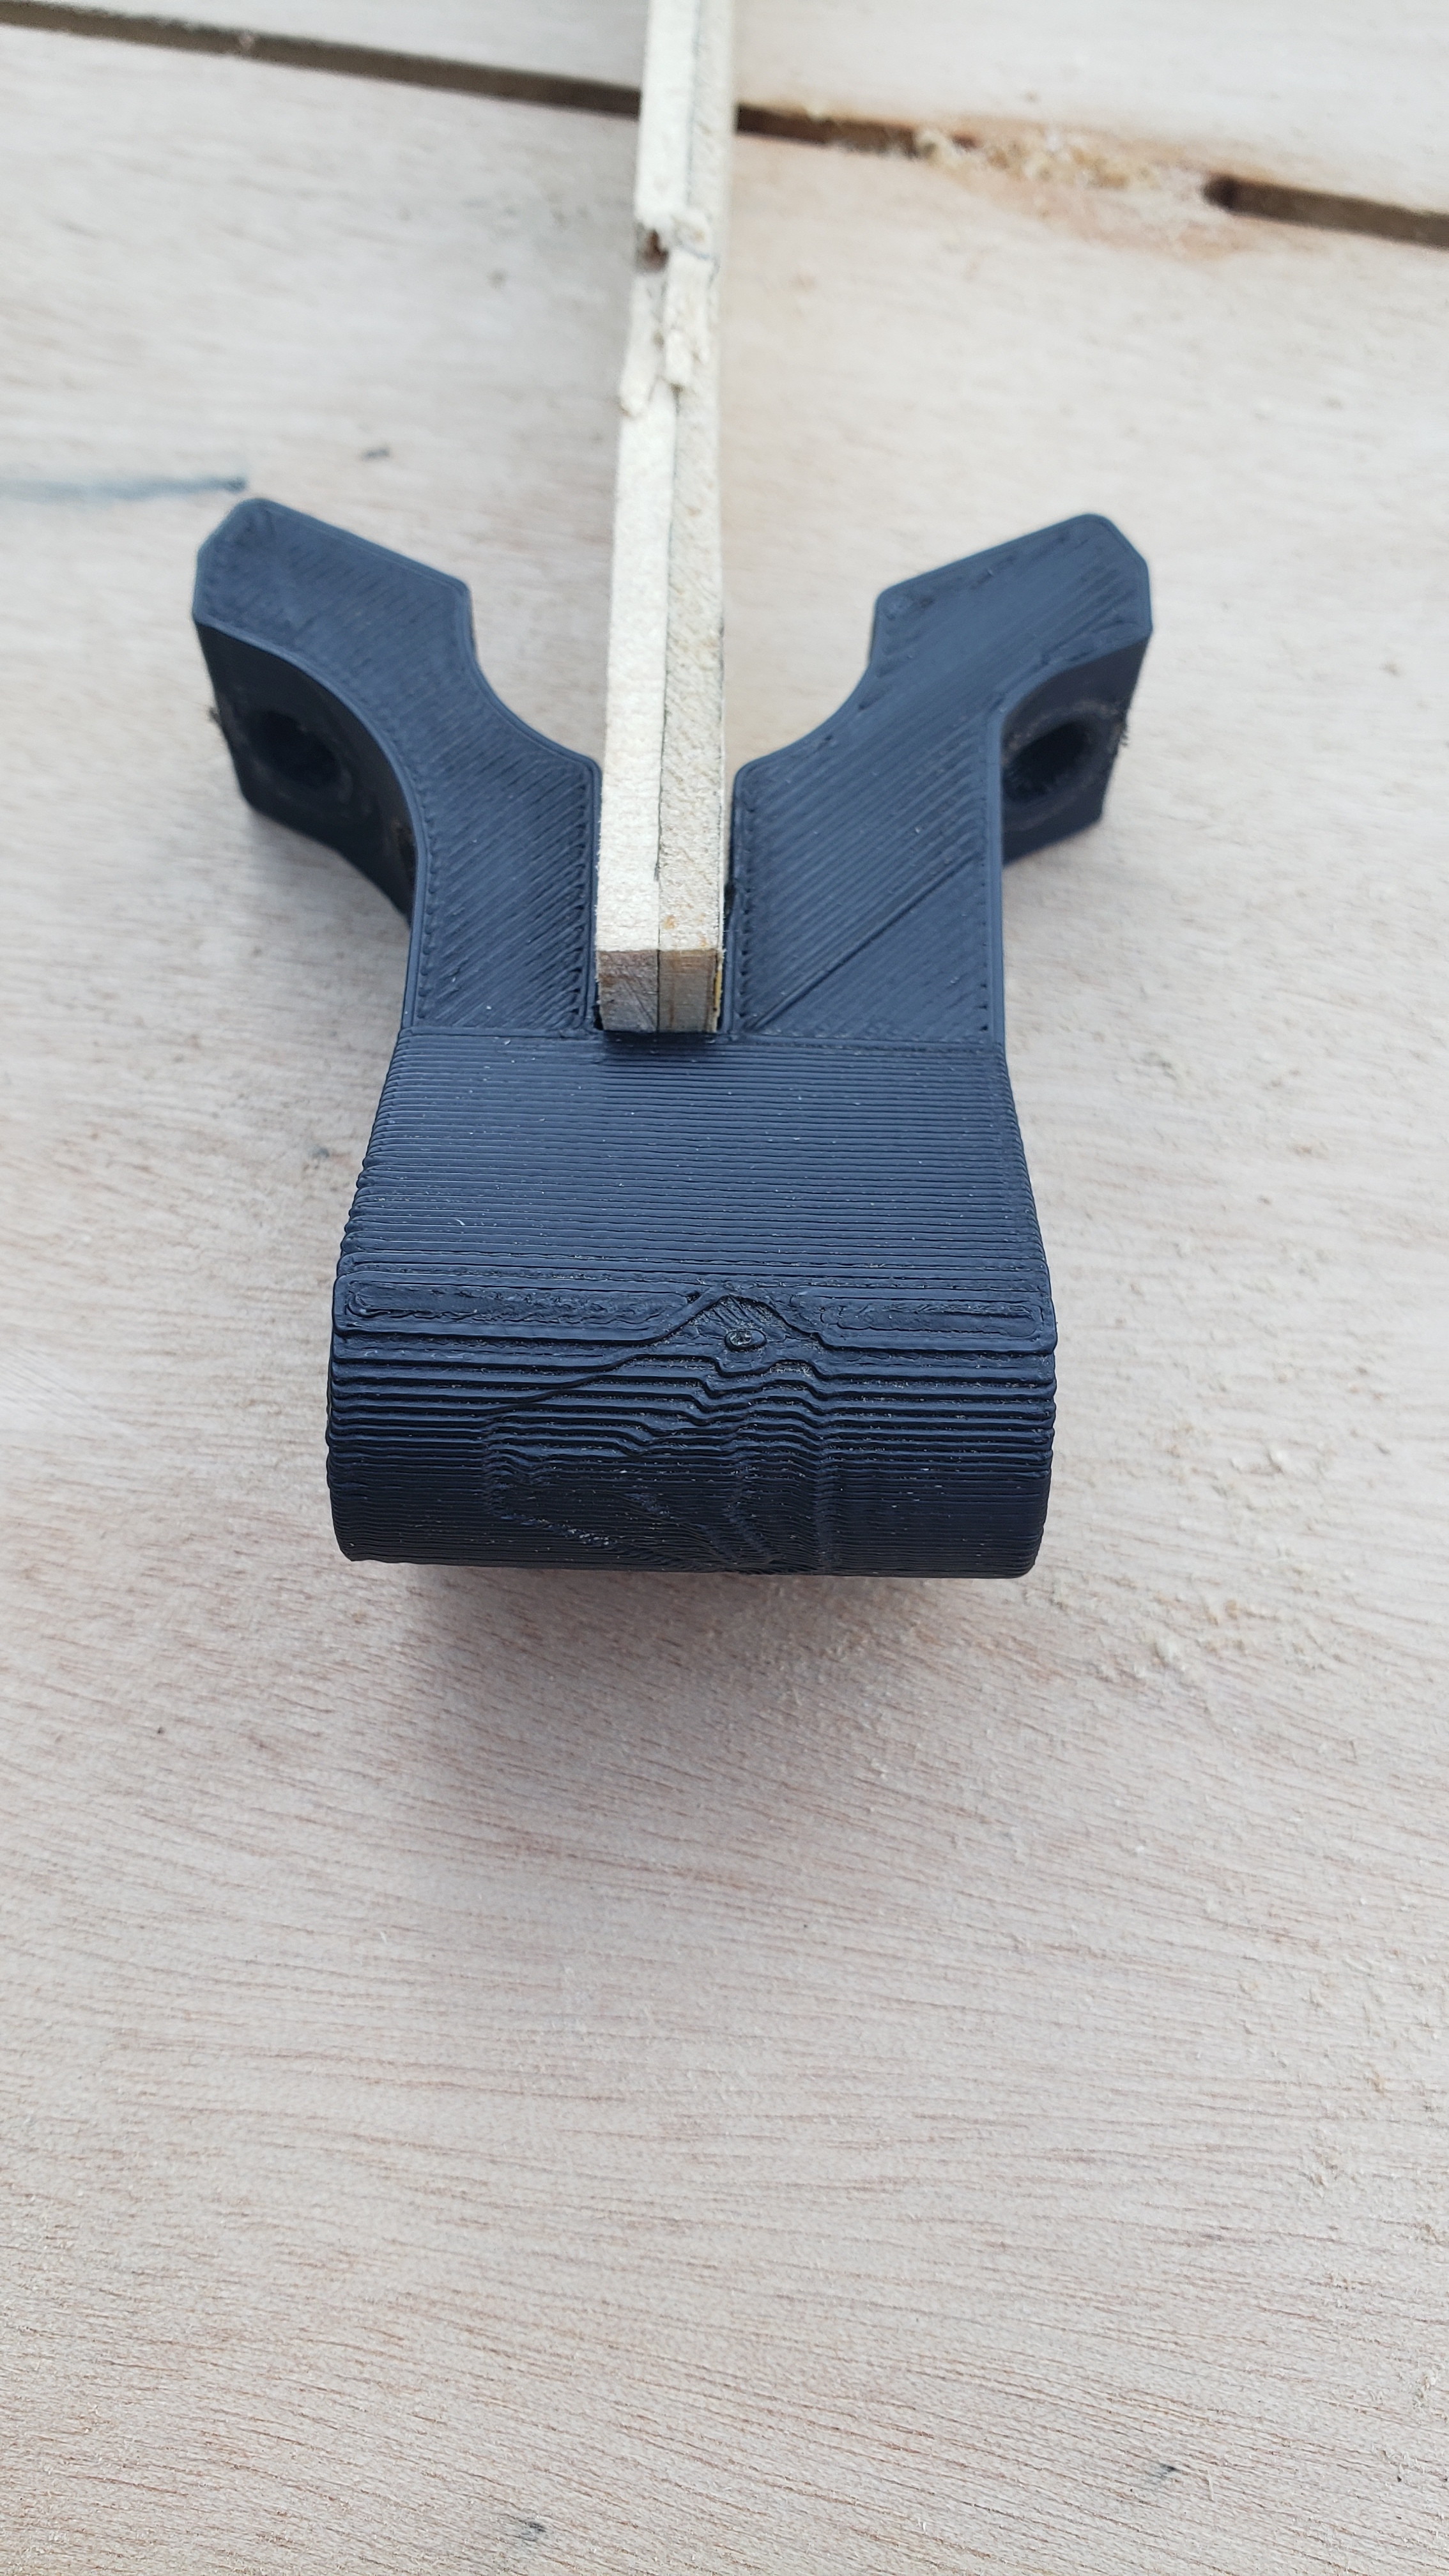
Cut a wooden shim just maybe 0.5-1 mm wider than the slot that holds the bearing.
-
Jam it into the slot.
-
Bake at 145F for 20 minutes.
-
Toss in the fridge for 10 minutes.
Holy Crap, it worked! The whole part is nice and straight again, just like new!
I didn’t take a before pic, but believe me the whole thing was badly out of shape before. It was gripping the Z rails and preventing movement.
Putting it back together with some washers for good measure.