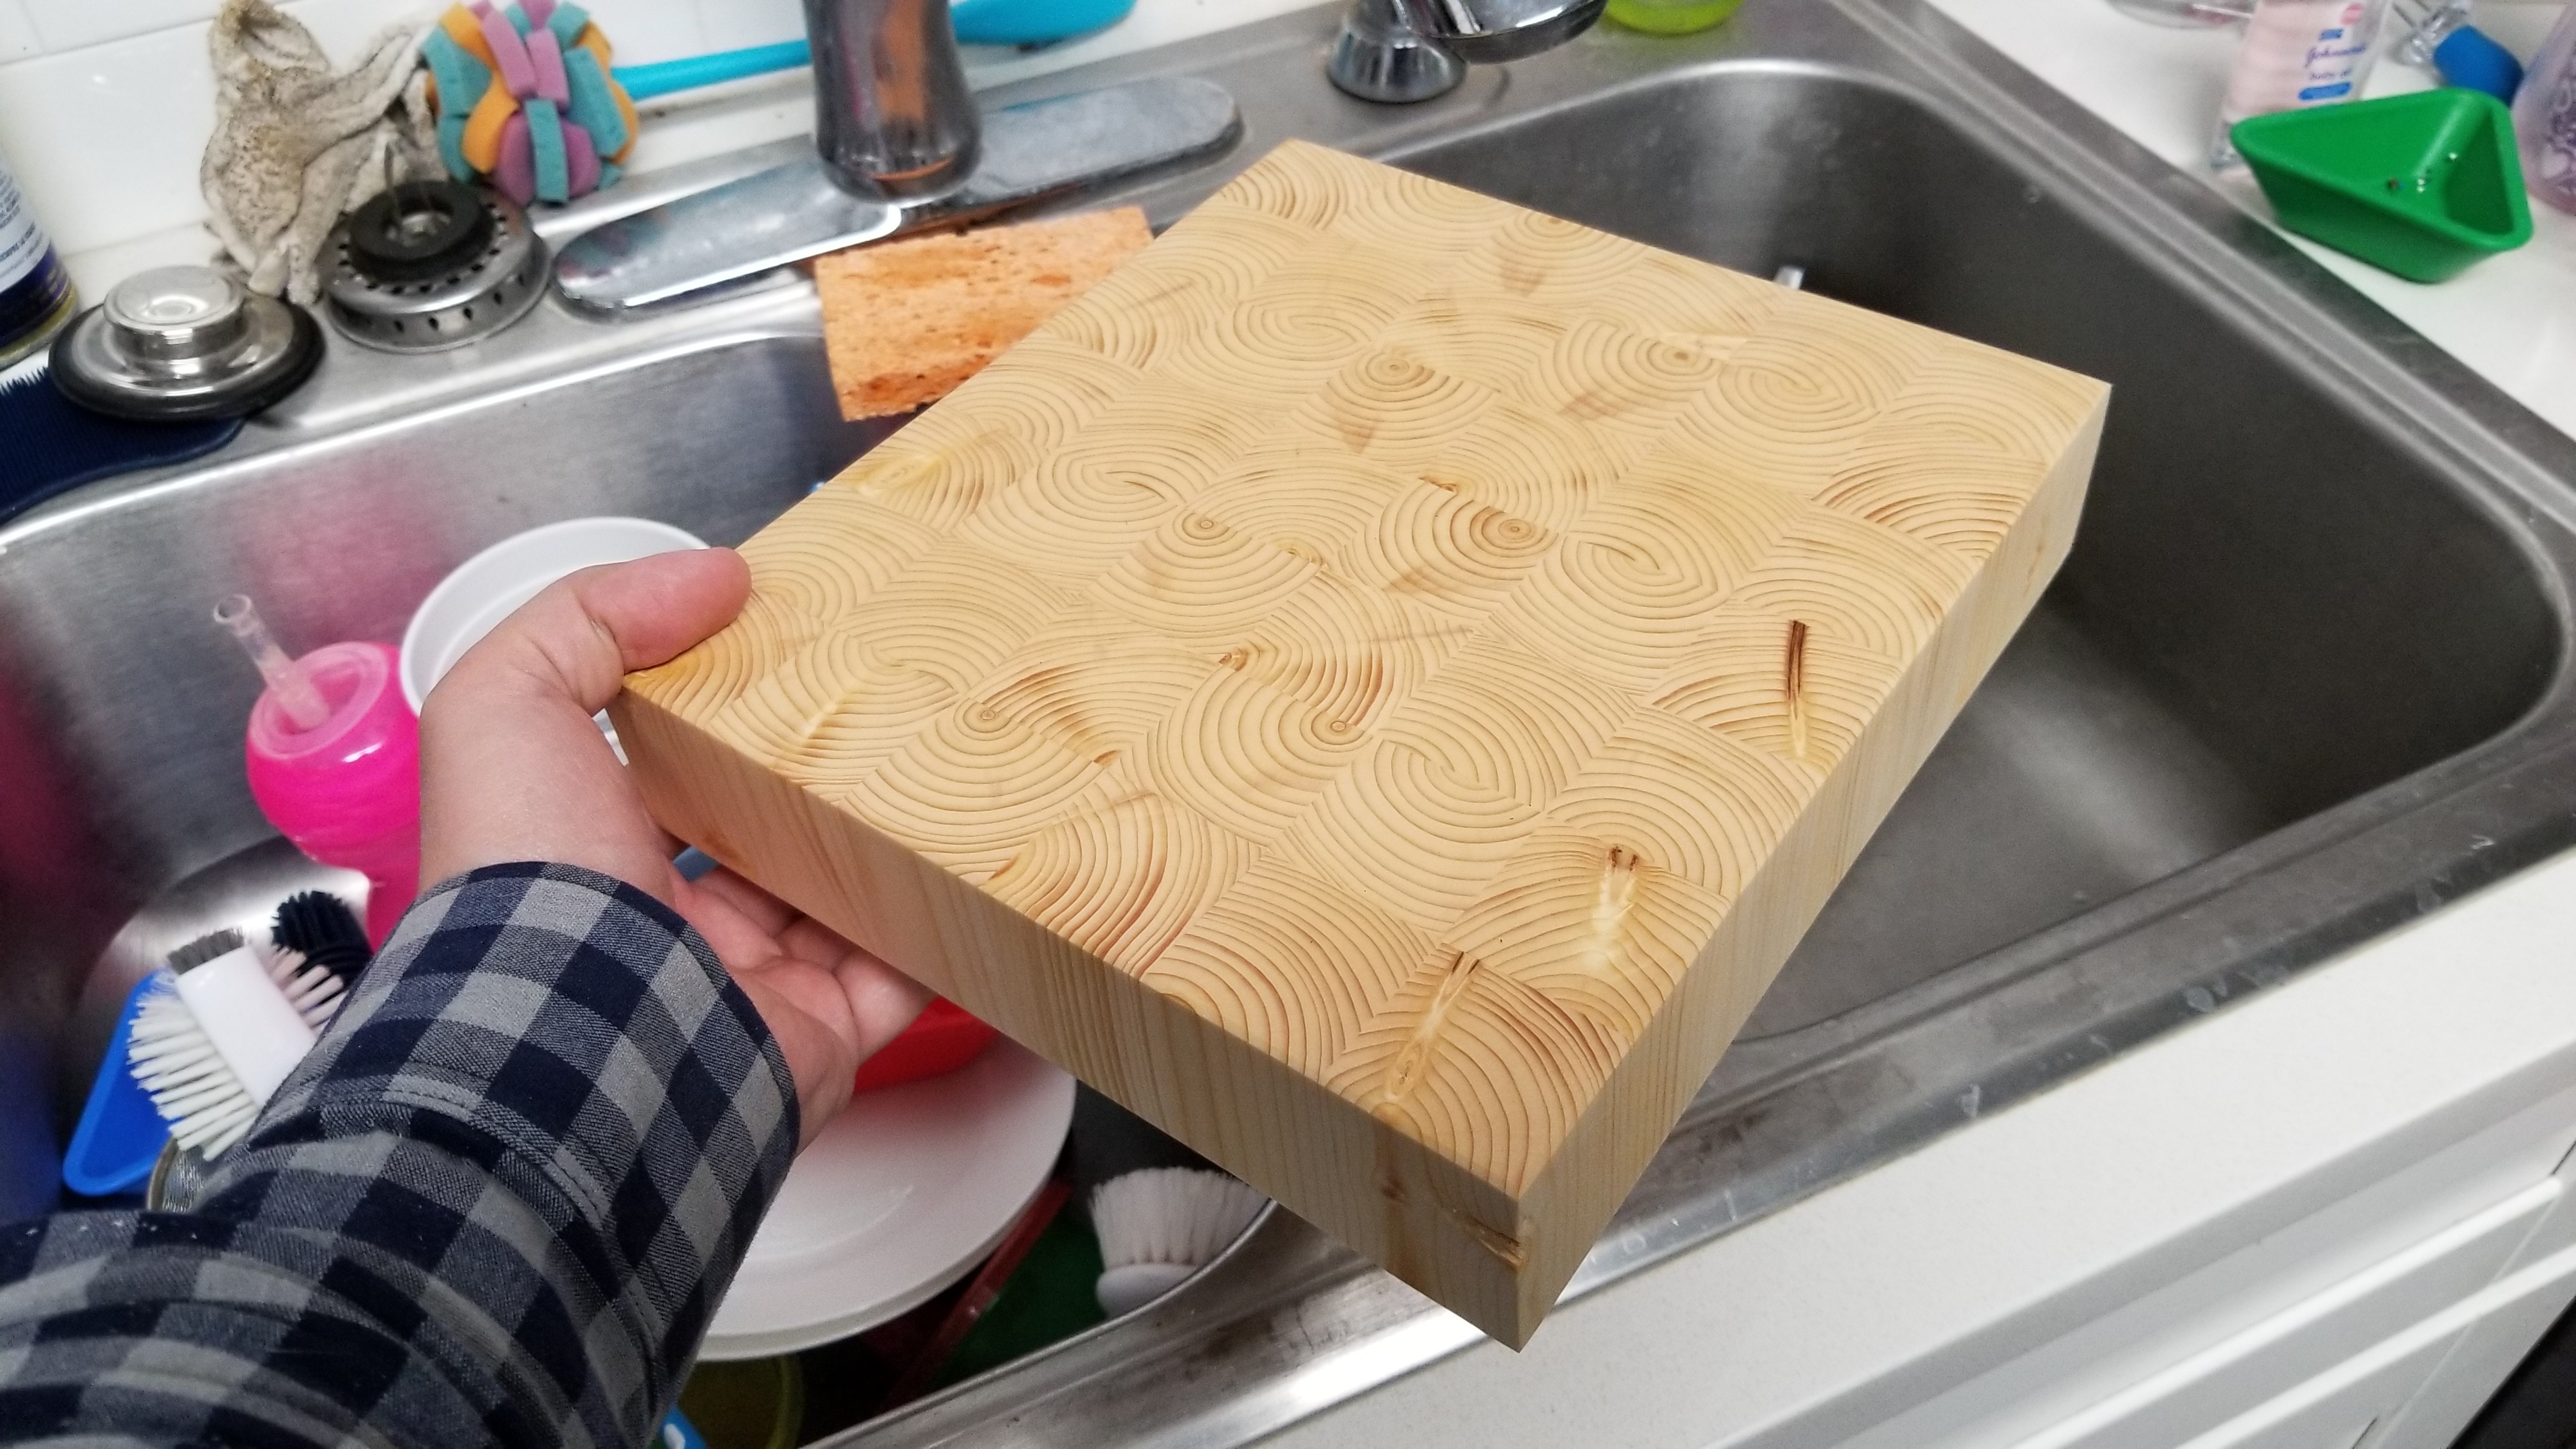
I had intended this as cheap practice and then trash it but it actually looks and feels okay, so I’m probably going to put it in service after deciding on a finish.
What I want to try next is a composite board with nice walnut (or maybe some other fancy wood) on the surface and sides and cheap lumber or poplar in the core. The idea is to get a good size fancy cutting board without dropping a lot of money on raw materials.
I bought myself a thickness planer which is working great so far, although some test pieces indicated I couldn’t run the finished board through without tearing up the trailing edge. I think my next one I’ll add a sacrificial piece and then slice it off after going through the planer. Sanding was no fun.
If you glue a different wood core in there, won’t there be an end grain to end grain joint in the middle? And if they grow at different ratios, it will stress that joint.
I always wonder how much risk there really is in something like that (an “expert” may not be satisfied with a 9/10 chance of success). But my impression is that having the grain go all the way through to board is for reducing the chance of warping.
I have seen people make the outside trim be twice the thickness. That gives the look of a thick board, but uses less material.
The joint between dissimilar woods is definitely worth thinking about. I had done some research on the expansion of different species, but I forgot so I need to look it up again. I remember being surprised but I don’t remember the particulars.
That’s interesting about planing end grain. Good to know. Surfacing on the CNC is definitely an option and will be way better than sanding by hand. I’m not going to be getting a thickness sander any time soon.
So this is why I make practice pieces. I was under the impression that baby oil was highly purified mineral oil, and perhaps it is, but it also has fragrance which I did not realize until applying it. And who knows what else.
I think I will try the CNC facing approach to slice off the top and get some finishing stuff specifically for cutting boards. So this is a CNC project after all.
Since I can mount an angle grinder onto my mpcnc, I got to thinking maybe I do have a thickness sander after all…
But it was not a good idea. It scorched the wood pretty awfully, even with a very shallow depth, and I underestimated the wavyness that would be left by the stepover. I made a fair bit of smoke too trying a few variations…
I made an attempt on the thickness planer just to see how bad it would be, and yes it is not a good idea. The tearout was not the only issue. The surface quality was also poor because the endgrain was smooshed sideways.
The surfacing bit was so-so but not great, which was what led me to try these alternatives in the first place. Perhaps the surfacing bit is not as sharp as it could be, but it scorched the wood somewhat and also smooshed the grain sideways.
This “junk” piece is proving to have lots of lessons to teach me and I’m glad it’s saving my good workpiece from avoidable mistakes.
I think I may use a small 1/8" bit and cut shallow slots to indicate a flat plane. Then go with a handheld belt sander to remove just enough that the slots disappear. That should be flat enough, unlike my freehand approach before, and wouldn’t suffer from some of the other issues.
Maybe a future project would be to mount a handheld sander to the CNC, but that seems somewhat unlikely to work.
Sliced horizontally to 0.5 mm depth and vertically to 0.3, so its easier to go aggressive while the vertical lines are visible and then sneak up on the last 0.2.
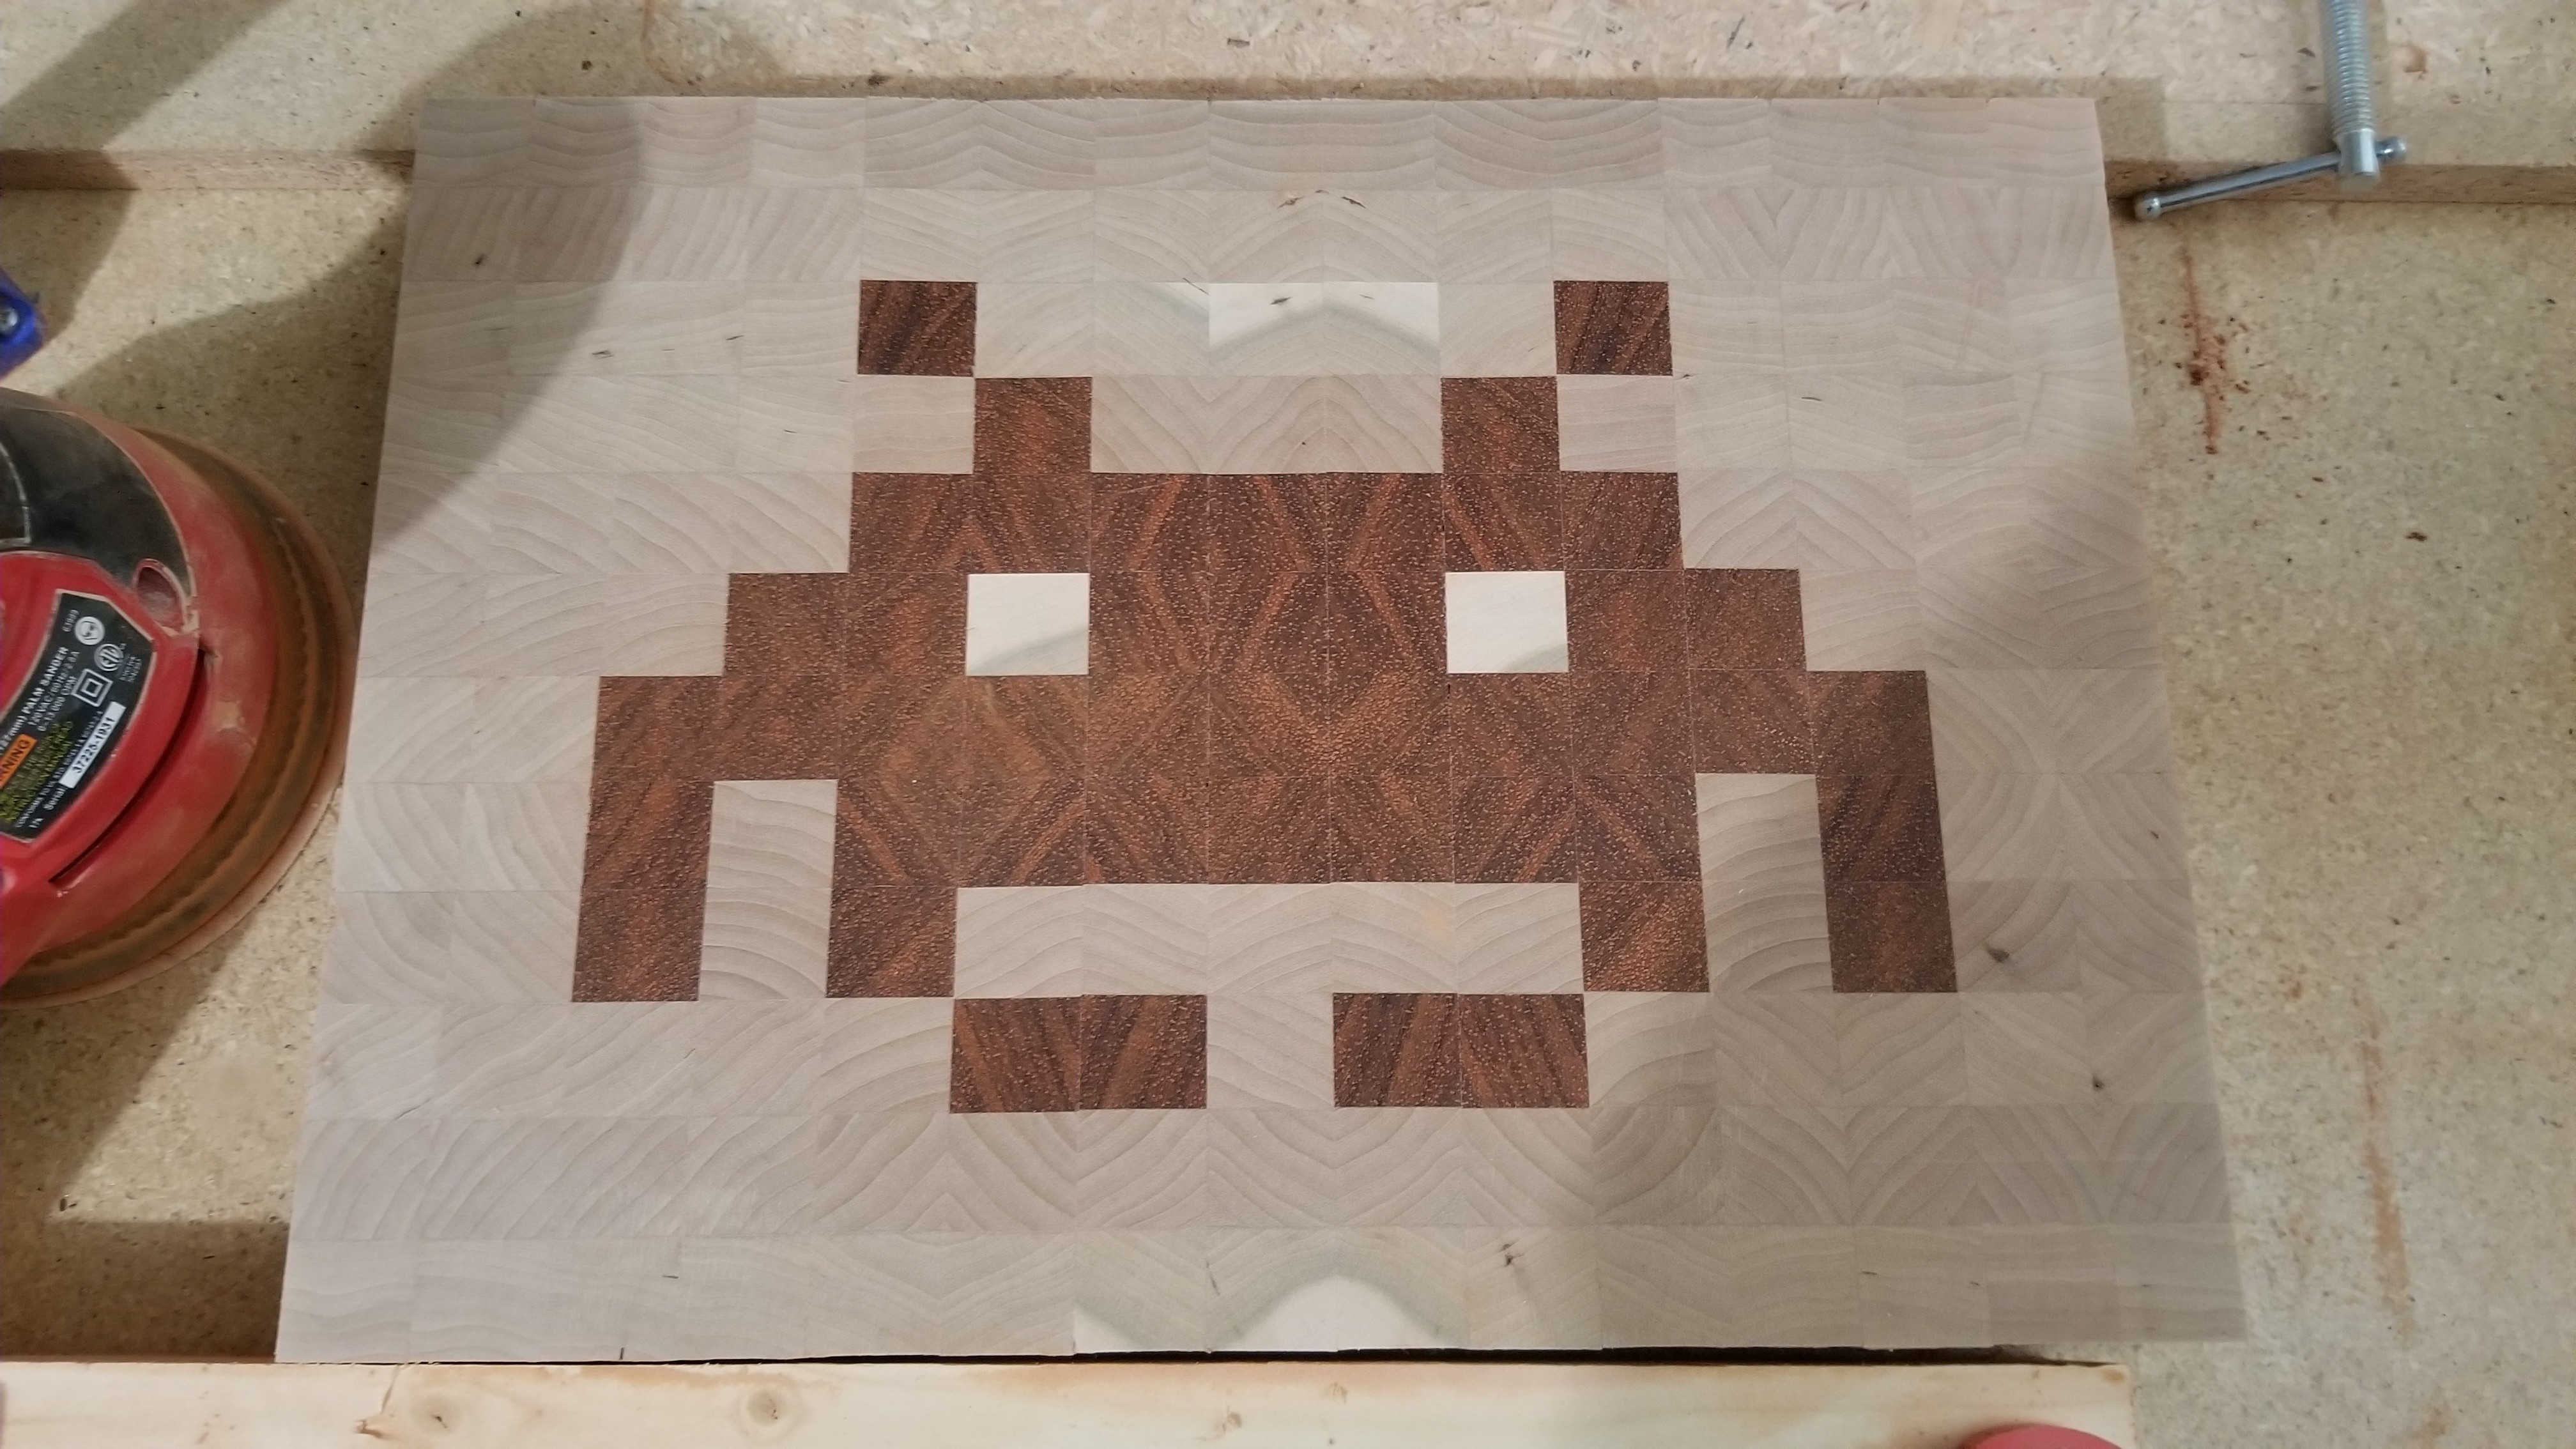
I’m glad you noticed. The cherry stock I started with had an area of a different color and there was none to spare so I had to use it all. I strategically chose the location and orientation of certain pieces to give that effect.
I may tend to overthink things, and I like to think it pays off once in a while.