Trying to draw the crown on my LR3 but the initial movement is the Z driving straight into the table. I figured out how to look at the gcode in Repetier Host and noticed the initial instructions are missing G92 X0 Y0 Z0  . I edited the code and have my first crown. Did I miss a step in Estlcam for this crucial code?

EstlCAM will not produce this code automatically based on your contours. And there are times/setups where you don’t want to execute this code. Your choices:
- Send it manually from Repetier-Host or similar.
- Manually edit it into the g-code file
- If you have a display, you can send it from a menu item…something like “Reset All Coordinates.”
- You can have it automatically inserted by adding it to the start g-code section in EstlCAM.
- You can have it automatically inserted by adding it to the start g-code section in Repetier-Host (assuming you are using RH).
- You can put it in a file and run that file off your SD Card
- Assuming your router does not drop, you can place your router in the origin position and cycle your electronics just before starting your cut.
This code sets the current position of the router to the origin for your cut. G92 reference.
G92 X0 Y0 Z0
This tells Marlin that “the current position of the tool is to be considered as X0 Y0 Z0”
Therefore all movement in “absolute coordinates” is measured as distance.from this point. Repetier kind of loses track, because it doesn’t always pick up on things like that. This keeps the.machine from running back to the endstops when the code is run, it’s normal for the pre-made code, and shoukd not need to be edited put. If you reset the coordinates yourself, it’s redundant, but won’t harm anything.
The code should tey to unge 1mm down from the home position where it wants to draw, so you want to start the code with the pen 1mm or maybe a bit less away from the paper.
In Estlcam, yiu need to add this into your ‘Start code’ for your programs.
Thanks Robert, I will need to look harder for start code options in Estlcam. I’m not using Estlcam control software so I hope It’s not in there. Repetier Host has script buttons I’m guessing I can use to input my own start gcode. I will test that out to see where the script is placed.
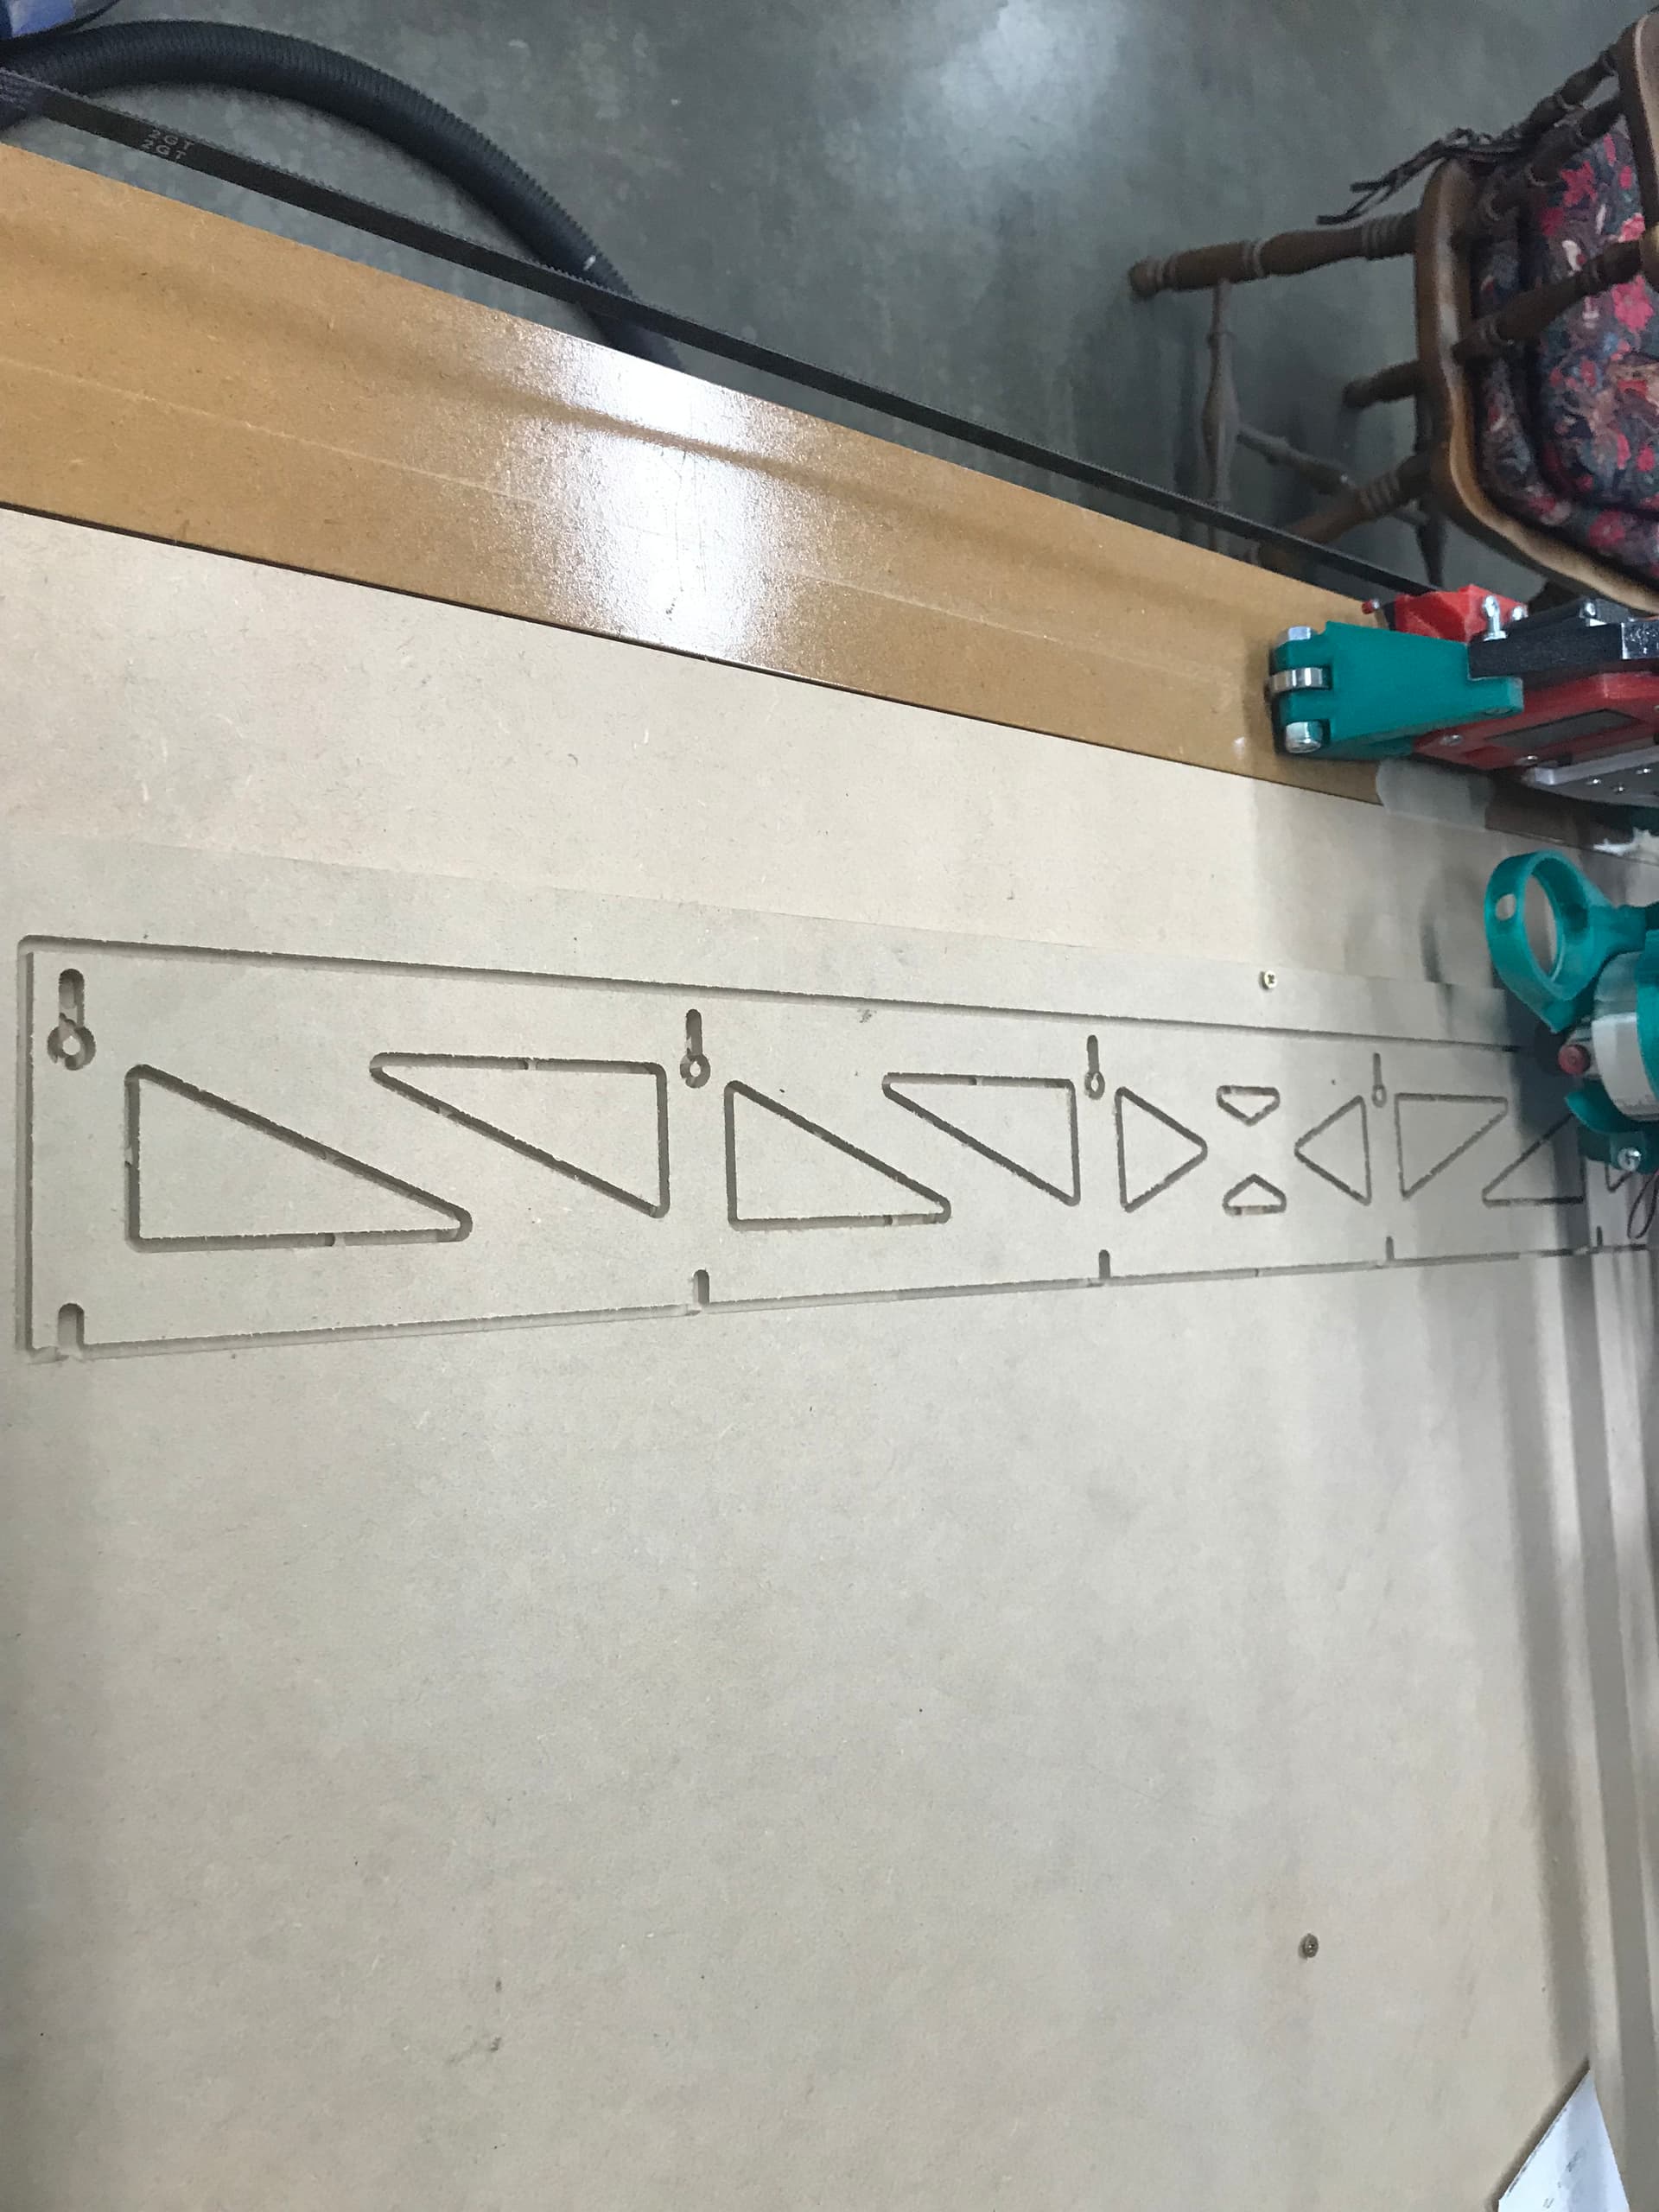
I’m starting work on the strut plates now, making sure the gcode looks correct (eg. the Z axis moves up for the holding tabs that I placed, tool path depths etc.).
I noticed the feedrates estlcam uses in the gcode is much less (900 for X,Y and 180 for Z) than what I input in the setup per V1 instructions (2100 and 480 ). My guess is that my setup input is a max and estlcam knows what is more optimal? Not sure where in Estlcam I can dictate the feed and speed.
The 2100 mm/min and 480mm/min are the rapid feedrate settings. These are the values used with non-cutting moves when the router is above the stock and you want to get to a new location quickly without losing steps.
As for the 900 for X,Y and 180 for Z, ultimately these numbers are something you are setting when you define/select the tool you are going to use for your cutting. Units when using Estlcam are specified in mm/s, but Marlin requires mm/m Look in your tool list, and you will see something like:
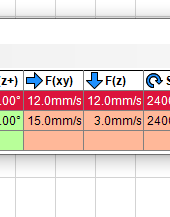
Where 15 * 60 = 900, and 3 * 60 = 180.
Thanks SupraGuy, the learning curve is big. The build was easy. Talking to the machine, not so much.
When exporting the Estlcam file, Estlcam asks for a depth of cut. Should I input the thickness of the material plus a little if I plan to cutout the part?
When you set up the tool paths in Estlcam, you can set the depth of each cut there. If you leave it as “ask later” then it will ask you when you save the program. Usually this would be for the thickI do tend to specify the depth on each individual cut.
Take some time to set up the tool definitions, including diameter and depth per pass. I find that my endmills cut a little narrower than their nominal width, so I have them defined as being a little smaller to compensate until I get shapes that fit together properly.