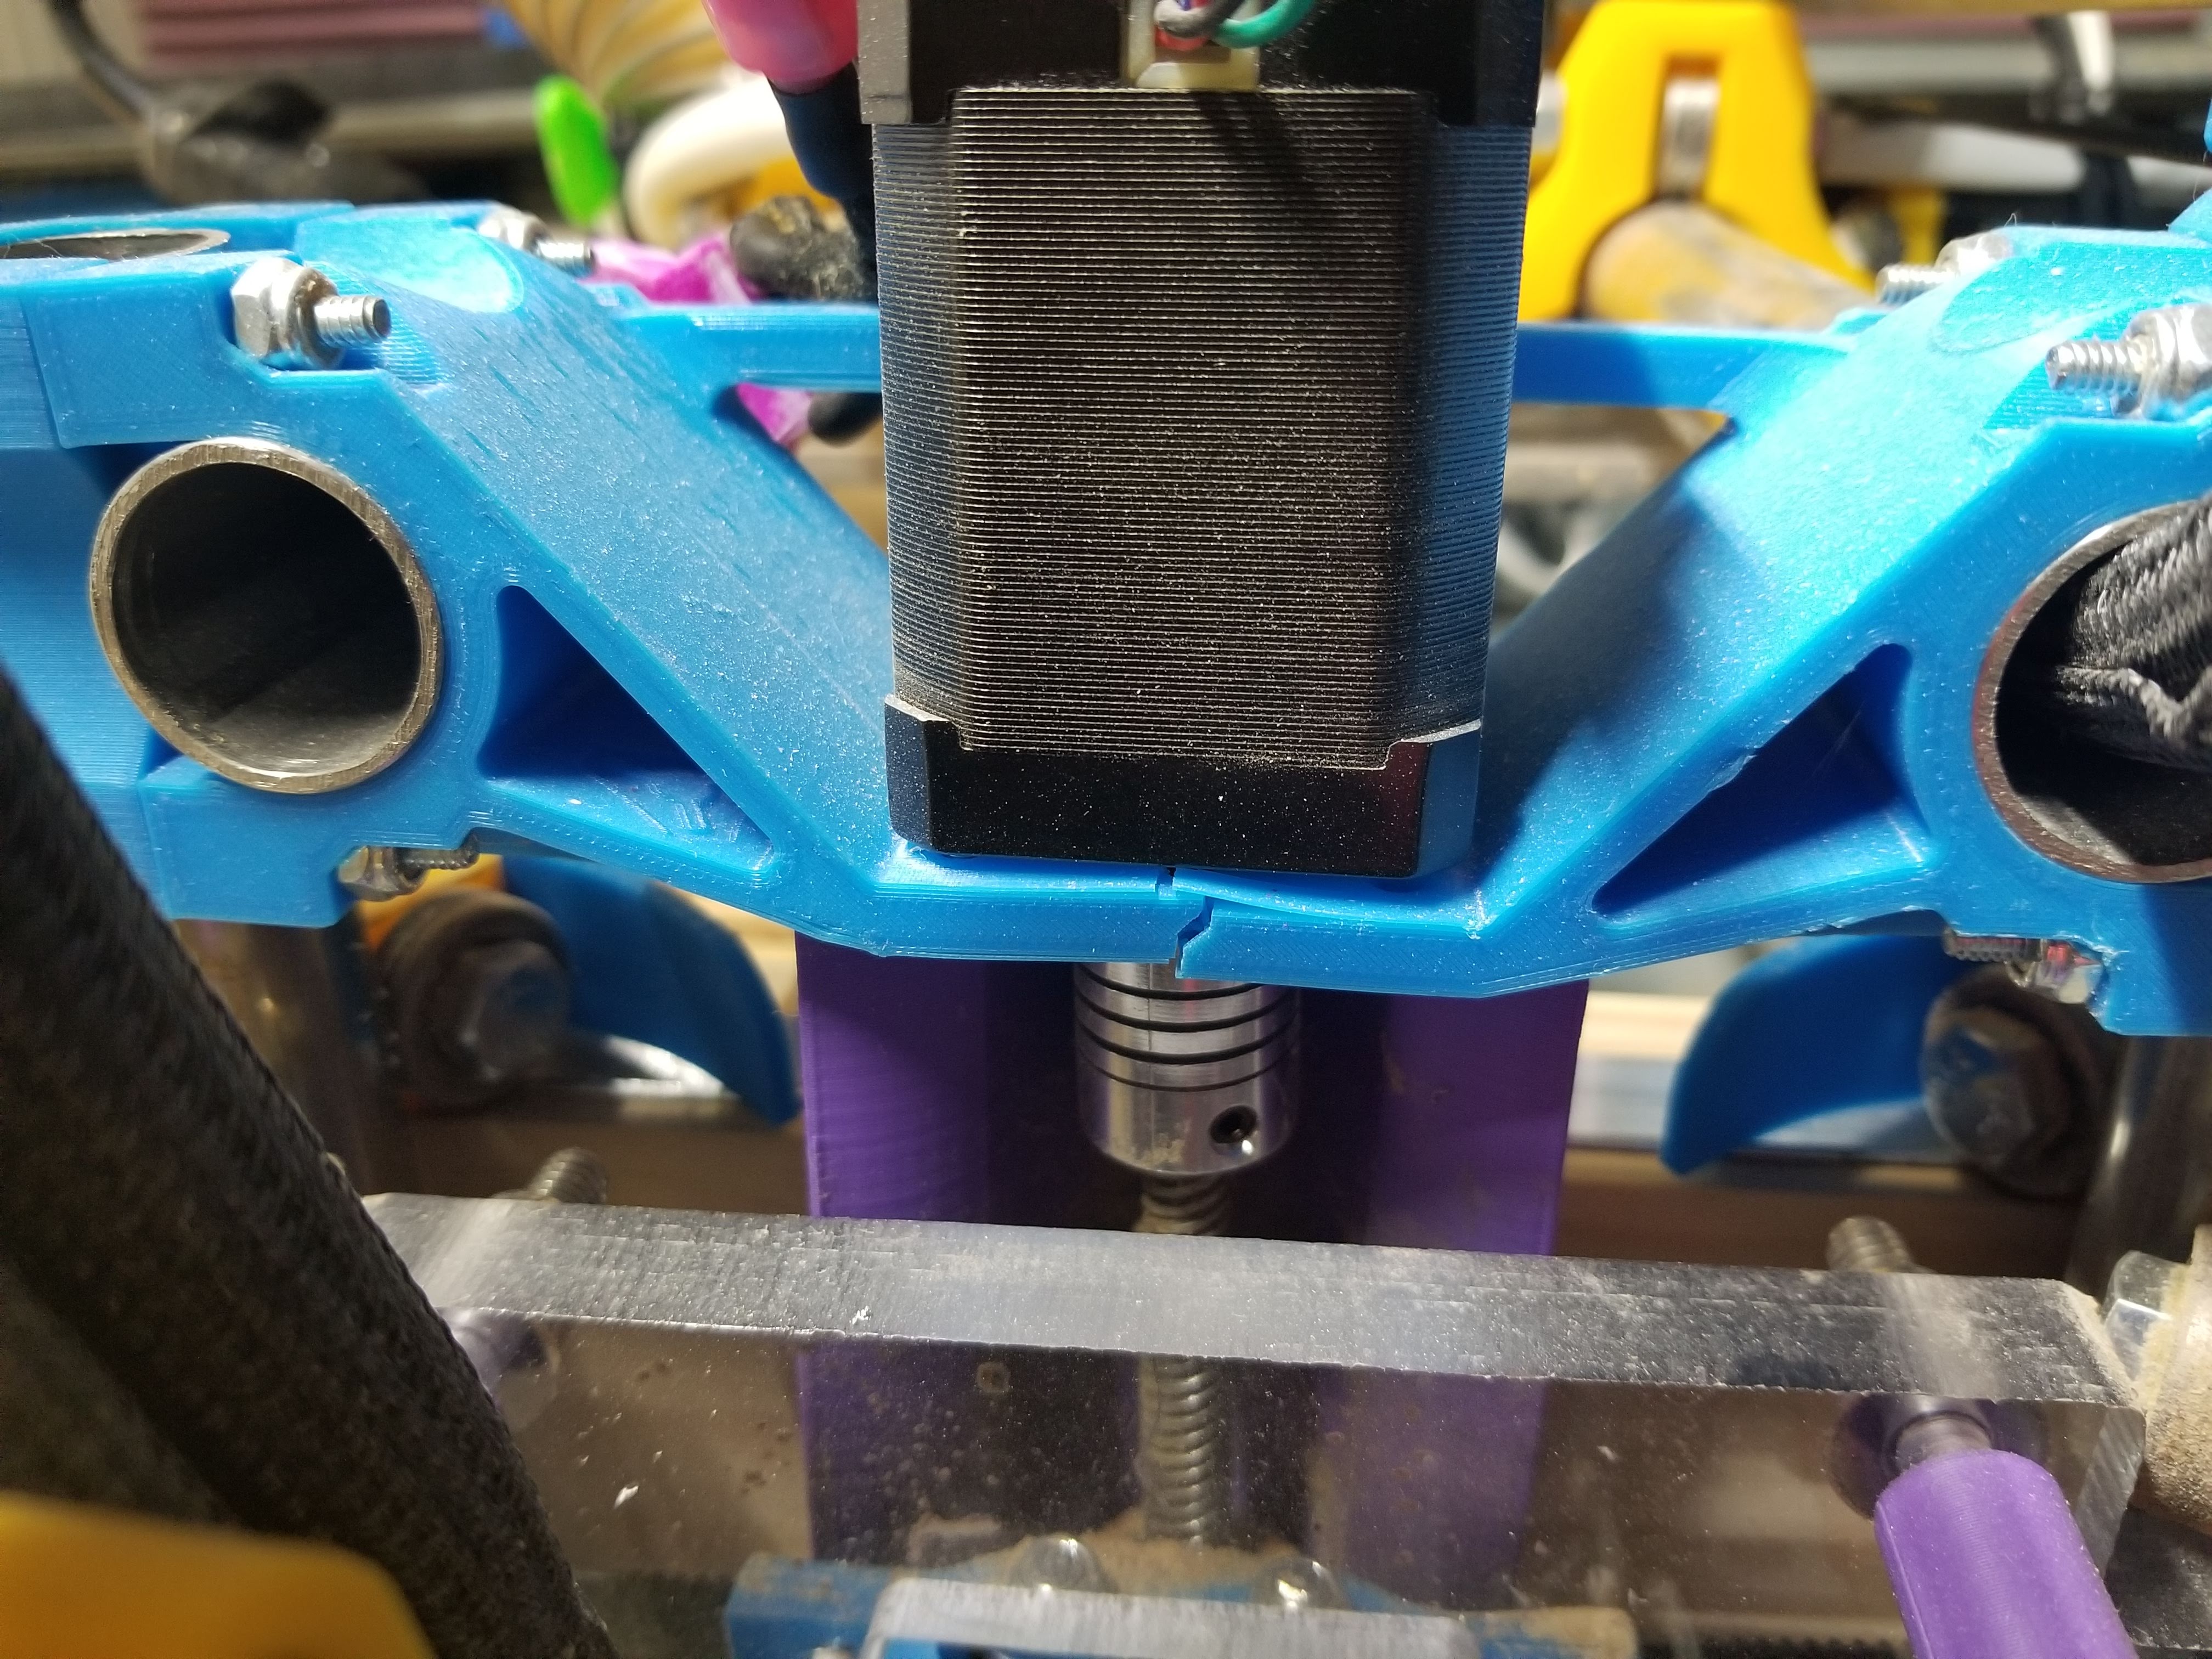
Apparently, a screw (or screws) came loose and the PLA finally gave out. But even worse, this means my freshly resurfaced spoilboard is not level…@#$%!
The solution…
I was fully intending to print a new set of original parts when I happened to stumble across this creation on Thingiverse.
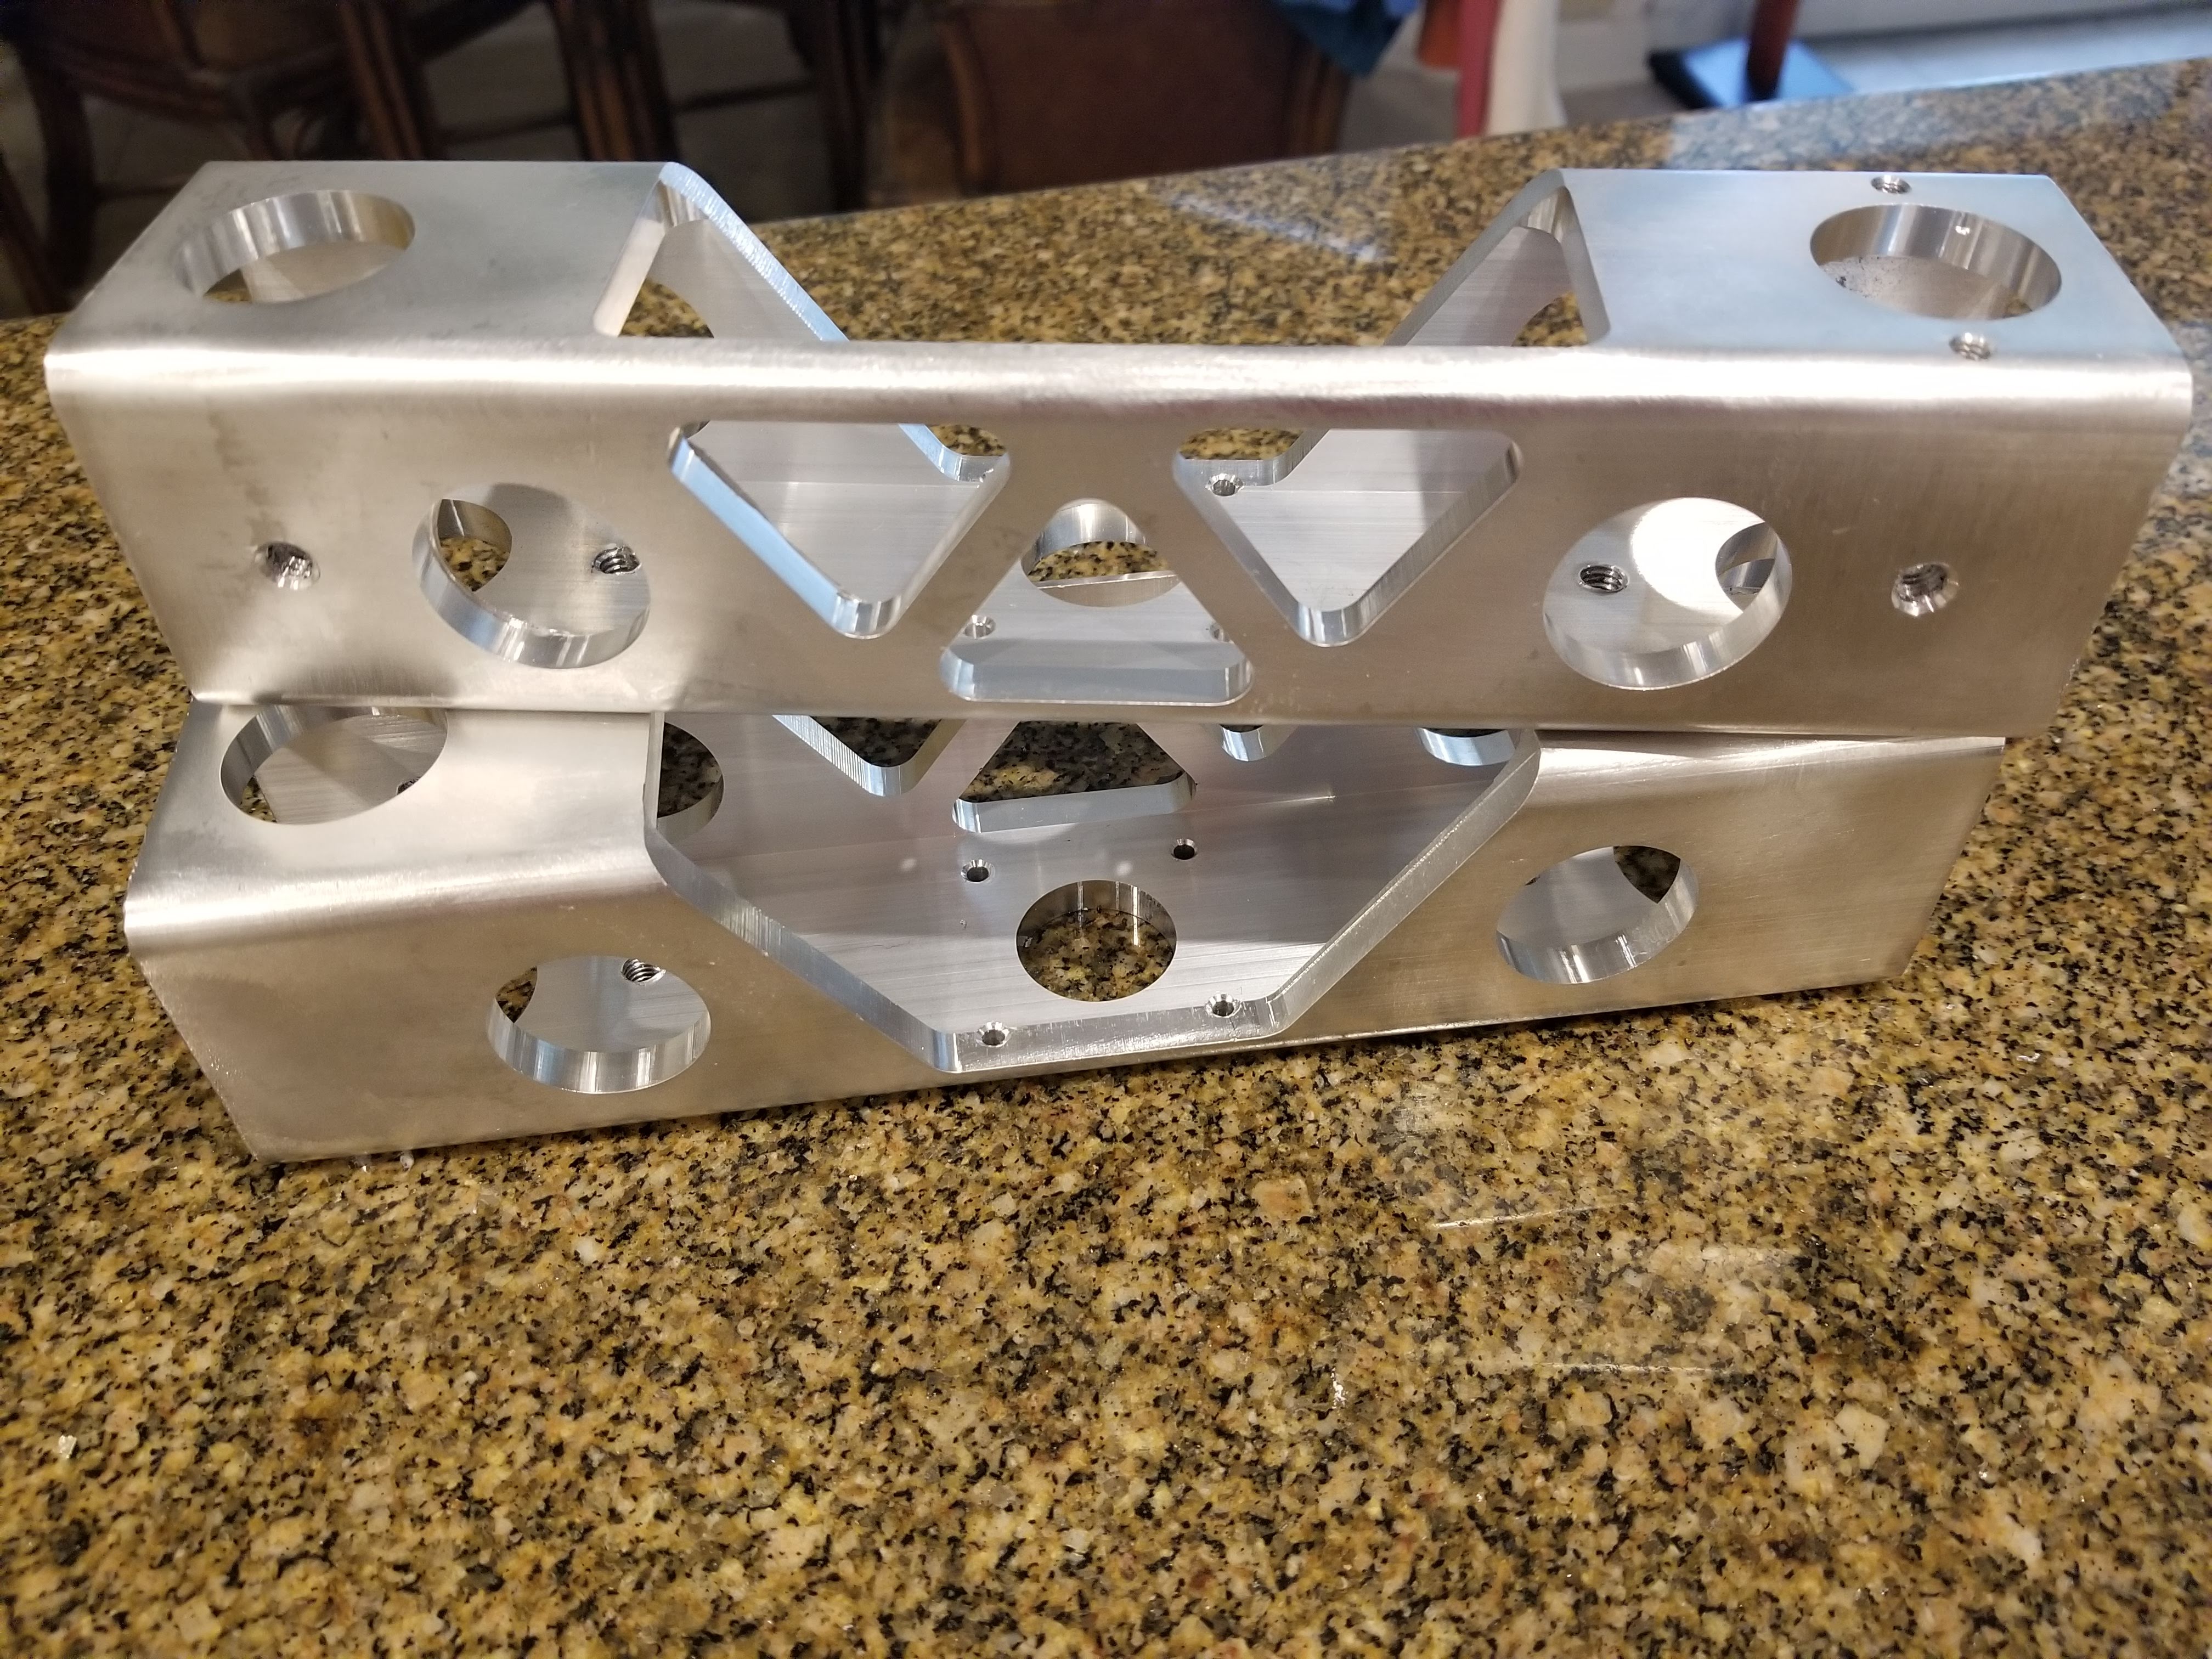
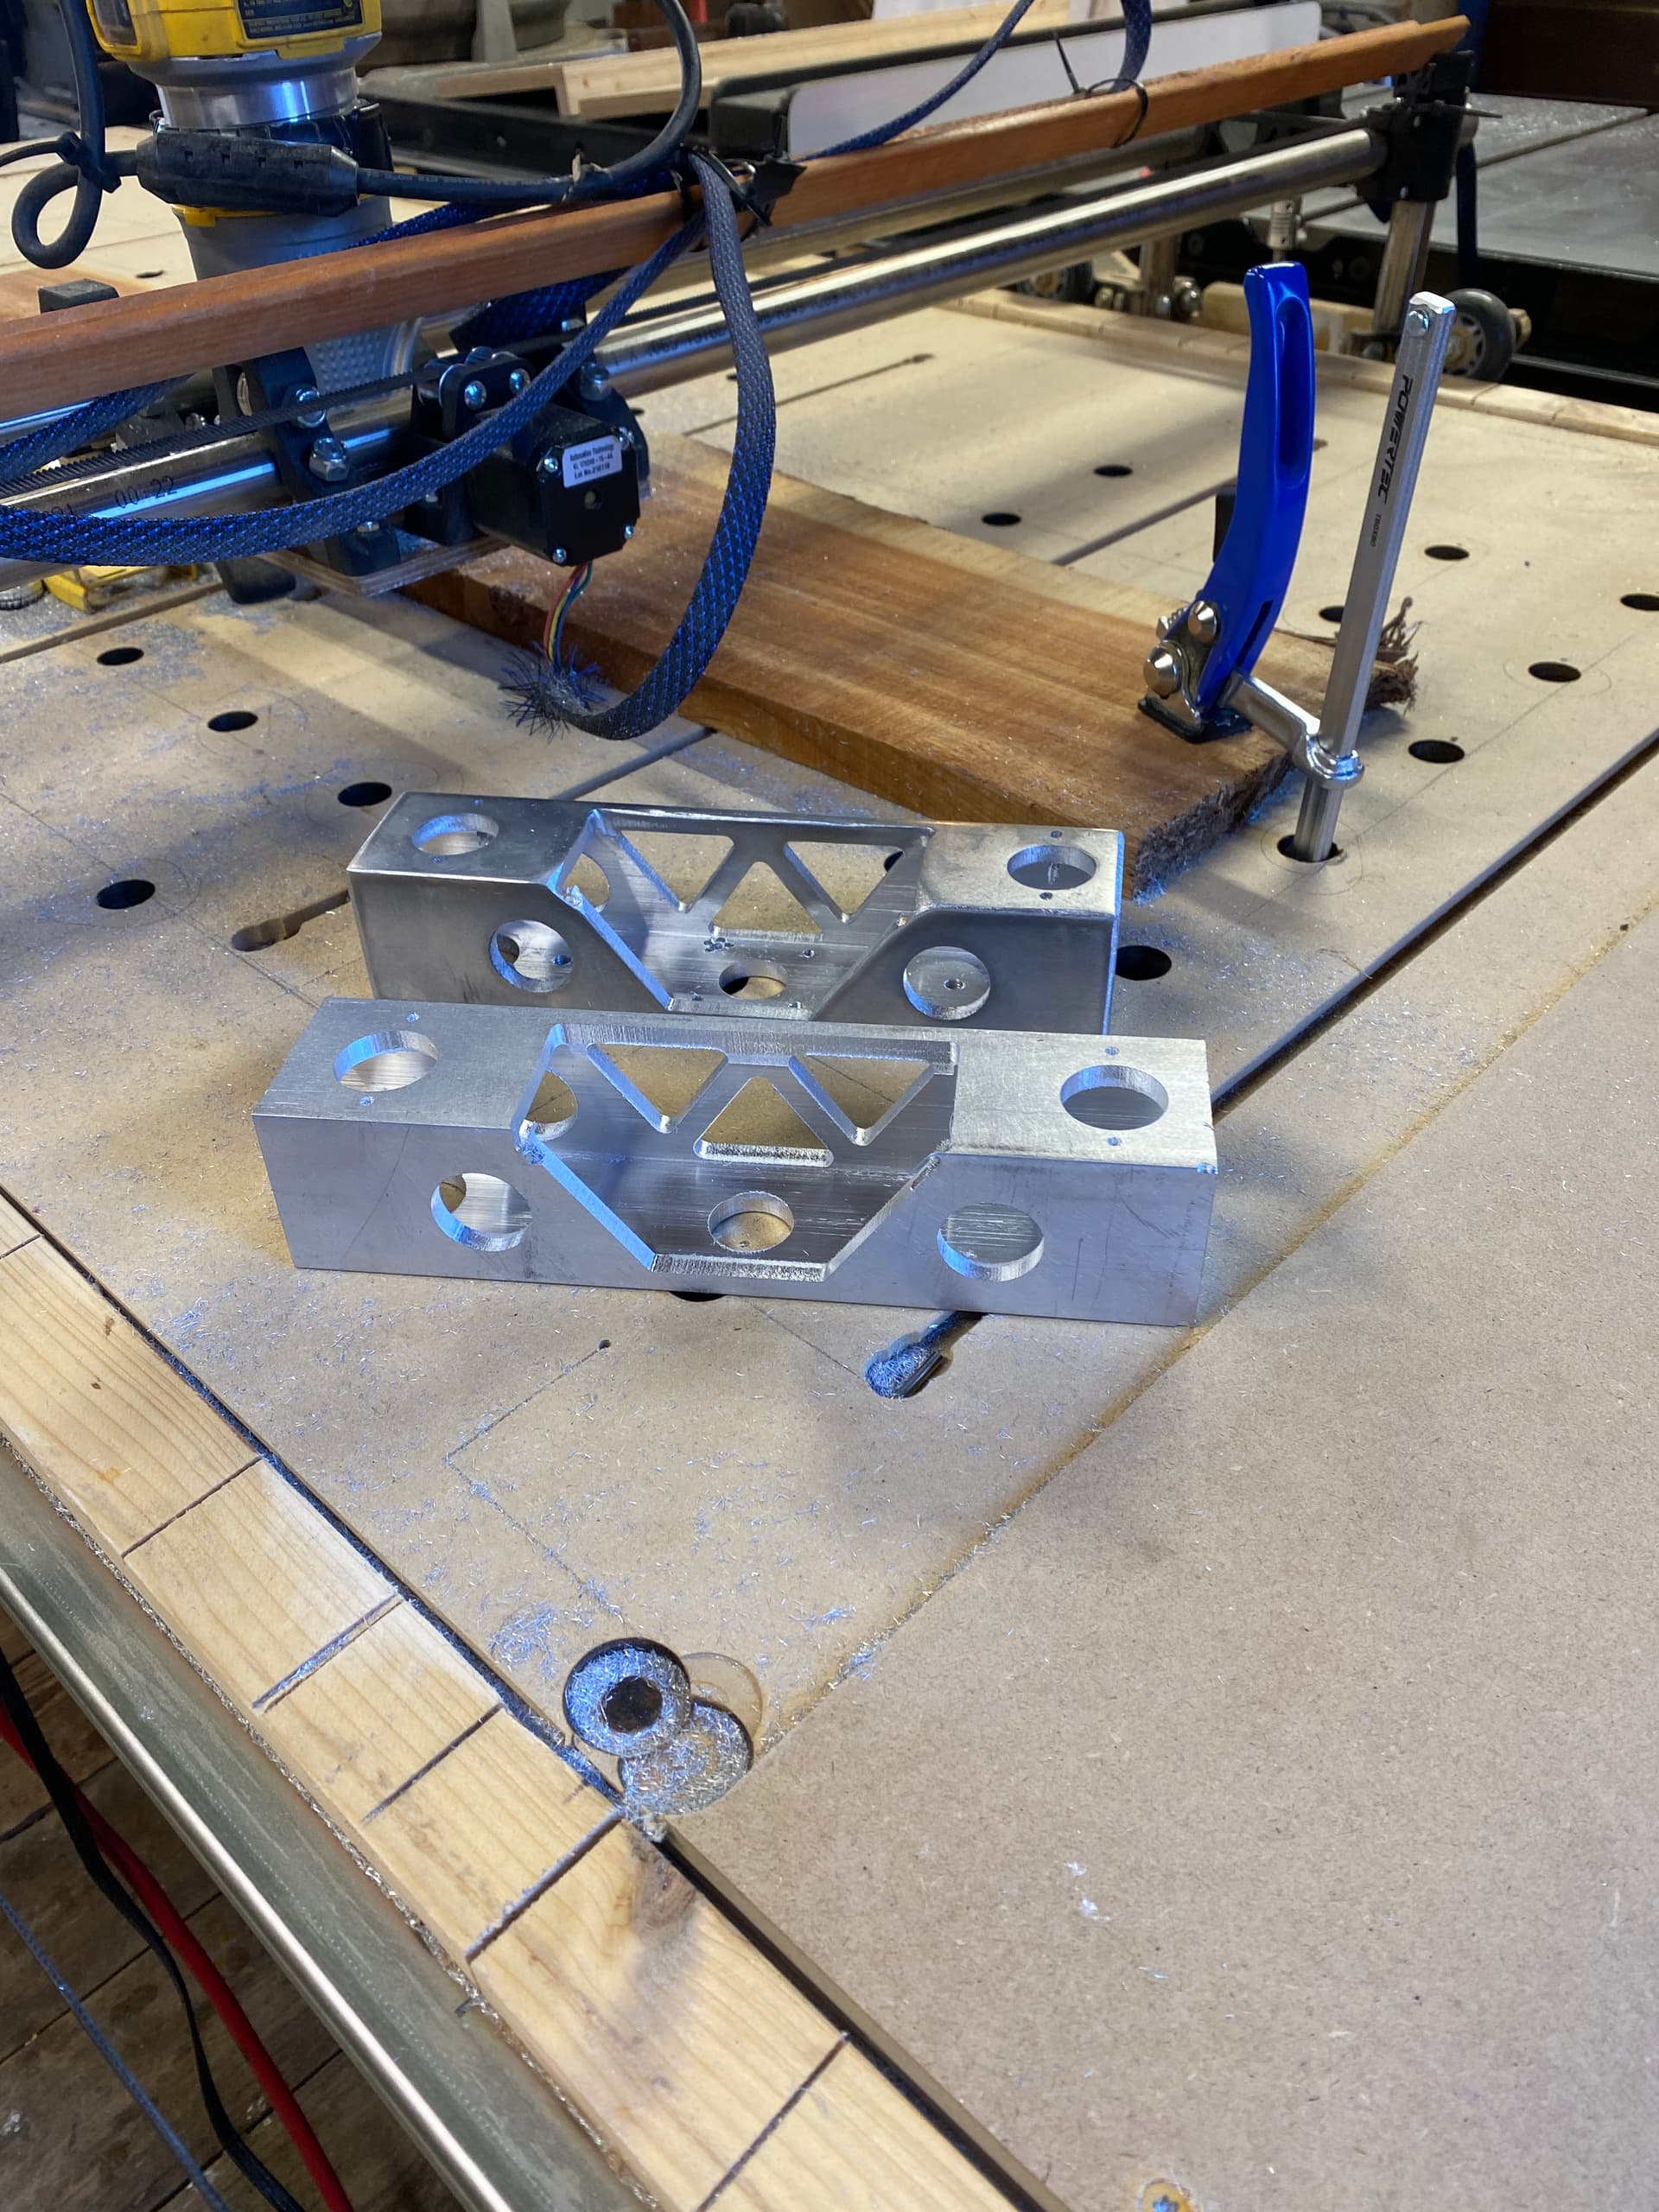
It was at this point that I knew what I had to do. So here we are, some 2 weeks later, with my very first aluminum parts made from 2"x2"x0.25" aluminum square tube (6061). I had to make a few small tweaks to the DXFs, and I had to switch from VCarve to Estlcam to take advantage of trochoidal milling (after breaking one 1/8" bit and clogging another attempting to slot cut). I ultimately used an Amana Tool 1/4" Spiral ‘O’ Flute, which did an excellent job once I figured out the proper settings.
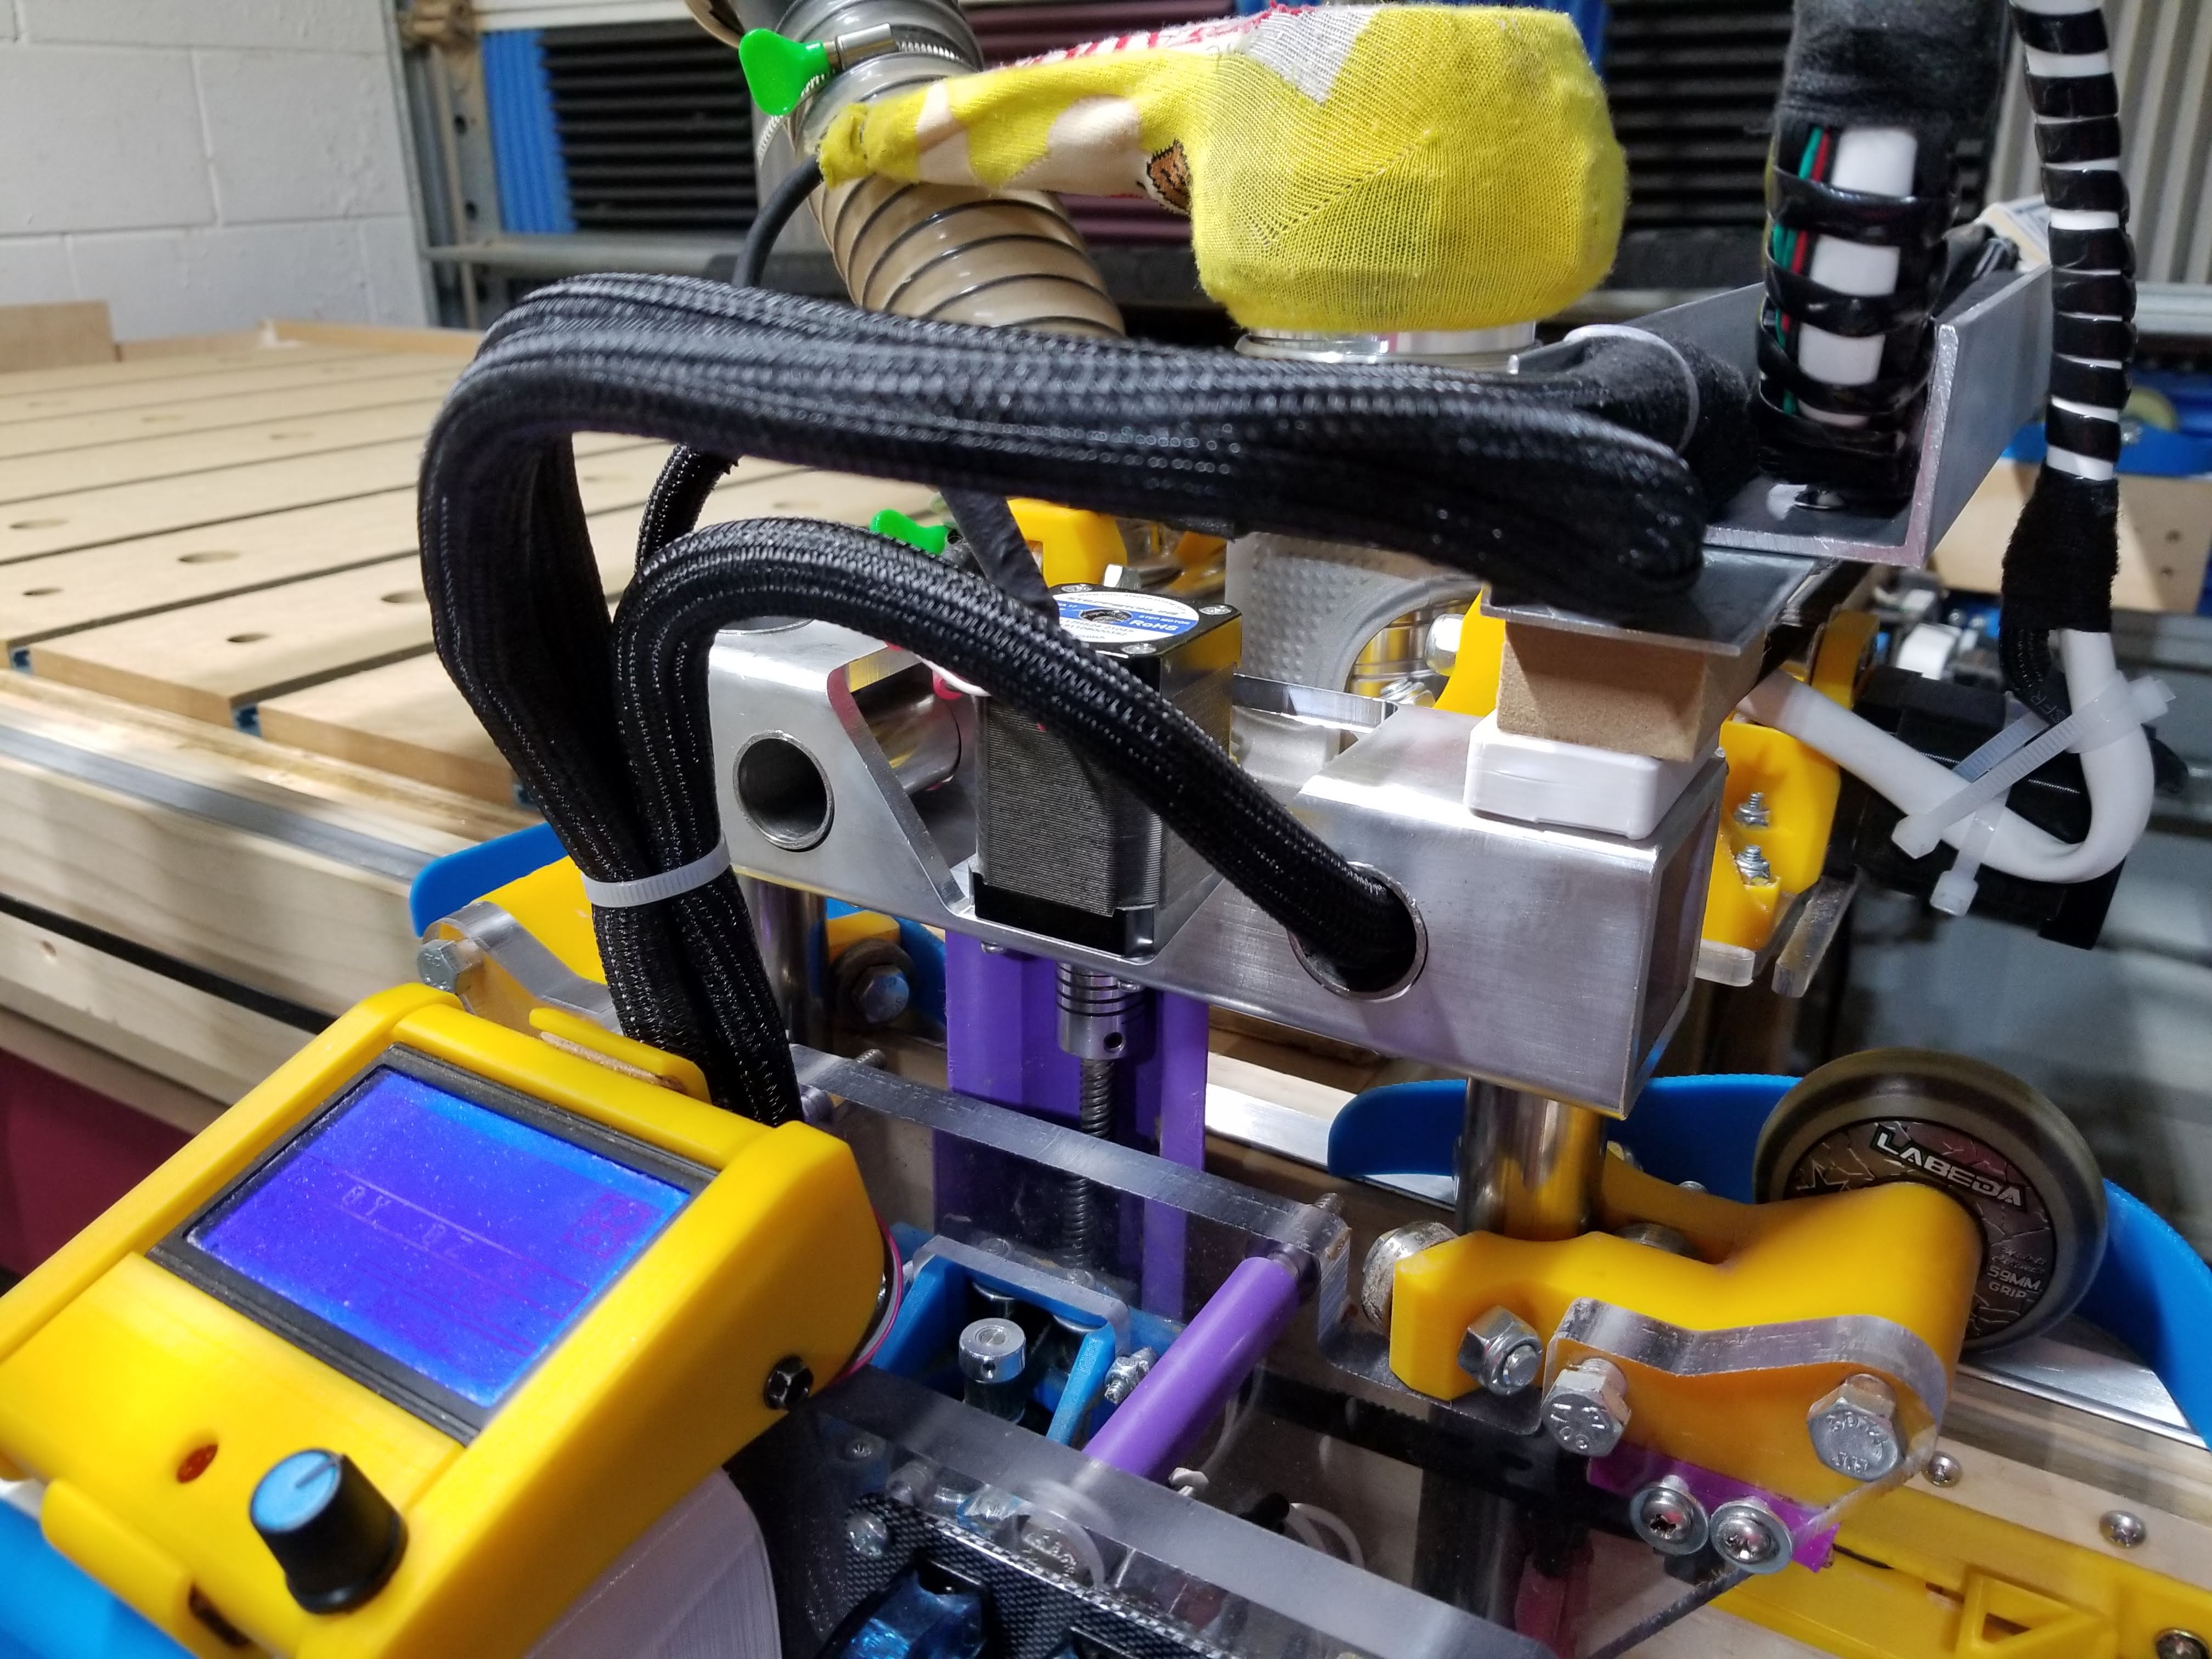
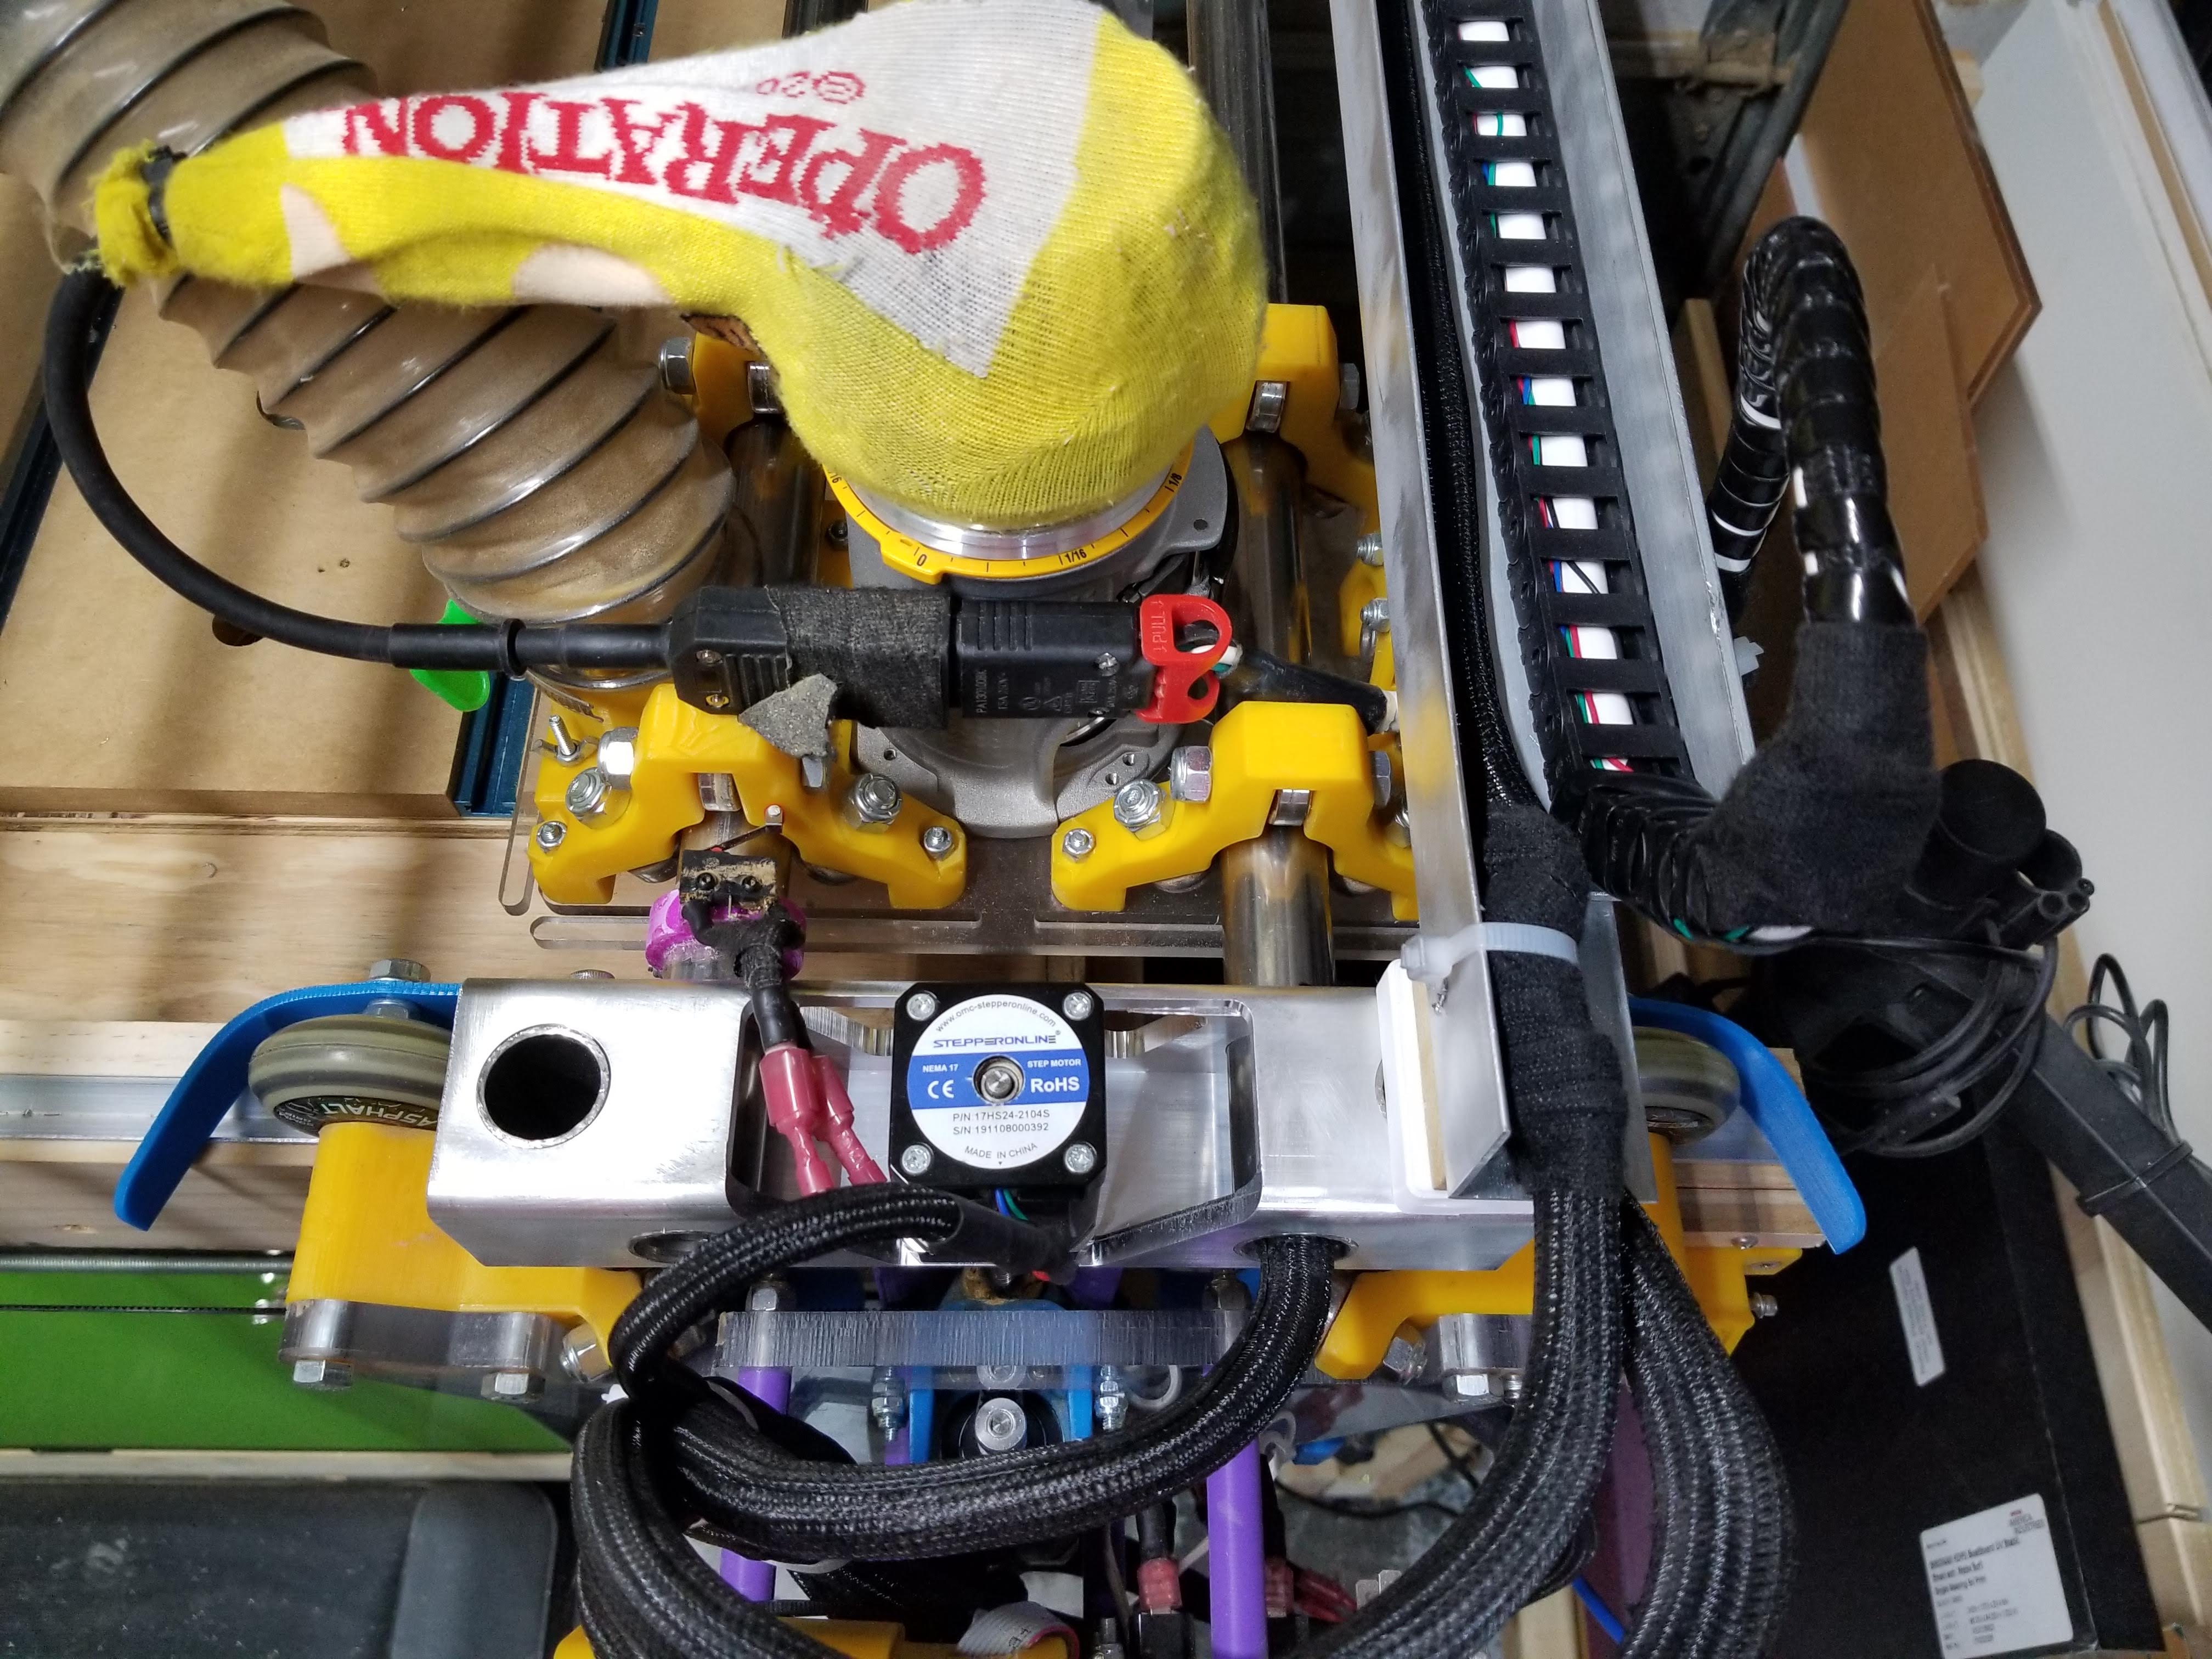
Now, the Lowrider2 is officially back in action! Except for needing to resurface again… So far, the machine feels extra sturdy and I’m completely digging the upgrade.
Although this is my 3rd time rebuilding the machine, I had to keep my original blue vinyl V1 cord cover. It was one of the very first things I made when I started this journey, and it’s a nice reminder of how far things have come.
Correct. Each side was milled from its own flat representation — excluding the drill holes.
I was not confident that I could plunge drill the aluminum on the router using a smaller bit, so I marked the drill locations in another pass using a 90° V-bit and completed the holes on the drill press. Then I tapped the threads by hand, and used a light touch from a countersink bit to remove any excess material.
The use of extrusions is a great idea. We used large stainless extrusions all the time in a fab shop where I used to work (industrial robotics). Good to have a few scraps around for design brainstorm sessions.
Those are gorgeous! Almost makes me want to replace mine, even though there’s nothing wrong with them. Will definitely happen if I need to tear down in the future. Bravo!
Did you find that you had to massage the parts a bit to get the rails perfectly parallel and at right angles to eachother? I’m just working on some practice cuts and having a hard time keeping everything perfectly square. I was going to oversize one of the holes a bit and use shims if required to straighten things out.
I’m not quick to call anything a bad idea if it works…
A couple thoughts from my own experience:
I had to tweak my bit diameter a touch to get properly sized holes in aluminum. I don’t know if it was due to the bit itself, or the trochoidal milling paths in Estlcam, but my cuts were coming out undersized for what was expected. I now have an extremely small amount of play in the hole, enough to comfortably allow the tube to fit without forcing it. But when the M6 screws are tightened down, they are solid as a rock.
If you are having square issues, you might consider a possible cause first. It’s pretty easy to get these machines square in the XY direction, but the Z-axis can be more complicated. When cutting a 2" tall tube, there is an extreme Z-factor being added to the equation. If there is any amount of unmanaged tilt in your Z-axis, you will need compensate, as any Z-axis issue left unchecked will be effectively doubled when the part is flipped and milled again. You might start by rechecking your origin position at the 2" height and adjusting as necessary.
Yeah I figured if my z was a bit out of wack it would just put a taper on the hole sides but if the center of the hole is coincident from one side of the other it should result in a straight assembly and the taper of the wall would not come into play.
Sounds like yours were pretty bang on then? Did you check with a square afterwards or just assemble and test?
My work process always involves a good amount of trial and error, or tweak and repeat. That’s one of the reasons I made sure to have extra material. I wish things would come out perfect on the first try, but that’s often not the case.
i have been having the same issue with cracking on the top brackets on my low-rider. (both times my fault but re-leveling is really irritating)
Time to perfect aluminum cutting on the MPCNC to make these
I know this is an old topic but I feel that it is still very relevant. Cutting aluminum or metal with this machine can be a very treacherous journey. When I first started I was taking my cuts at approximately .5 mm. This took very long but gave me reasonable results. I was curious though after going through this thread about trochoidal milling and full depth cuts. In this case approximately 7 mm. I finally settled on full depth, 1% stepover, 20% width. Two things to note however. I lowered my plunge rate to 3mm /s and I plunge the bit to a full 9mm to make sure the end mill is not working during the during lateral trochoidal cutting. Using this method I had no problem cutting this 4 sided mill with a 1/8" bit at approximately 55 minutes per side. One tip I can give is to pull your router and check the collet for tightness after cutting each side. The important thing to take into consideration here is because I cut full depth the chips did not need to be evacuated and keeping the end mill 3 mill below the bottom preserved it for the plunges which really put the most wear on the bit.
Very nice Paul. That shape is beyond challenging. It looks like you cut from aluminum square tubing. I have a couple questions. Did you have any issues with vibration of the part? And how did you secure it? From the bottom or top surface?
I was thinking about diving into some 0.125 square steel tubing on my MPCNC for similar type cuts but started thinking about it flexing on the top surface and talked myself out of it. Plus it is not an easy thing to lock down. I imagined the sound to be unbearable.