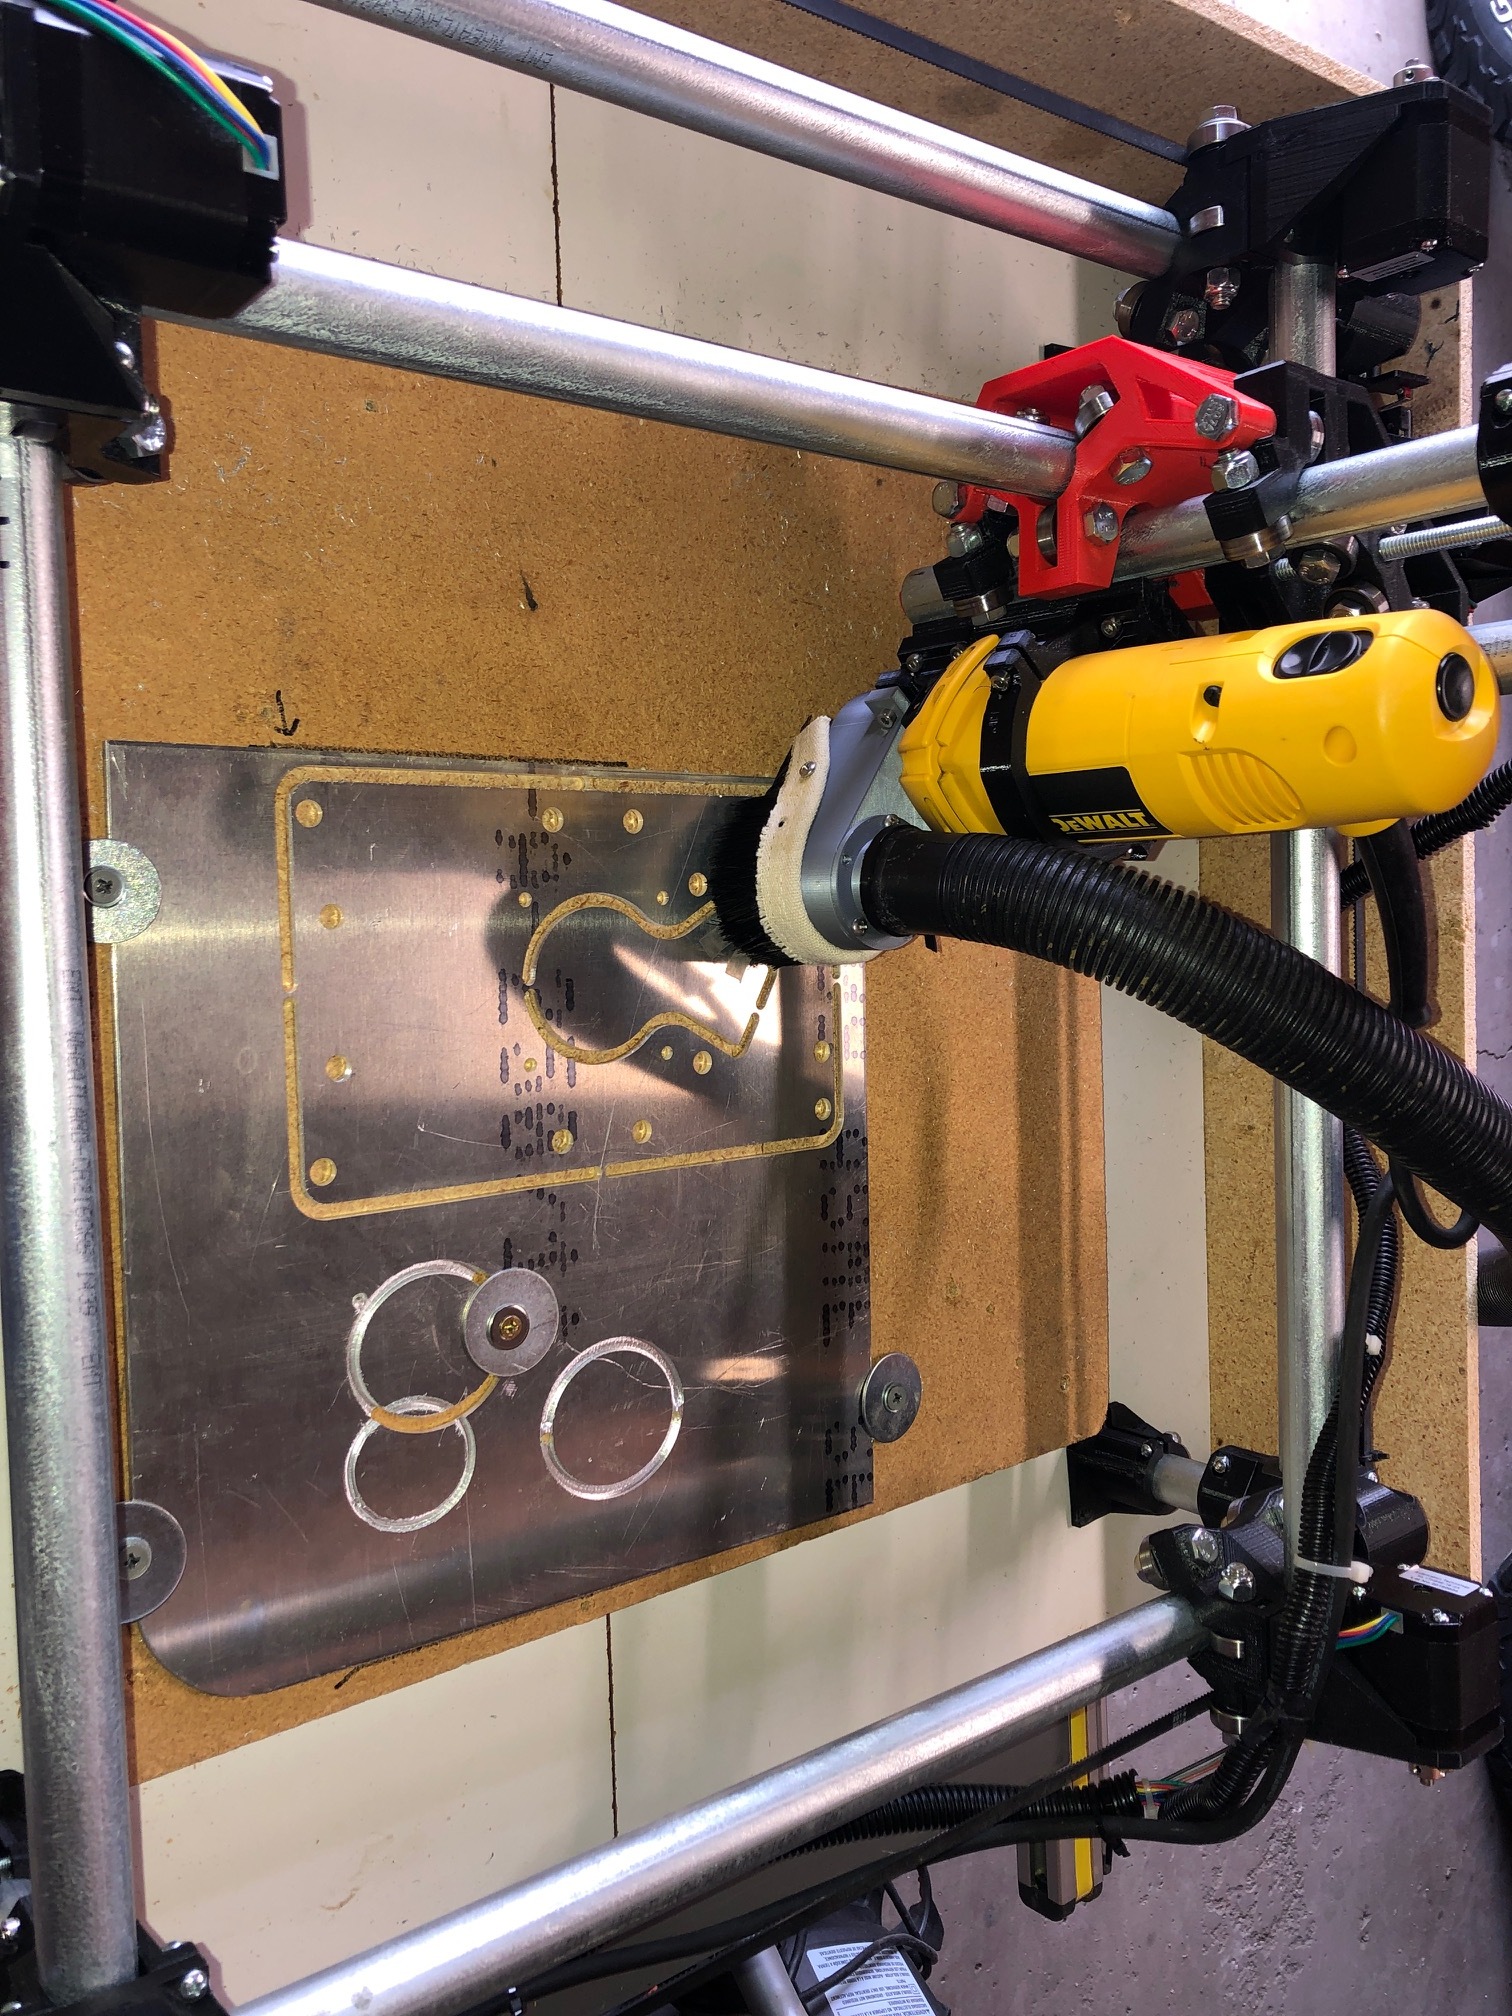
First was to recut my 611 plate. Last time I ended up with a 6mm mill for the giant clearing flutes with a hand in the speed controller for 3 hours straight on Adaptive paths, including several restarts for skipped steps.
This time, under an hour with conservative feeds and I replaced the handle on my car door while it ran.
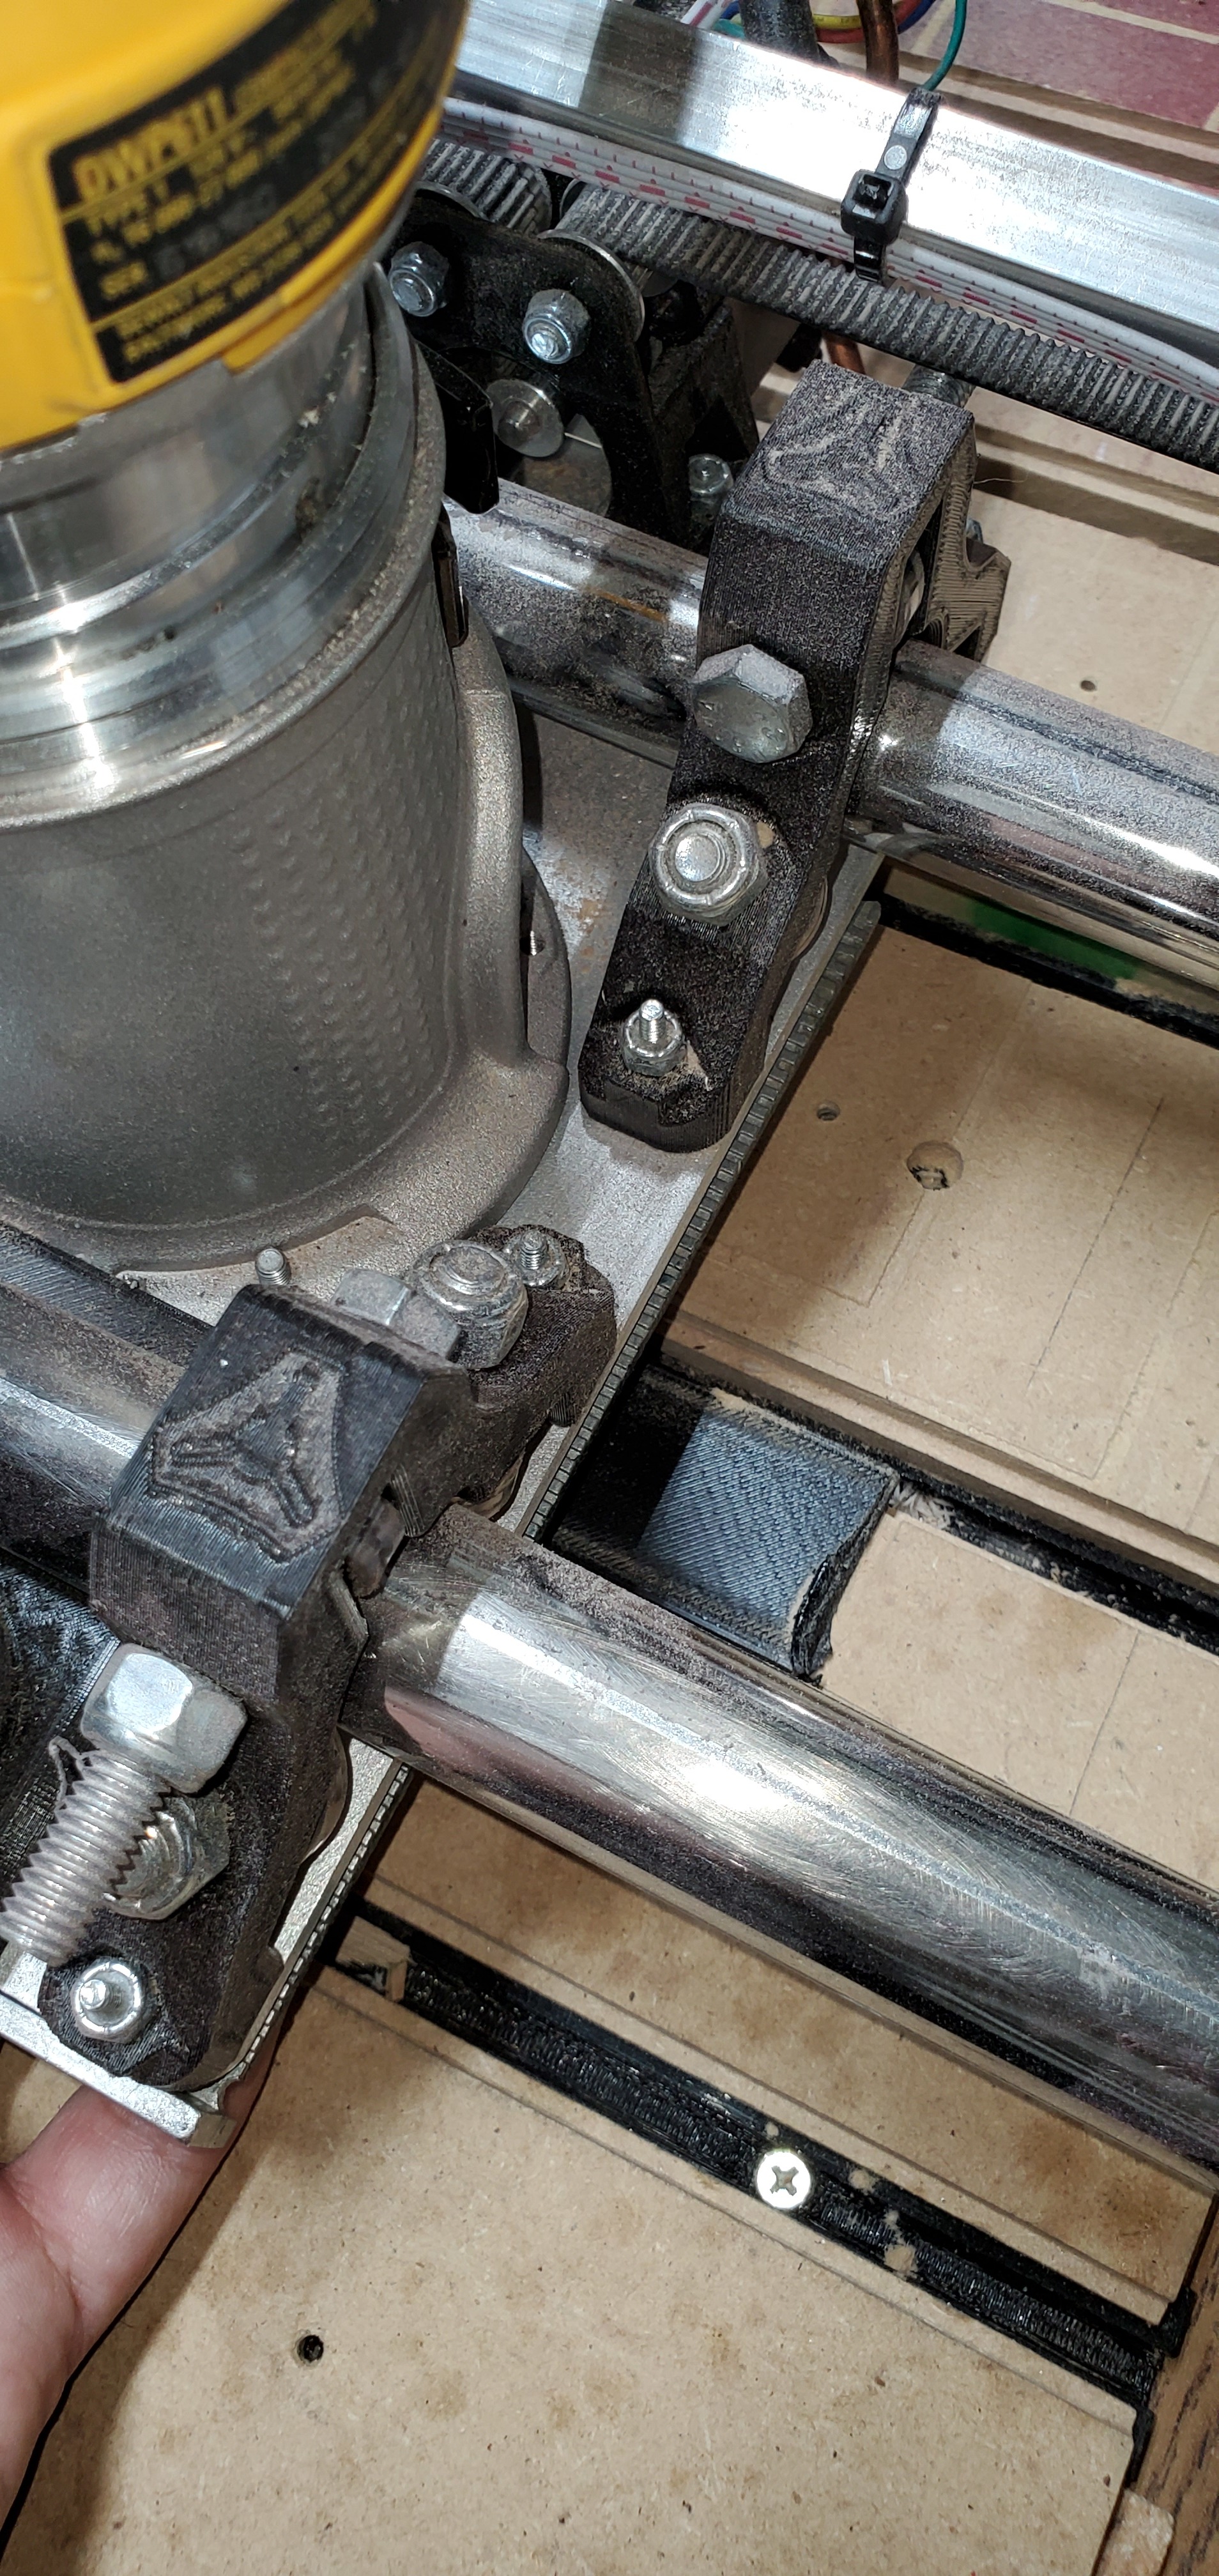
Oh yeah, the old one was crooked. Guess I bumped an endstop an didn’t realize it or something.
You wouldn’t know it by looking, but I screwed up the order on my paths and put the finishing contour of the F before the clearing path. I saw it plunging and said F it. It chugged right along at full depth.
I would like to try this aluminum plate myself. I don’t have any experience with cutting aluminum. Any chance of finding out what cutter you used and what your setting were? No problem with doing it with plywood but aluminum seems like a challenge.
I’m using the shorter single flute from v1. It looks exactly like the Kyocera mills I found, really nice looking. Big wide open flute. Compare it to the longer single flute in his shop and you’ll see what I mean.
This build is kind of special and I don’t know that my feeds and speeds will be helpful. I did list some of my tests on my “teeny tiny build” thread if you’re still interested, but I don’t want to give you the wrong idea about what your machine will or won’t do.
Generally speaking there are some things that can help you along. Check out the aluminum guide in the docs. Great place to start, especially for a regular build. I don’t remember everything I read there, just what I do now. I feel pretty good about being able to load up some aluminum on my machine and cut it the first time with no problem, but the guy that wrote the guide has cut a LOT more aluminum on these than I have, and his build was a lot more typical.
Most important thing is to get one of those single flute CARBIDES like in the shop, some sort of air (even if it’s you sitting there holding it) and get started.
If you don’t get success right away, post your results, your machine, and your tool path info (speed, feed, doc, strategy, etc) and there are enough people here that we can probably get you into it.
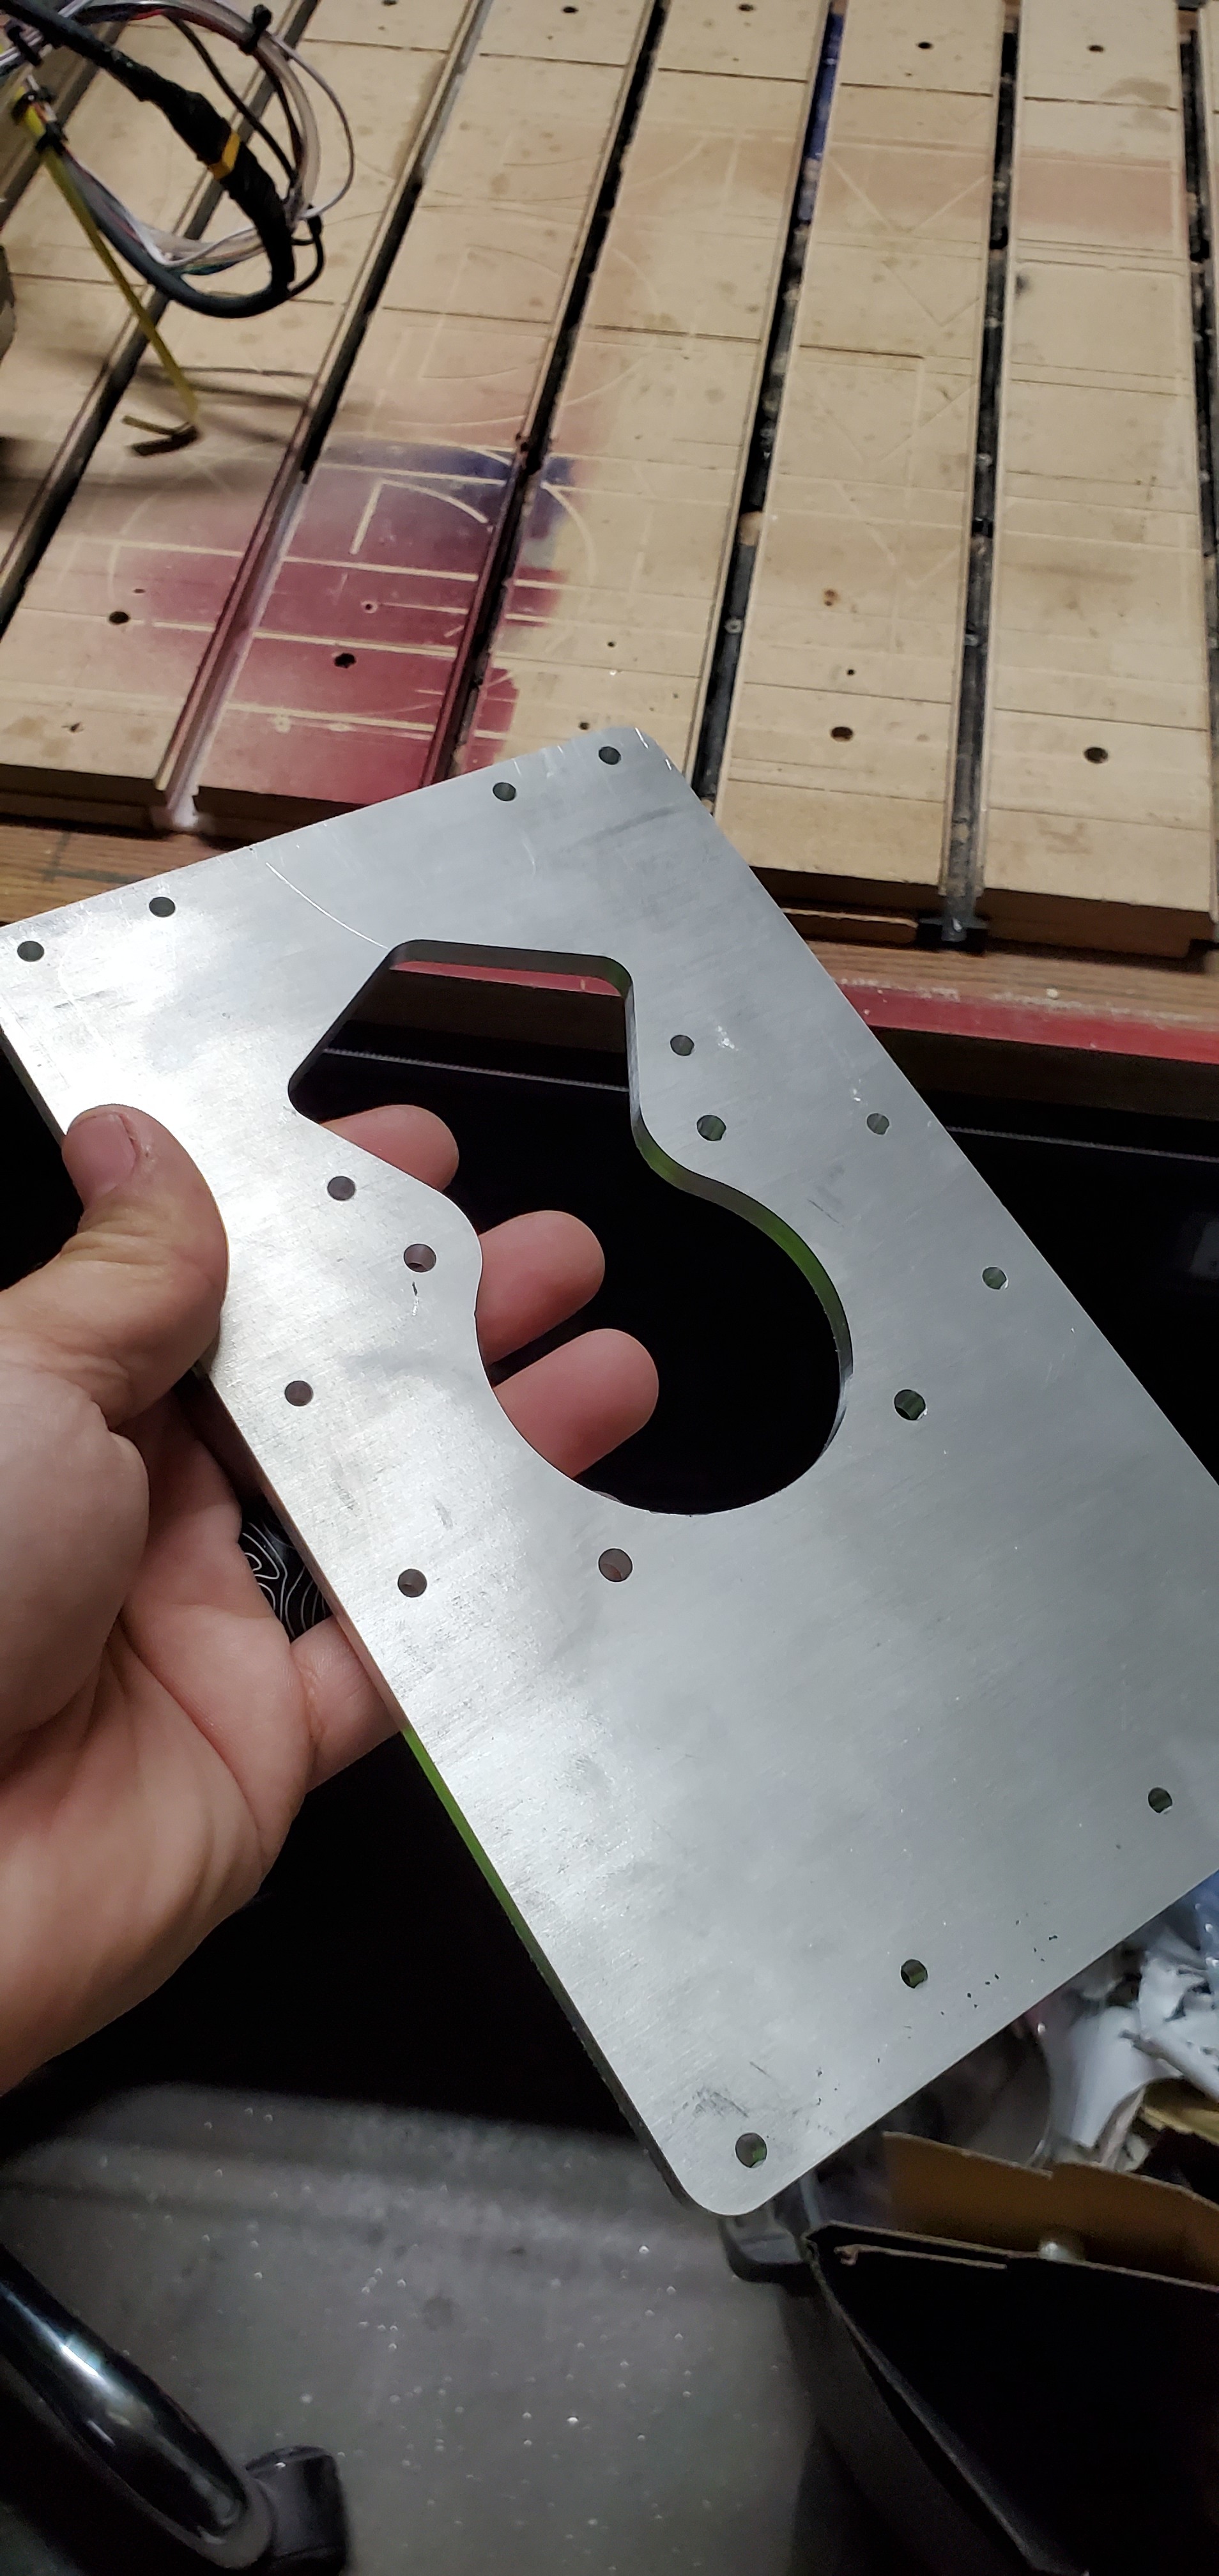
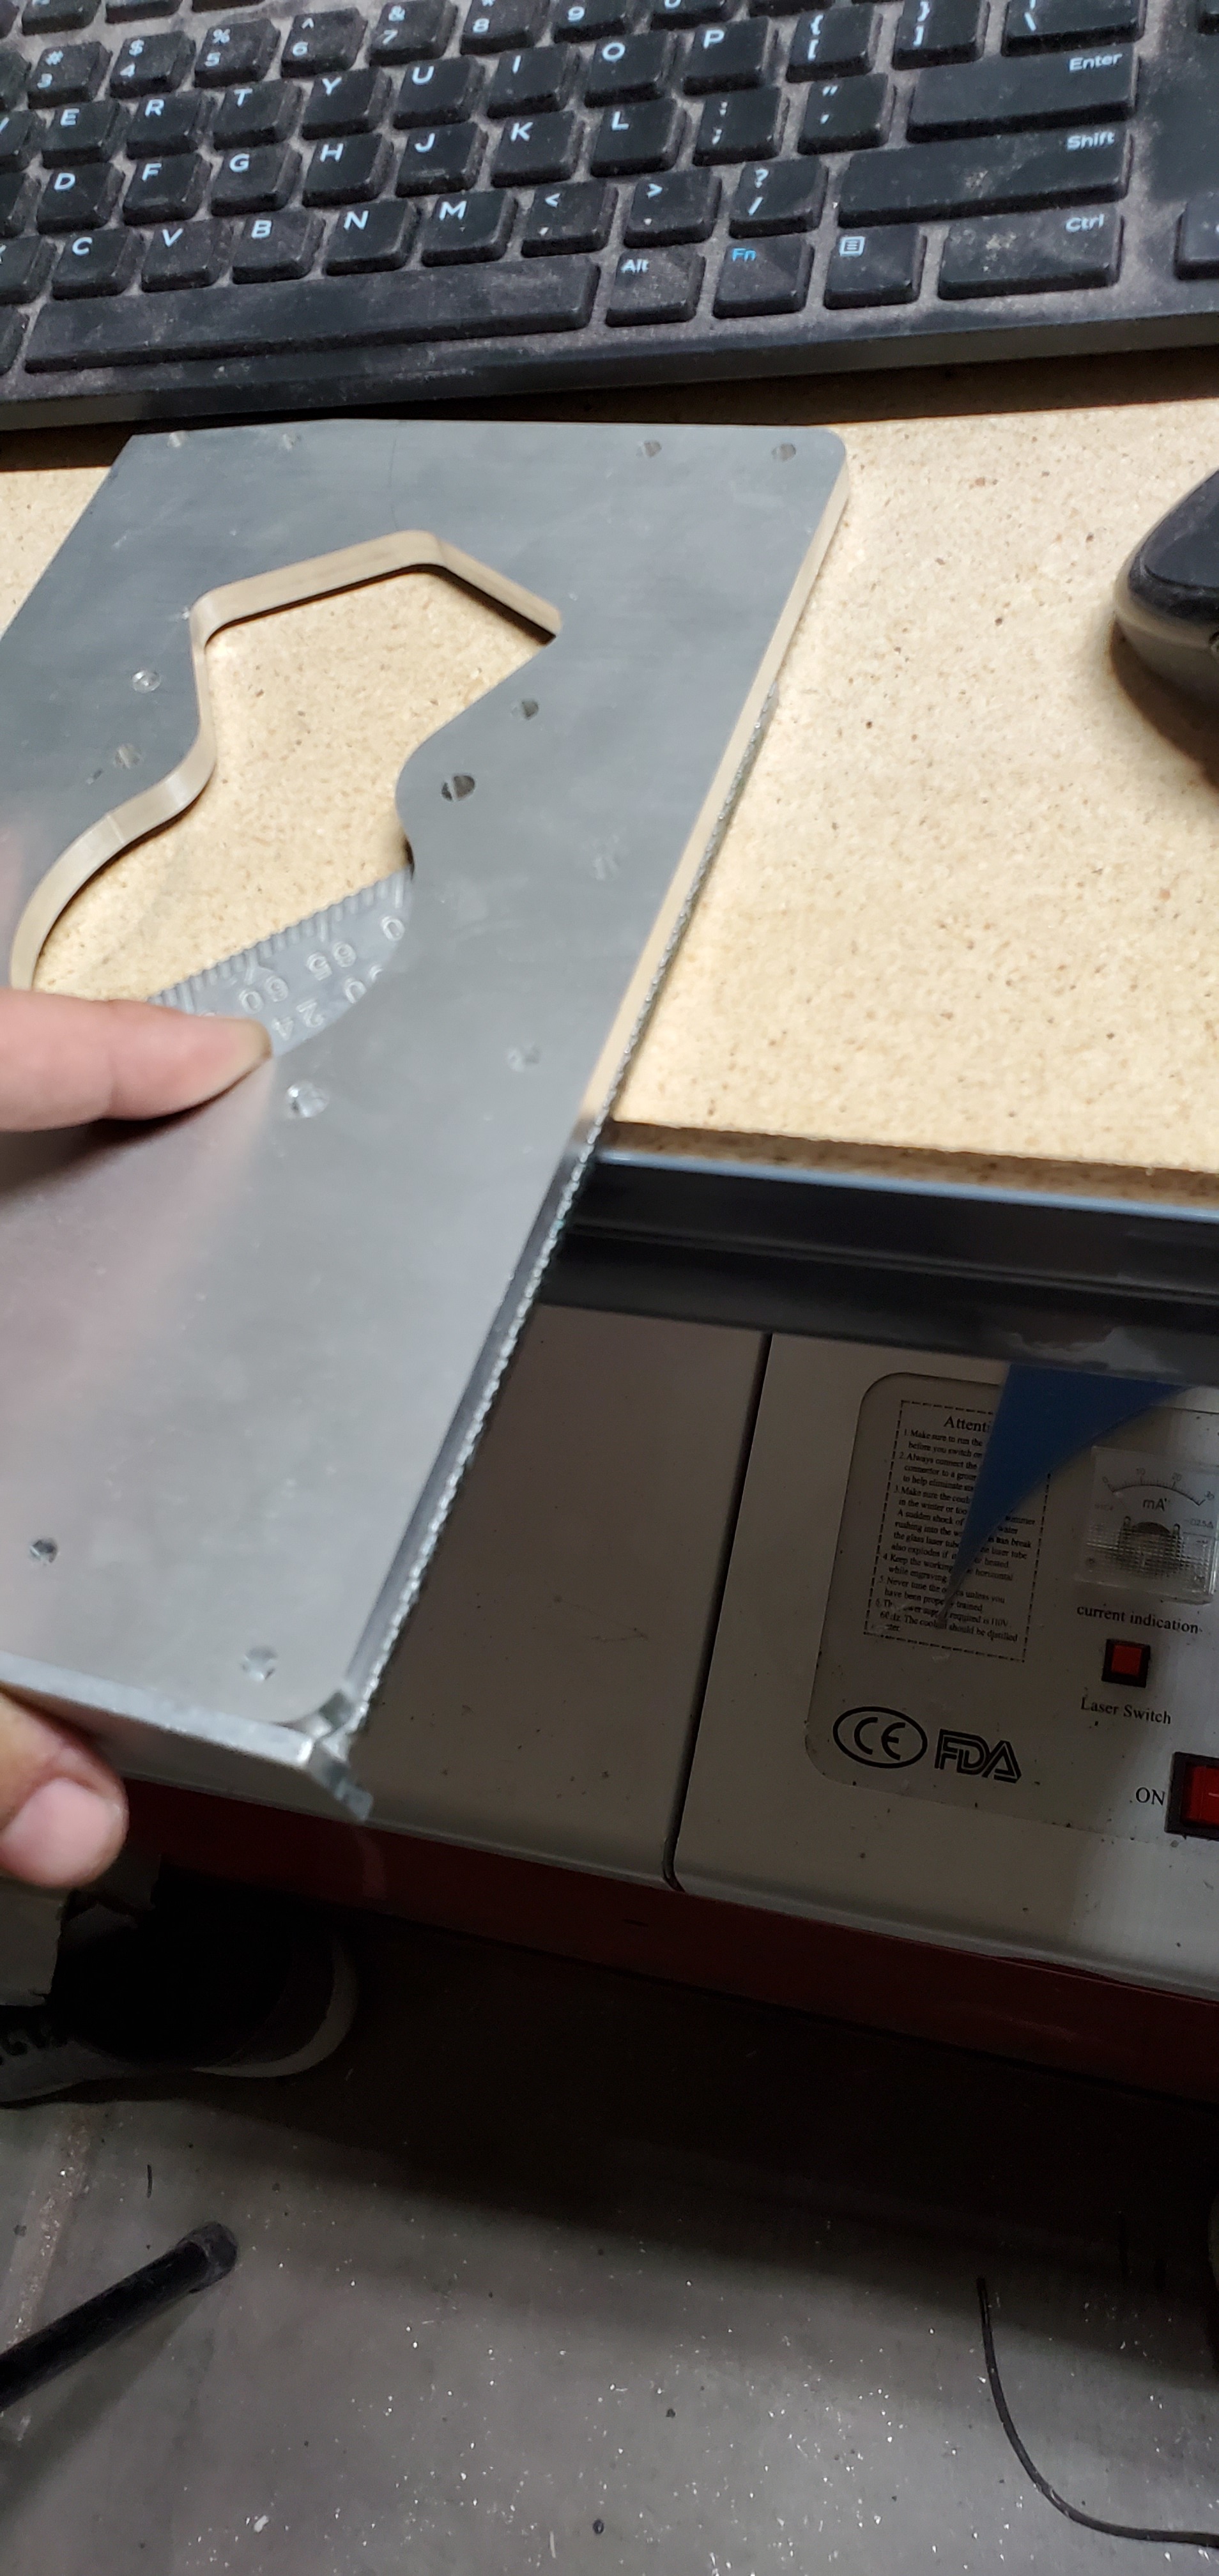
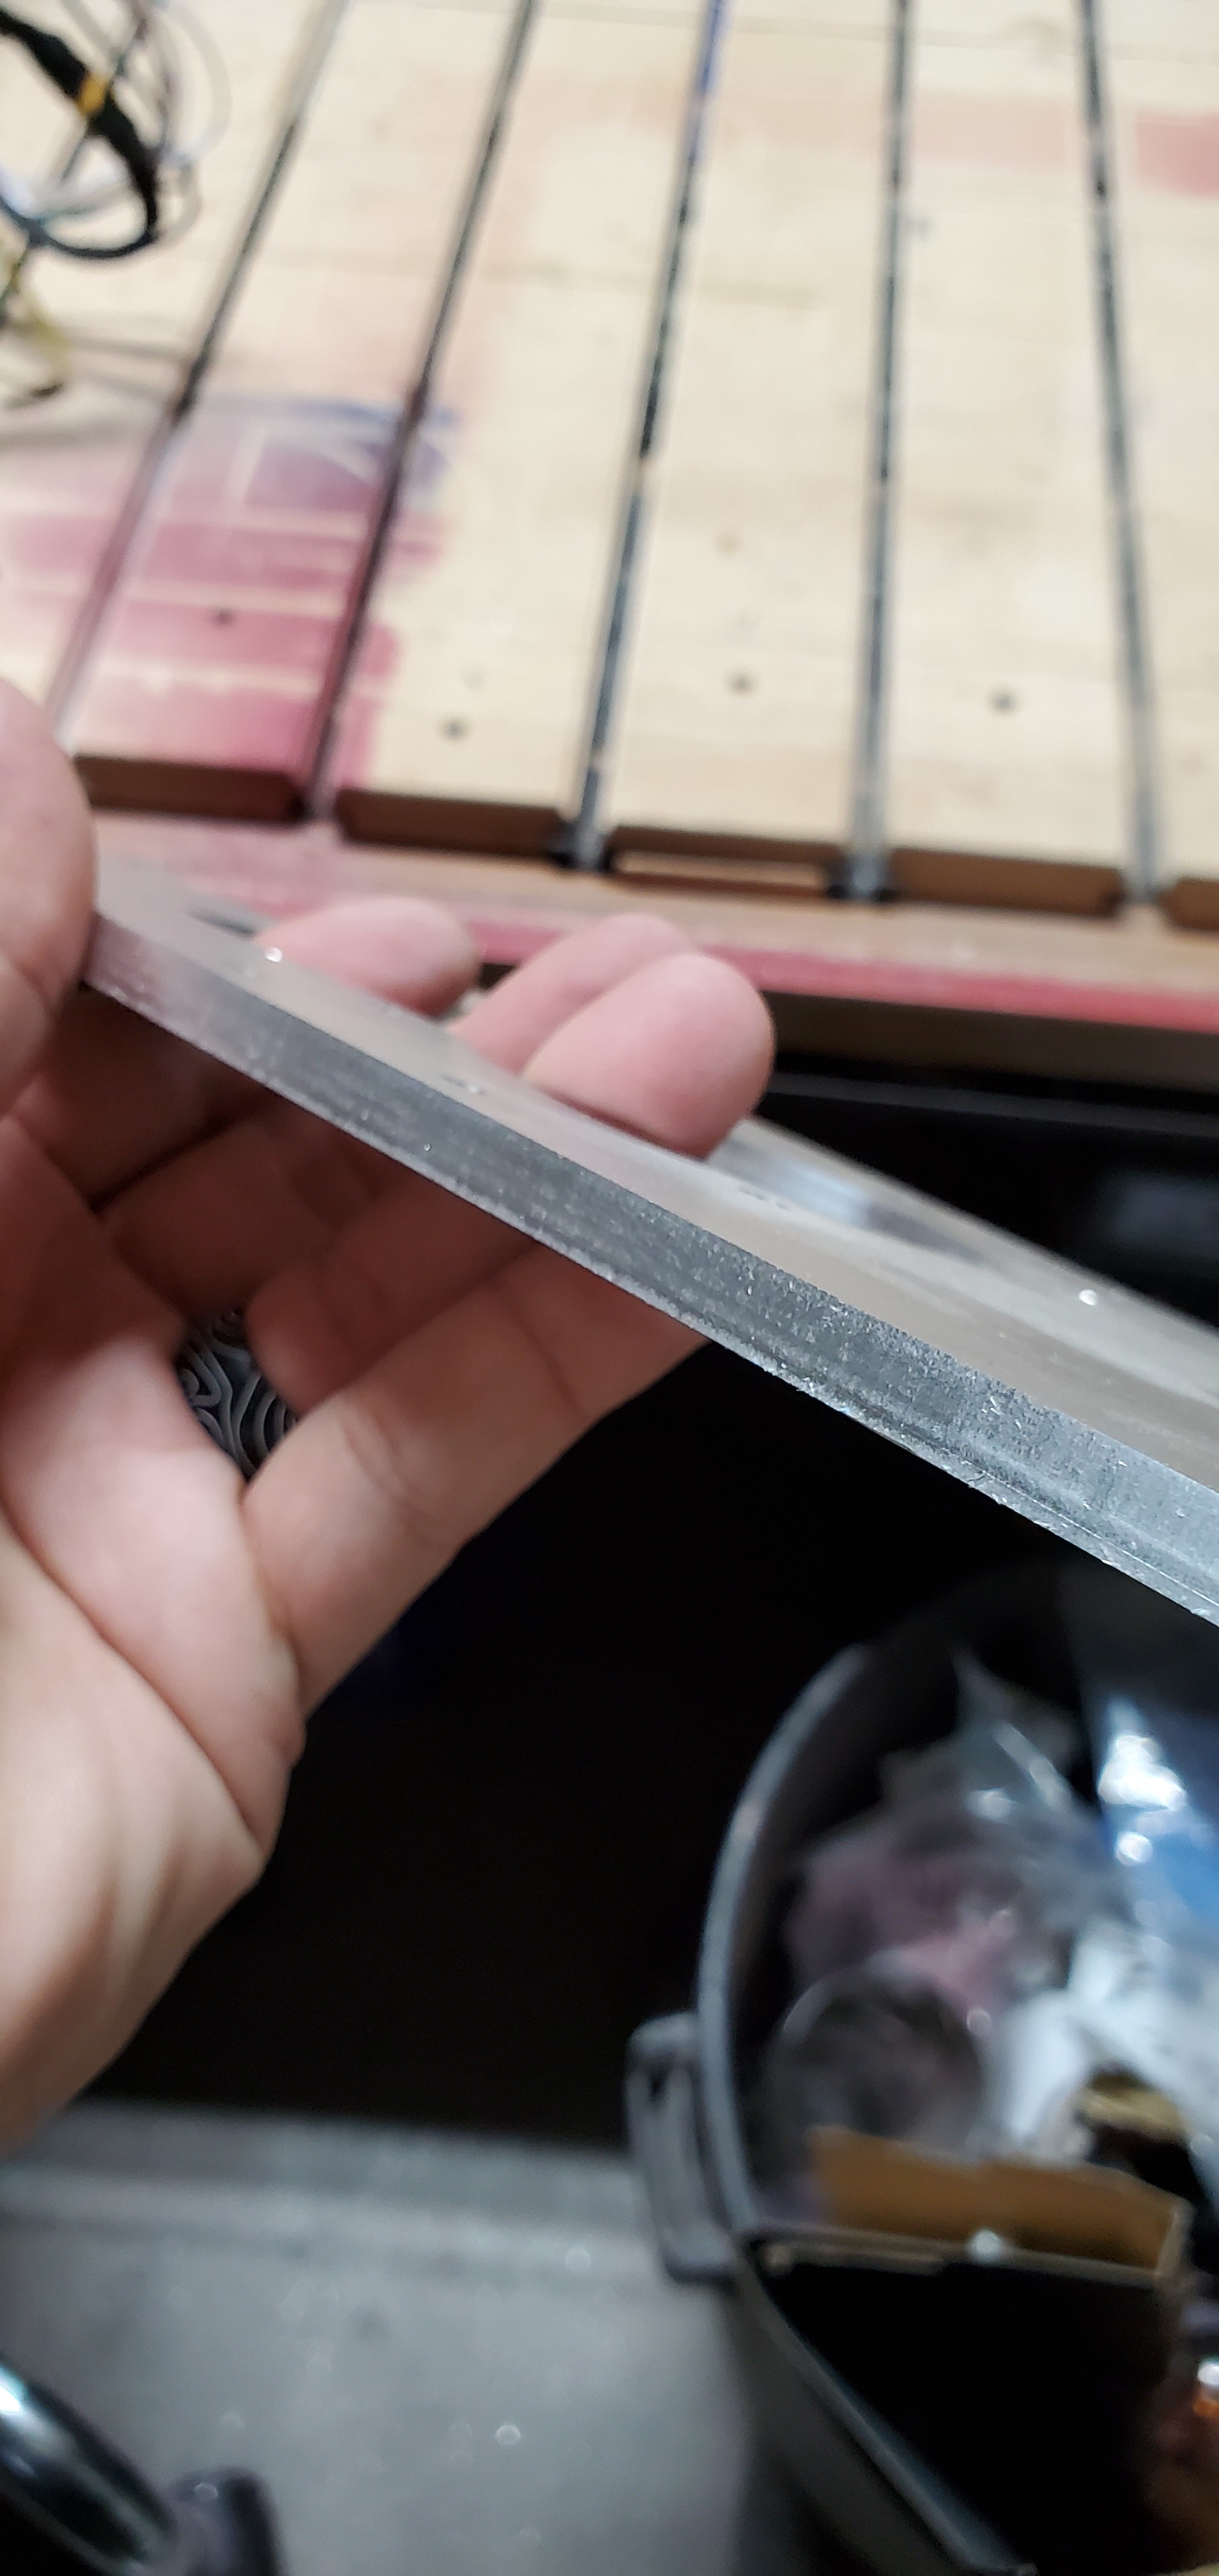
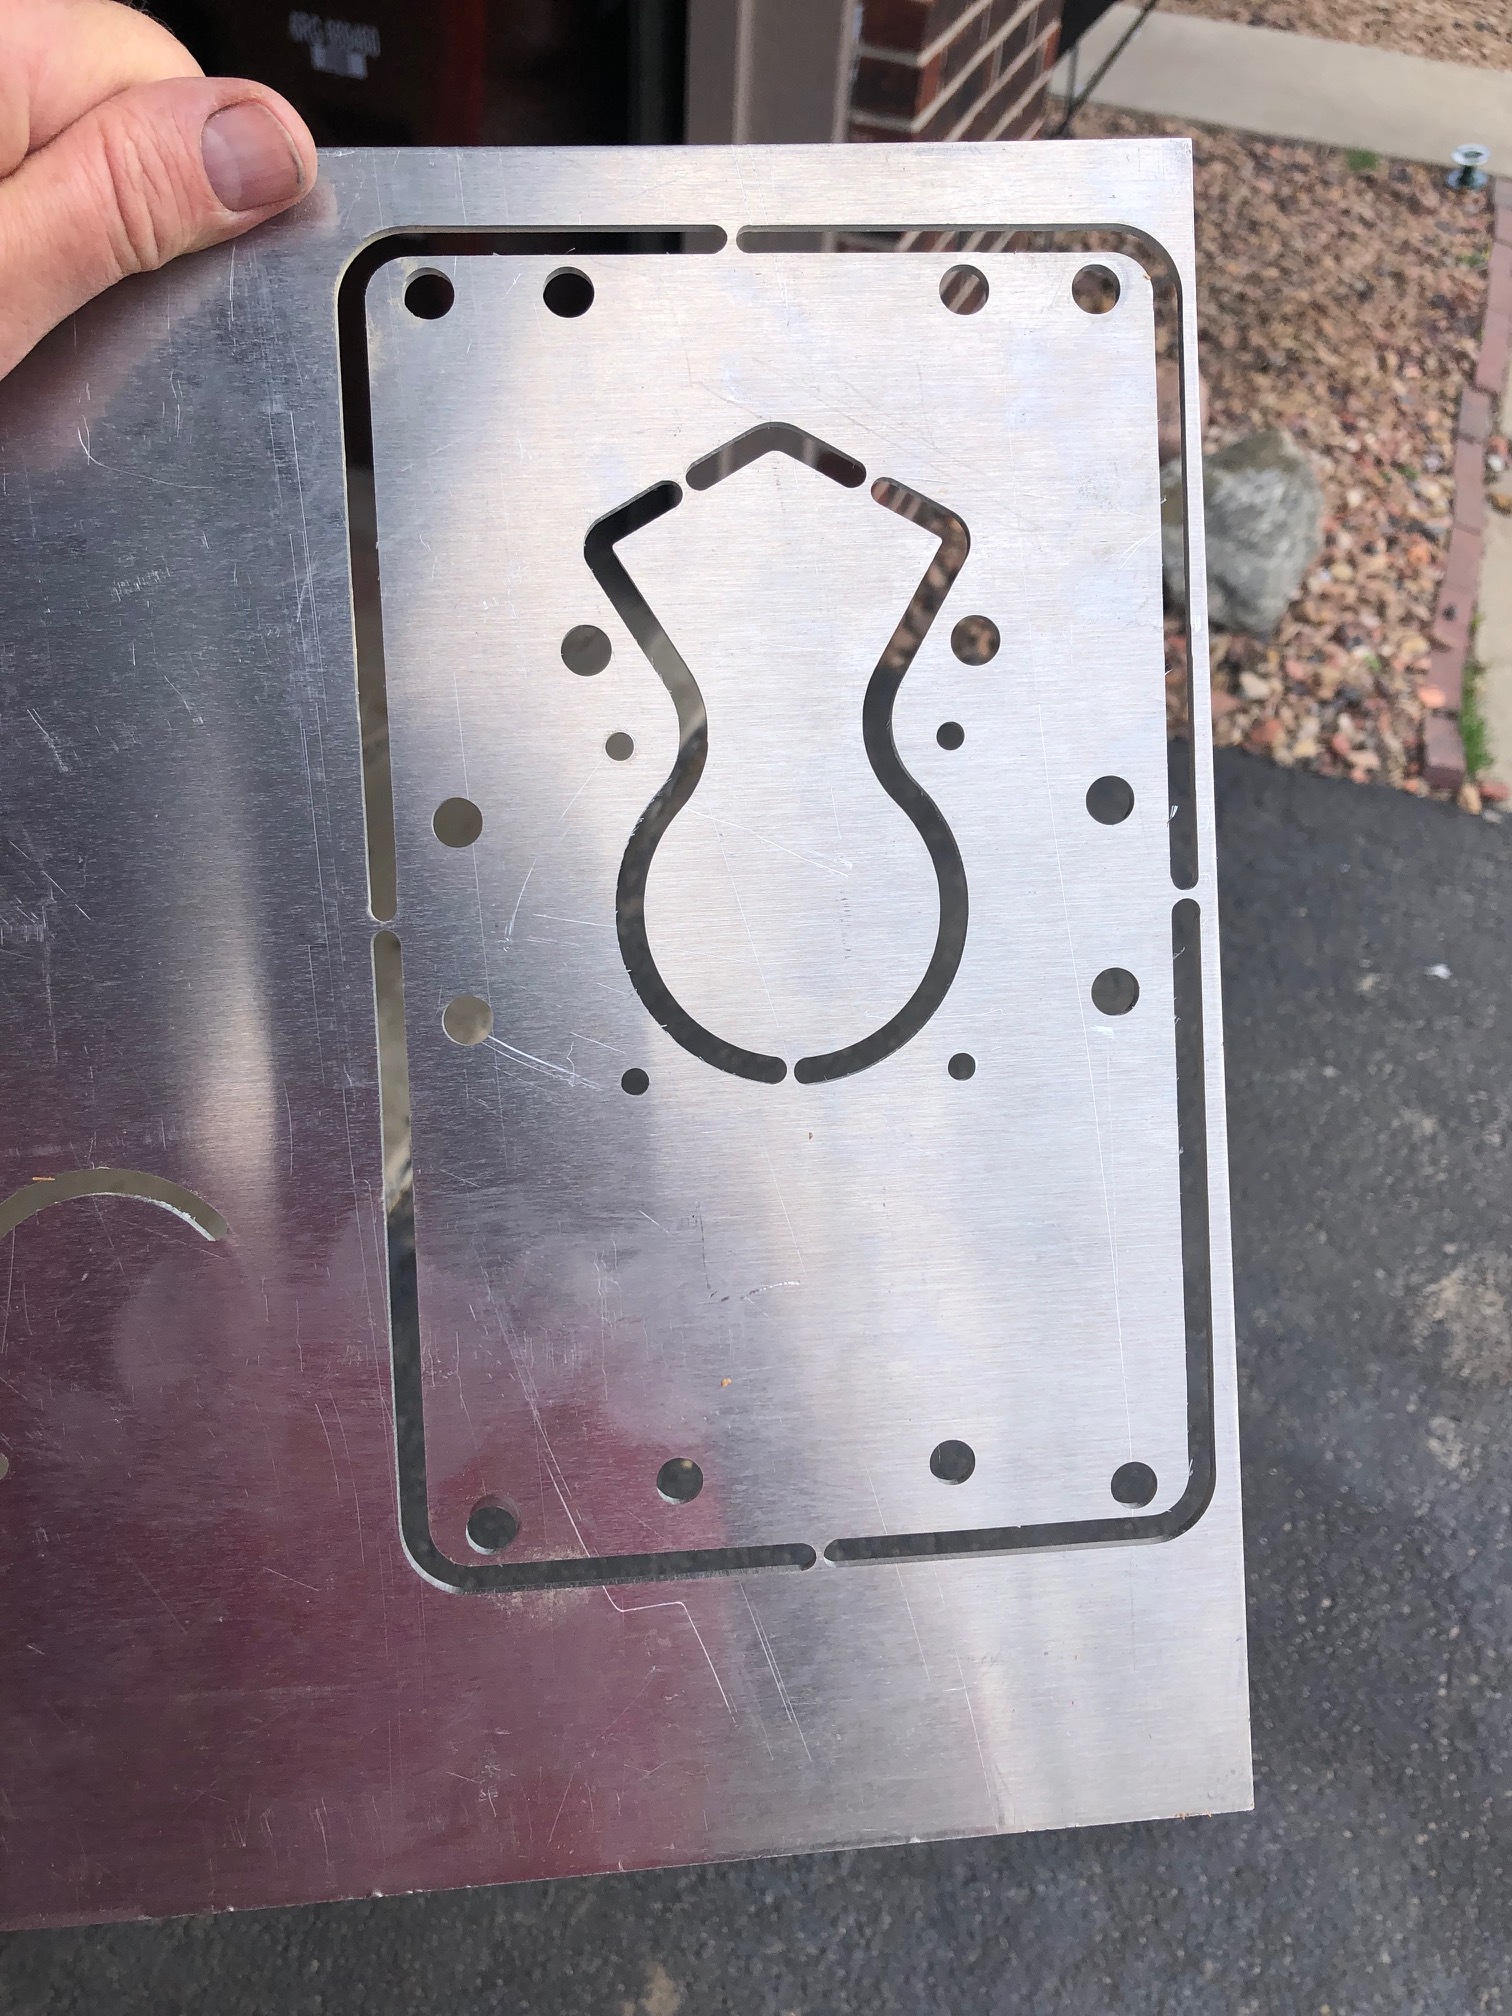
It worked! Used the short flute and some guidance from different parts of the web. The real surprise was that I was able to just use my shop vac and the dust shoe for the shavings collection. Here are a couple of pictures of the plate in 1/8" aluminum. I will try 1/4" for the sides next.
What would have caused that? Didn’t really notice since I had not started to assemble it. Looking at the Estlcam file it appears that are all marked as holes. Some ended being highlighted in red and were bigger.