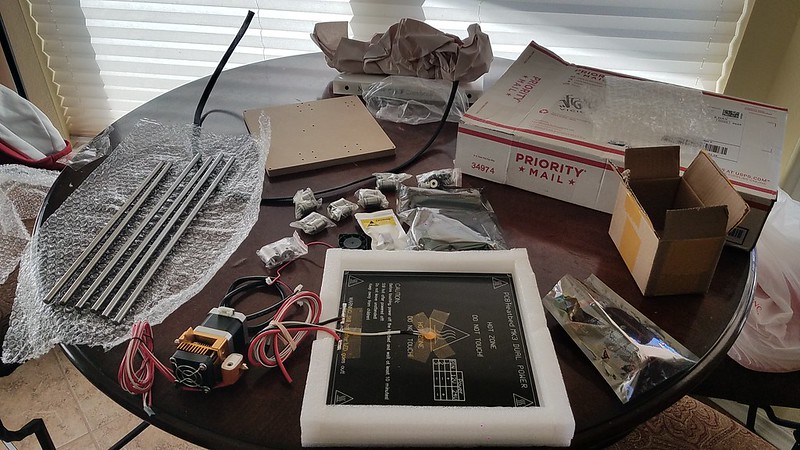
Well I think i’m on to ordering electronics now. Here’s my start.
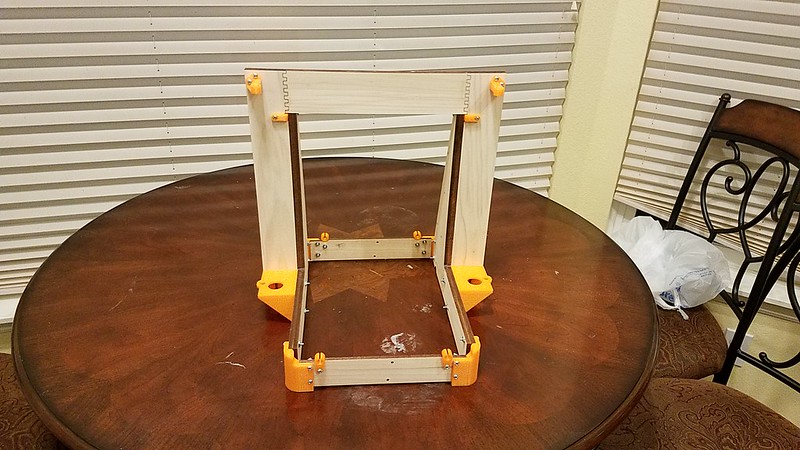

So clean
Upper Z brackets are upside down, and swapped sides I think.
Oh lol. I was just throwing parts on I wanted to see what it would look like. I’ll fix them. Not that it won’t come back apart again. It’s just a mock up till I get my parts. Motivation.
lol. I hope you’re not talking about my table that’s ready for the dump.
That’s going to be one sweet looking printer when you get done!
I do not need another 3D printer, I do not need another 3D printer, I do not need another 3D printer,…
Looks nice 
So I think I’m about to order Everything I need. I just wanted to know if I order the ramps from the store will it come loaded with the Firmware needed to run the MP3dp? And I’m assuming you’re running this hooked up with a laptop or desktop as there’s not lcd in the BOM?
And ordered the rest from the store! Can’t wait till they get here. Now I just need some PLA.
I’ll try and remeber to reflash your board. I’m making a note but they usually come flashed with MPCNC.
I just realized 90% of my emails from the site were in the spam bin…sorry if I didn’t catch it in time for your order, haven’t checked yet.
Well i just places the order a minute or two before my post. So maybe. If not ill look up how to flash it. Its something ive never done before.
It’s not terribly hard, and it’s something you’ll want to do yourself soon enough, probably.
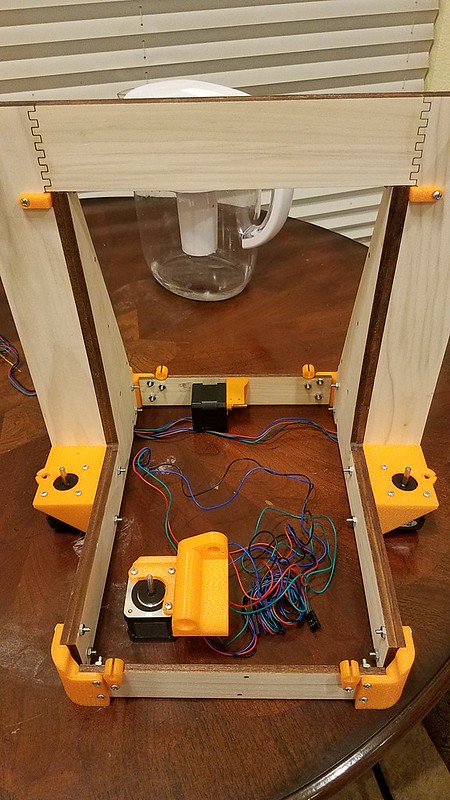
I got my parts!
only one problem… I forgot to order my threaded rod…
Anyway, this is what it looks like right now. Just clipped a bunch of stuff on.

Doh!
My bad, I’ve been busy but, I should have caught that.
Haha, that same thing happened to me! For the first week, I was using the ones from my other 3D printer.
I guess this will also happen if you use thicker material than the plan calls for.
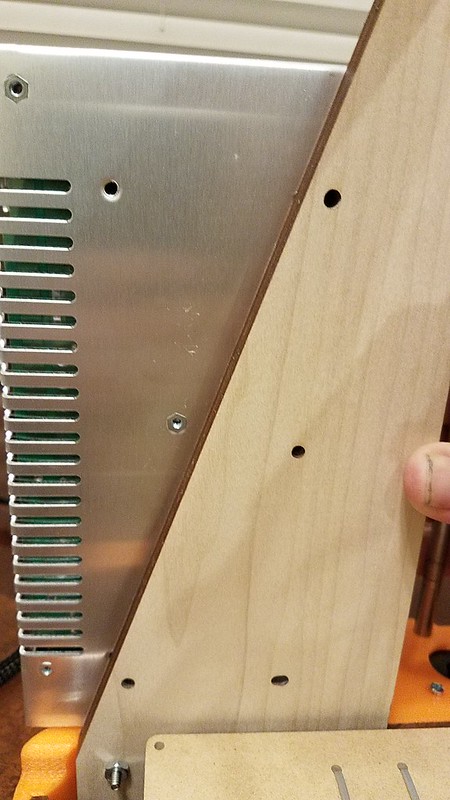
The first photo isn’t clear, So I move it out just a little so you can see what’s wrong.
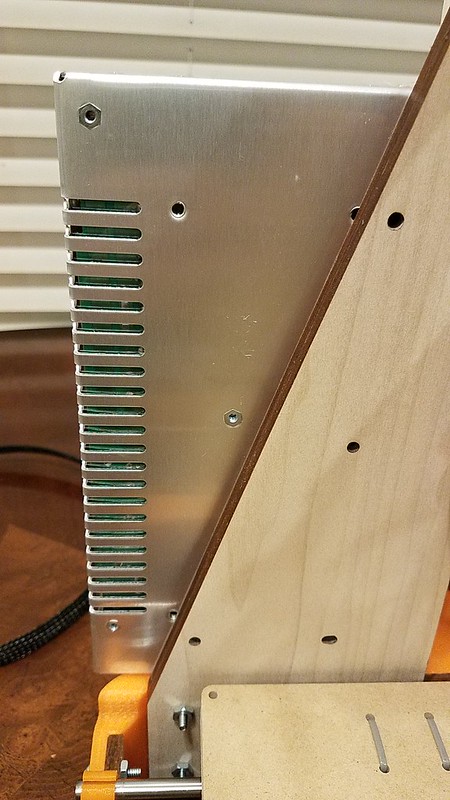
I guess tomorrow I’ll design an adaptor plate or I’ll use the two holes on the side of the unit to mouth it. Screws will be visible from the front of the printer if I do that tho.
Also What screws should I be using for this, As the one’s in the BOM seem sloppy in the threads. Could also be that this unit was pretty crap. I would have returned it if I wasn’t growing impatient to see it run.
And how is the ramps mounted on the other side?
My experience was that I had to slightly oval the holes to fit my power supply, and even more on the Arduino/RAMPS boards. When I start to cut pieces for my next one I’m going to relocate the holes to more exactly match the supply mounts and relocate the Arduino holes to match one of the enclosures I have.
The mounting points for the PS are 4mm screws, I forget the length, but with your build you probably want slightly longer anyway. I found mine at Home Depot.
Bill, Maybe it’s in your CNC? I used the Laser cutter at my Makerspace and it looks dead on except for the thickness of the wood keeping me from sliding the power supply in place.
Anyway, i decided to go with front mount. It fits well and doesn’t look too bad.

It’s hard to see in this photo but it’s flat against the side like it should be.

The mounting pattern lines up with the side of the unit too, so you could mount it that way if you wanted to, I just thought it looked funny.