Full Height 4 Player Arcade Cabinet

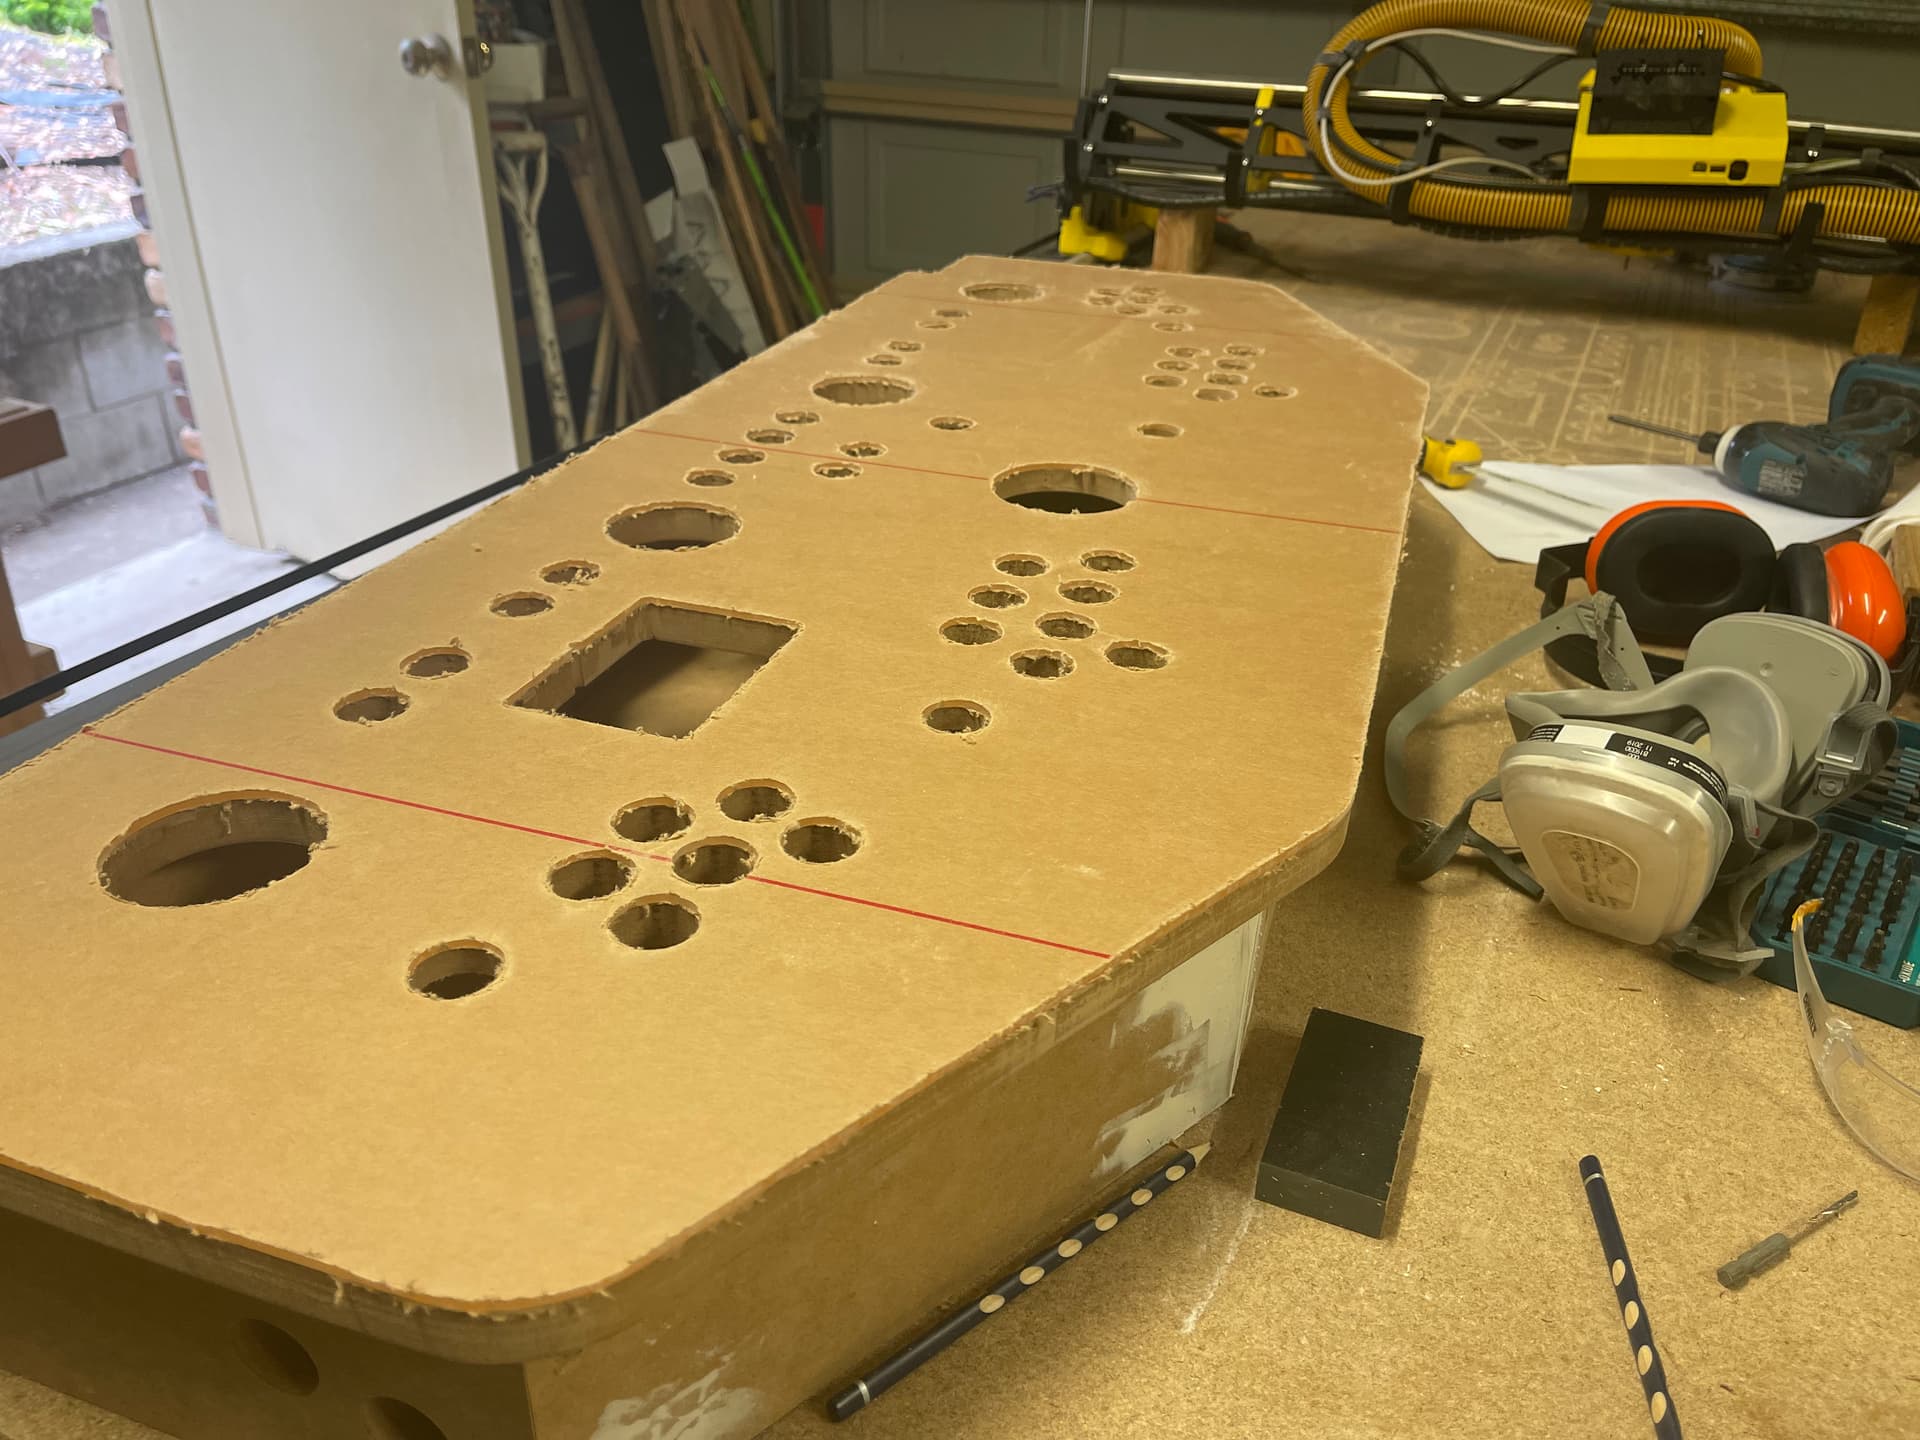
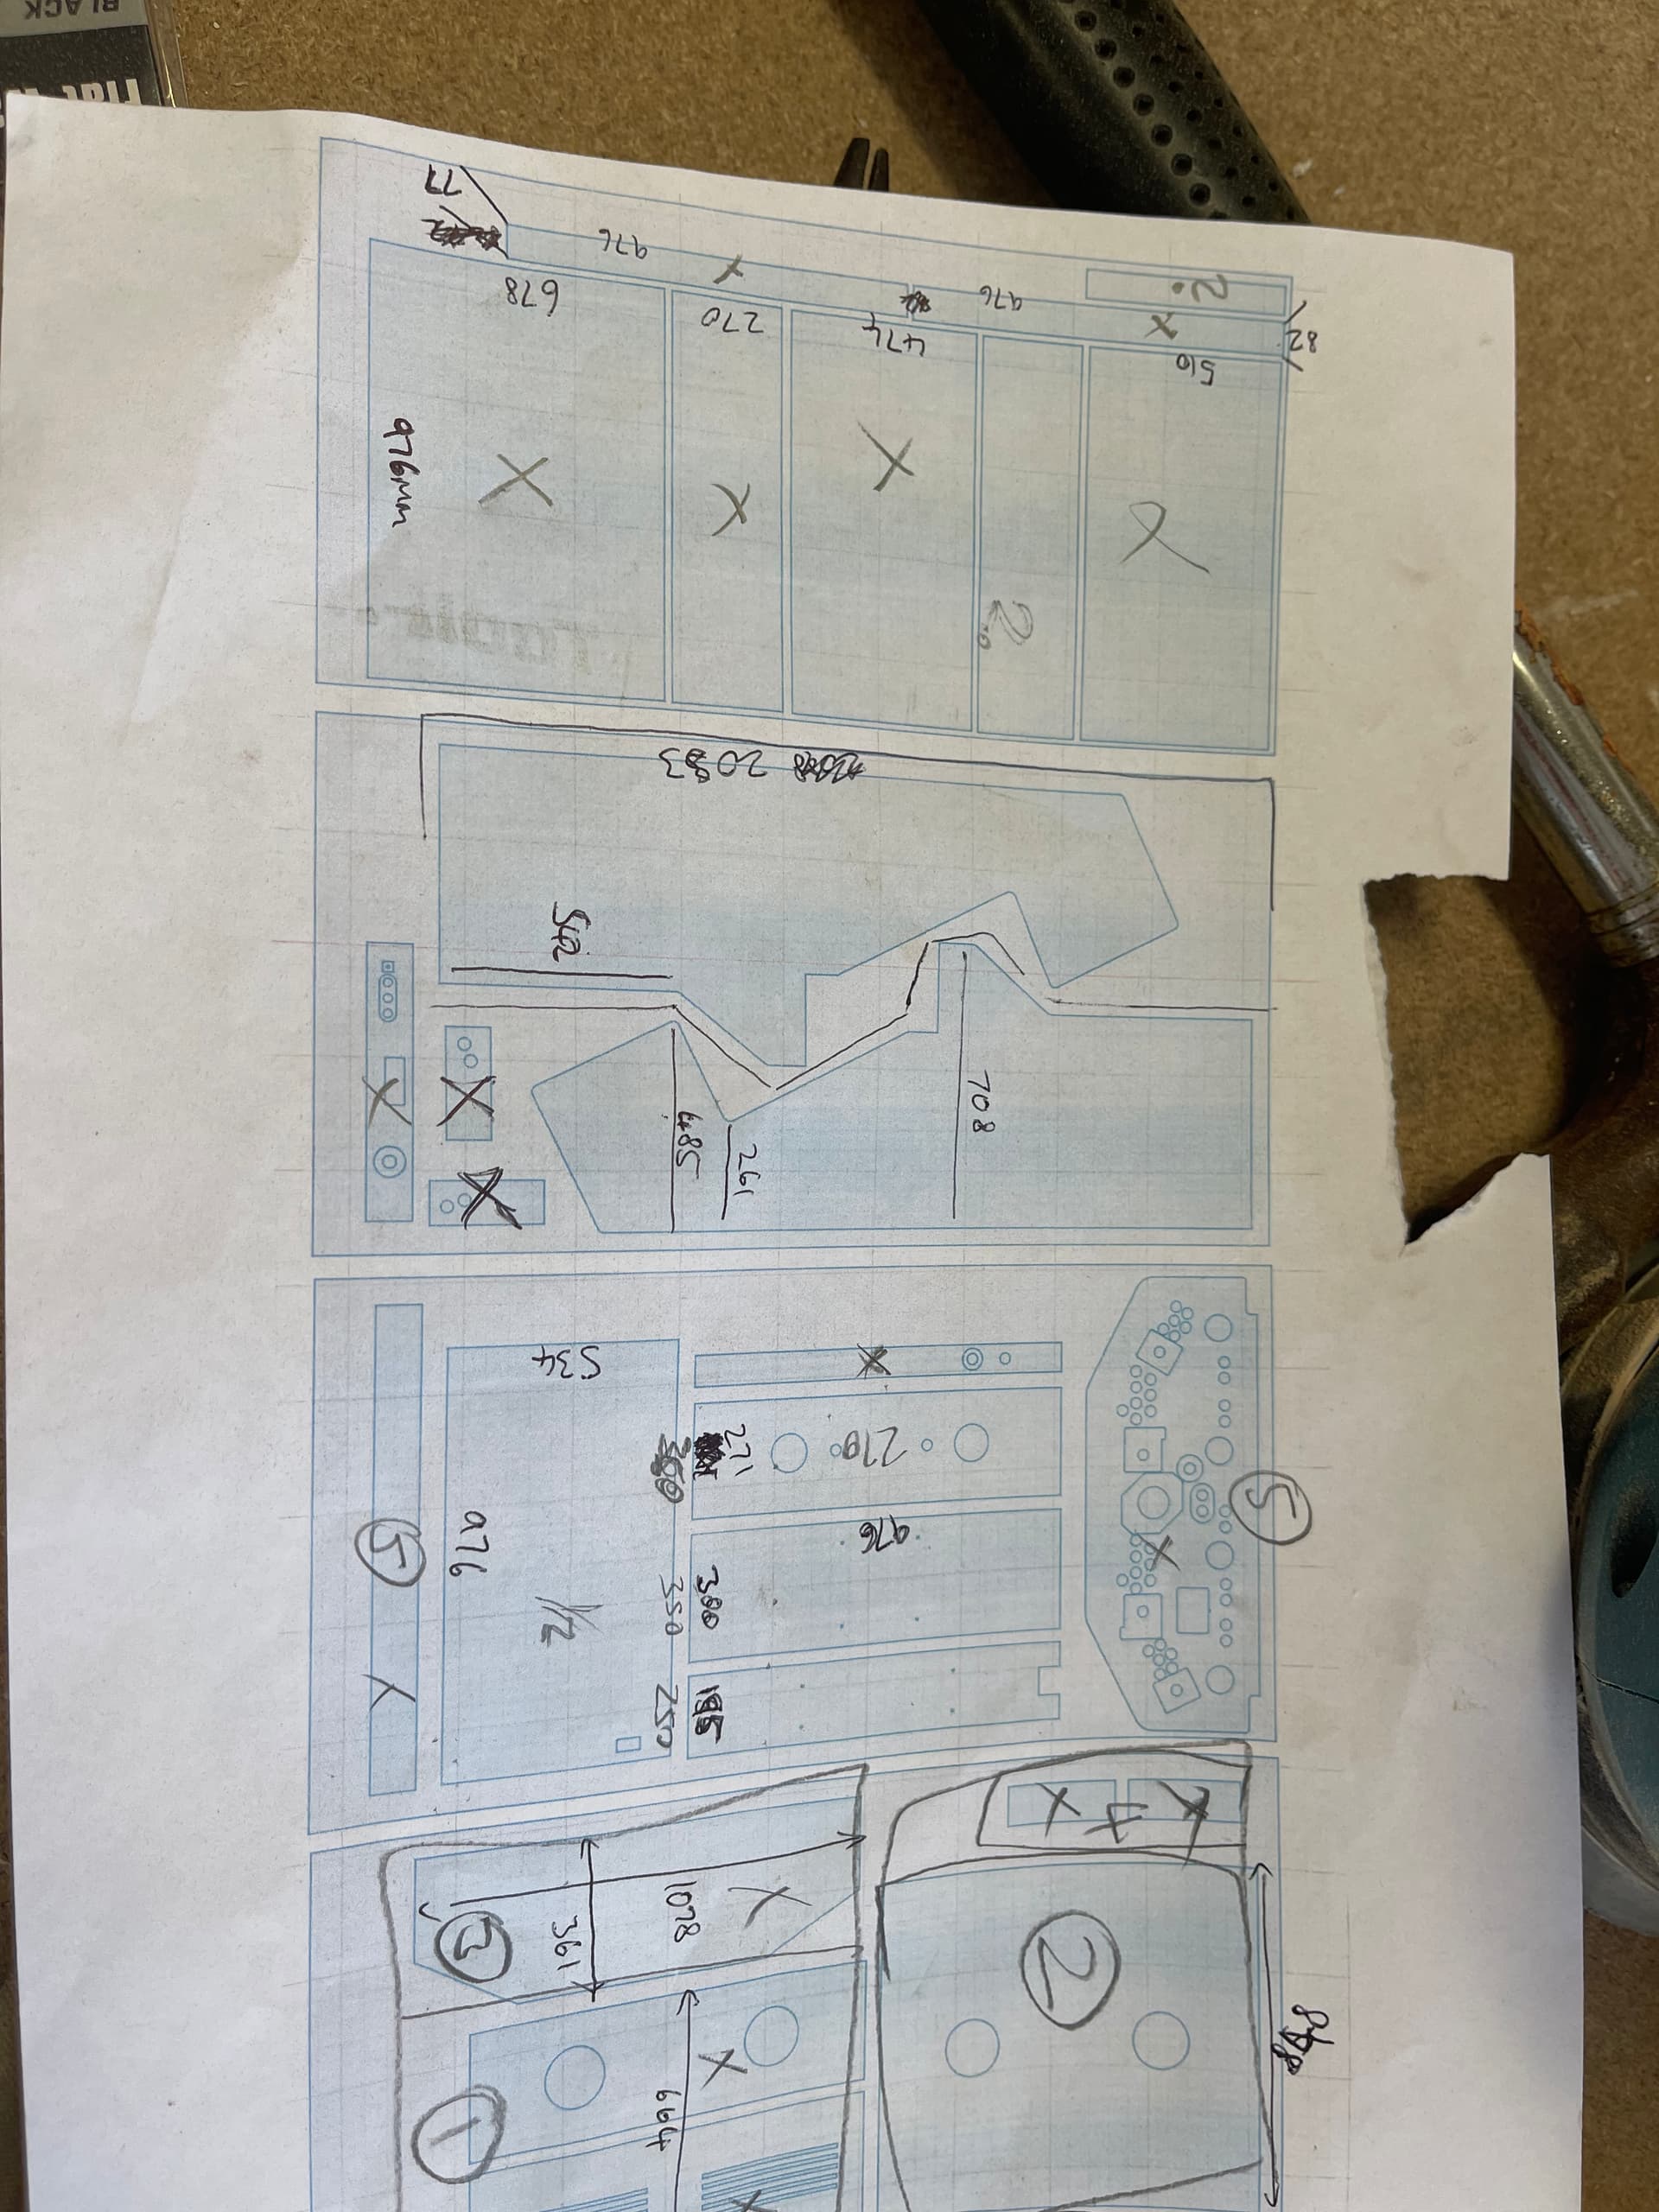
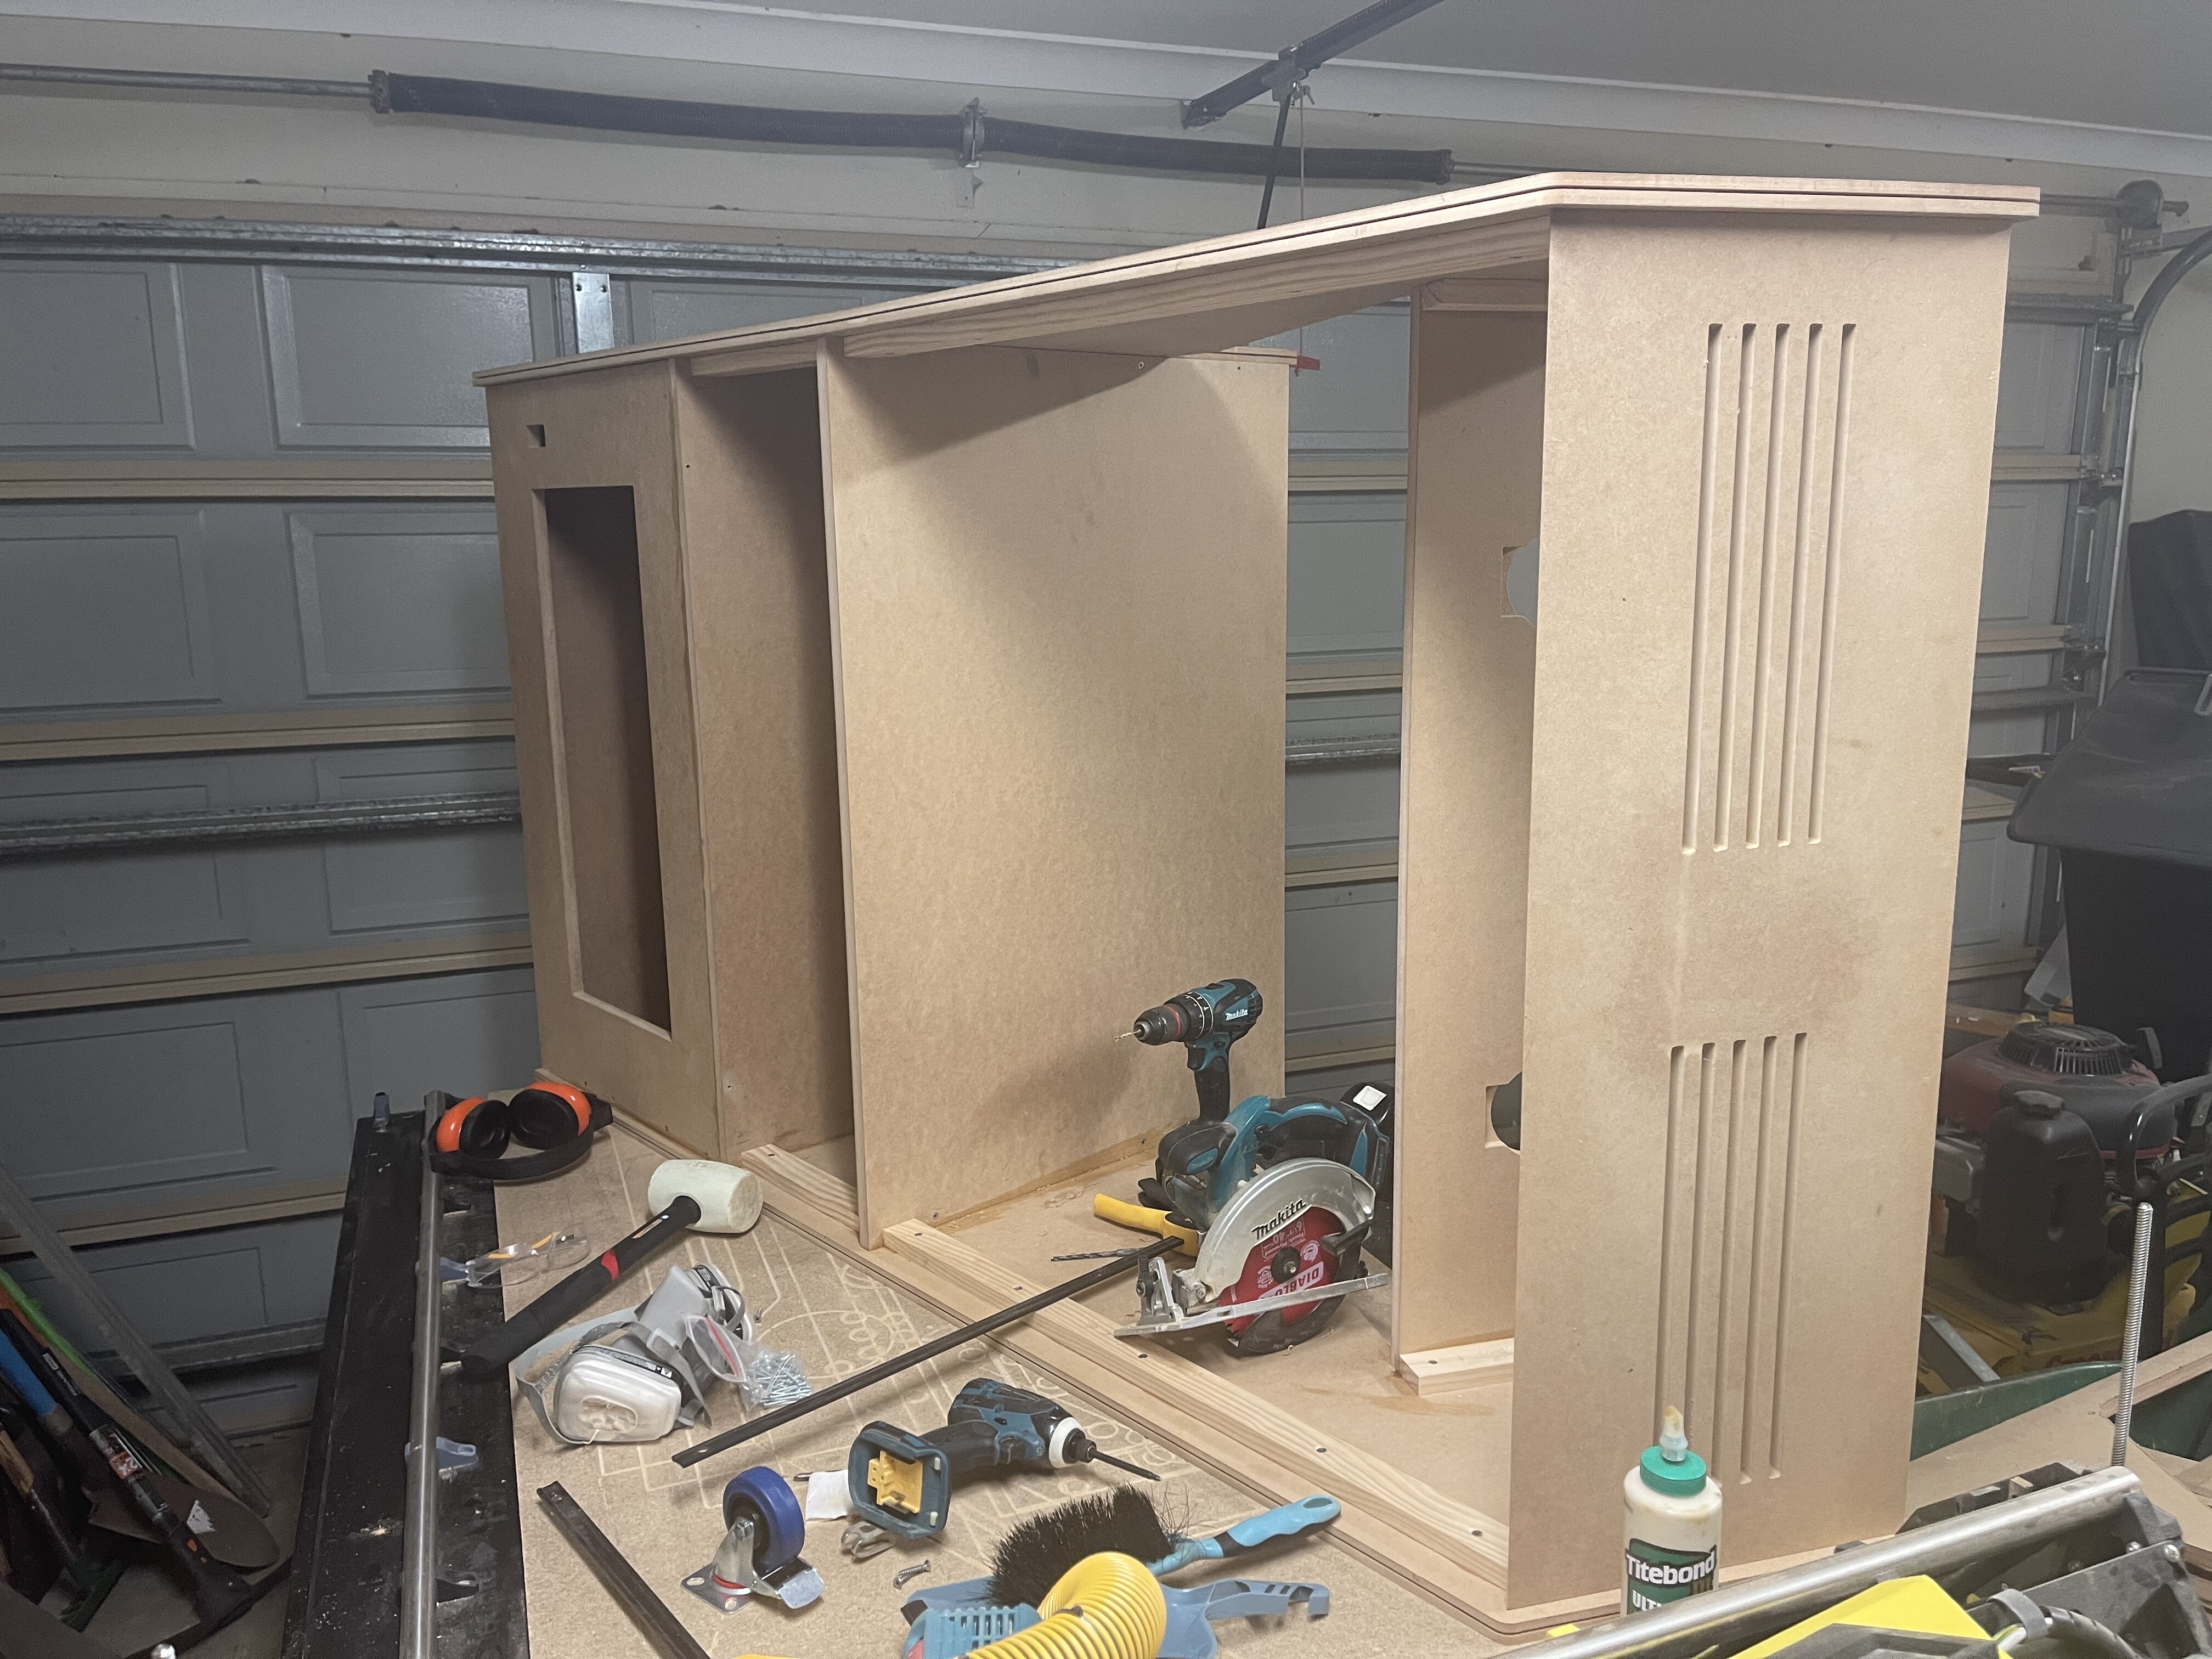
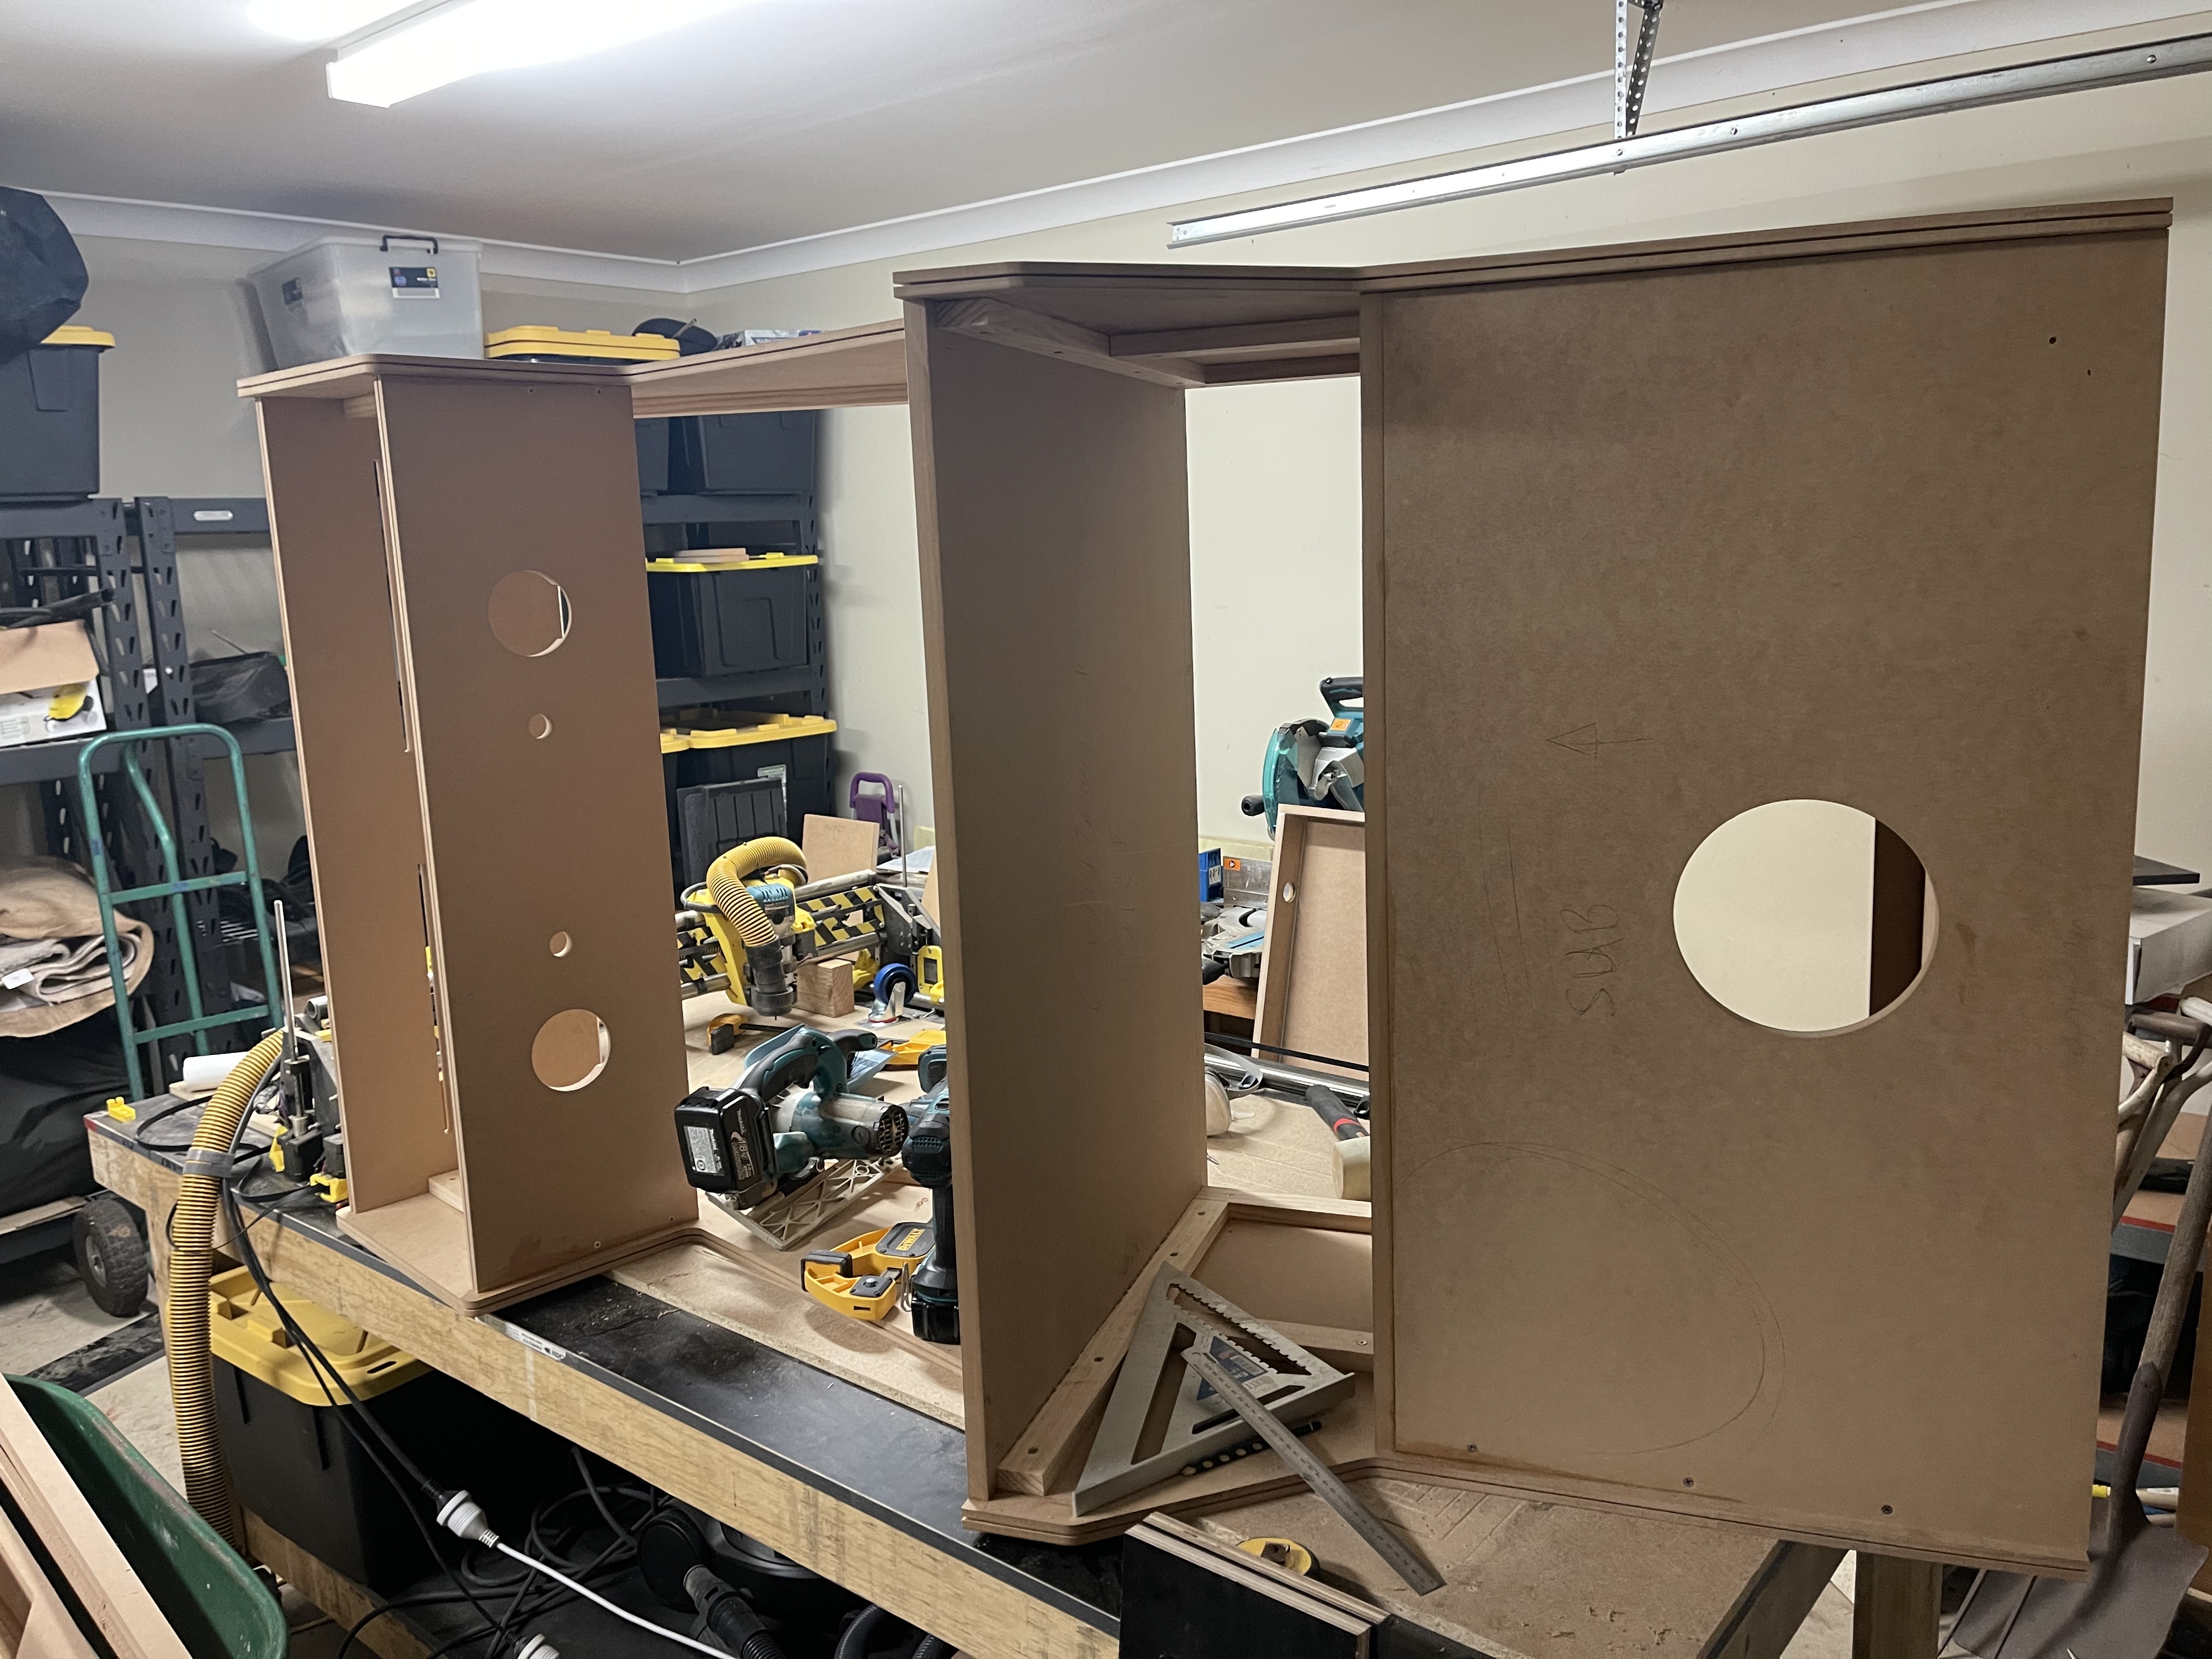
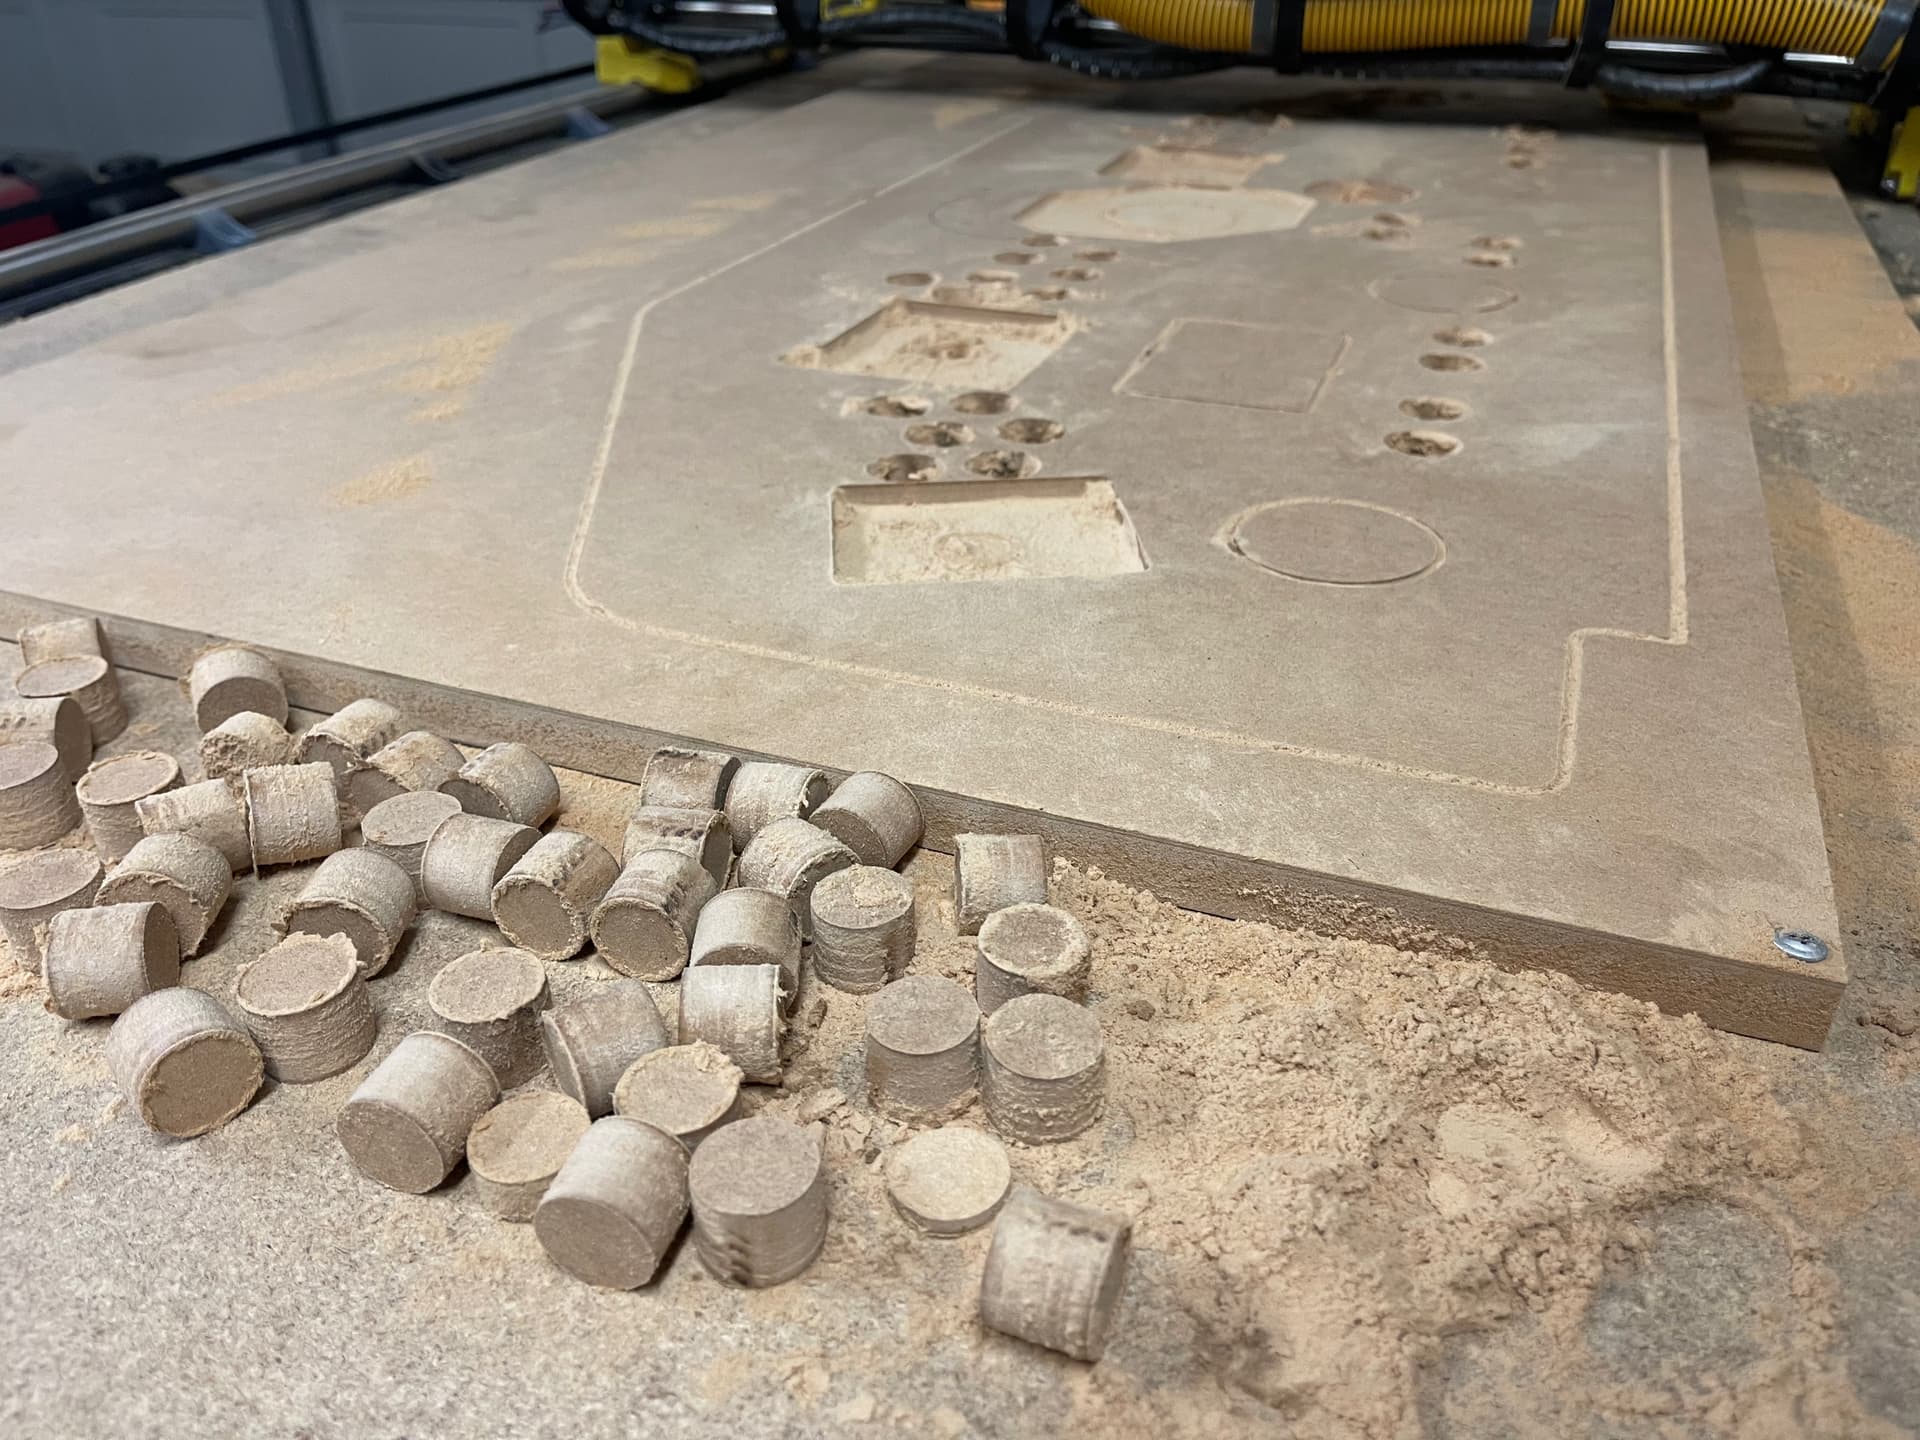
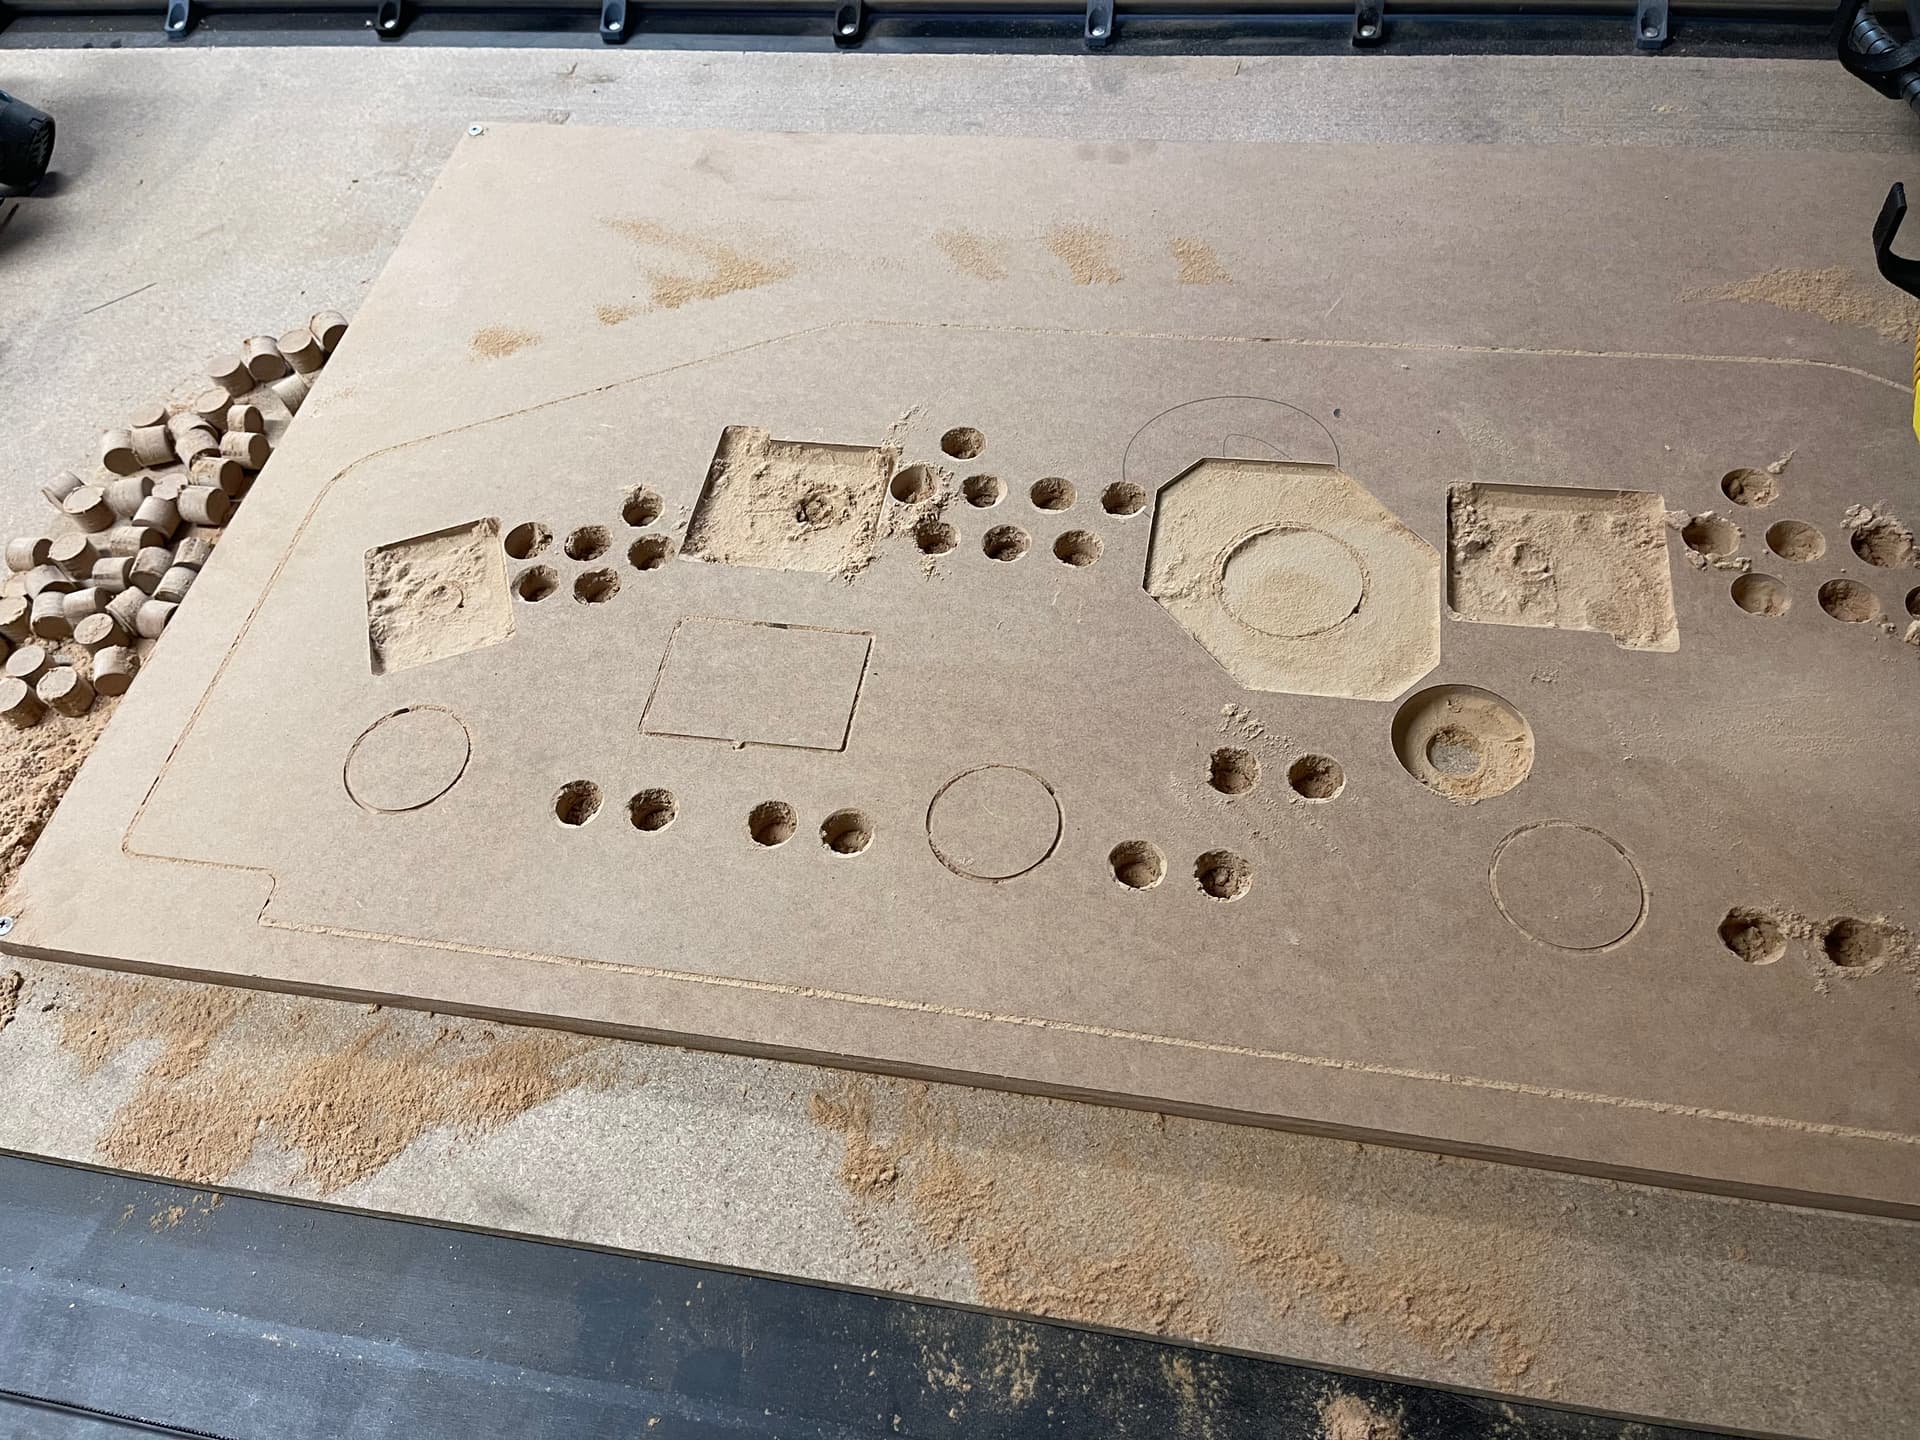
Progressing well so far with cutting all the bits out. As I didn’t go full sheet size I am needing to think through the cuts before getting into it. But has been fun so far.

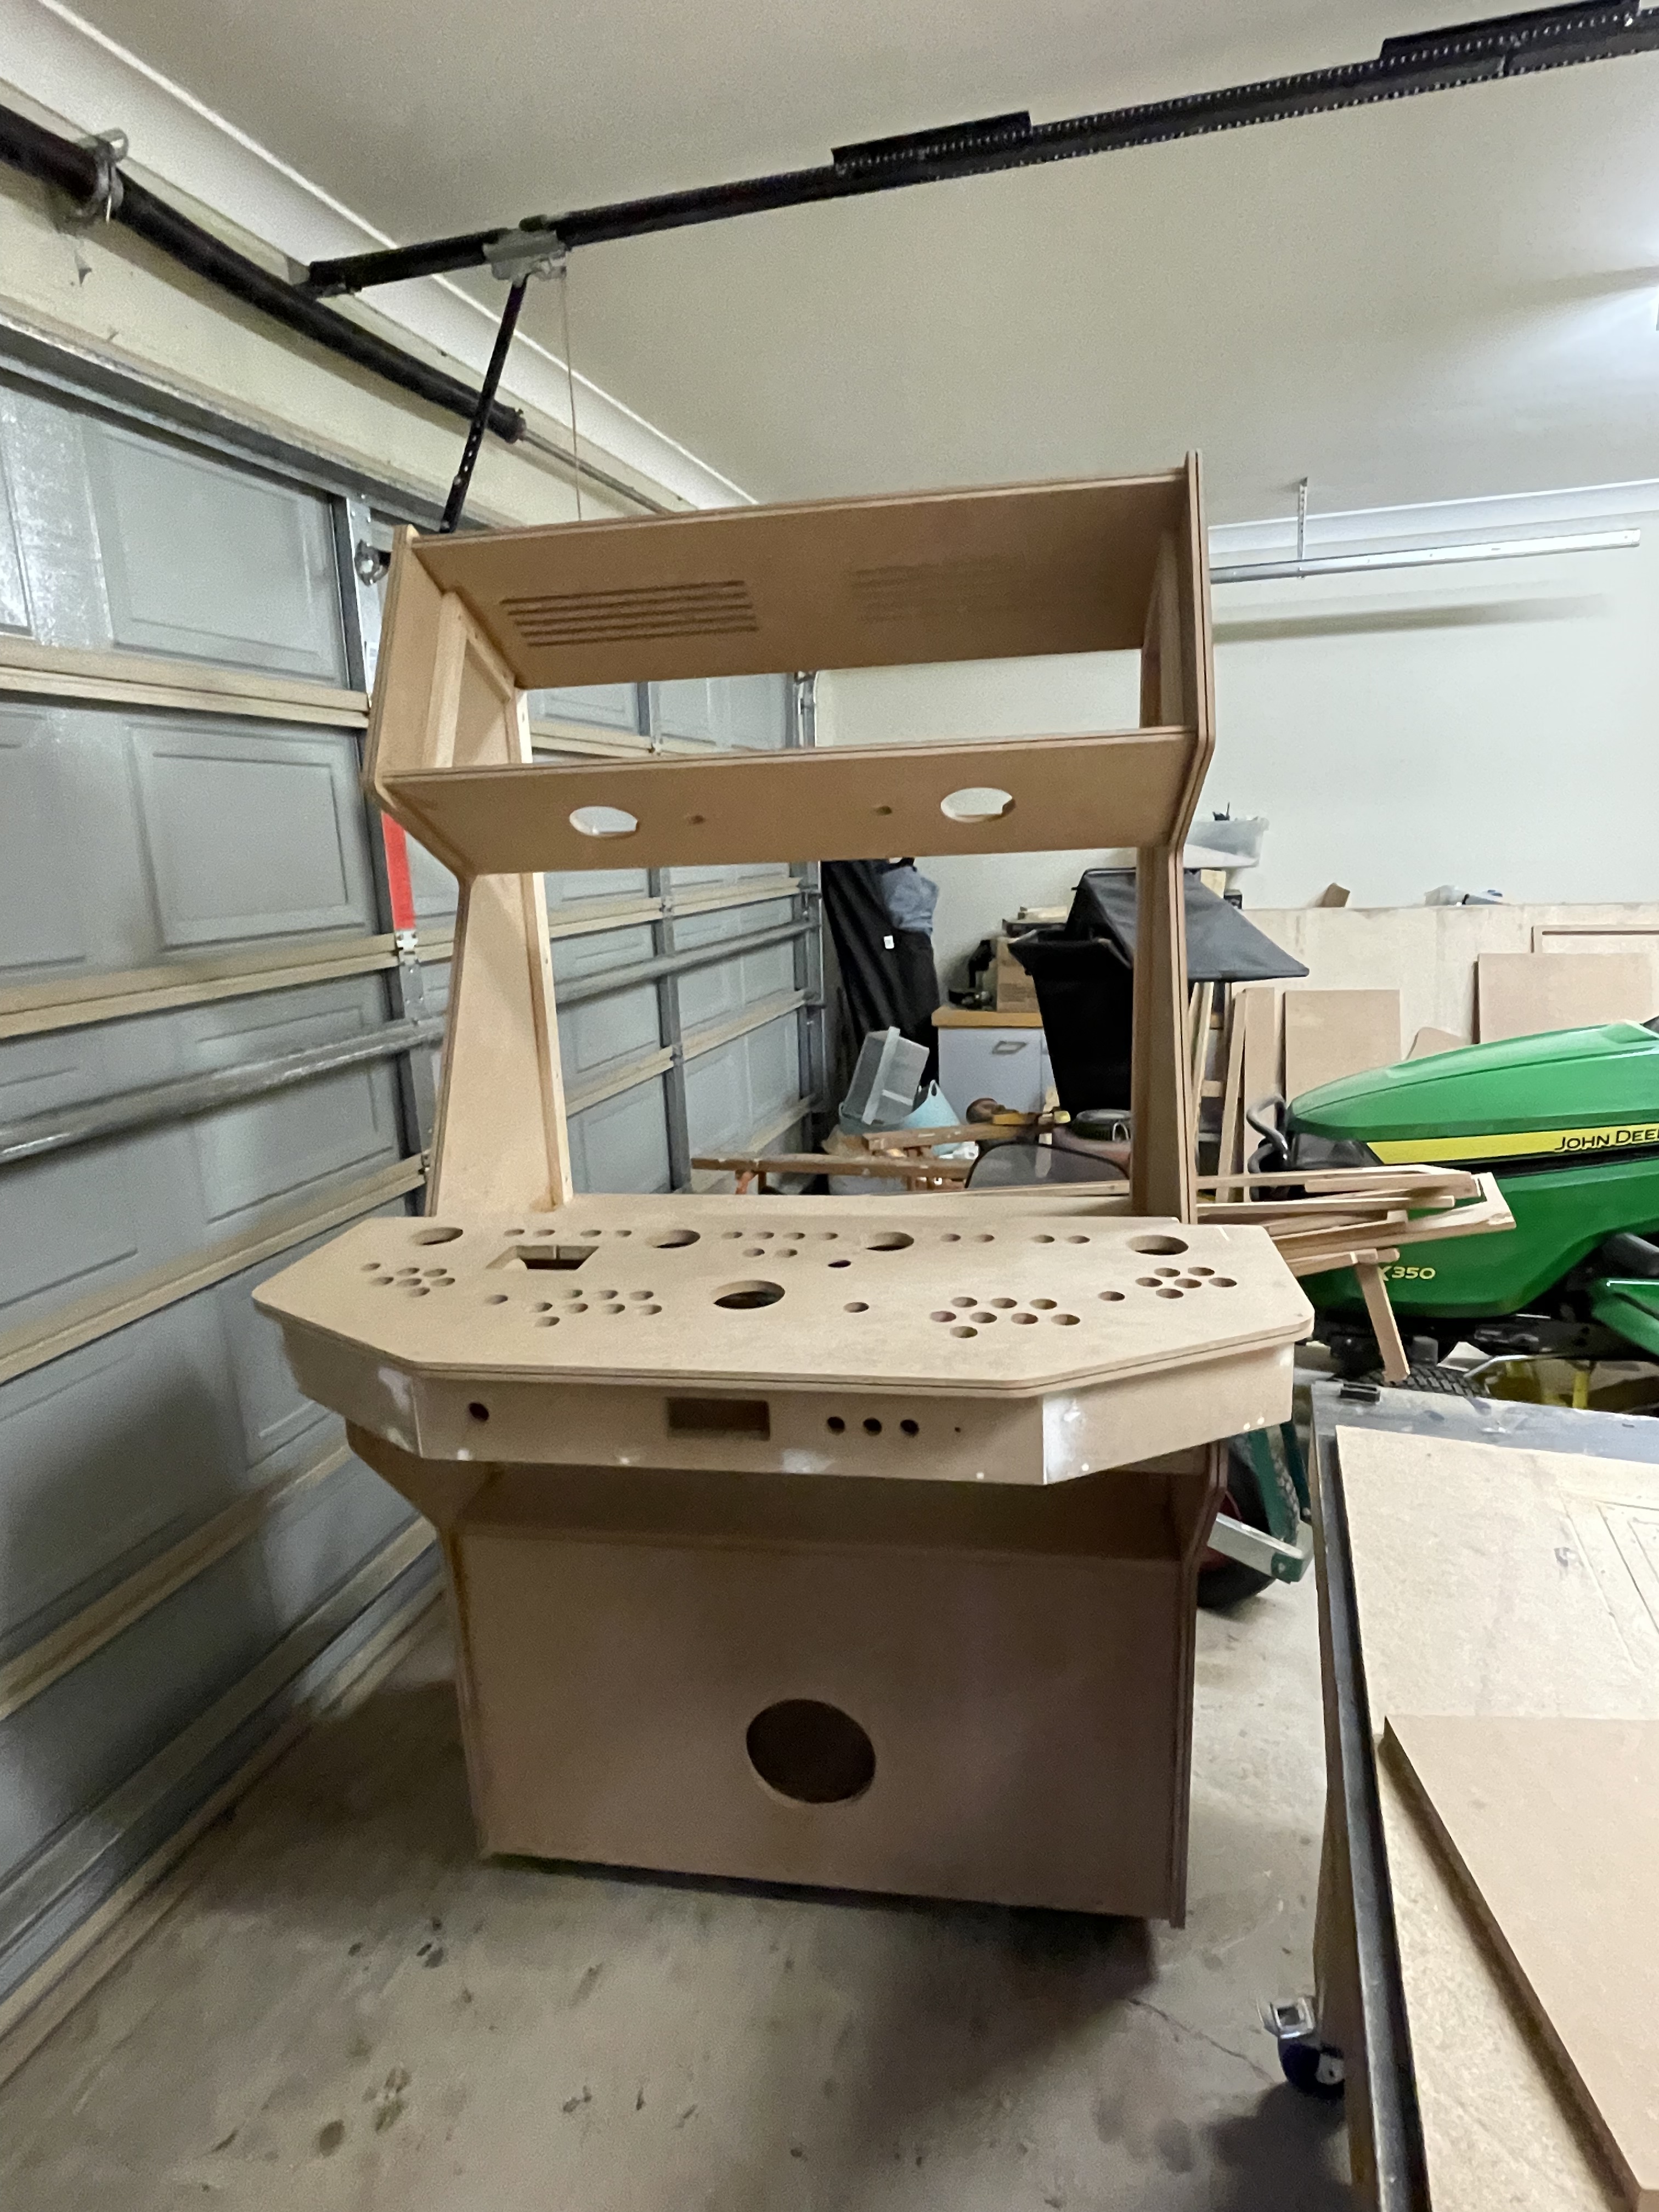
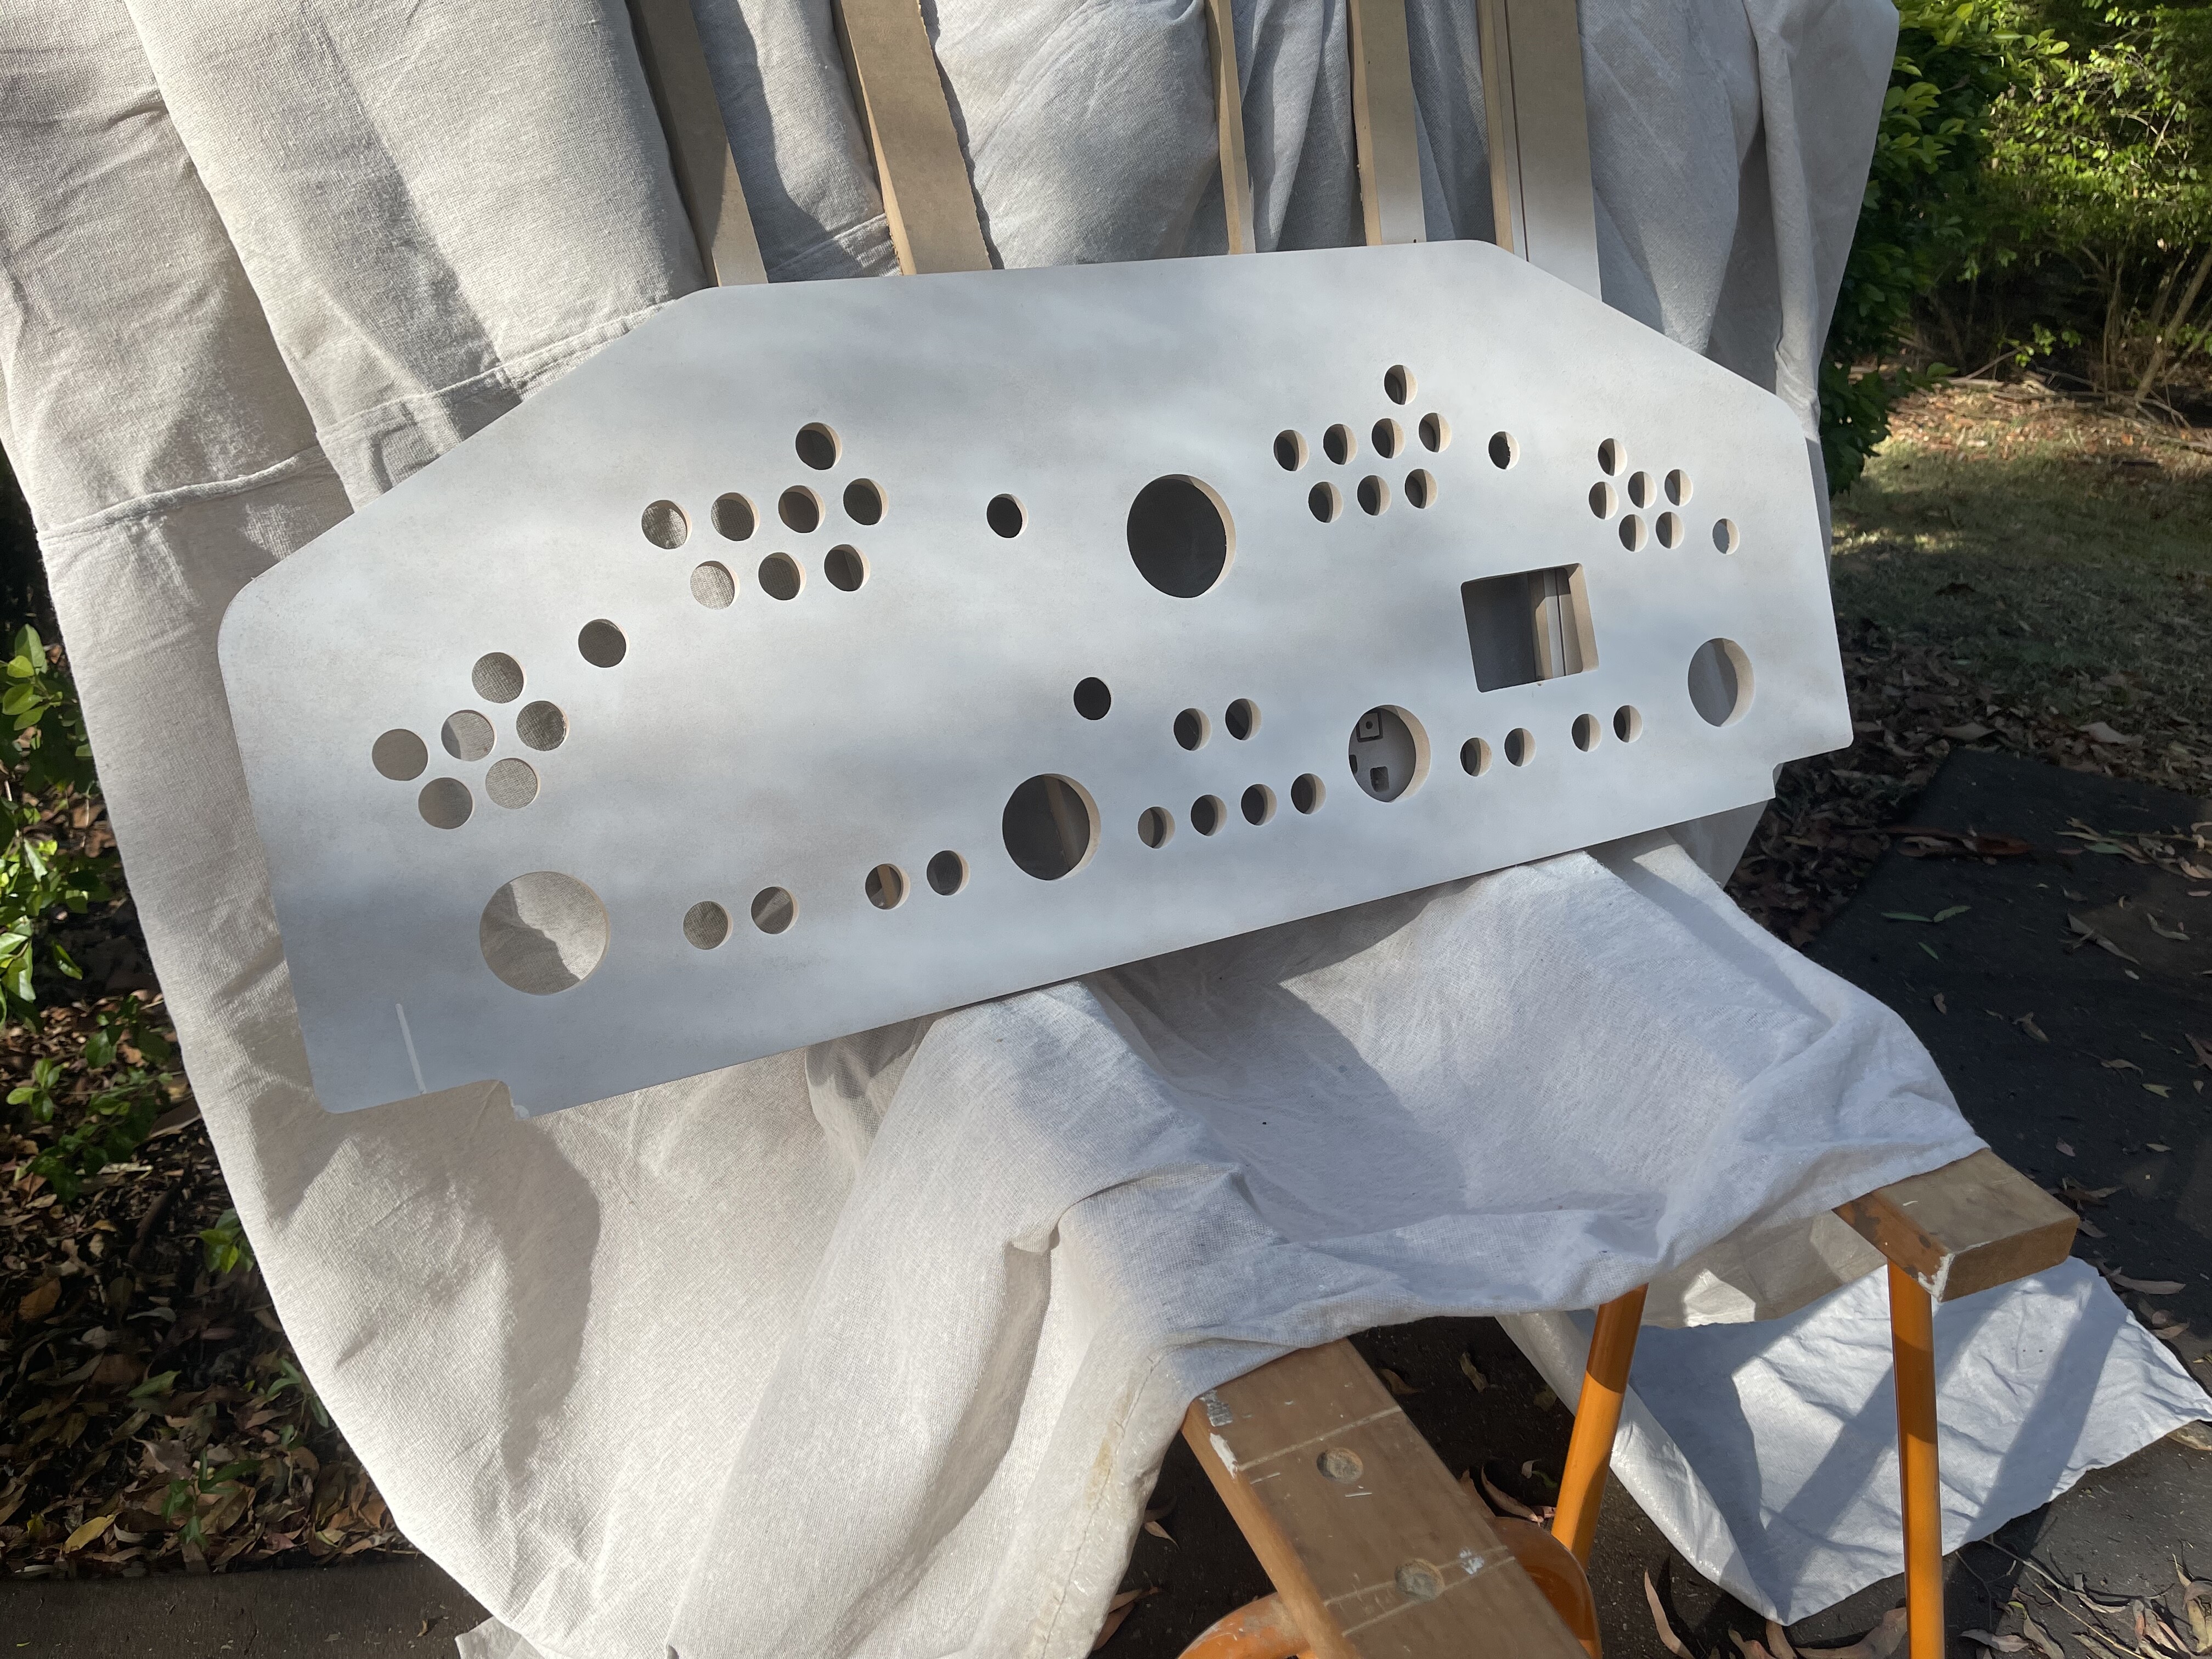
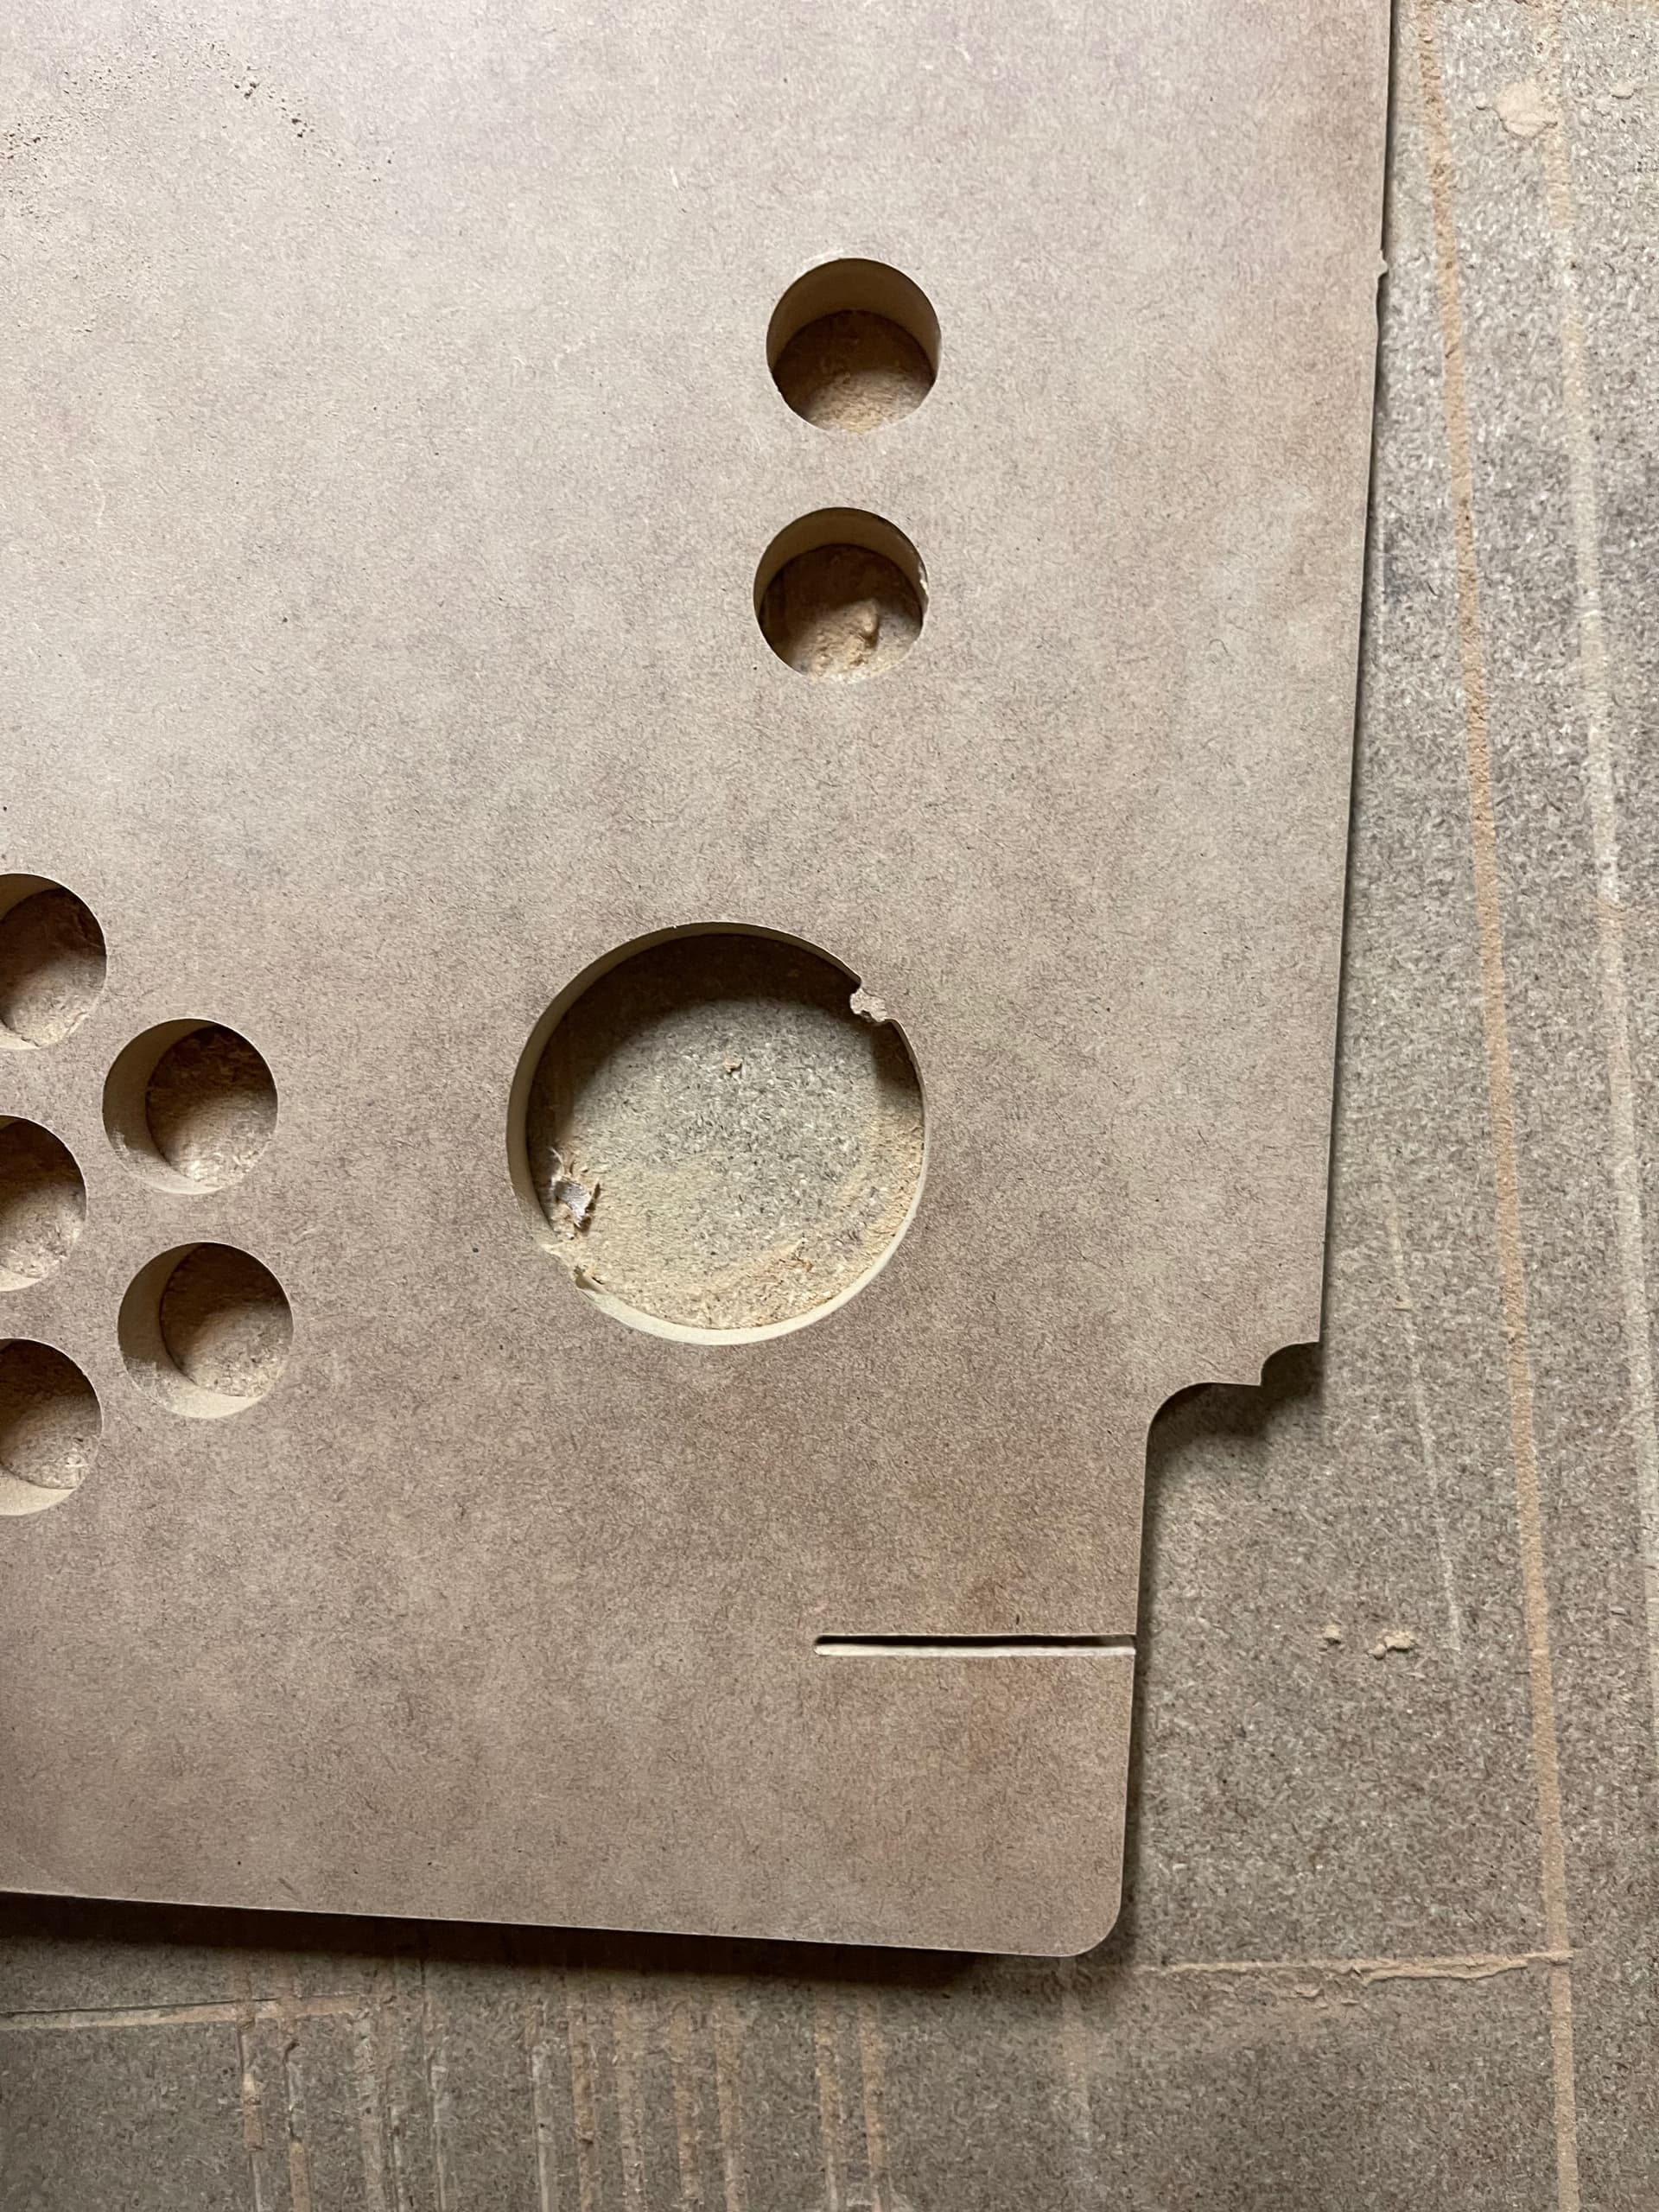
Today I did the largest / longest cut which is the controller board @ 3 hours but time. Everything went superb except for literally the last tidy up cut around the outside where “something happened” I’m not sure what and the LowRider started cutting into the panel!

Anyway, I wcould just cut again, but thinking it would make sense to try and repair it and up my woodworking skills.

My thought is to recut the top corner section with the LowRider on a fresh piece and then hand cut that same piece off the control panel. Not sure yet how I would stick them together nicely. Also needs to be a perfect fit as there will be a Perspex piece on top of the control panel that matches the MDF.
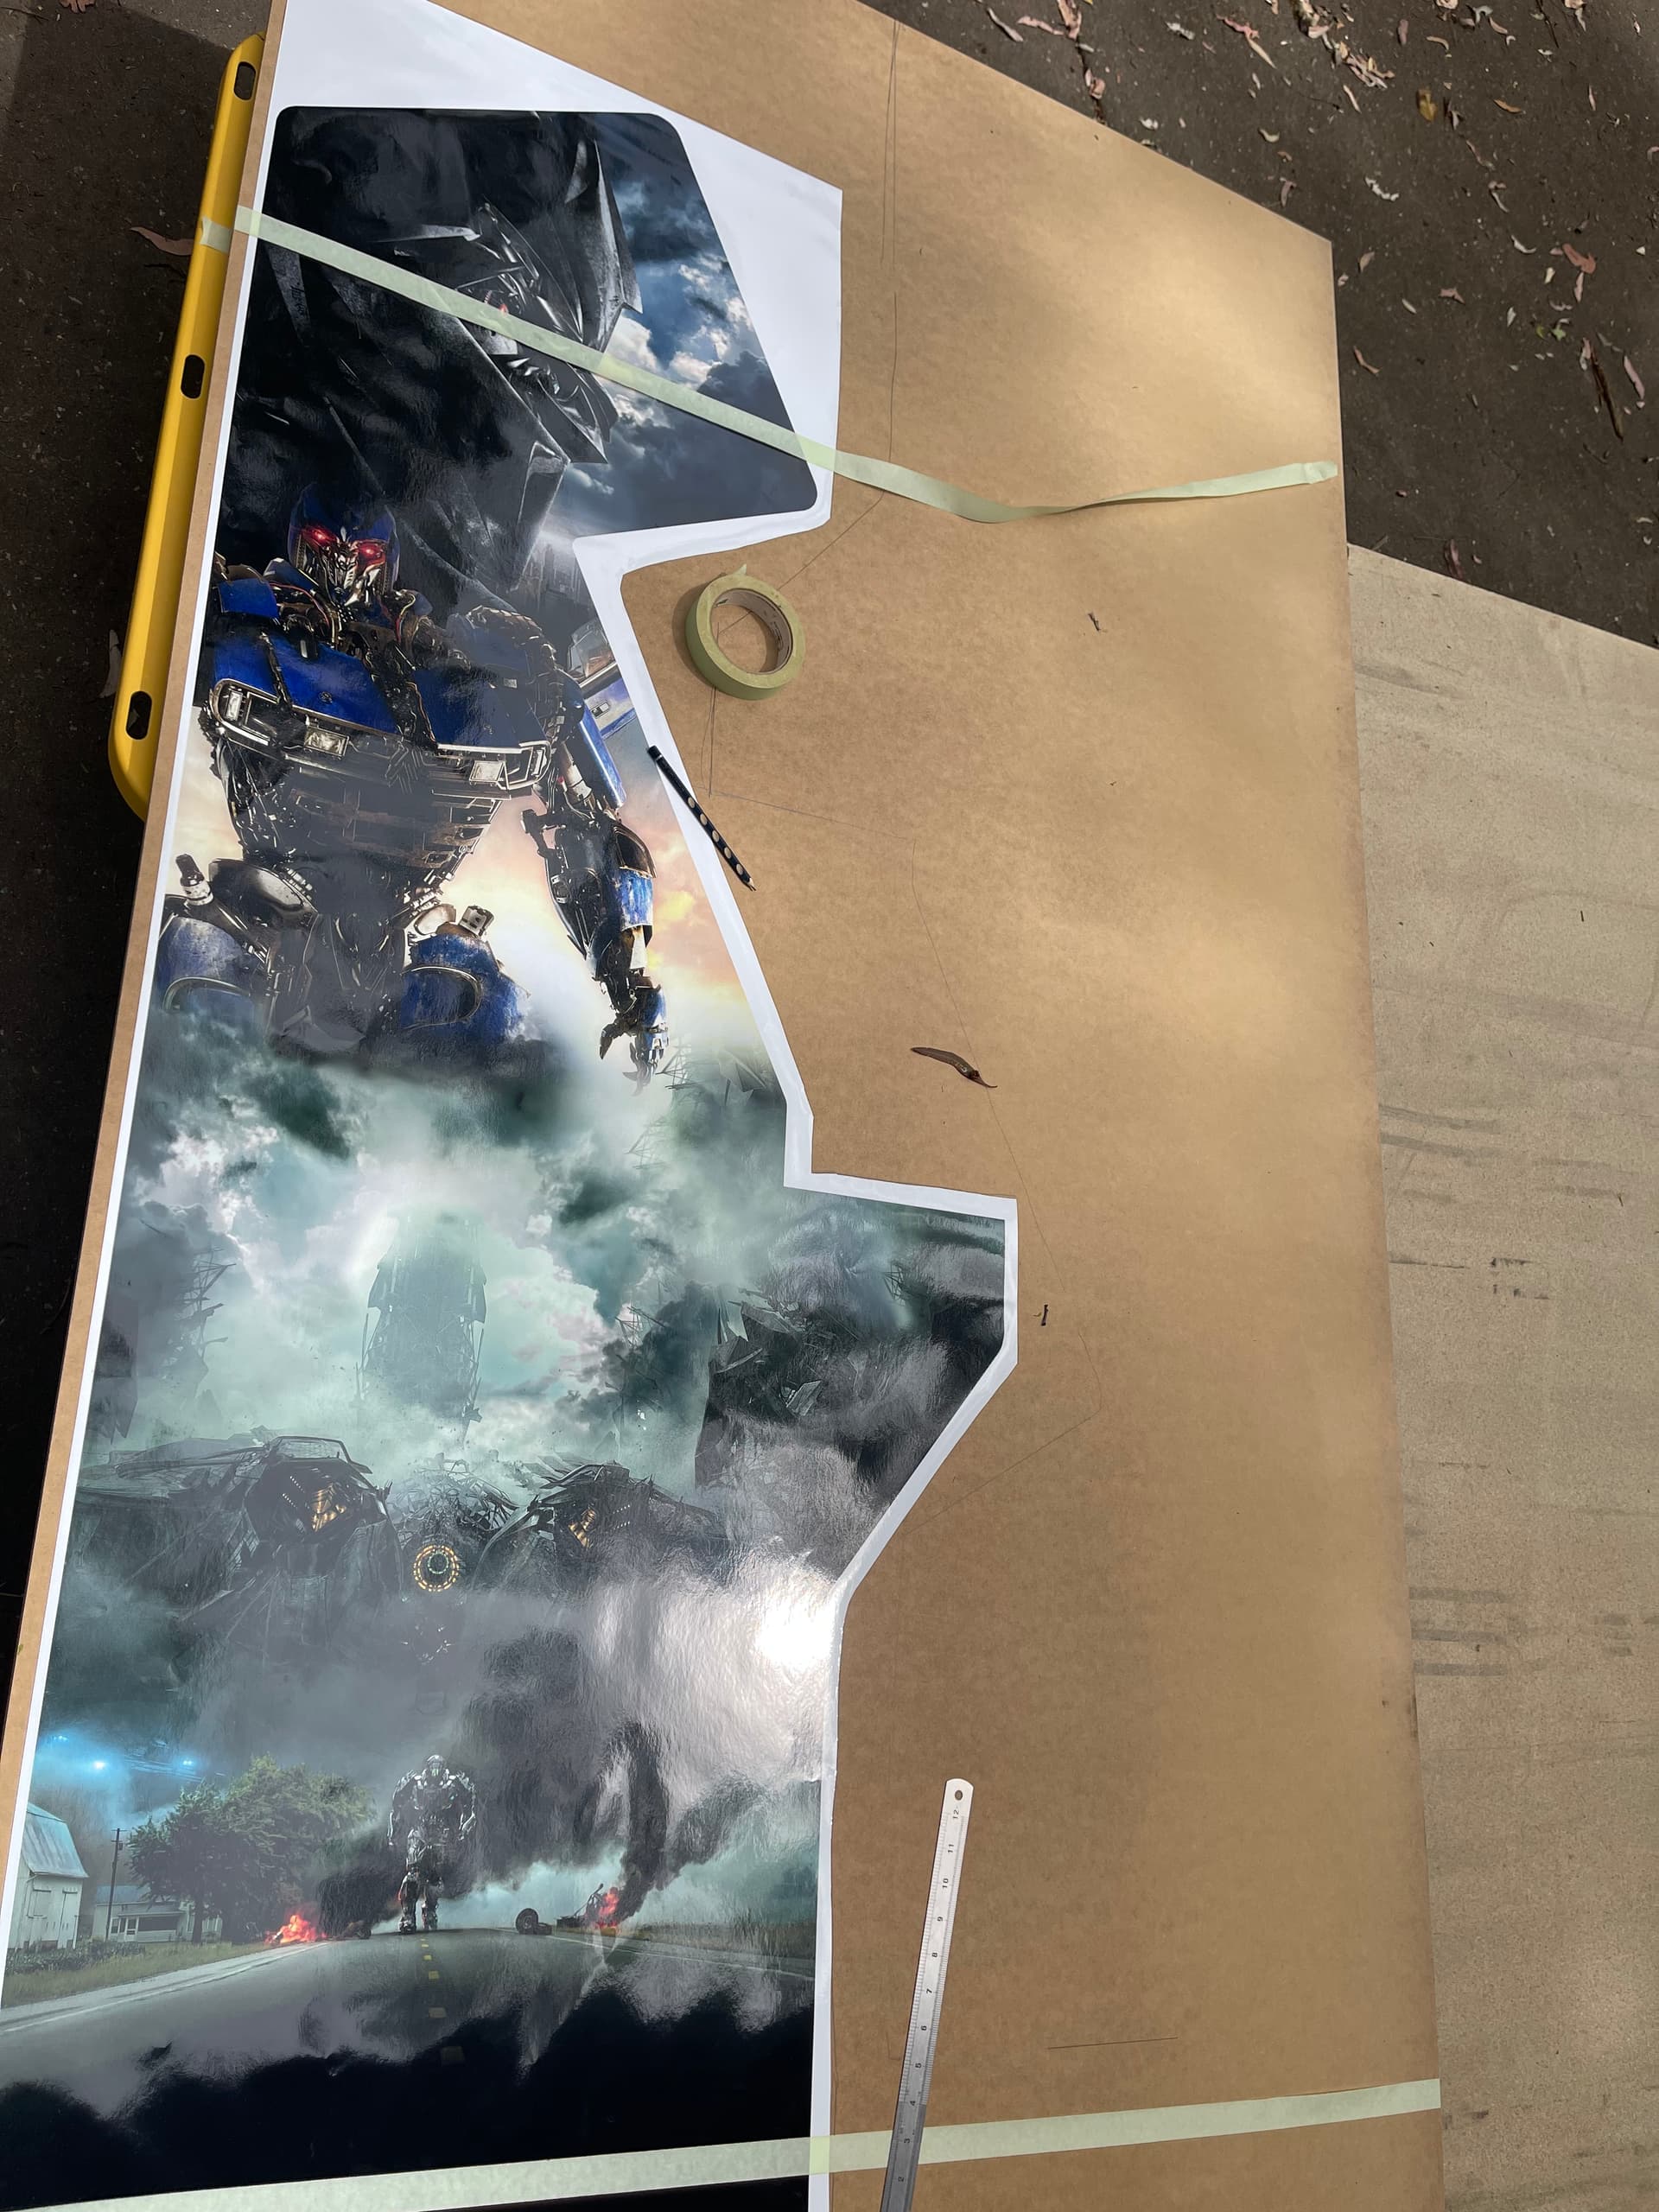
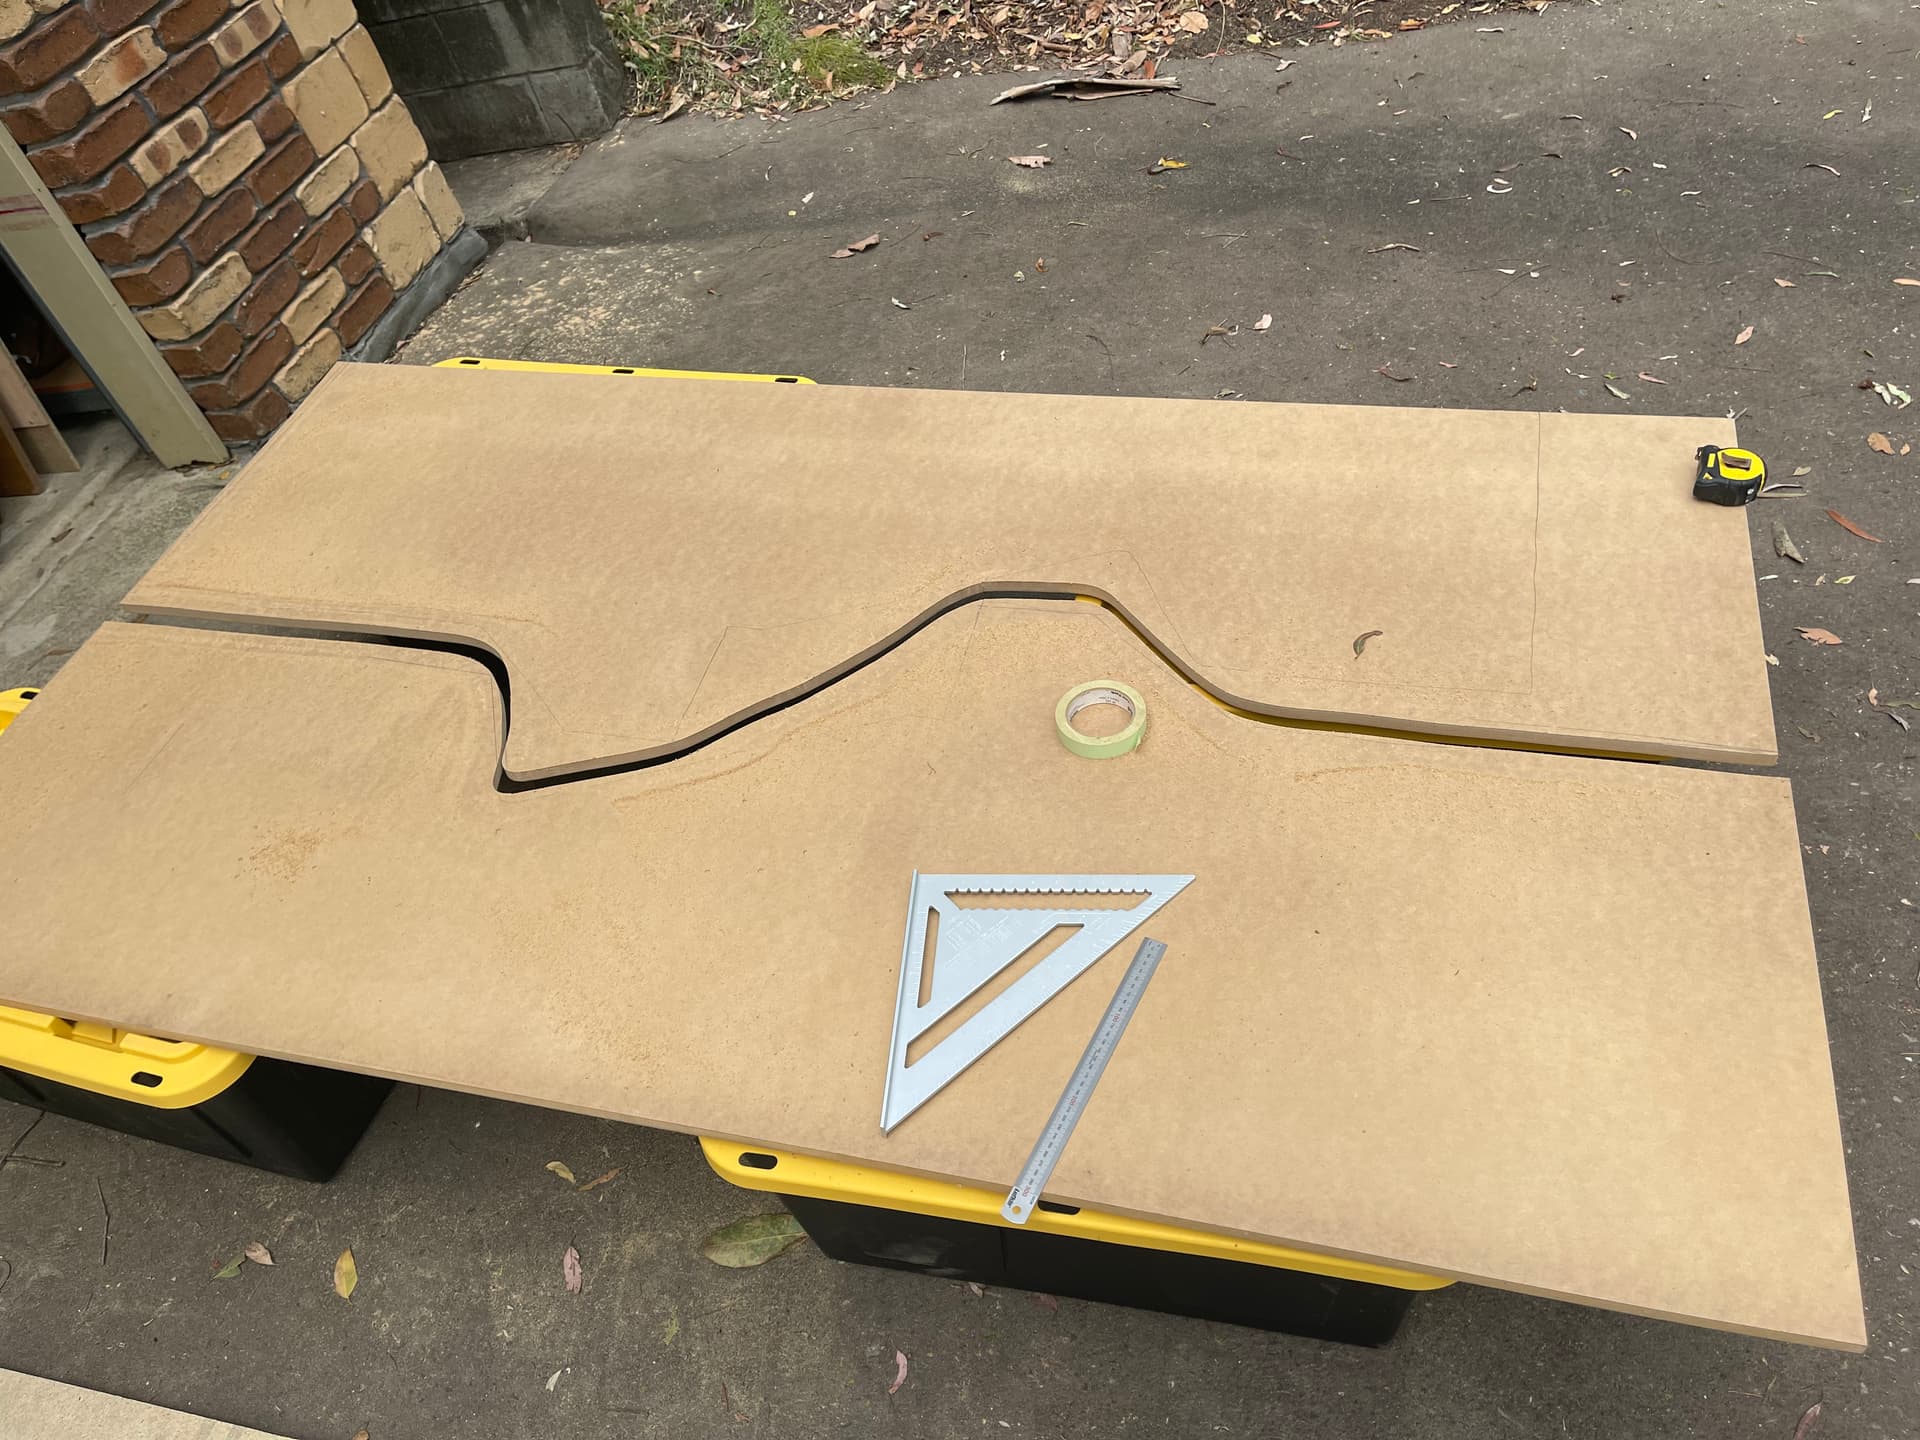
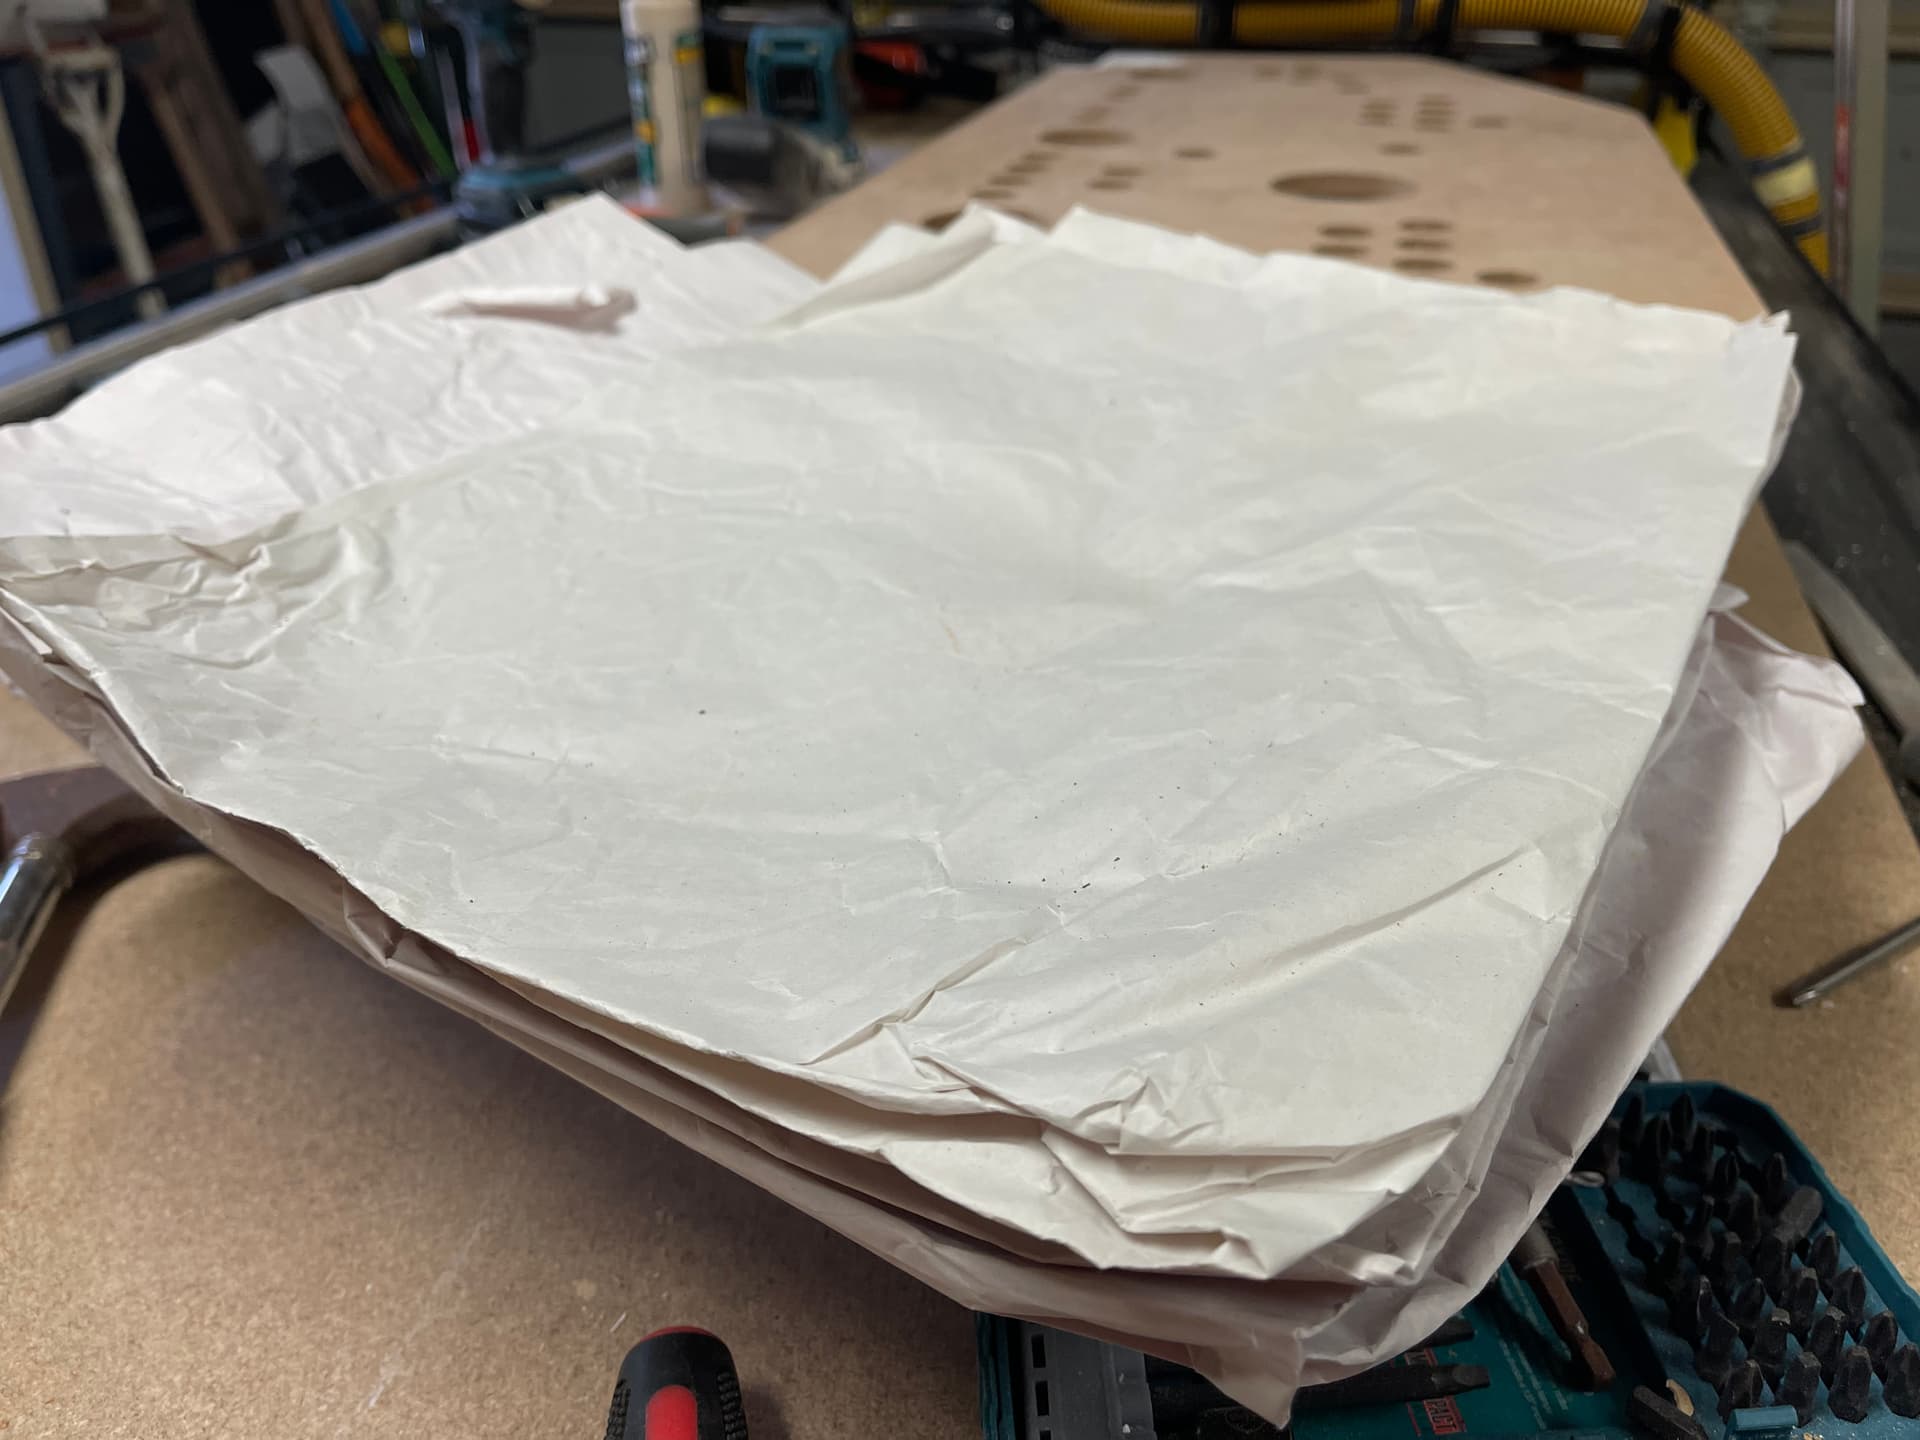
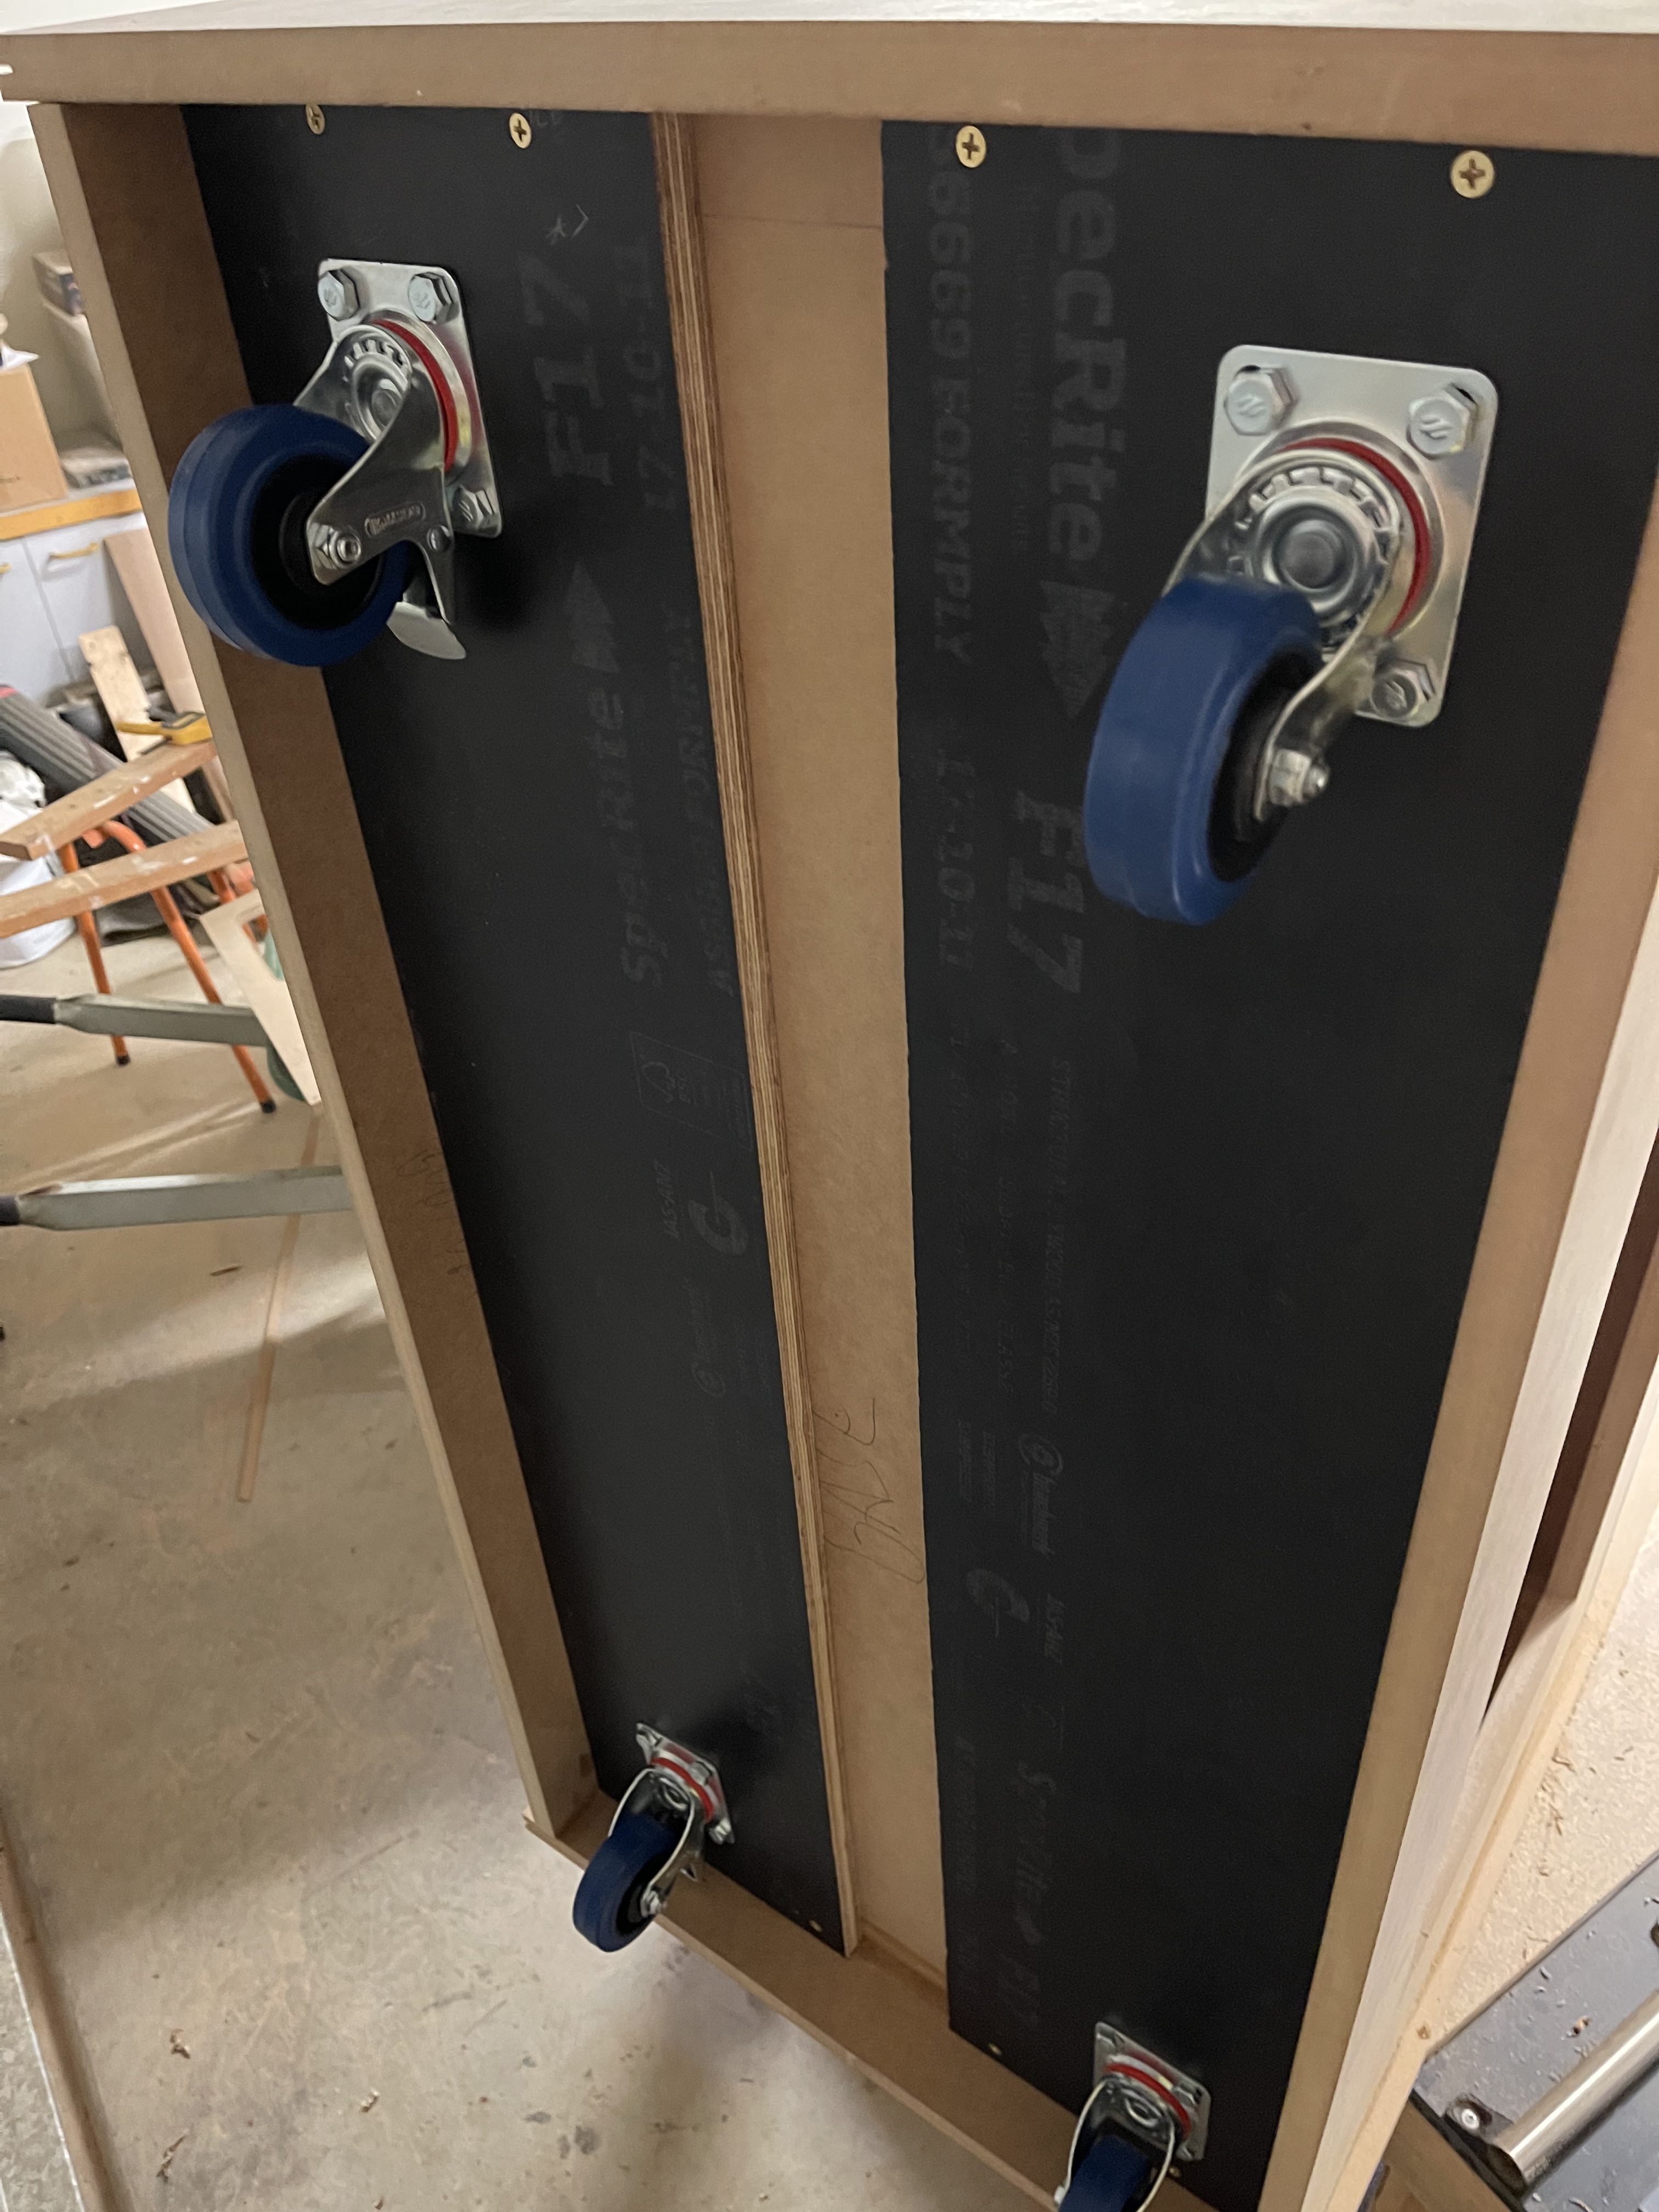
Progress shots:


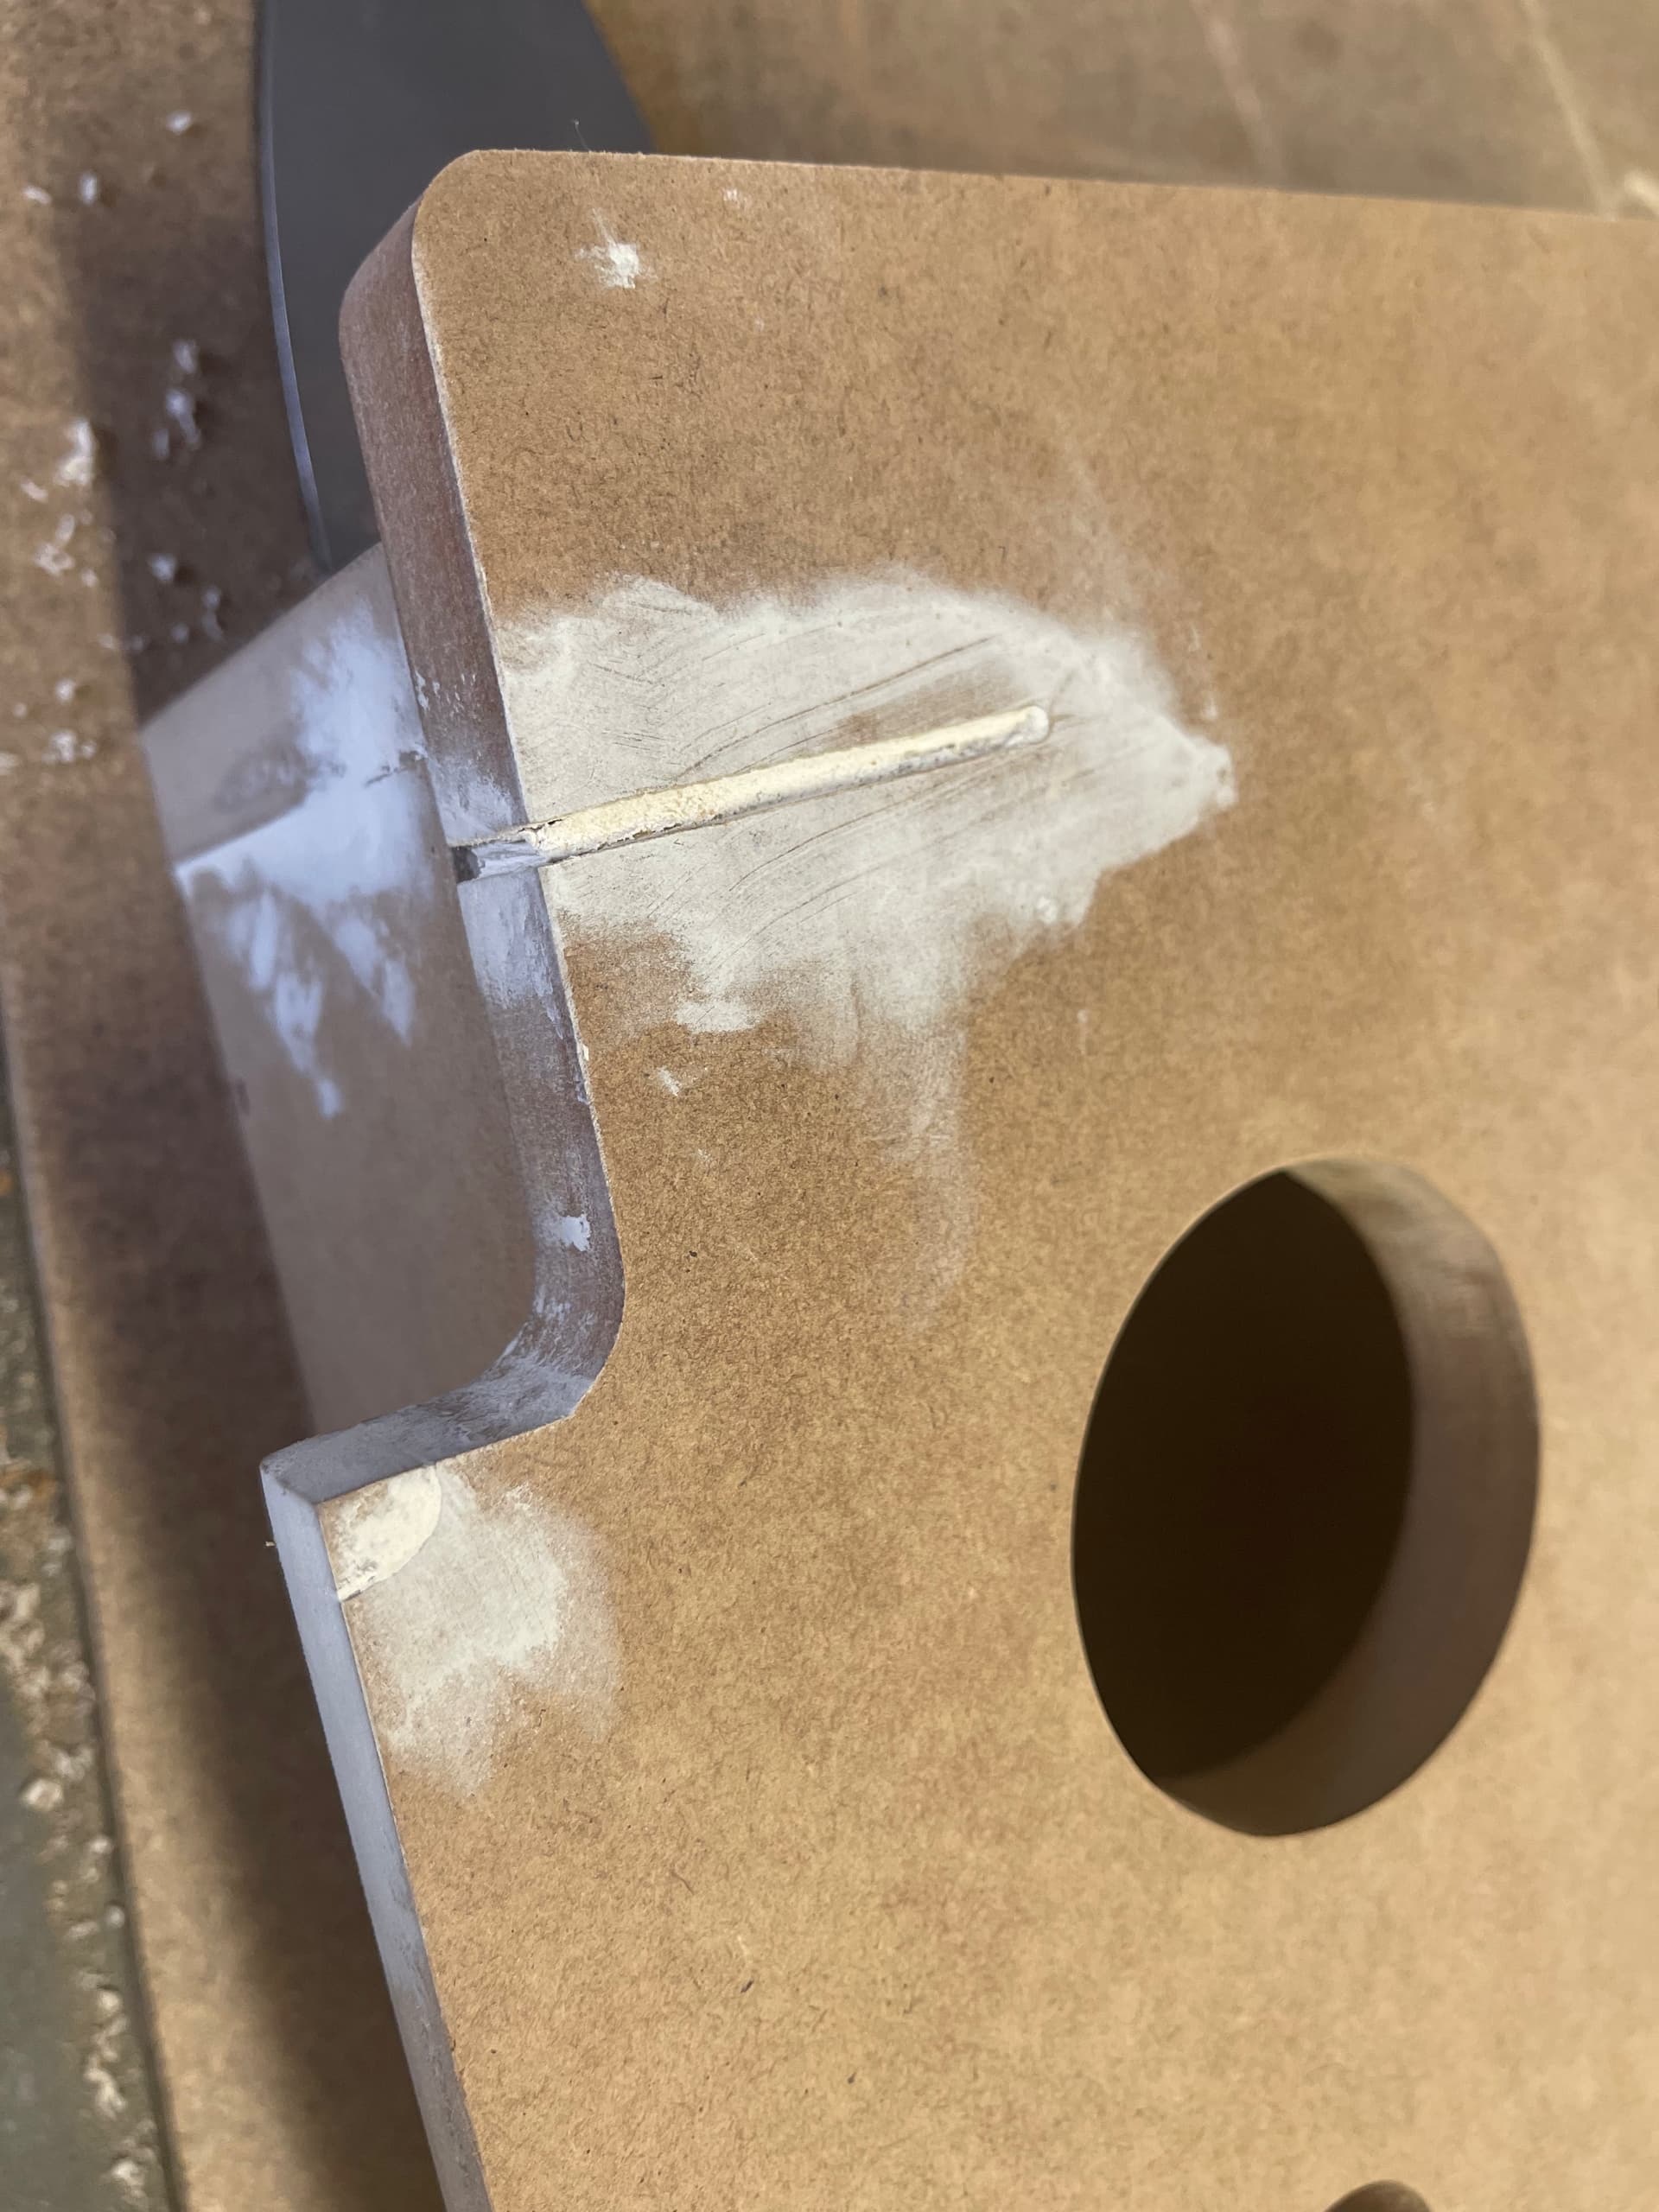
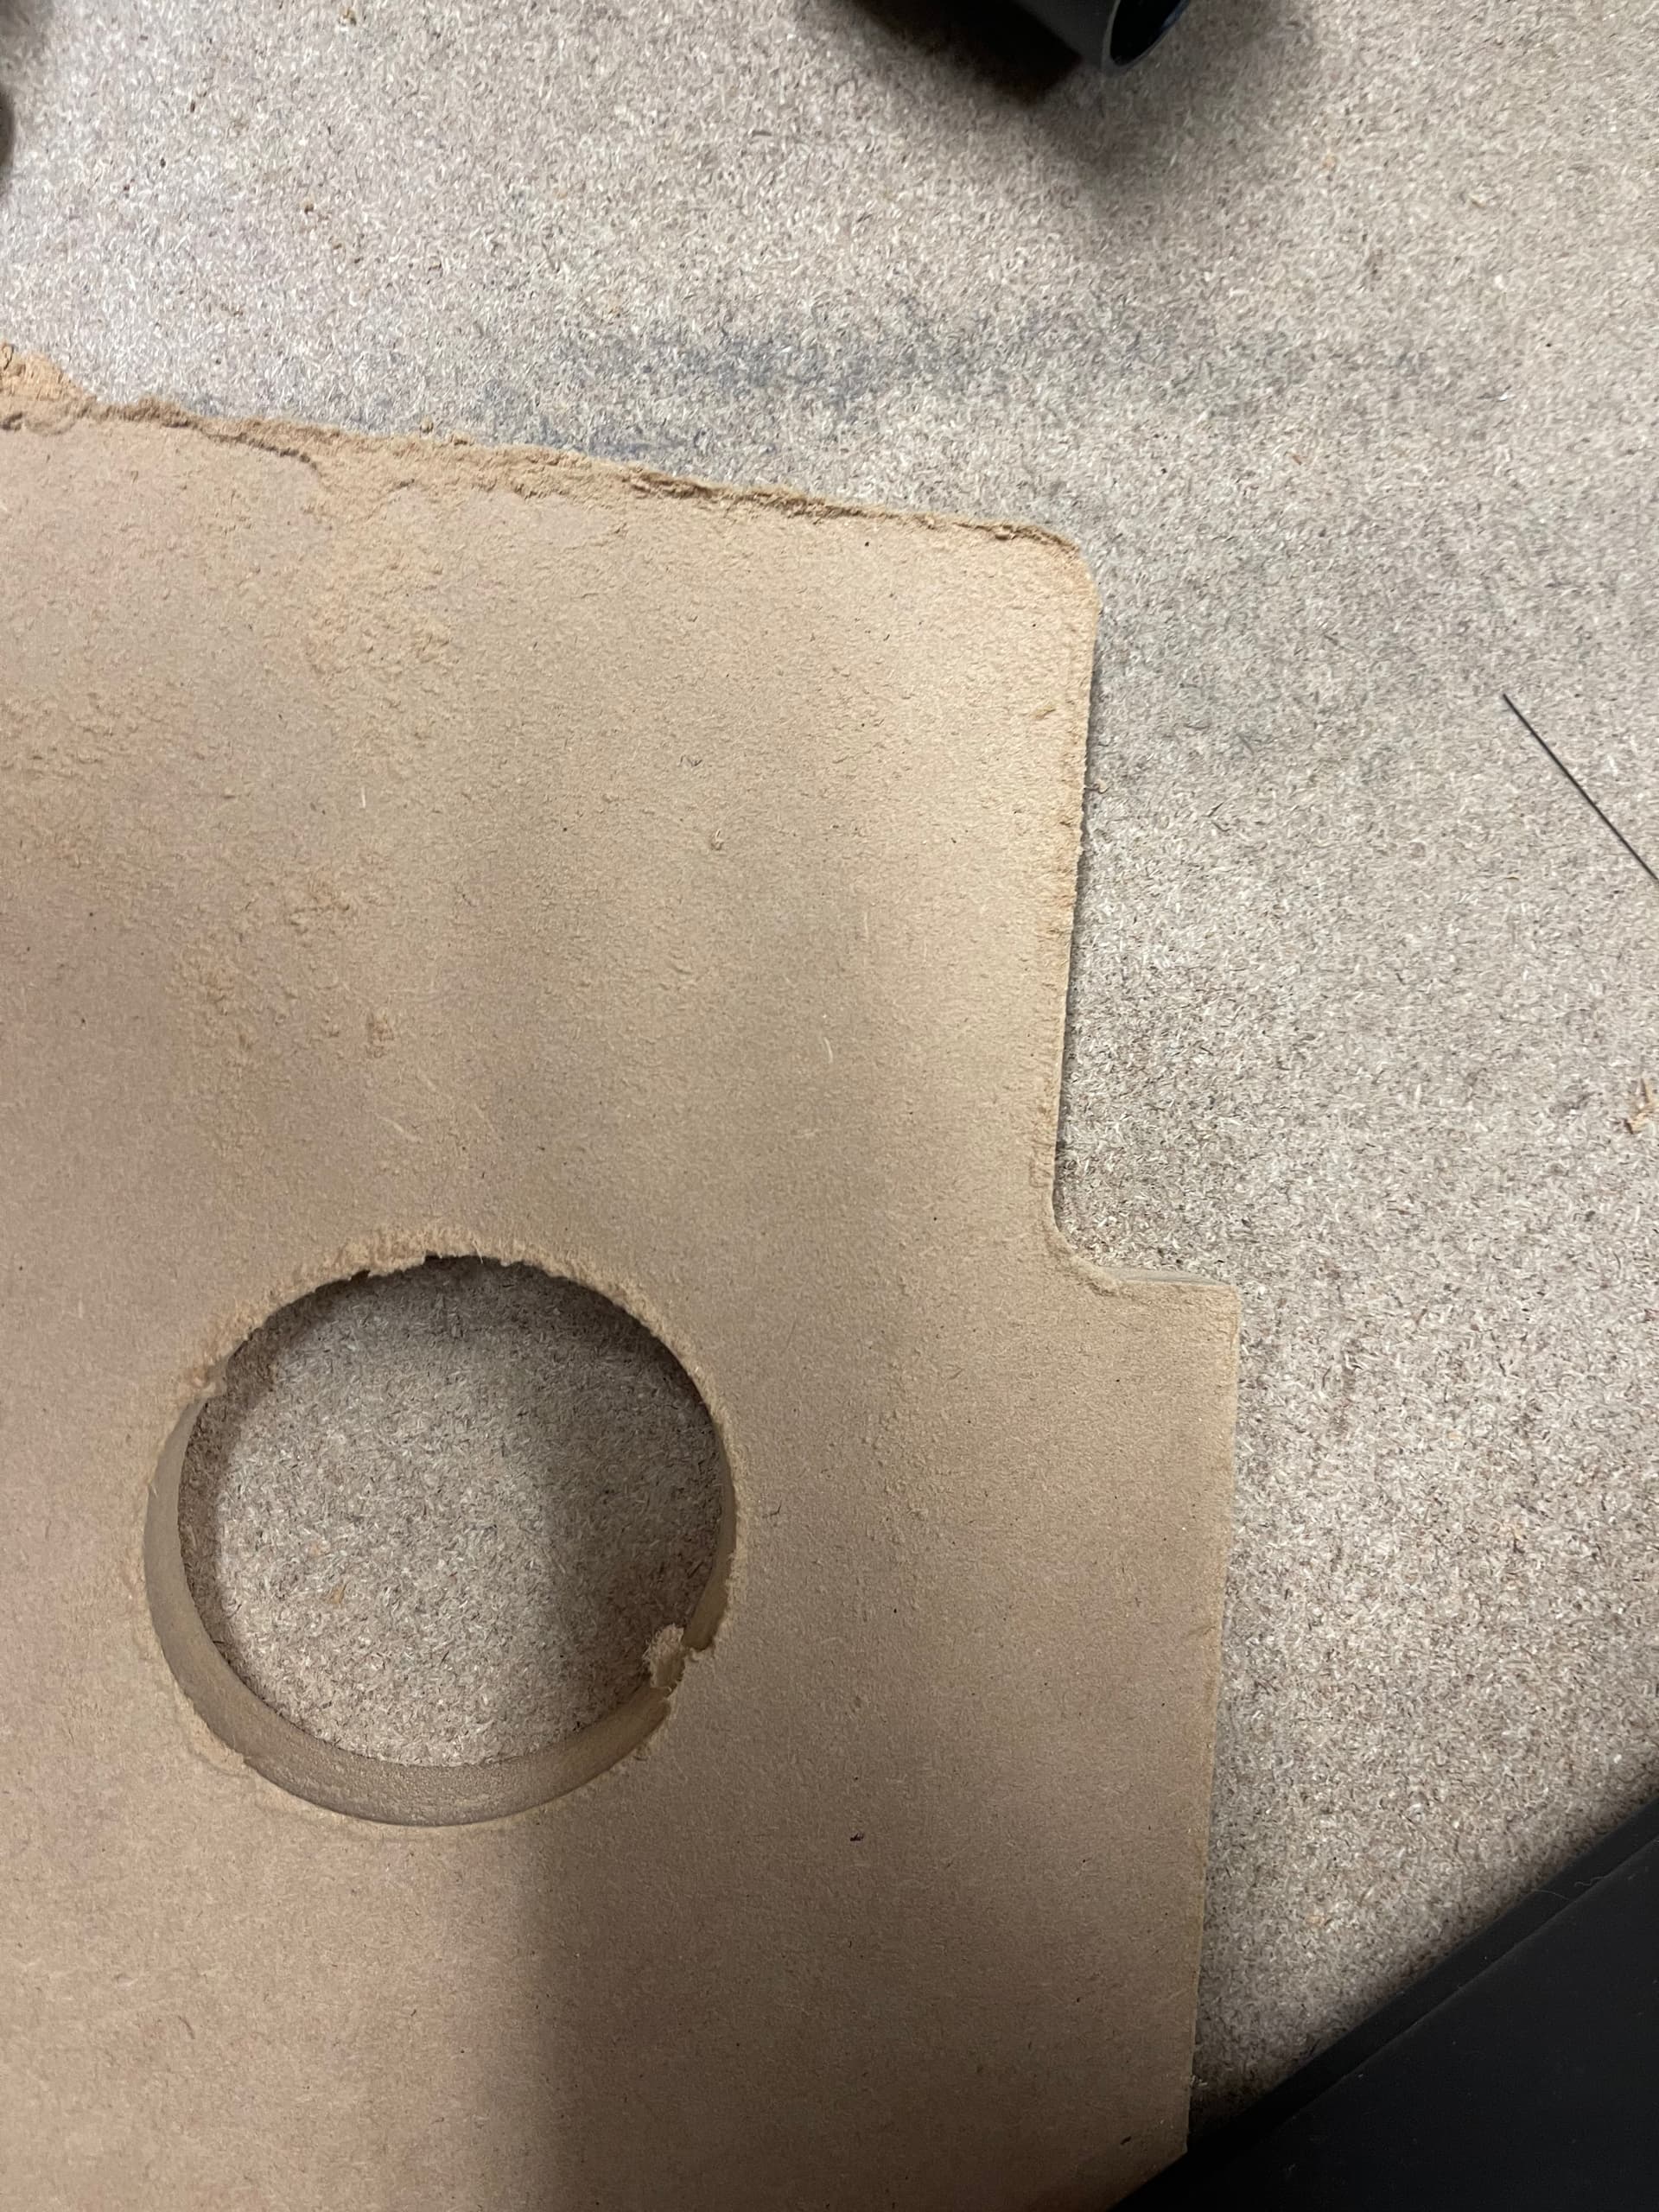
What the bad section looks like (around edges and cut in)

What it is should look like (this is the opposite side)

Any advice would be greatly appreciated! :slight_smile:

3 Likes

Ouch. That always stings. But I have heard that the best woodworkers still make mistakes, they just know how to fix them.

There are two marks, right? One line and thena small notch in the corner?

The line is NBD, it can be filled before paint.

The corner is trickier. MDF isn’t great to work with for planes/sanders. But the advantage is, you just need to be close enough for the finish to cover it up. The visible part is the edge of the board. It is also in a place where it won’t get someone leaning on it (so you don’t have to worry about i breaking off).

I would make a plug for the corner. If there is a little gap between the new plug and the board, you can fill it and then paint over it. So shoot for something that ends up making the outside edge nice. Maybe a plug that is a little too big, but with the perfect outer contour. Then sand the inside edge of the plug until the fit makes the outside edge line up nicely.

I would start by just trying to trace the shape on a bit of scrap. I would probably use the bad side and the good side to make pencil marks to get the missing piece. Then cut it out on a bandsaw or jigsaw. Or maybe even give a go at making a plug in CAD, since the outside edge would be perfect then.

If there is a little gap, some glues, like epoxy, will fill a gap better. Yellow wood glue needs at least some of the edge to be tight when clamped.

I personally wouldn’t try cutting anything else off of the control board. That would just make a larger mistake region. But your eyes, and hands are in the room. You know best. Maybe a well placed forstner bit would give you some geometry to use in CAD? Seems riskier than a hand cut plug to me.

Lastly, if it doesn’t come out perfect, don’t point it out to anyone. Almost no one will notice. They will be seeing all the stuff you did right, not this little inconsistency. I guarantee you youtubers make these kind of mistakes and just don’t include any clips of it close up.

But show us and any woodworking buddies so we can all lose this perfection complex :slight_smile:

4 Likes

Awesome. Yep sounds great to me. Will give it a crack and salvage that minor defect. Thanks for the advice! Always appreciated.

2 Likes

As it is always easier to remove than it is to add/put back, take the same size drill bit (1/4 or 1/8 or mm equivalent) that you used in your router, and just drill out the other side. When you put the cover on, you can then use the piece as a guide and drill that out as well. As @jeffeb3 said, trace it on paper or card board first, cut it out, and use that as a template as to what needs to be removed so both side match. I second @jeffeb3 in filling in the line. If you are painting, no one will know but you. And don’t point it out to anyone! :man_shrugging:

1 Like

Mine is very closely based on plans by Simul8r, which were posted in a simrig forum I found through a google search years ago. Here are a couple of online build logs based on the same design:

And a youtube video of Inside Sim Racing building the rig. They make some mistakes but are honest about the process they went through.

I found a used Ford probe seat on Craigslist, bought the PVC at Home Depot, and had the couple of ply/shelving scraps kicking around in my home shop.

3 Likes

Thanks Tom.

Yep totally agreed. I have redrawn that section in Fusion and estimated the rounded edge in there also, so if I can get a little piece cut out should be a perfectly fine litte connection. :slight_smile:

1 Like

Light weight body filler might work as well.

2 Likes

MDF is sawdust and glue. You’ve got plenty of sawdust from cutting the part - mix it with some glue to make your own filler, then just mold it into that little notch.

5 Likes

Thanks all for the tips. I ended up cutting a slightly oversize piece with the CnC then sanded it down to fit and used the sawdust and glue method to fill in the gaps. Don’t have a picture on me but it will look flawless once all painted etc.

Was surprised how strong the sawdust/glue combo was in the end. Thanks!

Onwards and upwards.

4 Likes

Quick update on progress as it has been a little while since I have posted. Having the Christmas break has really allowed me to get stuck into the project even if only for 2-3 days between other household duties haha.

Some shots of the controller panel repair/progress (the repair was done over two sessions of filling with the photo after the first. The second then did the final fill which was sanded to a nice flat finish)


The artwork has arrived and looks amazing, and the cuts for the cabinet are ALMOST all done. The sides are completed which was super cool to have standing up, and I have routed out the T Moulding on all the edges that needed it. The repair I completed on the control panel also took the T-Moulding routing like a champ and help up perfectly which was awesome!


As I didn’t have a full size sheet cutting area I needed to jigsaw out the rough shape before putting it on the table to cut. To get the right shape I cut out the artwork and then traced the line around it making sure to allow the other side to have enough space to fit in also.


At this point I am doing some minor revisions on the final two pieces to cut which will be in the base (the front I am adding a subwoofer speaker), and the back I need to adjust the plug inlet, and also add a square cut out which will become either a door or a drawer to access/store in the bottom compartment. As I dont have a door in the front, I’ll need to add some sort of access to this section.

The acrylic for the controller top is also cut nicely (3mm). Did take four hours to complete… but was worth the wait. I’ll need to do some minor sanding to really get the sides to look like it was done on a laser - but really happy with that result!

Uploading: 76C06883-4A2A-4E7C-9C2F-3A74FDB73F6B.jpeg…

Once these are done I’ll finally be able to begin assembly on this beast and get to the painting, artwork and finally the wiring… Then after ALL THAT I can sit back and finally “Pacman and Chill”.

8 Likes

Impressive!

Finally a more satisfying update I can share… I have completed all of the main cuts now needed for assembly including the sides which worked out great.

I routed out the t moulding where necessary and put in the, I’m going to call them battons, to support the main connections. After triple checking everything and still stuffing a few things up after that I finally have some structure and this absolute beast is starting to take shape!


I added some good quality breaking castors to the bottom with some additional ply offcuts to add strength (left overs from the LowRider table build) and then popped it up on its feet!


The kids are super excited now they can see what the hell im actually building, and my wife is horrified at the absolute massive size of this hulk - so overall I would say a successful project so far! :joy:

Now we are on to painting. I have decided on a sprayed painted undercoat for the areas with art on them to get the smoothest possible surface. The other areas behind etc I’m still deciding on but will be a dark paint of some description applied with a brush. :slight_smile:

14 Likes

Wow !

Amazing work!

1 Like

I wanted to do a 4 player general purpose machine, but found that a 6 button setup for players 1 and 2 ended up with something too big for what I wanted. :frowning:

2 Likes

Hehe fair enough. The setup with 4 players isn’t subtle. We’ll have it set up in our garage, so it won’t need to blend in with the furniture haha

2 Likes

This is amazing!! Build quality is very well done.

I built a mini countertop 2 player and it is still “too big”… I had to put in toggle switches for the neon because it was too much to have it on all the time. It is super fun to play shoulder to shoulder though. You just don’t get that with wireless console controllers.

hehe. Thanks man!

Thats great to hear about playing shoulder to shoulder - completely agree it changes the vibe! Can;t wait to smash some noobs :stuck_out_tongue:

Great ! However, I wonder about the risk of the cabinet tipping forward, especially with the casters.
When you play with several people there will be weight applied to the panel and I fear a leverage effect…
Have you planned a large counterweight to seal the base or or an anchor to the wall ?

1 Like