Hello everyone,
First of all thank you @Ryan for the design and I can’t wait to see the LR3. Thank you to everyone else for all the information, it’s amazing all the things I found here.
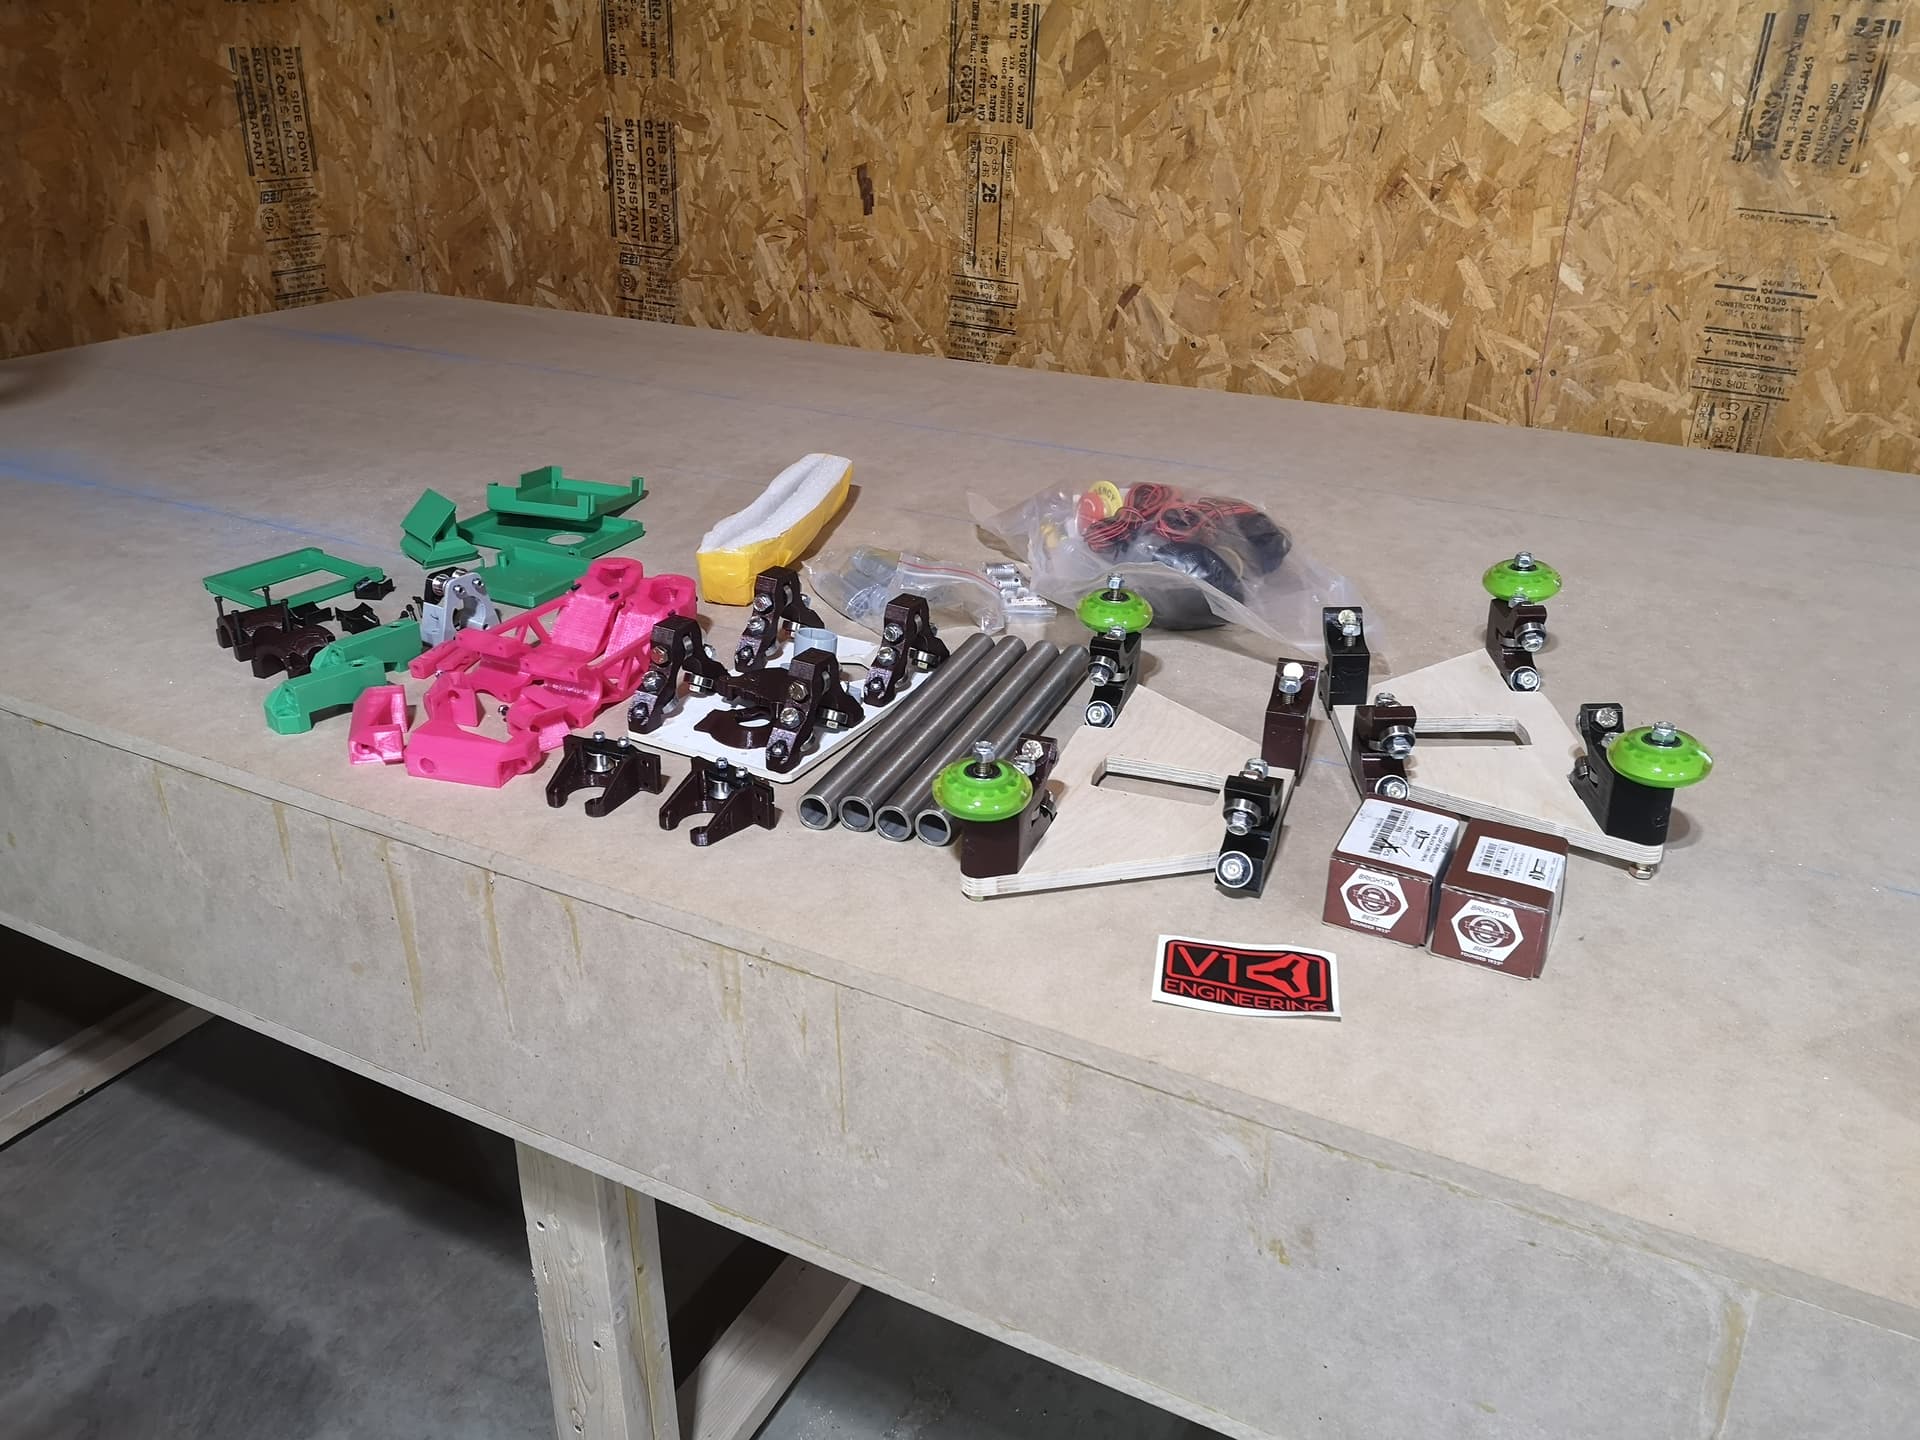
So… I’m a bit late on my build, I started printing all the parts in october 2020, and bought most of the parts at the same time.
Here is a list of the upgraded components I bought:
Makita router (cheaper)
SKR pro v1.2 (laser upgrade?)
TFT35 v3
TMC2209
Fast forward to now. I’m really close to have the MultiColored Mostly-Printed lowrider 2 assembled.
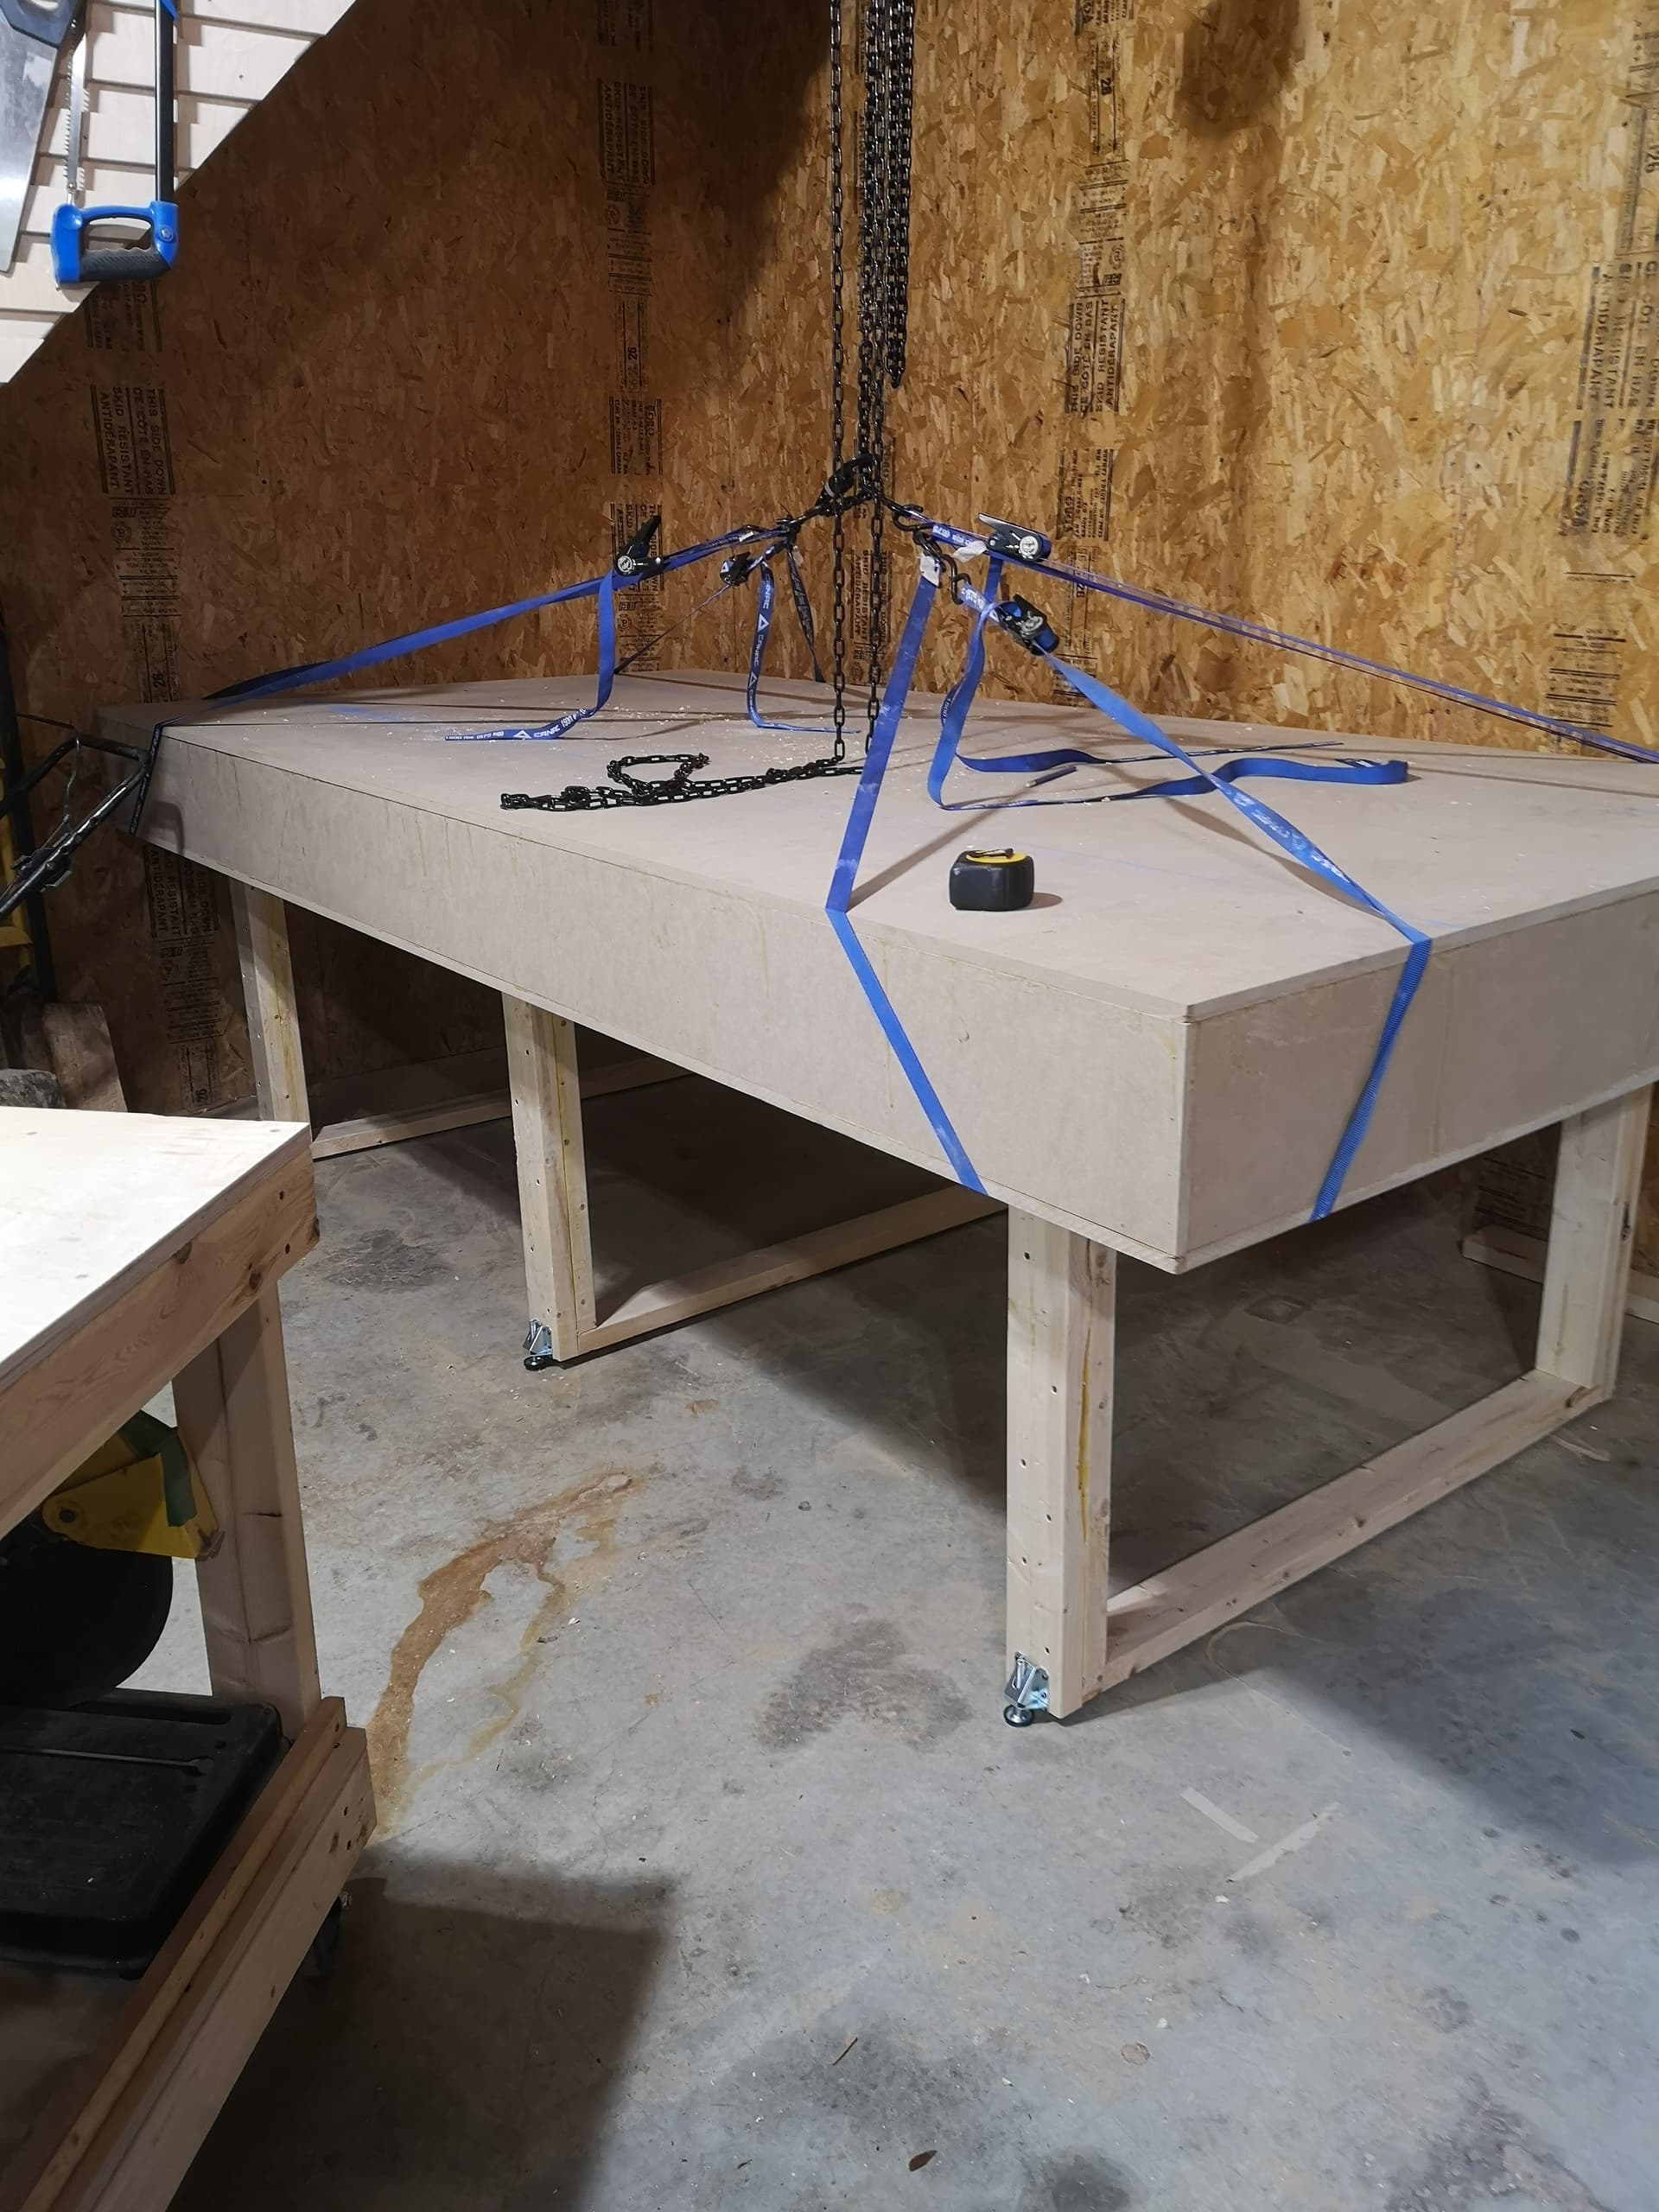
But I made a mistake when I built the table and made it 9’'1/4 thick… So now I need to cut both sides.
I already cut the SS tubing to length (sometime in 2021), i’d prefer to use them instead of buying new stock, and to be fair it’s already big enough
I’m planning on assembling everything and then take a decision whether I cut a part of the sides or I install a small lip on top that hangs 3/4’’ off the edge.
btw thank you for your contribution to the community, if everything goes right I plan on doing the NEJE laser upgrade.
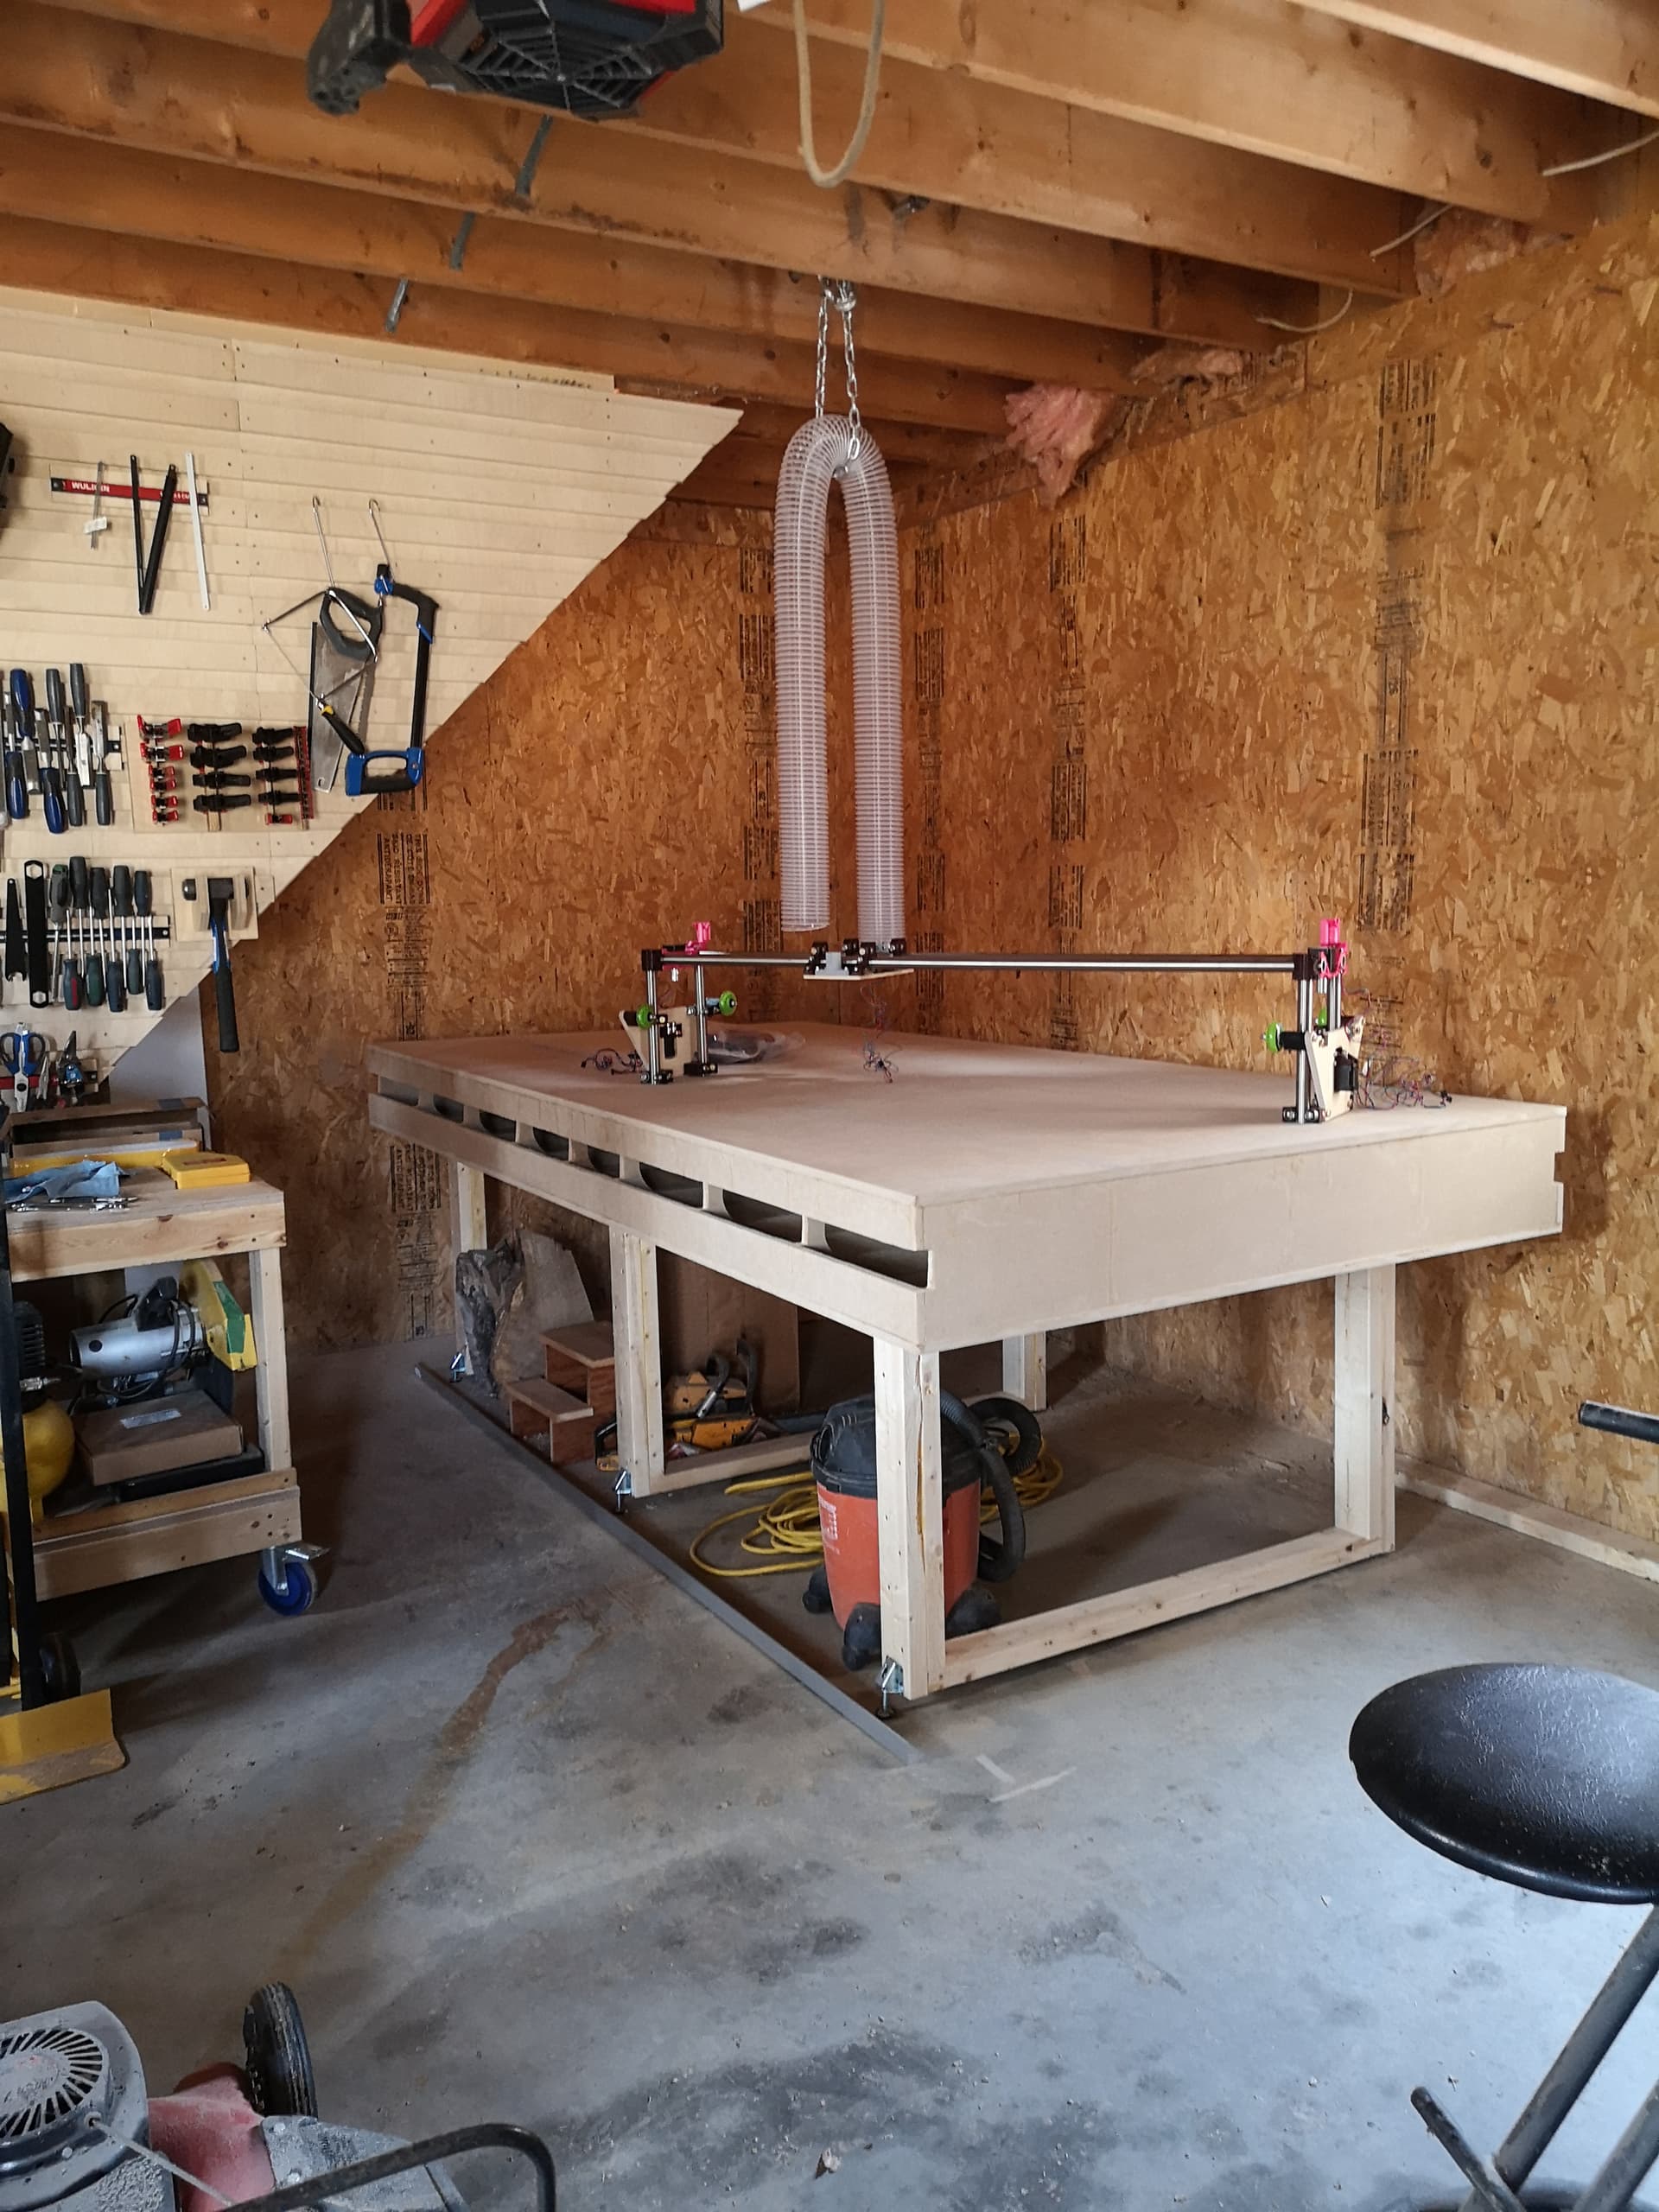
Oh and I assembled the gantry, tested the motors and started to put the electronics in cases.
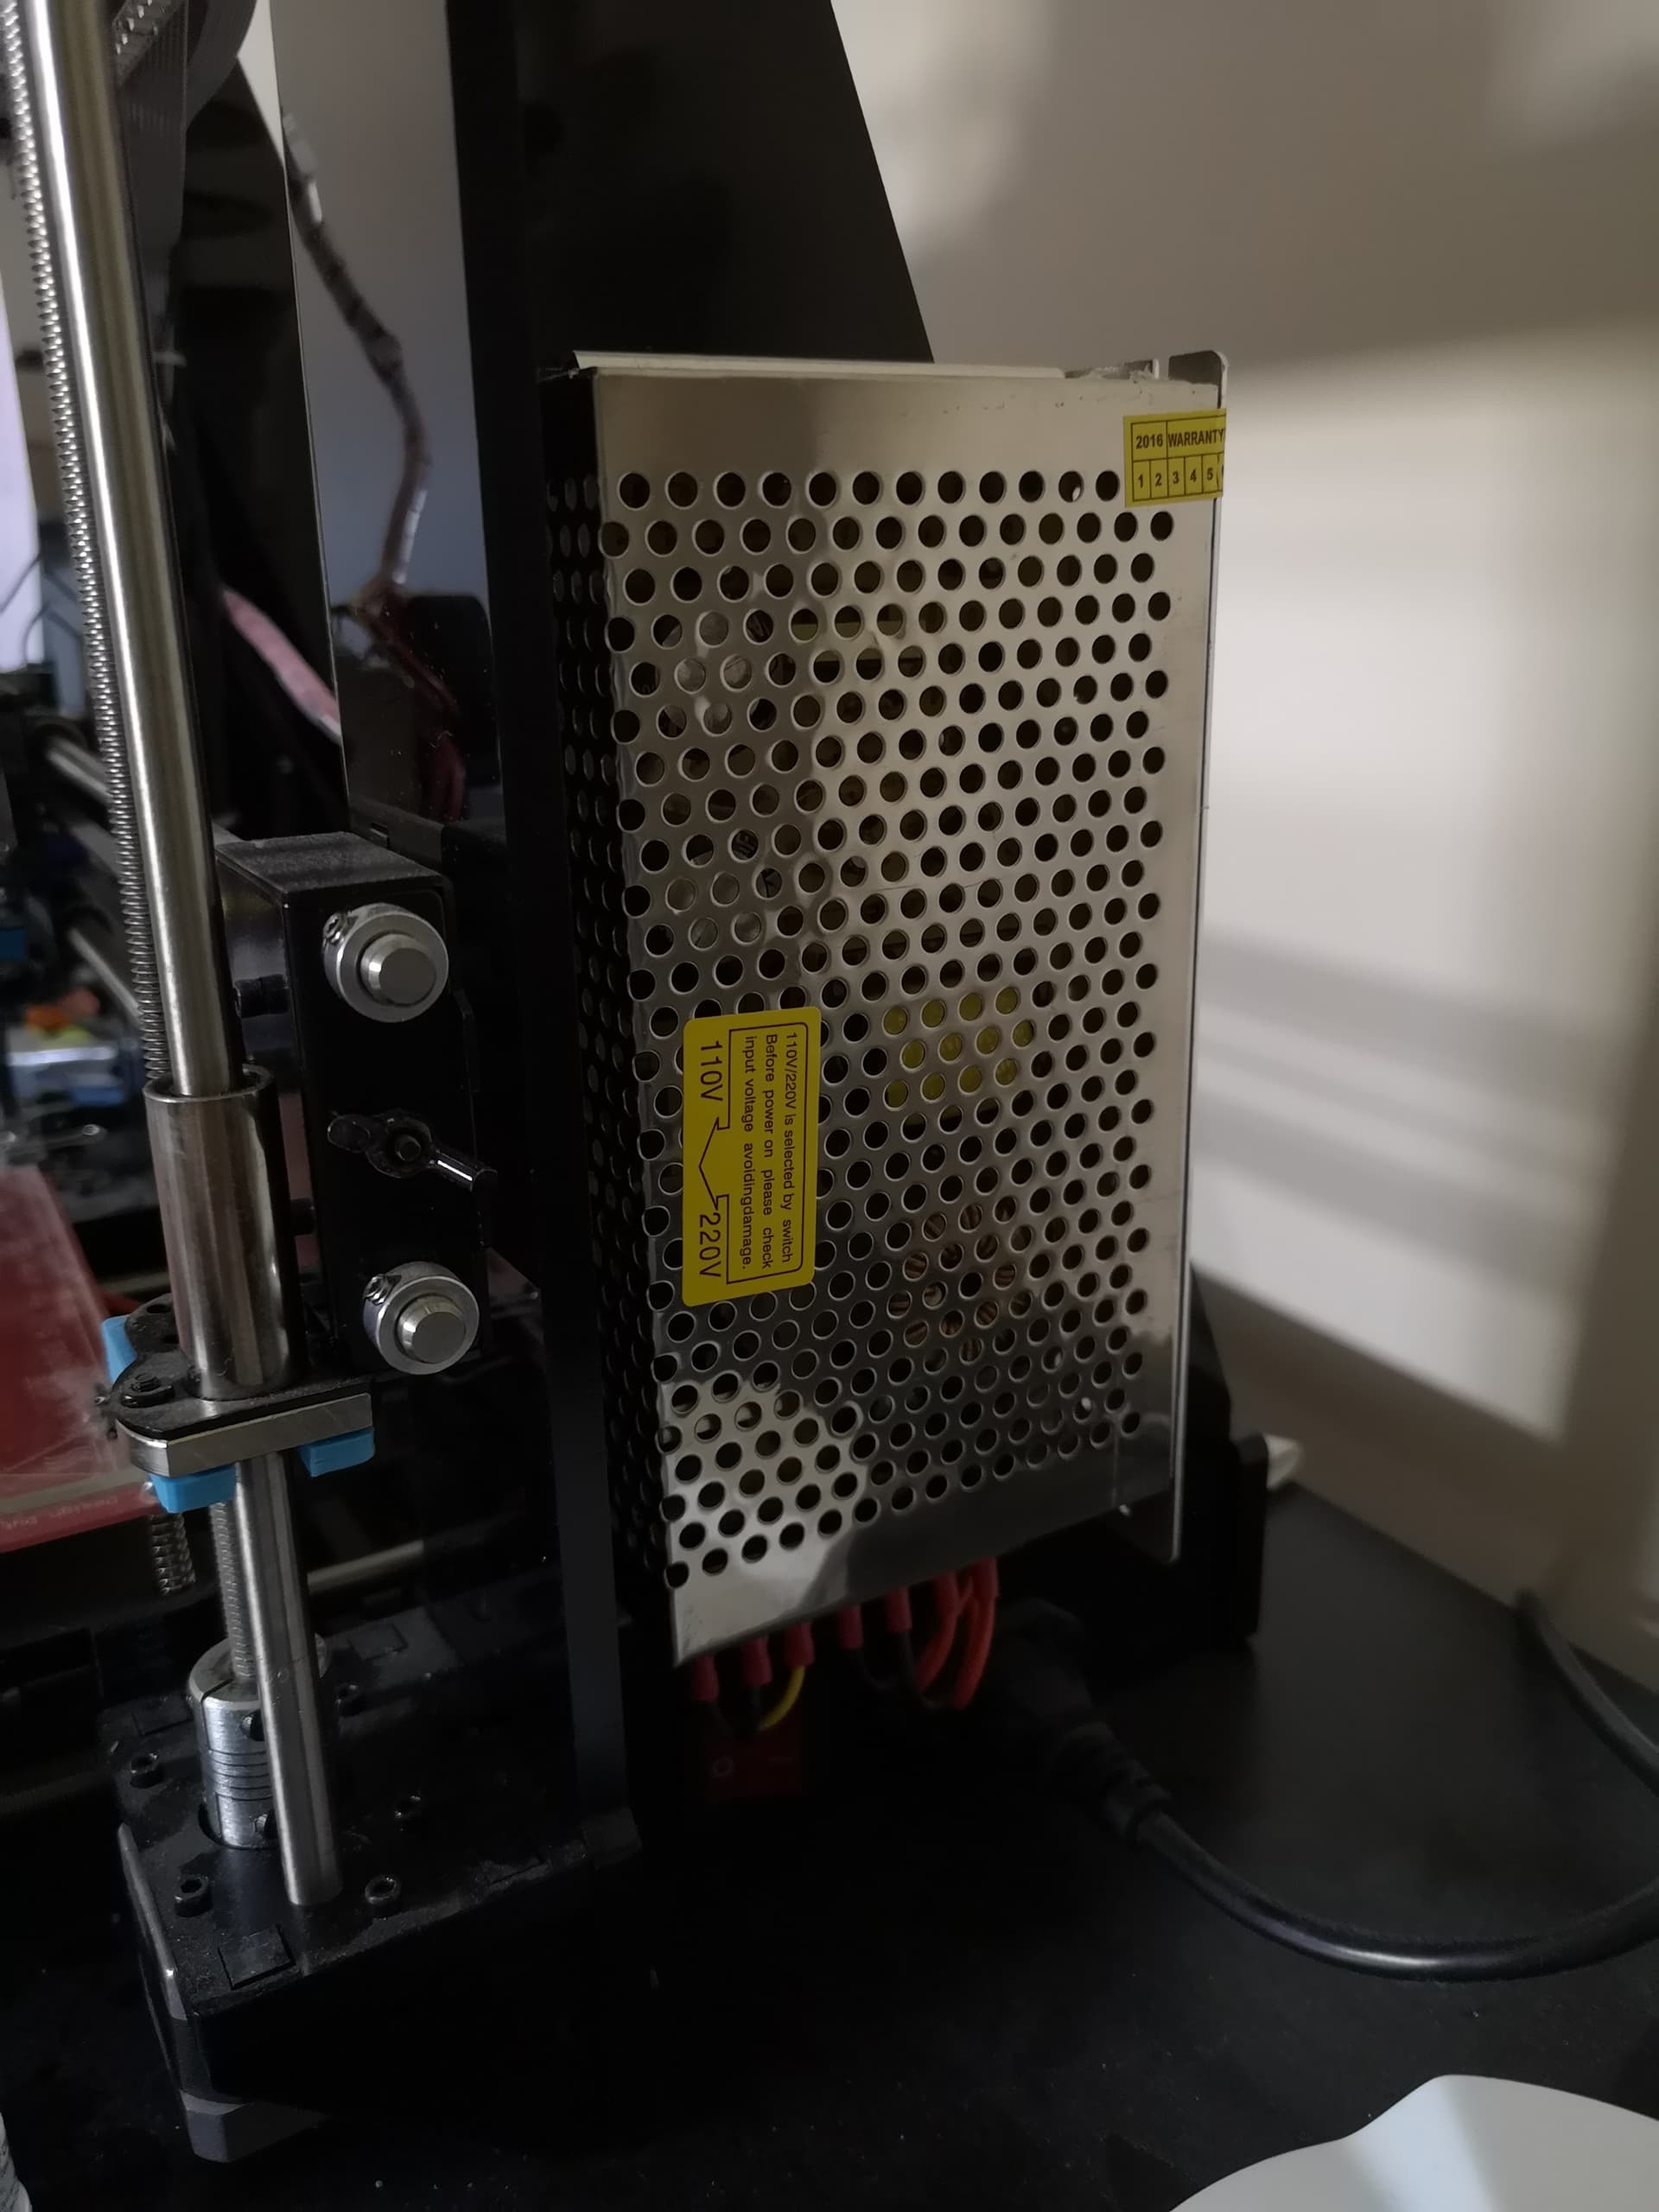
I only have one question for now… Where do you install the power supply?
I have something like this
Thank you for the design, I’m gonna look into it, I’m now printing 3d printed brackets for the psu, let’s hope it works.
I might just put a 1/4’’ sheet on the whole Y side with screws and then put everything on it.
Slowly but surely, I’m getting closer and closer to a working machine.
I installed all the belts this week, then I retested all the electronics. Everything works for now!
But I messed up, forgot to put the spoil board and Z spoil board spacer I made… so I now have to unscrew the Y belts and screw them back 5/8’’ higher .
To change my mind I built a shelf under the table (since there is a little bit of space, might as well use it )
hi J-c.
where in quebec are you
i am in terrebonne
i have build one but with some modification and really love it
i use for many thing but more to cut my catamaran parts


 .
. )
)