I want start by saying Thanks to Ryan for let me part of one more Alpha/Beta/Gamma/Delta…. test.
BTW Ryan, have I mentioned that love this shit???
I’m not as good as @jeffeb3 or @SupraGuy to keep record/track of the builds, but here we go.
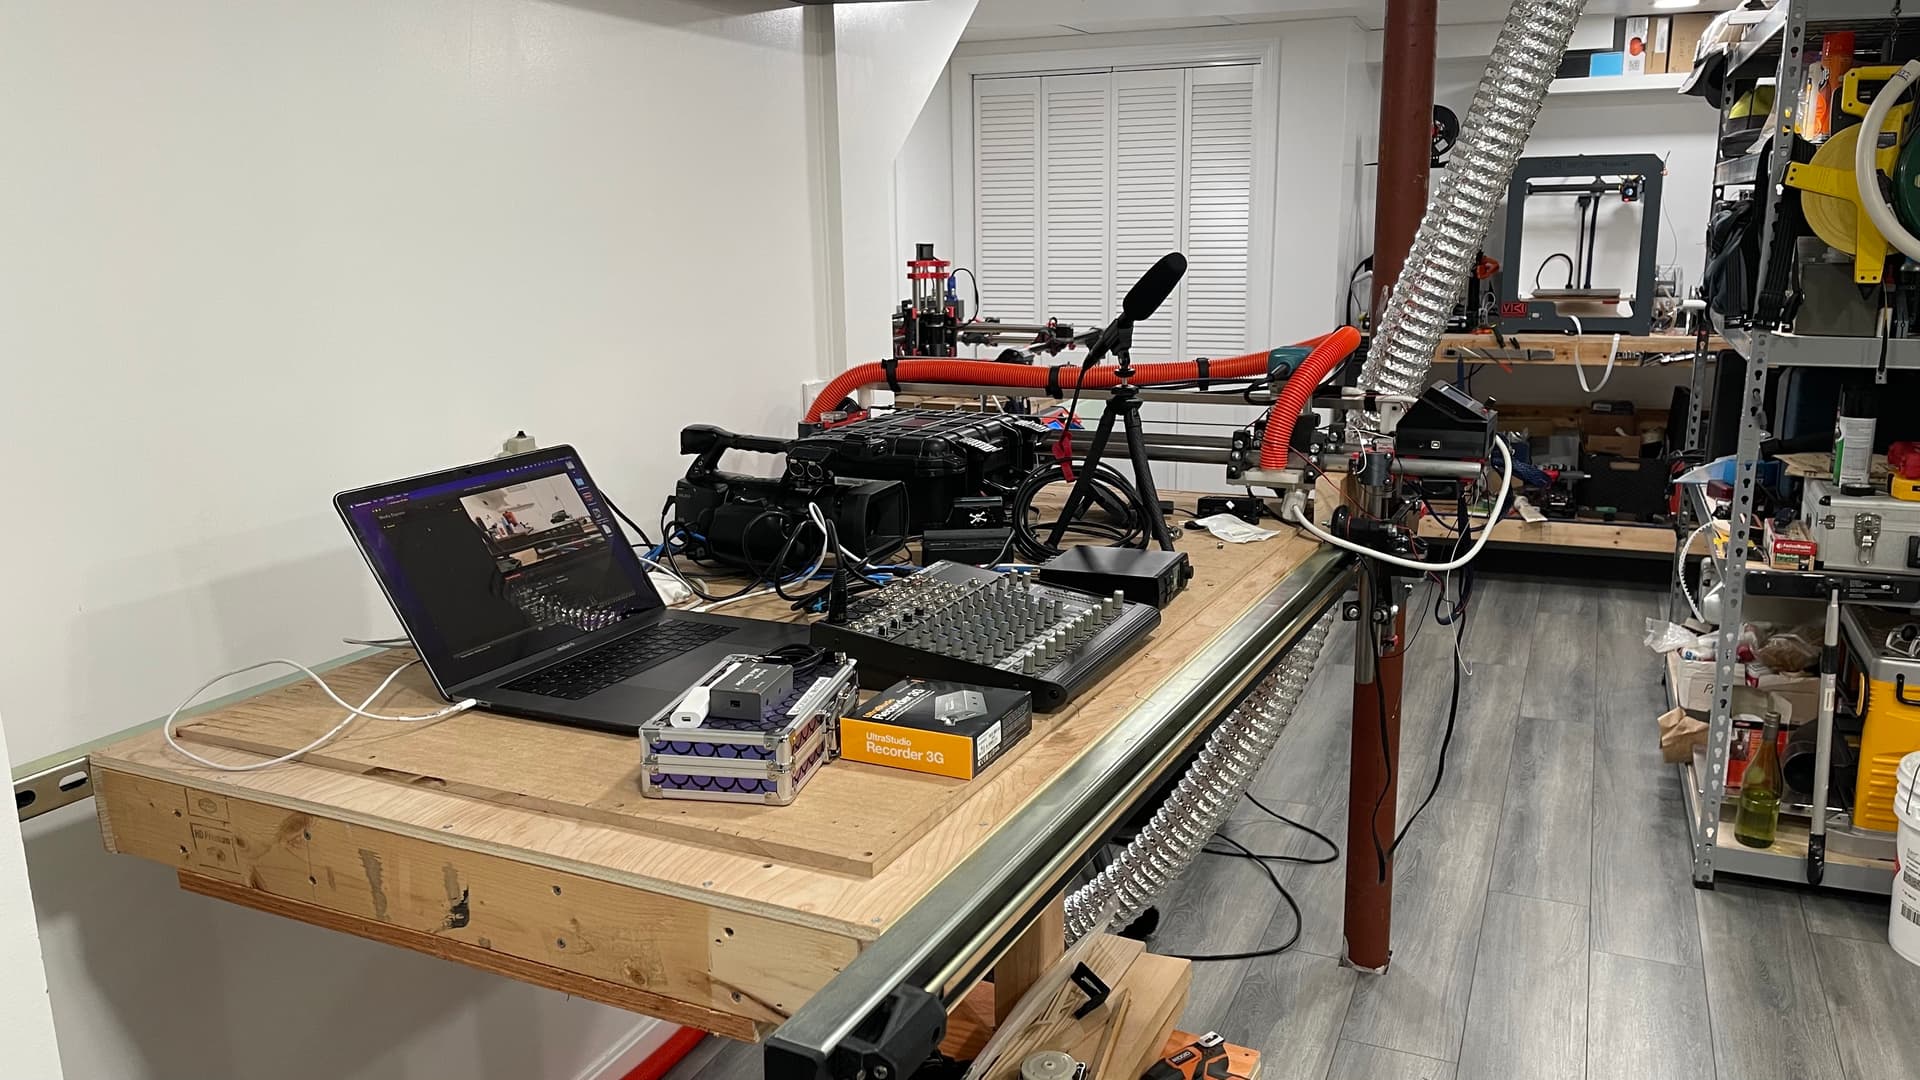
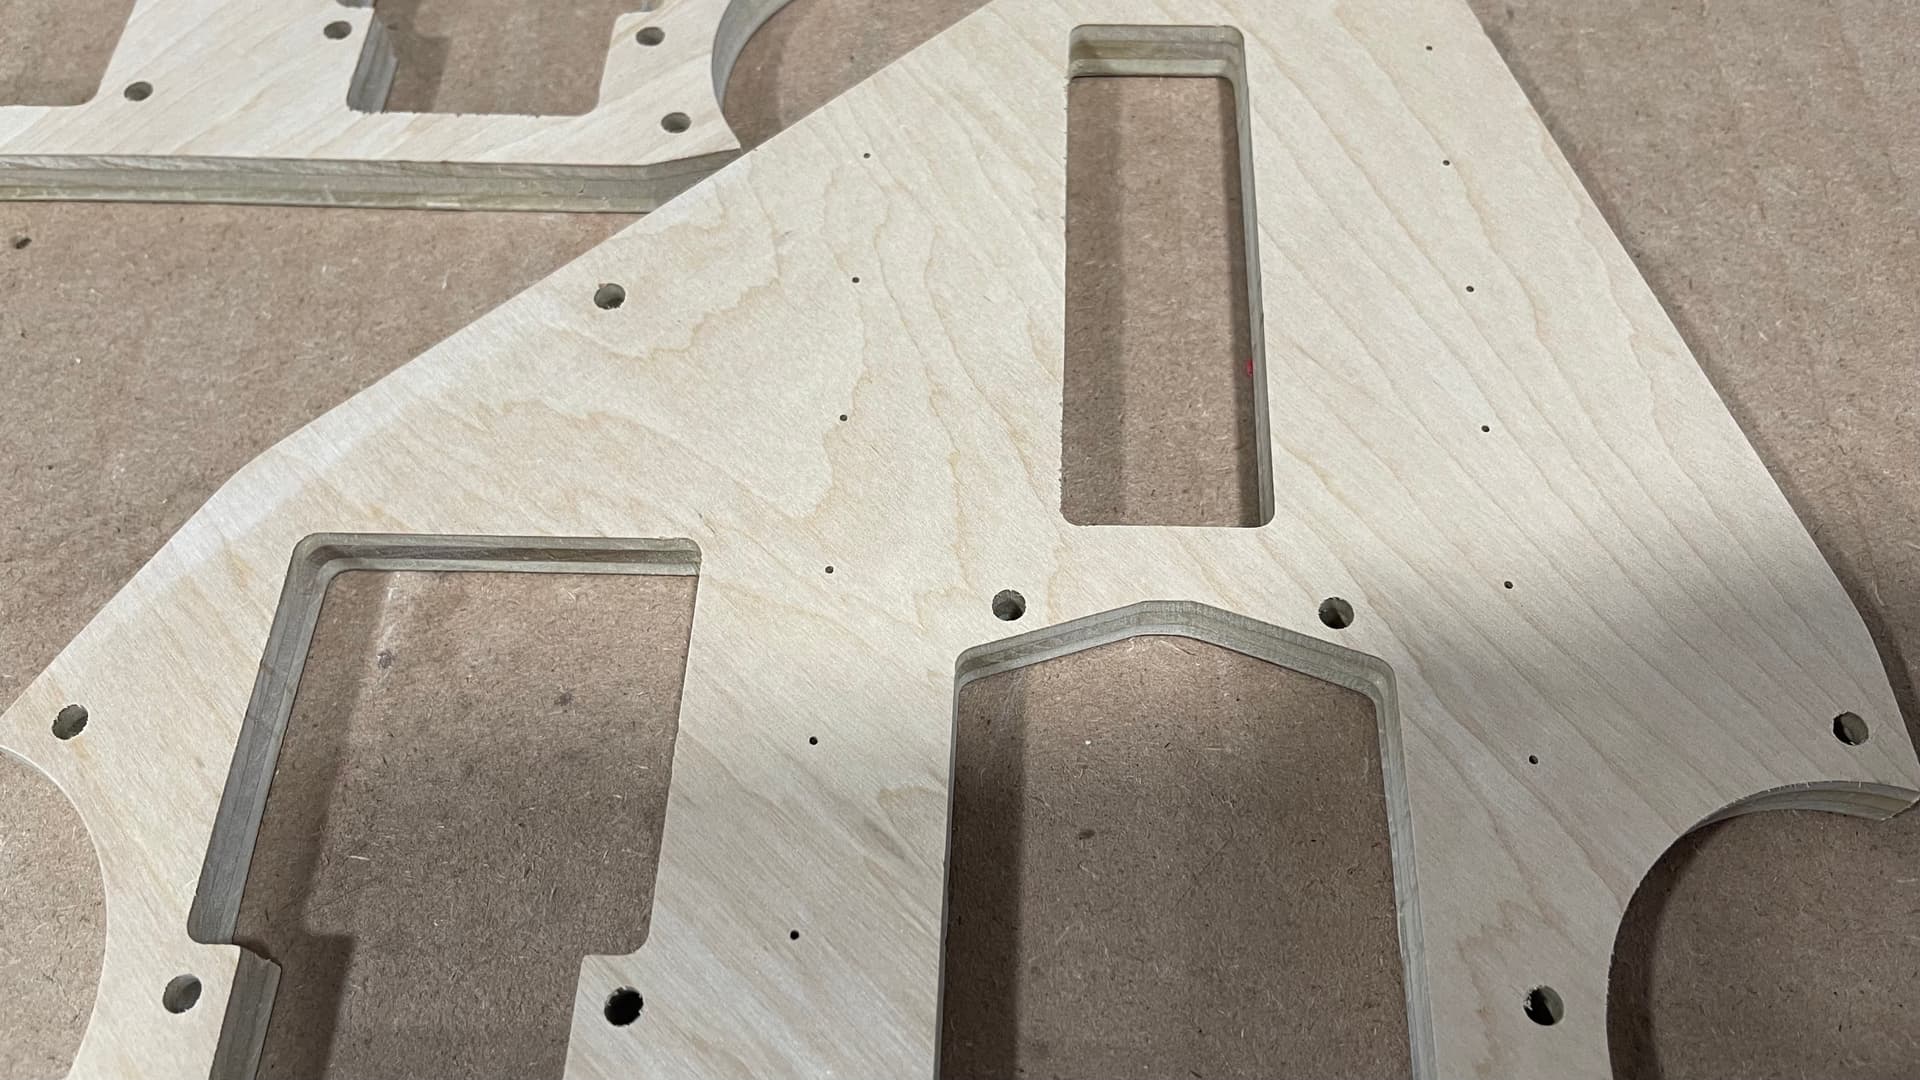
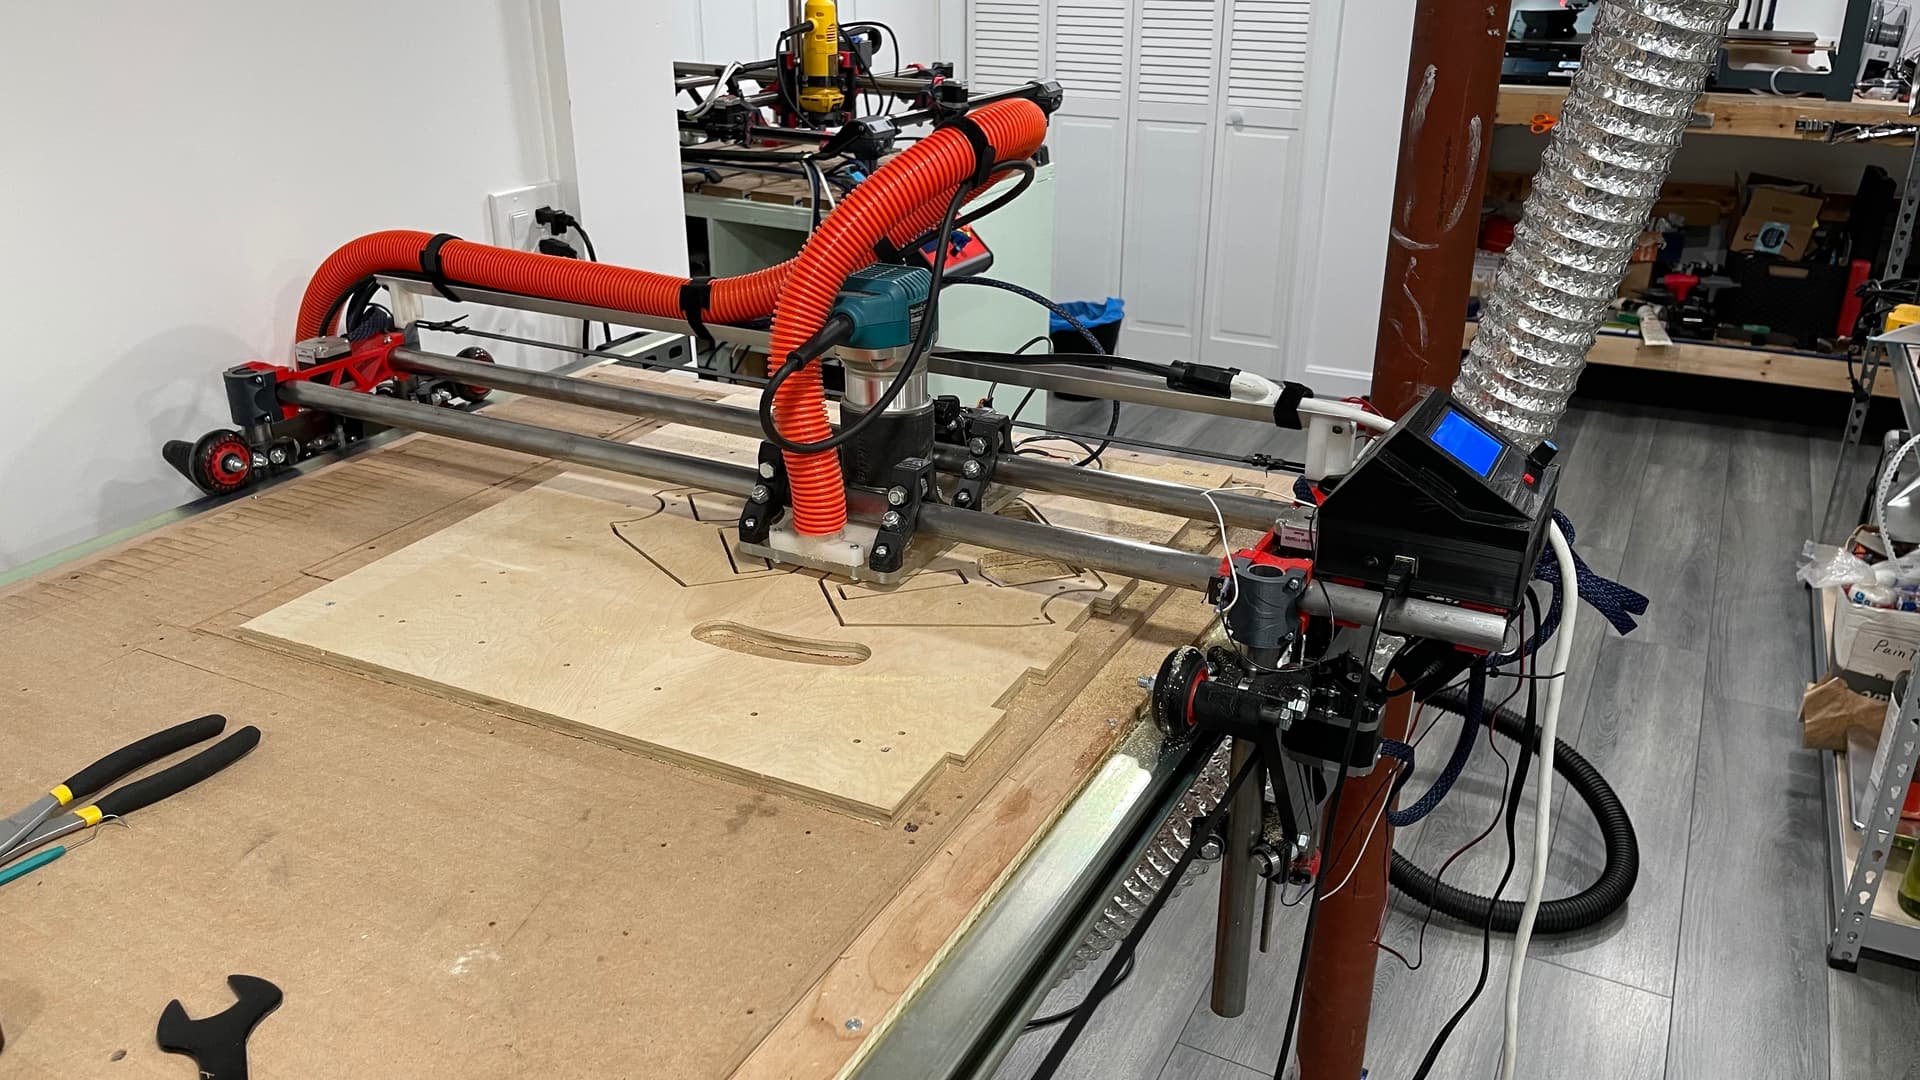
I was planning to use the LR2 to cut all the wood parts, but “WORK” got in the way and wife did not want me to use the dining room table as an office/test bench…. As she told me and I quote “F-off of my dining room…You have the entire basement for yourself”… Believe me, I tried…. And I end up using the
LR table as a test bench for 4 days straight.
Then move on to the print parts…. I was also planning to use the MP3DP “Repeat” for all the parts, but could not get the printer to print the big parts like the Core and XZ plates. When the Repeat built was done I notice a real problem with the heated bed as noted at my Repeat Building thread
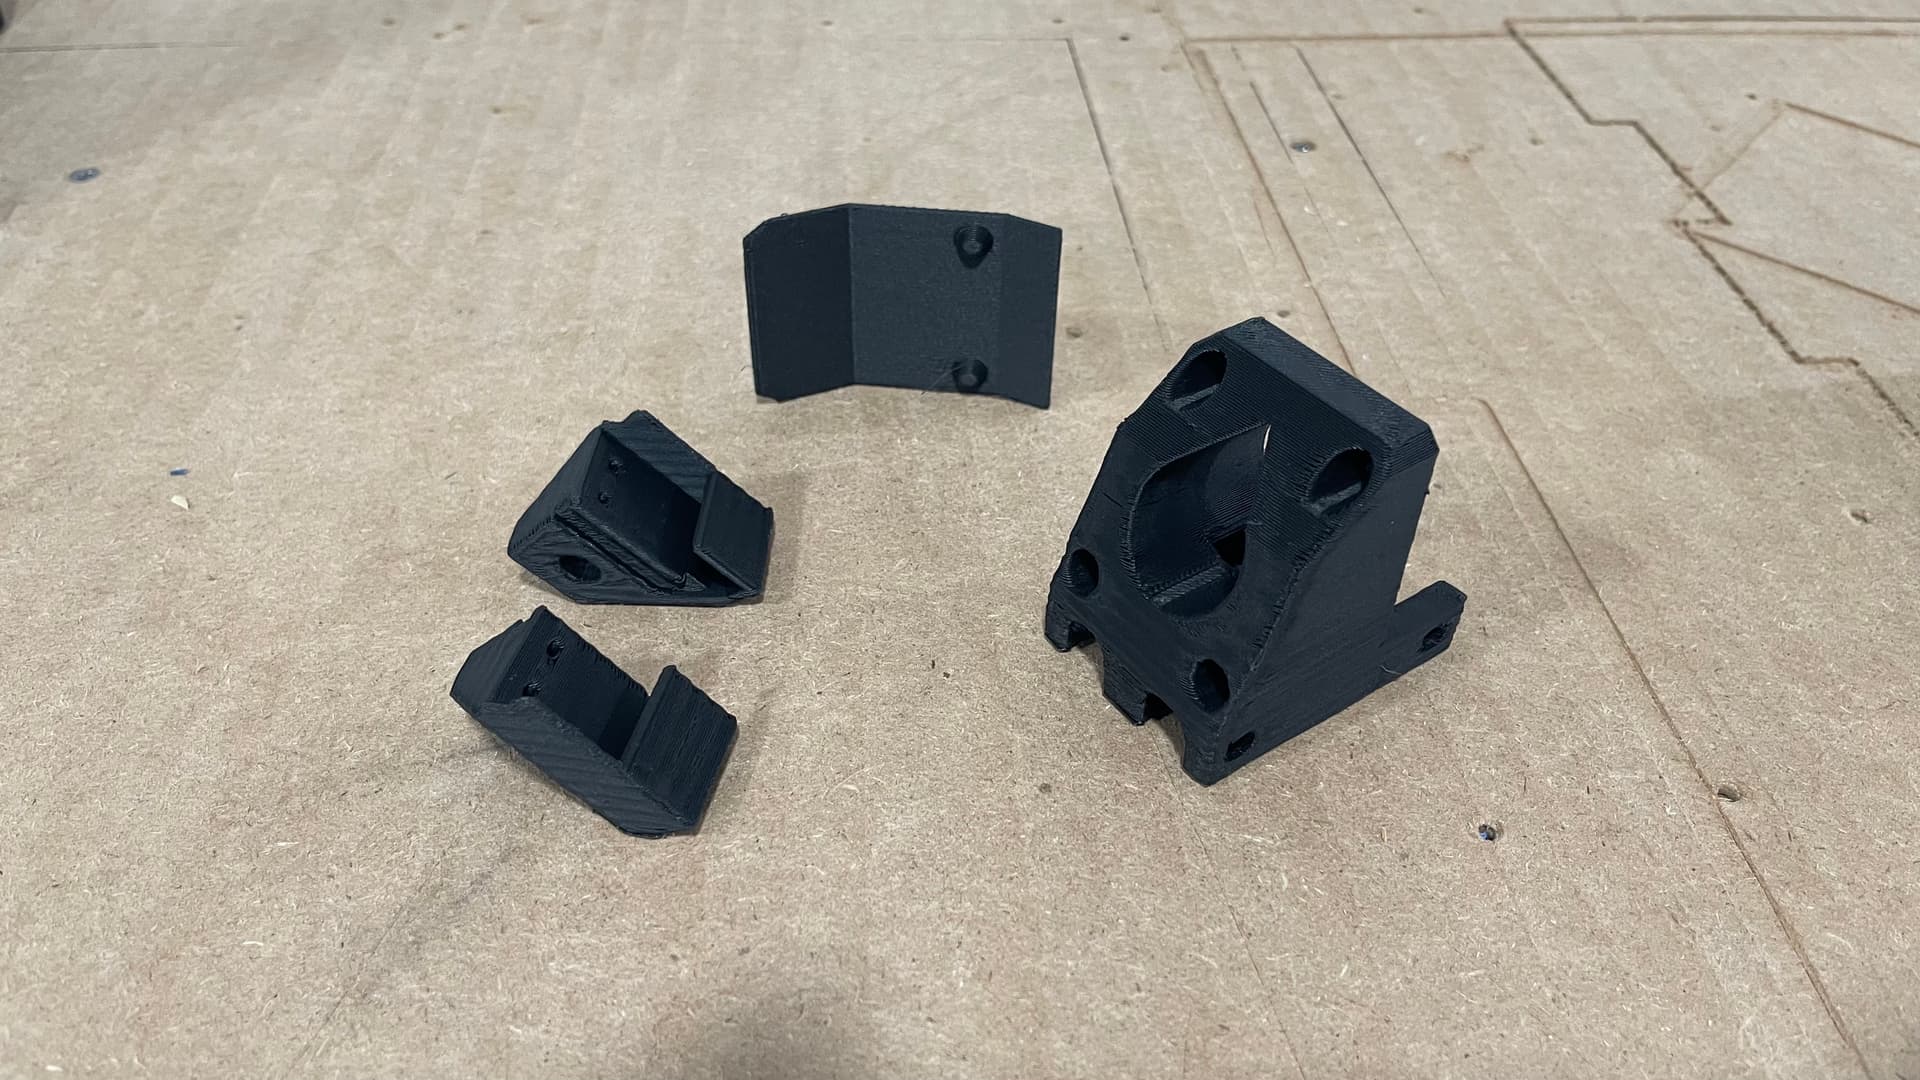
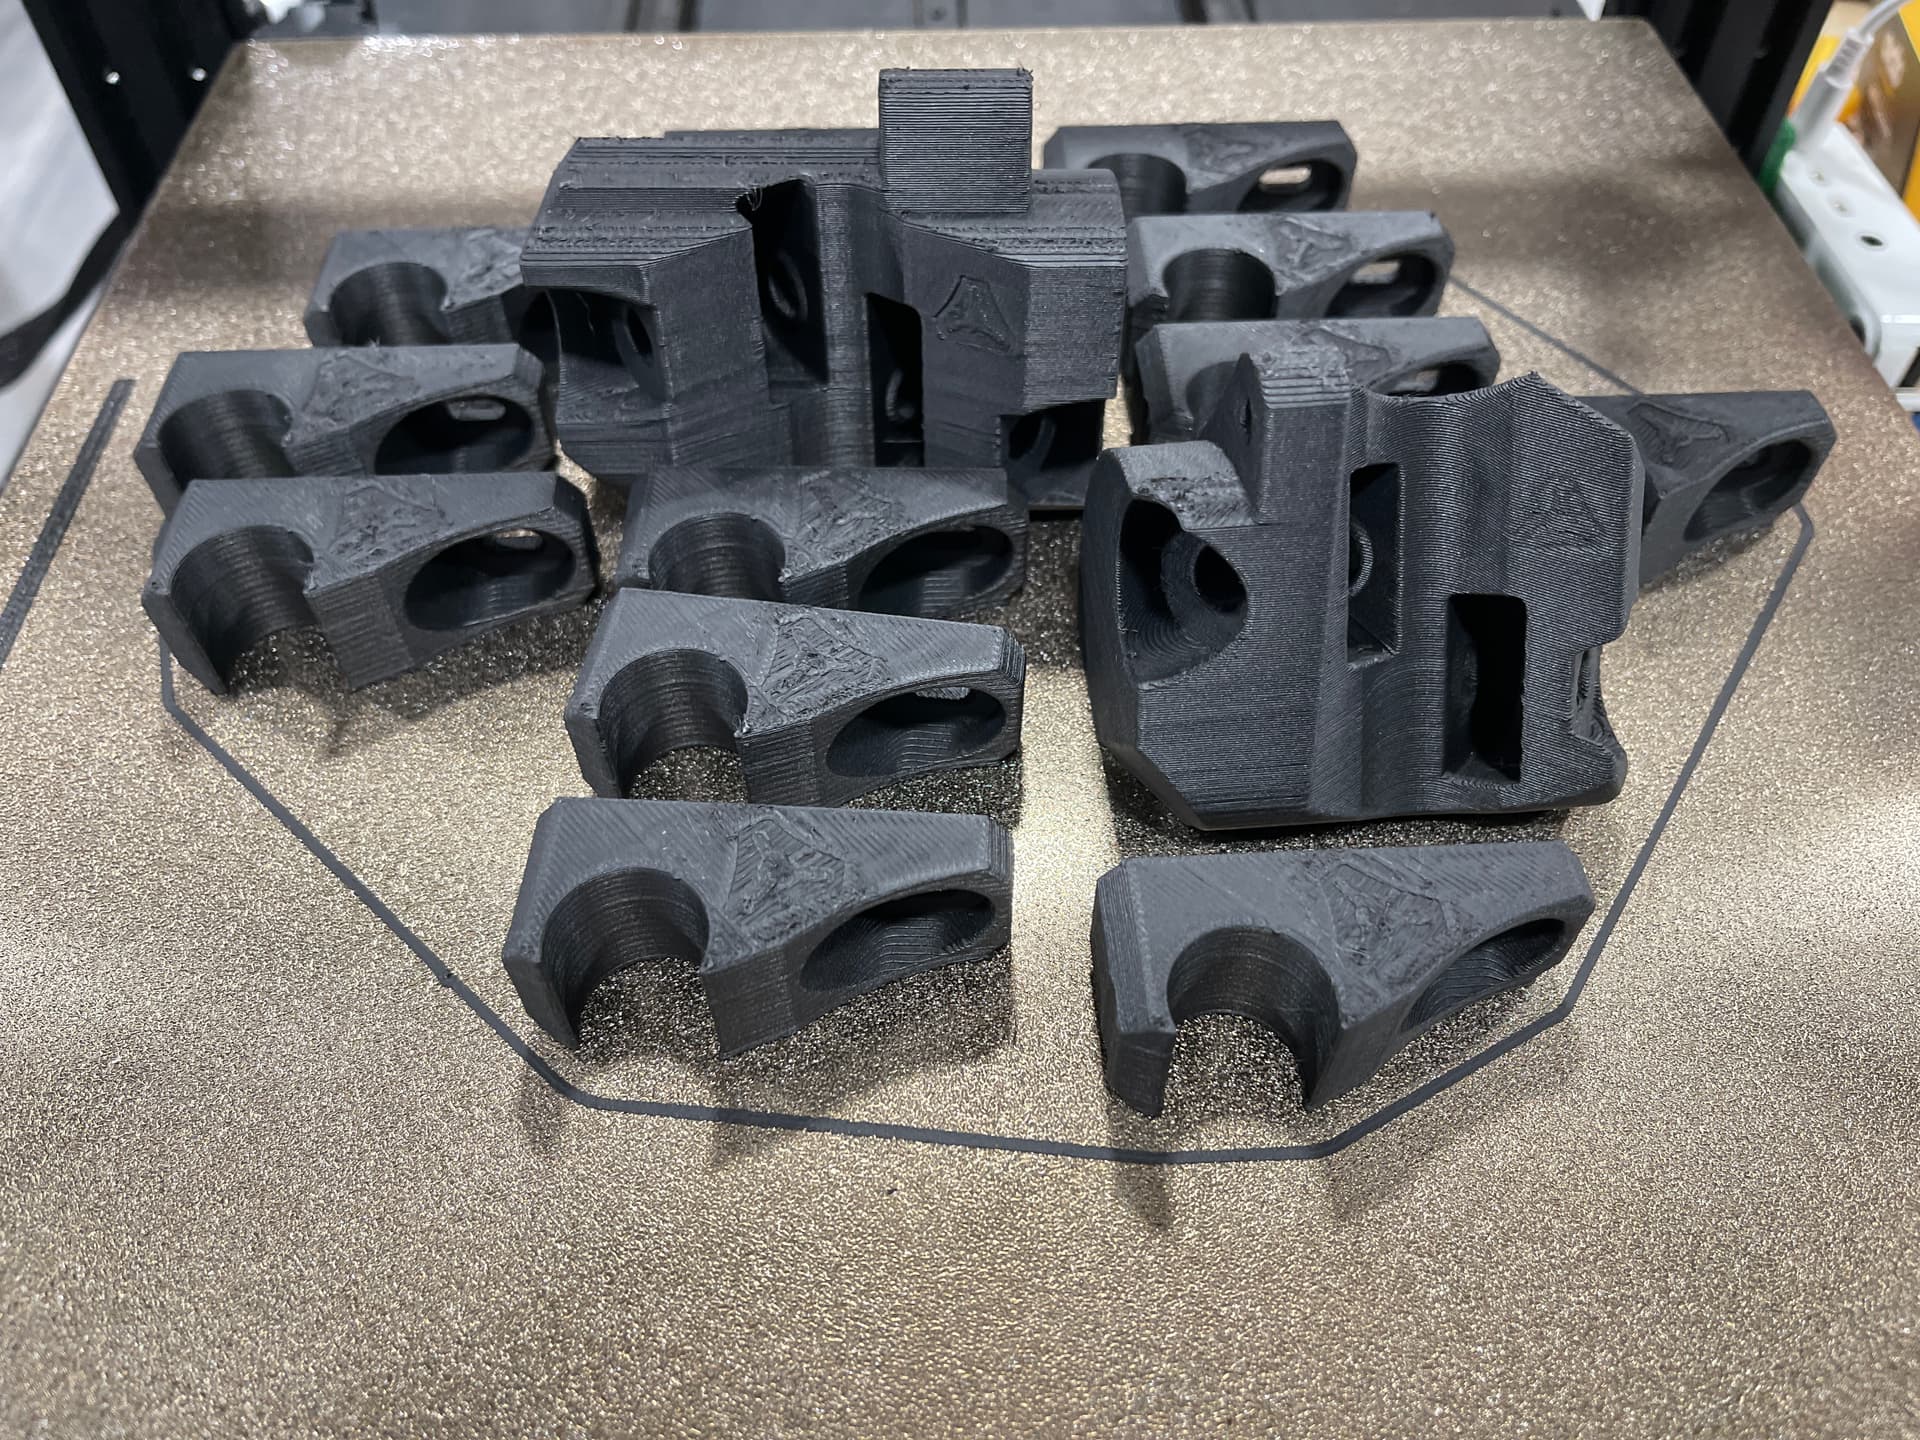
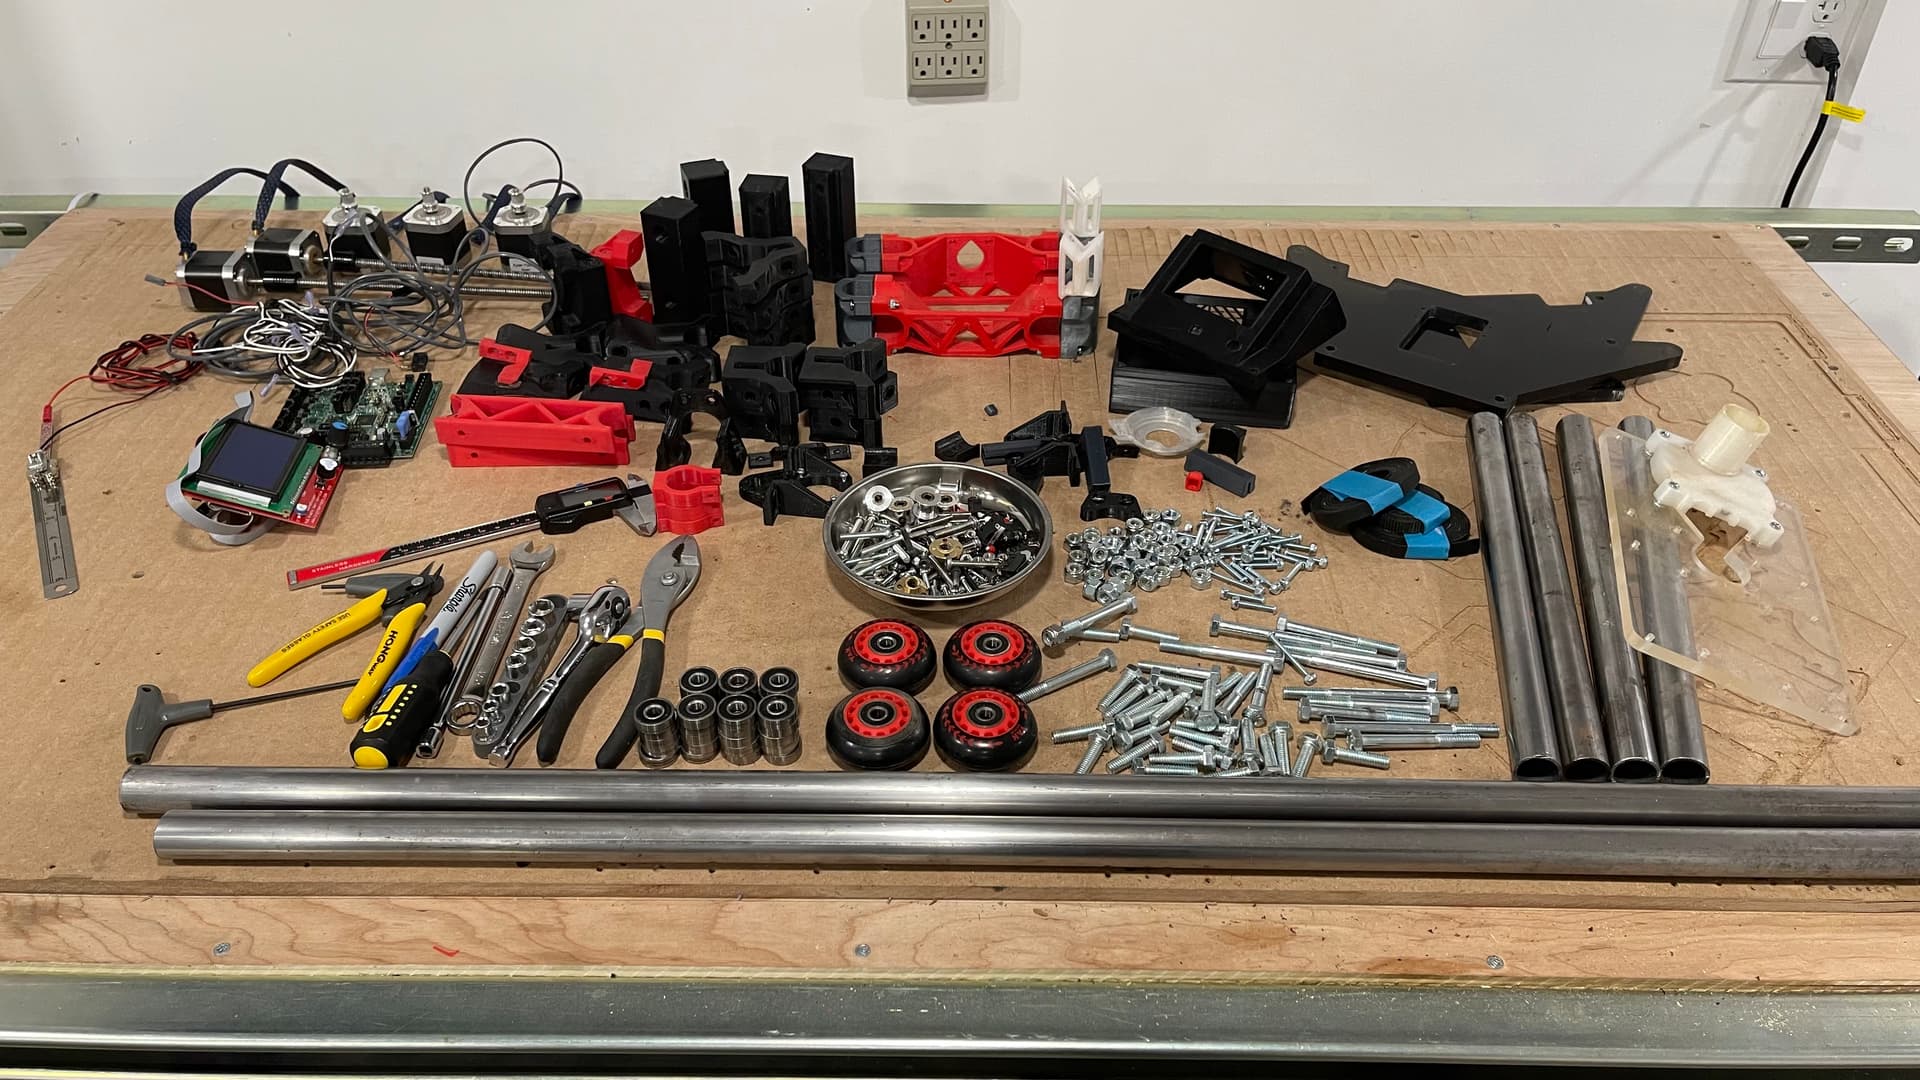
So I started printing with the Heavily modified CR10S-pro, honestly the only thing that still original on this printer is the metal/aluminum parts…. I’m not going to post pics of the easy simple parts, but I’m planning to post a final picture with all the parts before start the assembly processes.
After reading a post from @JKStewart on a Beta test thread and I quote:
“While cutting the YZ plates, I was thinking… “The Lowrider is digging it’s own grave”.
But now I’m feeling more like… “We can make it better, stronger, faster…”
Those of you of a certain age will get the reference.”
End quote
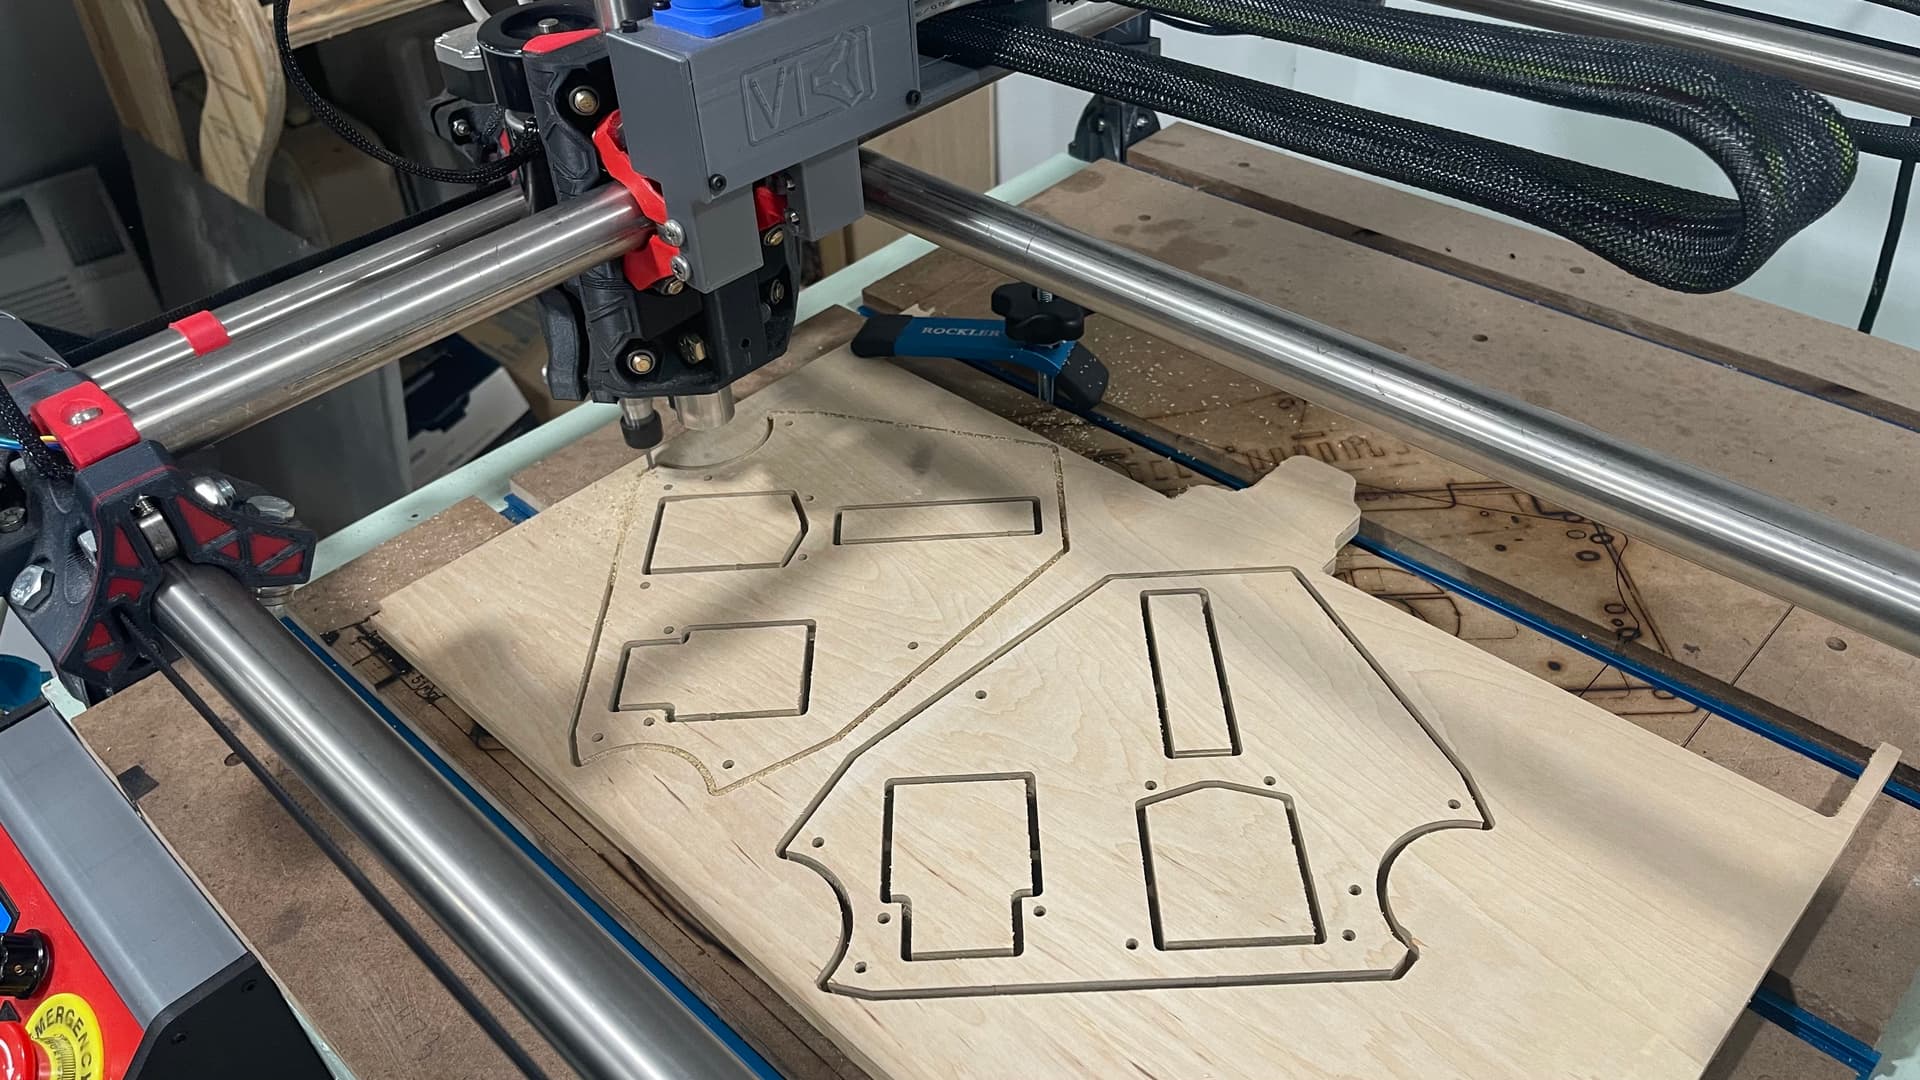
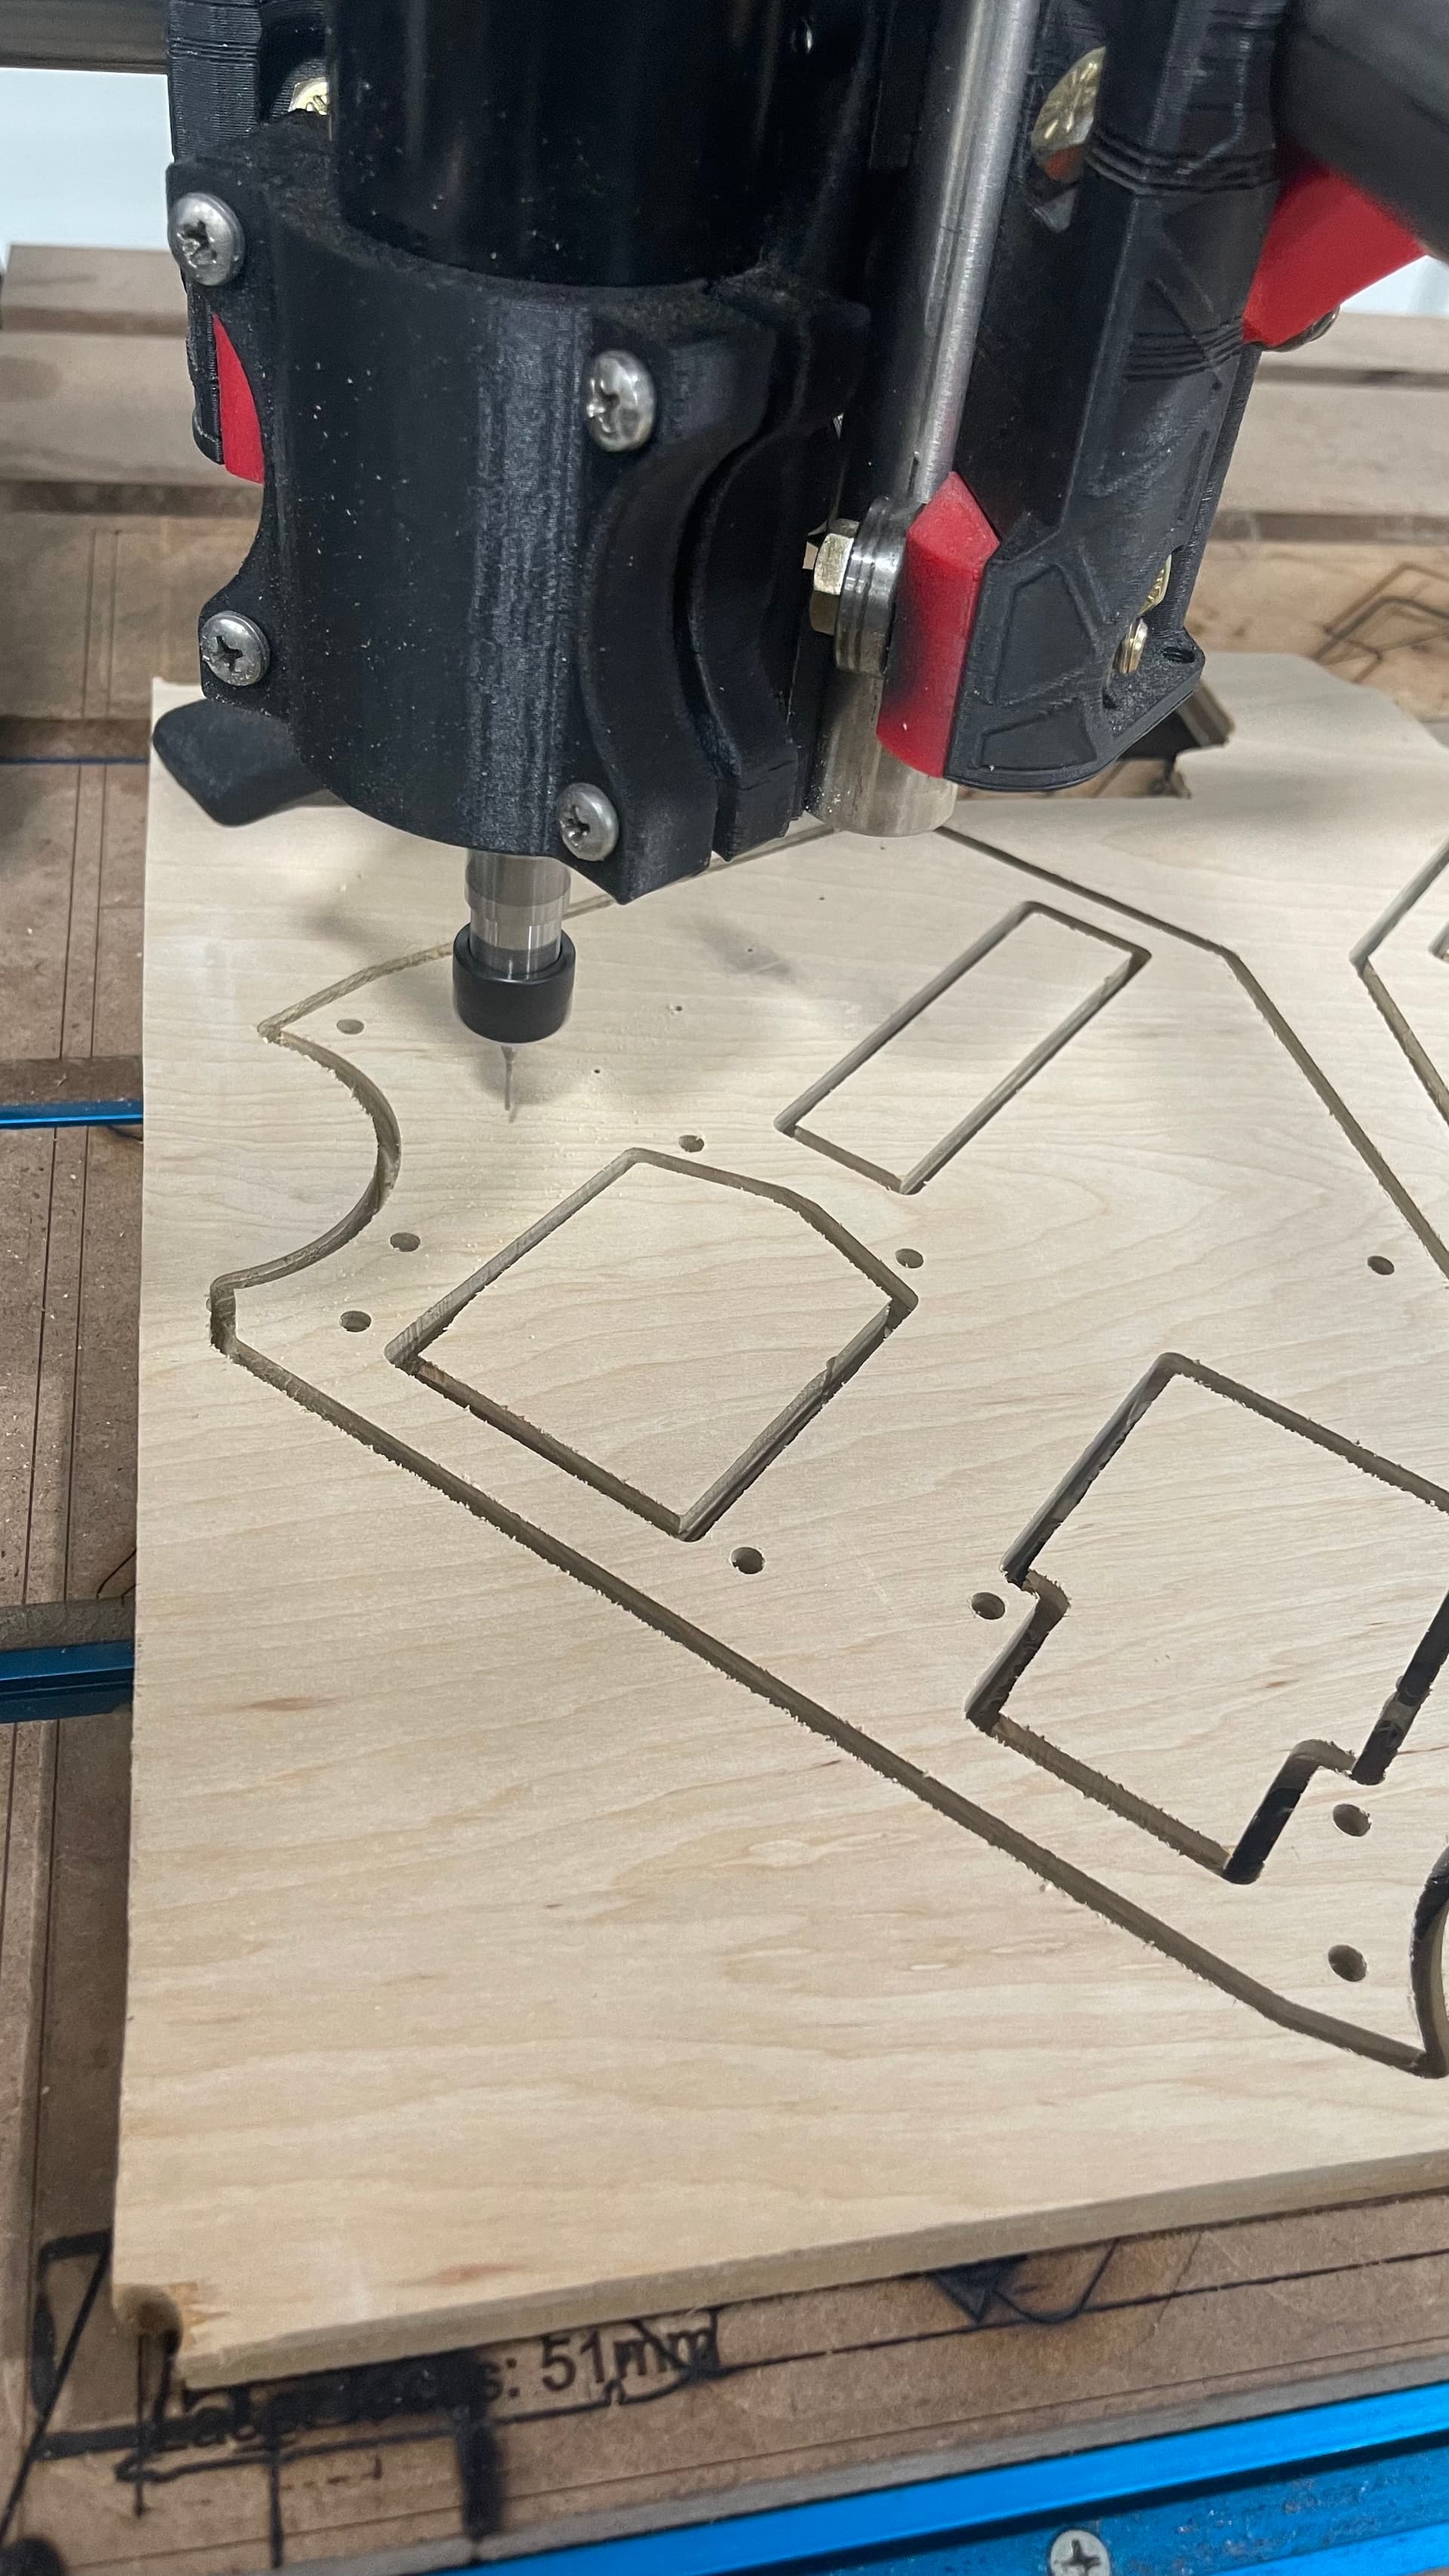
I feld really guilt and had to cut probable the last stock before Tear Down, also is the weekend, no work and I can always get everything back together in 45 min flat, so decided to clear up the the LR2 bed and recut the parts.
I used a side panel from the Repeat build that had a run out at the bottom as the bit hit a screw and made X axis miss steps…
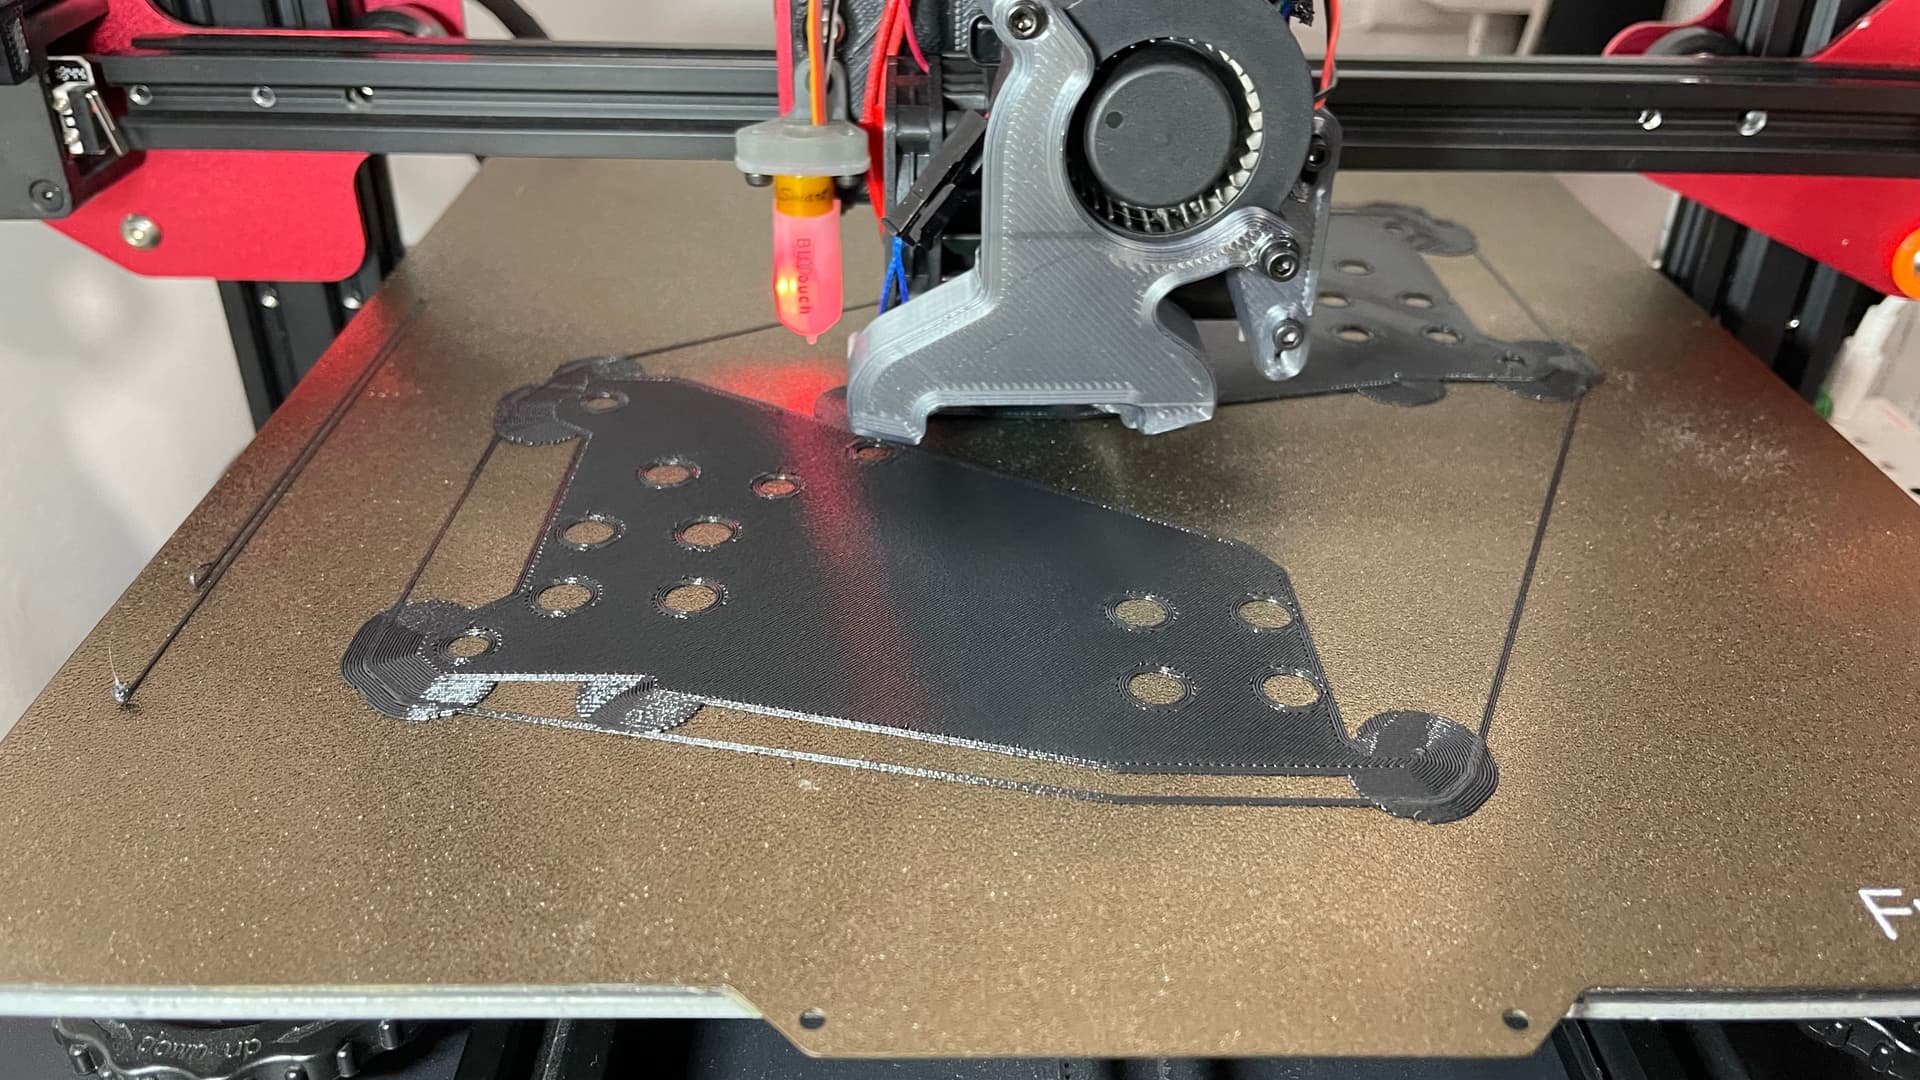
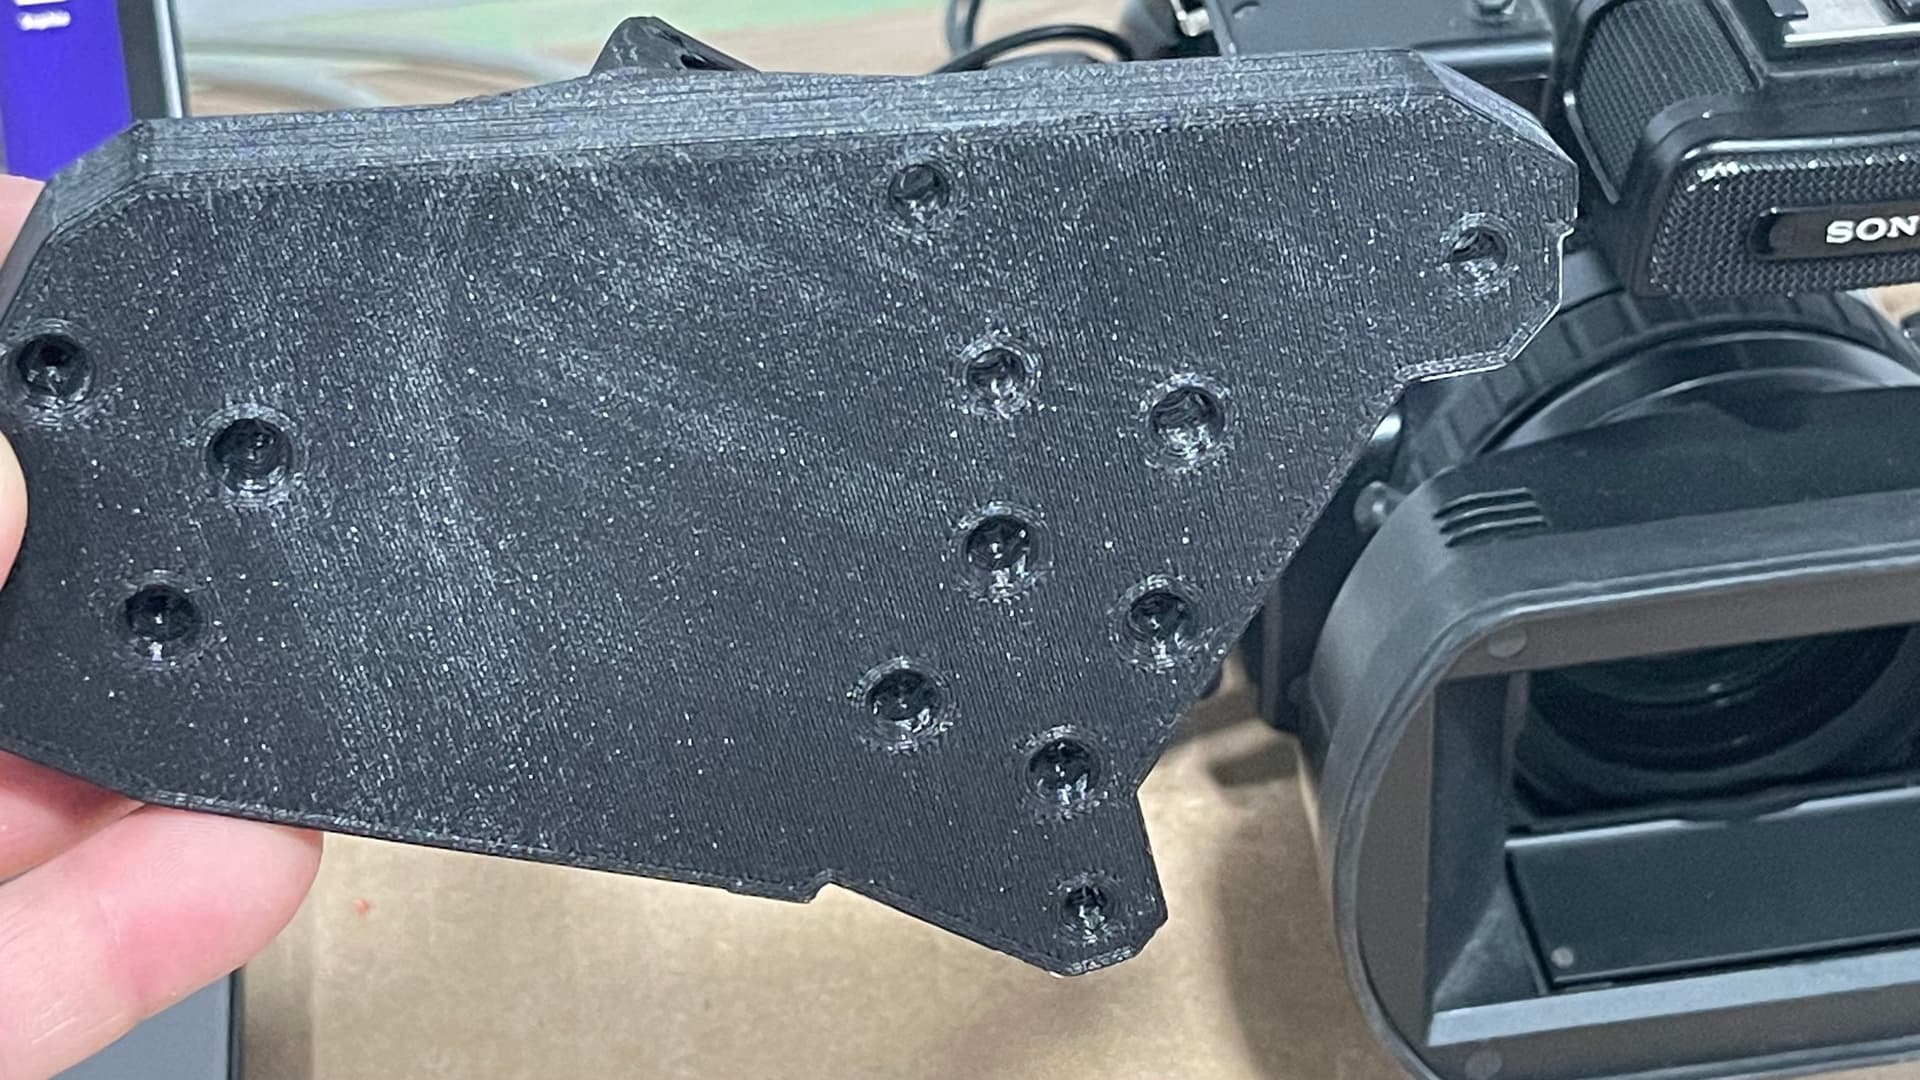
Wash you plate with soap and water before print with CF-PC…otherwise you see the marks.
I wipe the bed with Isopropyl Alcohol like alway do and this is what happend.
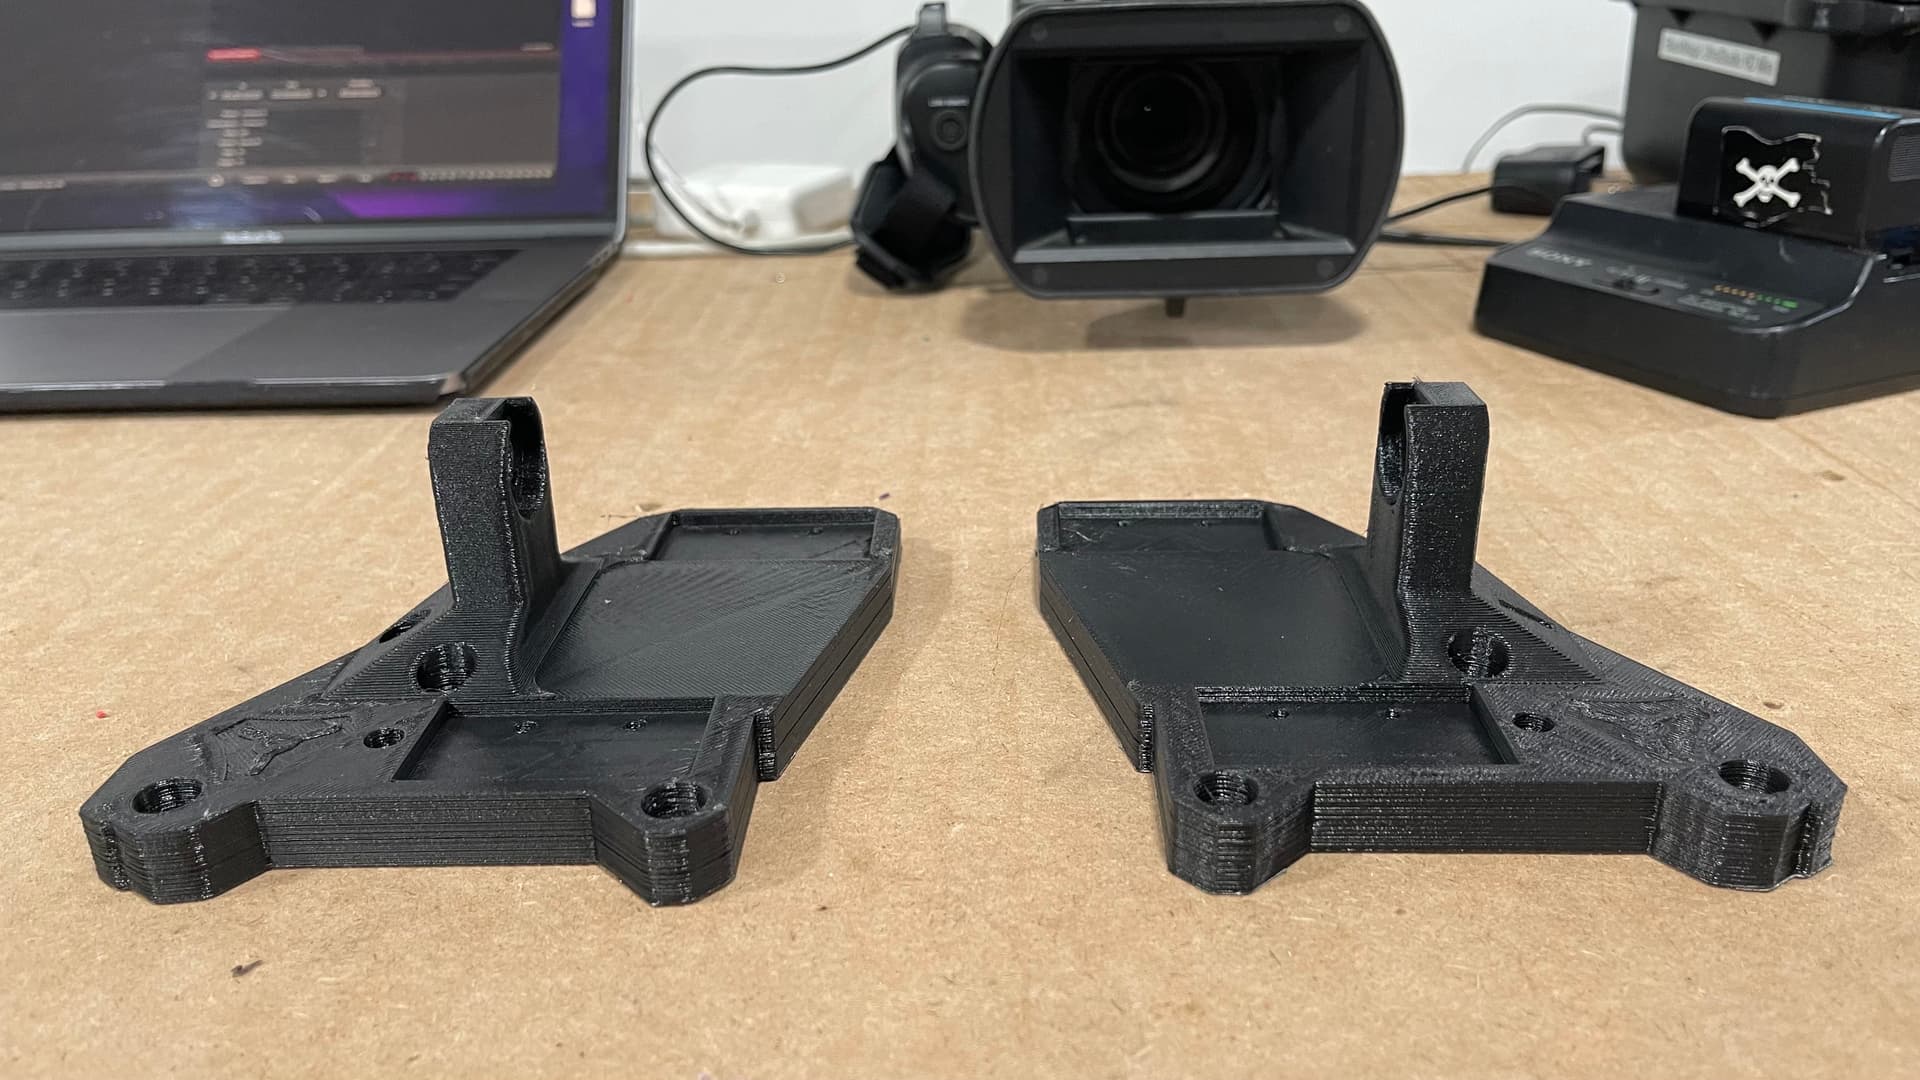
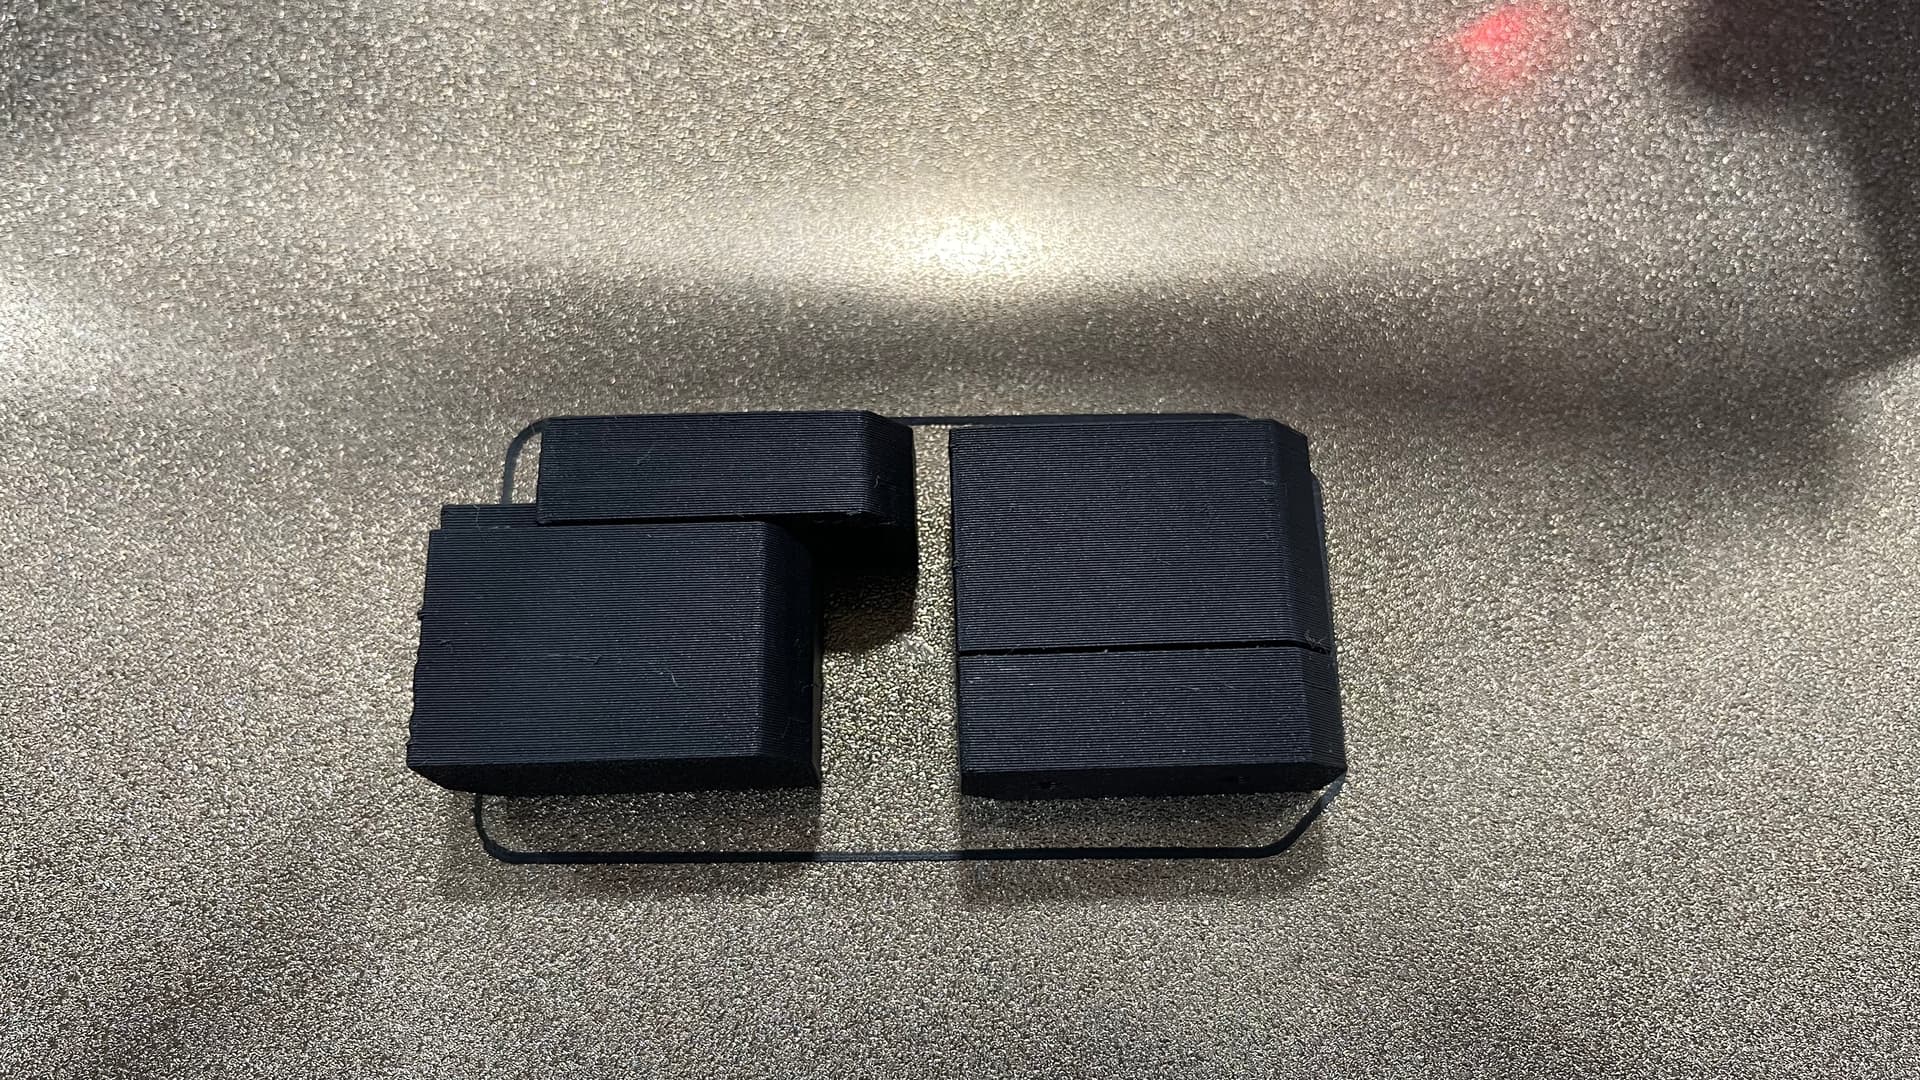
I printed that with Carbon Fiber Polycarbonate. It should be strong…I hope…
Everything functional that I printed for work still standing and most take some heavy abuse.
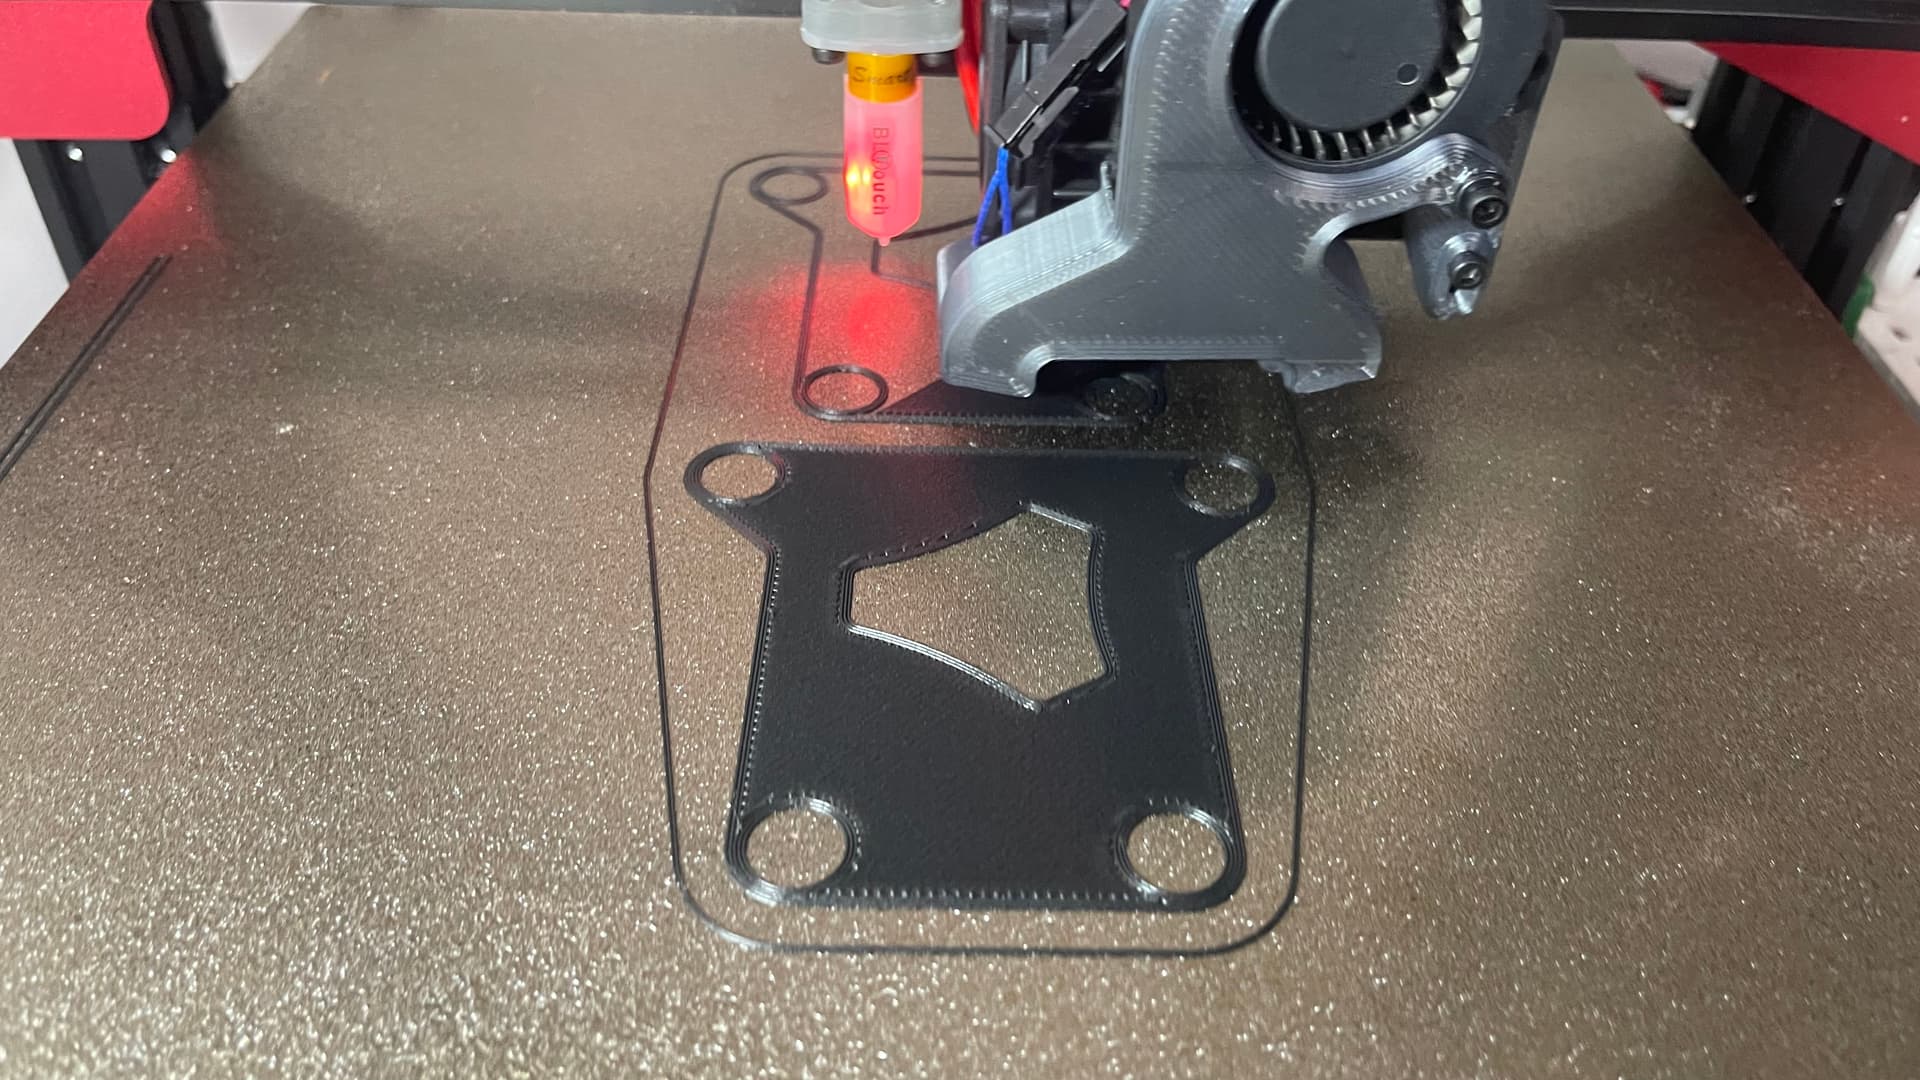
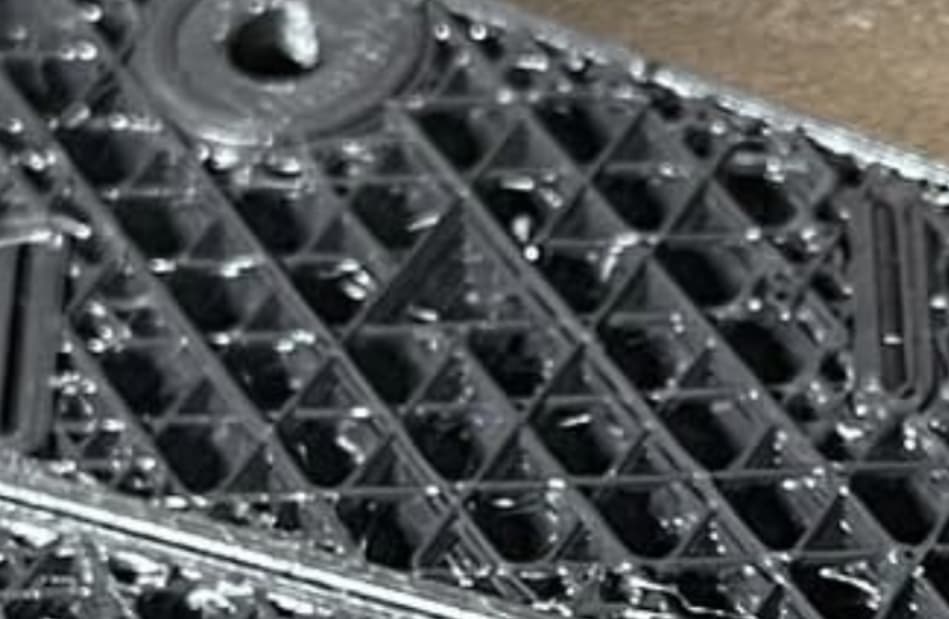
These variables that we are changing are what make it a test. That infill pattern is intriguing. I hope it works out well (I would guess it does). The internal structure to the stl probably really helps make it not have as big of an effect.
The variable infill is pretty slick. The cubes get smaller towards the outer walls, and bigger towards the centers. Makes them more hollow like bird bones.
Any walls or just outer? If it is any…I could really get behind that. I could place tiny walls right where needed and we could go lighter on most parts. Finally, something simplify doesn’t have. I will look at it on prusa slicer.
It looks like any. It also looks like they start by filling in really tiny pyramid shapes, and then they look for places to combine them into larger ones. If a larger shape fits, they replace the detail with the bigger voids. There is probably more to it (like which void to enlarge if you have two choices).
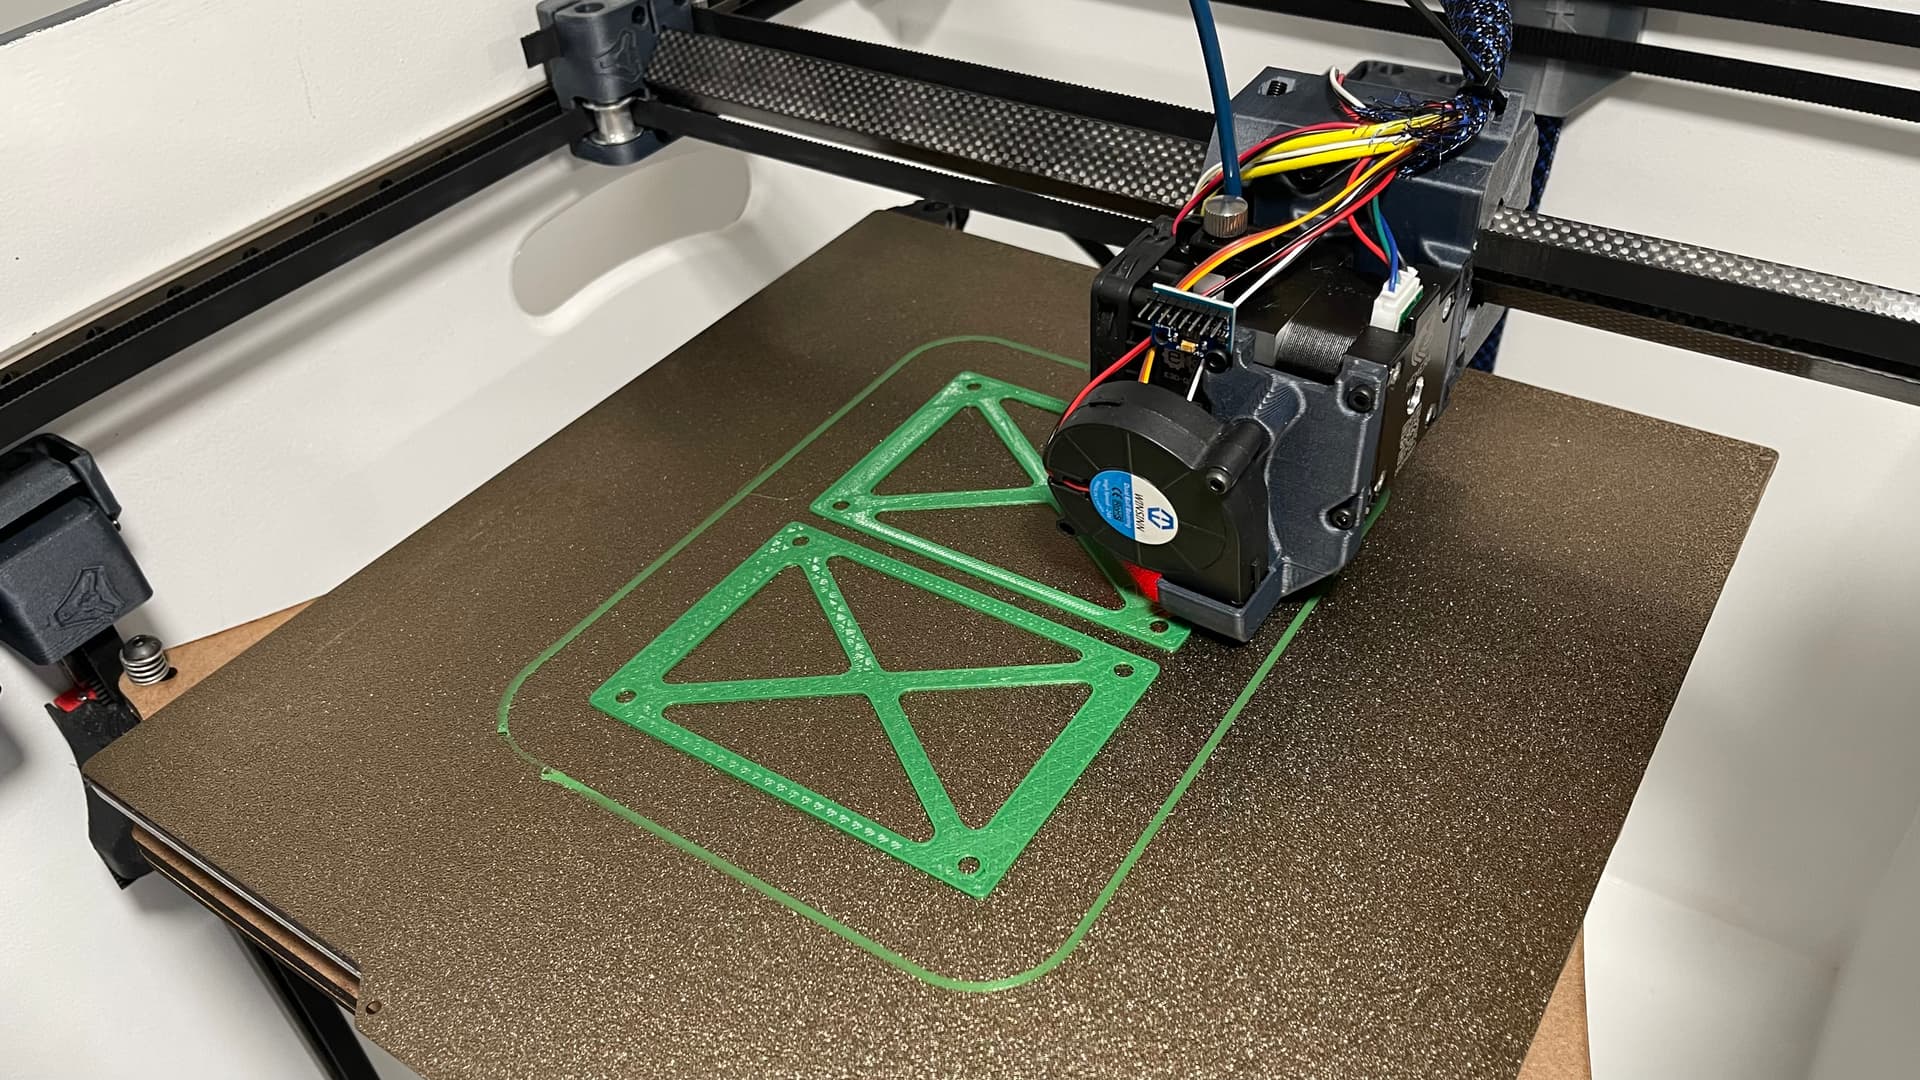
And the Repeat is back in action!!
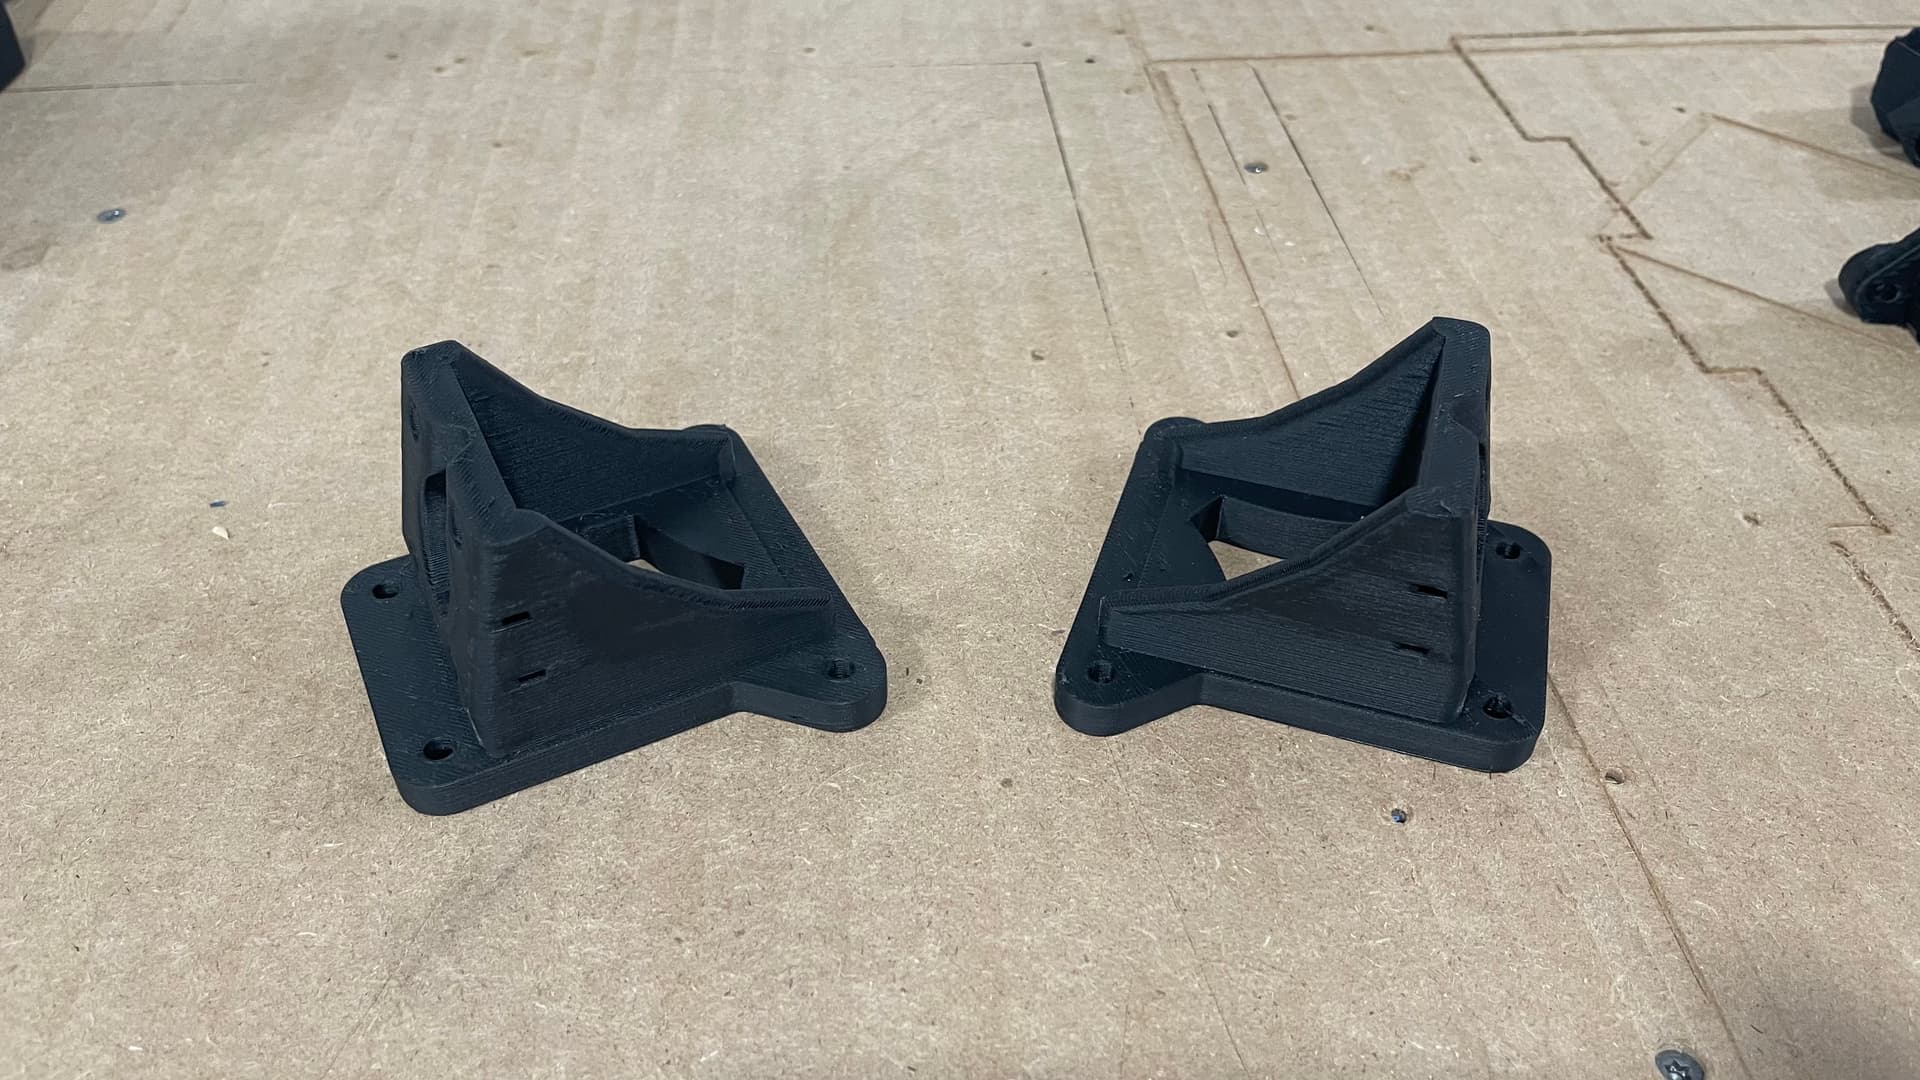
This is the Temporary Strut.
As it is temporary I use some color that does not Match this build from an almost empty spool of filament
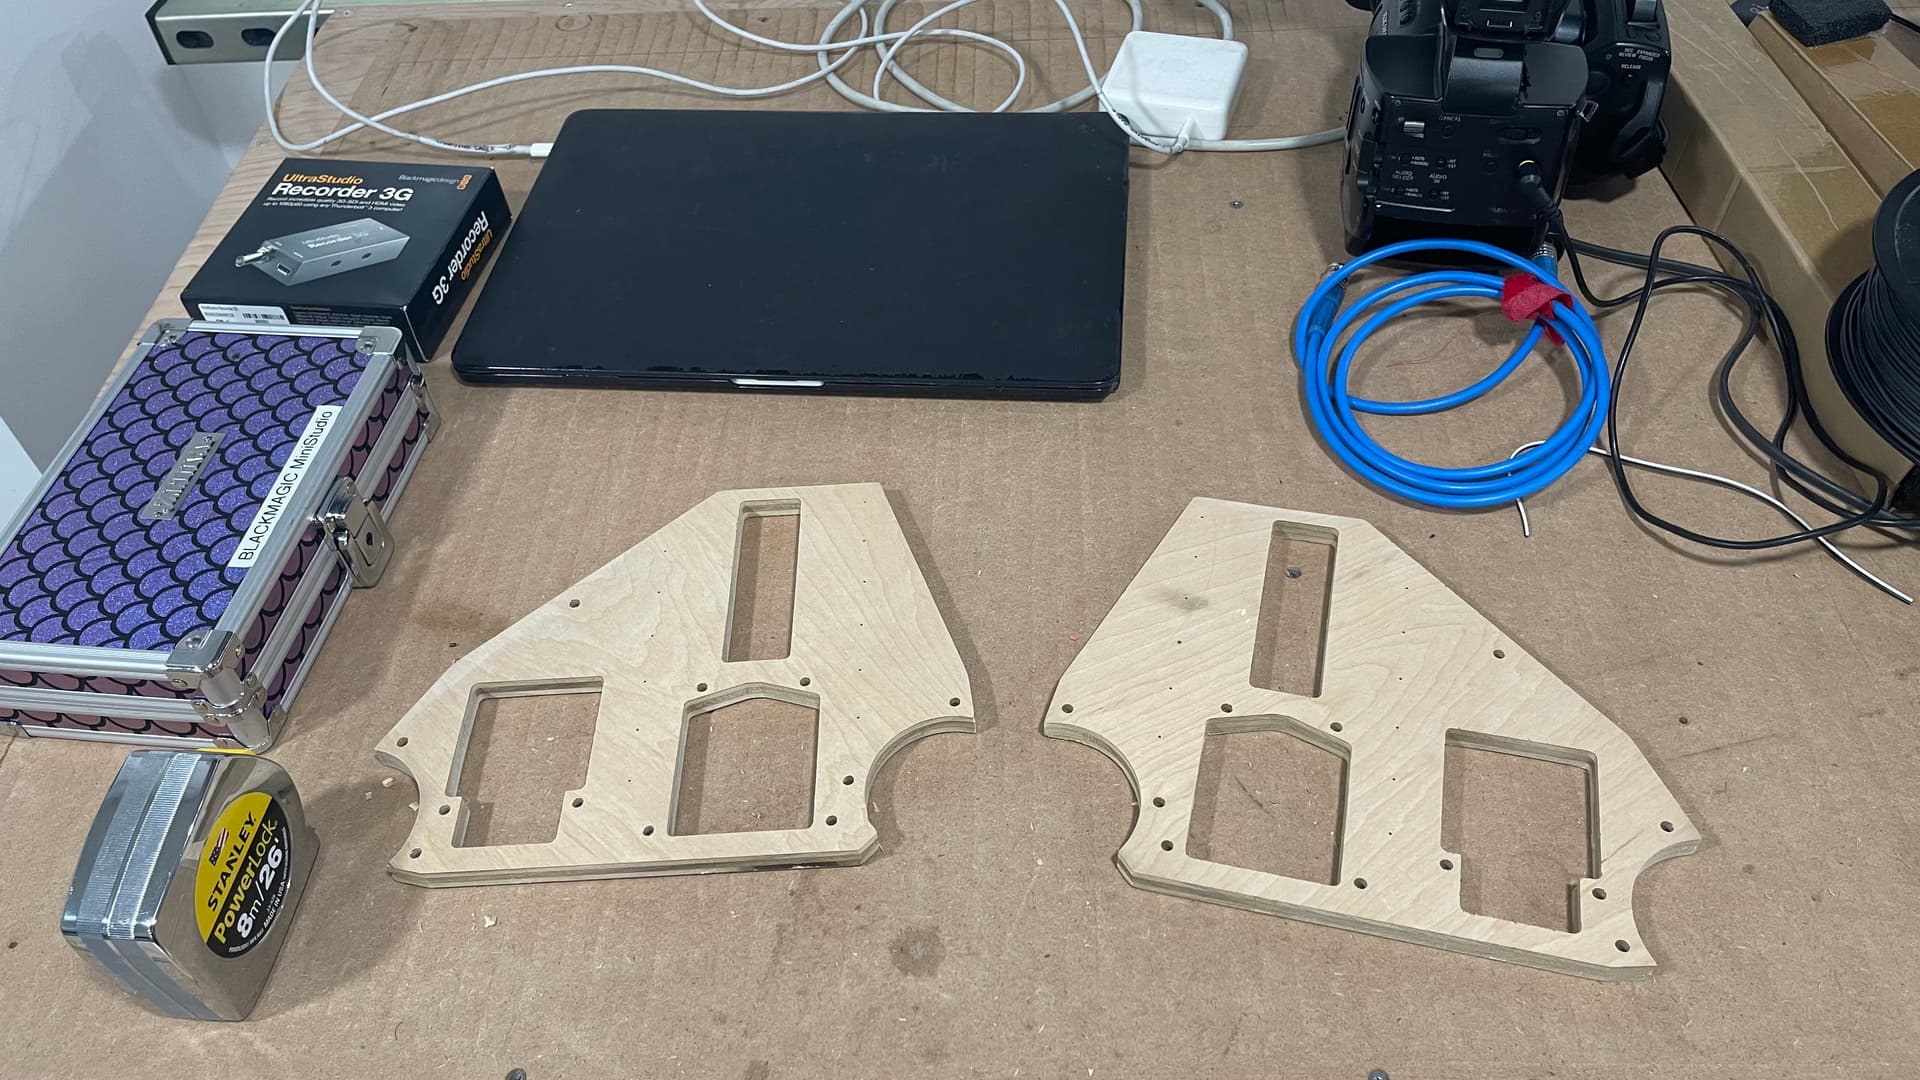
It is sad, She did produce a good amount of chips…
I will save all the parts and probable get it back together and hang it in the garage right next to the Burly Core