Yeah, a while back we did a lot of work on the arcs. Jamie and I both got some new code into Marlin. I made a demo video after it. Update for sure.
1 Like
I updated the firmware and it is cutting a lot faster now!

Does the firmware limit the maximum speed of the lowrider? I have it set at 75 mm a second but when I turn up the feed rate knob on the LCD it doesn’t really seem to go any faster so I’m not quite for sure how fast I’m cutting.
2 Likes
It does. It retorts the current value in the response to M503. You can change it with M203.
Thanks, do you know what a safe value for a low rider is? Assumingely what it’s already set for lol
You are going to have to do some speed tests! With the assumed low load of that drag knife I would bump it up 5mm/s per cut and see where it skips.
1 Like
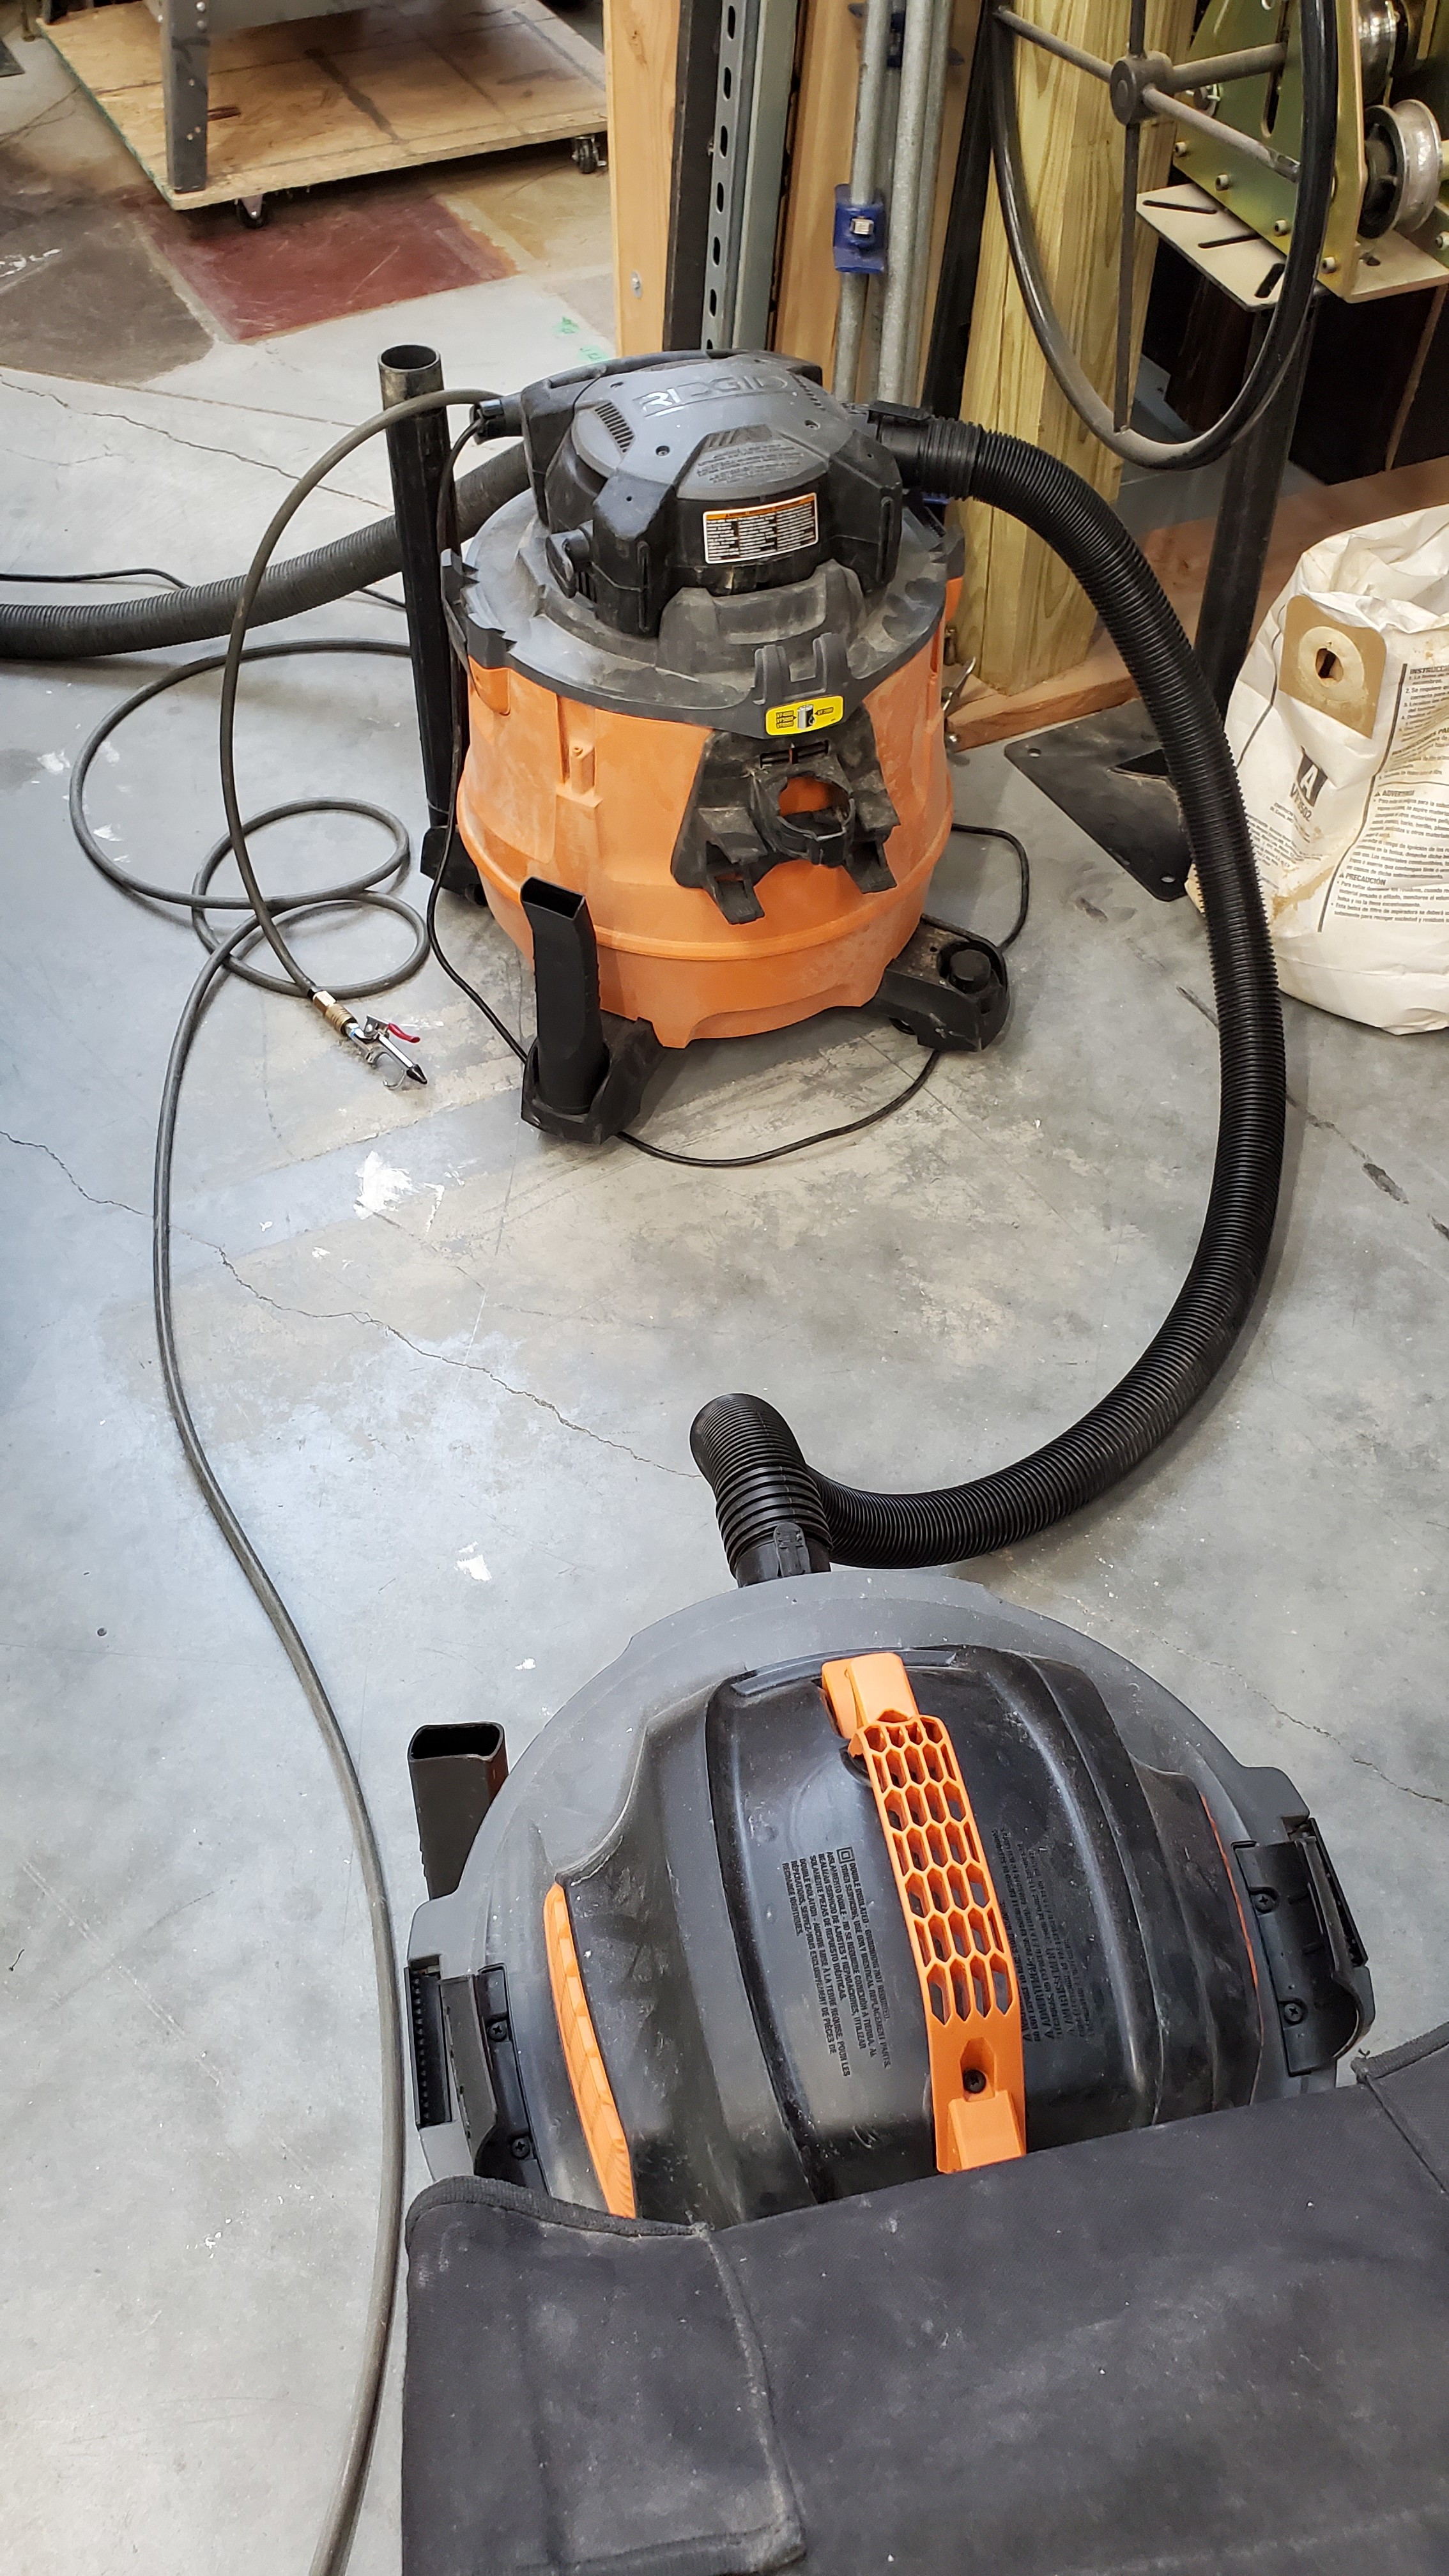
Big update on the project! I ditched the spray adhesive mat and made a slim vacuum hold down table!

10 Likes
Do you have a link for that. How much force does it have would.it hold a sheet of ply in place?
What link are you looking for specifically? It holds mdf down so I can’t slide it. I’m not sure how to measure the actual vacuum.
Sorry just if there was a build.link with a little more direction is all
If it holds the MDF down it will work for every thing I want
Oh I understand!
The first thing I did was to get a half inch thick piece of MDF and then I cut roughly 5 mm deep grooves in it with the lowrider using a 1/4 endmill. I was wanting to remove the vacuum table when I wasn’t using it so that’s why I went with 1/2 in. so it would be lighter. If it is going to be a permanent fixture 3/4 might give you more flexibility to resurface it.
I left a little border around the edges where I knew I would be gluing the hardboard to it.
You can see in the video above how there is a little square pocket cut where I knew the vacuum hose was going to come up from the bottom. I did this so there would be a little bit more connection to the grid that was going to form the vacuum tunnel.
I would have placed the vacuum hole in the center of the board but the supports on my lowrider table wouldn’t allow it. If you search YouTube for MDF vacuum tables you can get very fancy with multiple zones and valves.
Next I removed the MDF which now had all of my grooves cut in it. I put a piece of 1/4-in hardboard that was the same size as the MDF on the lowrider with the smooth side facing up.
I cut a hole pocket through the MDF and through the top of my lowrider table with a long quarter inch endmill and went pretty slow because of how much stick out there was. I made the hole just tight enough for a slip fit connection with the shop-vac pipe I was going to use.
After I cut the hole, I kept the hardboard exactly where it was and covered the entirety of the top surface with a thin layer of wood glue.
I then turn the MDF sheet upside down with the grooves facing downward and laid it on top of the piece of hardboard.
Then I turned on my shop-vac and let it run for a couple hours so that the suction would pull the MDF down onto the hardboard while the glue dried. I also piled a bunch of 5 gallon buckets of paint and other weight on top of it.
Next I painted the edges of the MDF to seal them from losing suction. You can see the white paint in the video above.
Some people suggest skimming a millimeter off the top of the surface of the MDF because there is a harder outer layer. I would suggest trying your table out first to see if it provides enough suction without it because it is a huge mess to mill off a millimeter from the entire board. I felt like I needed more suction so I did go ahead and do that with a 1-in clearing endmill and the entirety of the shop had a thin layer of dust on it when I was done 
And that’s pretty much it, sorry that I didn’t take more pictures along the way. You might think about milling out two different pockets to connect two shop-vacs or a black box hurricane vacuum which you can find online, depending how serious you need to be.
Let me know if any of this needs more clarification and I hope it works really well for you!
2 Likes
Thank you🤩
1 Like
OK - That is really great! Thank you for sharing these. I’m going to have to give this a try!
1 Like
I’m just looking back into increasing the speed limit on my lowrider. With the vinyl cutting drag knife there is very little axial force but I am still wary of hitting the stepper or driver limits. When you mentioned skipping, do you assume that would come from resistance in the material or missed steps from the hardware itself?
So would the correct implementation be to plug in a laptop and use reptier and M503 to see what it’s currently set at?
Then insert the M203 line somewhere at the beginning of the G-Code I run?
Or is it the case that once I call M203 in reptier it will get written to the firmware?
You have to send a M500 after the M203 to write the value to EEPROM, but after that the values are persistent and the M203 does not need to be run again. I have an idea how Ryan or Jeff will answer your previous question having read some somewhat related forum topics, but it best coming from one of them. Out of curiosity, how fast do you want to push the feedrates?
1 Like
The short answer is as fast as I can :-). I don’t currently know what the feed rate is maxed out at. I just know I had twisted the LCD knob up to 300% but it does not seem to be going any faster as I continue to increase the override. Once I get a break from cutting with the machine I will have to plug in the laptop and check it out.
Thank you for the clarification about the eeprom!
A small update. I decided to increase the suction of the vacuum table a little It actually seems to be making a difference and it is quite a bit less expensive than a blackbox hurricane.
The default firmware feedrate max for X and Y is 3000mm/min (50mm/s), so if you are pushing this value, you are moving fast with much lower available torque. I think you’ll have to go beyond just increasing the feedrate for significantly faster motions. Based on a post by @Jeffeb3 a couple of days ago, I’ve been wondering if there is a way to thread the needle on feedrate. In particular is powering the board with 24V, reducing the microsteps on the steppers by half, and changing the steps per mm to match a viable choice? I was looking at the Z axis, but the same apply to your XY movements. I look forward to his response.
Also cutting in air and seeing if the router returned to the same origin at different feedrates would allow you to see where you start to lose steps under no load. That would give you an outer limit.
2 Likes
You can change to a 24V power supply, it will help a tiny bit, but if you want to move faster It would be best to move up to 20T pulleys…or larger.
It has more to do with the steppers and the power curve they have, RPM related. Not micro steps (cpu speed) or power (driver saturation?). So doing nothing more than swapping pulley will get you 20% more speed at 20% less power, vs 60-80% less power of faster RPM.
1 Like