This is likely going to be a long post, but I have many thoughts, observations, and questions.
My brother and I built the MPCNC because after he lost his job due to COVID, he wanted to get into woodworking and I’ve wanted to build one. I come from a 3D printing background so he’s looking to me for the experience. While similar, I have found they are definitely not the same. The other issue is the machine is located at my parents’ house. My dad has the garage space that neither of us have for a woodworking shop. That is also part of the problem. It’s hard to be productive with anything else when not at home so it has to be a planned trip up there and the time I can spend is limited.
We had some immediate success with the foam board and some pine using the 1/8inch single flue upcut bit in the store. Speeds probably weren’t ideal as it seemed to be more sawdust than chips, but it cut. We moved on to trying to create a simple trapezoidal bedpost cap. The first attempt out of pine looked OK so we moved on to poplar board hoping that would hold up a bit better. The results weren’t great.
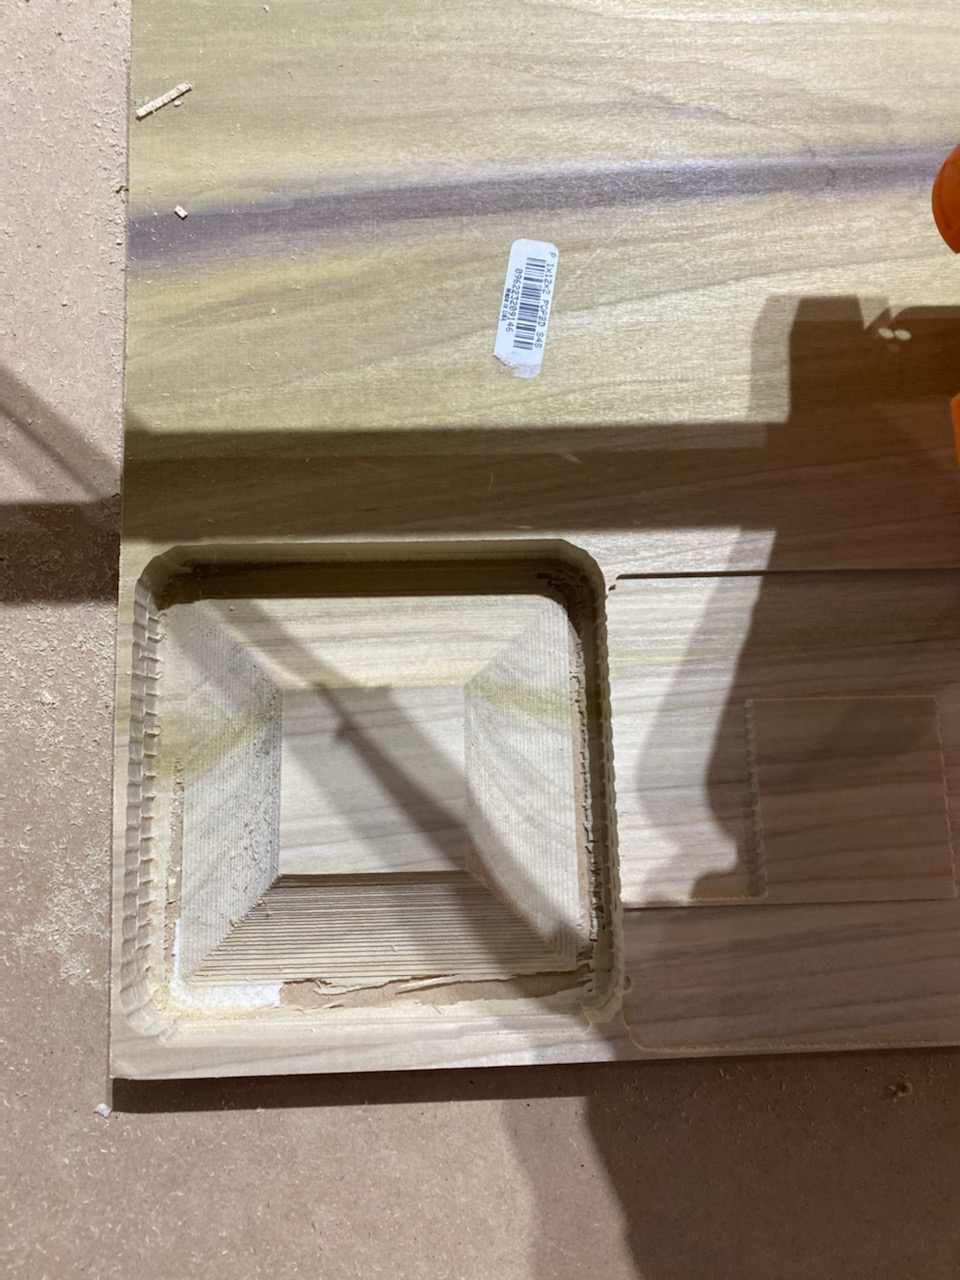
The top square sees to have shifted

The success we were able to achieve with pine.
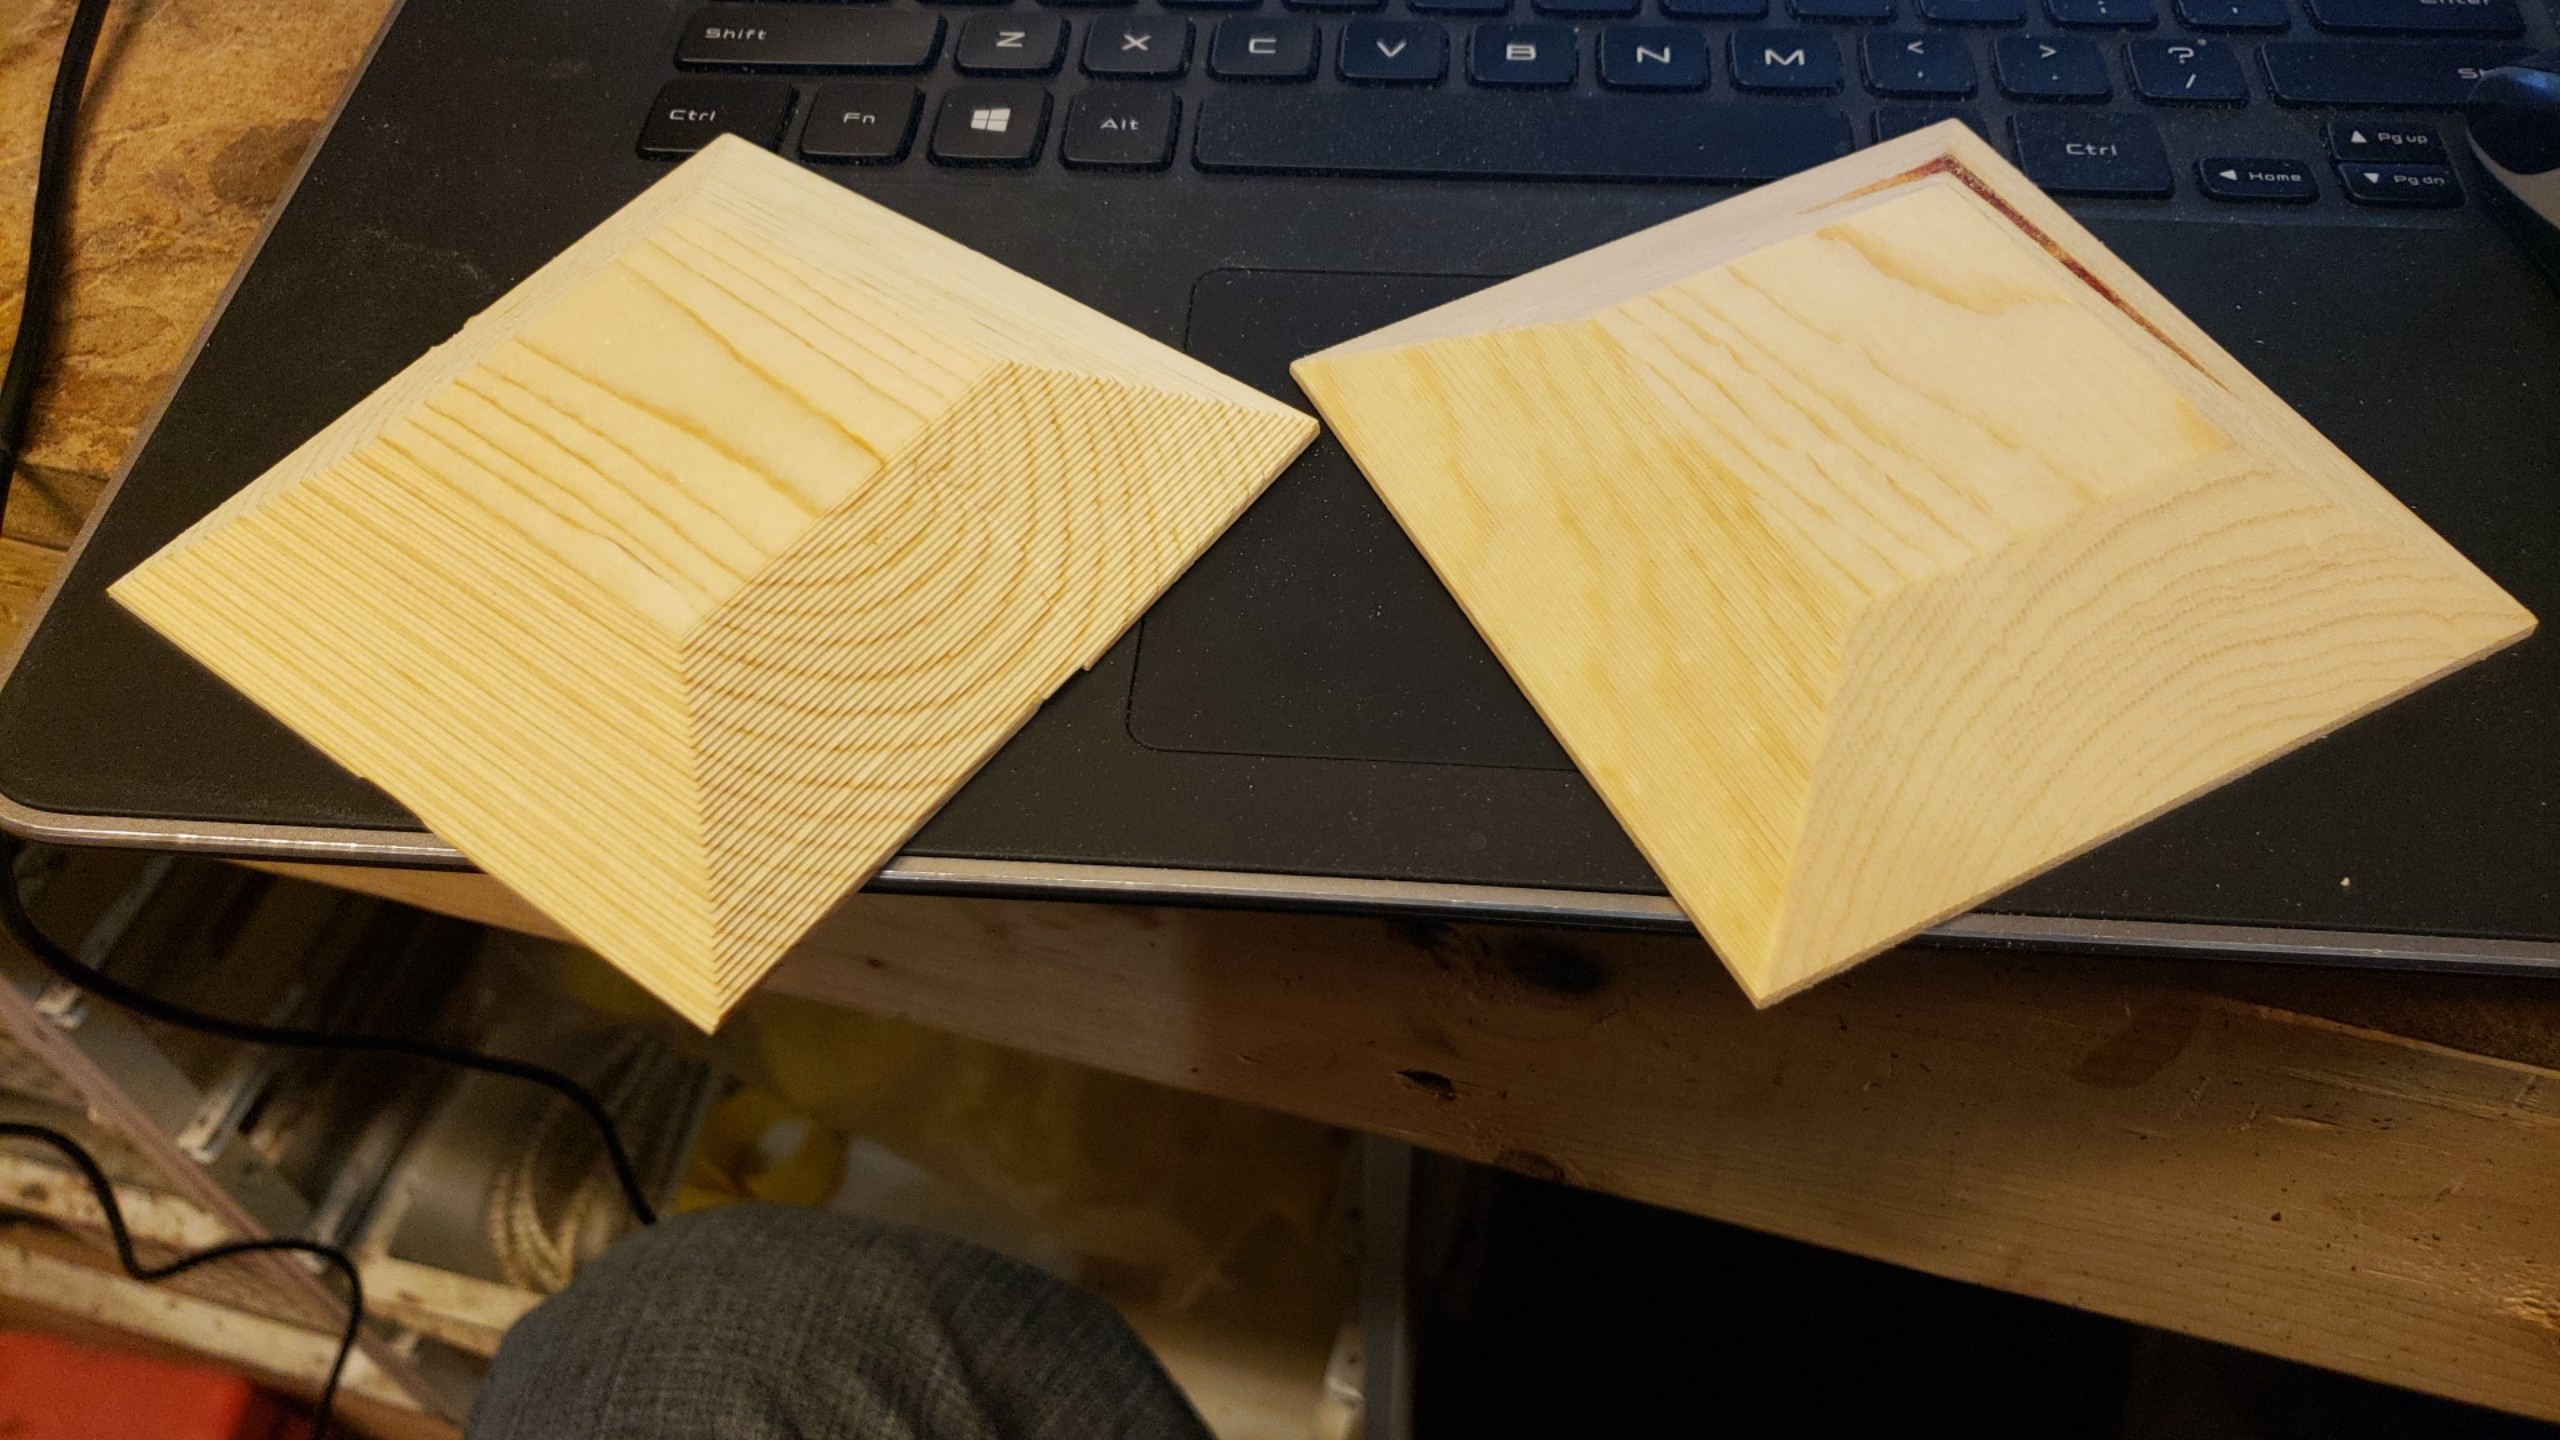
Best results for pine was 12mm/s with 3mm DOC with 45% overlap for the rough pass and then 1mm DOC for the finishing pass with 15% overlap. Y passes for rough and X passes for finishing I believe. The one on the left was the waterline attempt. Completion time was ~1:30. We did not get the same results on the poplar. I slowed things down to 8mm/s with a 1mm DOC and it still produced a bad result in the poplar while having nearly a 3 hour time. This is the top of a two piece design. The second piece is the cover that slides over the bedpost. Both sections are 3/4" making the entire thing 1 1/2" tall when glued together.
There is a set of these lying around so I decided to give a 1/4" bit a try.
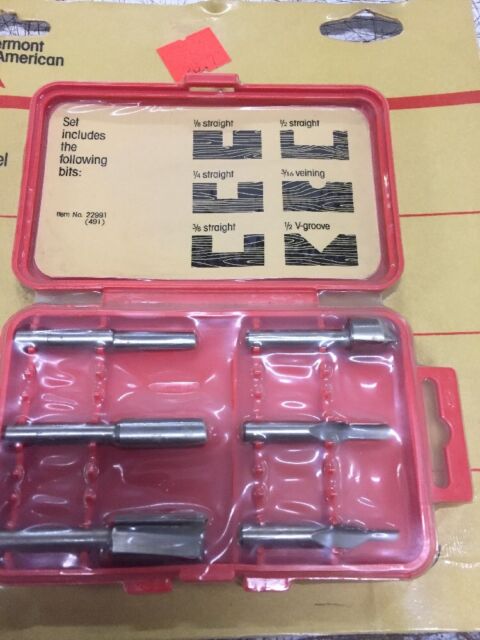
Not sure what kind of shape these bits are really in. They came with a router that my grandfather had before he passed away. I tried the 1/4" straight bit with the DOC of 3mm on the bedpost. Figured it could same quite a bit of time. But I never was able to get a job to finish. It looked bad. No photos of that, but I was over the bedpost by that point.
After that, I decided to try the engraving with the 1/2 inch V-groove bit out of pine. Just thick script lettering with a carved oval around it and then cutout in the same oval shape after that. The lettering was hit or miss. It didn’t seem to pocket enough on some of the letters. But the carved oval after that was where things really went south. The oval looked more like a Tom Brady football. Slightly deflated and cut through the lettering instead of around it. Switching to the straight bit to cutout the design didn’t go much better either. It was enough to show me that carving things out is something I want to accomplish, but it also showed me I don’t have the ability yet.
So first and foremost, I recognize that most of my problems are caused by impatience. I believe I’m jumping too far into the deep end without enough experience due to personality and lack of access to the machine. With that in mind, how do I maximize my troubleshooting time? The goal of this post wasn’t specific to the bedpost I mentioned, but learning better practices. In the 3D printing world, there’s a Benchie model that tests many different aspects of a 3D printer. Does such a thing exist in the CNC world?
Other questions I have:
- Is having the shank out far enough on a 1/8th inch bit to cut 3/4 inch board too much?
- Is there a reason I shouldn’t use 1/4 inch to create less detailed jobs for faster times and work my way closer to 1/8 inch detail?
- Any tips for cutting poplar or any board that isn’t pine?
- I bought the 5 pack of bits from the store. What criteria am I looking at when purchasing other bits?
My machine has a work area of 24" x 24" x 3.25". I’m using the Makita RT701C.
Ridicule is expected but help is appreciated.