You can set the final pass farther up the panel I think.
I take the Adaptive at the full 1/4 inch depth on my aluminum parts. I’ve never cut anything thicker than that, but I’d try it if I did. Big caveat, I’m using the 611. The 660 has plenty of power, but I think the speed control makes a difference and I’d worry about the 660 bogging down. The lower rpms would be welcome, but not if you can’t predict them. If your spindle has speed control, you might be just fine there. If it doesn’t, and you’re going into production on these, get a speed controller that maintains rpm (vs the router controller I got for 20 bucks from harbor freight…that one just lets me dial in the free speed and still bogs down). It will save you money and time in broken bits, scrapped stock, and throughput.
The trick with Adaptive is to go as deep as you can, and take lighter cuts until power/rigidity isn’t holding you back, and hope you can cut fast enough to keep the chip load up, then dial the depth back if you can’t and try again. Making an efficient Adaptive path is Very dependent on that balance.
I’m not using a 660 im using a 1.6kw spindle.
What are your feeds and speeds/load for a full 1/4 depth? I tried 2.5mm and it did not go well.
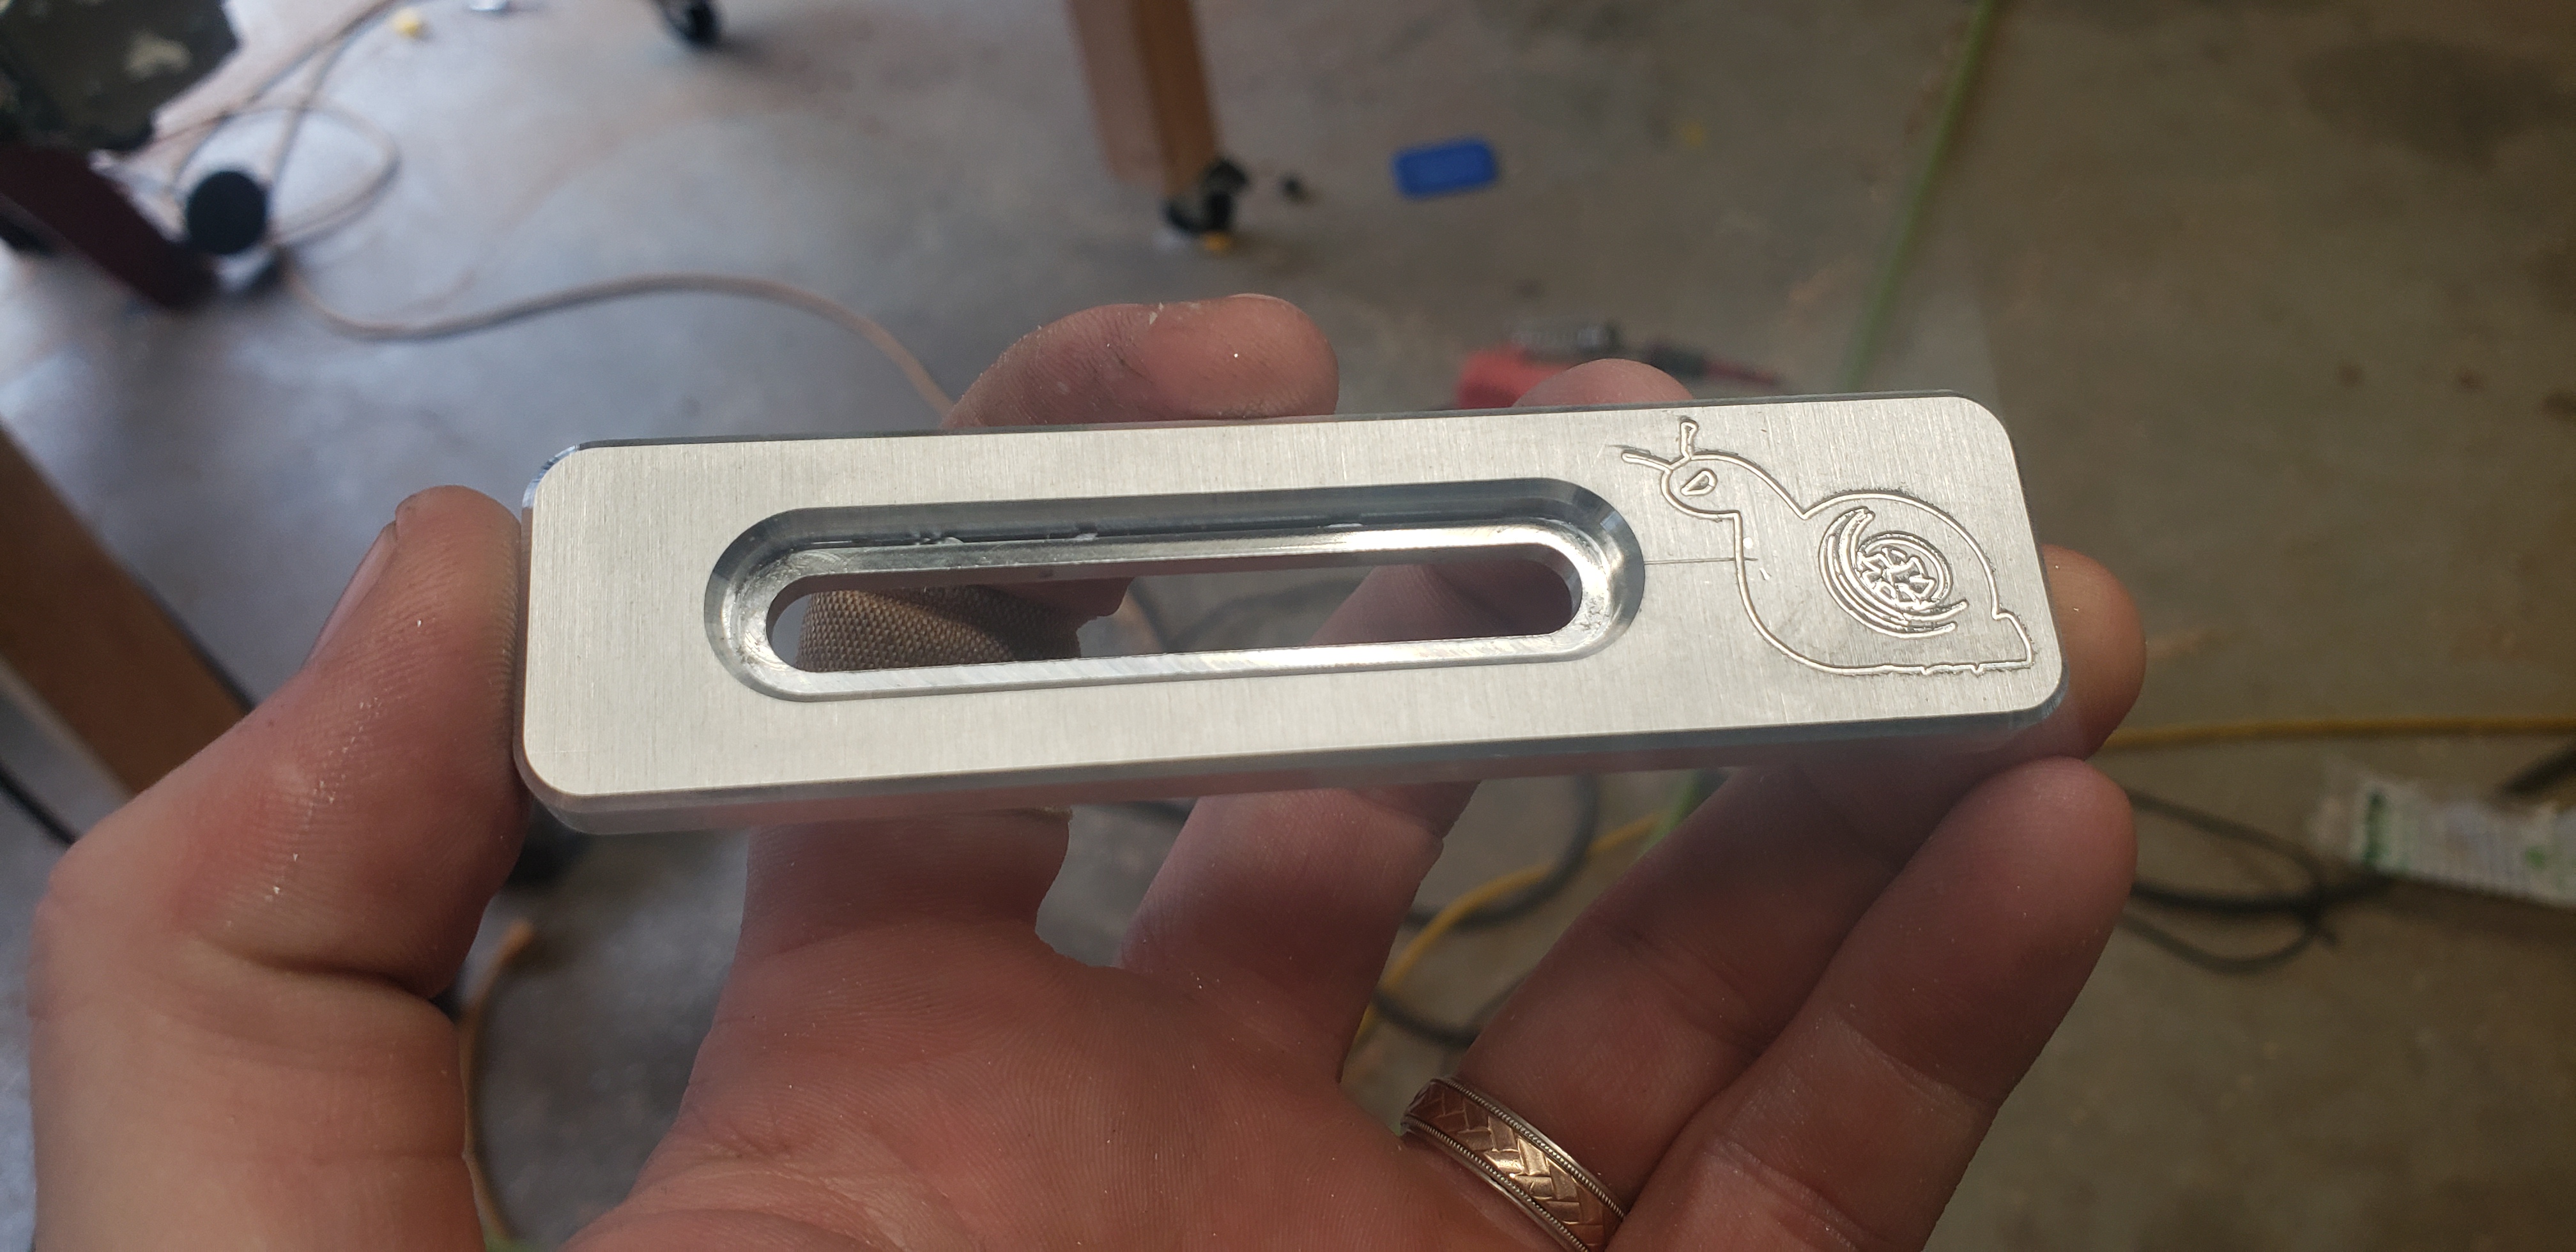
I think for now, im just going to use 1/4in to rough where I can and then finish with 1/8in.
I may play with it more later but at this point, just putting the 1/4in in gave me success first try on this little clamp project.
Its only the 2d contours that I’m fighting with now. The other chatter issues were resolved.
I’ve been lurking this thread for a while and just was thinking about where in the work area of the machine you are cutting your parts? Since you rig is pretty sizable, and if you are cutting way out in the center, you might try tucking your workpiece in a corner, where the bowing and twisting stresses would be minimized because you would be closer to the corner mounts. I can’t tell where you’ve been cutting from your pictures. Just an idea I had.
It is in the far left 0,0 corner. Yes.
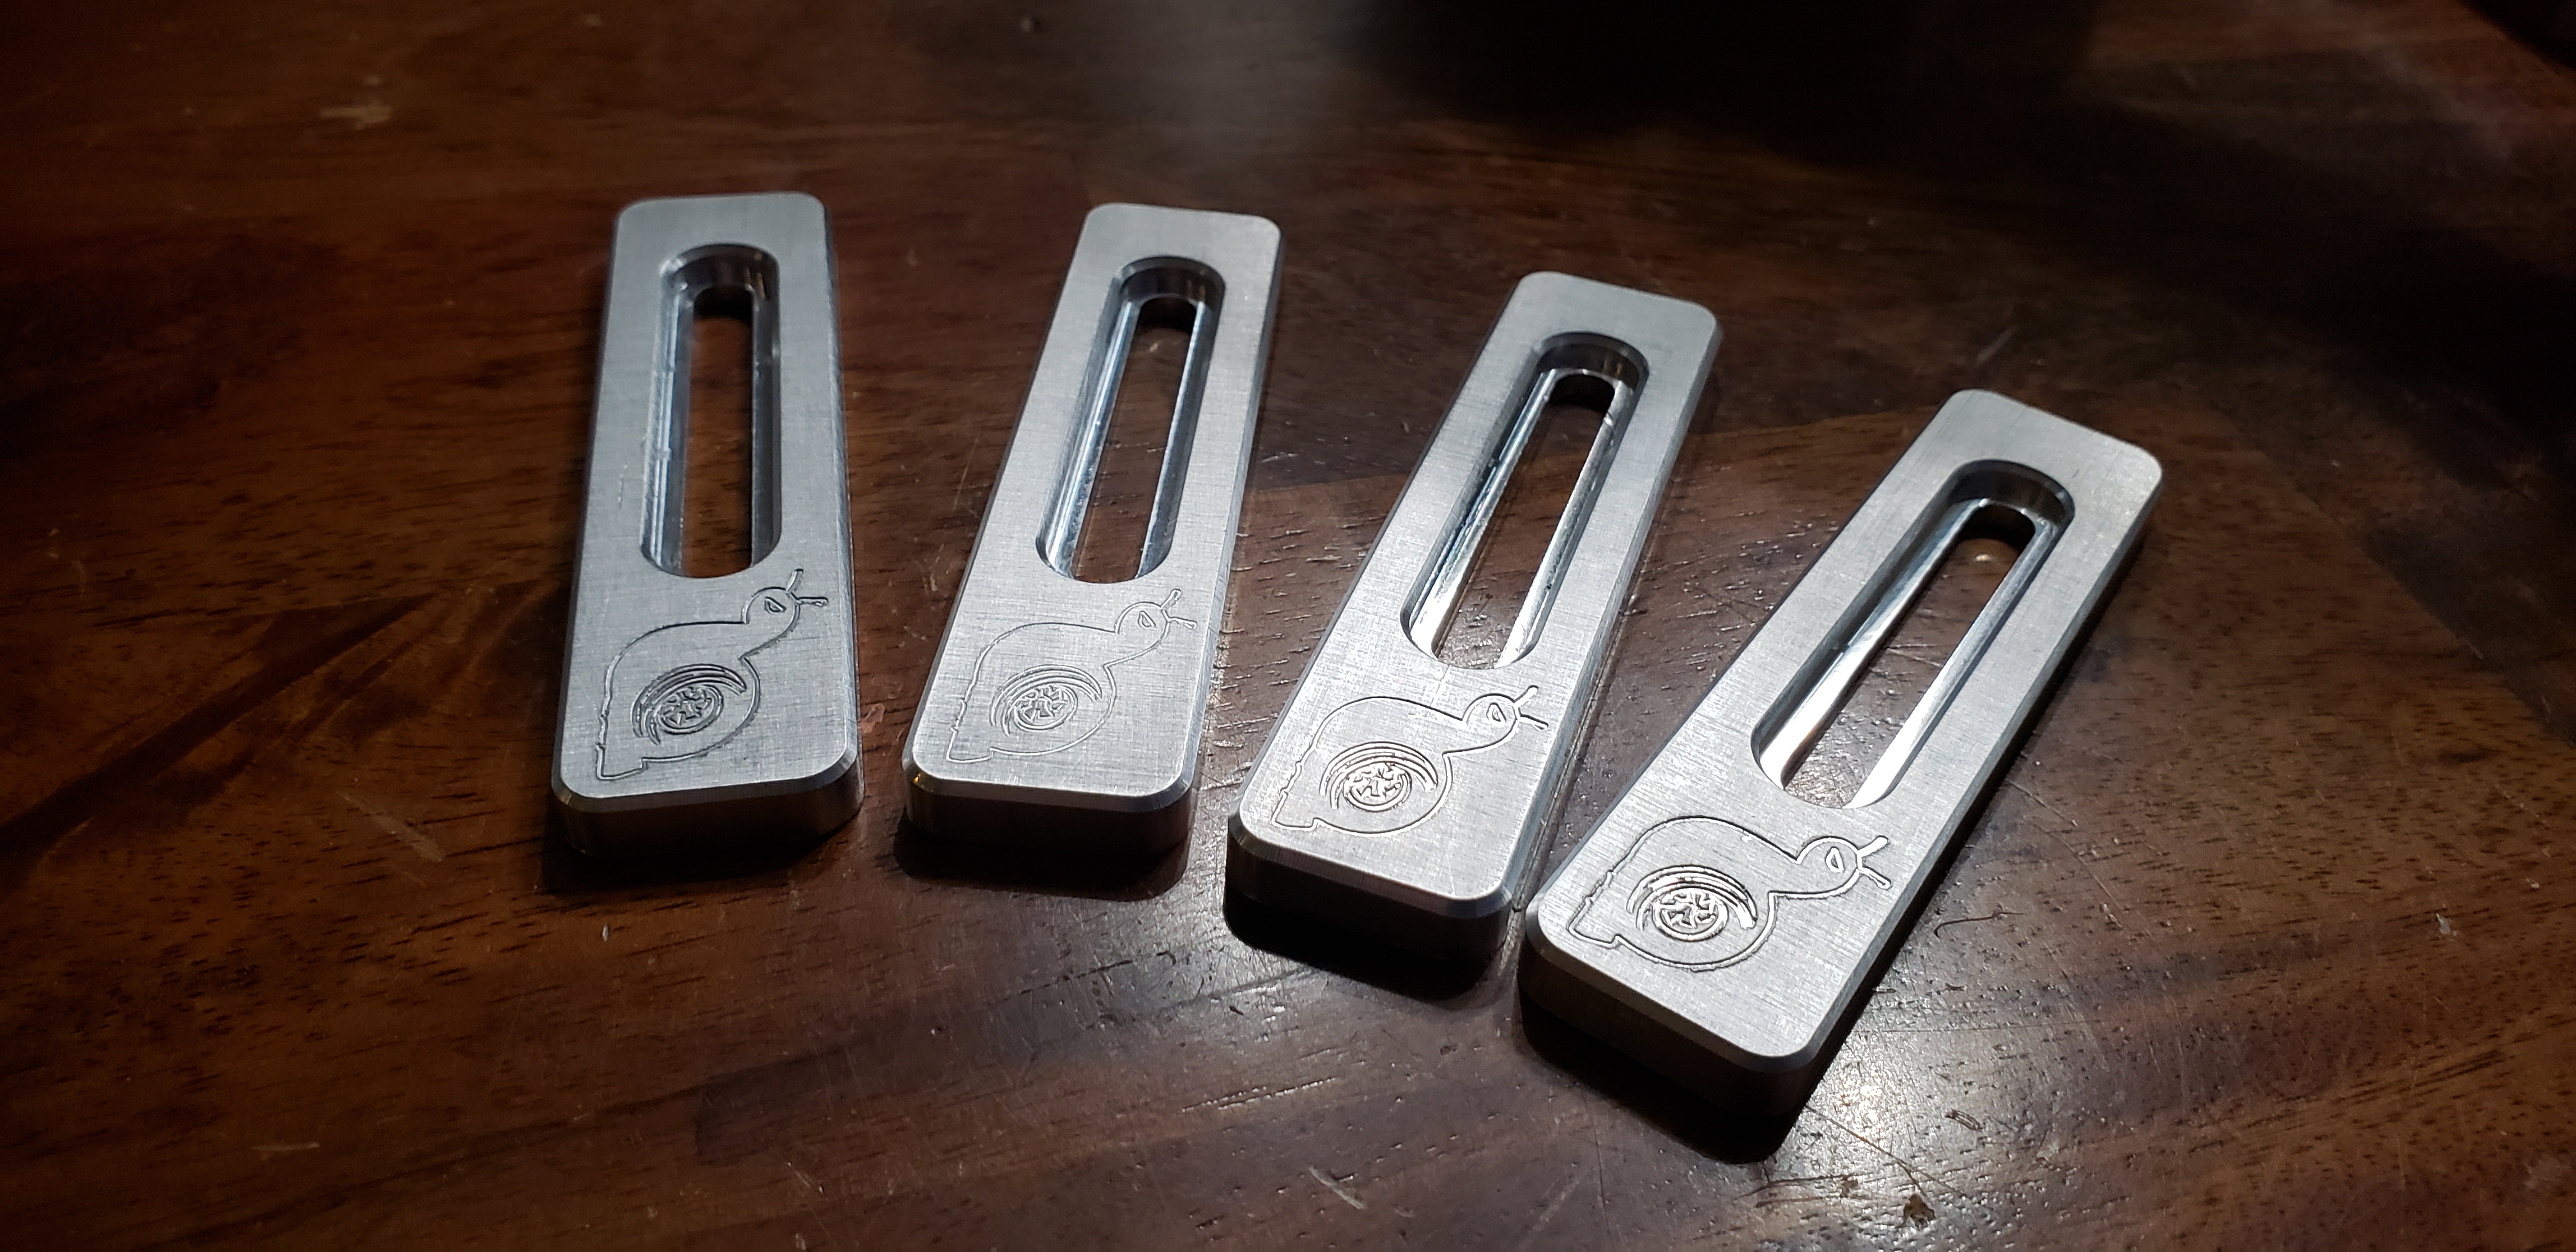
So I cut 3 clamps 0 issues. 4th and 5th have failed while using the 1/4in bit. I really have no repeatability at all. I thought things were dialed in great. Guess I’ll start over again.
Sorry for the noise its the air compressor.

Were the 4th and fifth with a fresh endmill?
How long did the others last?
Same endmill I cut 6 and 7 with.
Since i switched to the 1.6k spindle I haven’t broken a bit.
The 2 failures in between were with the 1/4in bit, it happened on the very last pass so I dont know if it was vibration or what. I backed the roughing off .5mm and I cut that last bit using the 1/8 finishing pass now instead.
I remember you saying you had a spindle on it now, and that picture you posted with the pretty cool air set up. It just wasn’t clear if you had a speed controller for it, too.
I cut my aluminum on an 8x10 burly, so my feeds and depth are pretty aggressive. I’m not sure I could recommend them for anyone  I documented them in my teeny tiny build thread if you are still interested though, so let me know if you can’t find it and I’ll come back with a link.
Assuming you can easily set the rpm on your spindle and assuming carbide for the you might aim for 500sfm-750 sfm which is about 15k-23k rpm on a 1/8 mill. That would be 7500 - 11k rpms for the 1/4 inch mill, unless it’s hss (mine are) where the speed could be as low as 4k depending on the tool (I’ve seen 250-500 sfm for hss in aluminum).
From there, 0.001" ipt is probably the floor, so for a 50 percent stepover basically divide your rpm by 1000 to get the ipm for a single flute. Cutting the stepover in half requires you to increase the feed by more like 2/3 because the chips “thin”. There are pictures with triangles that explain it well. The takeaway is that you have to go a lot faster when you decrease the stepover in order to keep the chip size large enough that your tool isn’t rubbing.
I spent a lot of time in front of my spreadsheet calculating all of these out before turning on the machine just to make sure tweaking one parameter wasn’t throwing another too far out of whack.
I haven’t gone through the thread in full detail, but the original issues seem very similar to what I was encountering.
In the end the solutions were:
- Trochoidal milling this was an obvious huge improvement. Going being able to do 0.1mm or at most 0.2mm DOC to doing single full (3mm) depth in one go
- Switching from 1/4" to flute to 1/8" single flute.
- If cutting through material taking the end of the cutter past the bottom of the material, weird stuff happens when the cutter end coincides with the break through point.
I’ve a 12,000rpm spindle (allegedly) I run it at full speed all the time.
Now I can reliably get parts without it getting out of control. I’m still working on the speed but slow and reliable is a good place to start.
I believe the real source of the issue is cutting slots that are the same width as the cutter, if anything gets out of control or flexes then you set up a situation where the cutter is bouncing off of the slot walls and from there its down hill.
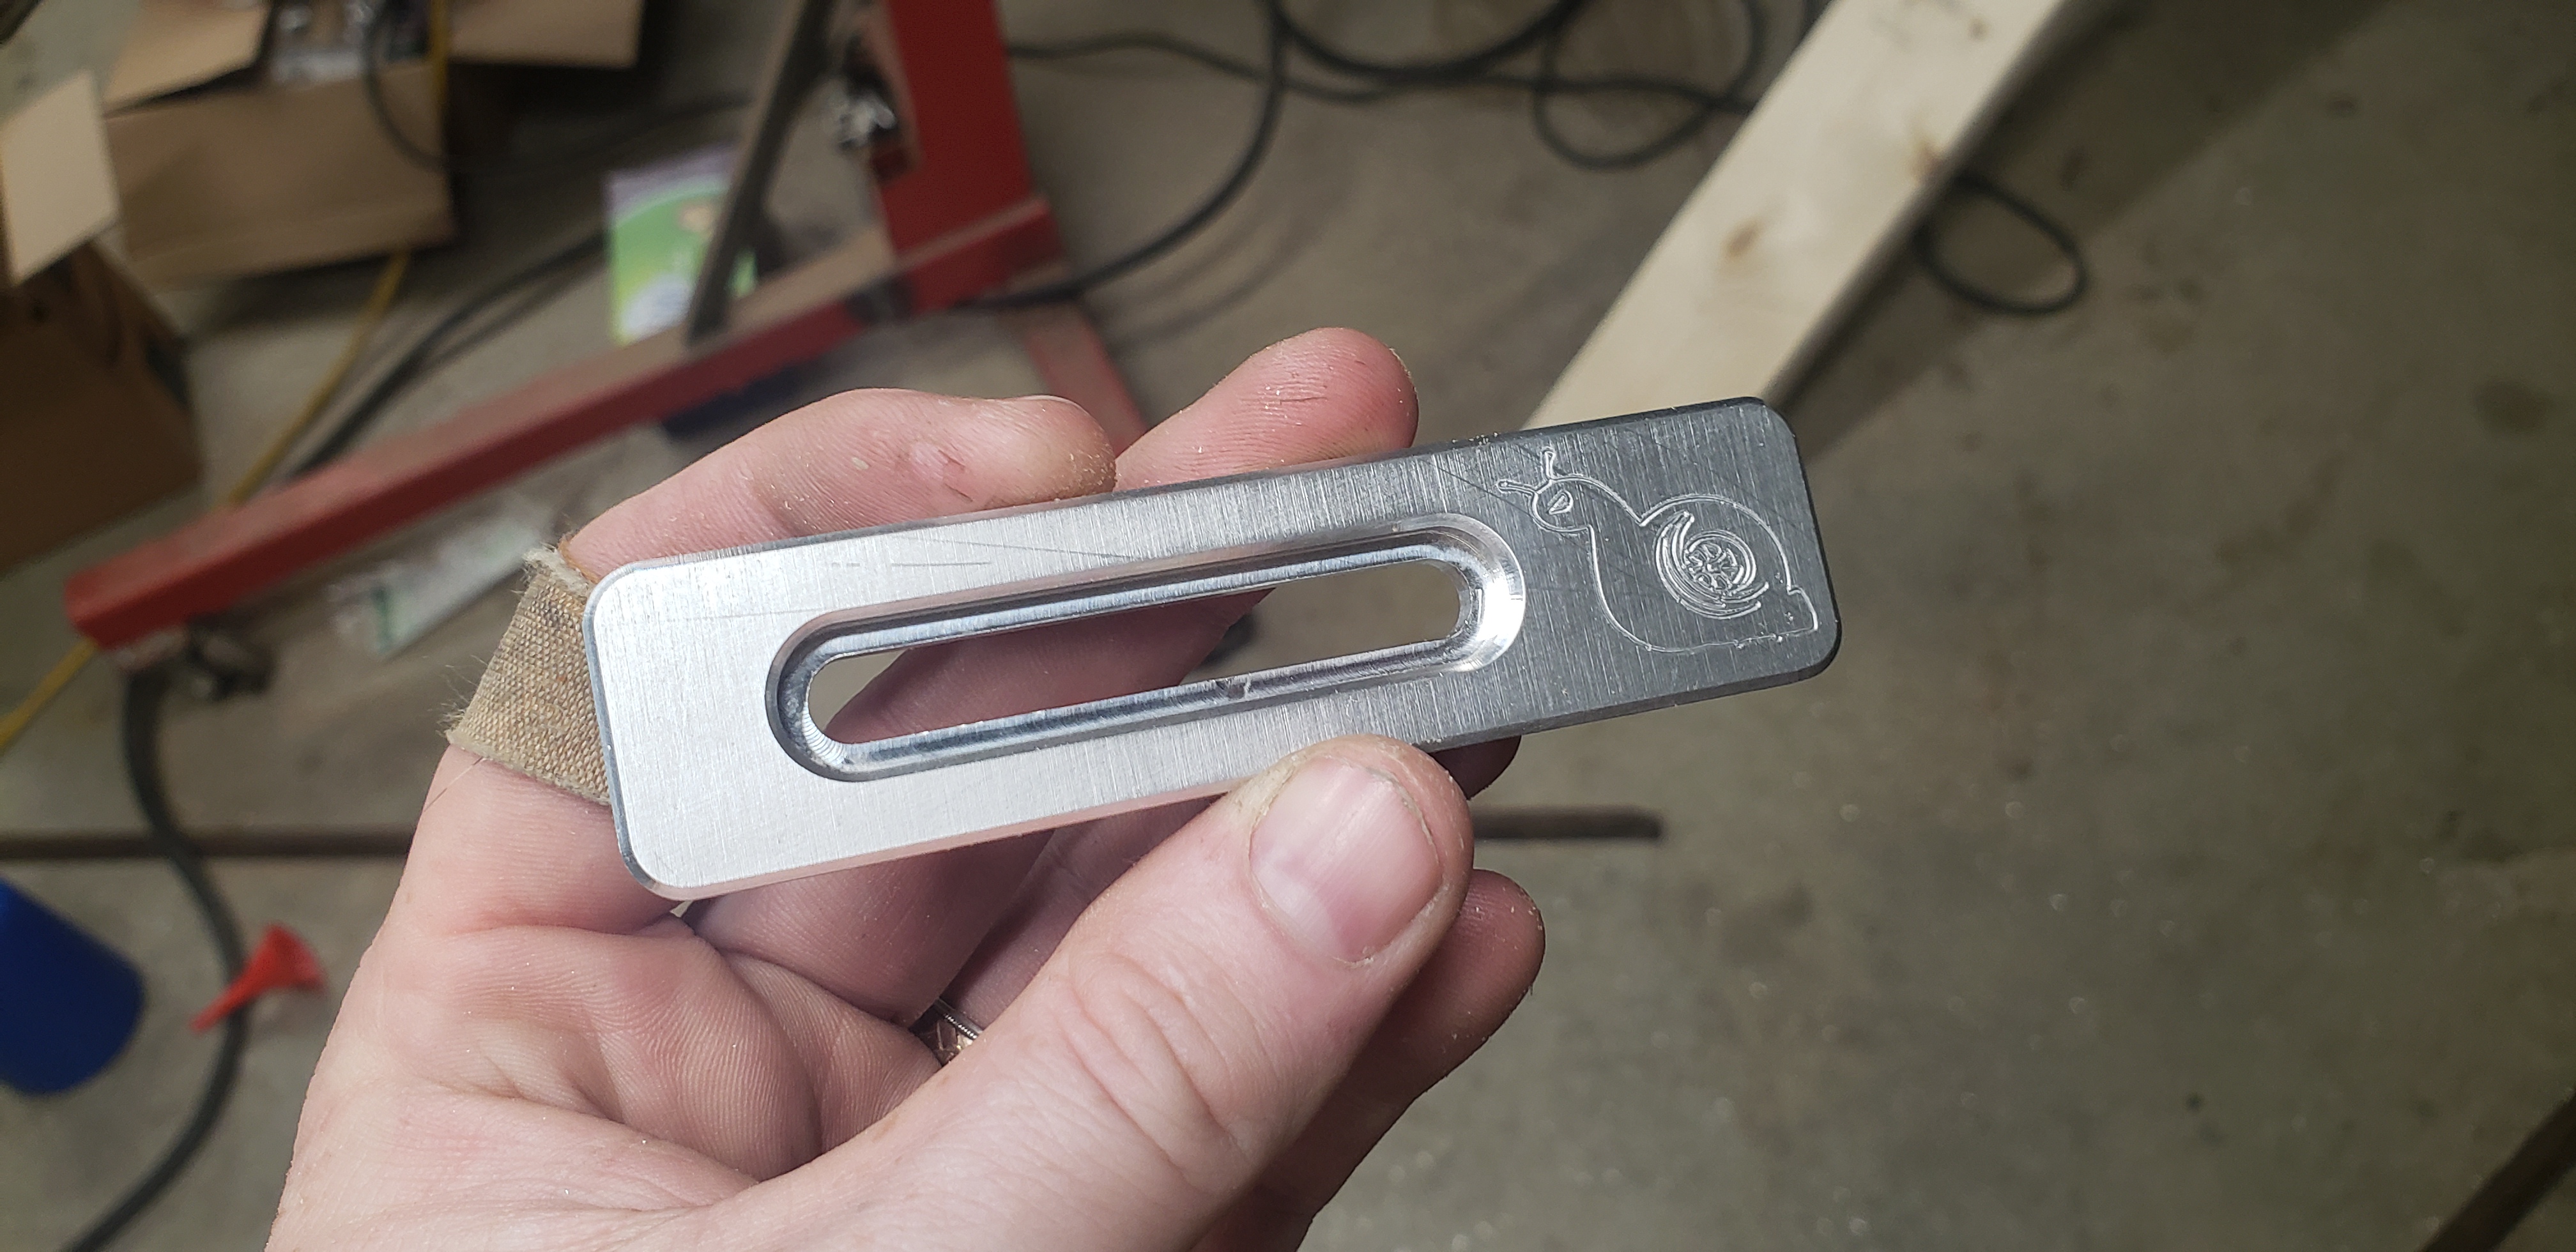
I managed some success tonight, until one of them came loose in the holder and took my nice 1/4in bit with it.
I have a bit of a vibration when the forces are pulling against the way the spindle is mounted -that aren’t there when its pushing. Im going to dig more into that tomorrow.
I think im going to go with the theory that “something was wrong”
I took some stuff apart yesterday to fix a vibration on one of the trucks (idler bearings). After I put it back together its cutting great and quiet. The vibration seems to be gone.
Still testing but its looking promising.
Hmmm maybe a bolt getting snugged was missed initially. I feel much better hearing this.
I’m only at .5mm DOC right now. Im going to up it to 1mm and see.
2 flute .5mm DOC on adaptiver .5mm load about 11k rpms or so, I think 800mm/sec.
No noise or chatter anymore and part is staying nice and cool
Slotting (and plunging) can set up dynamic stresses where the cutting deflects the tool, deflection causes it to bite and the bite causes it to deflect more (perhaps in a different direction). This seems especially likely given that the problem was not primarily related to depth of cut but was strongly related to the depth of the existing slot. Once you reach the point where positive feedback takes over, it doesn’t matter how slow or how shallow you cut – it will run away until something breaks.
Issues with stiffness are generally a possible source. Unfortunately I don’t know a good way to easily quantify stiffness that would let us compare numbers with each other.
Regardless how stiff the machine, theoretically there would be a depth at which the feedback takes over and the cut fails. I think the remedy would be to avoid slotting, so instead of a single contour, two slightly offset contours at partial depth, then two more at a deeper depth etc, so it won’t rattle between the two walls of the slot.
I’ve been slotting with a 1/4in single flute now leaving .5mm and then cutting that and running a finishing pass with 1/8 2 flute
I doubled my DOC to 1mm and its cutting pretty great. Going to just make a few items and see how it goes without changing anything else
