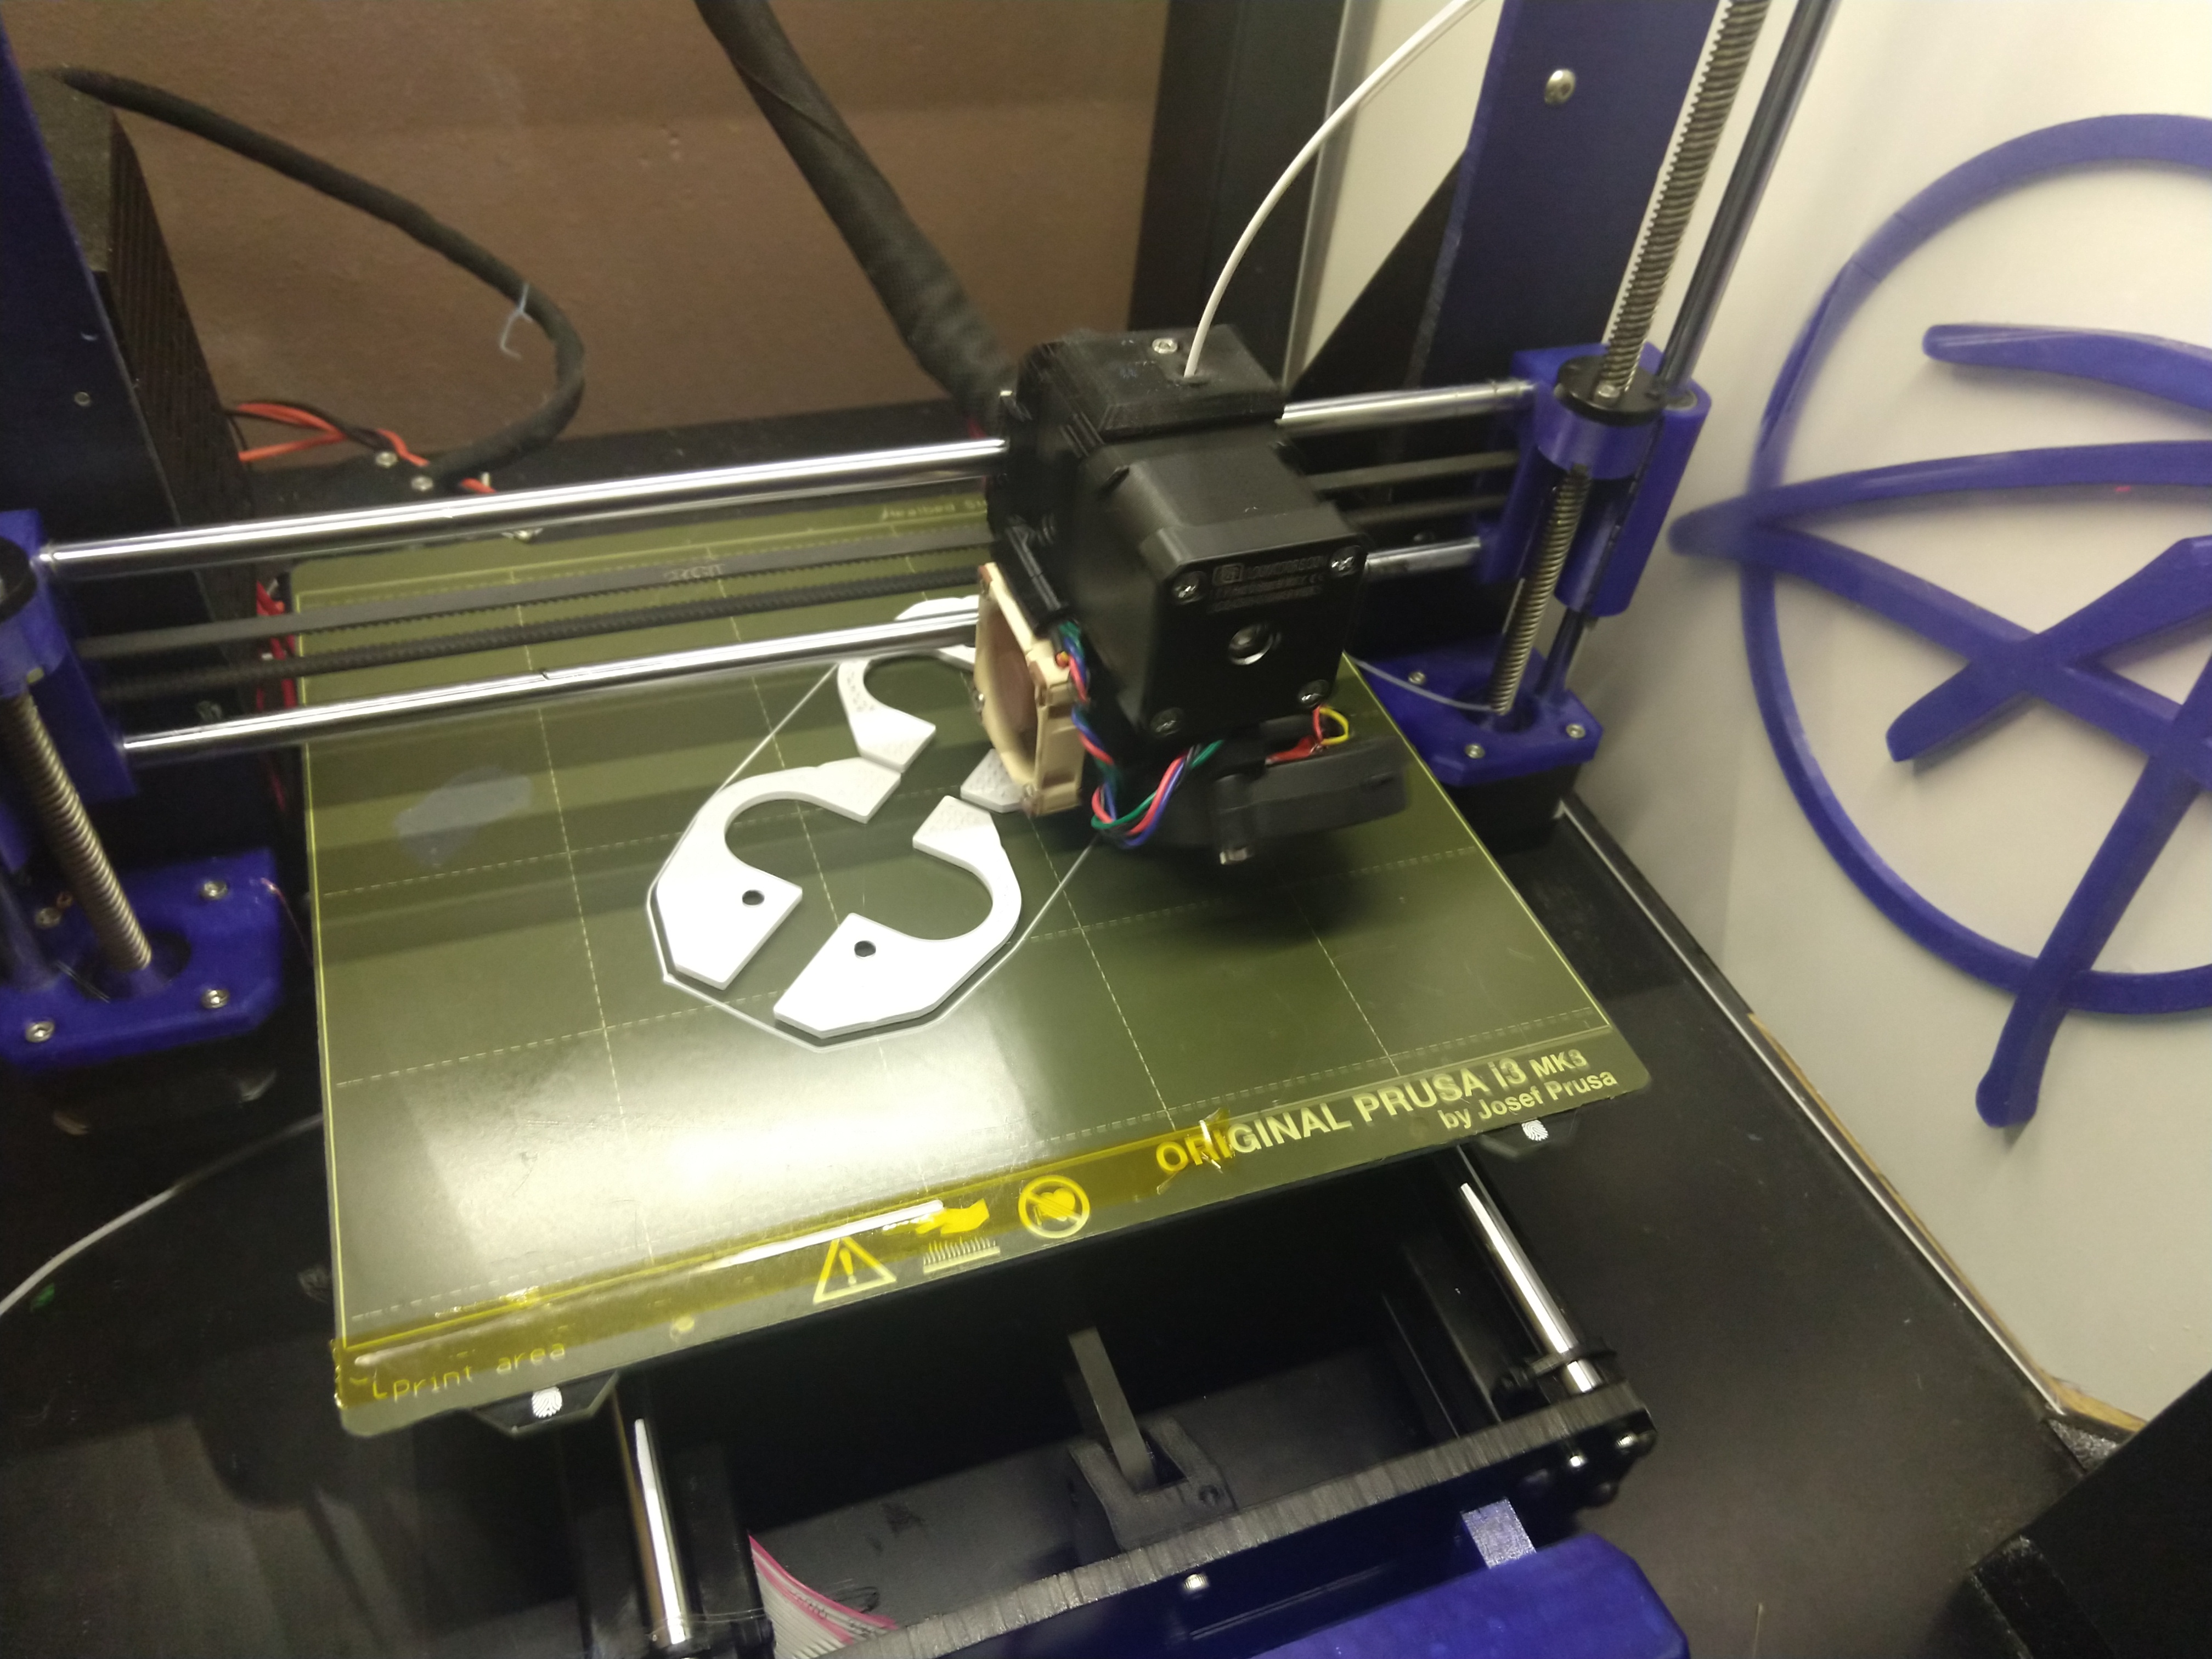
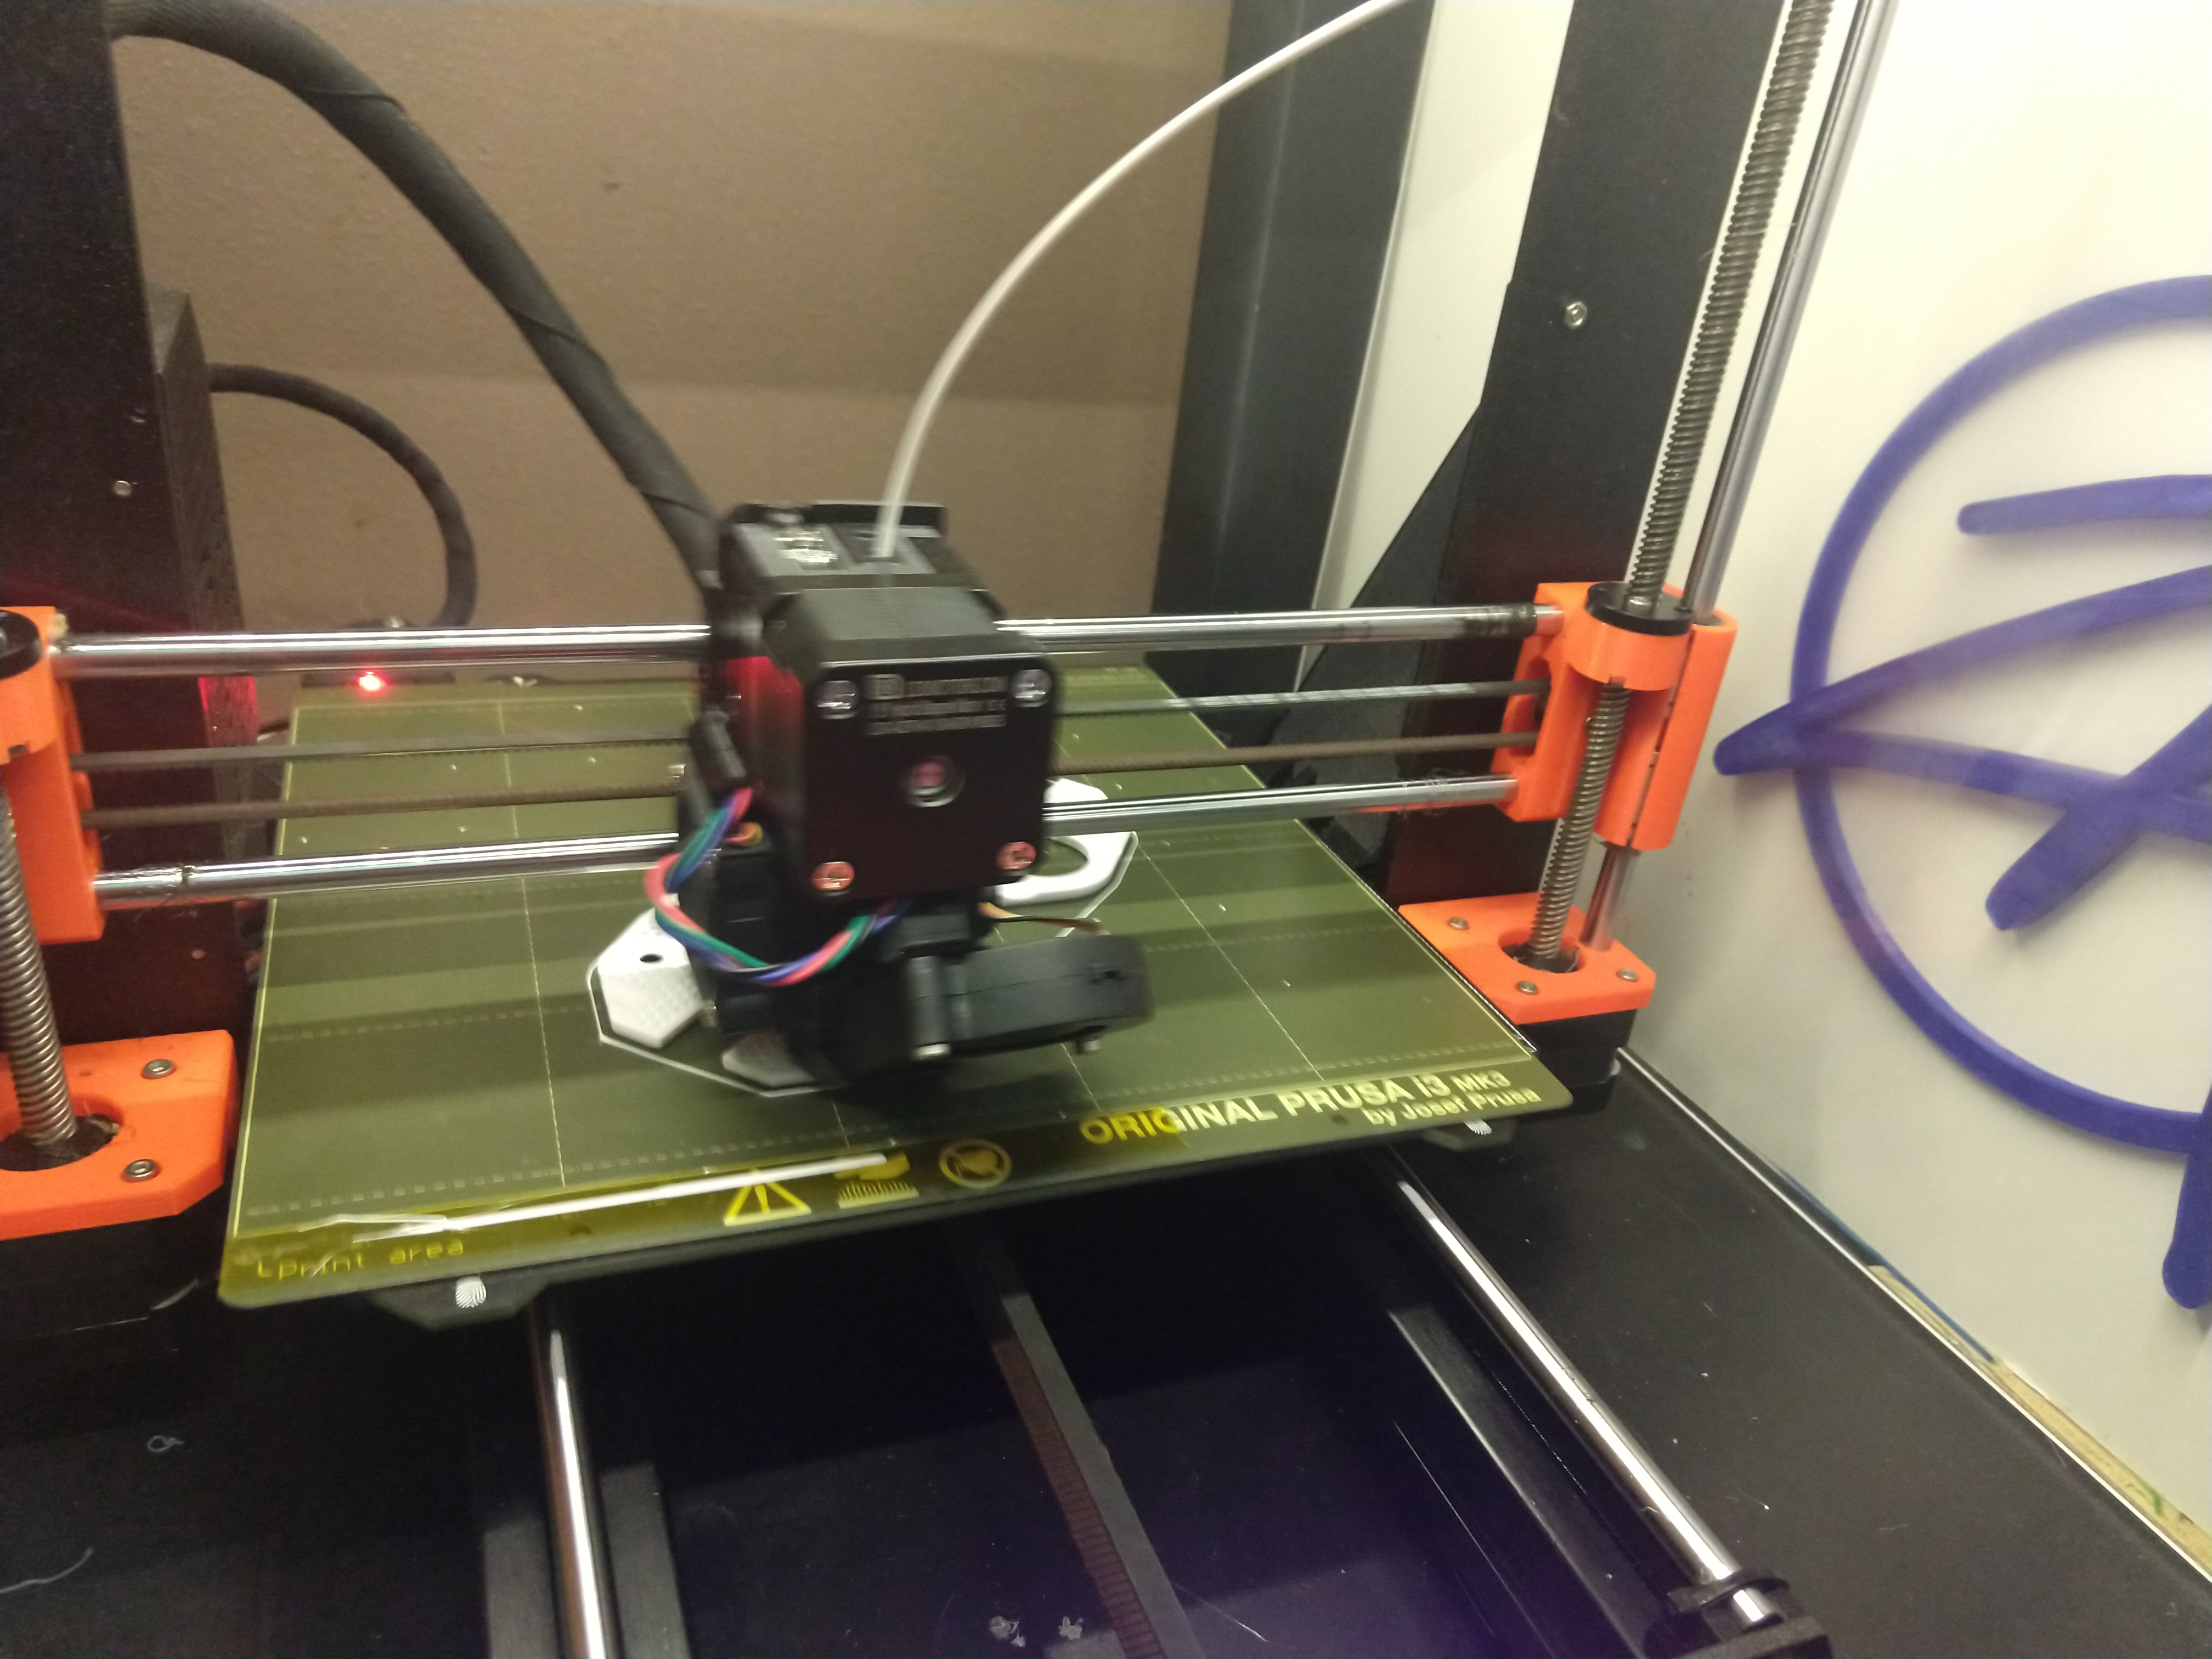
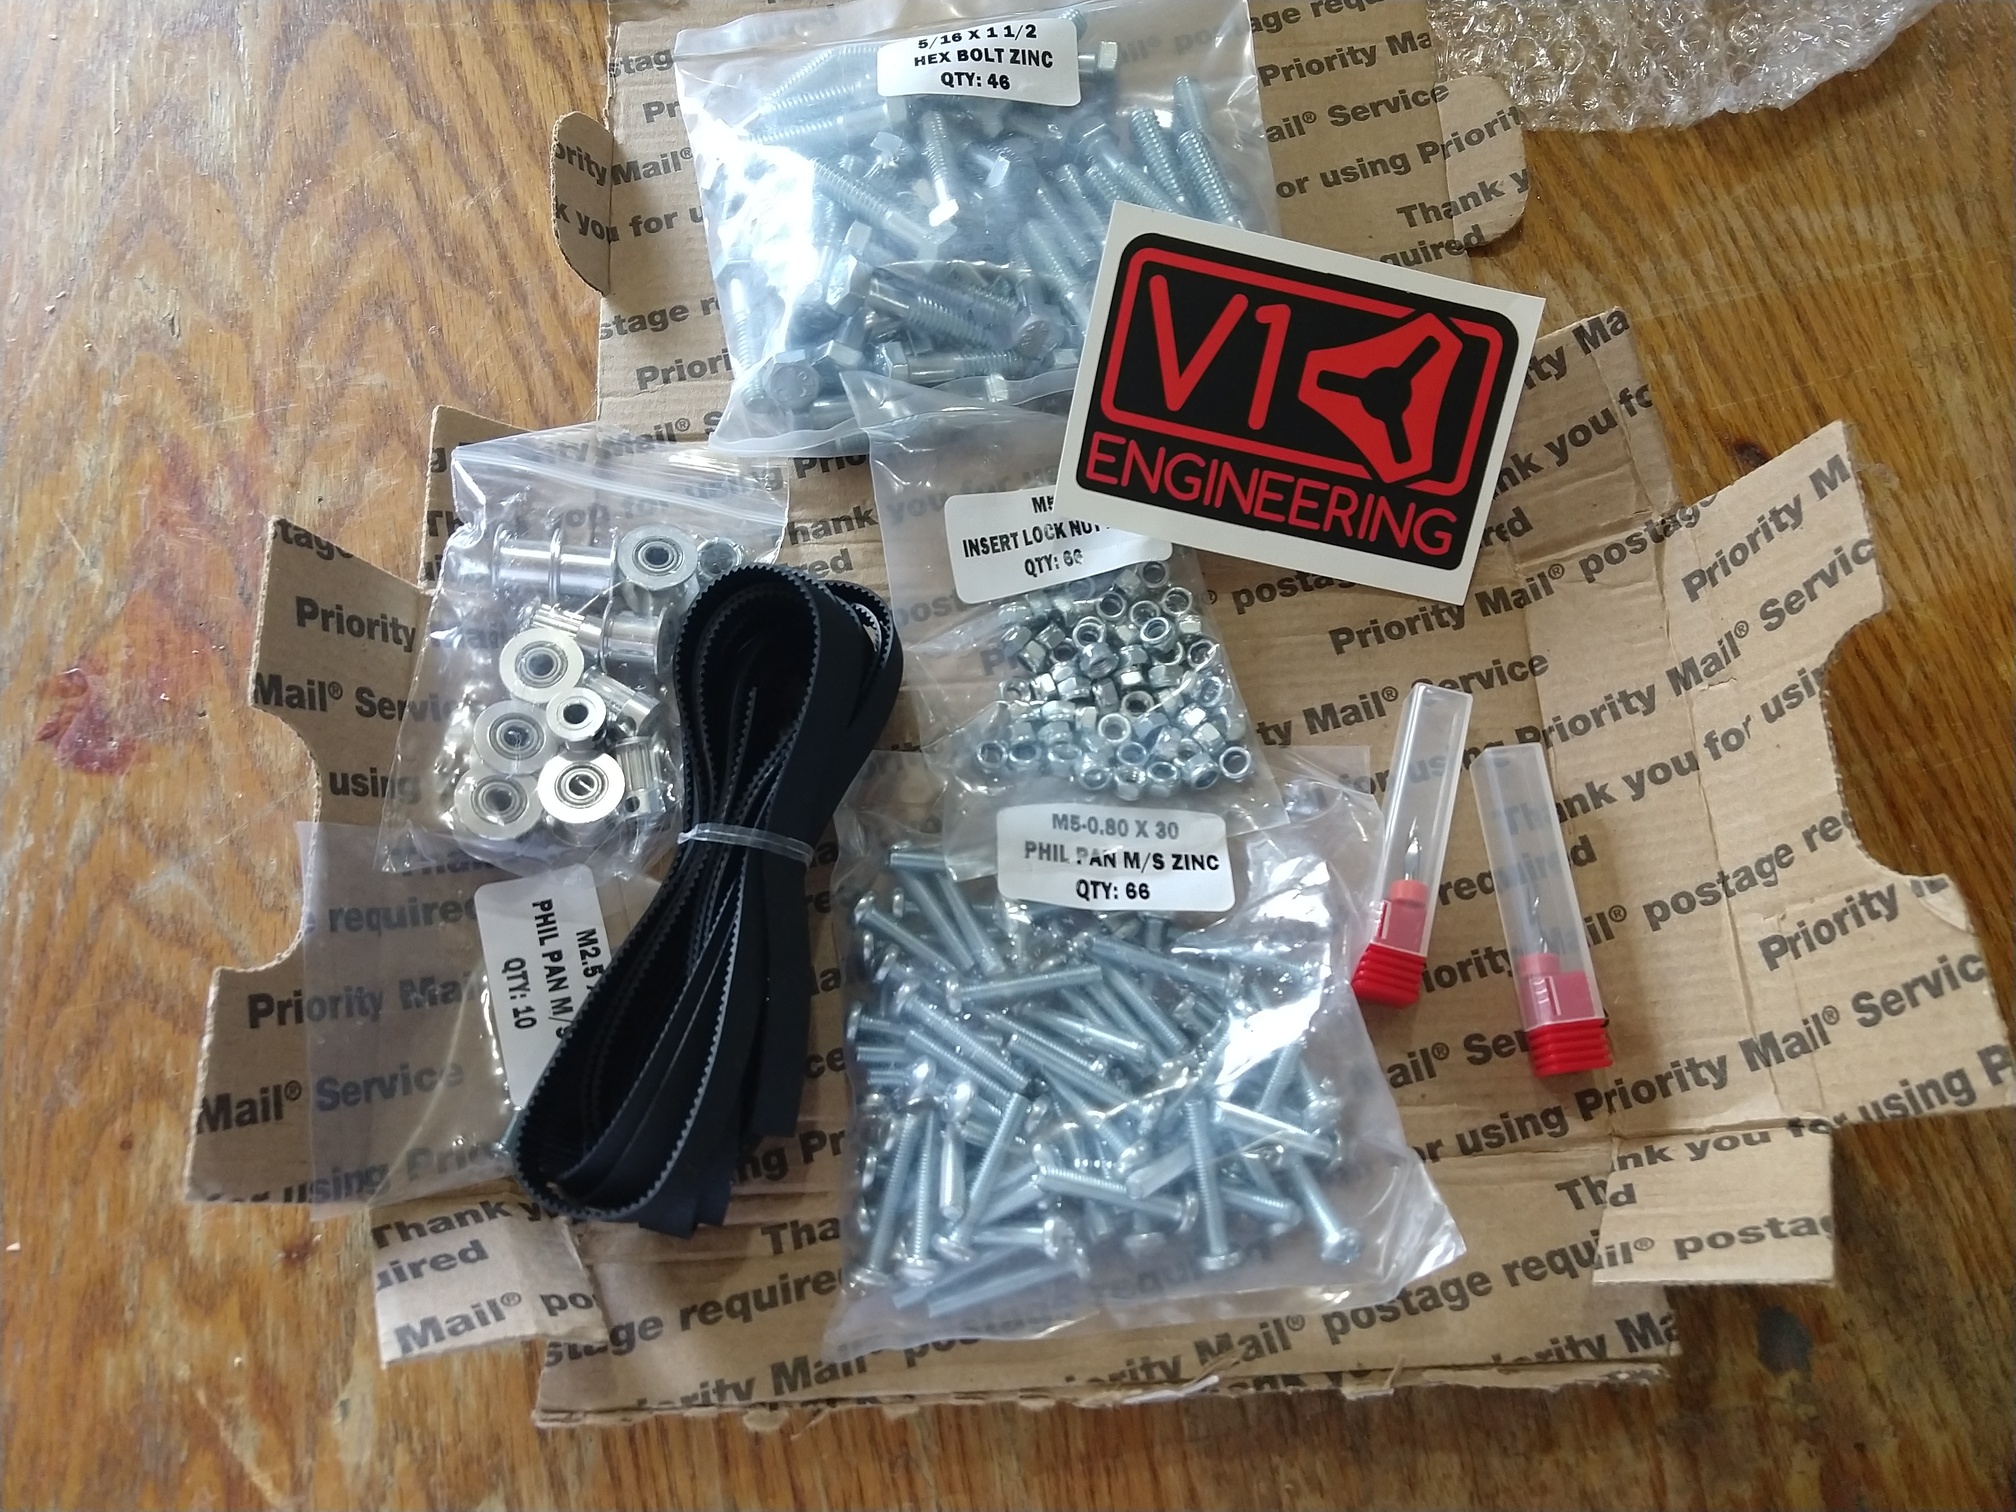
Since the ol’ MPCNC has been seeing more use in my shop lately I decided it was worth it to go ahead and upgrade to the Primo (I’m lying - I’ve been waiting for an excuse to do this since Ryan started talking about it and a respectable pay-day from a large printing commission made it possible). Hoping that the prints will be done by the time the upgrade kit gets here but even if they are, I’ll probably end up putting some paint on them anyway. Printing low with 4 perimeters and 50% infill so all the printing will take a while even with four printers slugging away at it. All I had on hand in any quantity was a few spools of white so…
Treat PLA like wood. Once you get the surface prepped (sand paper) you can pretty much take your pick of paint and then treat it like you would any other finish. Sand, wipe clean, coat, cure, repeat with progressively finer grit until you get the finish you want.
There are two ‘gotchas’ that I can think of off the top of my head - don’t use a sander unless you can control the speed. PLA goes gummy really quick. In fact, I use PLA print-fails to de-gum my disc sander. Try it - works great.
The other one is watch out for parts that will flex. If you finish with a hard coating it’ll crack - just like the paint on your car bumper when you don’t use an adhesion promoter.
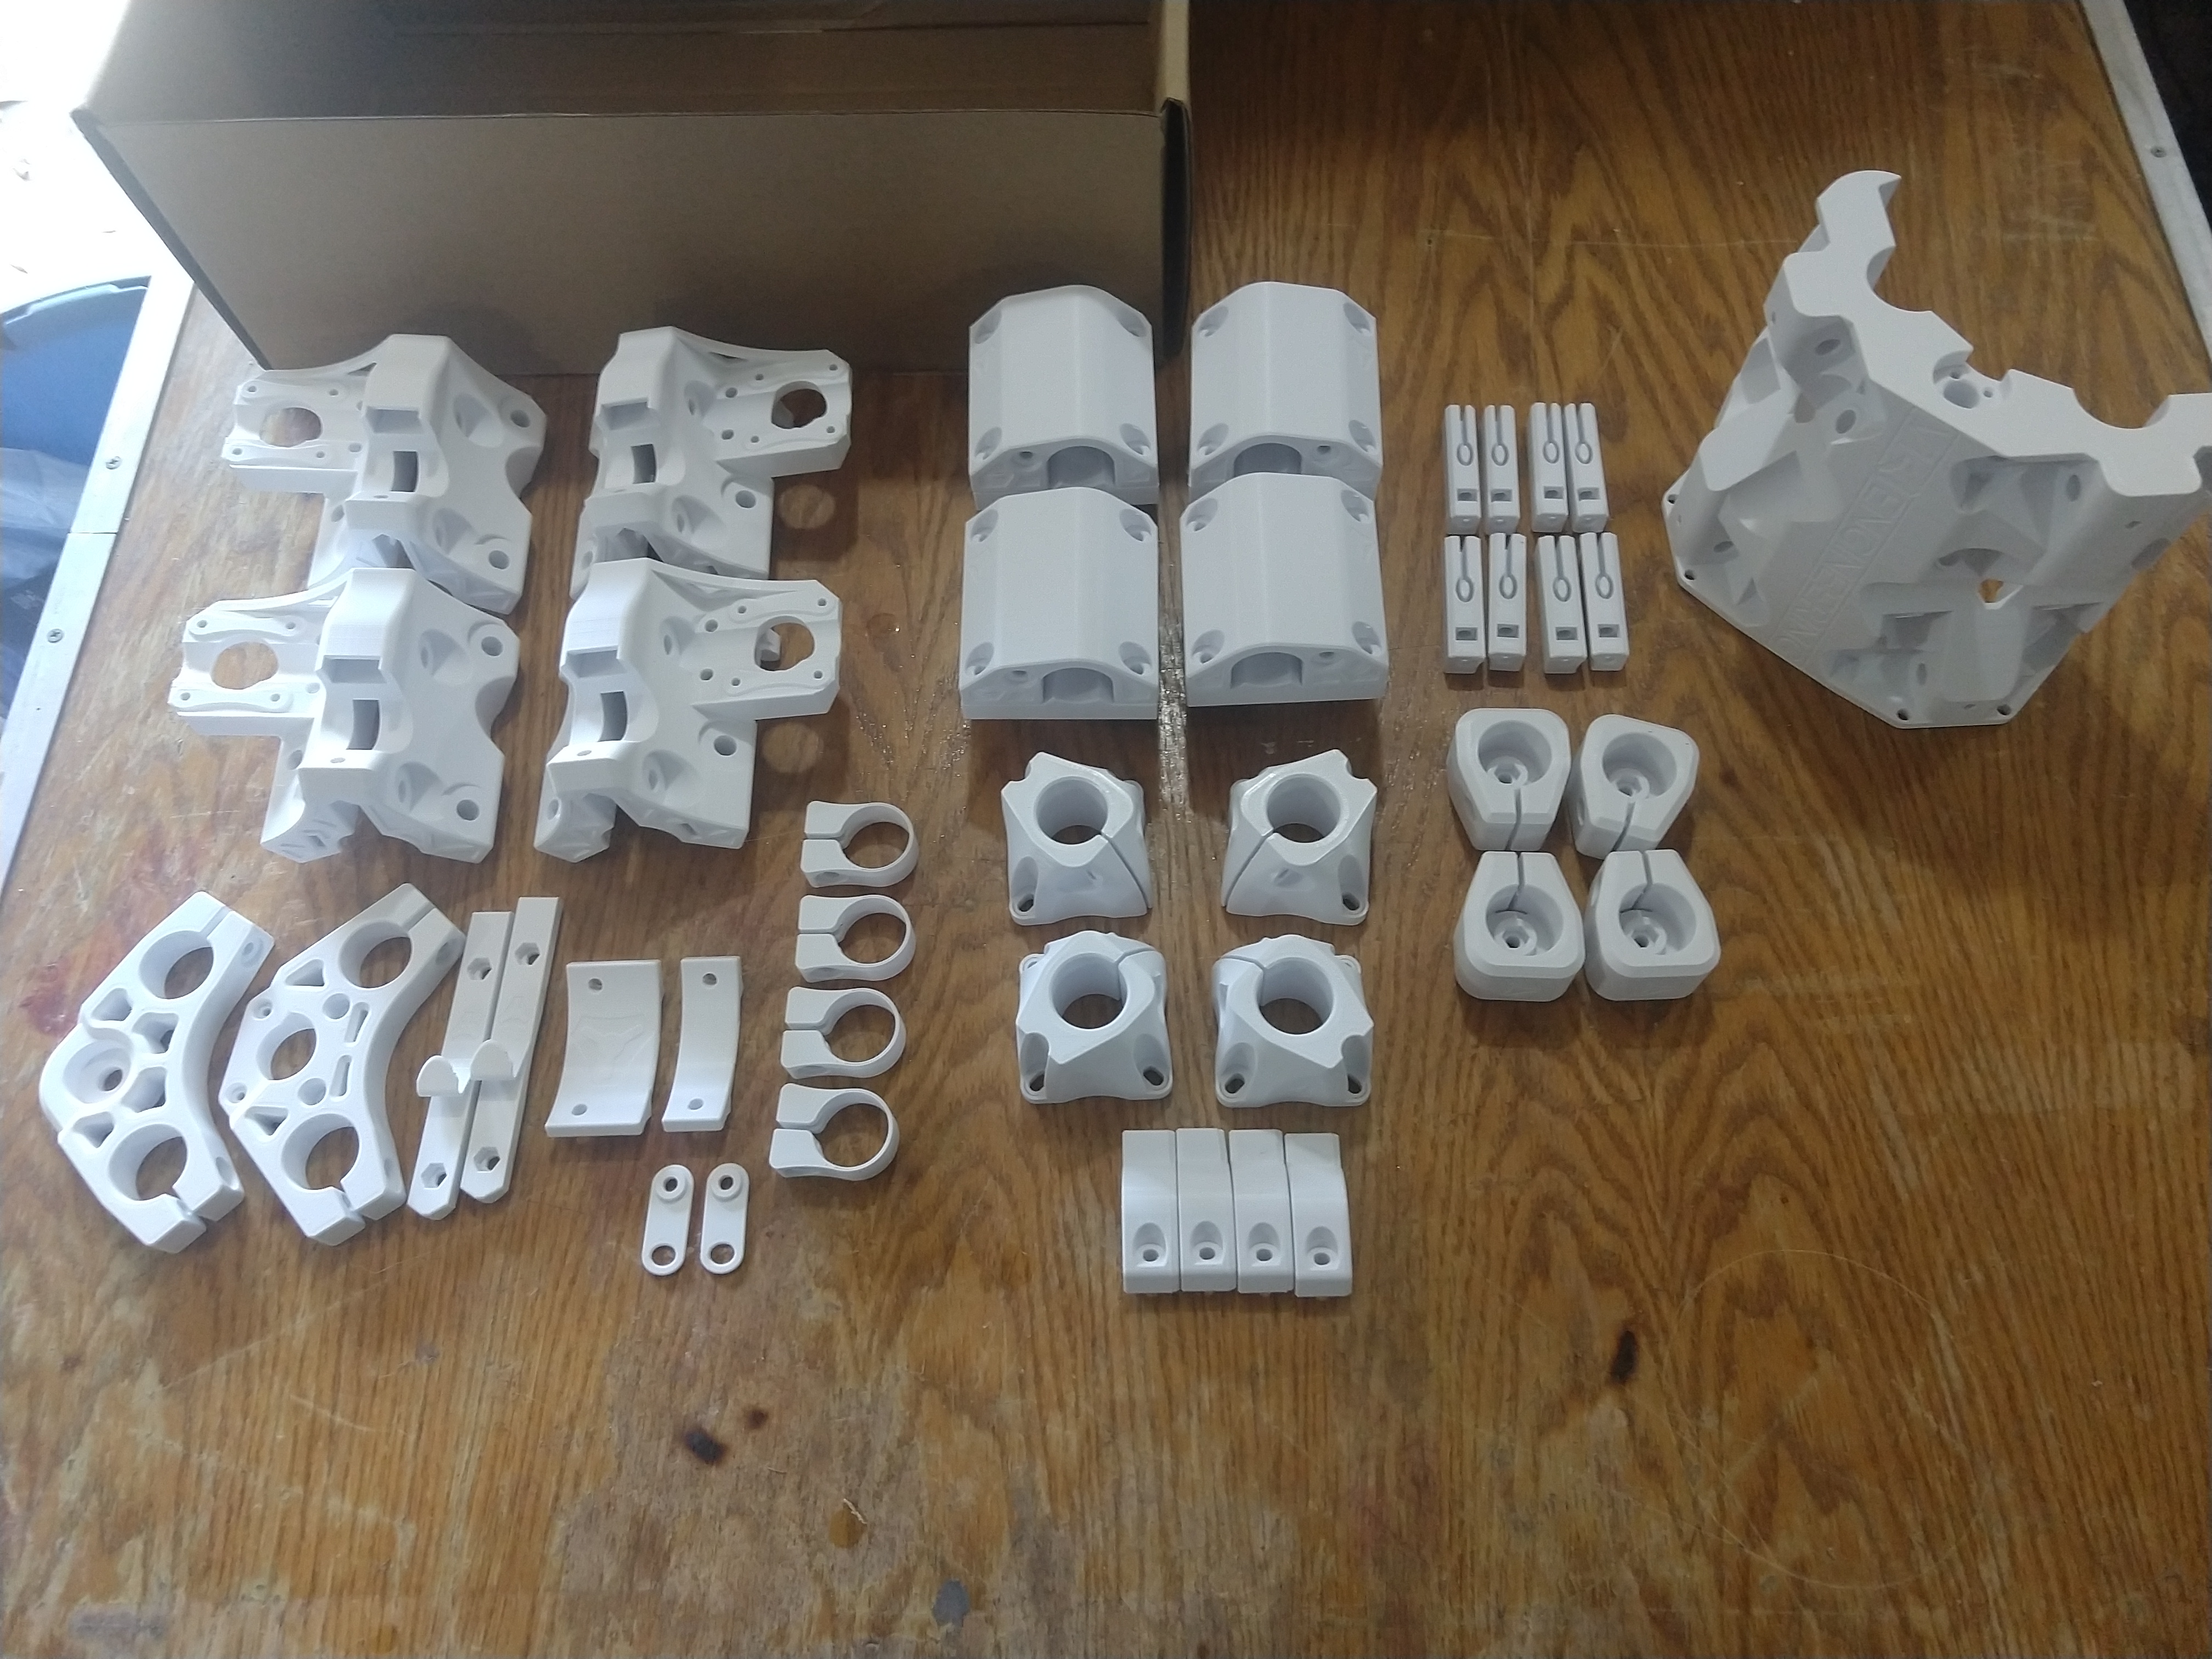
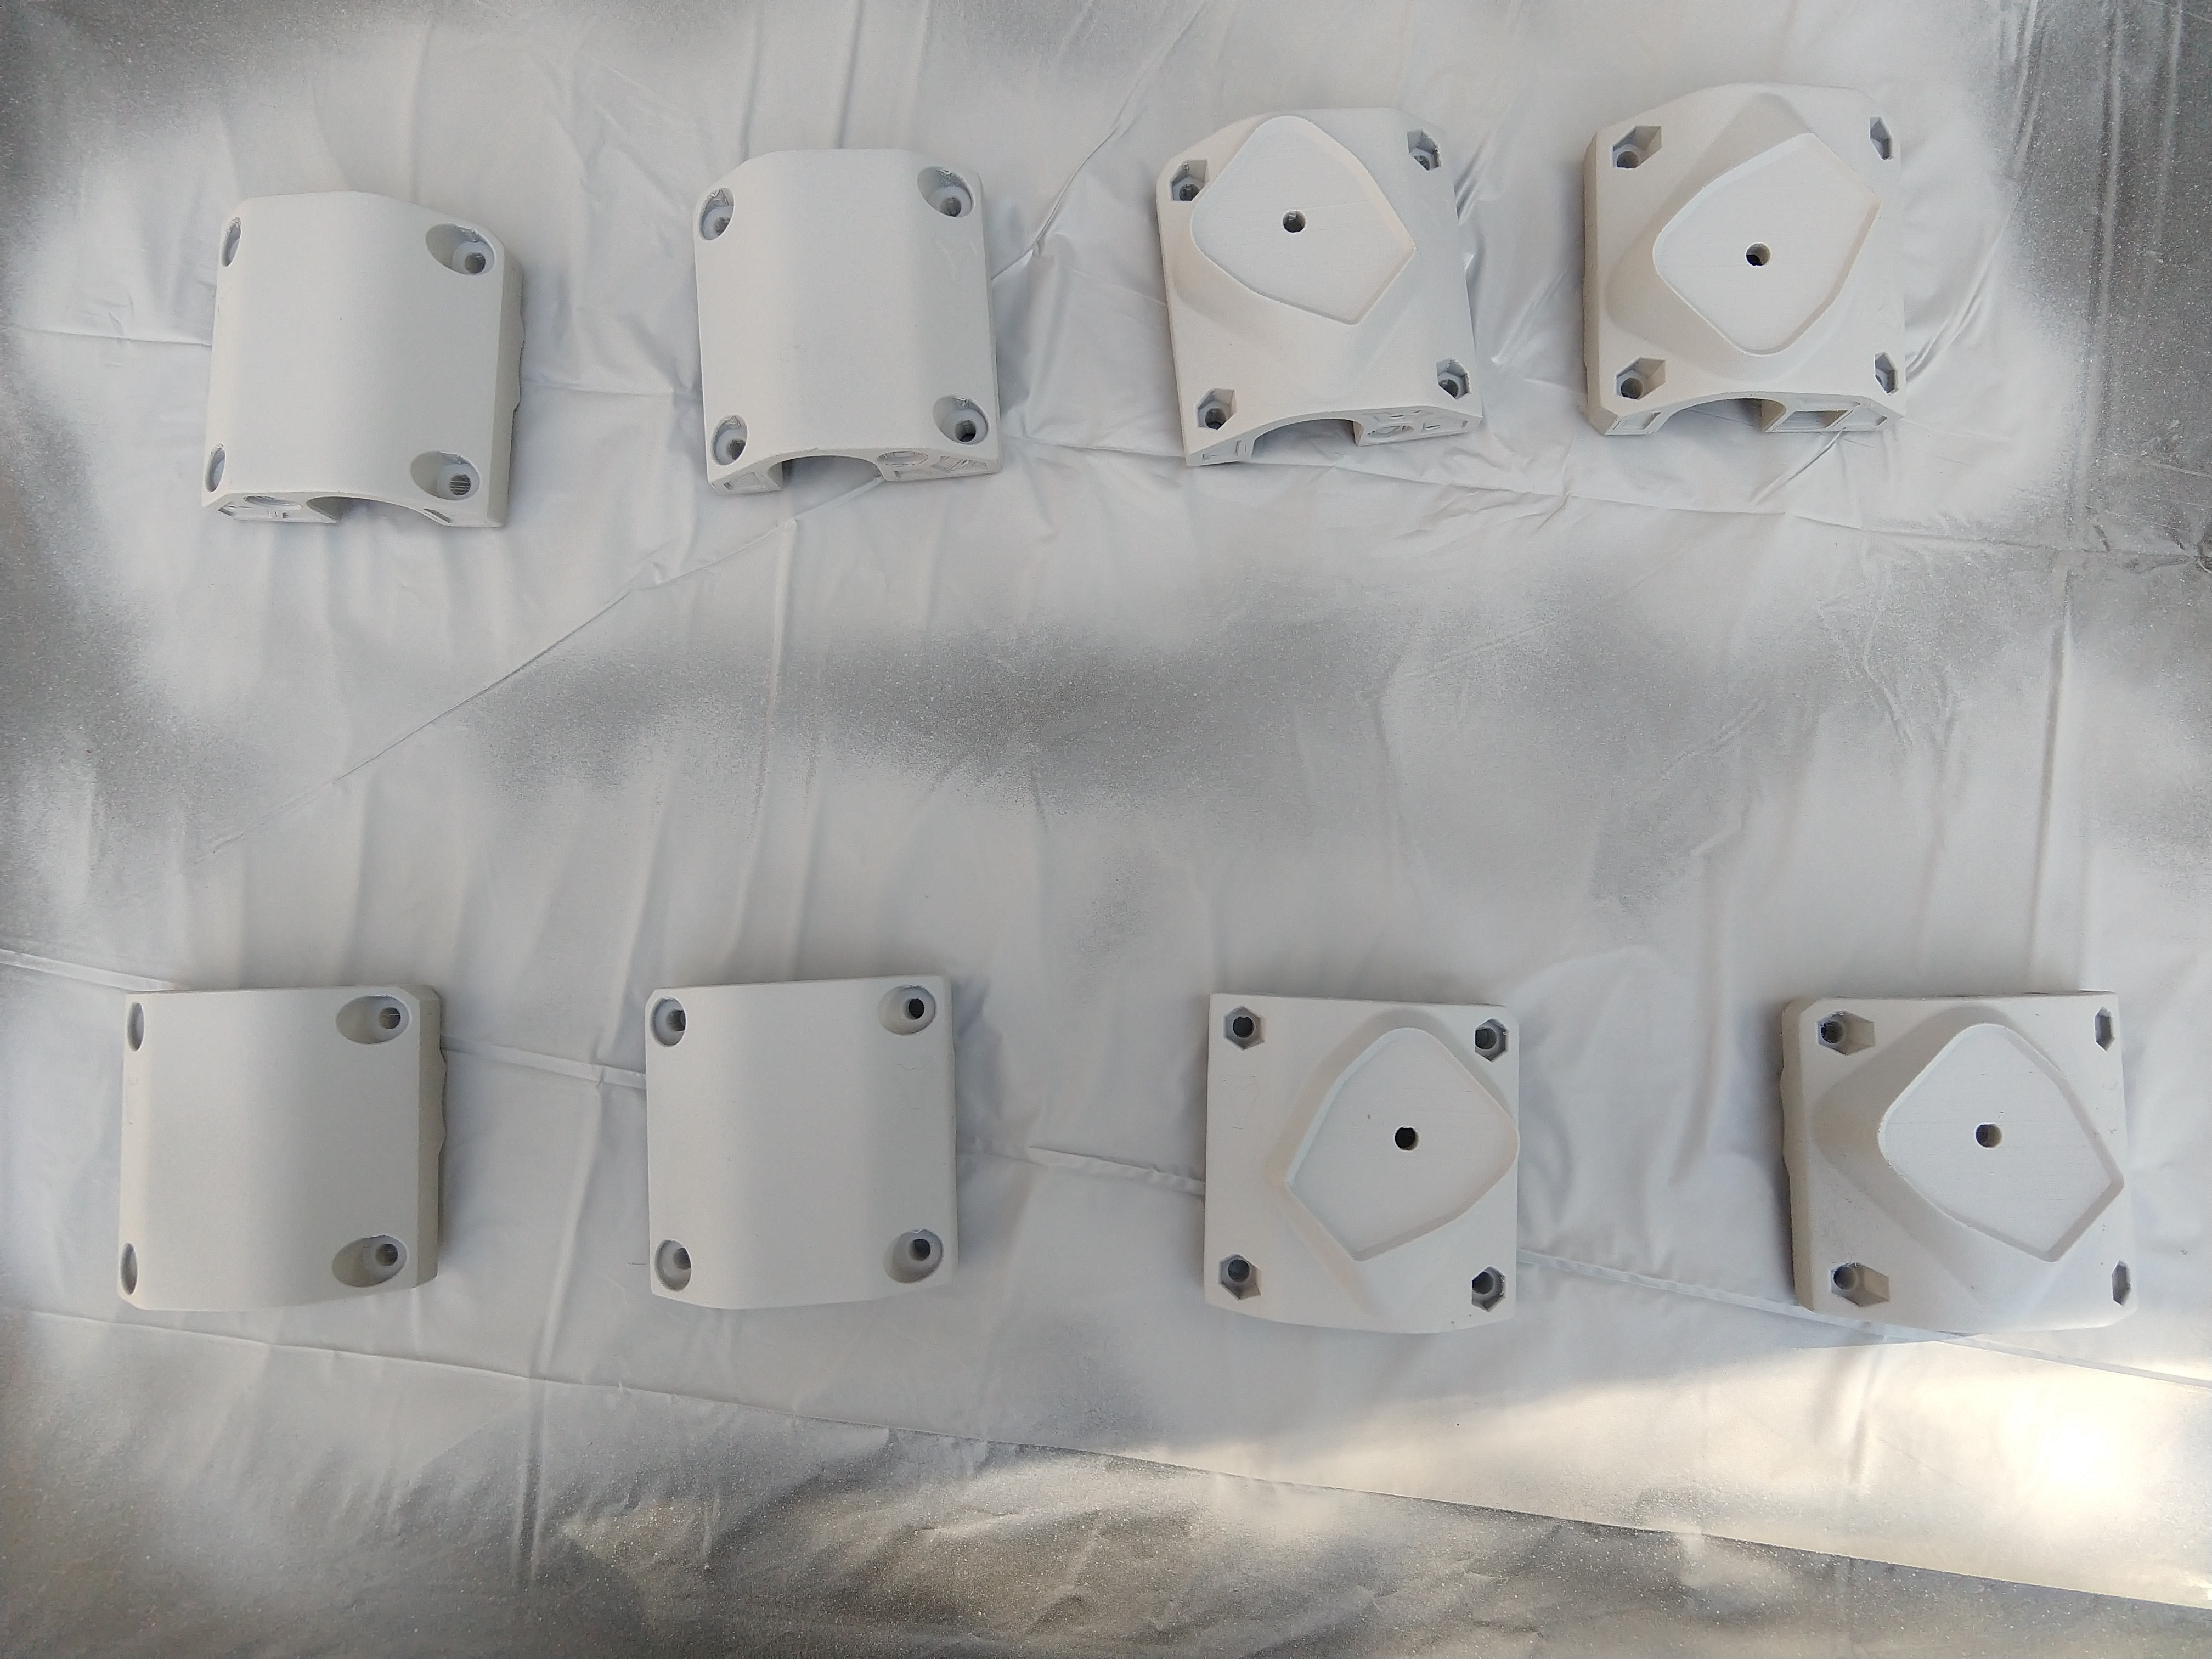
I’ve used Bondo in the past as filler and it works well but if you don’t mix it just right or if it’s humid in your work area it can take a long time to fully cure. Bondo or some other filler can save a lot of time if you’ve got thick layer lines. Here’s an example - a multi part print that needed the joints smoothed out:
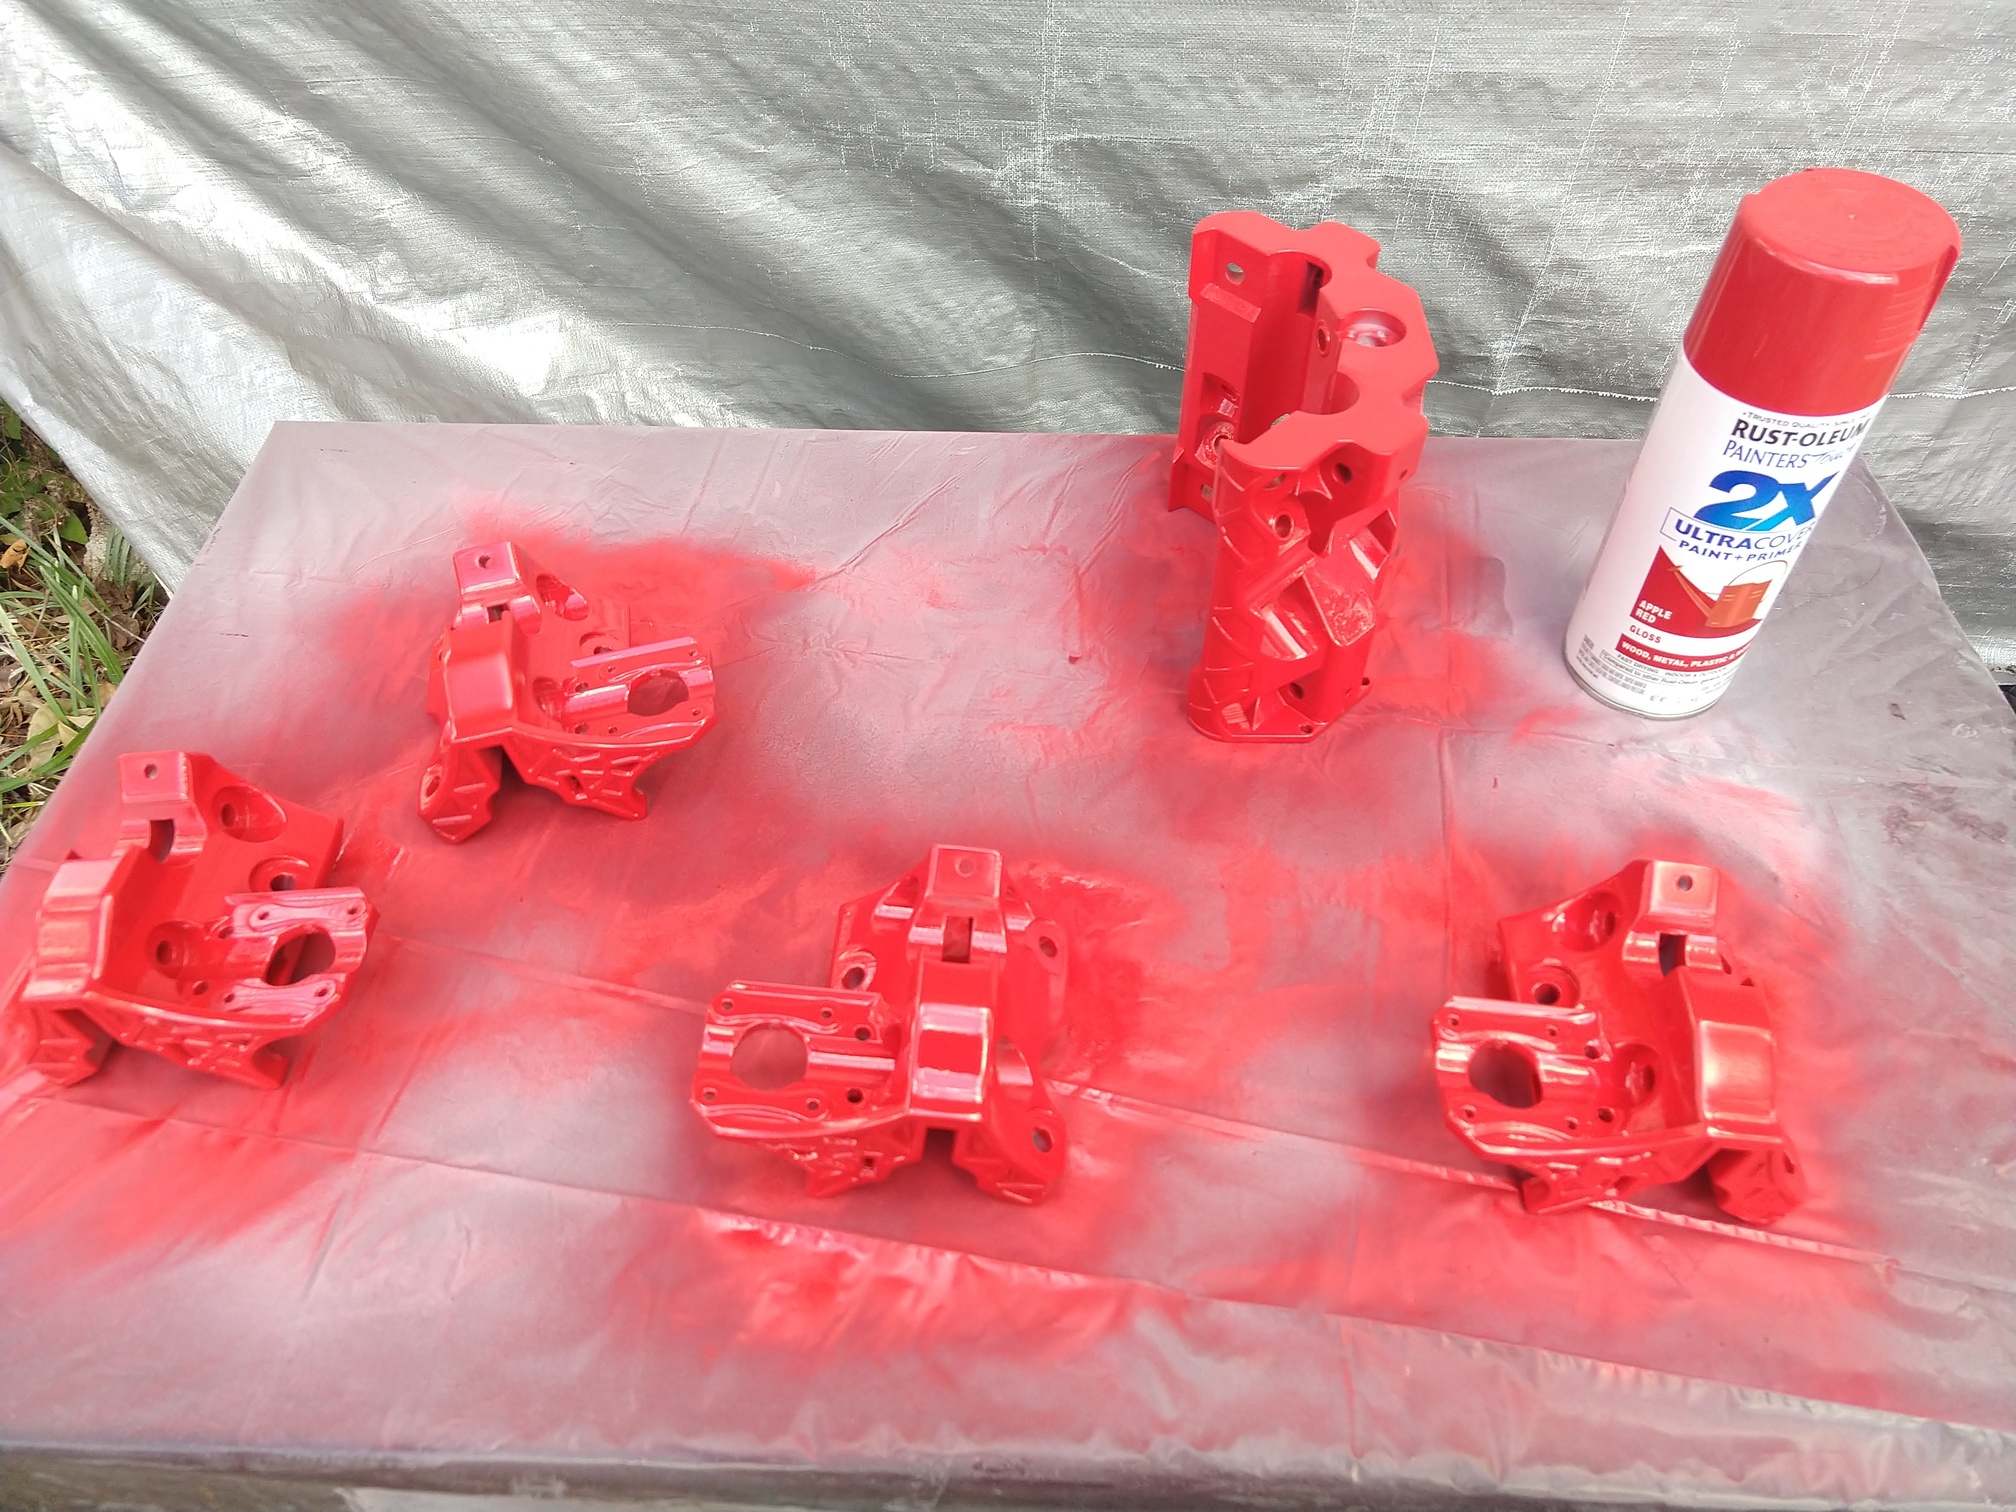
I’ve had a lot of people guess Pink Floyd but it’s not lol. Here’s the details - this was from yesterday I think so I don’t think Carl has got the paint on it yet.
I know people airbrush printed items but I have absolutely no experience with it myself so I’m not familiar with the specific paint you’re referring to. I would think, once you’ve got a primer coat on it, any paint that’s compatible with the primer should work fine.
I use a technique i read on all3dp… I spray a layer of polyurethane and then desired color imidiatly after, dry and repeat… it helps remove the layer lines with minimal effort(no sanding).
All the sanding has been done already. I’m only worried about the surfaces that are likely to catch the light - which is to say the larger areas that are already mostly flat.
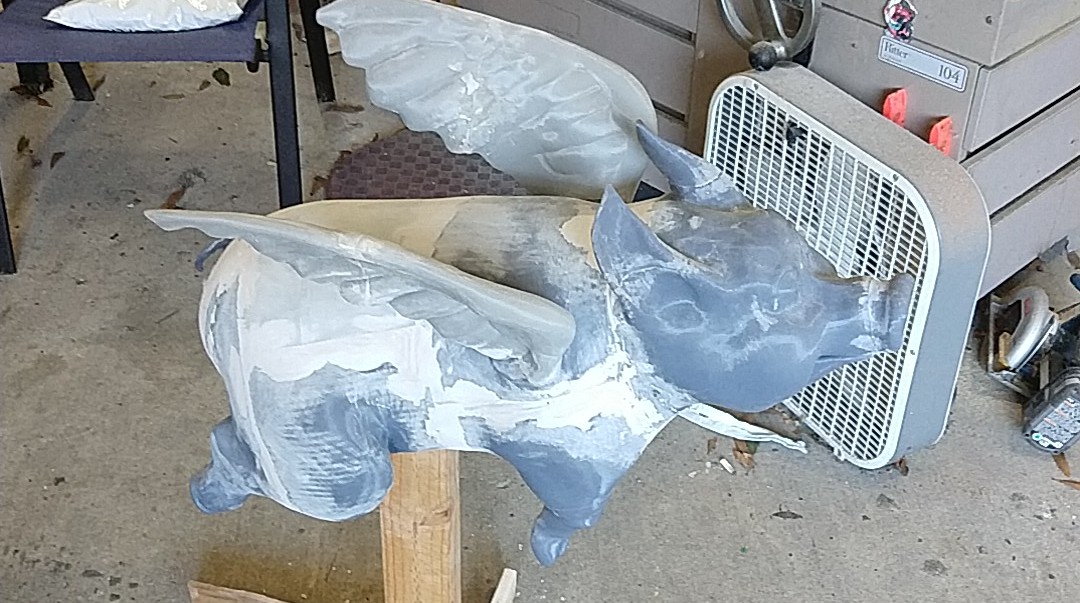
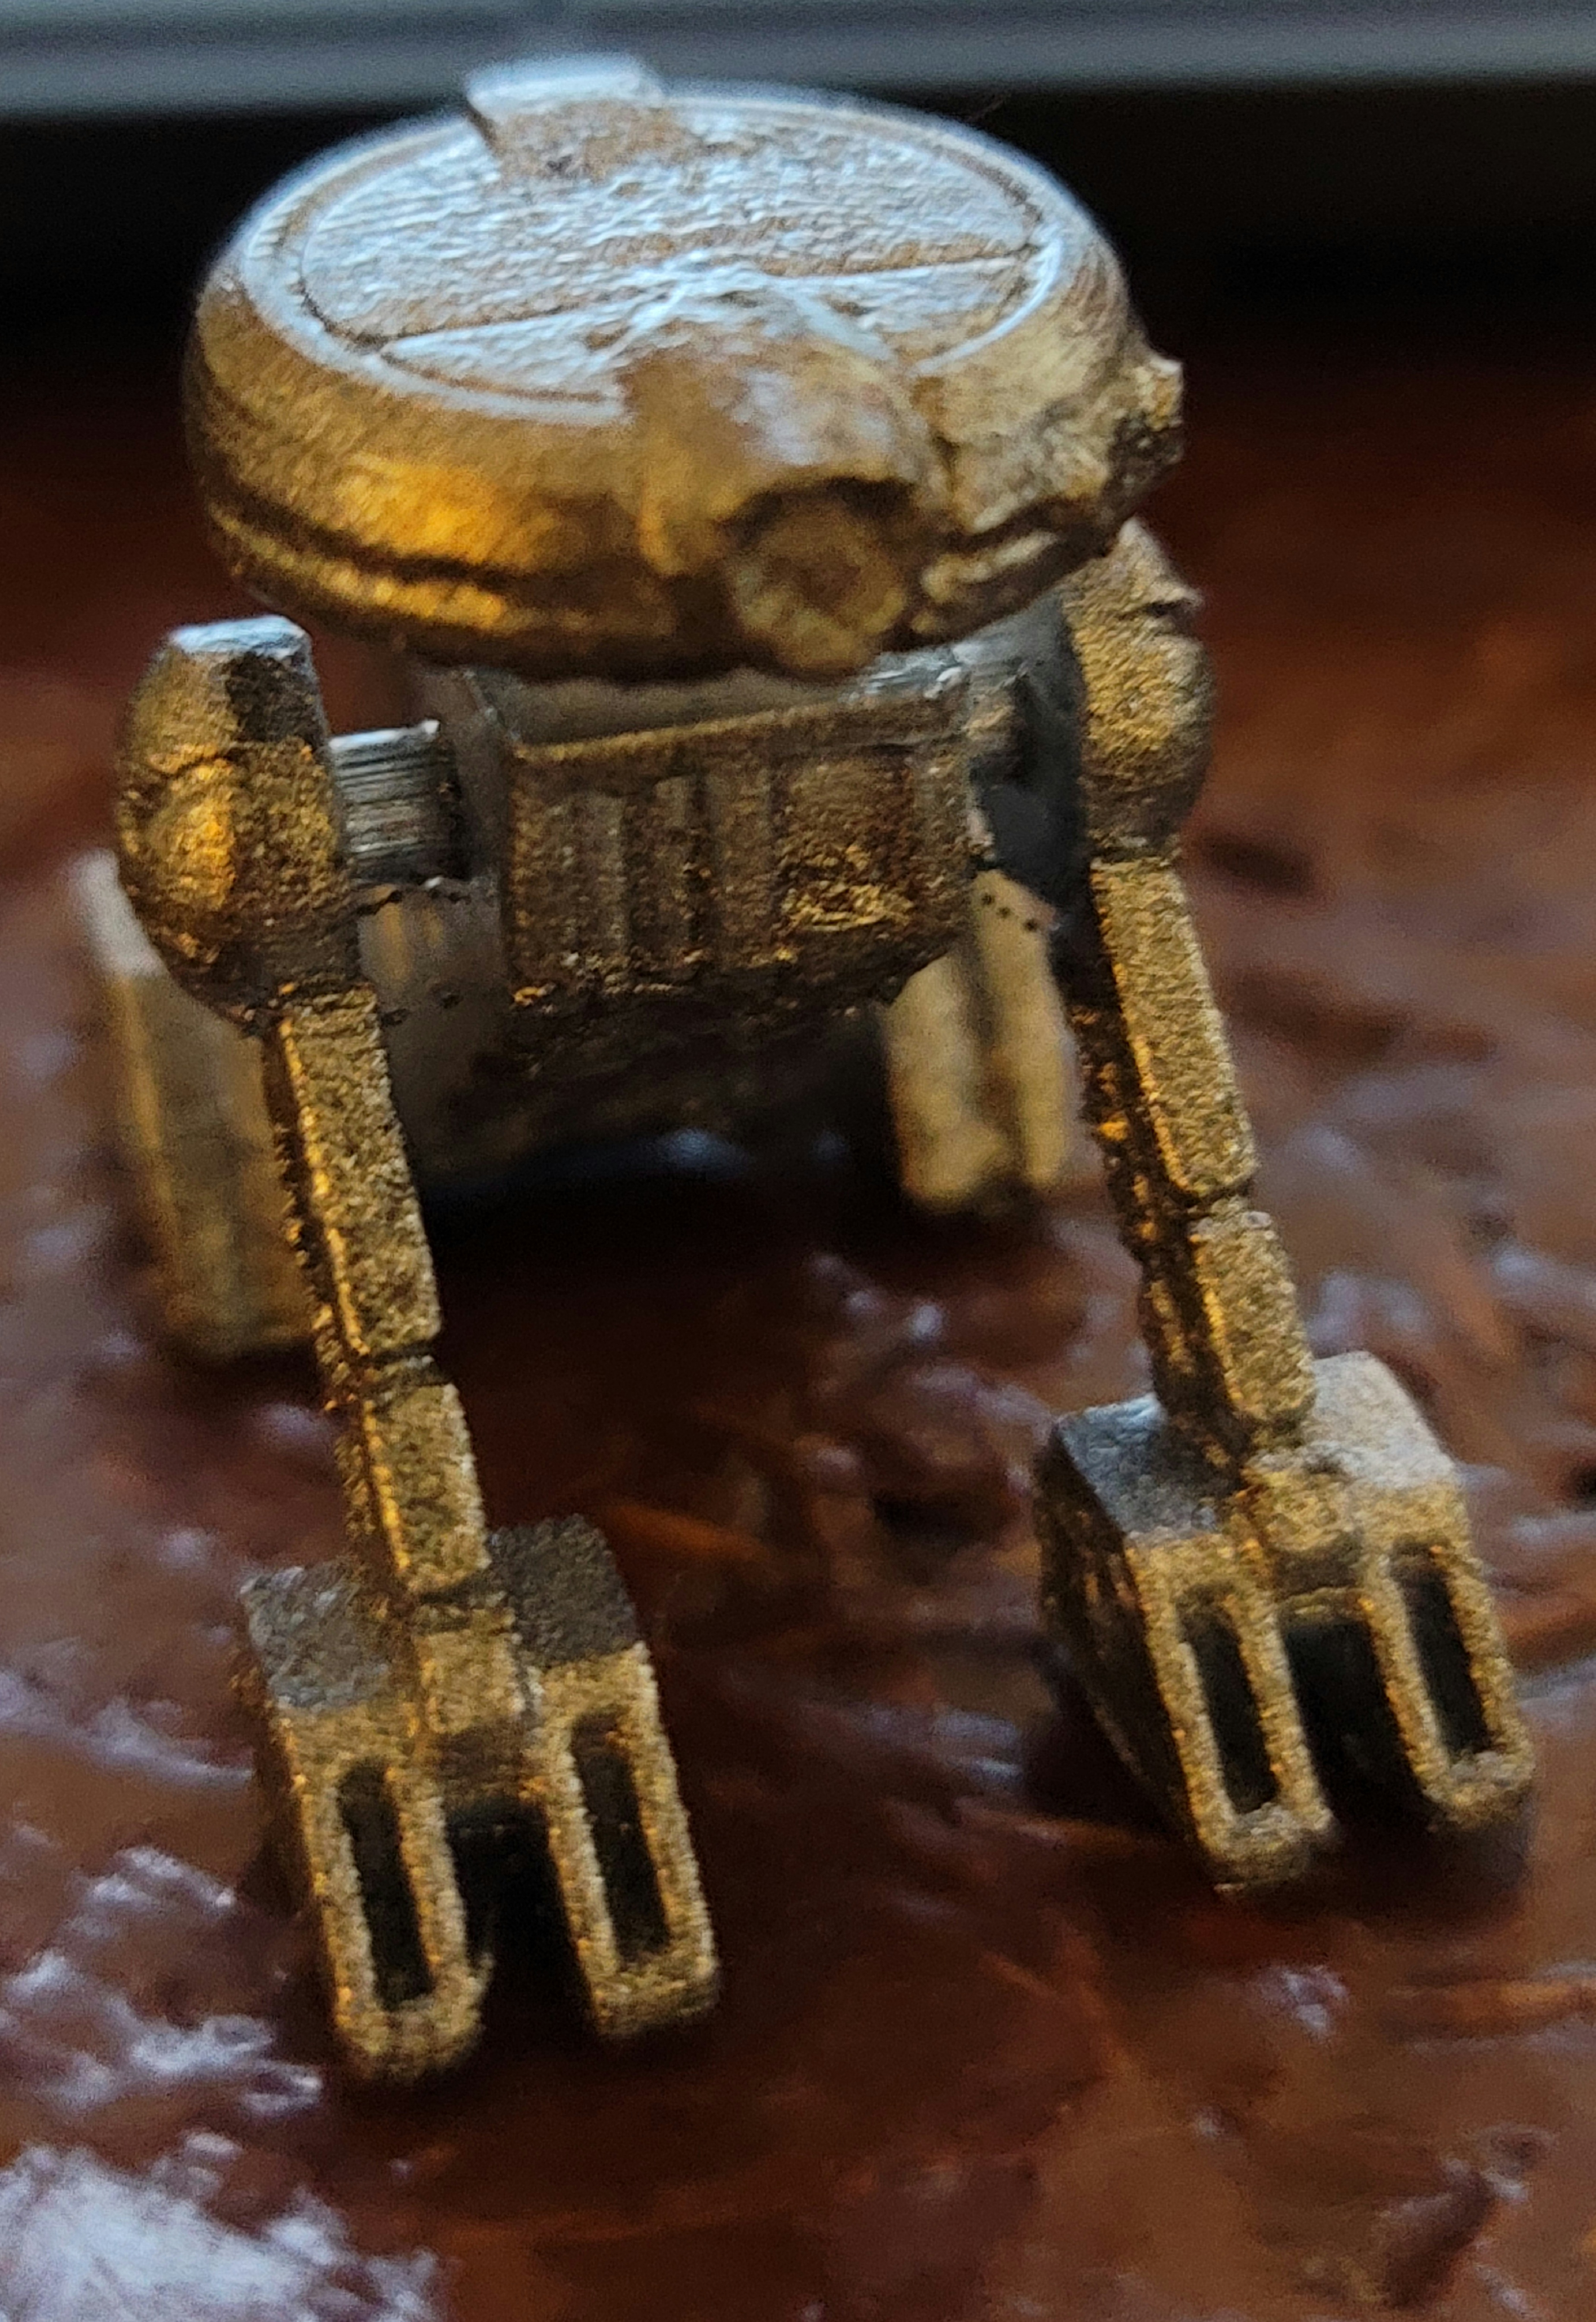
This is the only one I got on this phone… and it didn’t turn out great, but I blame that on me doing it fast and the fact that this Droid is itty bitty
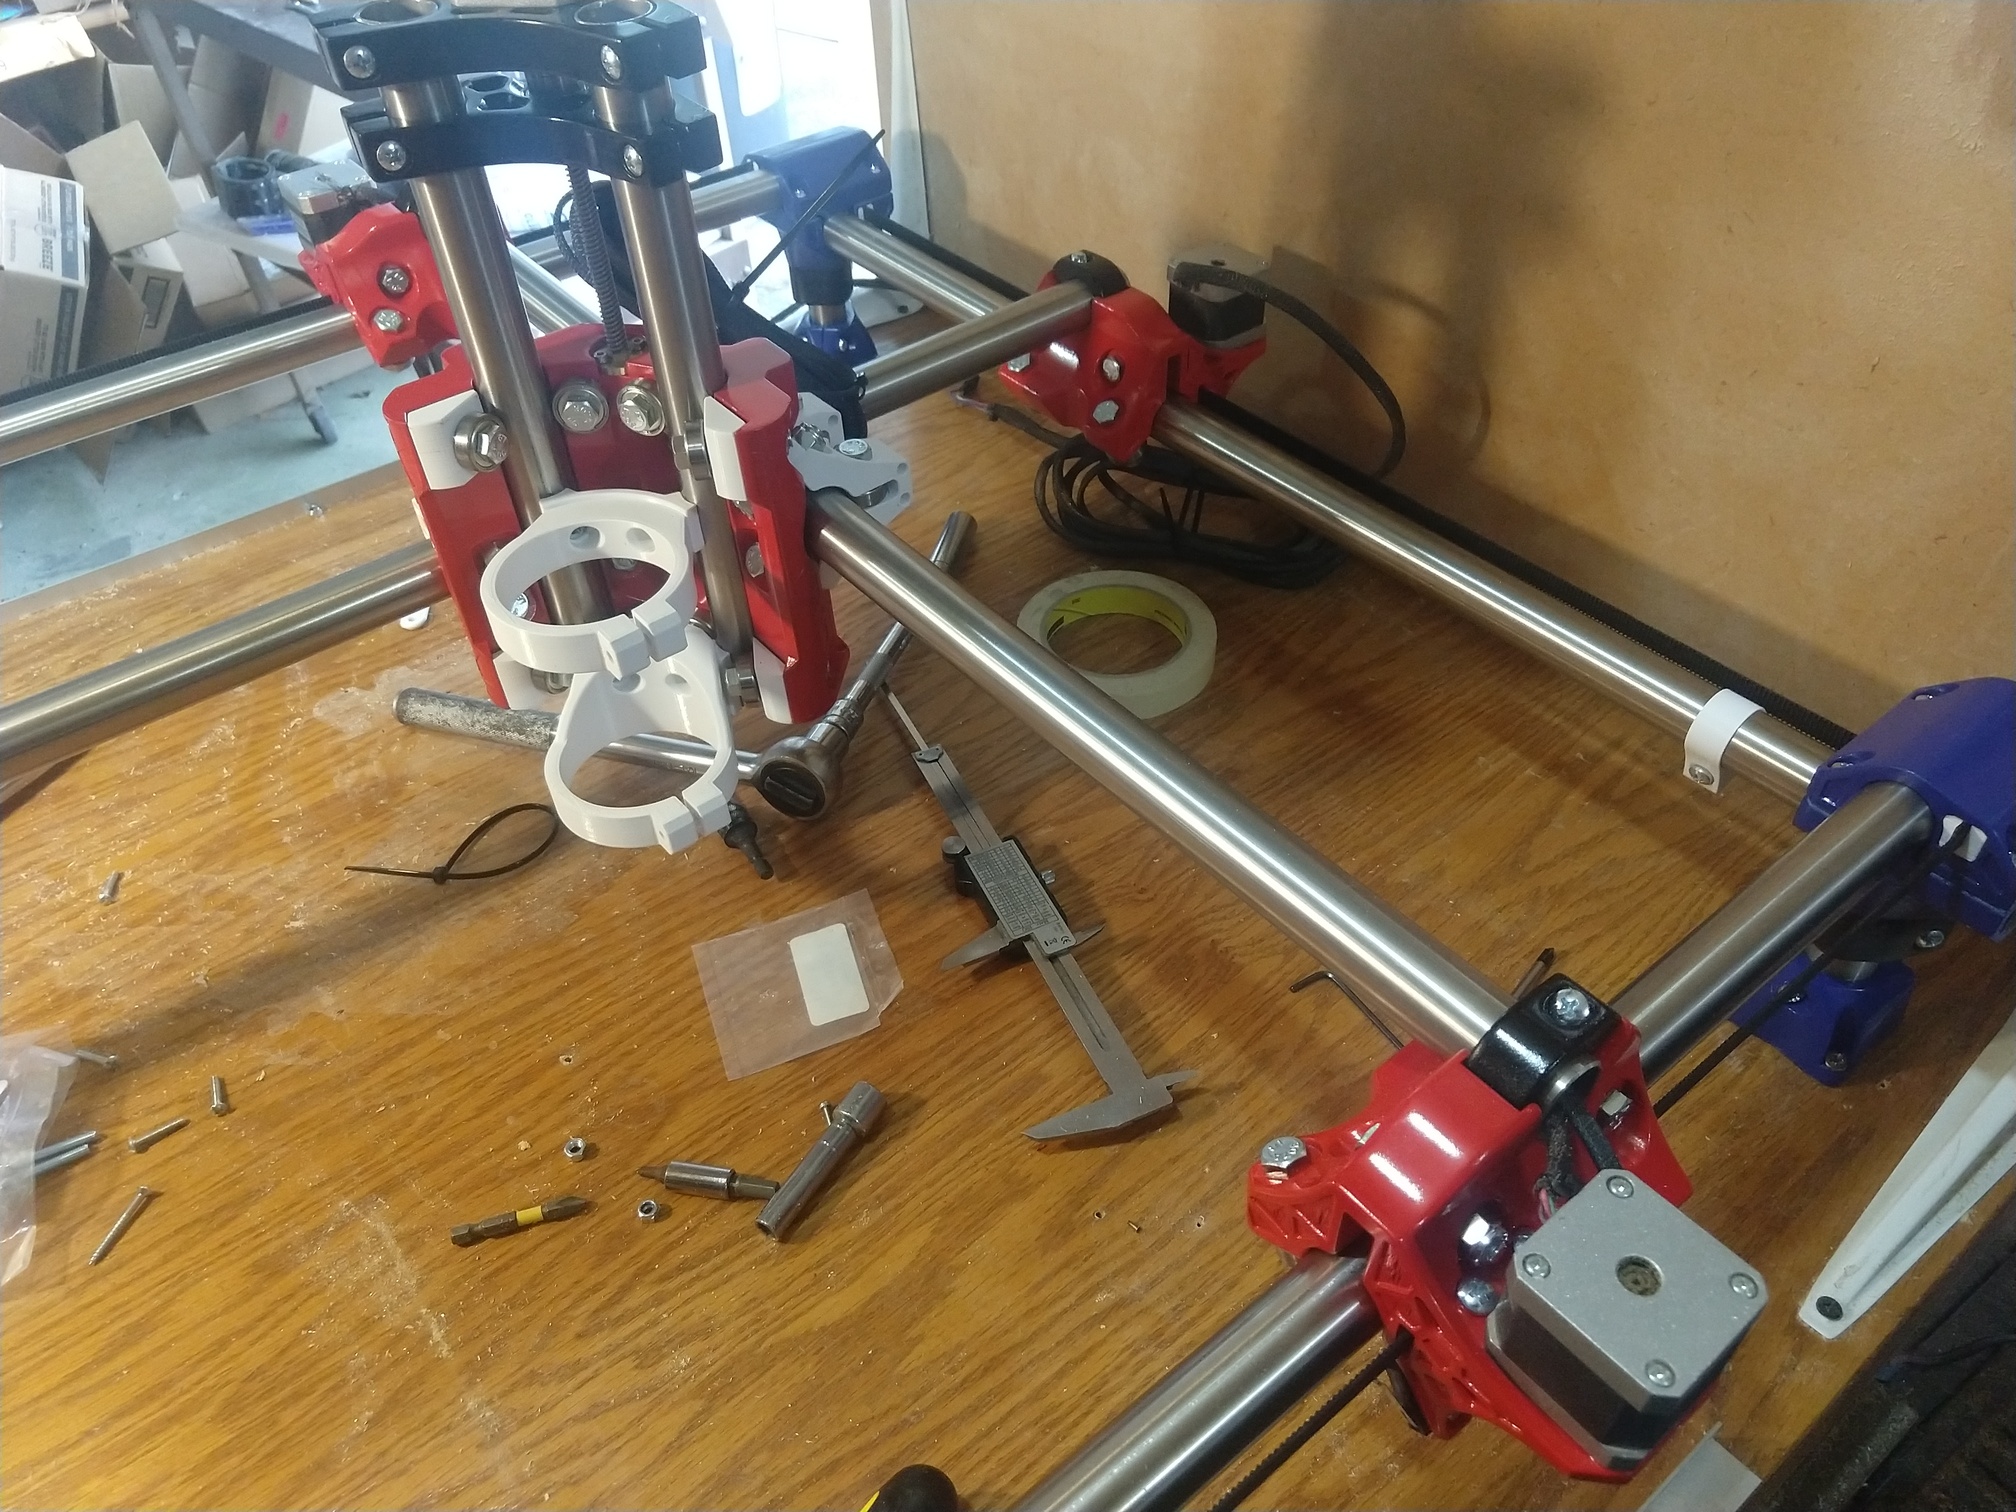
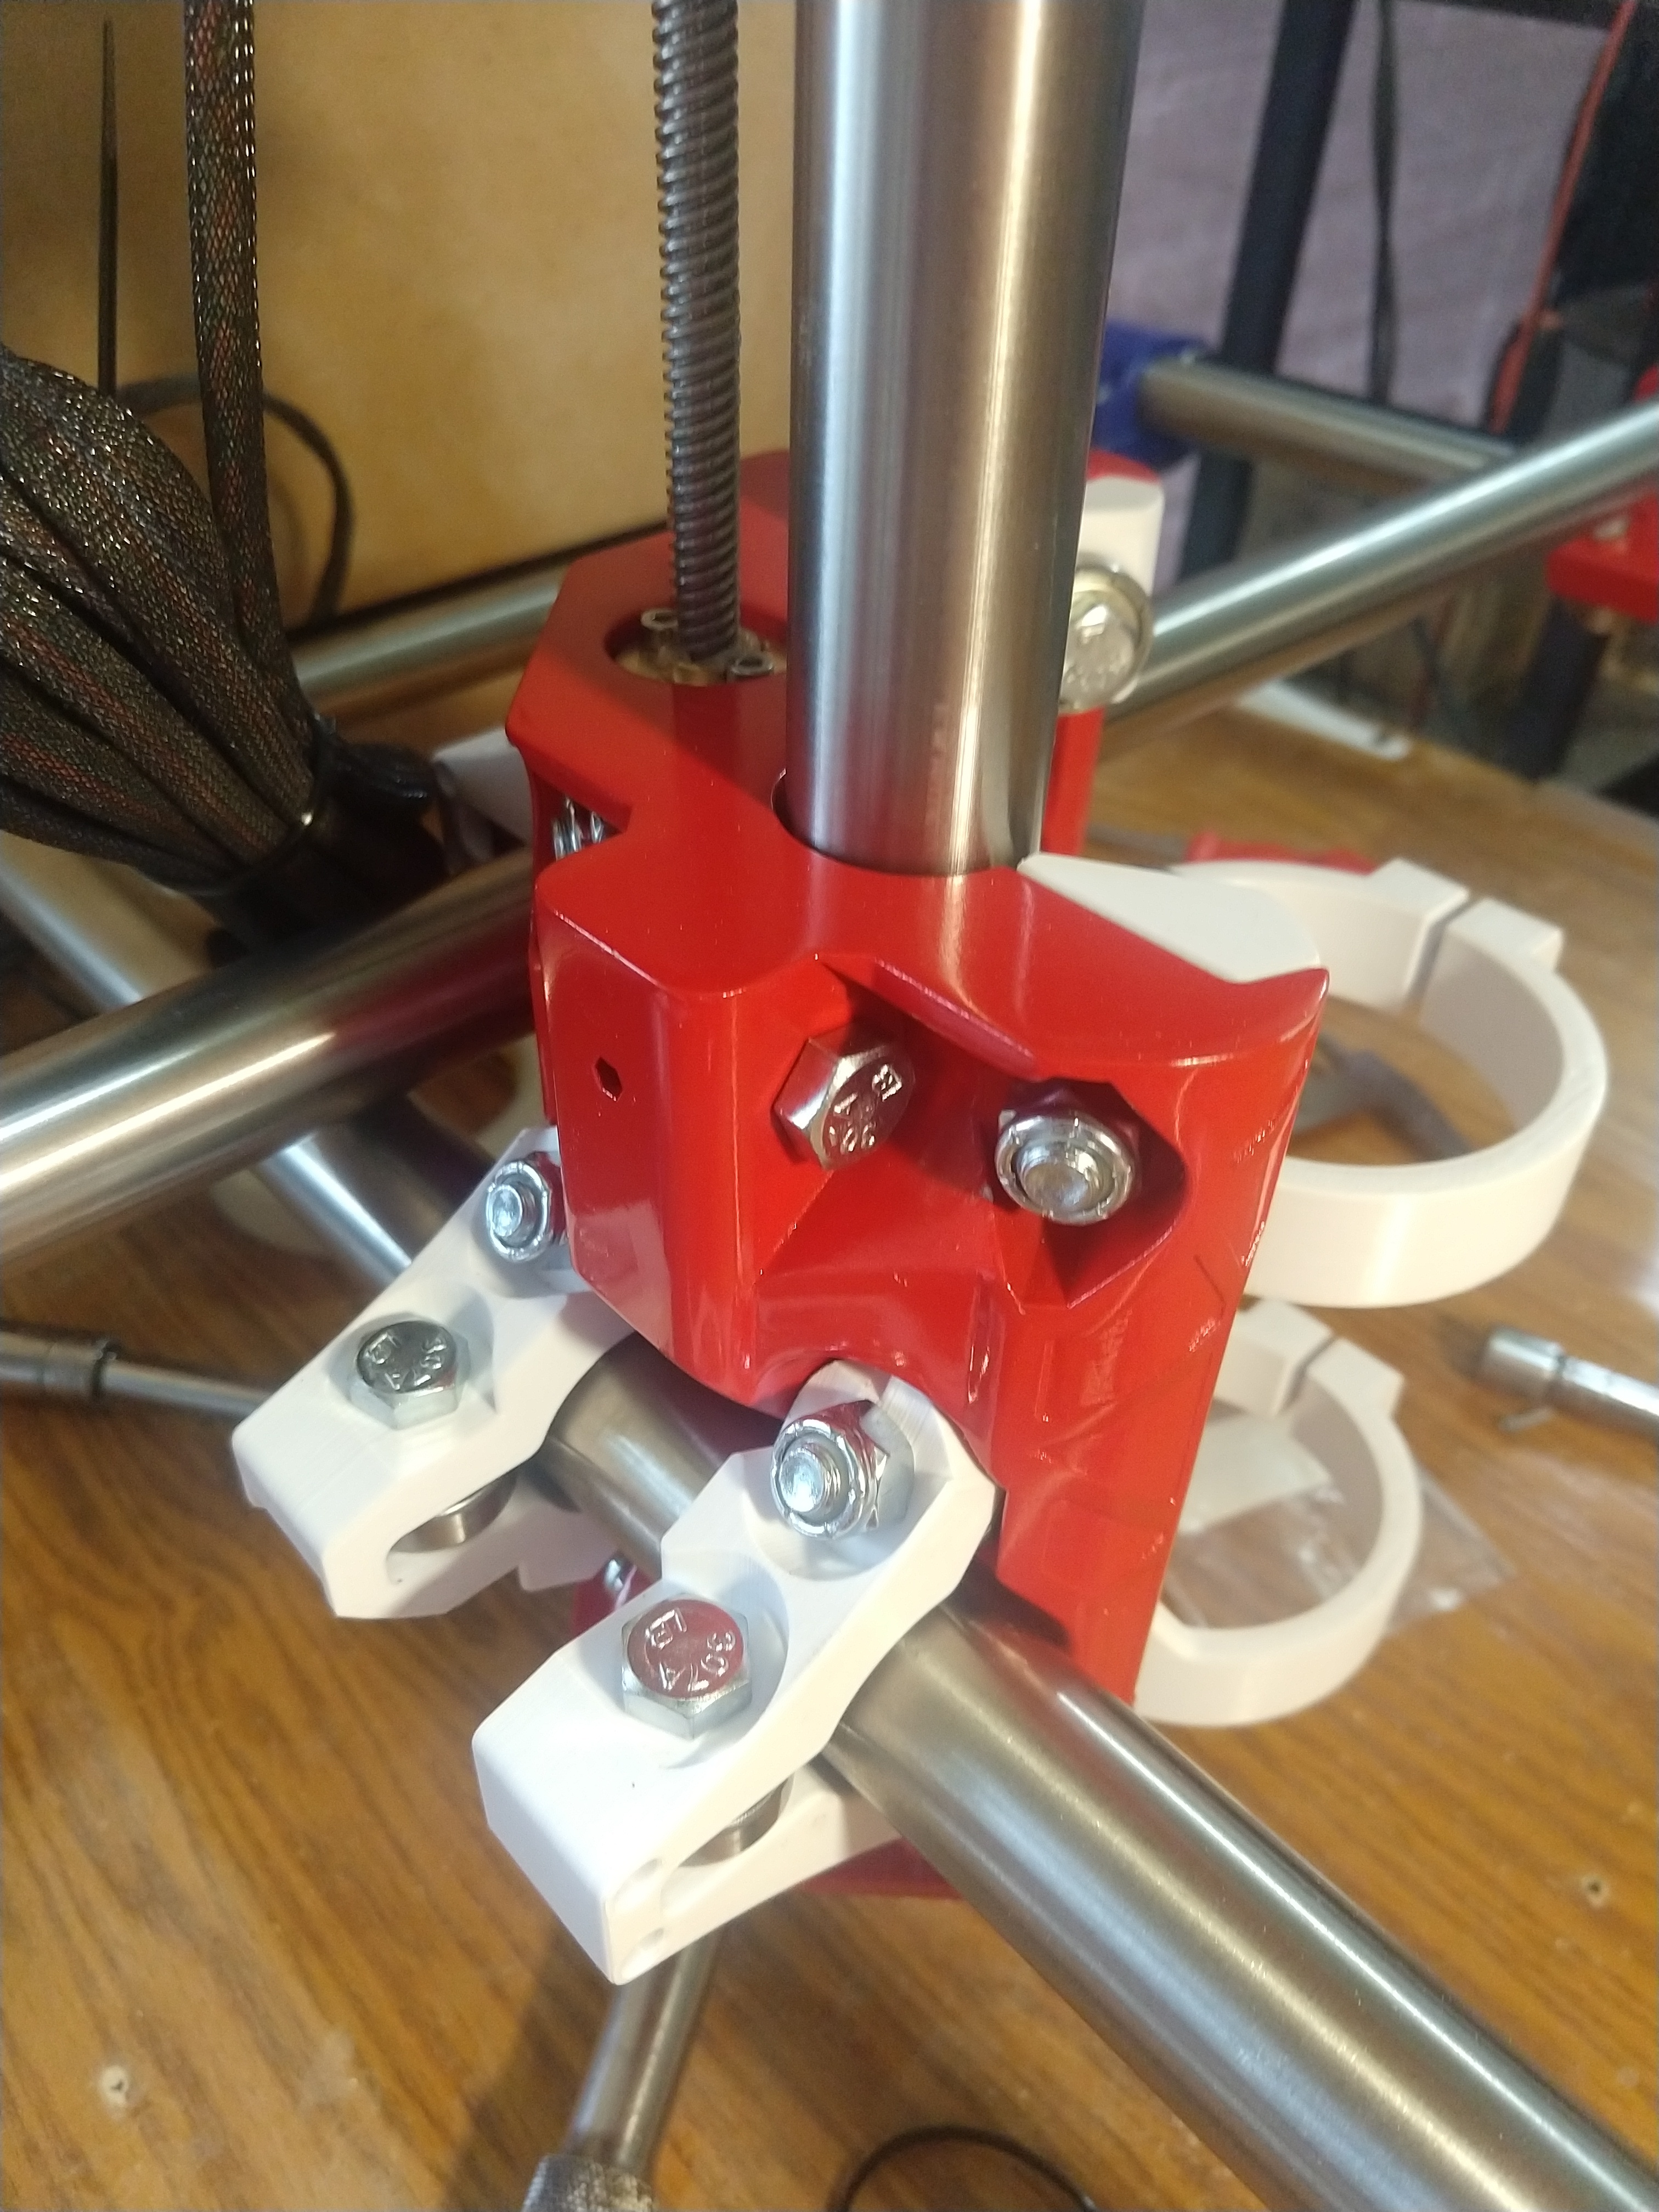
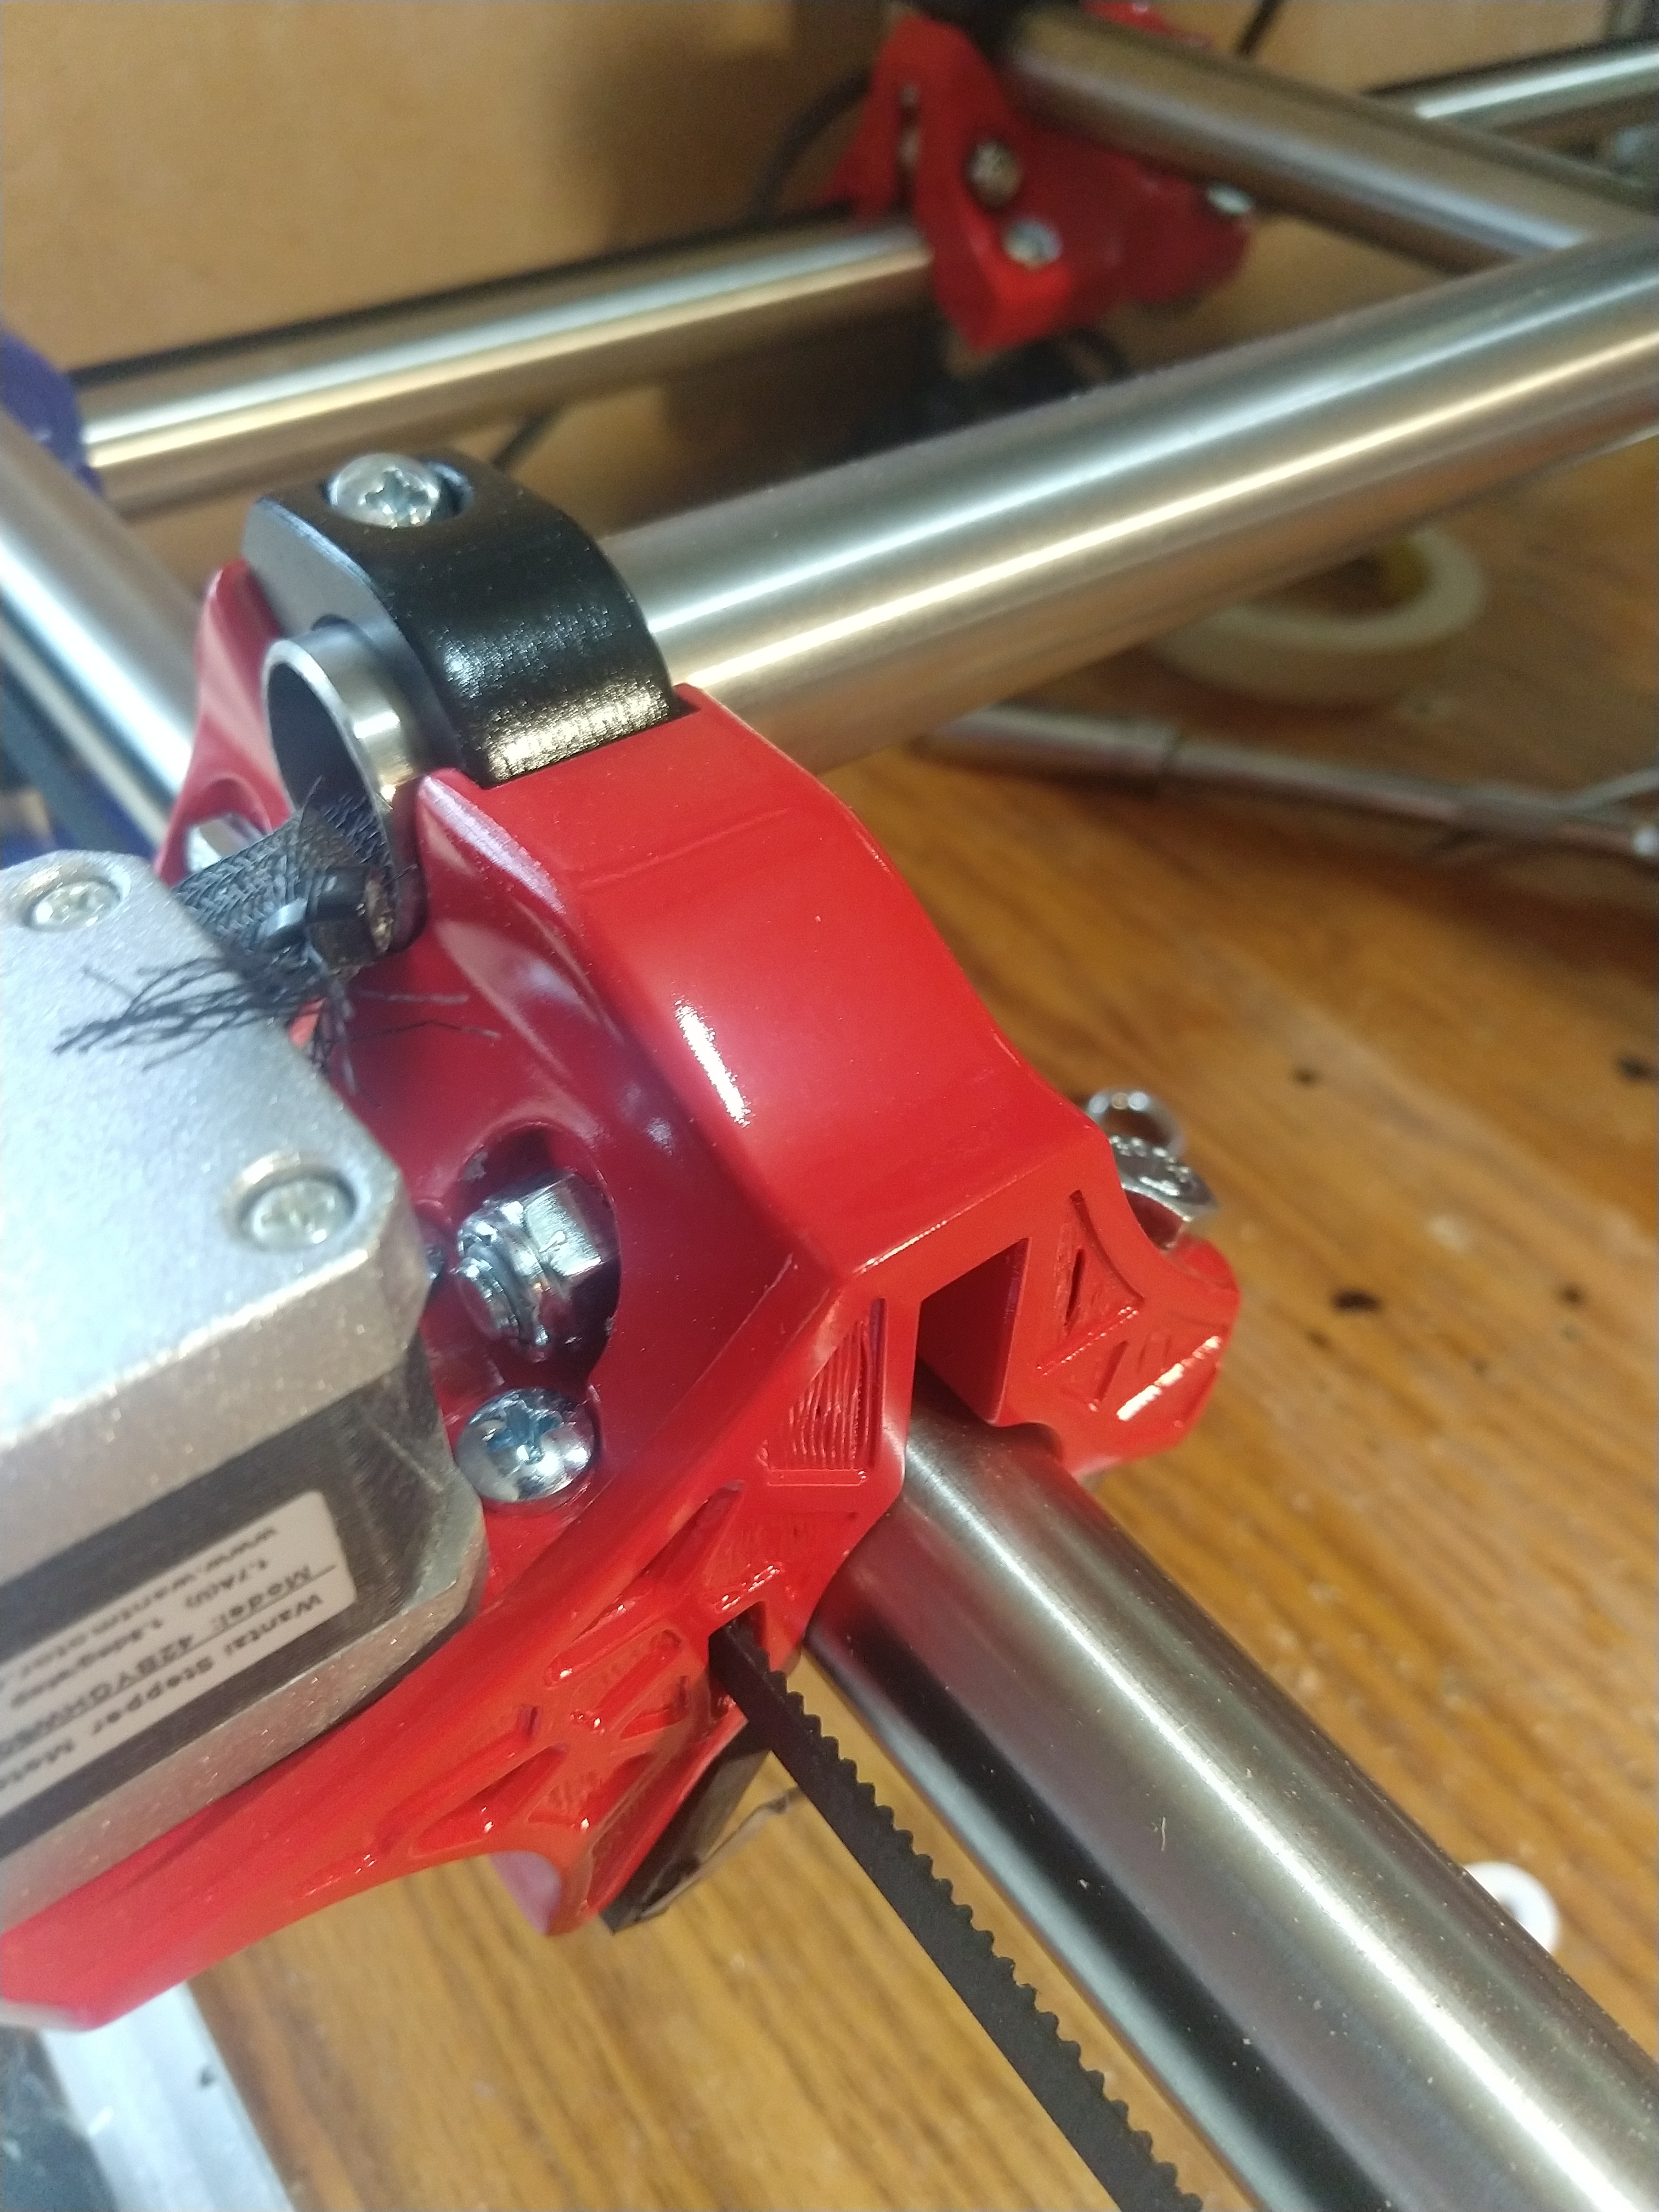
So, I realized far too late in this process that I printed the J parts when I needed the C parts. Far be it from me to waste perfectly good prints (especially after sanding and painting all those curvy little bastards!) so the upgrade was upgraded to stainless rails. I have to say, moving to stainless rails is somewhat ‘hnnnng’ inducing. The first time one of those primo trucks rolled almost silently down that stainless shaft I almost had to stop for a cigarette lol
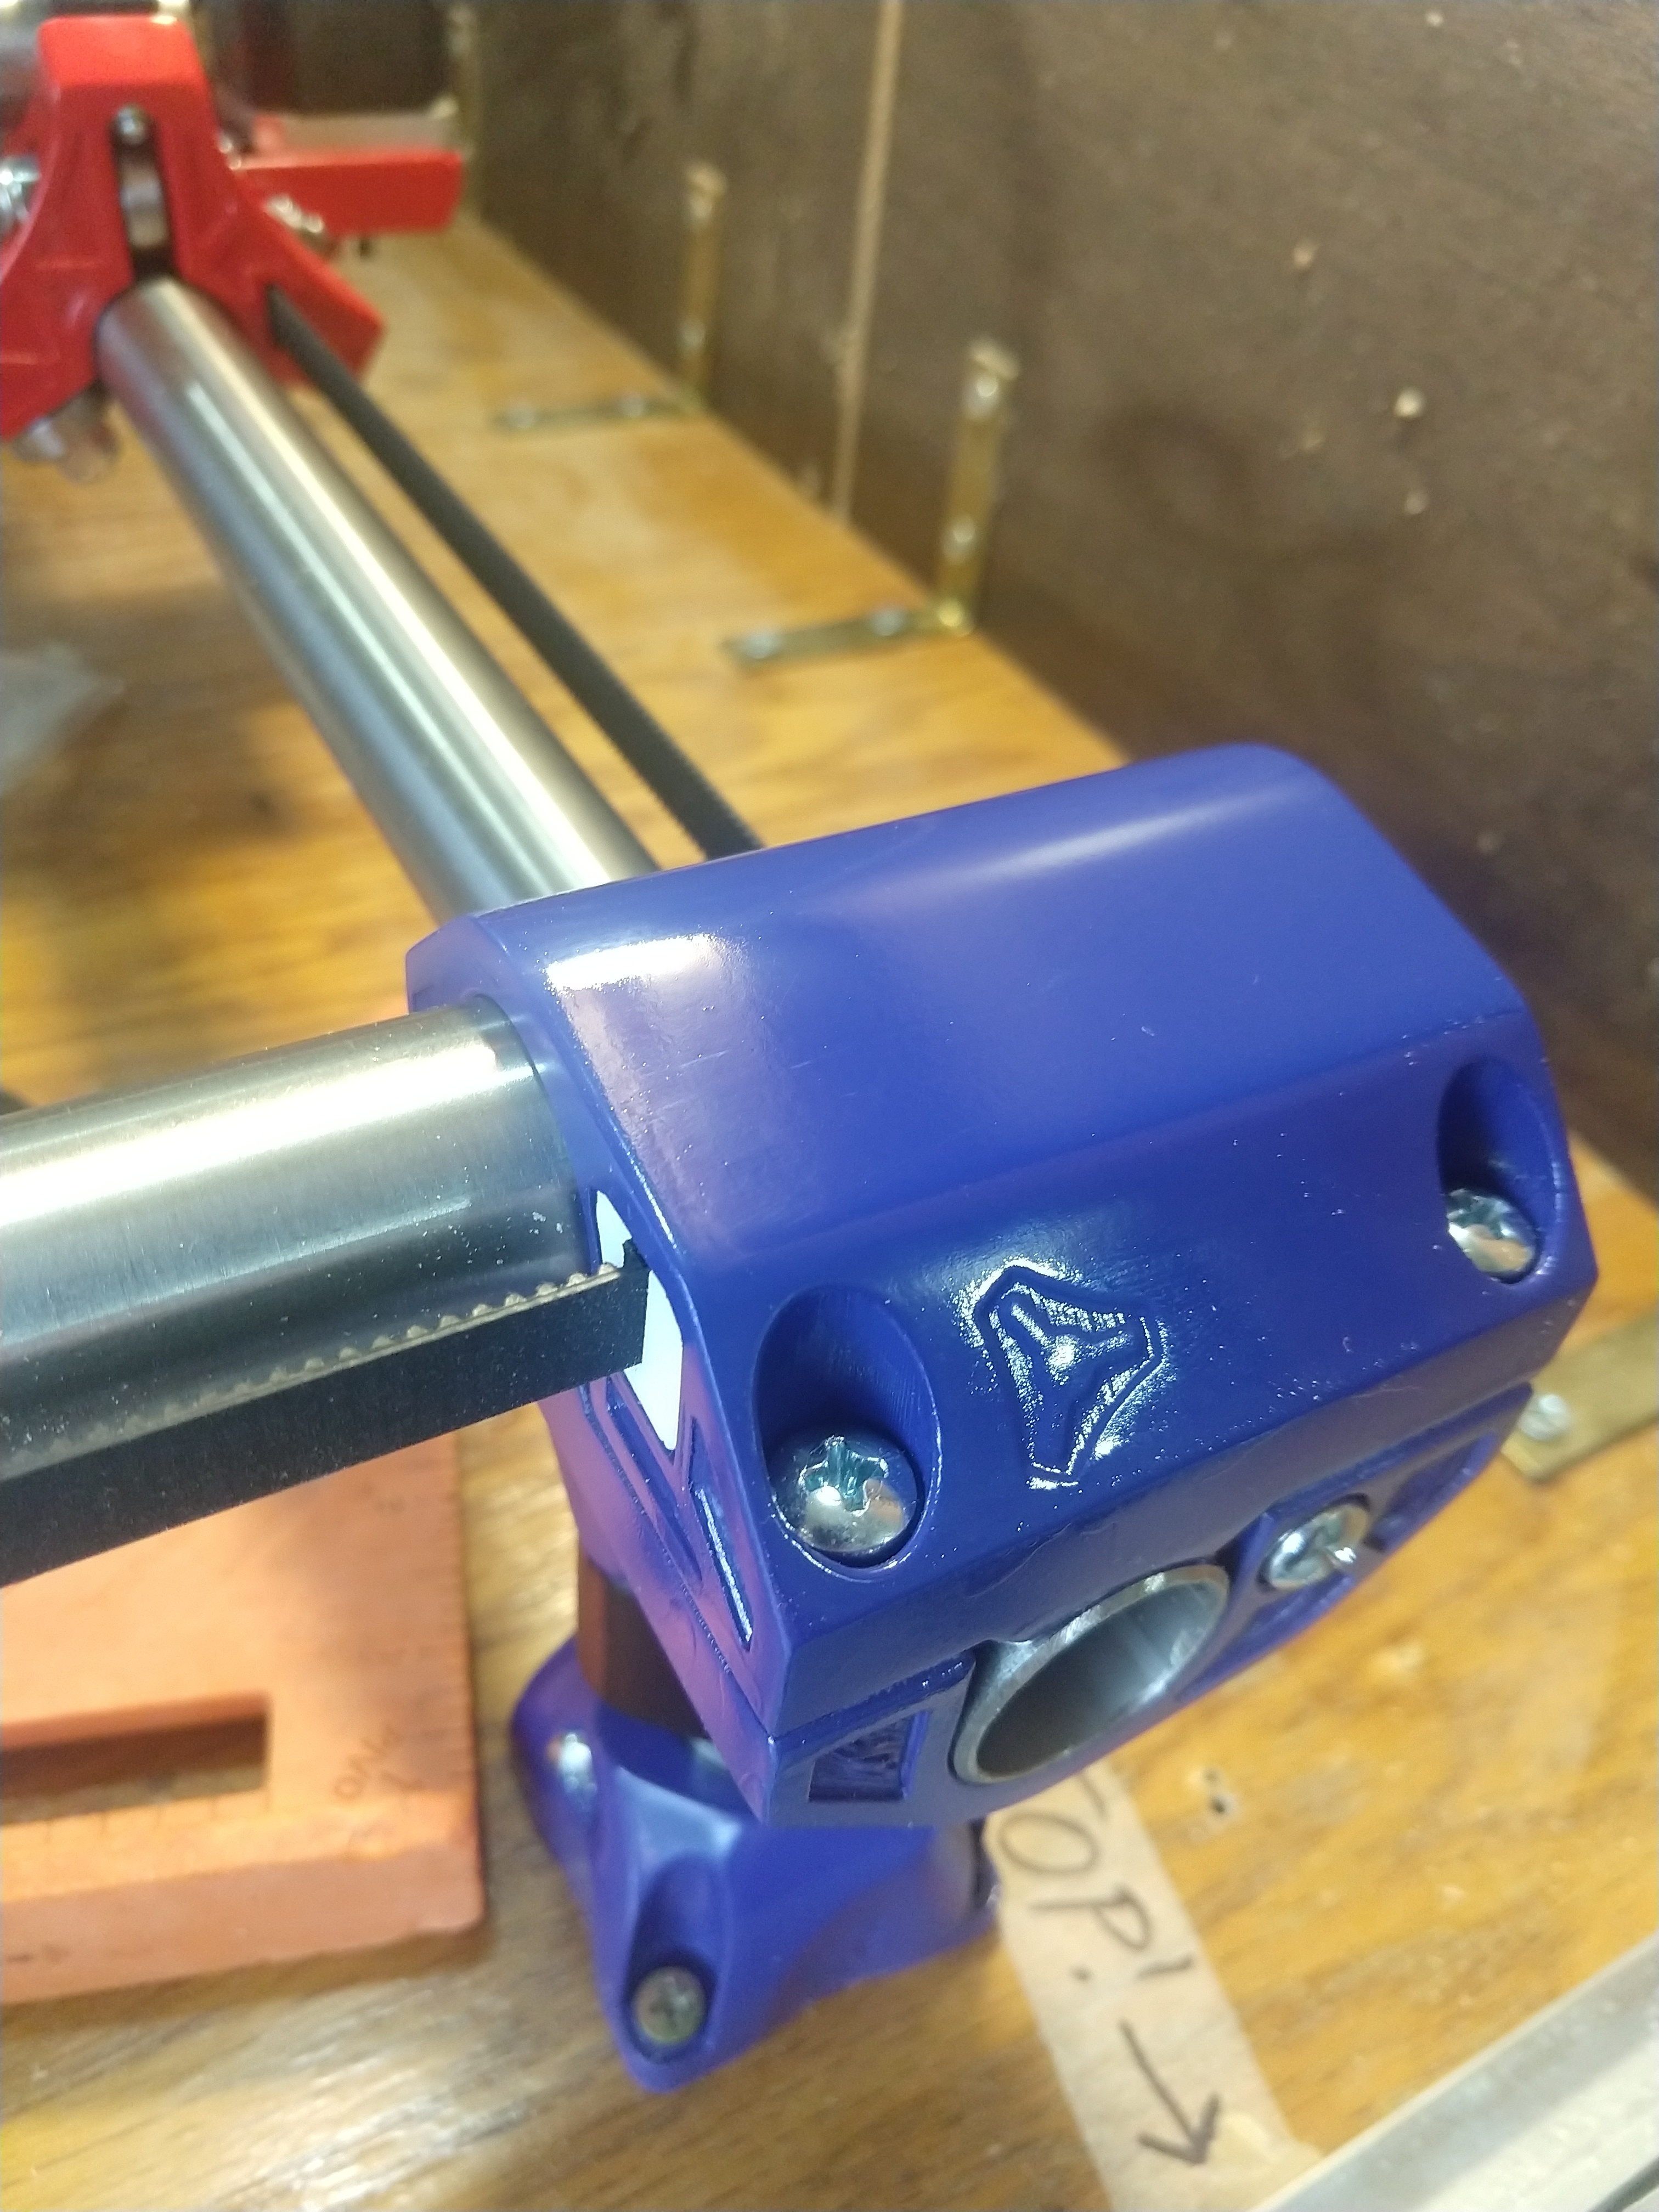
I really can’t fully express how impressed I am with these parts. The primo is truly a masterpiece of 3D design and engineering and while plenty of people will wonder why I spent so much time and effort on the paint, I really think the machine deserved it.
The improved belt system is just fantastic. I installed the belts last (knowing it would be more difficult than having done it when assembling the trucks) and even still, installation was nearly effortless and tensioning was predictably easy. The (nearly) solid core is beautiful work. There’s not a single piece of the machine that isn’t better than it’s predecessor. I’m really sorry I waited so long to upgrade.
I’ll do a full write-up on the paint job in another thread. I didn’t get the perfect finish I was looking for on every part but the most visible pieces look great. Assembly is more or less complete - I still have to wire everything up but I’m beat so that’ll have to be tomorrow. Really hoping to start running cuts by tomorrow afternoon but I’m doing my best to take my time and make sure everything is right the first time around. I’ve come to learn that rushing these builds increases problems and frustrations down the road by orders of magnitude and it’s just not worth it.
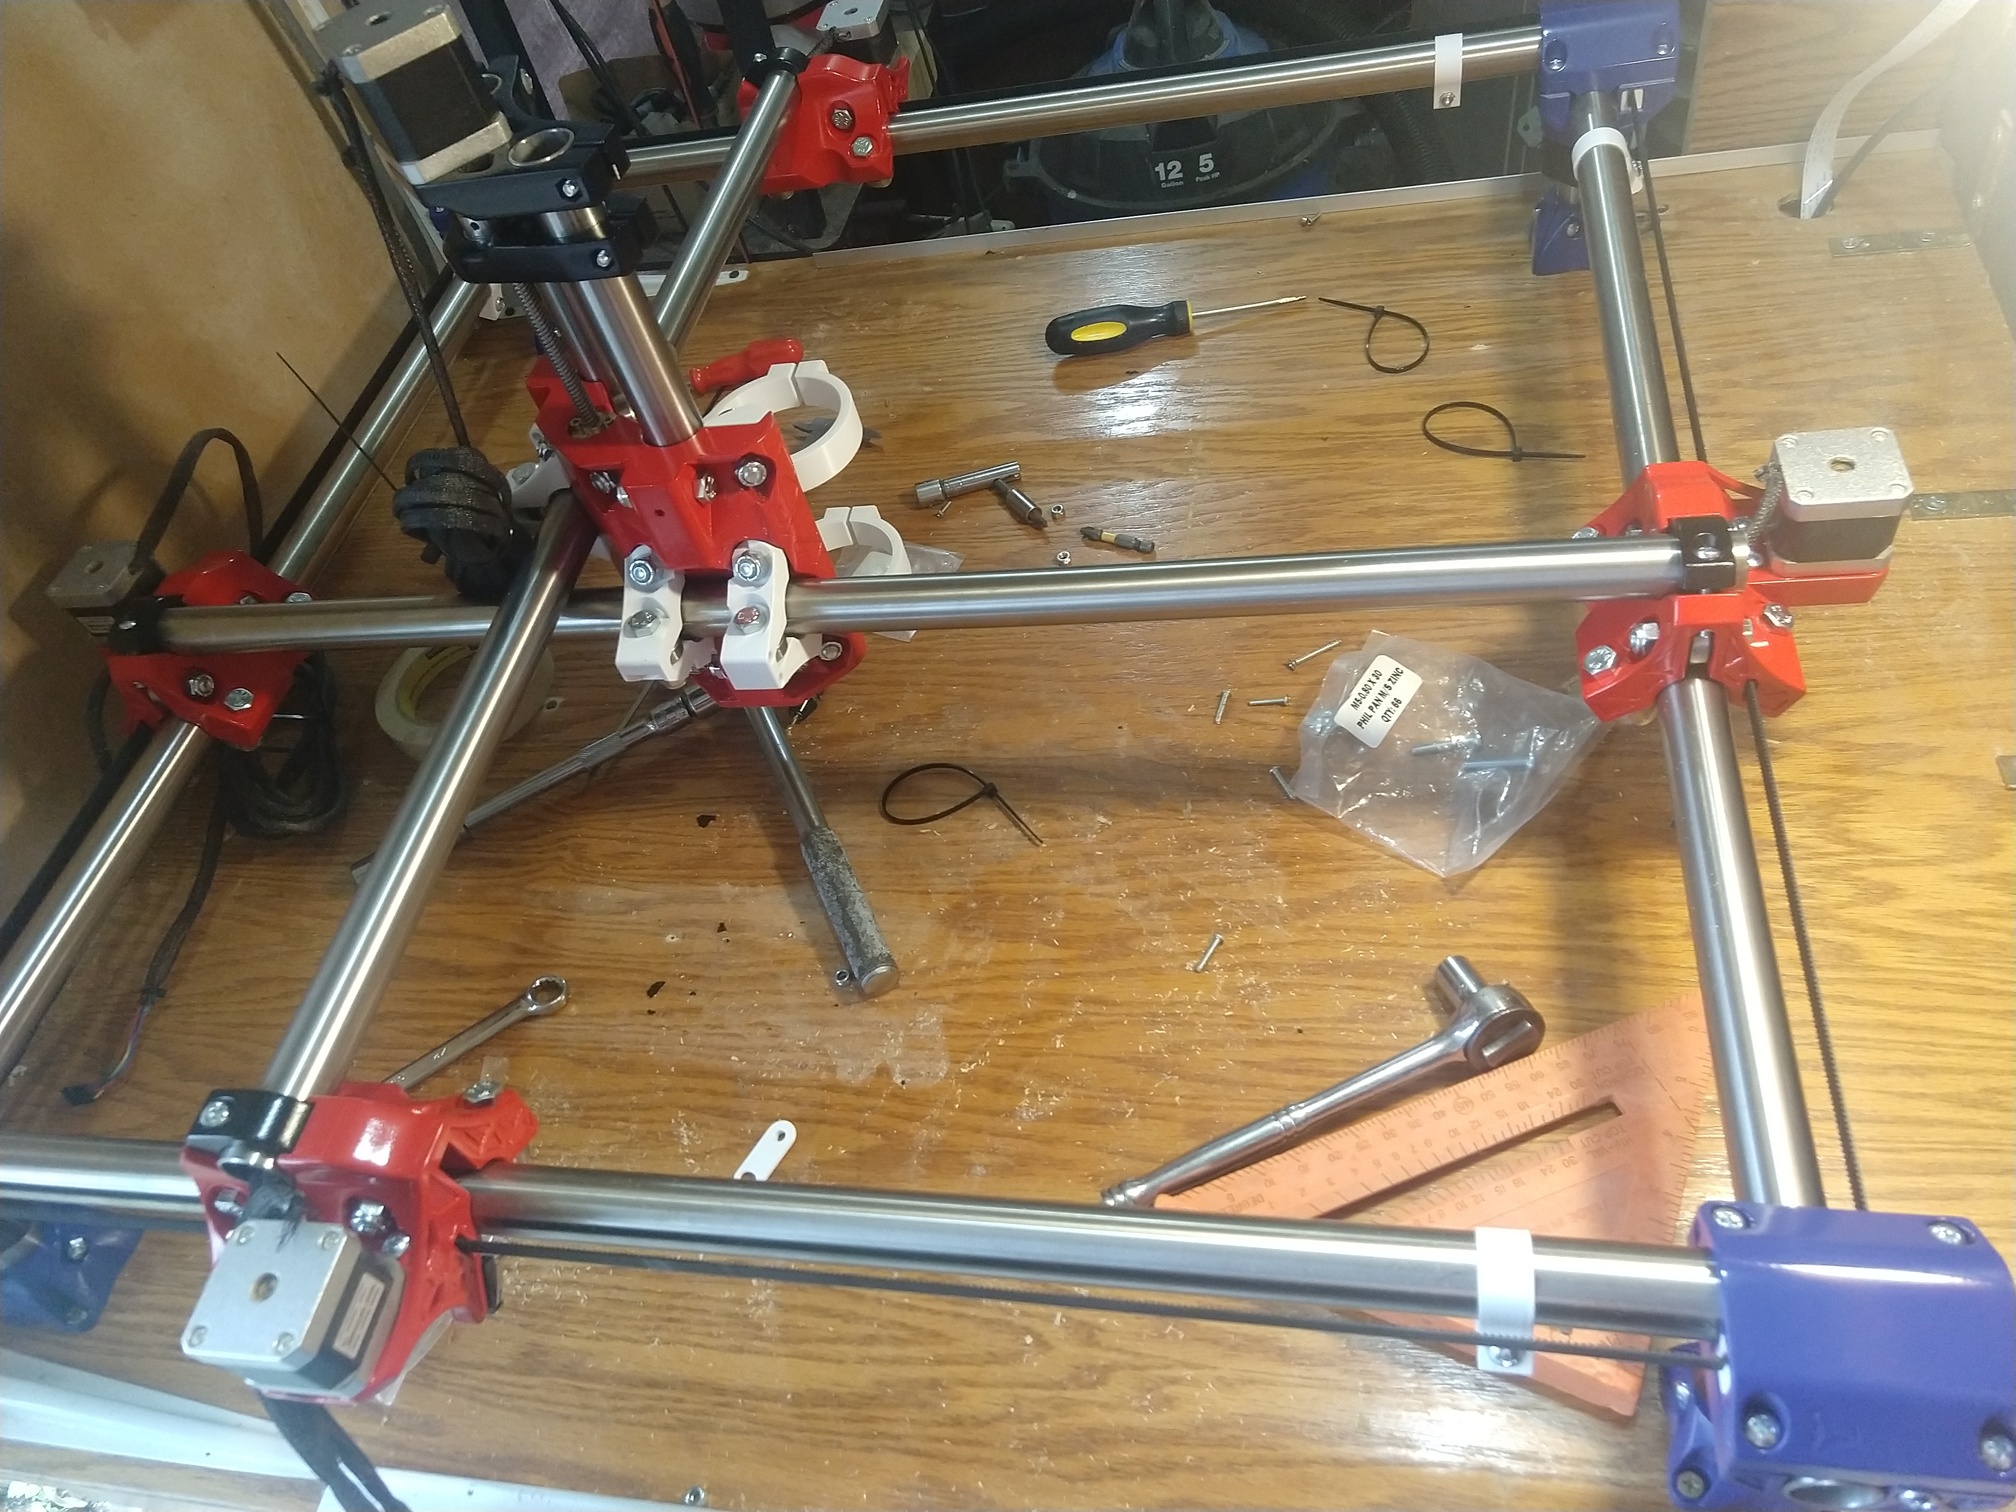
Anyway, a few pics. I’ll post more when the build is truly complete.


 Looking forward to your paint job write-up.