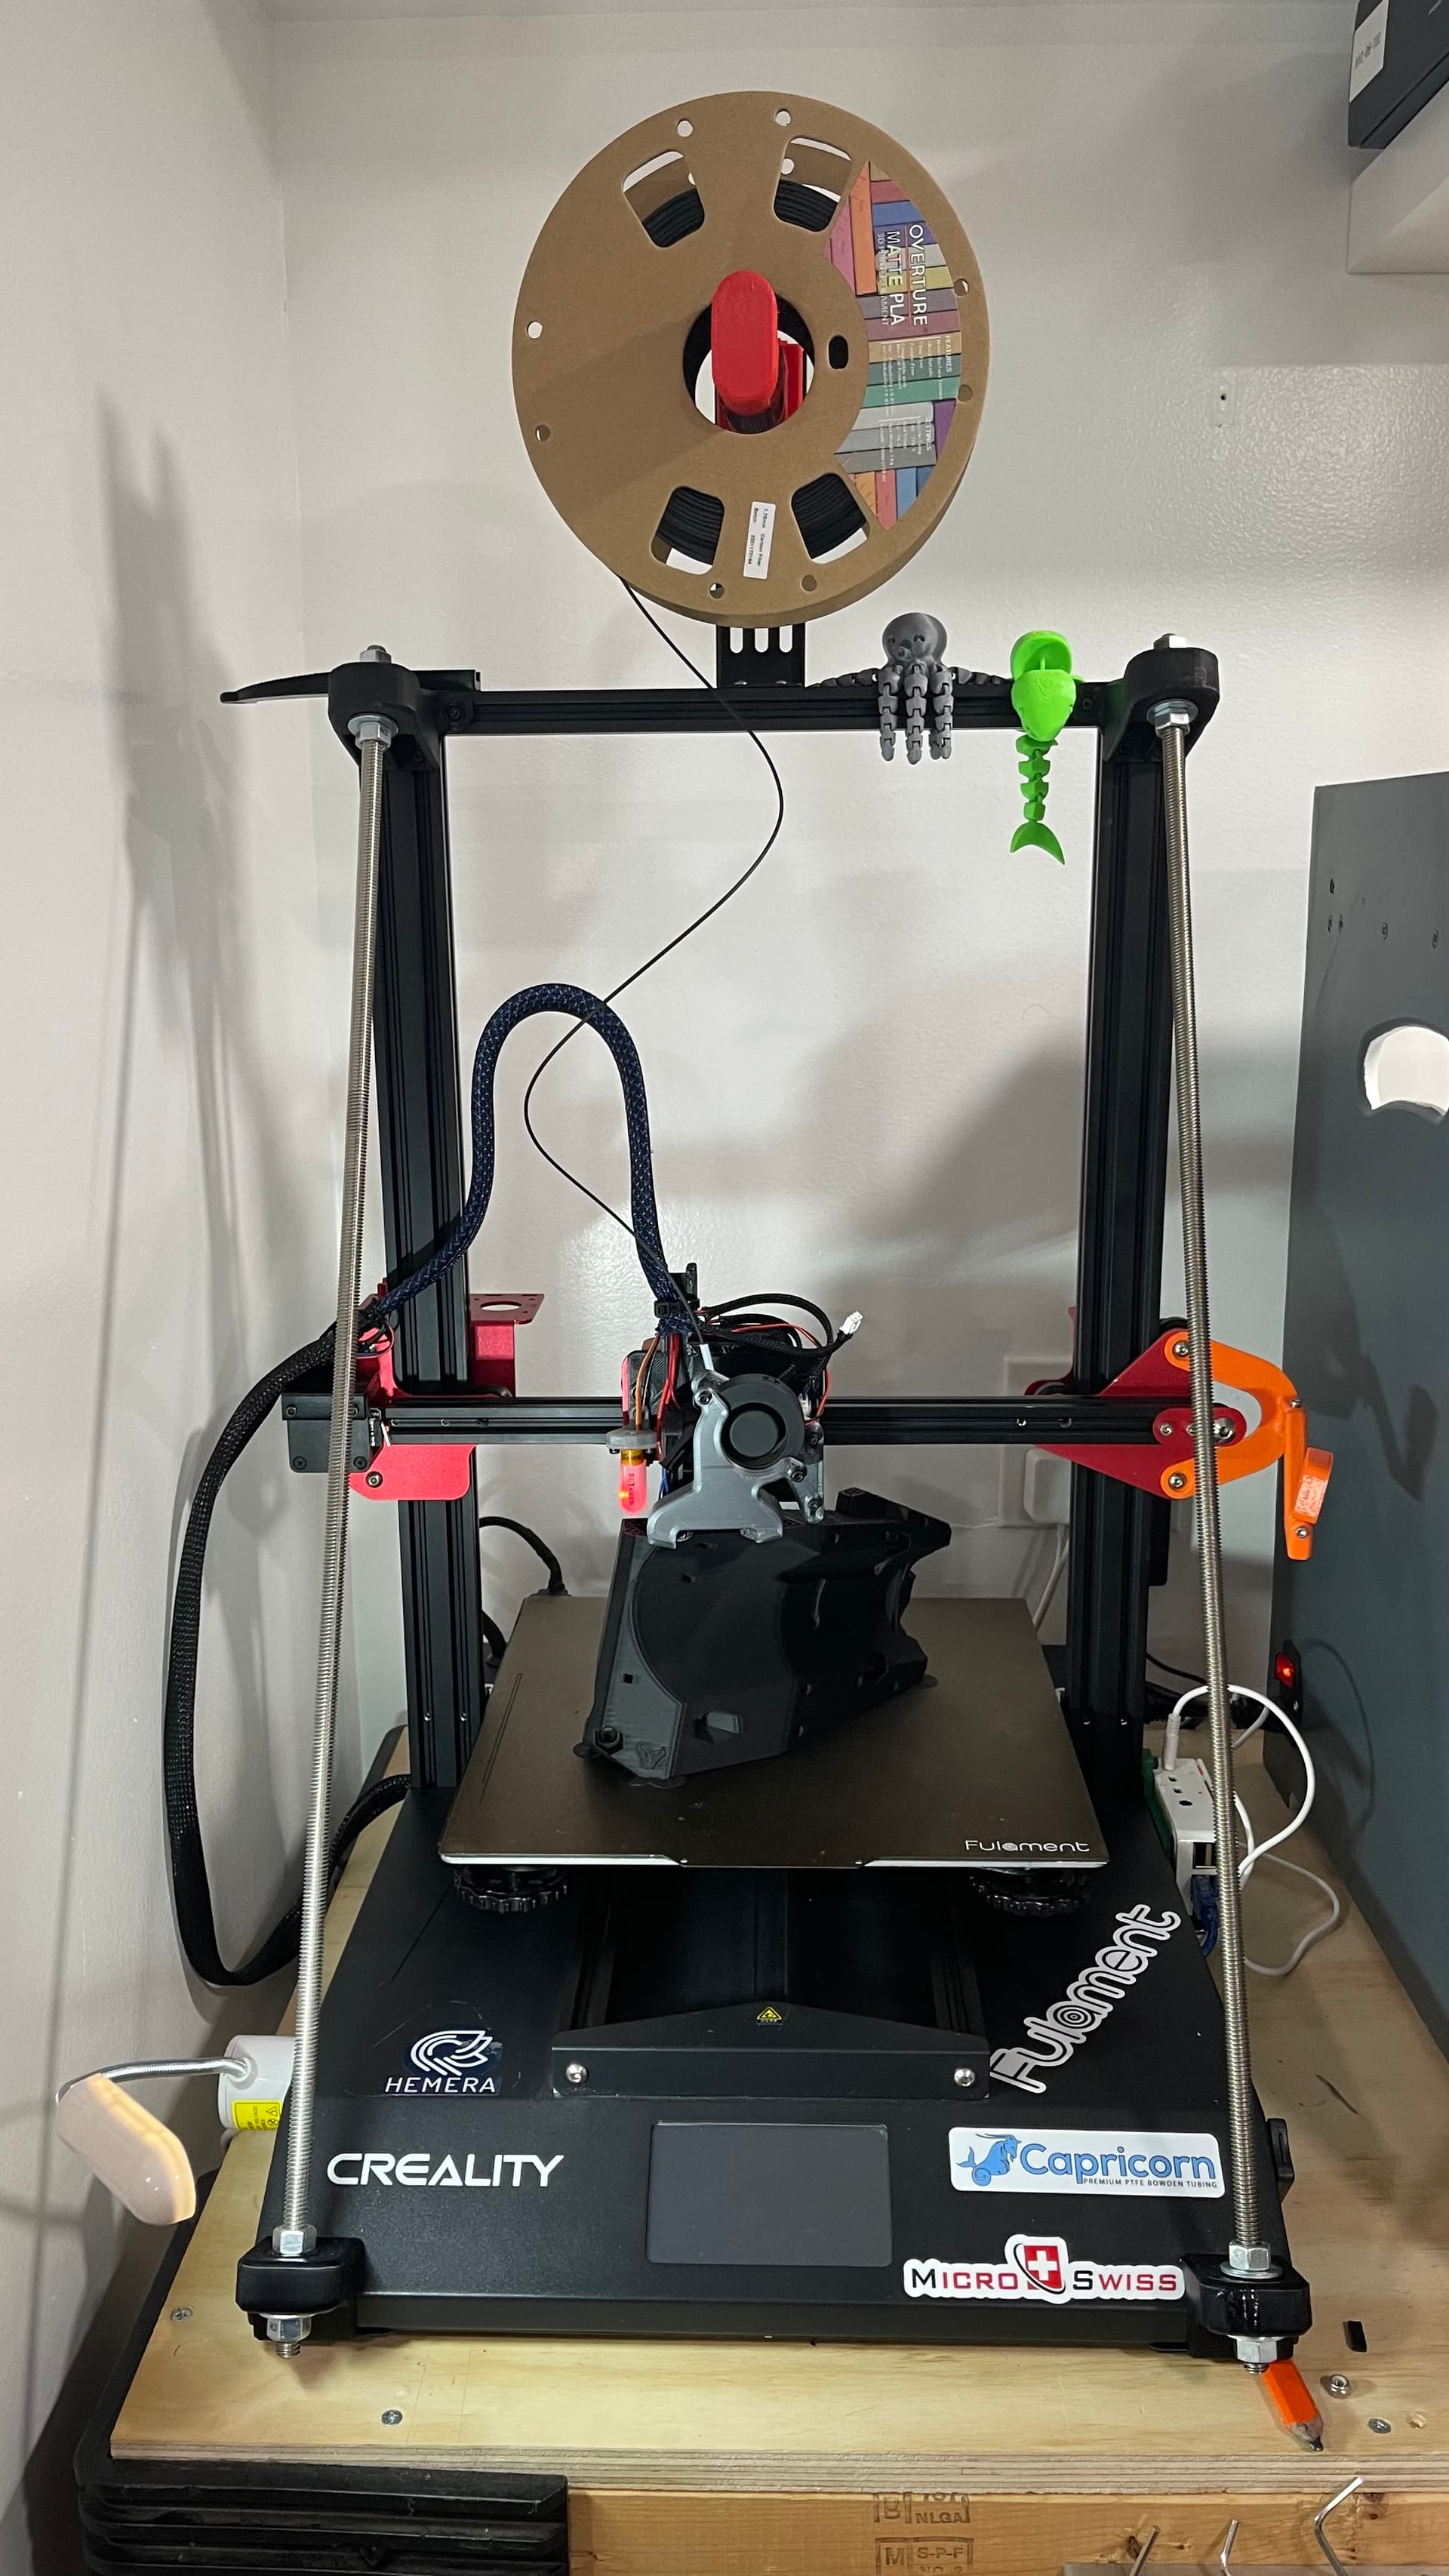
Is your printer enclosed?
1 Like
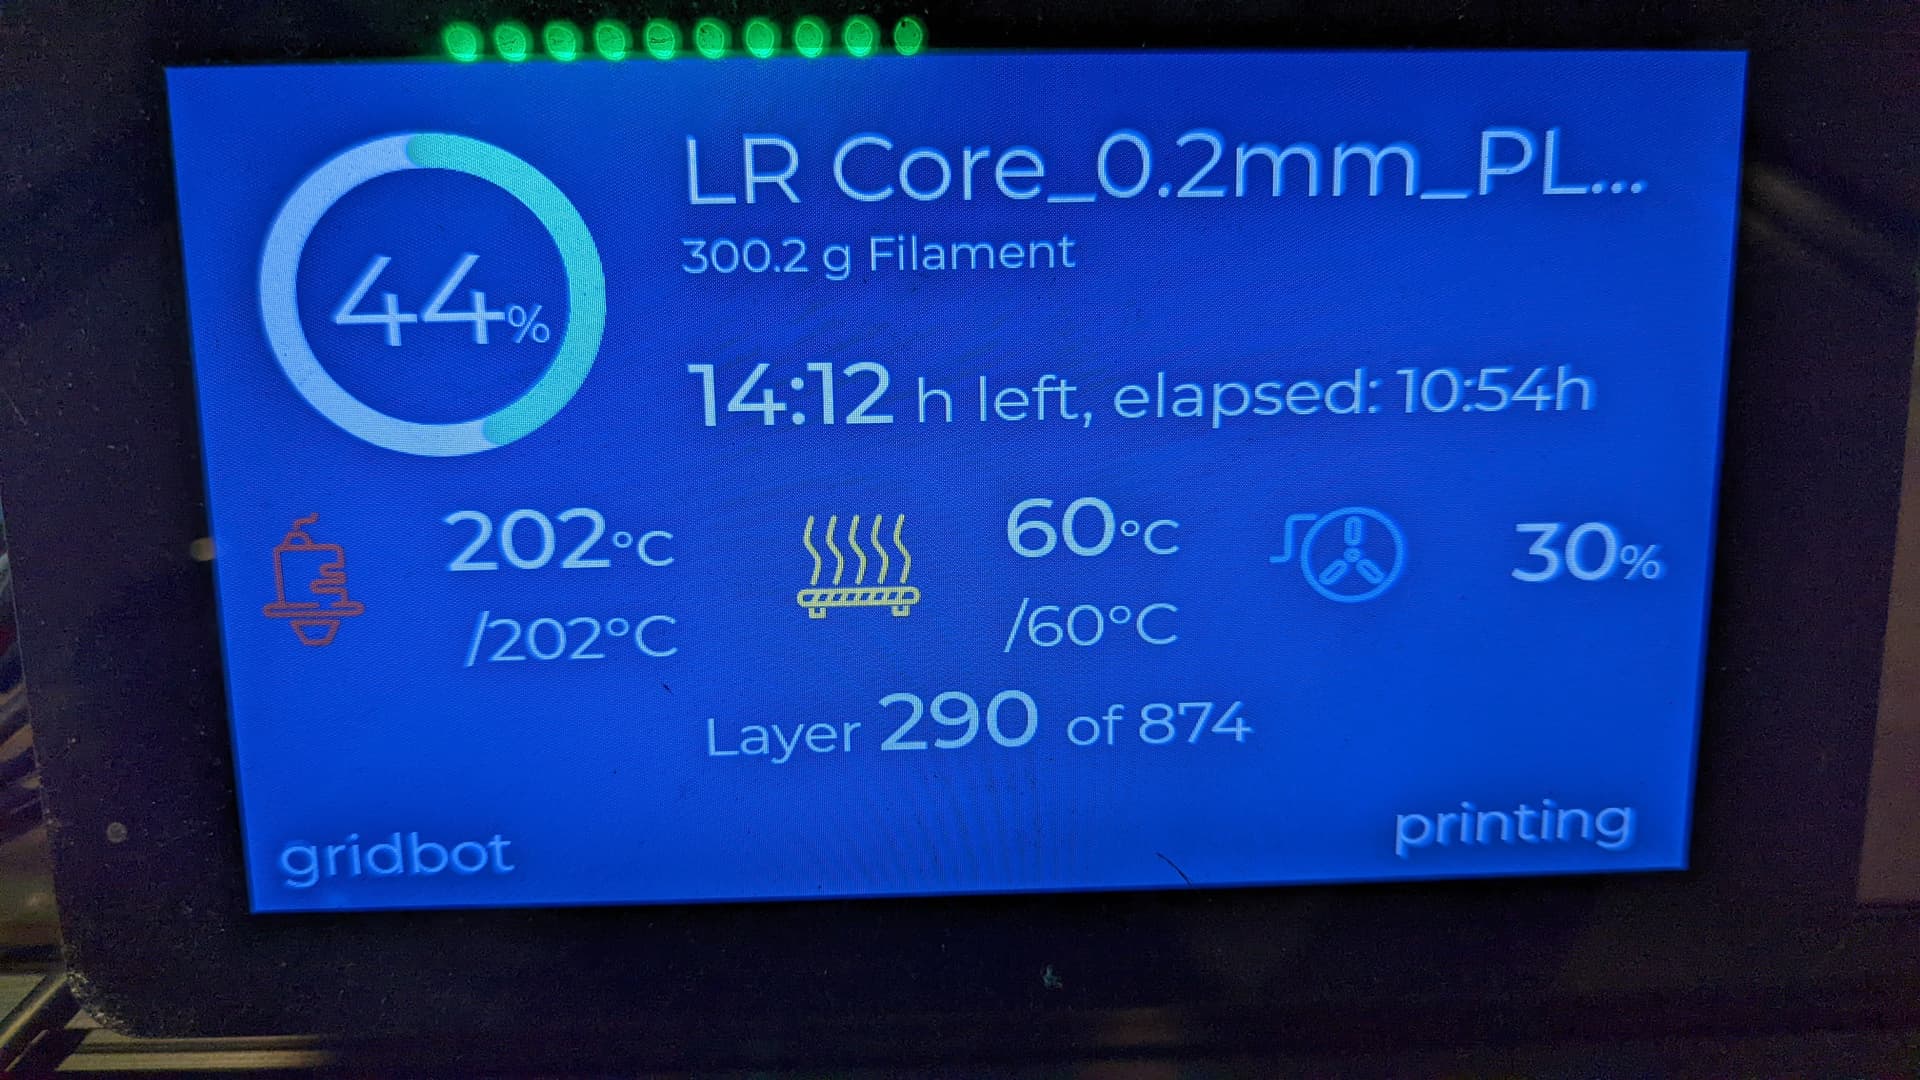
You’re printing at light speed compared to me. Each of my side plates took over 17 hours and the core is pushing 45 hours. Thankfully, they’re coming out really nice.
2 Likes
It is in my house ![]()
But no printer specific enclosure.
2 Likes
Just wondering if maybe air drafts are causing the warp.
2 Likes
The printer is on my Zen desk, in the corner of the room. After I have all the parts printed, I can try attaching some cardboard to at least the two sides that are exposed to the room. The printer doesn’t have anything sticking out, so an enclosure shouldn’t be too hard. The top is maybe the hardest to close.
1 Like
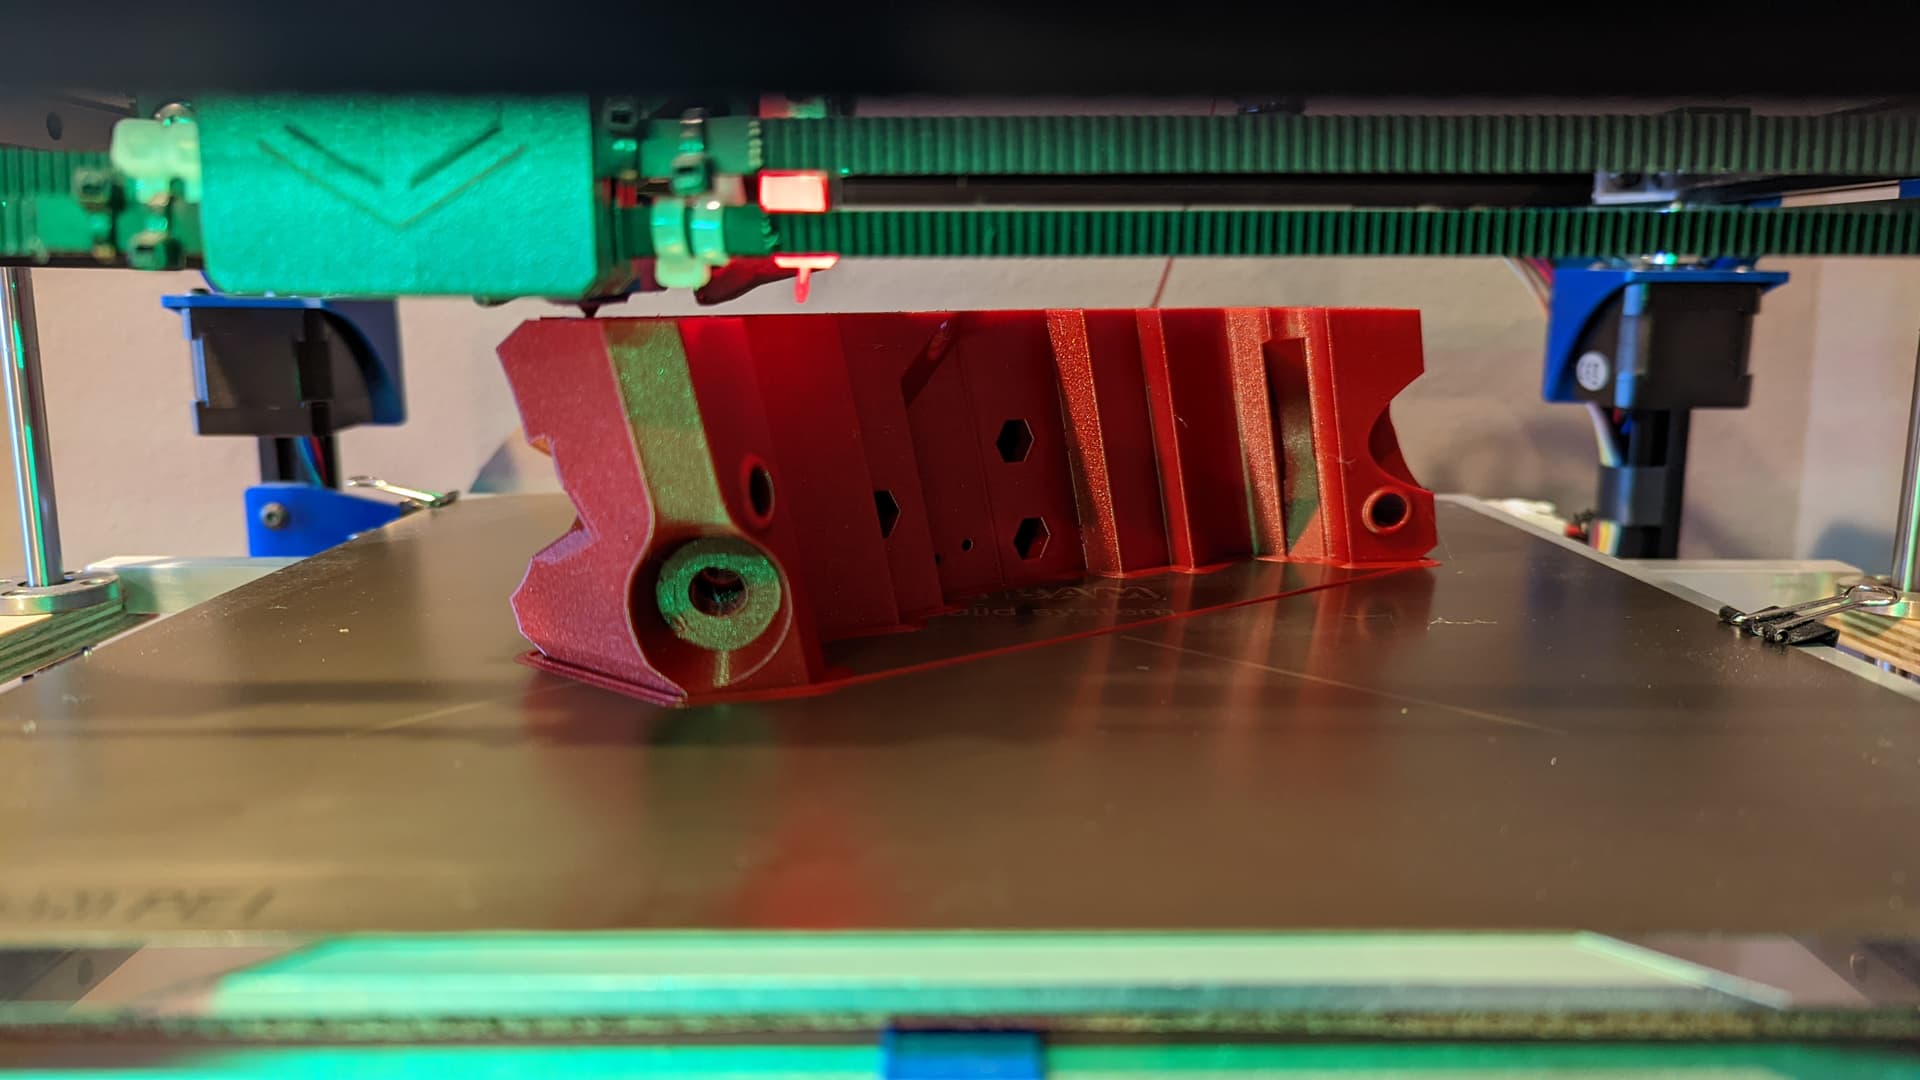
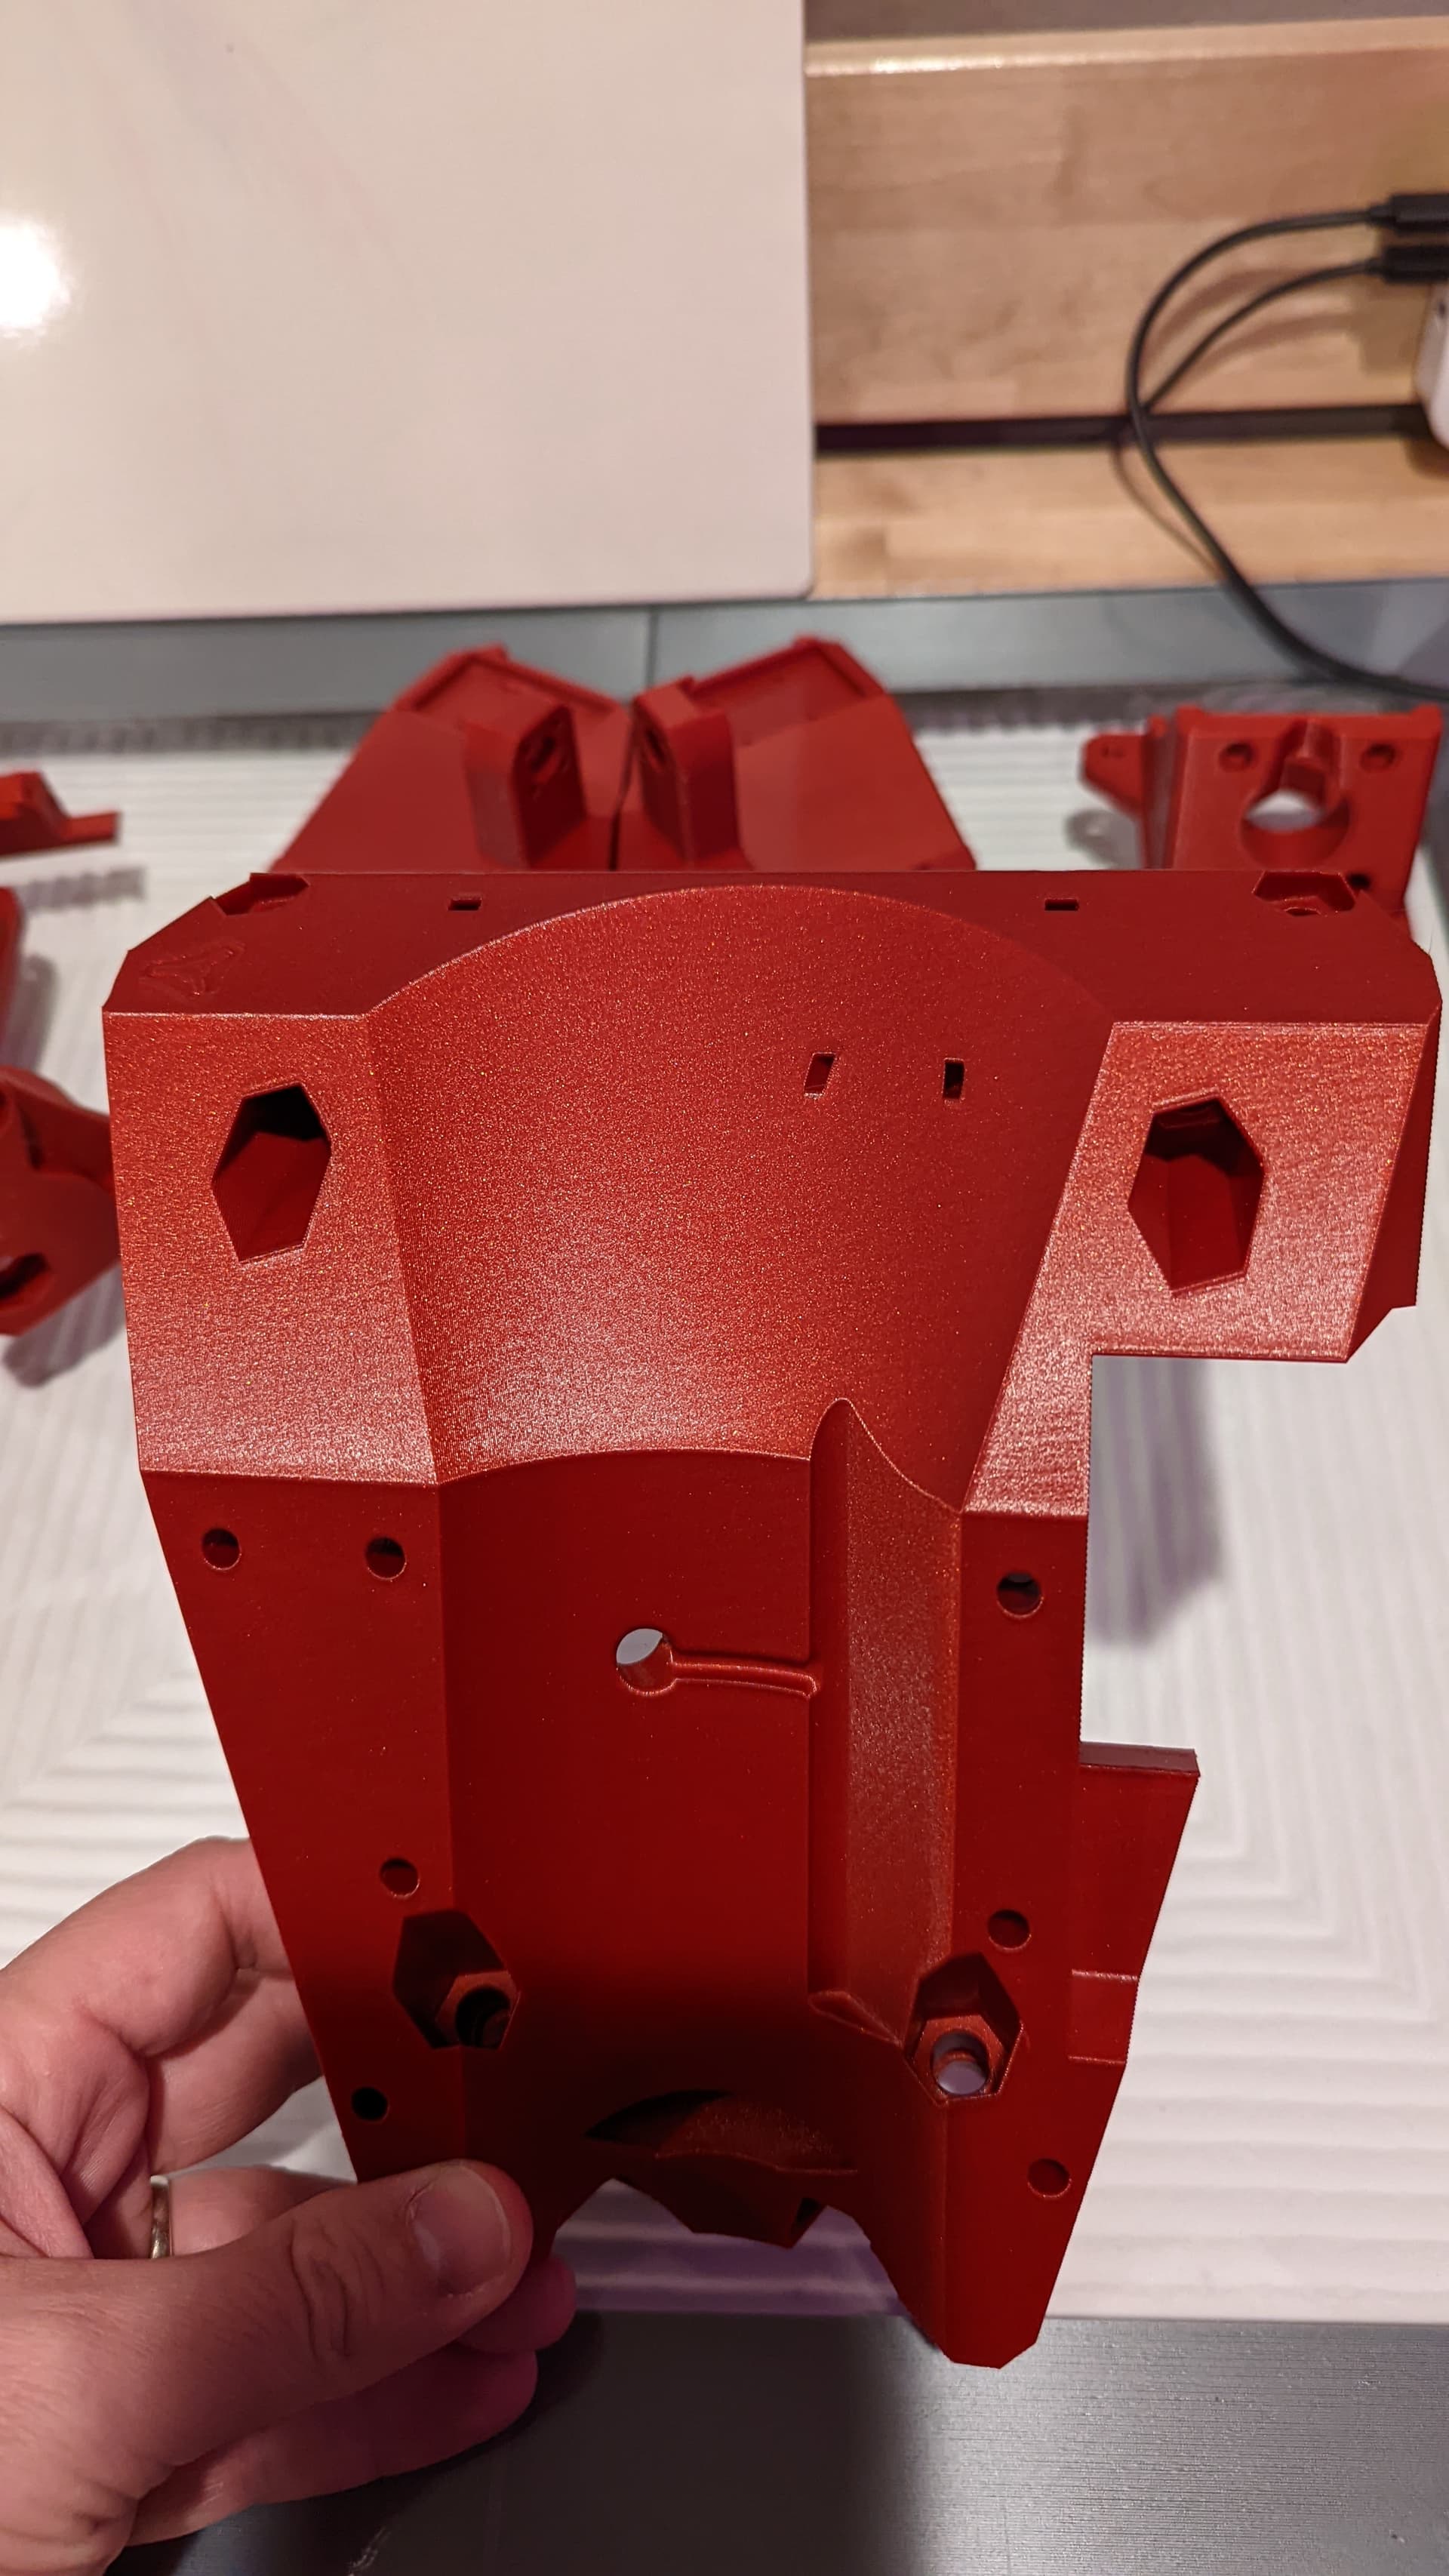
That filament looks so good.
1 Like
6hrs left. The layer size is getting smaller. No signs of warping or adhesion issues. Overhangs are just marginally different texture. But hard to see any issues.
Probably not as exciting to anyone else as it is to me. I can’t stop checking it.
4 Likes
Should be easy stuff from here on out!
The lights make that filament look sinister!
I found another little hiccup, I am fixing in a part you guys do not have yet. I based everything off 62mm wheels, we use 60mm. Both will work but that was a bonehead mistake.
2 Likes
There have been talks before about other sizes of wheels. 68mm is much more common, for example. If that makes a difference.
1 Like
Way more of a difference this time around. The rail is fixed. Any size differences will be handled with a M666 on the Z axis.
The current wheel mounts fit a 62, but a 68 would take a different mount
2 Likes
I just dropped the Y rail holding blocks down 2mm, that killed the easy option for a 25.4mm Y rail.
My mind is spinning trying to keep track of any other things that could change. I don’t think there was any easy way to actually get that 2mm going the other way. The Y plate would have to change as well as the rail rollers front and back and the wheel mounts themselves…I really need to think about this.
I could just change the wheel mounts but because of the angles we use, I think it would really move the wheels out. Dang such a simple mistake, and huge implications.
1 Like
Scratch all that. I figured it out. I had small wheels on. So I am just going to make sure the Y belt tensioners fit ±2mm


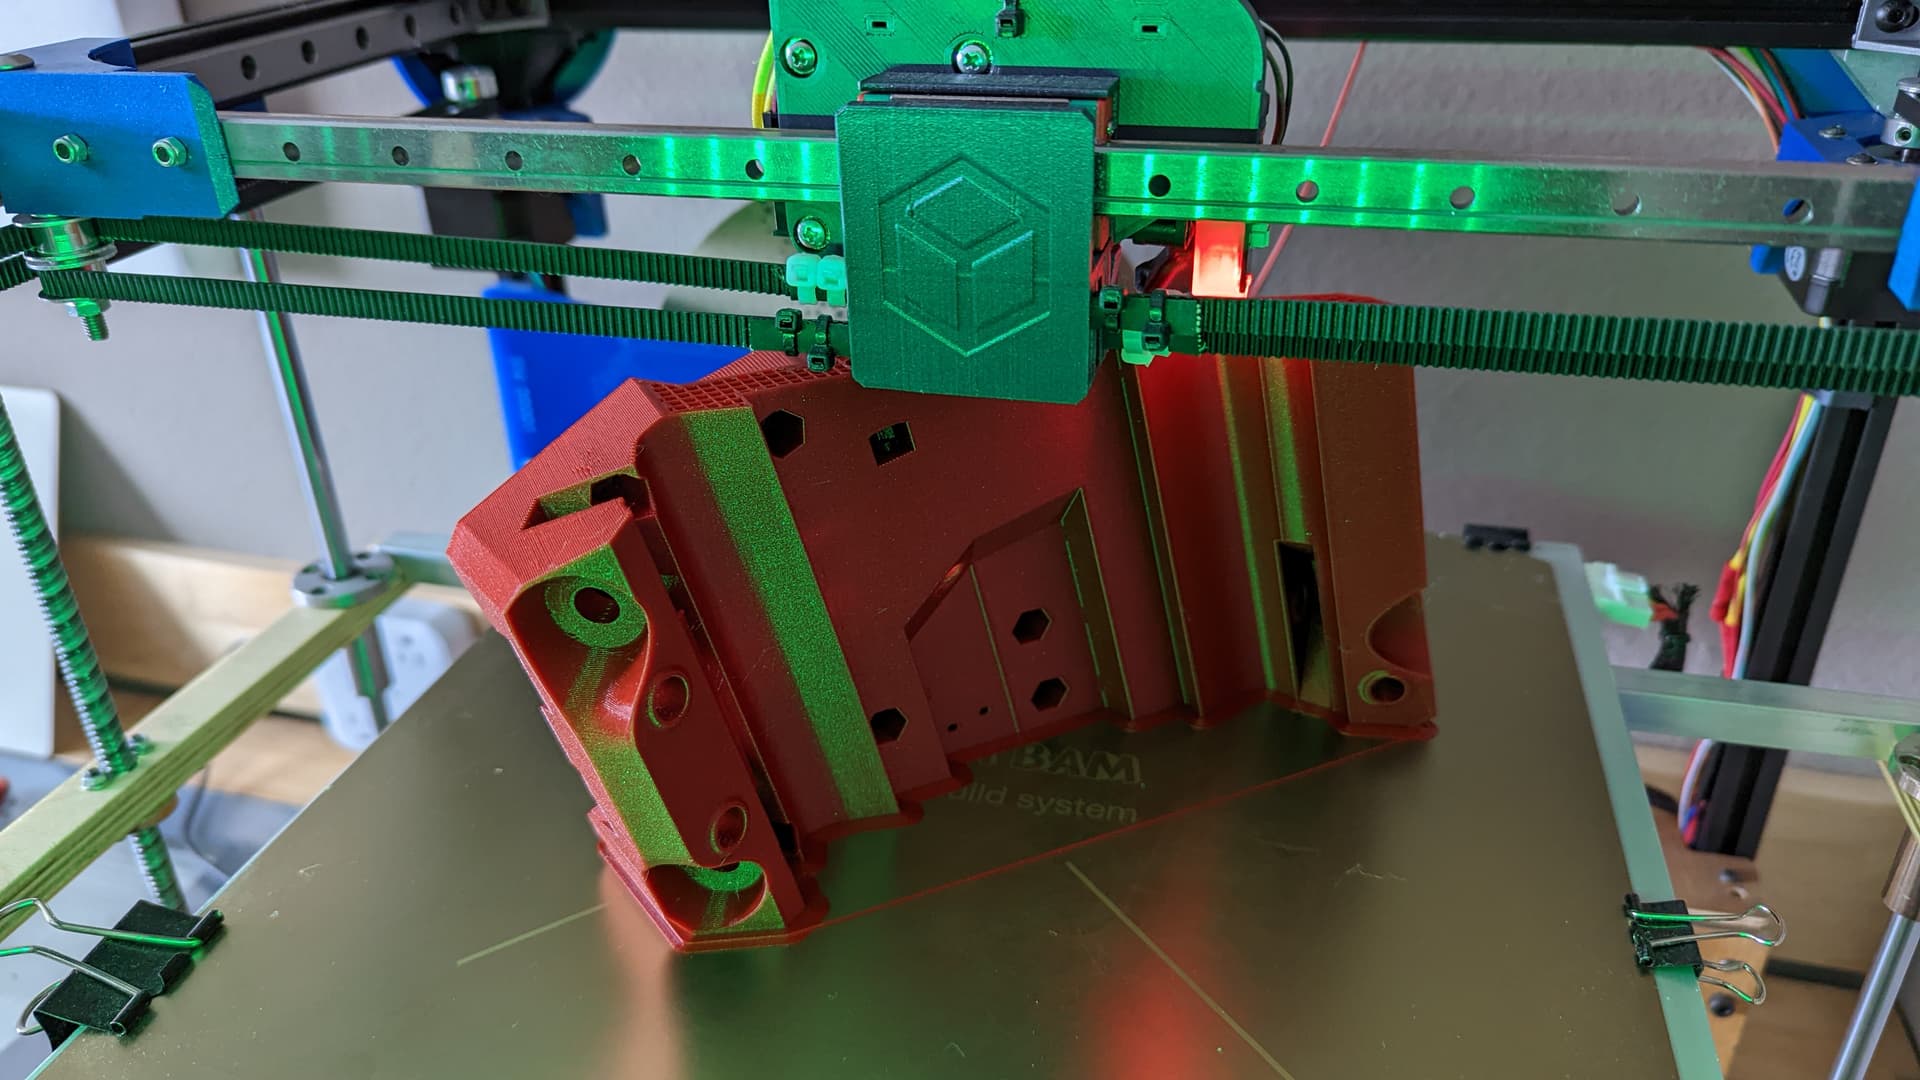
Dude, that looks nice! I’m going to have to use smaller layers when I reprint mine.
2 Likes
look at the details! so sharp!
great collor too
3 Likes
Nit picking here… but should that have been 1mm? 60mm wheel = 30mm radius, 62mm wheel = 31mm radius…
Slightly disappointed in the loss of 25.4mm rail, but 23.5mm 3/4" conduit is still more likely to be straight, and is inexpensive enough.
I was looking at wheels on Amazon, and the 60mm ones are rare, but the common ones seem to be 70-72mm which are definitely not usable for this holder. (60mm wheels, for example, not available with fast Prime shipping.)
1 Like
At least in roller hockey. The 60mm ones are for goalie skates. The 68,70,72mm are for everyone else. Goalies who are buying special goalie skates for roller hockey are rare.
1 Like
Yup, some how the extremely used wheels I put on, for the red, were 58-59. I was trying to figure out why the CAD did not match my build, took a long time to figure it out. The 60mm wheels do make it off a bit but they are all going to need to get leveled anyway, and I wanted to keep the option for 25.4.
25.4 can still work, but I do think the smaller stuff would be better on all accounts. The “clamps” have the most beef on the smaller stuff.
For the larger wheels the only way to make them work is a new mount that pushes the wheels out. That is not actually a bad thing, it would technically be more stable with a larger base, just also might force a slightly longer table. I think that could be an easy option to add on thingiverse/prusaprinters.
2 Likes