Low Rider version 1.
Grbl_Esp32 MPCNC controller.
3’x4’ work space, with a vertical clamping area.
DeWalt DW611 with a short cord.
I bought a Neje A40640 40W (input) laser diode in December. I made it my goal to work on the laser today.
Previously, I had a 2.5W laser, but I never made it very far on the progress bar.
Previously, I had designed a mount. I am using David’s air assist mount (but my air pump is puny, I hope it is enough).
Here’s what I did today:
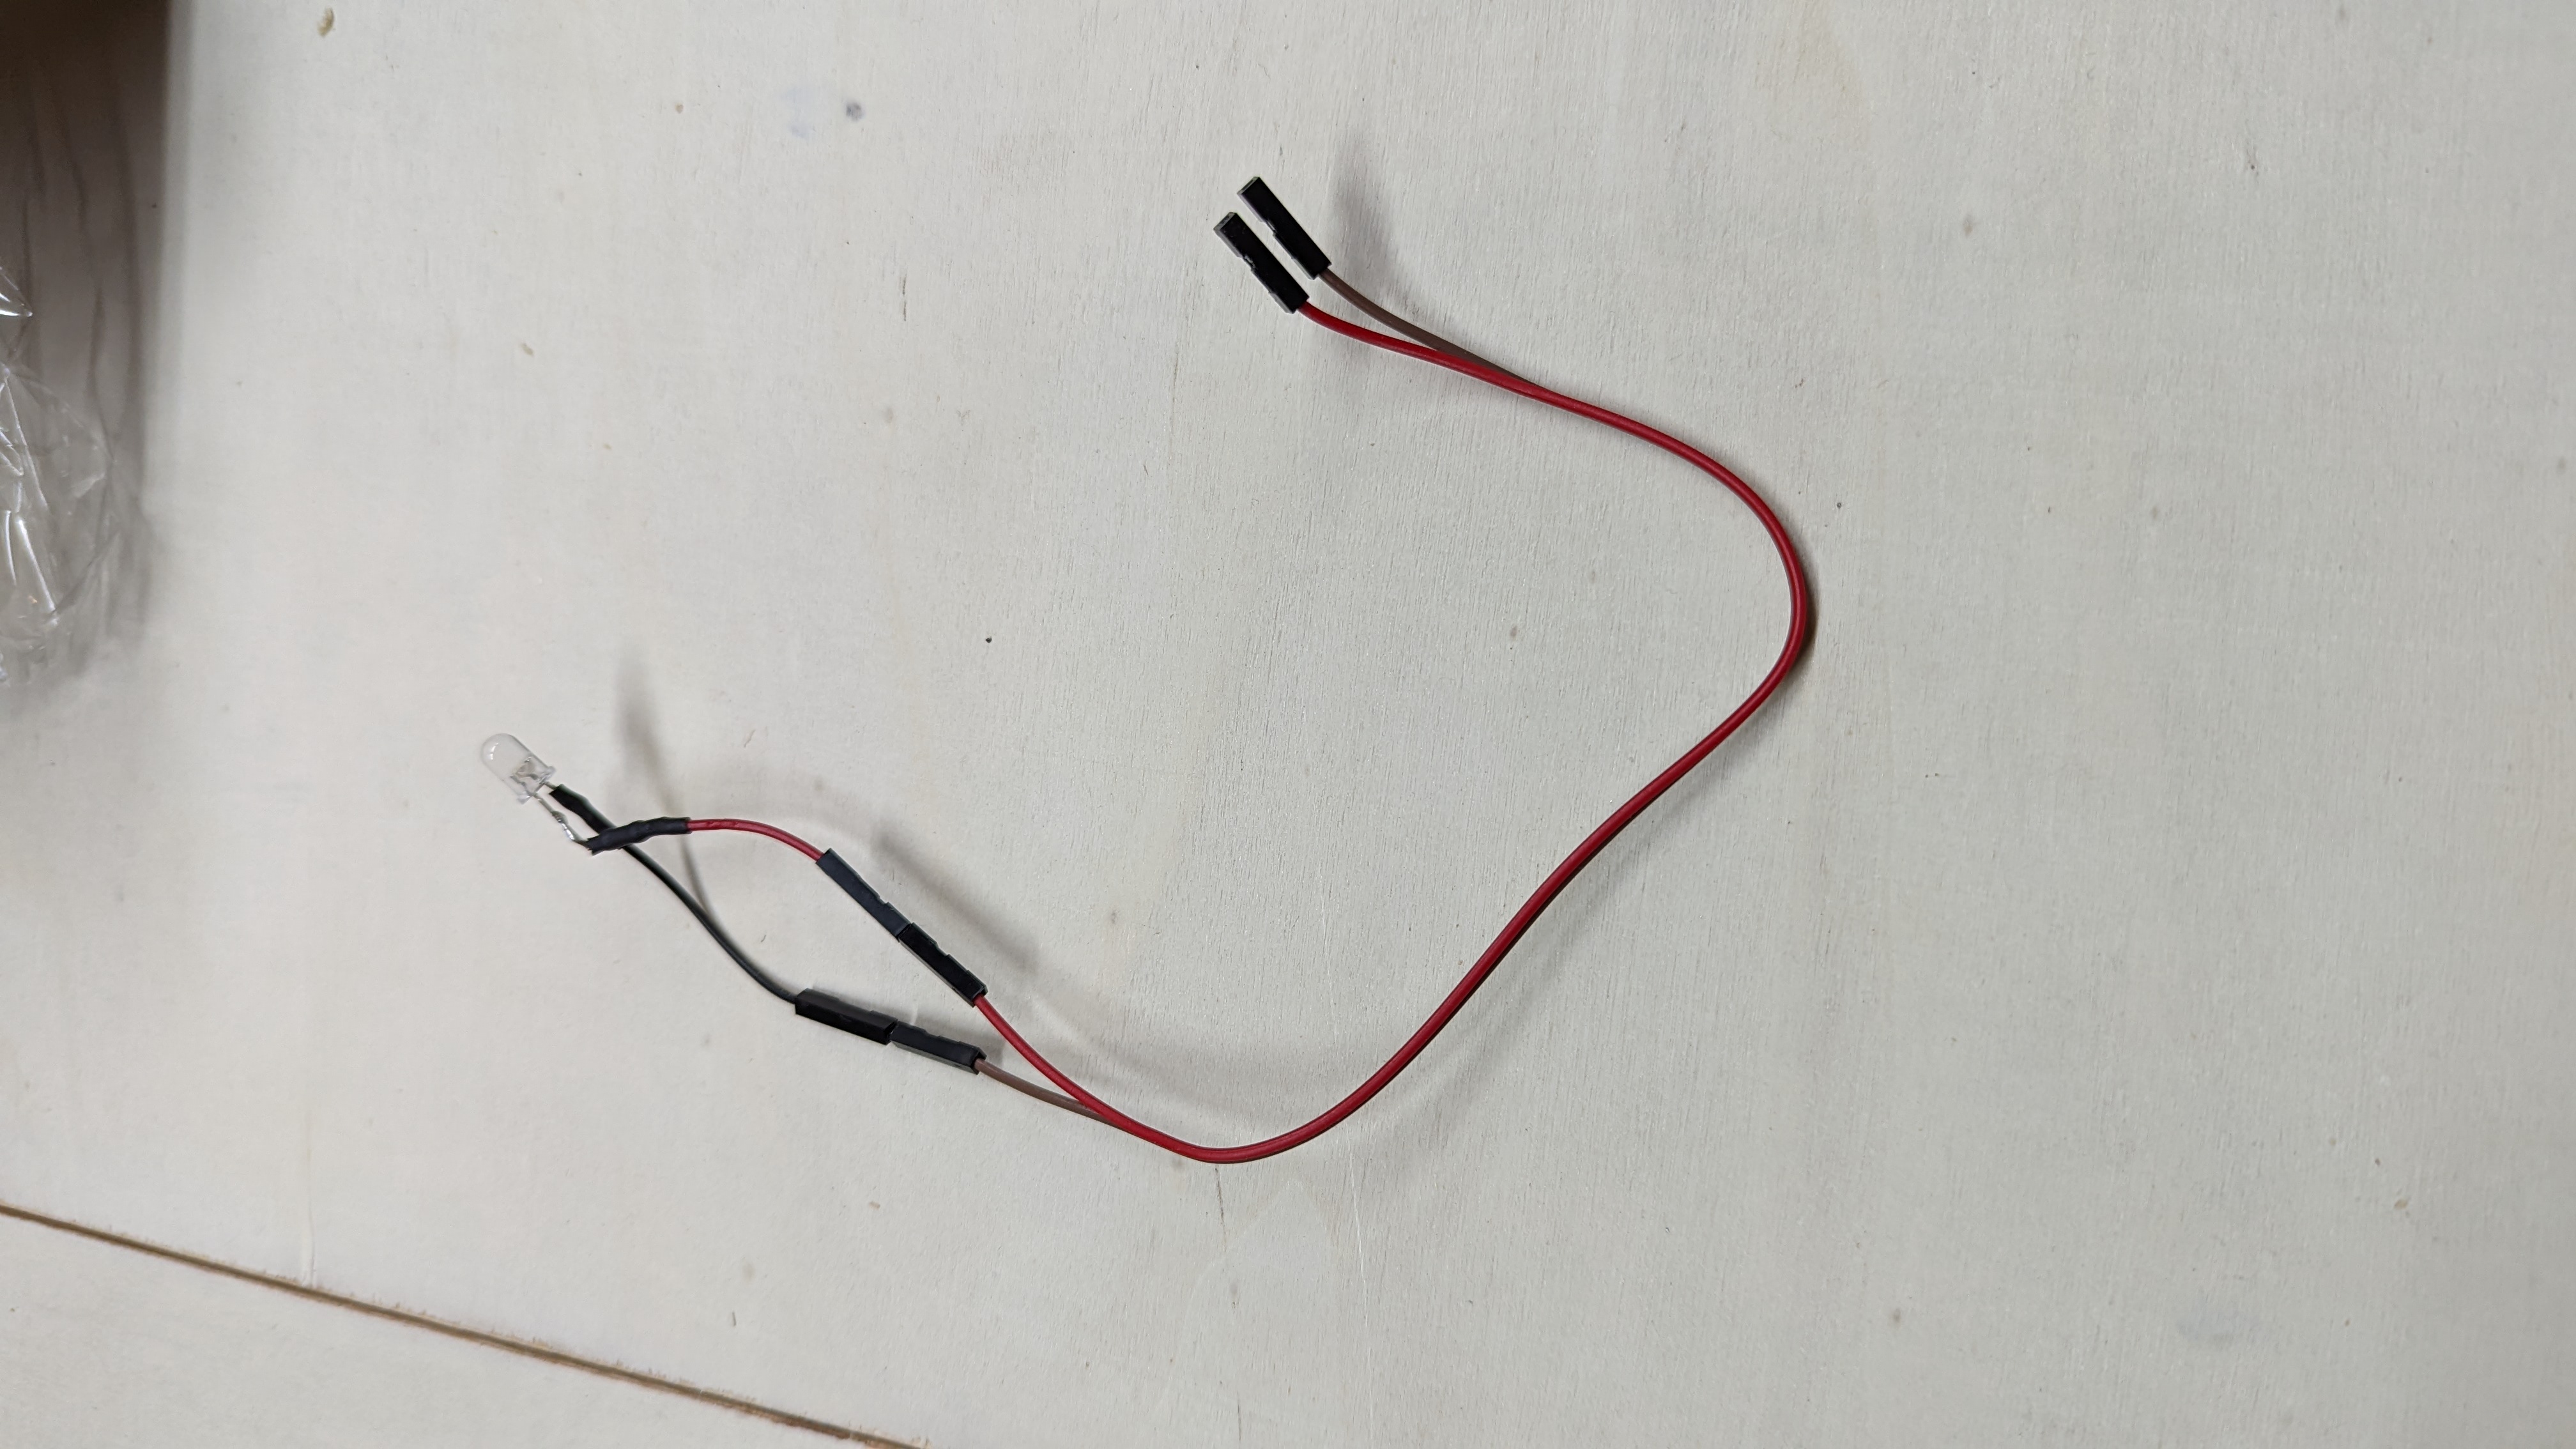
Made a wiring harness for the laser. I don’t have these tiny JST connectors, so I cut one of the provided cables in half and crimped on a new end. I made a long (5’ or so) extension. I use 24V as my main PSU, and I think I would feel better with a separate PSU anyway, so I needed to connect that cable to 12V and ground on the PSU, and PWM and ground on the controller.
Tested my firmware. This took the longest. I completely got turned around from reading the docs. The first thing I missed is that there is an interconnect that needs to be jumpered to enable the PWM at all. The laser mode in grbl also has some unintuitive behavior. For example, M3 S20 doesn’t turn it on immediately, but adding a G1 X10 F1000 does (that makes sense). But then the laser stays on until you send G0 or M5. That probably isn’t a problem when playing a gcode file, but it confused me.
I would like to introduce my fakser (fake laser). It is an LED (white) with an inline resistor and some Dupont cables crimped to the end. I used this today to debug WTF was going on and I will leave it in the CNC drawer for future use.
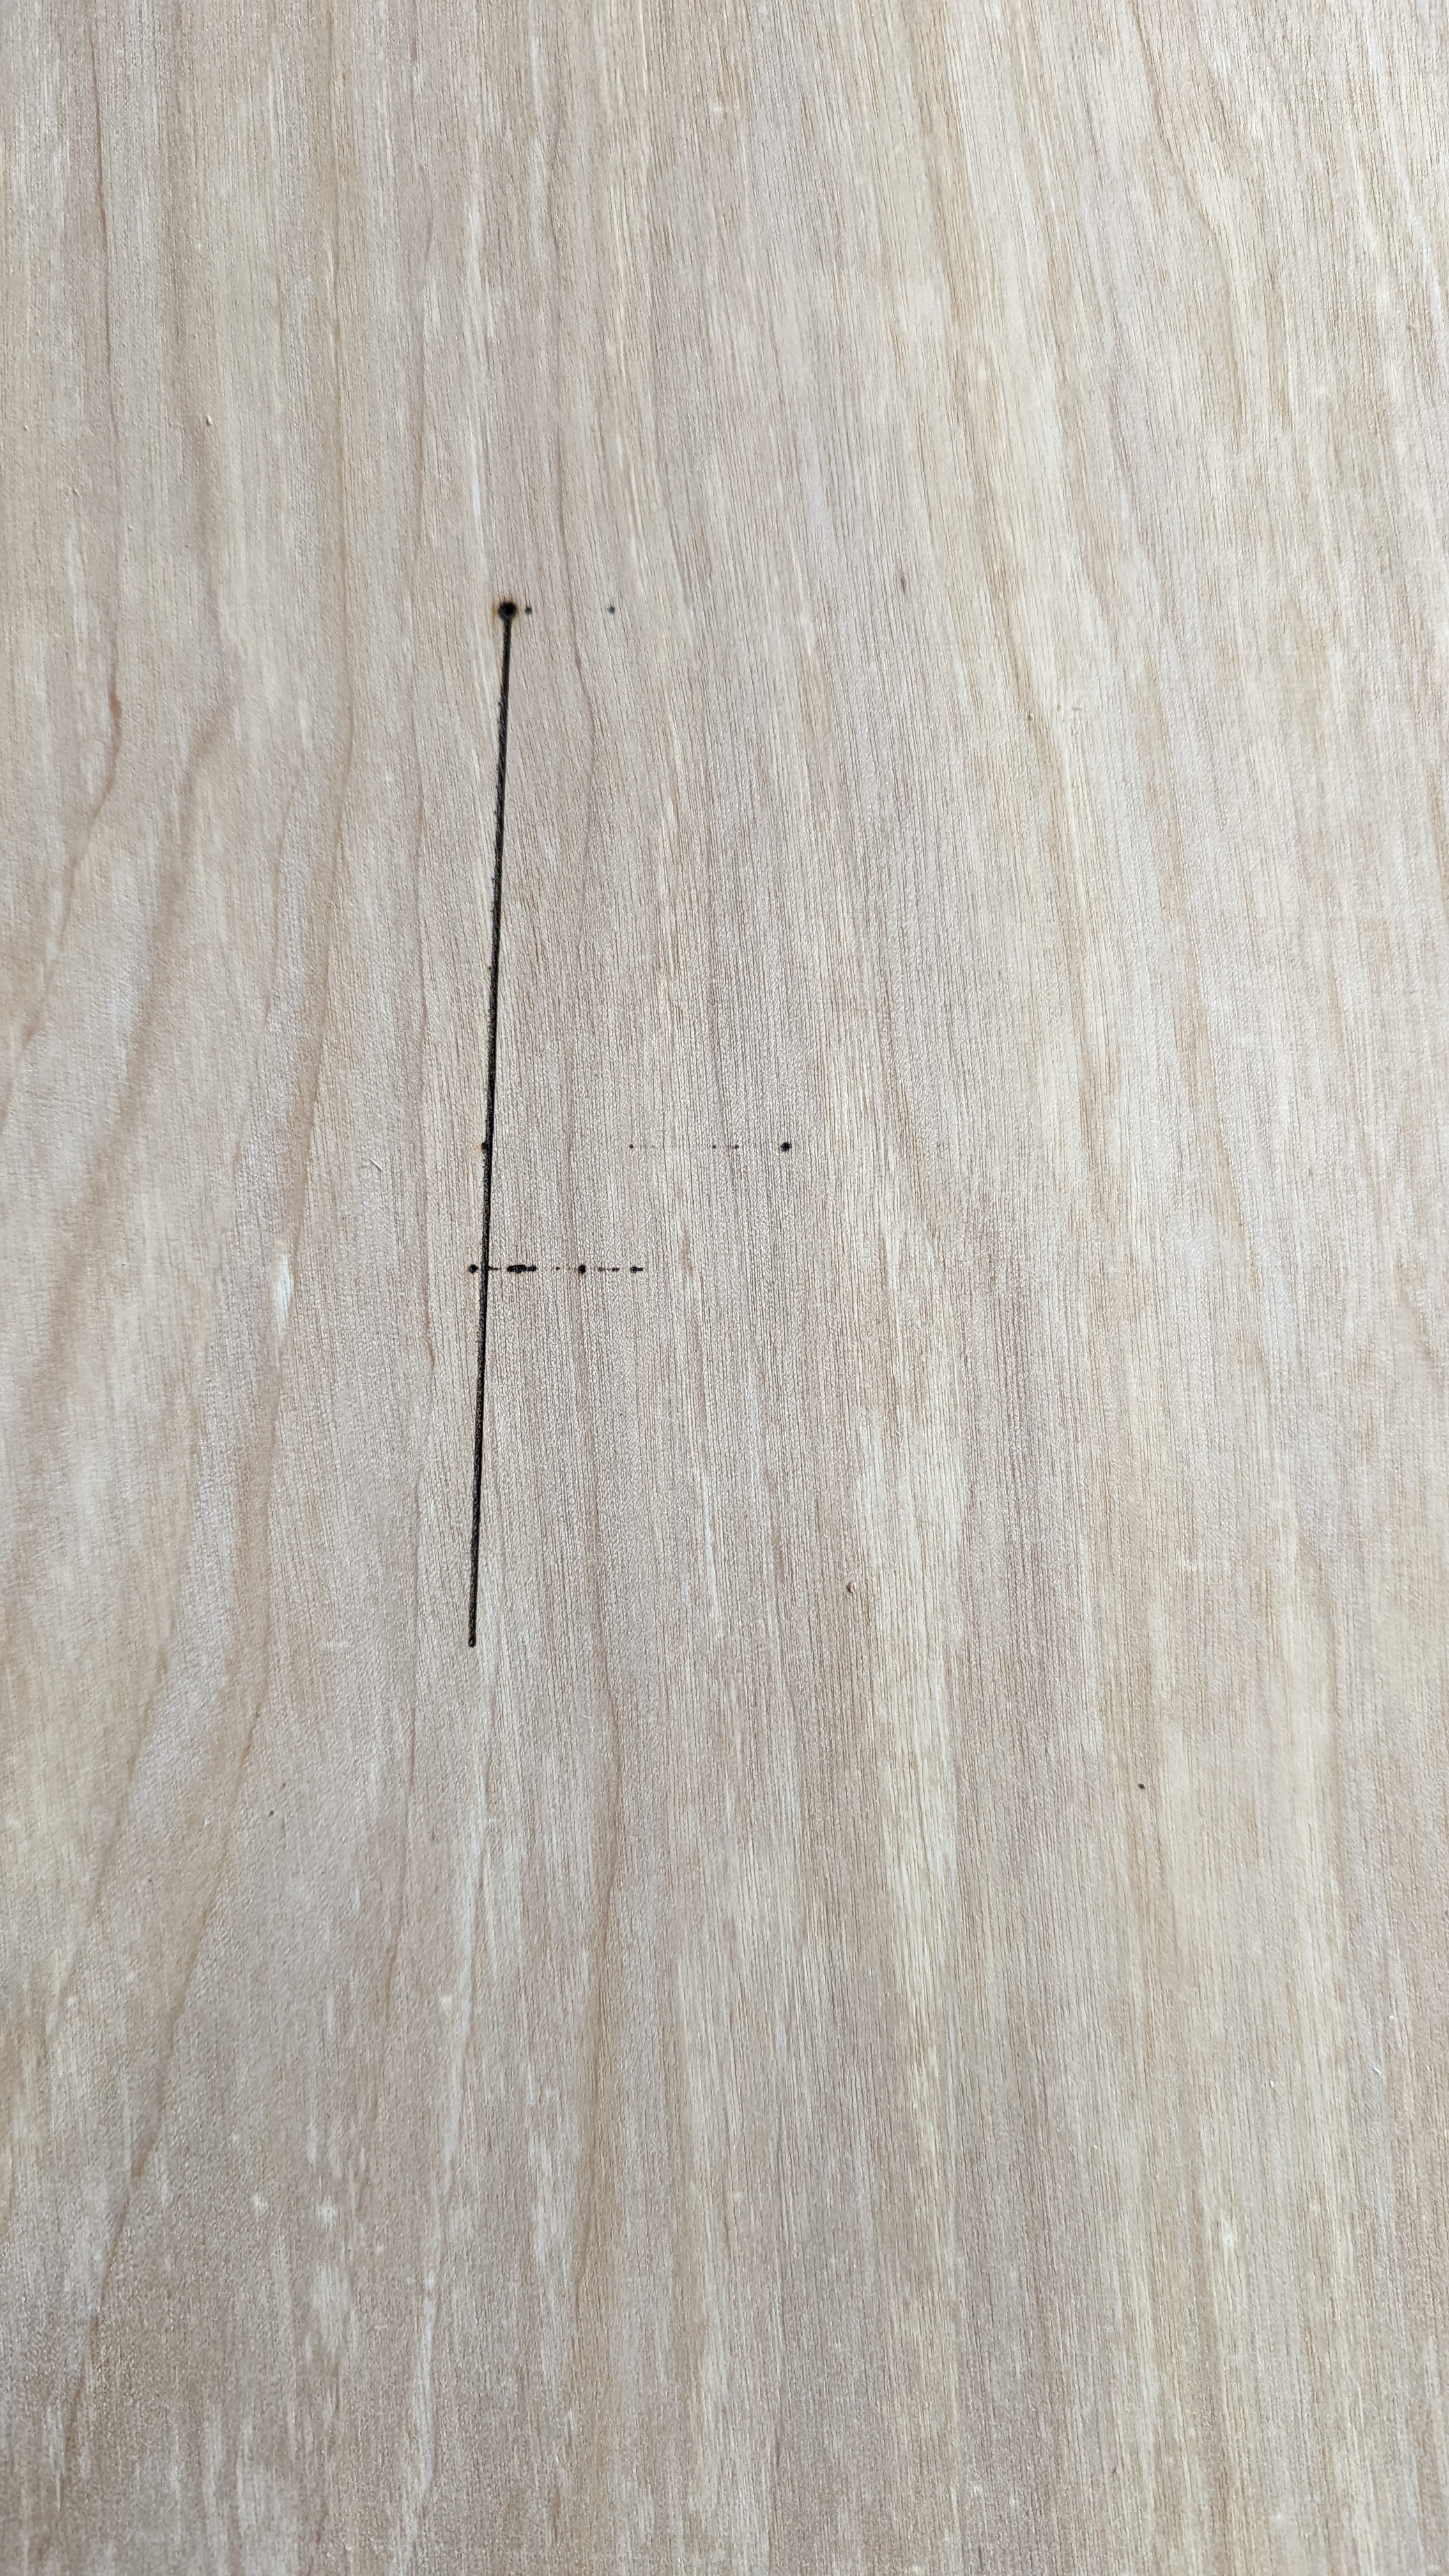
I am already impressed and terrified by this thing. That was 40% power and 1000mm/min, with random focus.
What are my next steps? Run the focus gcode script to get a good Z. Then install light burn and cut some shapes? I need to find some dinosaur shapes. I need more dinosaurs in scrap wood.
LightBurn has a Focus Test wizard. See Tools/Focus Test. All the reported focus distances for I’ve seen for this laser, either here or on YouTube, have been between 18mm and 22mm.
I found my cutting settings very similar to the settings used on YouTube for this laser including this video.
LightBurn makes setting up speed and power grids fairly easy by combining “Shape Power Scale” with arrays. A quick YouTube search yielded this video on the subject, and I know there are others.
I found an overwhelming number of free vector files that are targeted at laser cutting on the net…far more than CNC router projects (though obviously many can be used with a router). Here is one site with dinosaurs.
LightBurn has an image trace feature. I don’t think it is as sophisticated as the one in InkScape, but I’ve had great results with silhouettes. So, any dinosaur silhouettes become easy vector files for cutting.
There are some nebulous warnings about running this laser module at full power for longer periods of time, so I usually scale back the power and speed for longer cuts (over 30 minutes).
I personally find this to be the simplest/easiest/quickest way I’ve found to see where your A40640 laser is focused…
Once you find the best focus, measure the distance from bottom of housing to target block. Then go print a plastic gauge block, or cut a length of dowel with your miter saw, and you can quickly set focus for any thickness of material.
Thanks. I need to make something at least 2D before I feel comfortable joining your club . But soon!
That seems like a nice way, but I have all these motors and stuff. I will definitely be trying to make a setup block as soon as I can. I might reference the bottom of the LR plate, because everything is rigid from that, and it will be easier to measure from.
To unleash your Neje laser power for cutting, and make your engraving cleaner, do not forget to add air assist, it makes a huge difference. @dkj4linux have made a nice design you can 3D print, If you already own a real workshop air compressor then Neje’s official air assist kit is also very good.
That’s brilliant. I was always thinking of hanging the laser off the side of the baseplate. Swapping it out of the mount makes a ton of sense.
Hmmm…I’ve run the router power cord through a sleeve so I’d have to reorganize all that. And print a version for the makita sleeve…but still. So much cleaner!
What you really want is a mount that has both the router and the laser on it. That way, you can cut out a part with the router and then go straight to burning it with the laser (with an appropriate tool offset) so you don’t have to figure out how to recenter an oddly shaped part
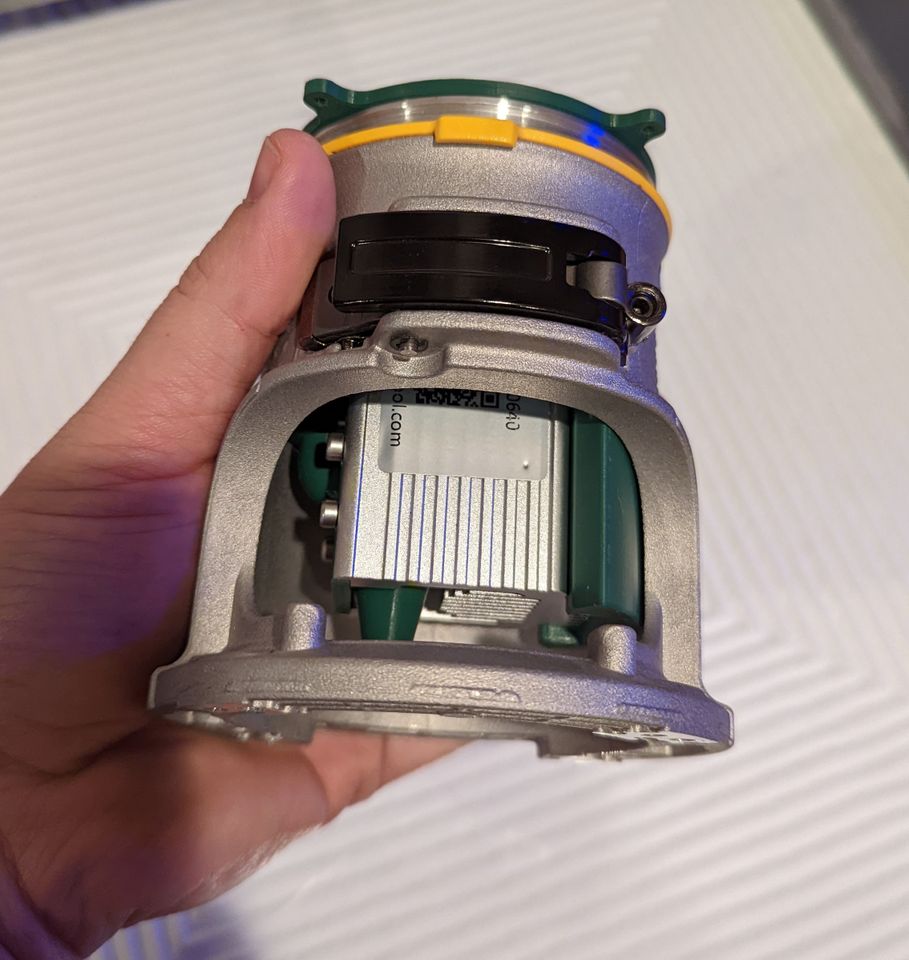
I hope I’m wrong, but if what I’m seeing is your router base with your printed laser mount bottomed-out in the base and my air-assist nozzle on a Neje A40640 laser module… and that’s all gonna be bolted down to your LR tool plate of some several millimeters thickness… I don’t think you’ll be able to get close enough to the workpiece to obtain focus, with everything positioned as shown.
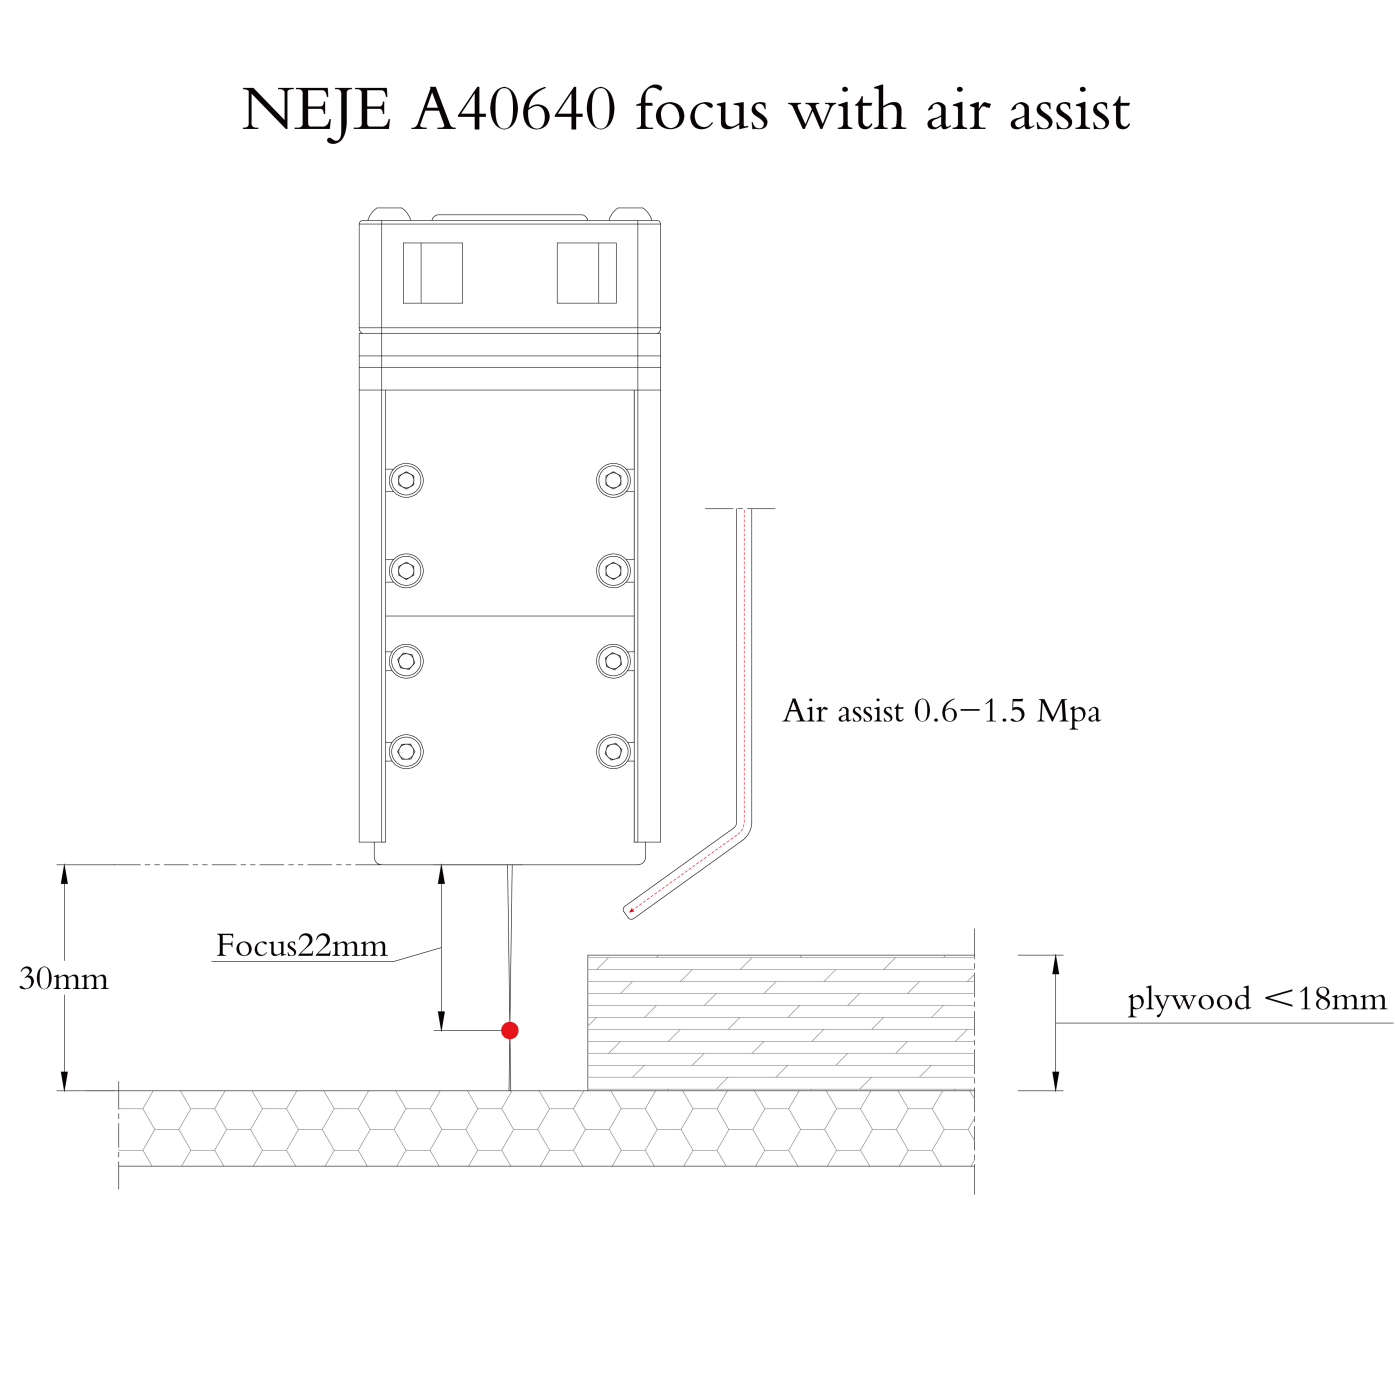
I made the nozzle to extend about 15mm IIRC below the module’s housing skirt and with the fixed focus distance on the A40640 at 20-22mm, that would put the actual focus point at just 5-7mm below the tip of the nozzle… and I don’t think you can get there from here.
I don’t have any idea how much up/down adjustment you have in the mount… but you’d have to get the nozzle’s tip even with or below the underside of your LR toolplate just to get 5-7mm from the workpiece surface. Do you have that much adjustment? Maybe in the router base itself?
Again, I sincerely hope I’m just a senile old man… speaking with no understanding. If so, please forgive me.
I printed up @robertbu 's mount last week. I don’t have the NEJE laser yet though. I did shorten it a bit, so it’s only 60mm tall, but it goes into the mount perfectly.
Don’t worry about it. I can always print another one. I don’t think extra reach will take any time to CAD.
That pic is very helpful. I saw no movers like 17-22mm, but I wasn’t sure where those were measured from.
I still think I am going to be ok. But if not, then this prototype is enough to get the correct measurement. I want to shoot for nothing sticking out past the bottom of the gantry, because the LR has a tendency to sit down when I unpower it.