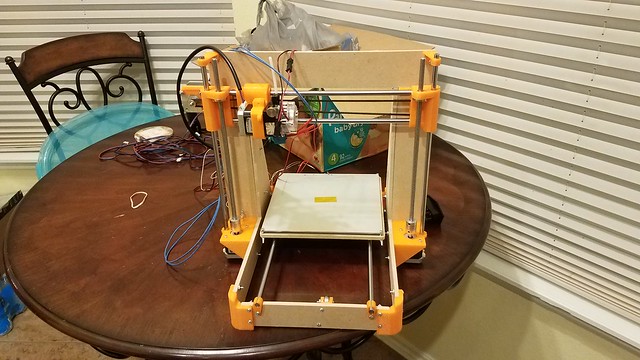
So I decied to start a new thread for my new build. As of now I’m going for a joker themed printer So it will be white, purple and green. It’s going to feature a few things different from my last build.
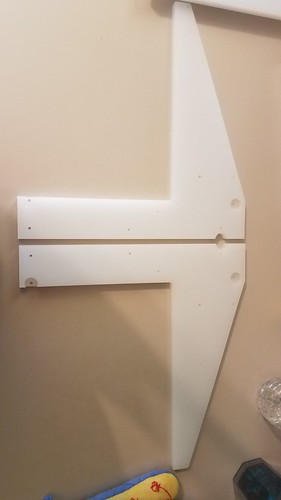
A frame made from 1/2 HDPE cutting boards
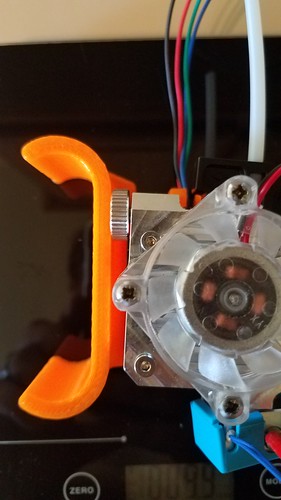
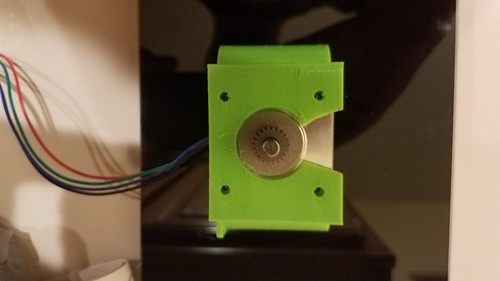
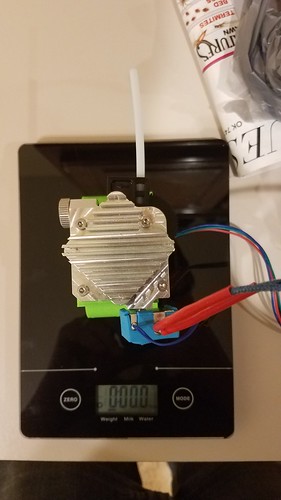
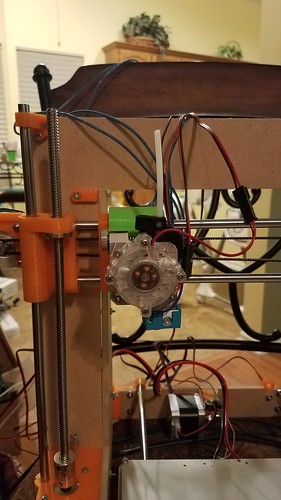
A Titan Aero from E3D
Printinz Zebra build plate
Rambo mini
Using “strap” parts to build the Final machine.
I did not document the "strap’ machine build but I will try to document the final build as best as I can and share the issues and fixes here with the group. Constructive criticism is encouraged. So If you see something I did wrong or have a better Idea please share.
A photo of what the machine looks like in current from.
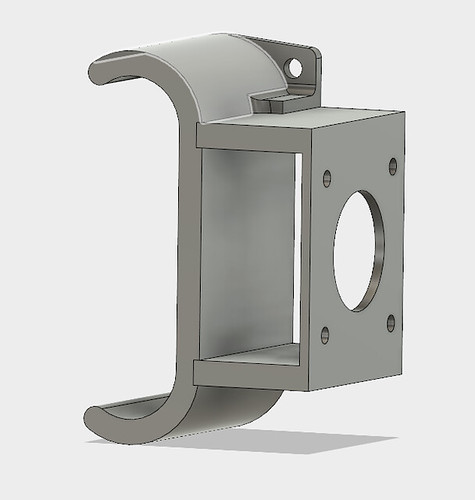
Hi thanks for sharing. I’m about to start cutting my frame as well and will be starting a thread shortly. I had and e3d Bowden extruder that I was going to use on my AnyCubic I3 Mega but it wouldn’t fit so I returned it for a replacement of the aero like yours. I’ve been looking around for a x mounting system but they are all a bit smaller for the mp3dp (ie the distance between the rods is less). I read in your other thread that wanted to expanded the entire X carriage. Can I ask what you used to modify the stls?
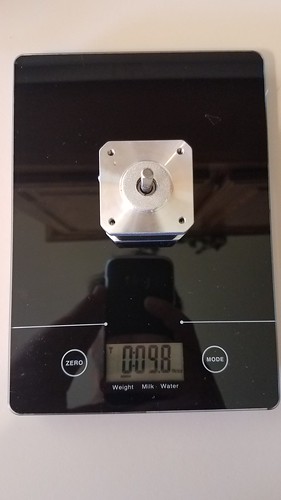
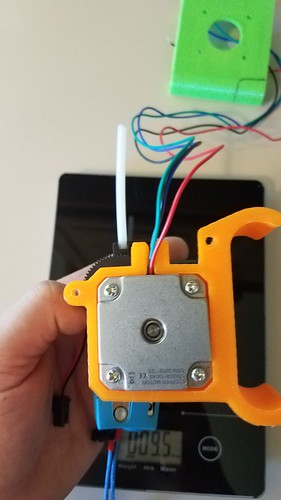
The good news it it weighs as much as a large body Stepper fully assembled.
And shows a decent weight savings over the MK8 fully
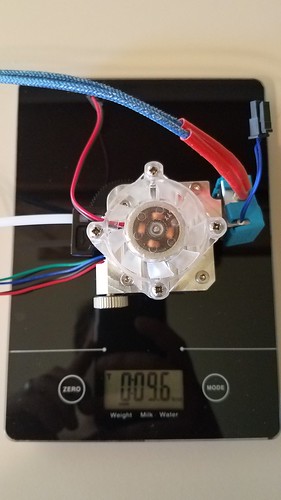
Hopefully I’ll beable to push this around a little faster than I have been with the standard setup.
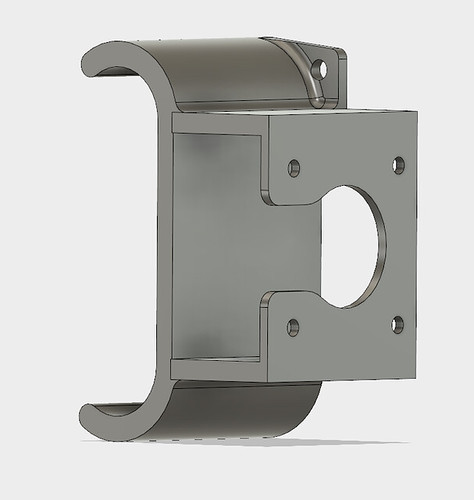
The Bad, it wont really work with the standard mk8 holder.
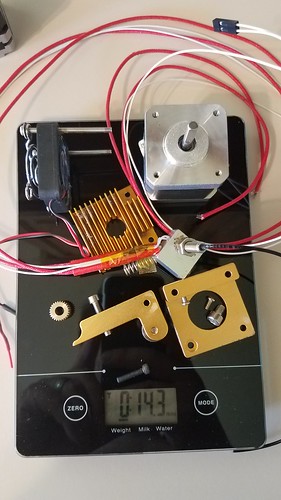
This was my fist attempt to remedy to problem, but it has a small issue of the heat block being to close to the plastic, Sorry I didn’t take a photo of this. But you can see what needs to be removed form the x sled marked is sharpie.
This it for now, I’m going back to figure this out in a few hours, but I’ve got time on the Shopbot at the fablab so i’m running up there to cut the HDPE. Should have photos of that later tonight.
I used fusion 360. I have the x motor and x end stretched, but haven’t printed them yet. Trying to be sure this is the route I will go. I think there’s an easier path. And I should have that molded later tonight.
I just got back from the FabLab. Not sure that HDPE is the best choice for the XY frame or the y bed plate. I probably wont use the bed plate for sure, and just order an alumni one from Amazon, if I can find one that will work.
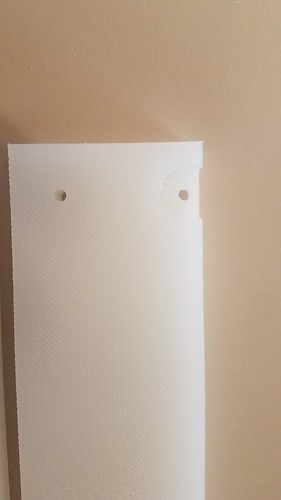
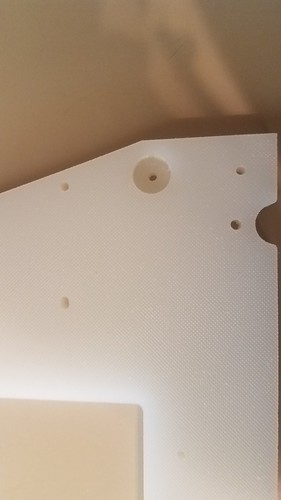
Notice the two holes that have a pocket cut out. You’ll need to do this ONLY if you are doing a 1/2 thickness build. It needs to be done so you bed level knobs dont hit the nuts. Make sure you mirror the pieces instead of a copy. That way when you you do cut it out the pockets face each other. I went 1/4 deep with these.
It’s dinner time, then I’ll get to working on the Aero mount after.
Right now I have it set on S and - on the rambo side. The wires coming off the two outer pins and the middle pin empty on the endstop side, and the motors will only move in one direction.
I haven’t flashed the MP3DP firmware yet. It still on the MPCNC firmware. Will that make a difference?
IIRC, the two outer pins on the endstops never connect. You want the middle one and one of the outside ones. One of the outside ones will be connected until you push the switch, which is what your firmware must be set up for currently. How are your other printer’s endstops wired?