aableson
April 30, 2020, 4:17pm
1
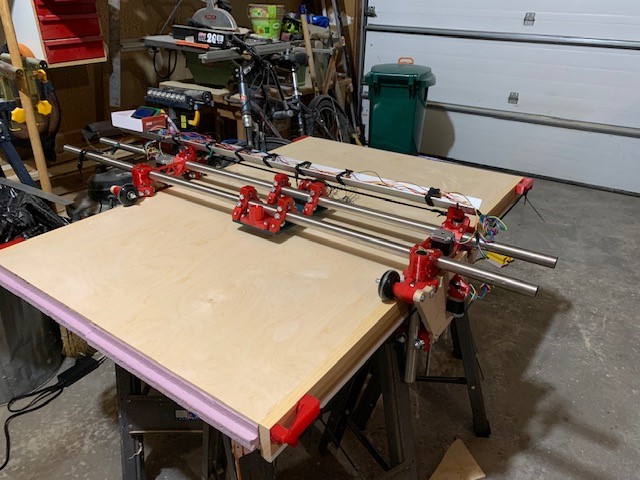
First build complete, using
V1 Kit bolt + Rambo 1.4 kit
personally printed 3D parts
611 plate 3d printed in PETG
Y plate templates 3D printed (in 2 pieces due to their size), then template routed out in 1/2" plywood.
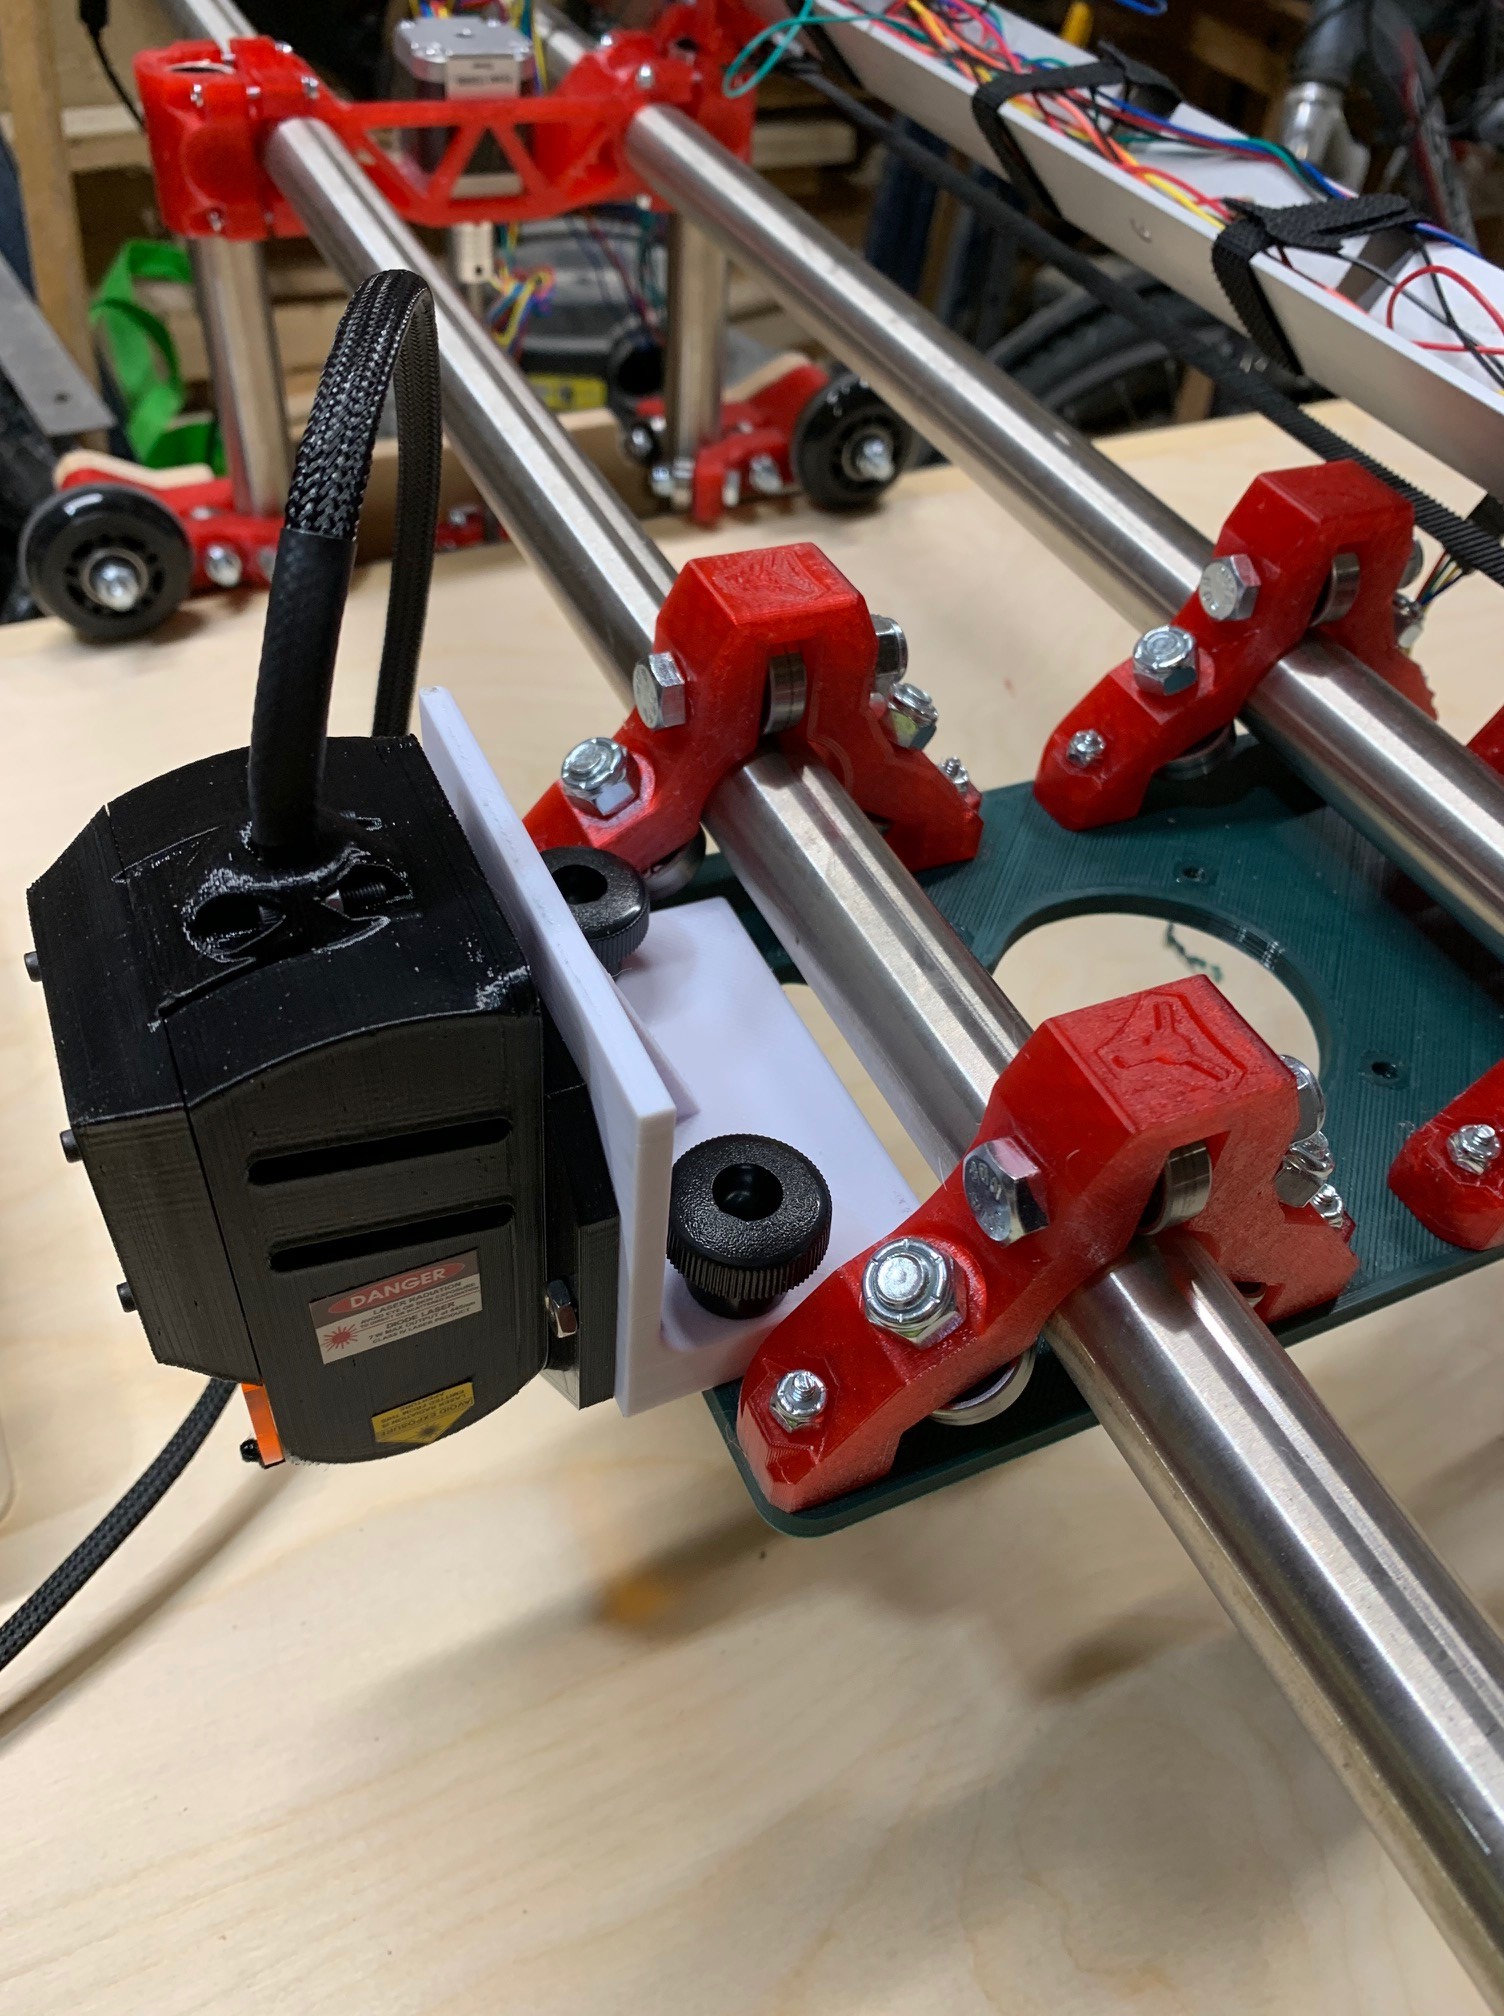
Goals are to have the main plate serve for both a 611 router, and a detachable 7W JTech laser.
Waiting on the 611 router to arrive, and
3D printing brackets to mount the JTech laser, but then have to sort out the wiring connections and firmware updates.
7 Likes
aableson
April 30, 2020, 4:42pm
2
So to get my gotta-try-it-now printing fix, I masking-taped a Sharpie to the main plate and turned it into a low budget 1980s-era plotter.
Low-res gif:
YouTube full resoluton
Some of you might recognize the LowRider Y-plate design.
5 Likes
I made a mount that hangs in my dust collector port. It isn’t interference, but it’s pretty tight and at the speeds the I move with the laser, there isn’t any detectable wobble
3 Likes
aableson
May 1, 2020, 11:05pm
4
Nice! I didn’t think of mounting the laser into the dust port directly: that would have been easier in some ways. Follow ups on your photo:
Was the ampersand in that photo engraved with the laser? If so, very nice!
Also, I like the RAMBO controller box: I saw it or something very similar on Thingiverse and it’s on my print list as well.
For my install, this morning I just finished printing up a mounting bracket for the laser unit that could re-use the dust port mounting holes.
I enlarged the mount holes to 1/4" because I had the matching knob set; makes for easier switching than the tiny screws with nylon nuts.
1 Like
The & was routered out. I’m using the laser to mark the board where letters belong. Kind of a large sign with not-strait lines for some things. Helps make sure everything goes where it belongs.
1 Like