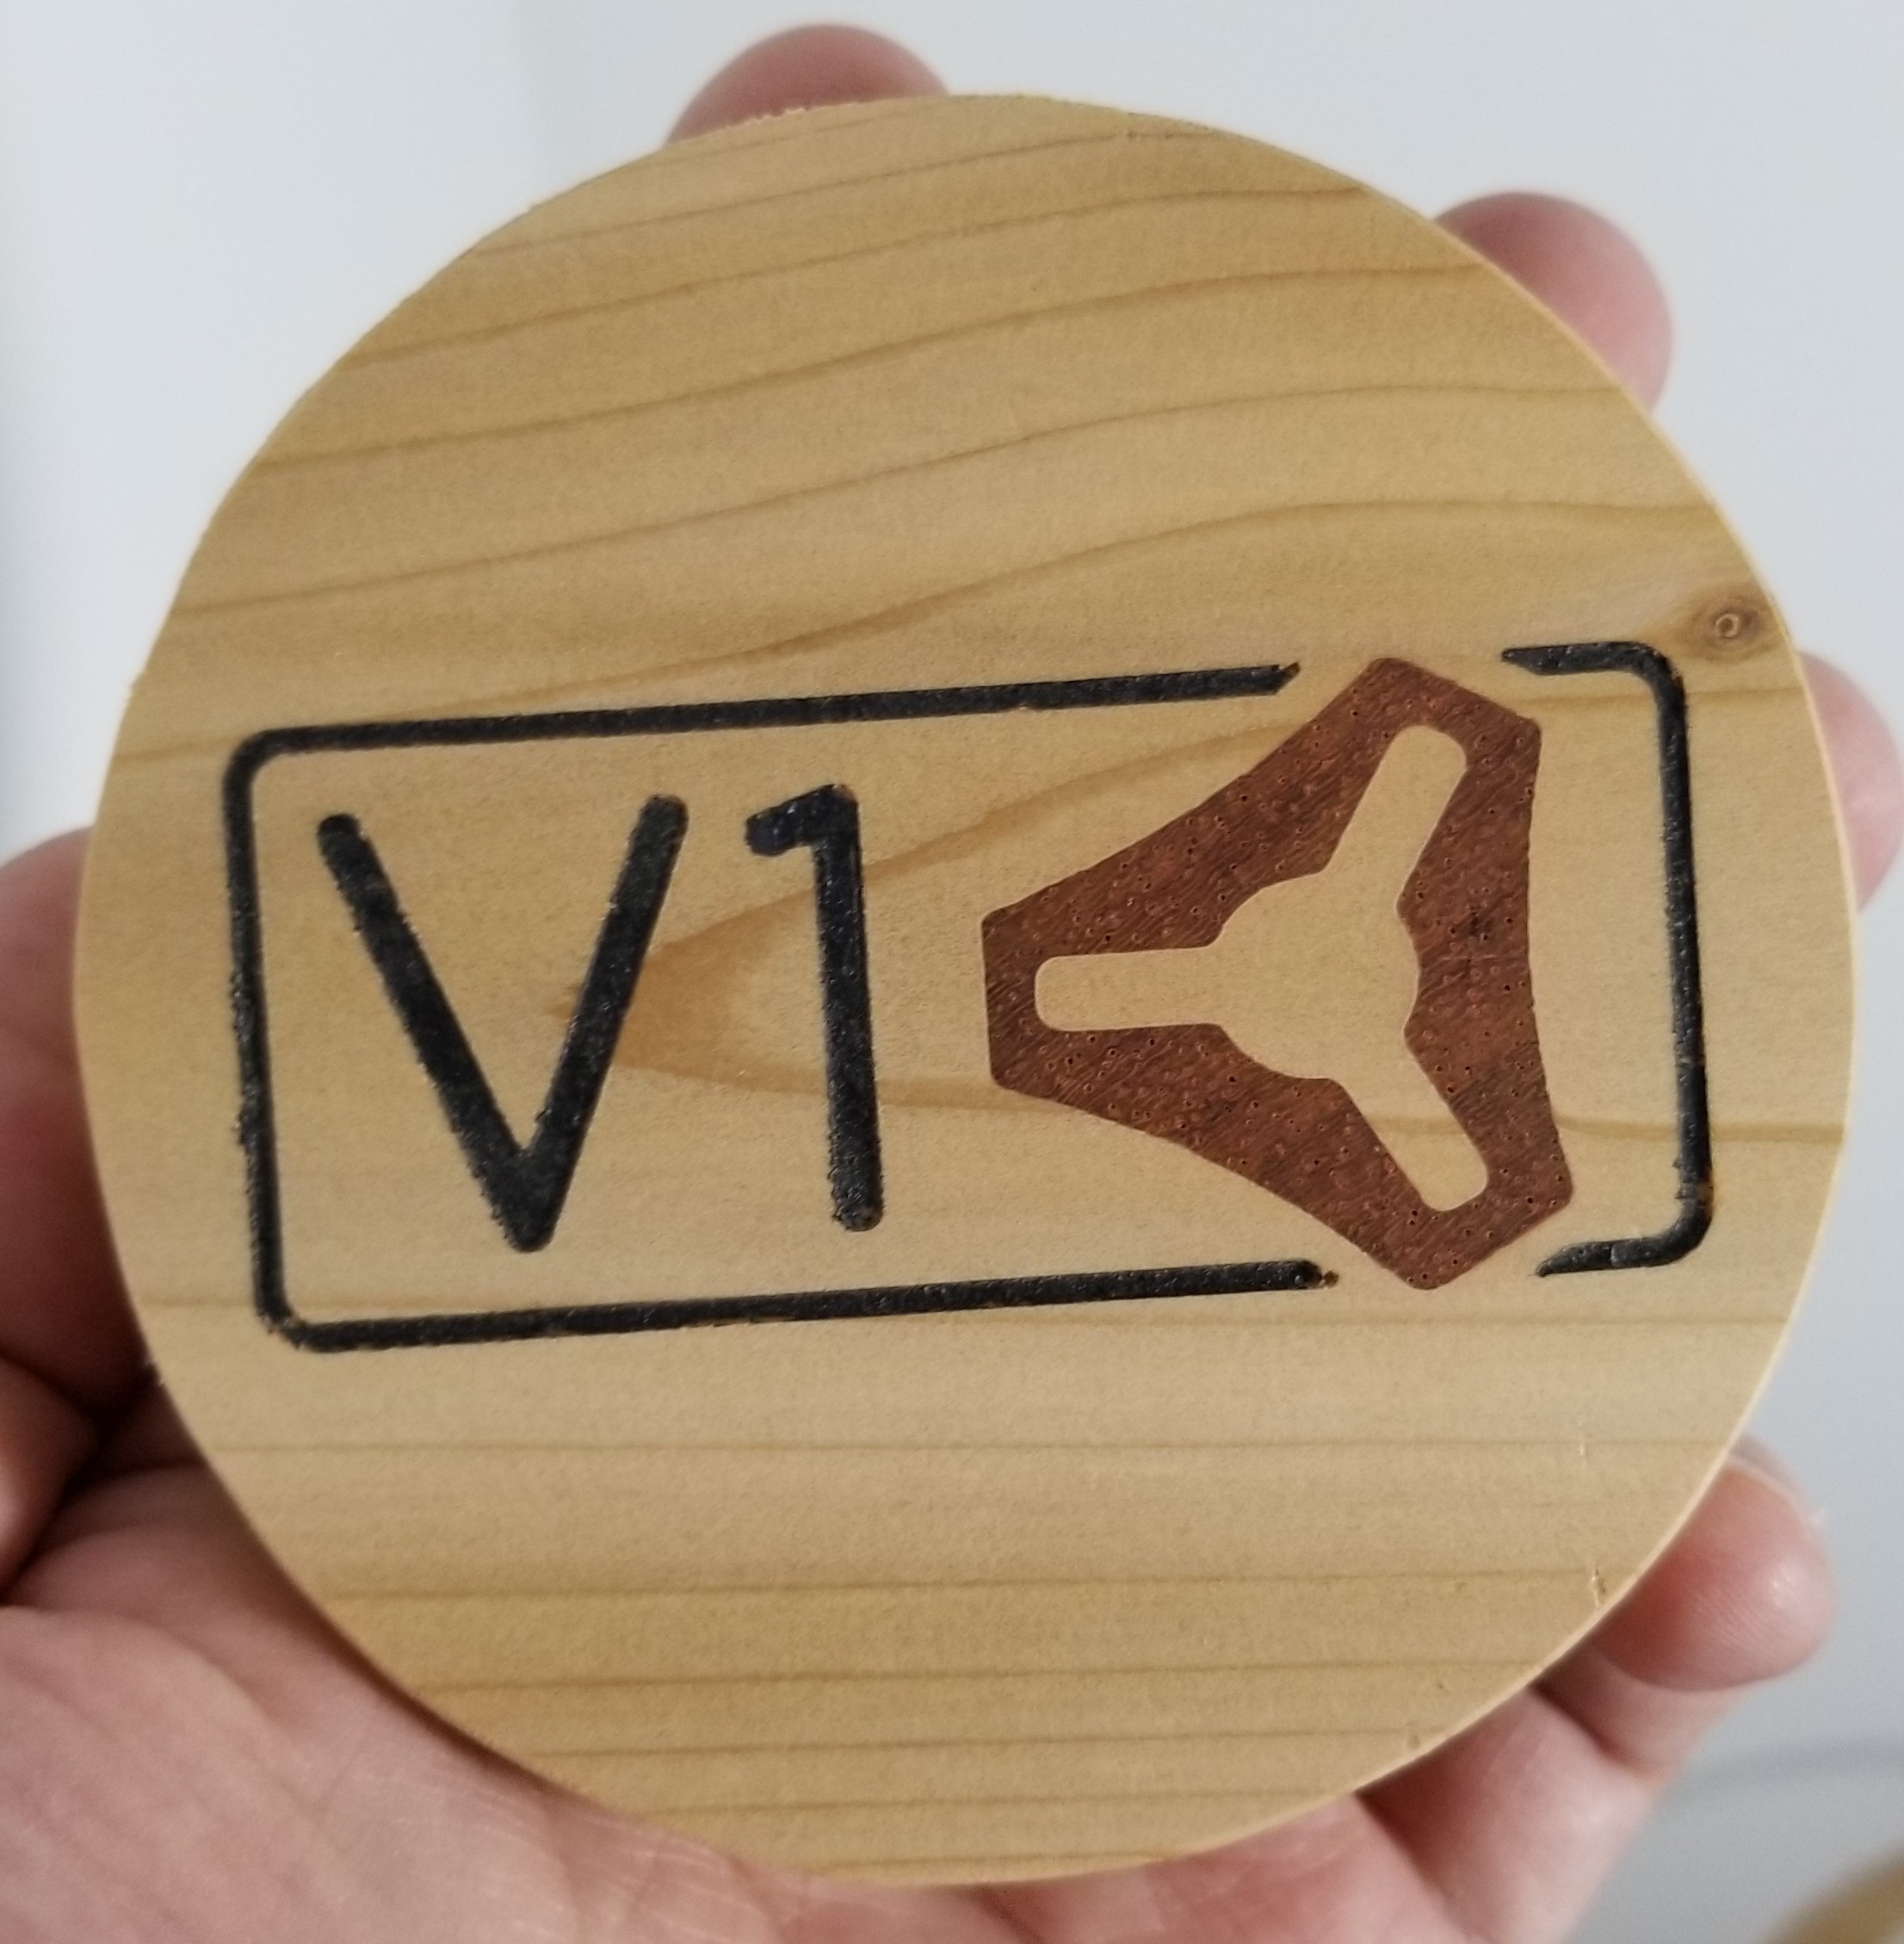
This is a bit smaller than my previous coaster from years ago, at 87 mm or just shy of 3.5 inches. I bought a cedar board that was 3.5 inches wide and shrank the design to fit.
This is cedar with padauk inlay, and for the black letters I cut a channel (same operation as the pocket for inlay, so they are aligned and no extra setup). Then after gluing the inlay plug, clear coat to prevent wicking, then acrylic paint in the grooves, and finally grind off about 0.5 mm to remove stray paint and clean up the inlay.
Currently it has no finish, but I am thinking a polyurethane top coat will help it resist stains.
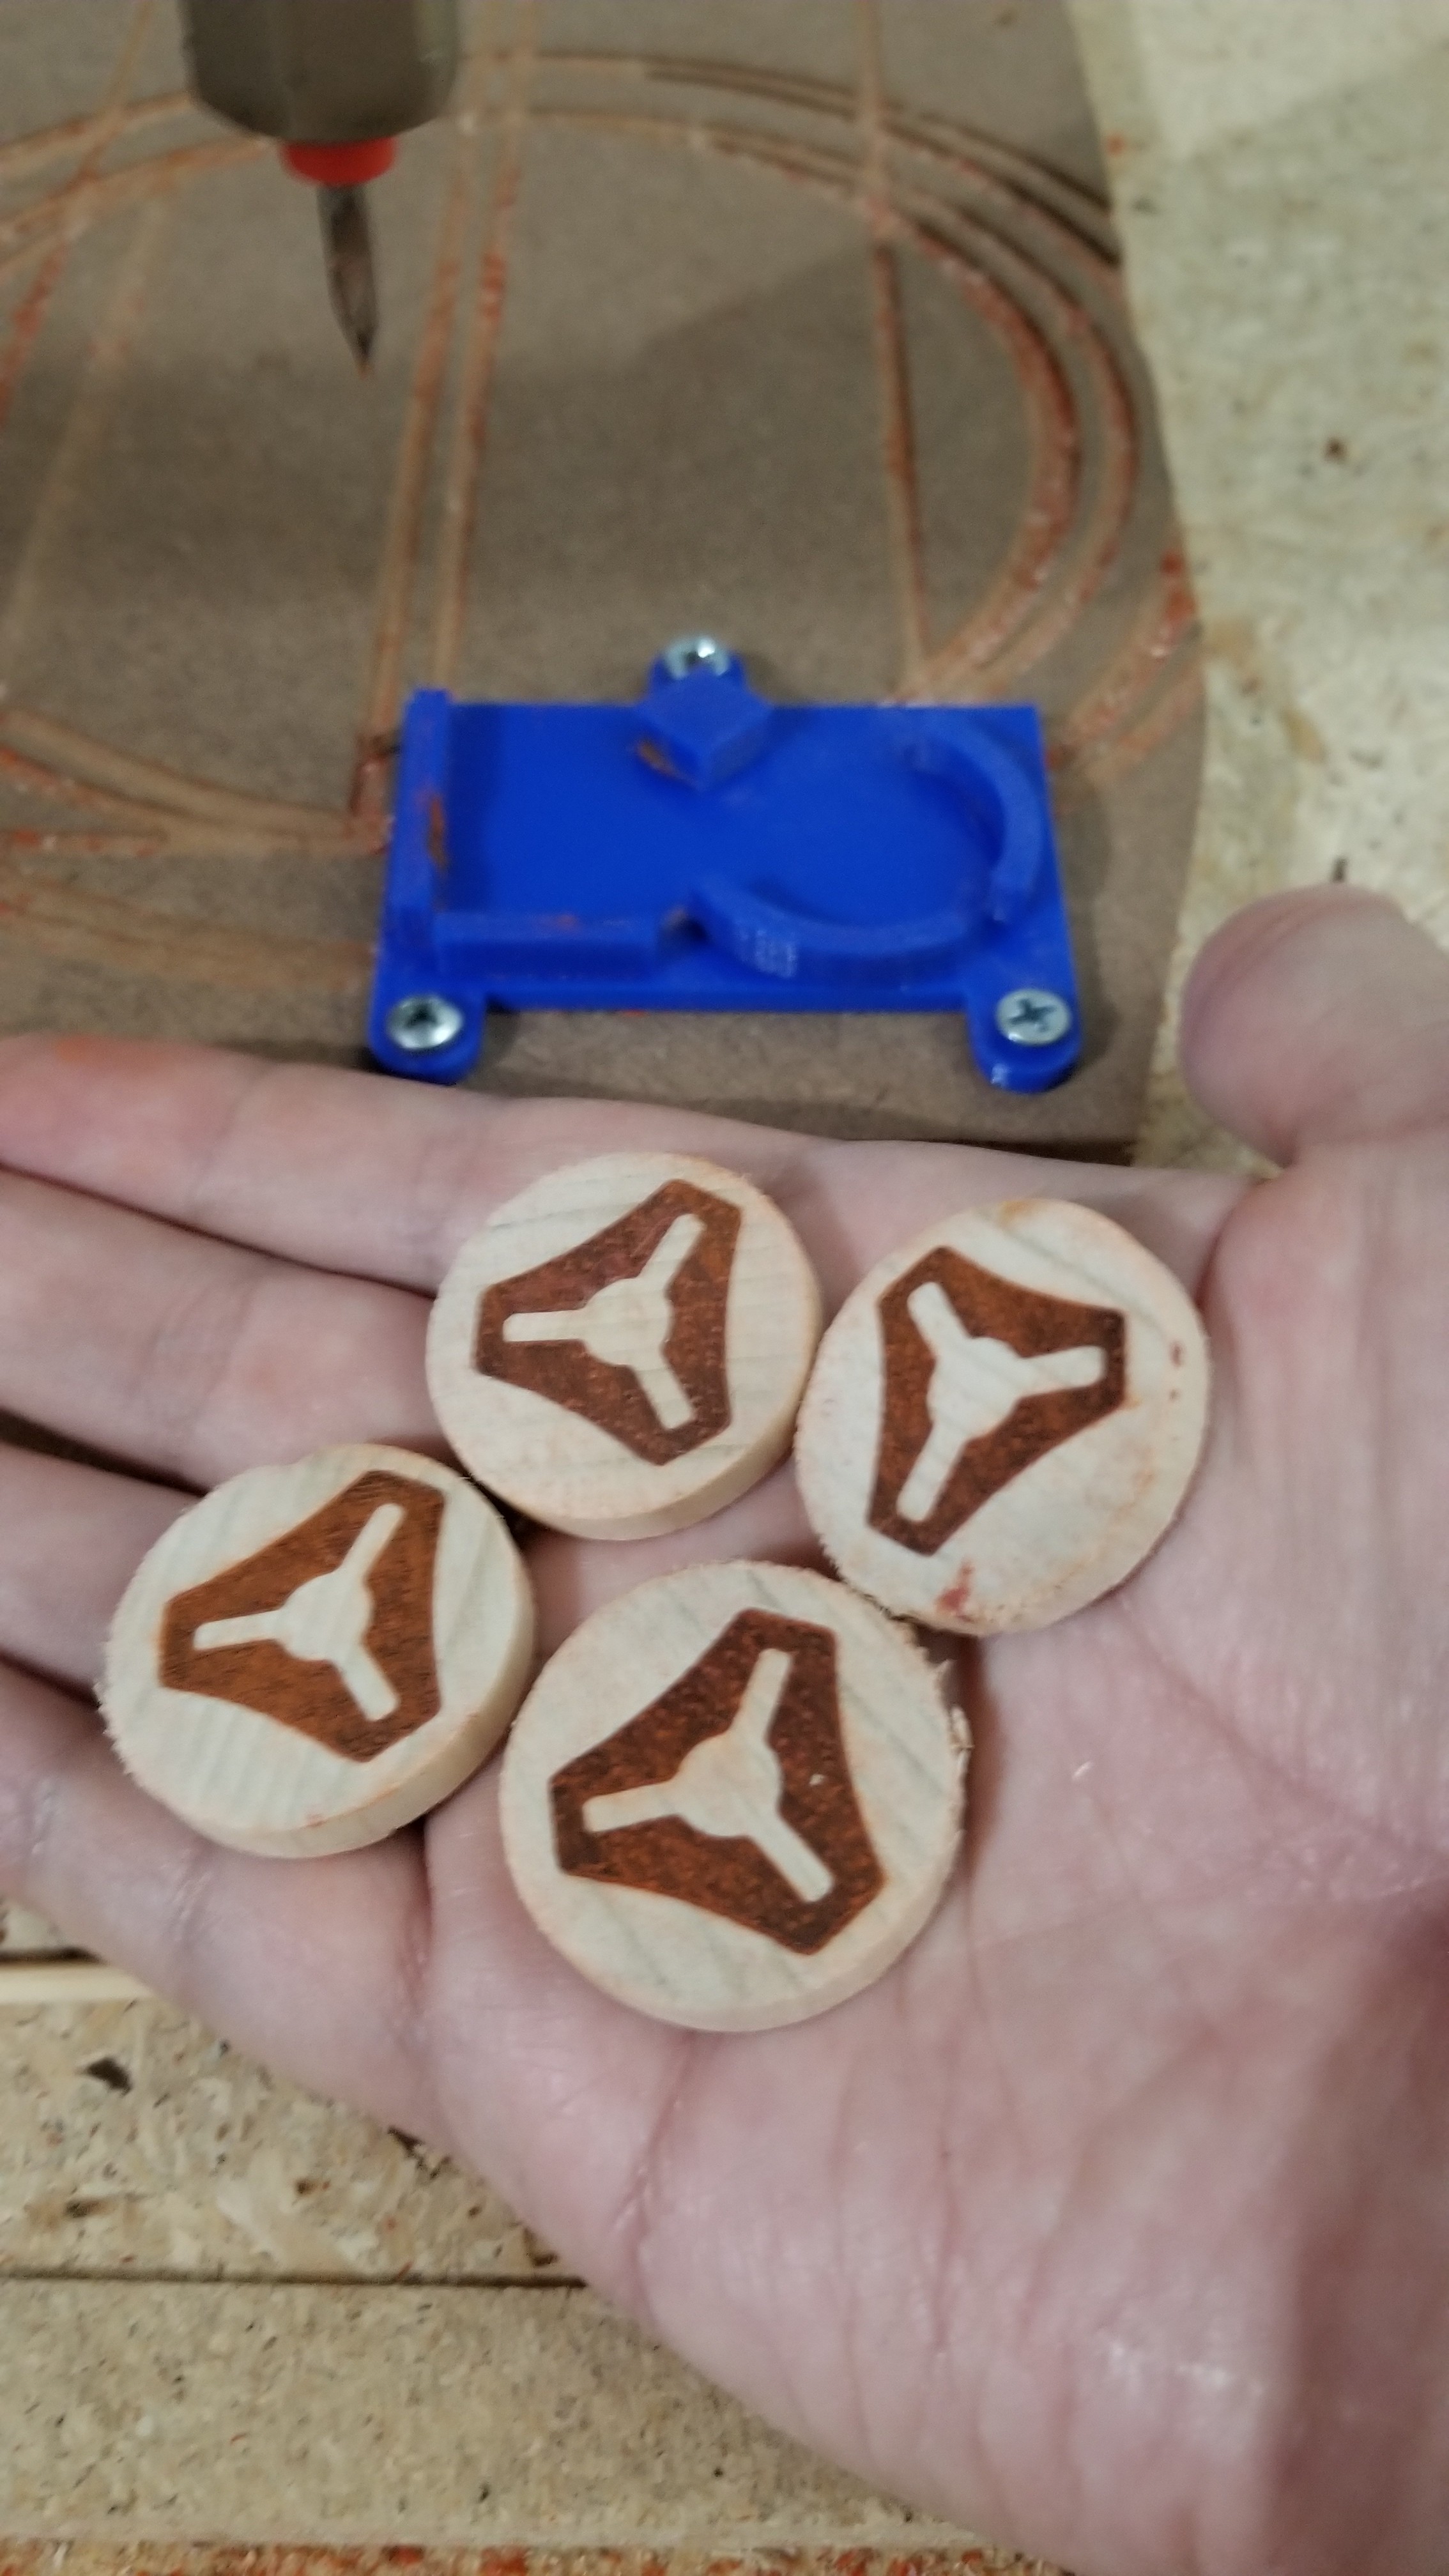
Gluing and everything else takes longer than cutting (3 min) so it seems to me there is not much point to ganging up a bunch to cut at once for more efficiency.
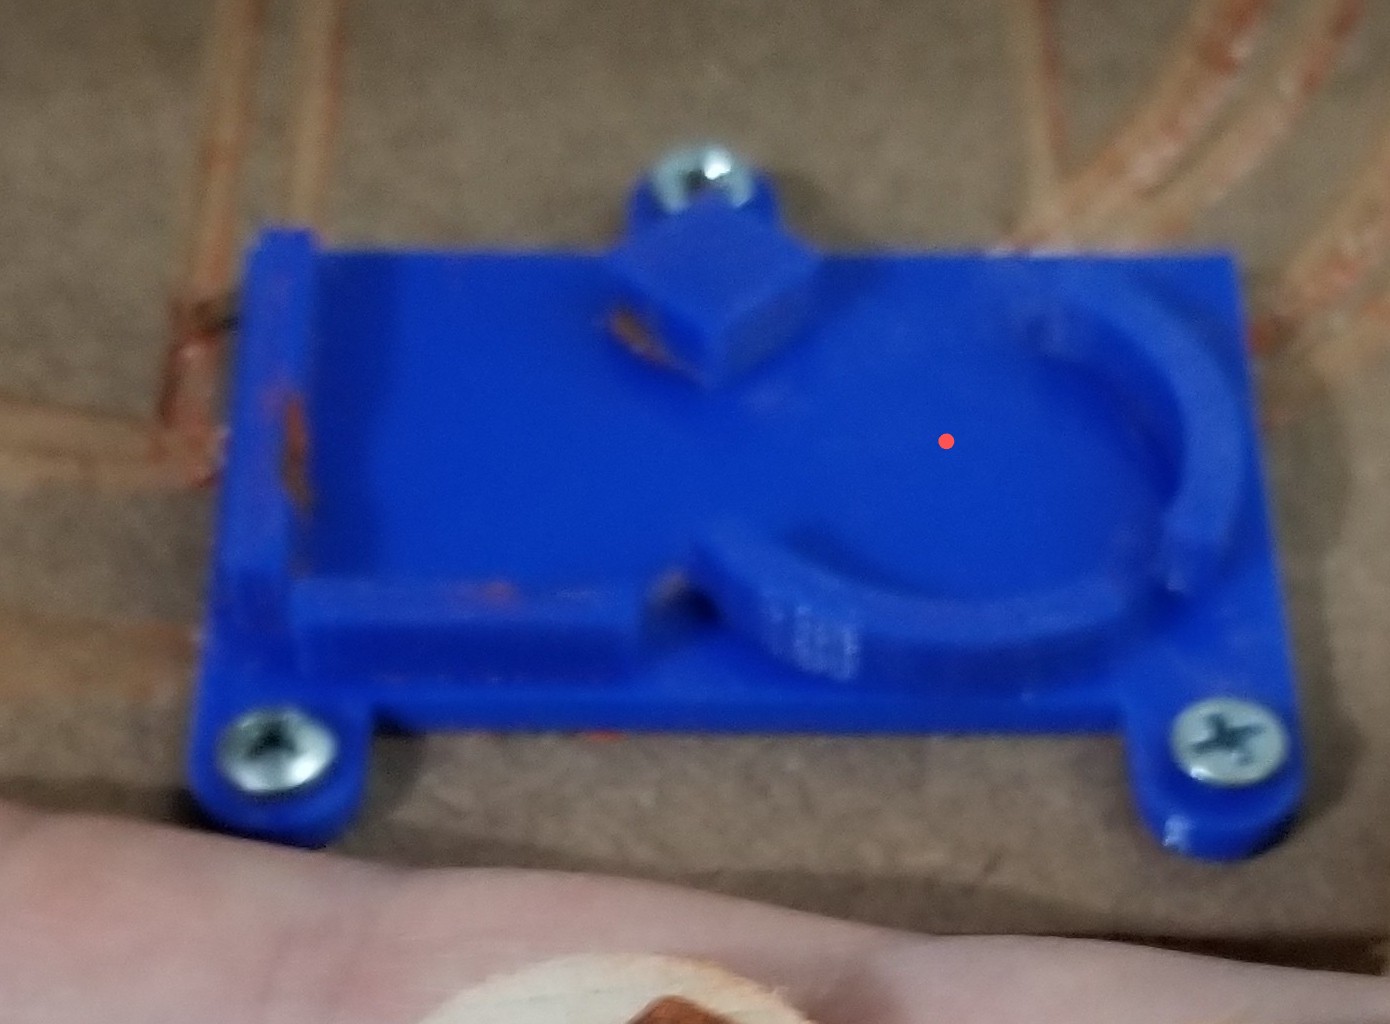
If you’ll humor my armchair quarterbacking for a minute. You could put a hole in the center the size of your bit and use that to set your G92 X0 Y0. Then center the gcode on zero. Or do you have another method for zeroing the XY?
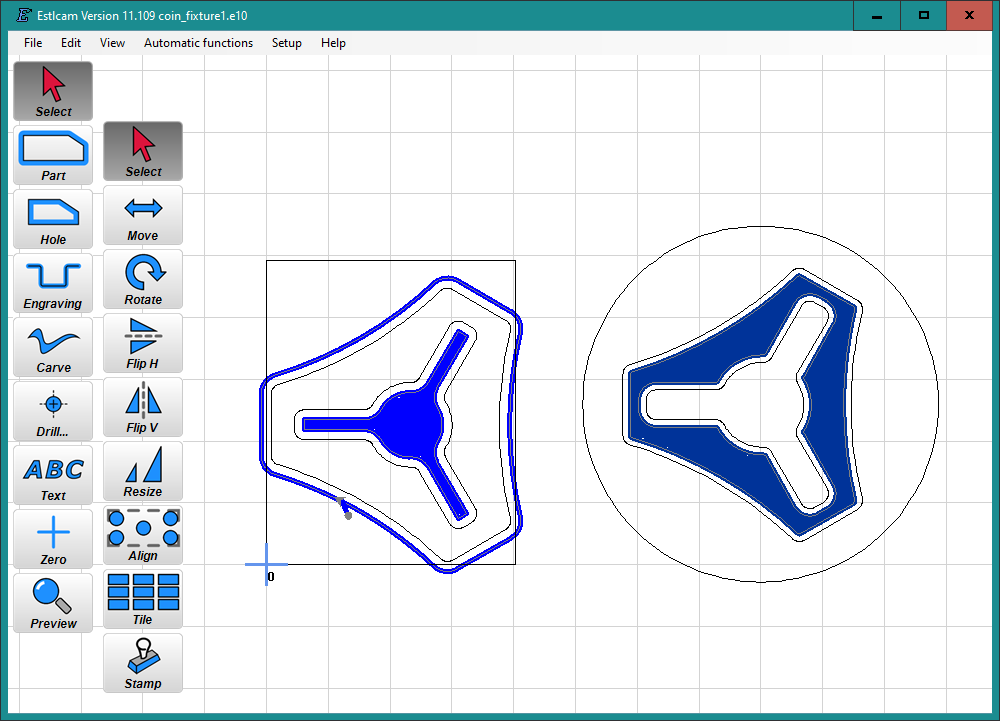
As it is now I use the top surface of the workpiece at the lower left corner of the rectangular piece as the reference. The blanks should be the same thickness since I cut them in batches using a stop on the table saw. The Estlcam job looks like this:
And my standard way of doing things has G92 X0 Y0 Z0 at the beginning of the job.
But as you have noticed, evidently this is not good enough to get the pattern centered in the disc.
I think what you are suggesting is not a bad idea. I could move the origin to be the center of the disc and do only G92 Z0 at the start of each job, and do G92 X0 Y0 only once, before the workpieces are installed. With a feature in the fixture, this could be aligned precisely and it’s quicker if I just have to touch off Z anywhere on the top surface instead of having to align X and Y to the corner on each job.
I’m still trying to understand why it is off. I double checked the dimensions of the model of the fixture against the location of the blanks in the svg, and I didn’t transcribe an error in the pattern. I could just fudge the pattern to reflect the actual location of the blanks, but even if I were to do that, it’s still probably better (easier and more repeatable) to G92 X and Y one time in the center of the disc and only G92 Z at the start of each job. Or better yet, since the thickness of the blanks is consistent, include Z in the one-time setup and then each job is just reload and press start.
I was also thinking I ought to use the ‘diagonal flip trick’ to minimize sensitivity to skew, but the patterns are small enough that it probably won’t make a difference.
Oh, I see what you’re doing. Yeah. It seems like it should be very rigidly set. I’m not sure where the error is. It’s hardly noticeable, and I bet in your hand, even less so.
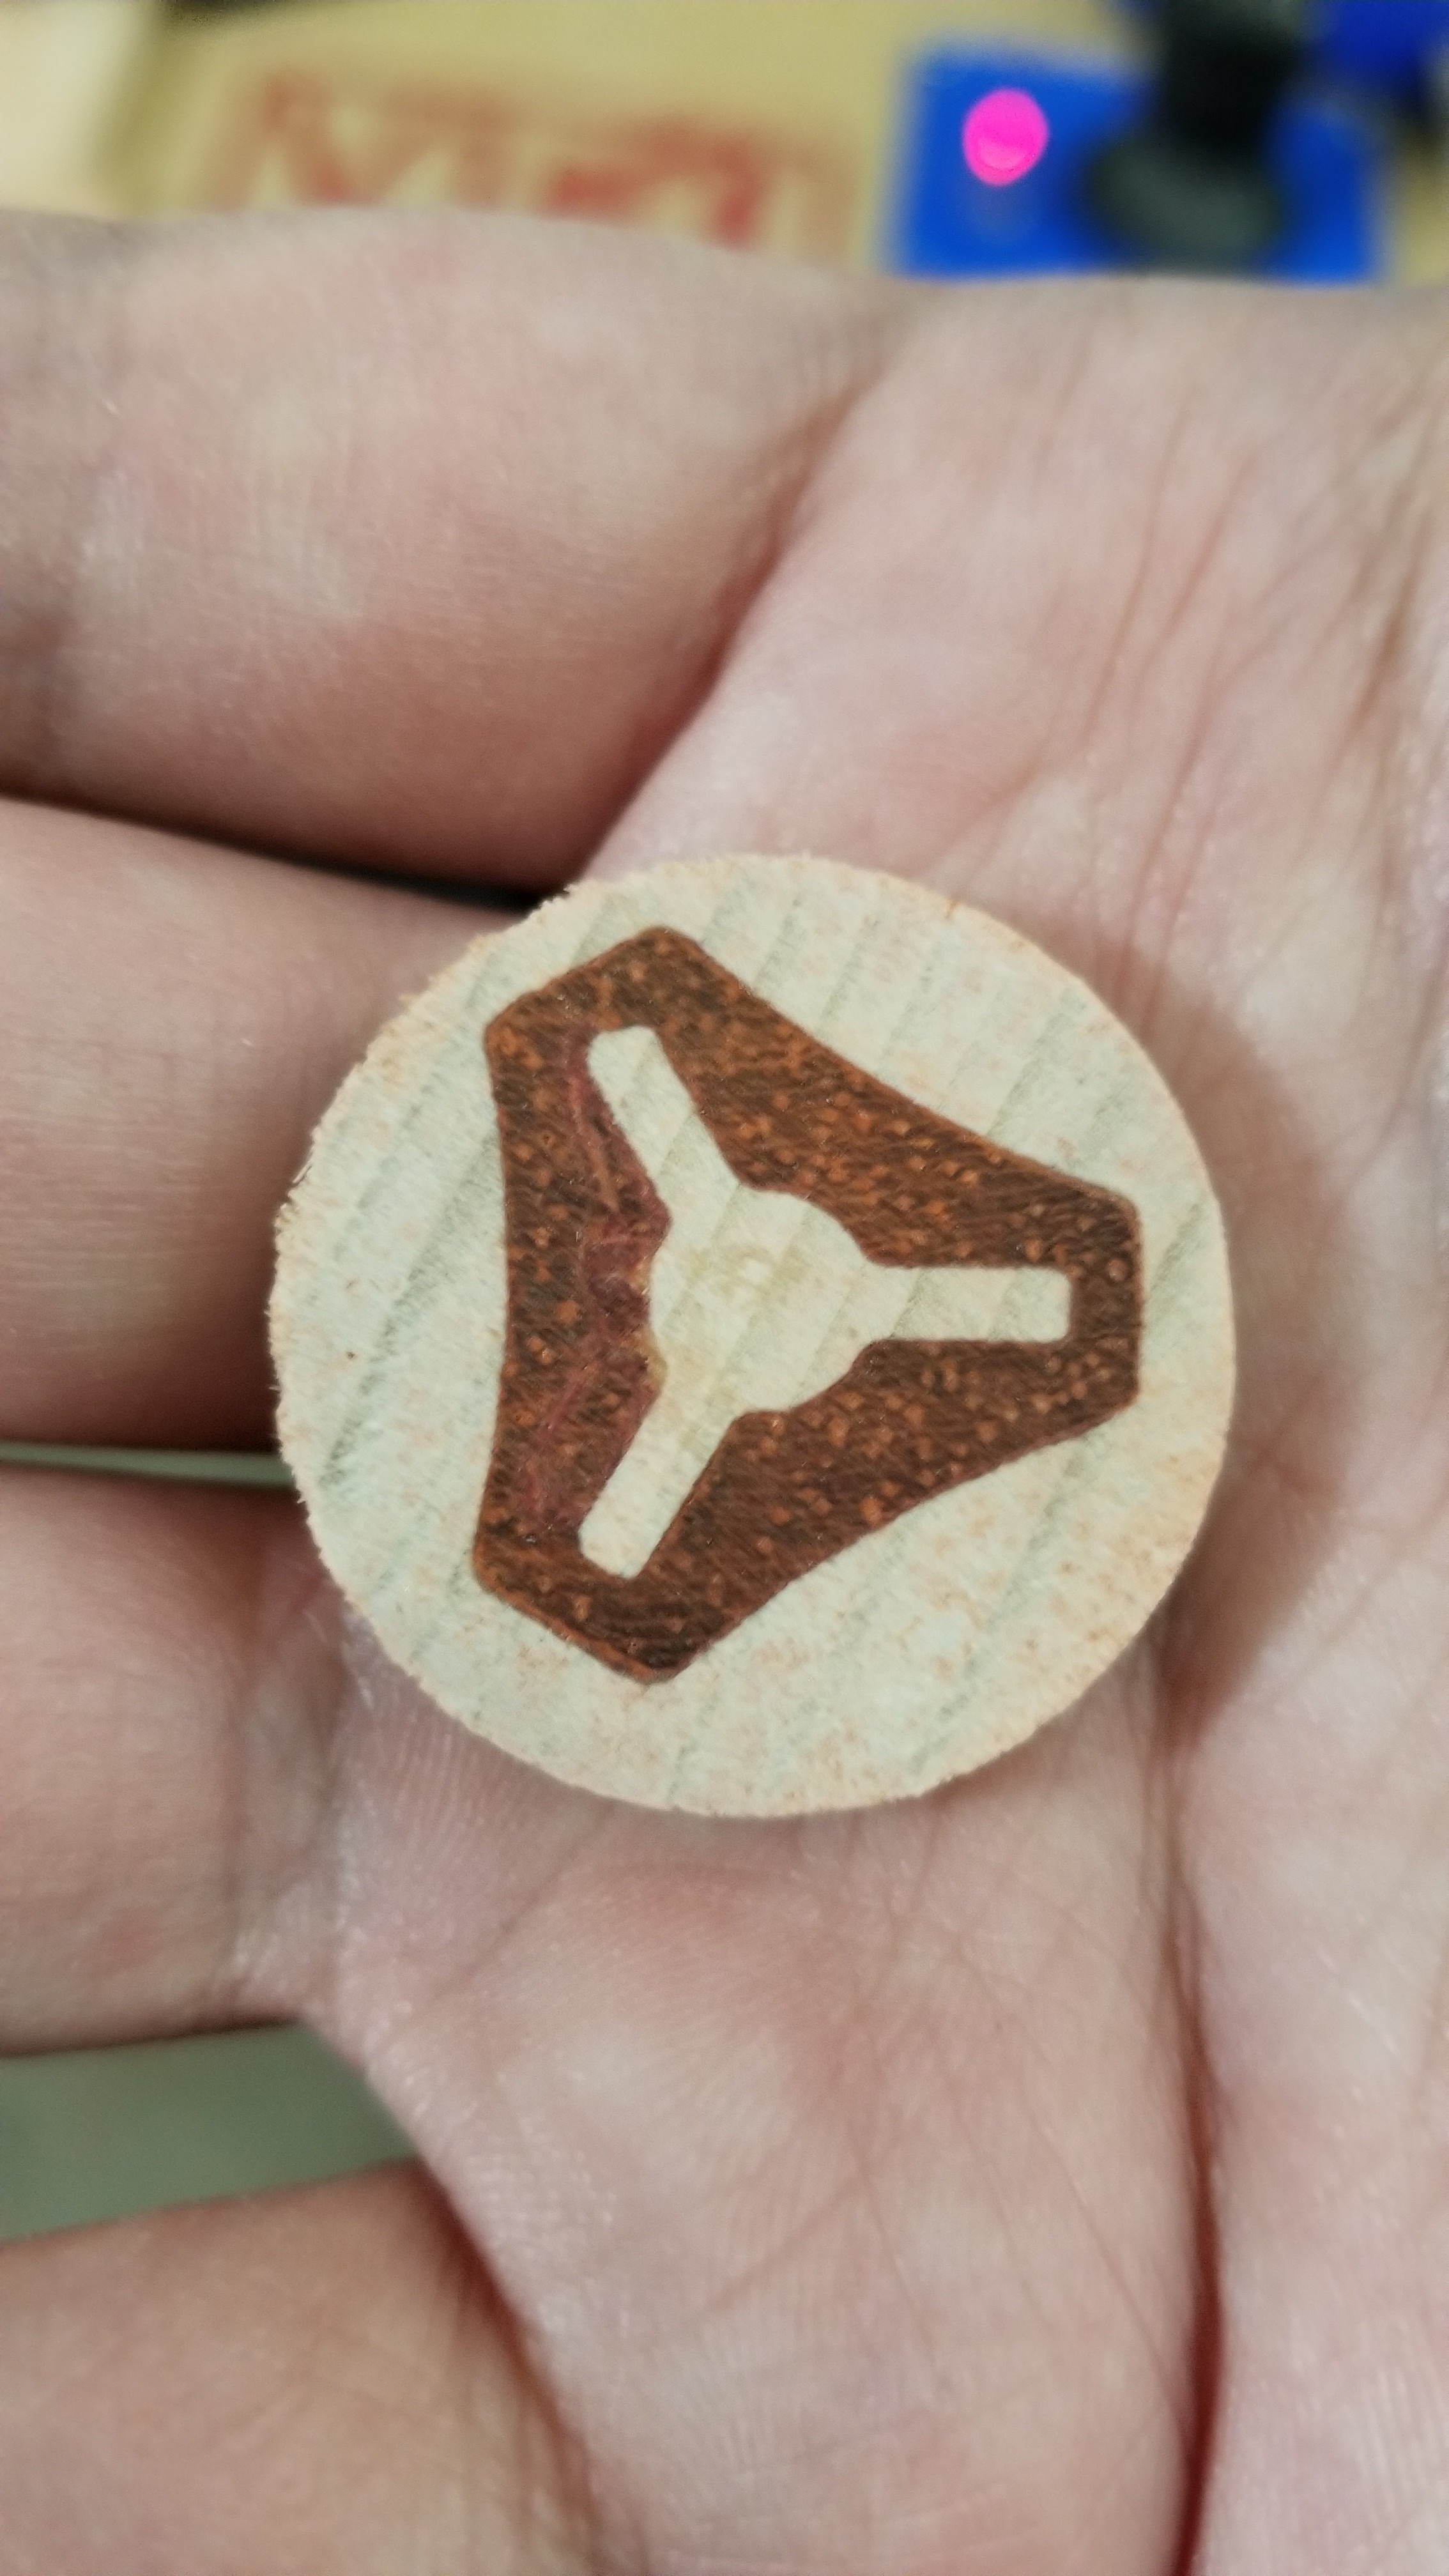
Also since I still have tear-out, being off-center is okay since I can pick the orientation so the inlay is away from the tear-out. If I sand down the coin on that side it fixes both.