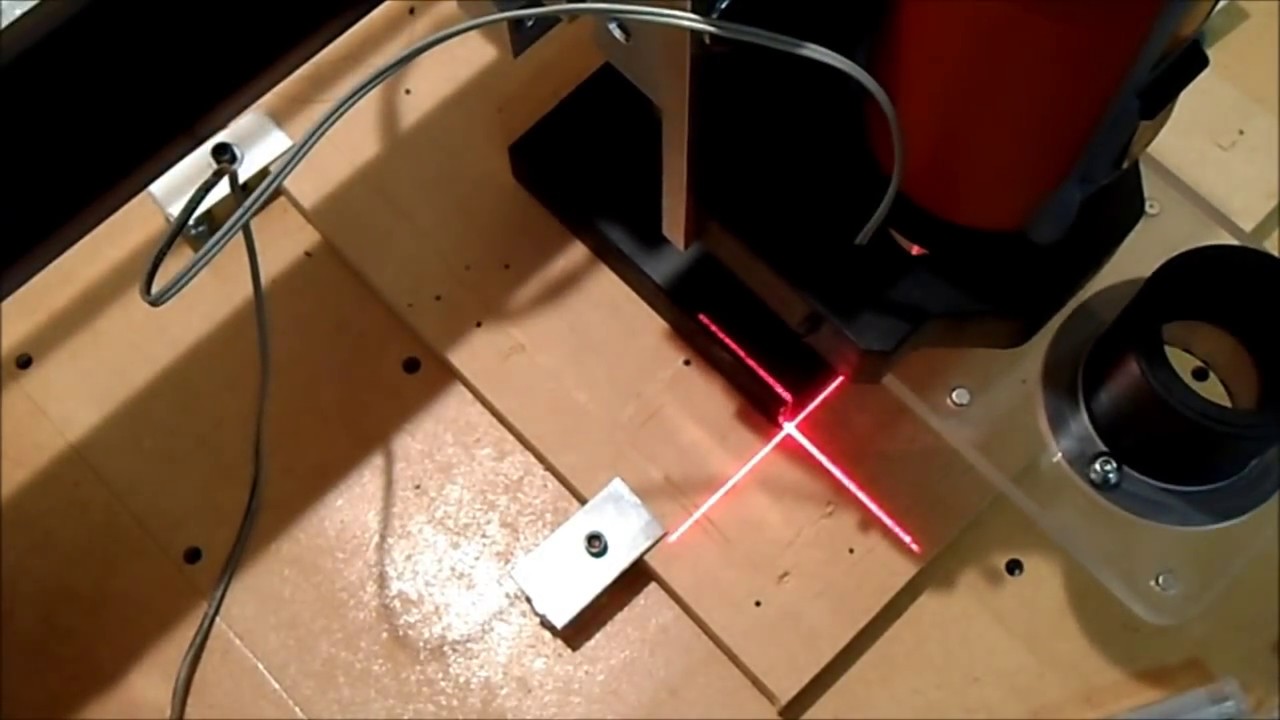
thoughts? i am thinking of doing something similiar but not have the batteries and swith on board(less weight) i would just run the power wires up with the router power and have the power and switch off to the side somewhere. I mostly do CNC flags so I just need a ball park.
He says it’s not meant for precision alignment, I wonder how useful it actually is? …Maybe it is really nice to have, idk.
precision is one of the words that means many things to many people, as an aircraft mechanic precision means if it worked, but when talking to a machinist they had a small heart attack when i said its within an inch, its good enough lol.
i orderd the lasers, they are very cheap, its something i miss about my laser engraving days, it would have a red dot you could just line up on a corner and go.
I tried my own version of the crosshair laser. My first attempt failed, and I’ve got around to another version. The problem is mounting and alignment. I attached my laser to the router mount, and turned out to not be perfectly parallel with the router. That meant the focus point on the spoil board varied by router height and material height. The solution in my head was to mount the laser to the core rather than the Z axis, and to add some adjustment screws for fine alignment. With all its curves and texture, the core does not provide a simple, clean surface for a mount. My though was to replace a Core Z clamp with one that had an extended surface.
If I where to do this. I would do the cross laser, mounted to the laser module and adjusted to be correct at the focal distance of the laser. Then on my laser jobs I would probe to find the material height and then move the laser up by its focal length. Then move the cross to my starting position.
This method would assure that your have the right cutting distance and remove the need for a complicated mounting system to ensure that your low power laser and high power laser are aligned for the entire z motion of the machine. Plus the whole system could be removed when the laser is not connected.
I agree with the, “is this really useful” question.
When I align my spindle with where I want it to start, I just lower the spindle so that the end mill is ~1mm from the top of my workpiece. Then I move it around until the end of the endmill is lined up on the corner or center of the part I want to mill.
I’m not sure having a laser shot at the work surface would be any more accurate then using the end mill itself.
Sorry please disregard my previous post, I misunderstood the application. I thought this was for using a laser pointer to align a cutting laser. I agree with @niget2002 I don’t think using a laser to align a spindle would be all that helpful. At most I would use one on an x truck and y truck to make sure my material is square with the machine. But I think a fence would work better.
If you have a 1/4" bit on the router, it is hard to get a precise placement. For example, I had some stock pieces I cut out using the table saw and some stops. I wanted to use the CNC to route some features into the blanks. I found that if I was .5mm off, I could tell in the finished piece, and I could not be more accurate than that with a 1/4" flat bit. I could get an accurate placement if I started with a 1/8" chamfer bit, but then I had the hassle of swapping bits and collets.
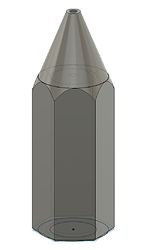
My failed laser attempt was my first try at a more efficient solution. My eventual solution was a pointed cap with the tip of a T-pin inserted. It threads onto the bit and gives a precise point for alignment.
I like that idea with the T-pin.
I did this one awhile ago. Works ok, but I think I needed to do something to snug the lasers in place. Maybe it was the vibrations from the router, but they’d twist around and not be in alignment over time. I put the STEP file on the Thingiverse page if you’re interested as a starting point.
C

