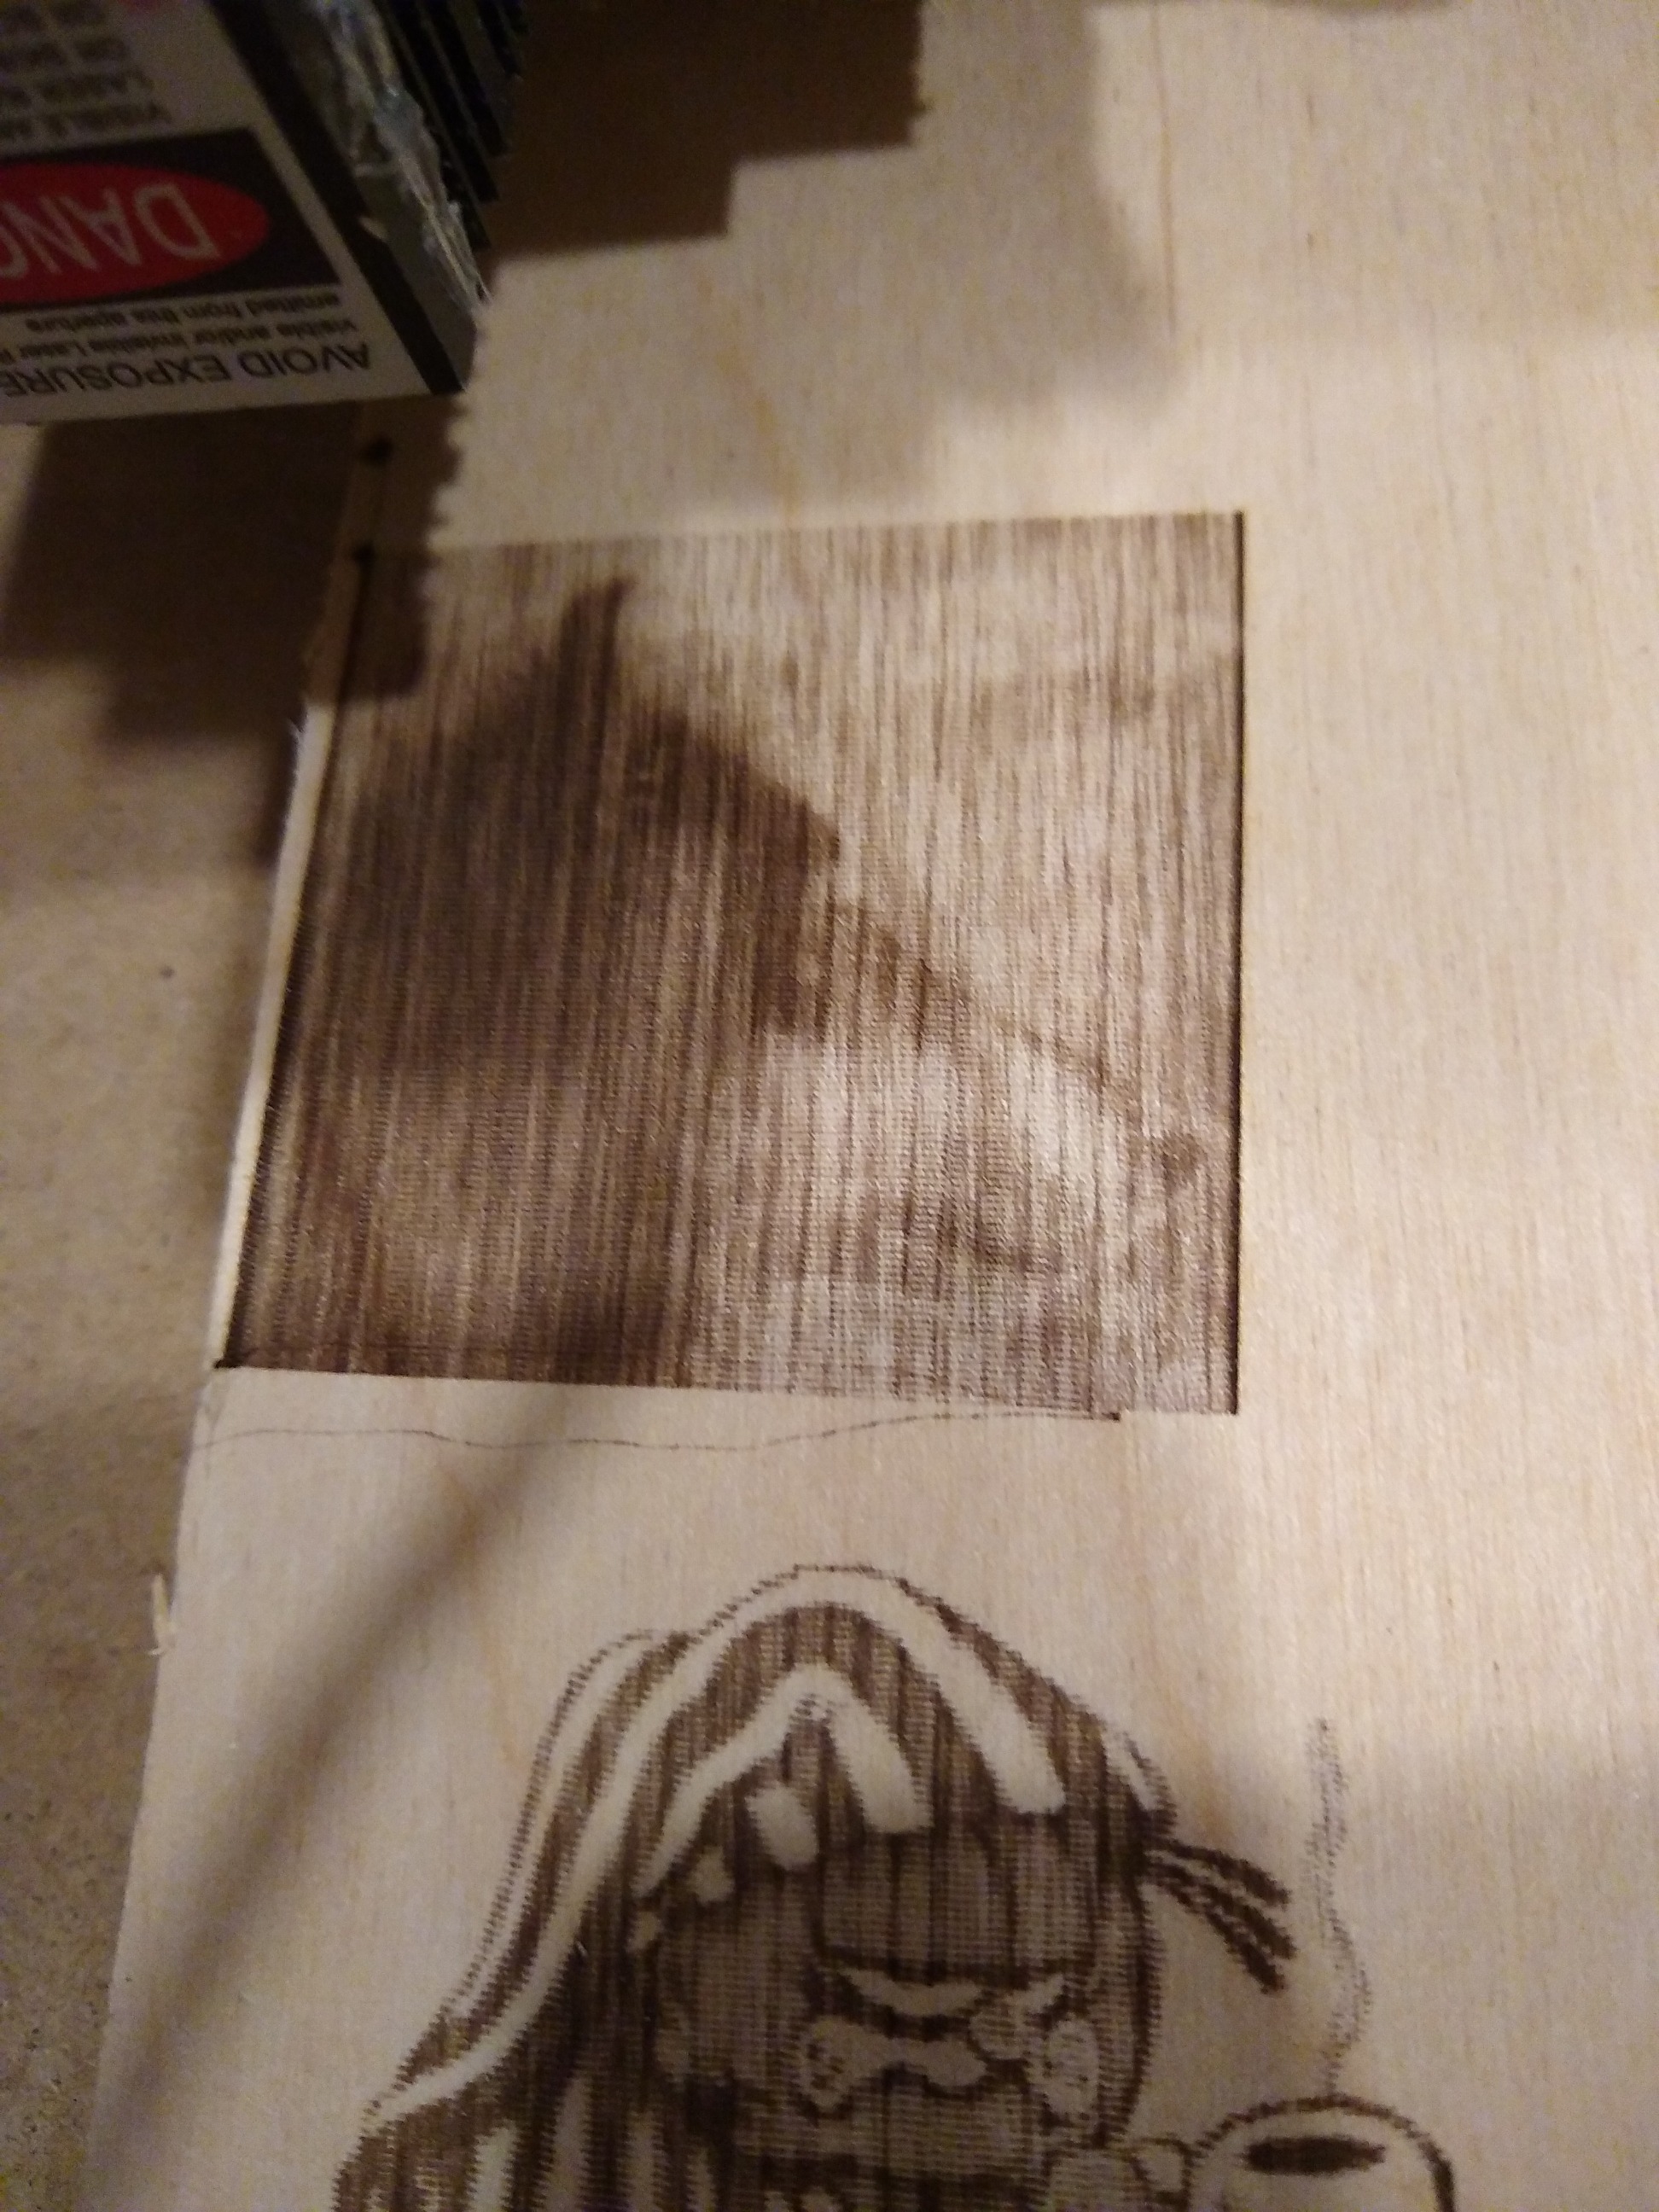
Tuning my laser setup on the LR2 and I tried doing the Garfield greyscale and a photo I flipped to greyscale in GIMP. I used ImagetoGcode_V1.3 with my burn speed set at 31 here are the results:
Beam has been focused and these aren’t true test files just greyscale images I am trying at various speeds to see what works. I’ve got to hunt down some solid test files to help me tune speeds and strengths better.
The two big things that will affect laser burns are the burn speed and the laser strength.
Since you’re wanting to do greyscale, you can’t really just ‘increase’ the laser strength, so your only other option is to slow down the speed.
What power laser did you go with? I have used two, a 3w and a 7.5w. The 3w had to run at a pretty slow speed for most burns in wood to get a good darkness.
To some extent, the stepover will affect darkness too, but mostly only affects burn time. I think LightBurn likes to start with a .1mm stepover. Which looks really nice, but takes Forever to run. Most burns I do now I run at .2mm or .25mm stepover. Your laser strength can affect this too as more powerful lasers typically have a wider beam. You can get away with a slightly larger stepover.
It’s a 15W eBay special. I suspect it’s really just an overdriven 7.5W. I’ll try running the same images through Lightburn and tweaking the stepover and speeds and see what I get.
I have played with my laser for several weeks now, and can say that greyscale is pretty much not happening on normal materials (wood and other non homogeneous stuff anyways). If you want more consistent results you pretty much have to work on image editing (mainly for contrast and brightness) and use dithering. Dithering will give consistent results on a variety of materials because of how it works. You get discrete ‘black pixels’ vs varied darkness, which means the harder to burn grains will look the same as the easy burning grains. That is also why greyscale always looks like wood grain… non homogeneous materials will always look this way using greyscale. Even if you have a 30w co2 laser, it has no way of telling itself "less power as we move over this lighter grained area”. That doesn’t matter with dithered burns though… black is black and white is white. You can get some good looking dithered images though, if your laser is well tuned those pixels can be as small as 0.1mm.
All that said, there may be very homogeneous laserable materials out there I am not aware of. Fun ones anyways, other than like paper. Greyscale burns might look ok on something like that, but no Cnc needed to do images on paper.
Narrowing in on the banding issue. I am still using the Chinese PSU that came with my laser and there is some chatter over on the Lightburn Forums and a few others indicating that this may be the problem. I should be able to drive the laser using either the bed or extruder connections on the SKR Pro yes?
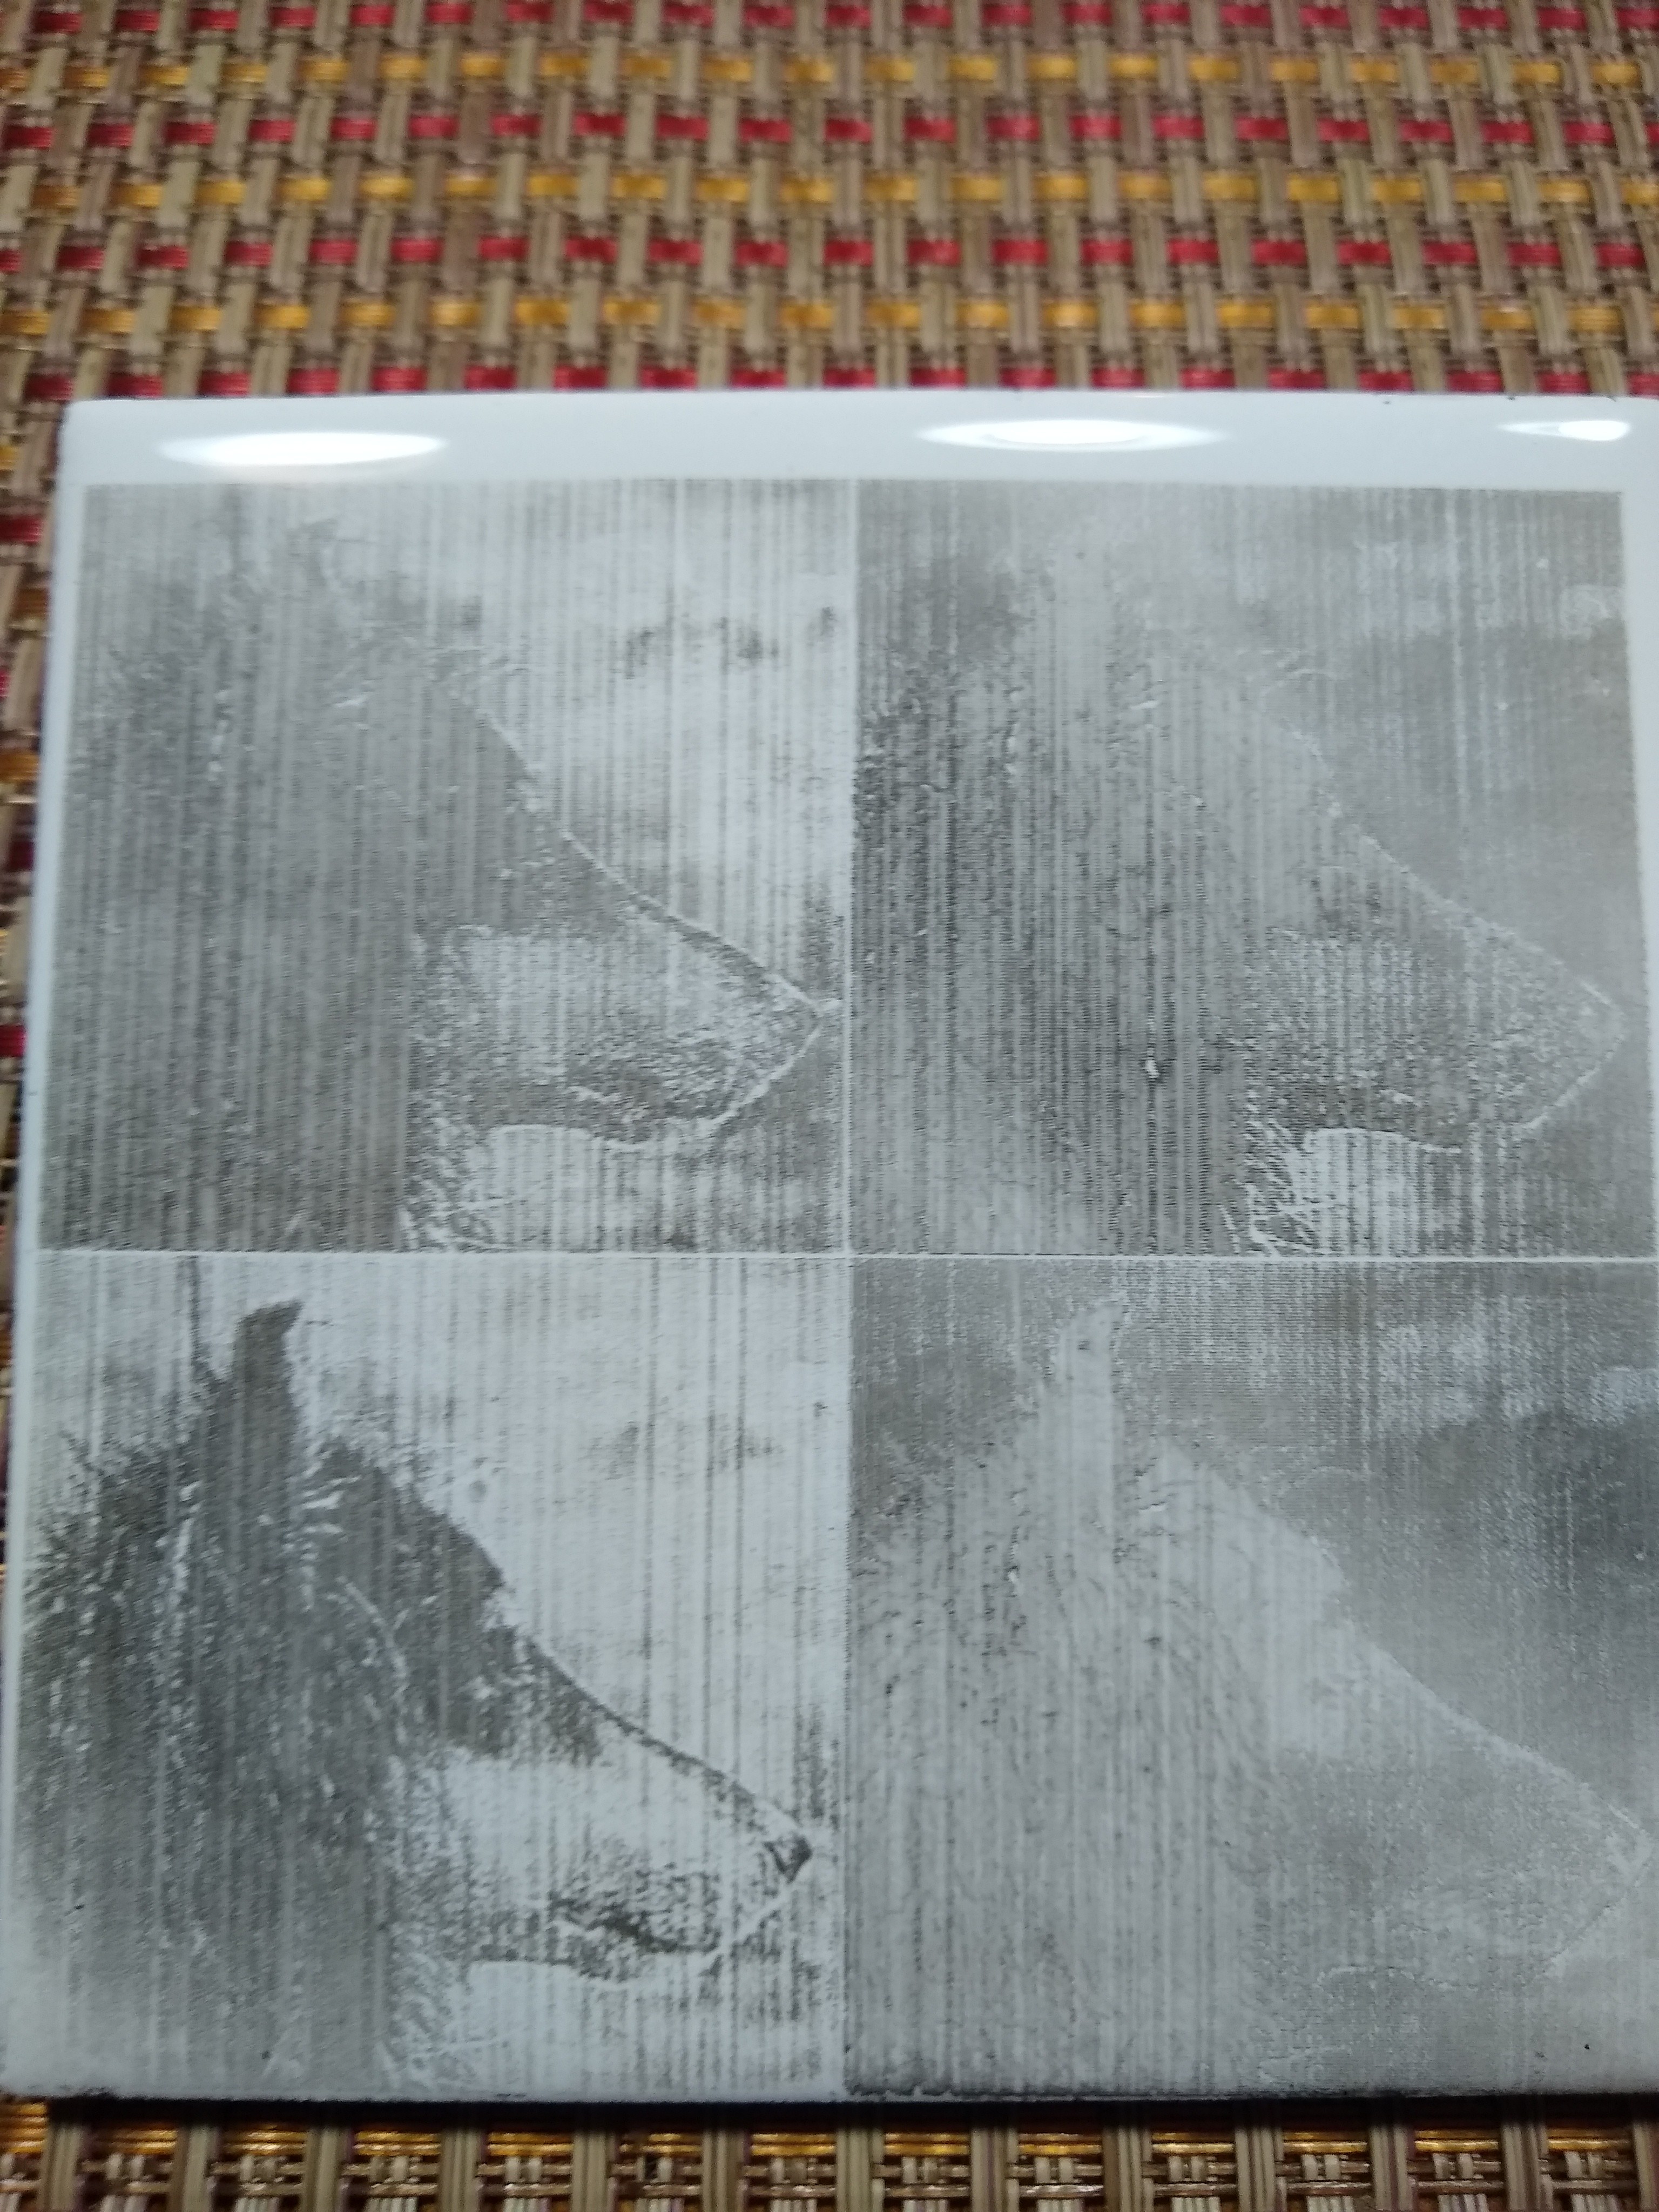
Nope not the PSU. I’m thinking it may be vibration on the X axis. Rails and bearings look clean so maybe the belt is too tight. Here’s a tile I burned using the Norton method:
Same image all at 100% power clockwise from lower left 900mm/m, 750mm/m, 600mm/m and finally 450mm/m. Looks like more testing is in order but I think the sweet spot is going to be somewhere in the 800’s.
Soooo close… 600mm/m 100% power, white tile spray painted flat white. Still have some banding but I think thats the X axis belt tension. Gotta pick up zip ties while out today.
Going off of the pic that shows faster looking better, I wonder if it is the line width setting is too narrow? The images at lower speed appear to be overburning resulting in artifacts that look like color inversion. Those bands on the last image look like they may also be overburned. So my thinking is the laser may be too wide for the line width setting, so some scans are getting double burned?
Tuning the axis by removing hysteresis etc would also help this, and would be the first thing to try. If that doesn’t work maybe a wider line width will improve things more.
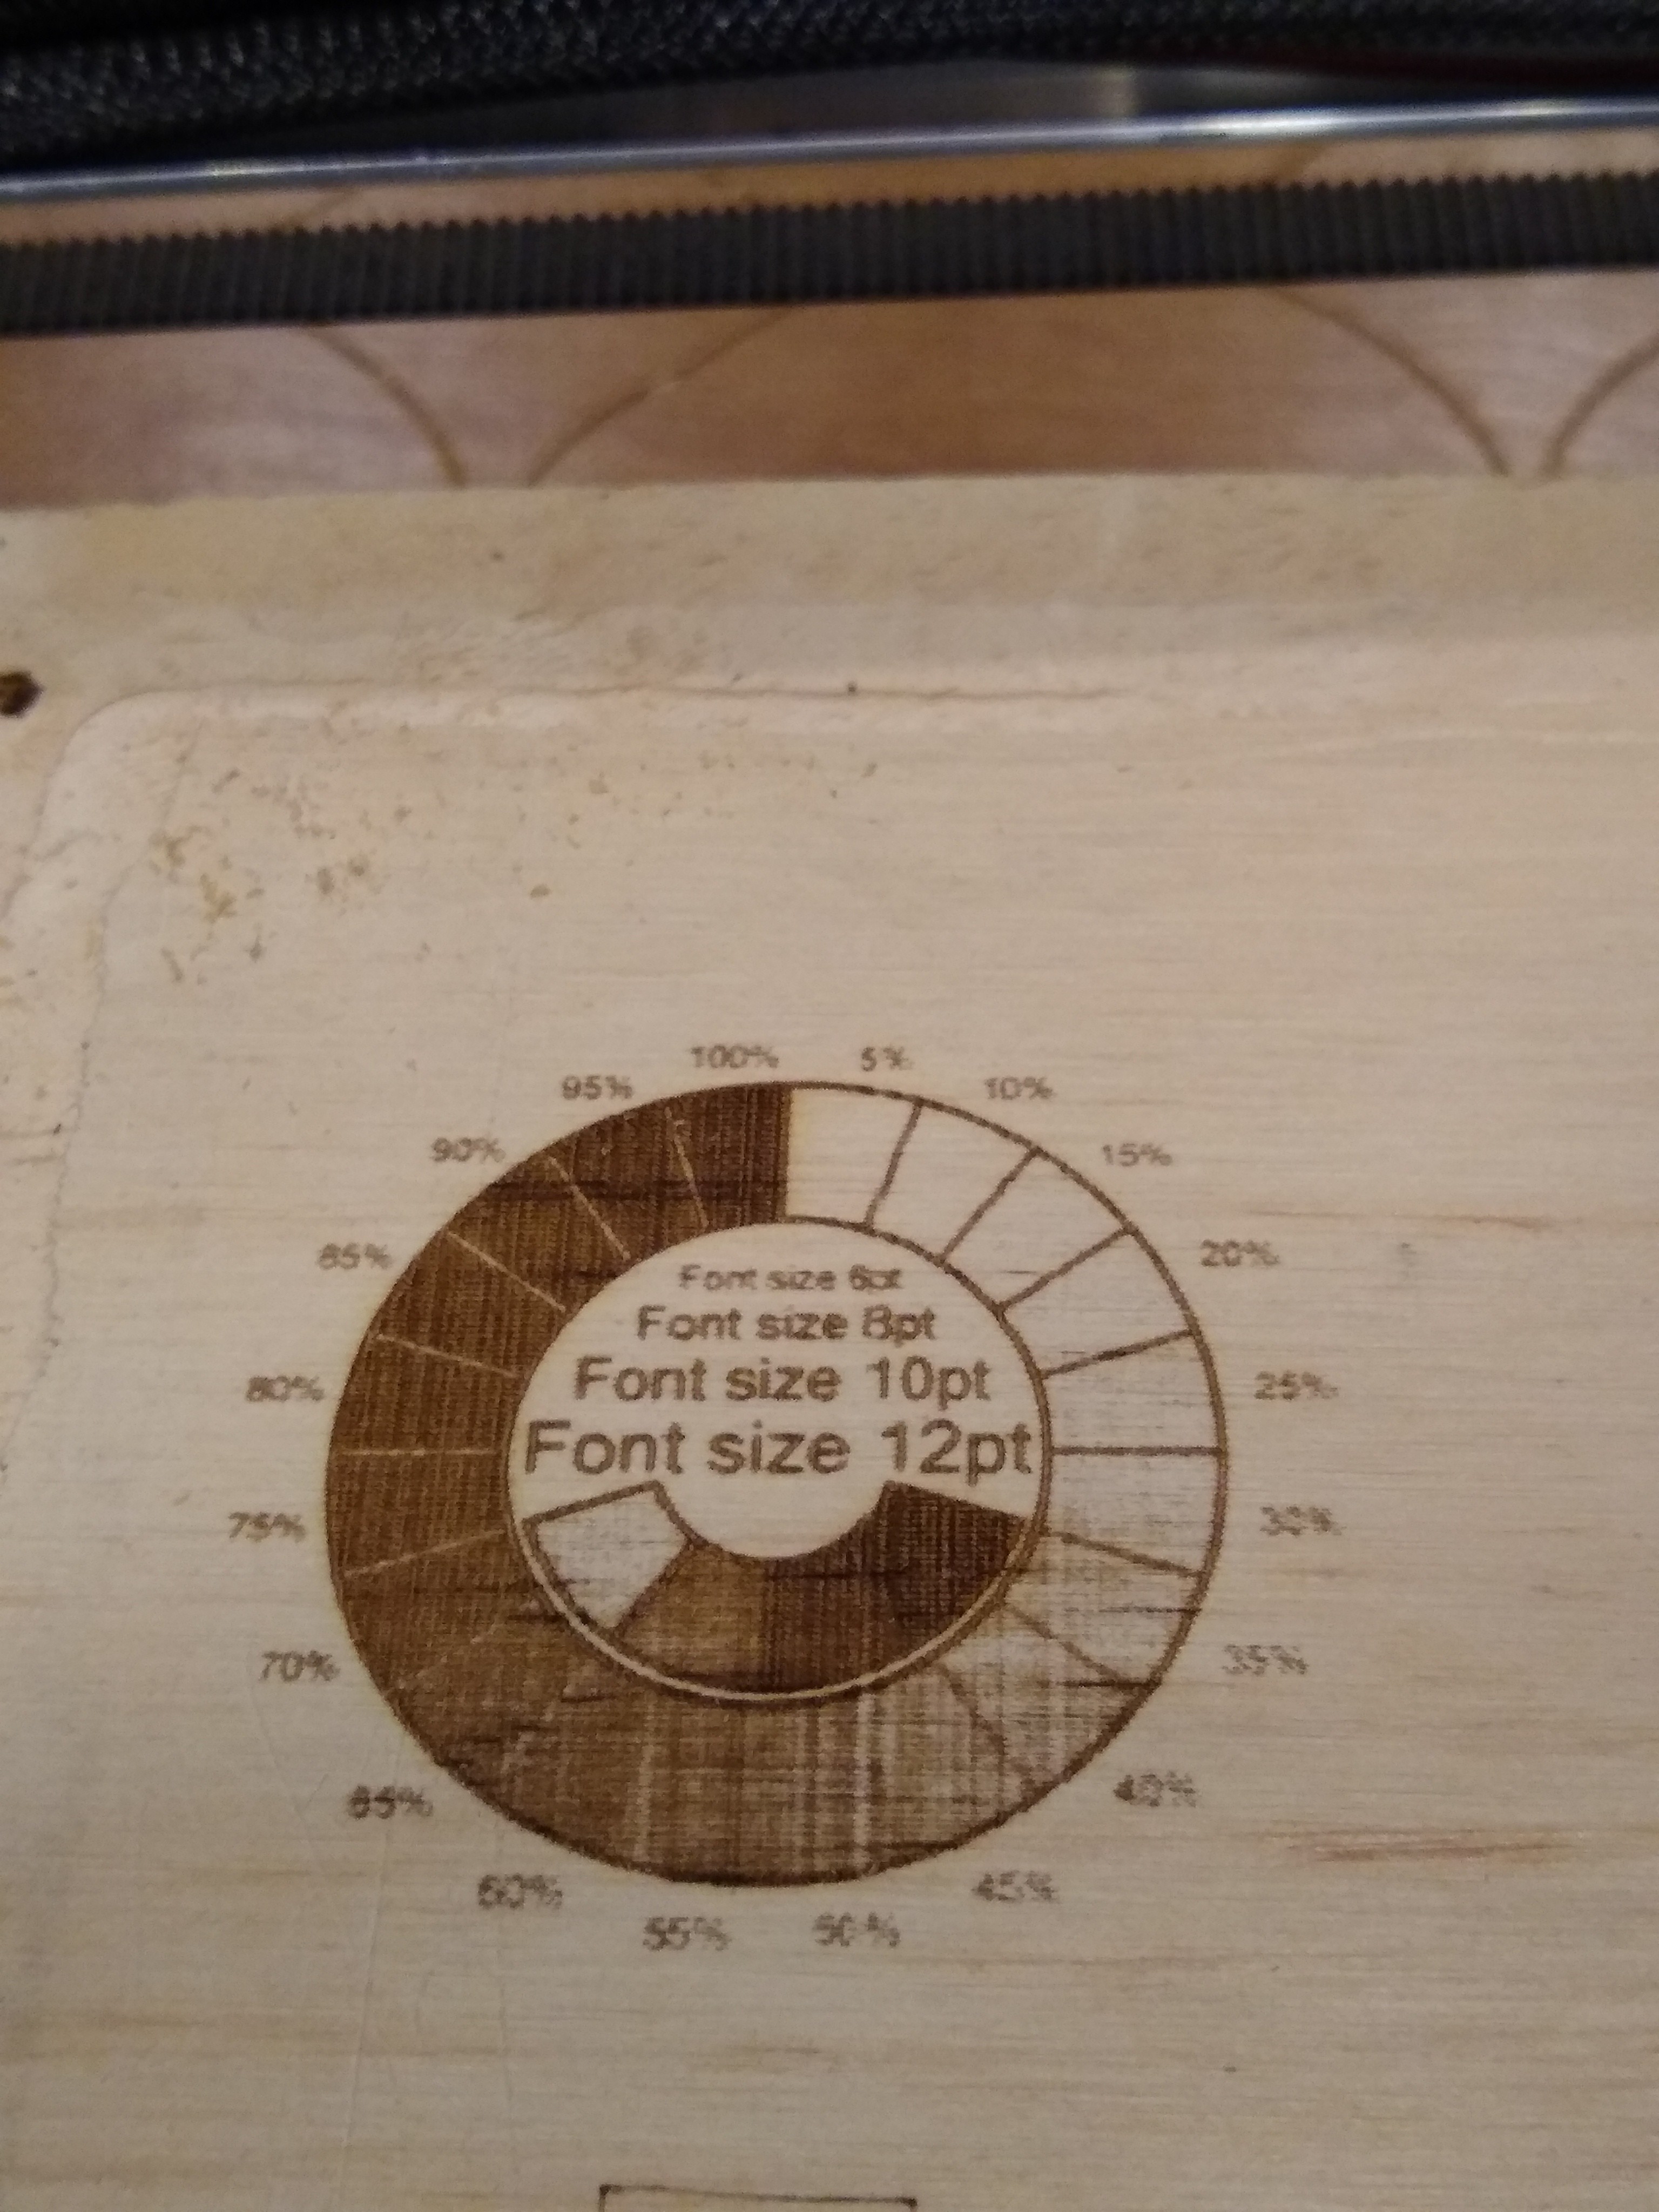
An easy way to test that would be to fill a simple square at 50% and see if it shows banding. Then change the ‘stepover’ of the laser until the banding goes away.
I’ve setup 4 boxes 5x10mm and am running a line+fill at .10, .11, .12 and .13 to see if it is line related. However if Im using Lightburn in pass through mode for those photos does that matter?
Not sure what the definition of pass through mode is, but lightburn is generating the g-code before sending it to the laser whether your running the g-code from inside light burn or from a different controller.
Either way, it should be using the settings you have set in the line+fill.
Or… are you saying you’re using something else to generate the gcode and lightburn is just burning it? If that’s the case, then whatever is creating the gcode should have provisions to ‘stepover’.
But that brings up a good point. The banding is vertical. I assume your laser is burning from left to right and right to left in those images? stepover would show up as horizontal banding in that case.
Pass through mode I think will ignore any resolution related settings and use the image pixels to trigger the laser instead. So you would want to disable pass through to use light burn scan line width settings. Otherwise to do this with pass through, you would have to proprocess your image with the proper resolution to match your laser dot size.
Which method you choose should depend on what tools you have available and how well you know them. Light burn does simplify things a bit, but if you are good with photoshop or gimp, then you might be able to do better with the preprocessing method.
I personally suck at image editing lol, and also I am usually burning non homogeneous stuff like wood where dithering works best. So if it were me I would be limited to using light burn to fix this. Pretty sure though, my burned tiles would look better if I was good at photoshop.