Hab gerade noch etwas herumgespielt mit verbrennen
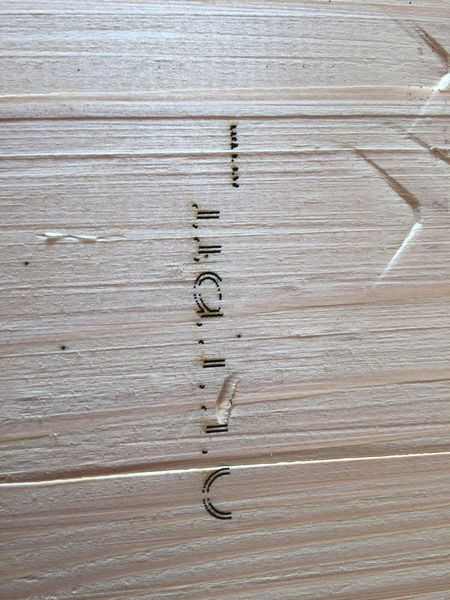
leider wurde bei alle 2 gcods nur das halbe Bild oder schriftzug gelasert ???
vogelneu.gcode (408.8 KB)

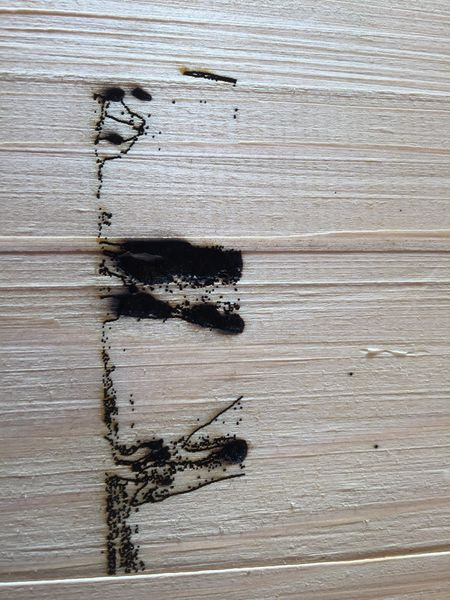
ZUM TEIL VERBRANNT CA 5MM TIEF
HALLO.gcode (22.8 KB)
Lg Grassy
Hab gerade noch etwas herumgespielt mit verbrennen
leider wurde bei alle 2 gcods nur das halbe Bild oder schriftzug gelasert ???
vogelneu.gcode (408.8 KB)
I primarily do laser cutting with very little laser engraving at this point, so there might be something obvious going on here that I just don’t see. Looking at the files, I find the following:
Hilfe.gcode
Most image algorithms I’ve seen put down dithered images using scan lines. When I look at the dithered files, I see lots of linear moves (G1) alternating between turning the laser on full power and off. When I take a look at this file, it is mostly composed of arc commands (G2 and G3) with very few laser control commands. In addition it is putting out an S parameter for the M05 commands. Marlin’s M05 g-code does not have a ‘S’ parameter.
Penguin.gcode
I’m not sure if you attached the correct file. When I look, it is trying to control the laser using M106/M107 fan commands rather than M03/M05 laser/spindle commands.
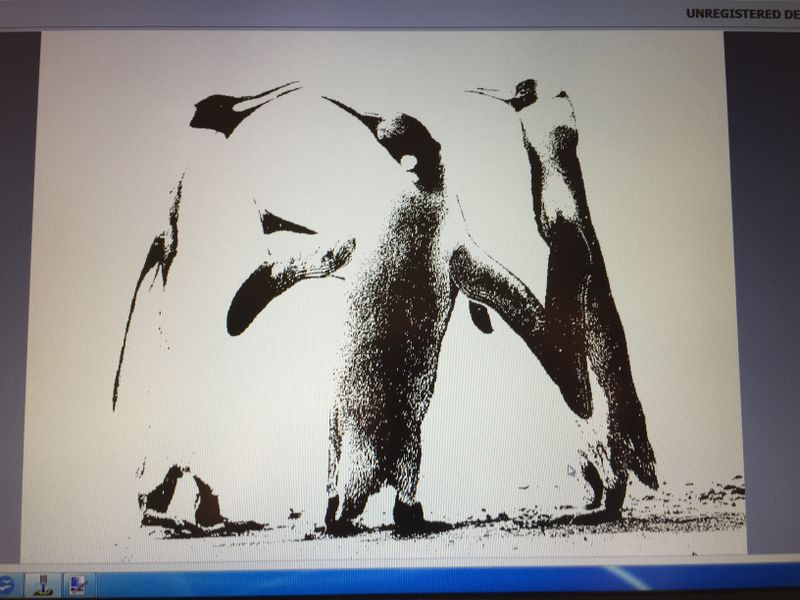
vogelneu.gcode
This file looks right to me. It is doing scan line and turning the laser on and off to produce a dithered image. The only thing that is suspect here is the laser power/speed. It is outputting at full power at 200mm/min (3.3mm/s). The setting looks either too strong, or too slow. I’m guessing it is strong enough to cut black poster board if not something thicker with your laser. Note for engraving wood, a lot of videos I’ve watched use some sort of treatment to make the wood more sensitive to the laser. Borax, baking soda, and ebonizing solutions are mentioned.
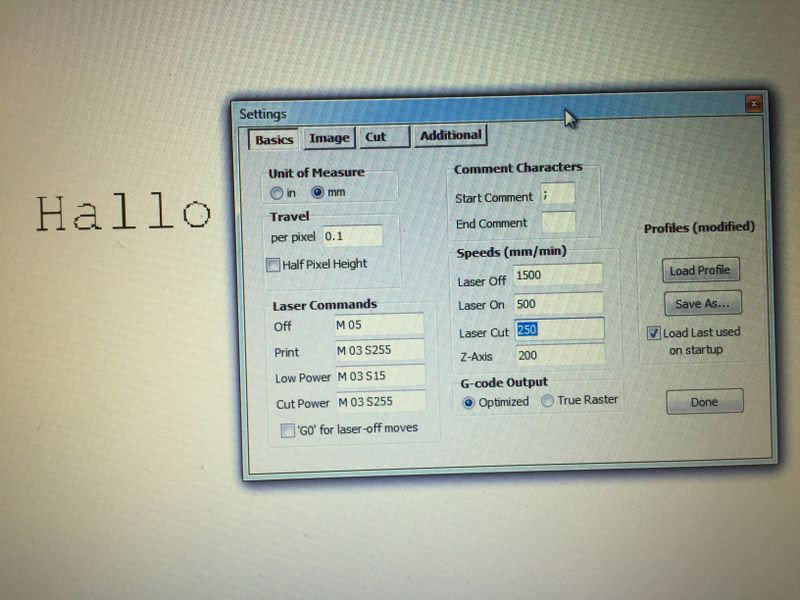
Hallo.gcode
This file looks the best in terms of what I would expect to see, but I think you’ve entered the commands wrong. For example, it is outputting “M 03S15” where I would expect to see “M03 S15”. I see in the settings dialog that you put that space in there. The feedrate of F500 is getting closer to what I would expect for an engraving.
While I cannot say for sure, it appears that your laser hookup is okay, and all of your issues are related to software settings or software process. I don’t know anything about InkScape or the add-on you are using, so I cannot help you directly. When I’m trying to learn something like this, I find a webpage or a YouTube video that matches with my setup as closely as possible and follow the steps in the video and then making minor changes until I can match the results in the page or video.
Hab einiges herumgespielt mit inkscape der laser aber immer nur das halbe bild
wenn überhaupt ???
Werde jetzt mal deinen Tipp befolgen und mir mal Light Burn zum testen Herunterladen
Auf was muss ich aufpassen beim heunterladen
Es gibt lt Vidos 2 Lizenten 40 oder 80 Euro nach der testversion glaube ich
Möchte es auf Deutsch runterladen da ich aus Österreich komme.
Danke mal im Vorraus
You want the 40 Euros license. It is the g-code version. The more expensive version is for a specific controller that come with some of the lasers out of China. If they provide a version in German, you should be able to download the trial version in that language. The only difference between the trial version and the “full” version is a product key that allows it to continue to work.
There are different ways to use LightBurn. It can be setup in an absolute mode where your machine coordinate system is used and stock material must be set at a specific point on the bed, or it can be used in relative mode, where the origin is relative to the stock. It can be used as a g-code sender like Repetier-Host or it can write out g-code files that can be run from an SD card or sent by Repetier-Host. There are features you get (like the ability to frame your work) if you use absolute mode and have LightBurn control your machine directly, but personally I set it up so that my workflow matched what I did with the router. I have LightBurn write out my files to an SD card, and then run my machine headless. So here are the settings that are important to set it up that way:
During the install, you want to skip detecting or setting up your machine and instead do it manually.
You want to create a device and select Marlin as the controller and USB as the communication:

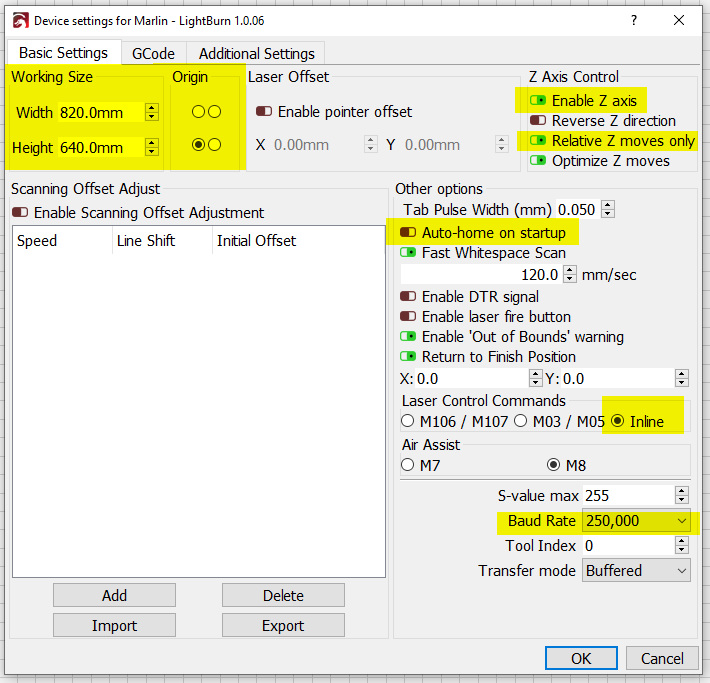
Here is how I have my device setup. The ones highlighted in yellow I consider important. Some settings I don’t understand, but I have left them at the default values.
Here is how I have my laser tab setup. The two settings in yellow are the important ones if you want to burn relative to the stock.
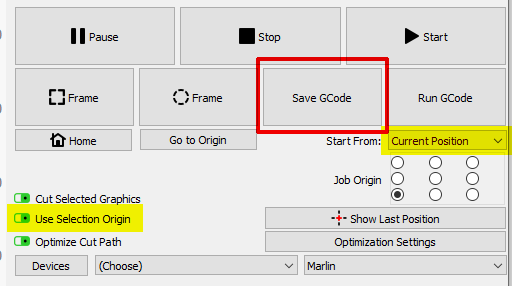
The red-framed Save GCode is the only button that is used.
Again, I don’t do engraving (yet), so I cannot help you with specifics. There are a number of YouTube videos I’ve watched on the subject, but they are in English. In some of the videos, LightBurn is used directly to dither the image. In others, the dithering is done outside of LightBurn, and the passthrough options is selected.
Super danke für Einstellungen werde noch weiterspielen, aber die Grundeinstellung sind da 
Hätte da noch eine Frage nein Neje Laser hat ein verstellbaren Fokus kann ich den mit der X Achse auch einstellen oder muss das am Laser gemacht werden .?..
You can focus it using the Z axis (up/down) as well as rotating the focusing dial. Unrelated, but I found a number of references that recommended the laser be somewhat out of focus for engraving.
wieso soll der Fokus unscharf sein ?
wo haben sie Deals oder Referenzen gelesen
Ware ganz interessant für mich
As mentioned, this is second-hand knowledge. Putting the laser out of focus (often called defocusing), can smooth engraving so that it looks less banded. In addition, if you are outlining your filled areas, it can make for a thicker line around the outside. I cannot find the “best” video that mentions this technique, but here are a couple of others:
Sorry they are in English.
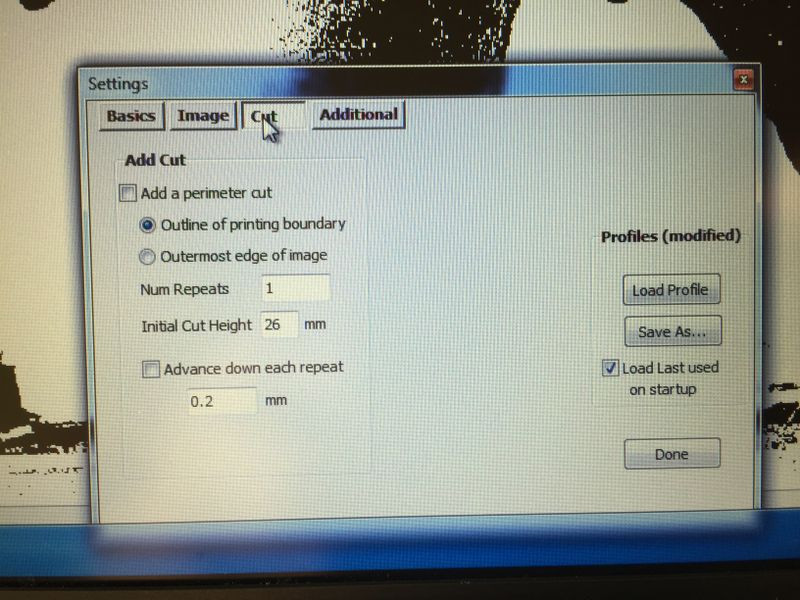
Note you can run test panels easily in LightBurn to see if (and how much) defocusing will help your engraving. This is the setting in the cut editor that moves the laser up or down before it starts:
![]()
ja das stimmt bei gösseren fokus werden die linien weicher nicht so dominant !!!
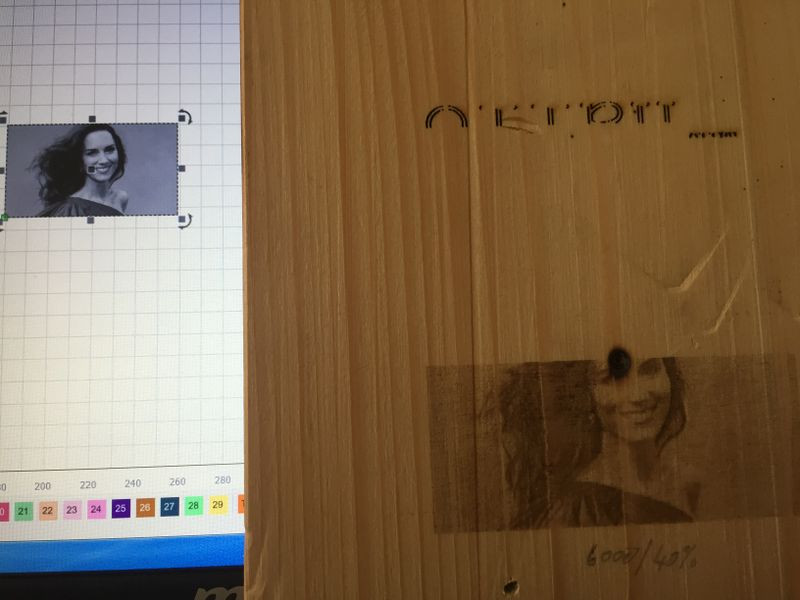
hab heute mal ein foto gelasert ging ganz gut aber fast am ende legte das programm eine pause ein ??
der laser arbeitete aber weiter ???
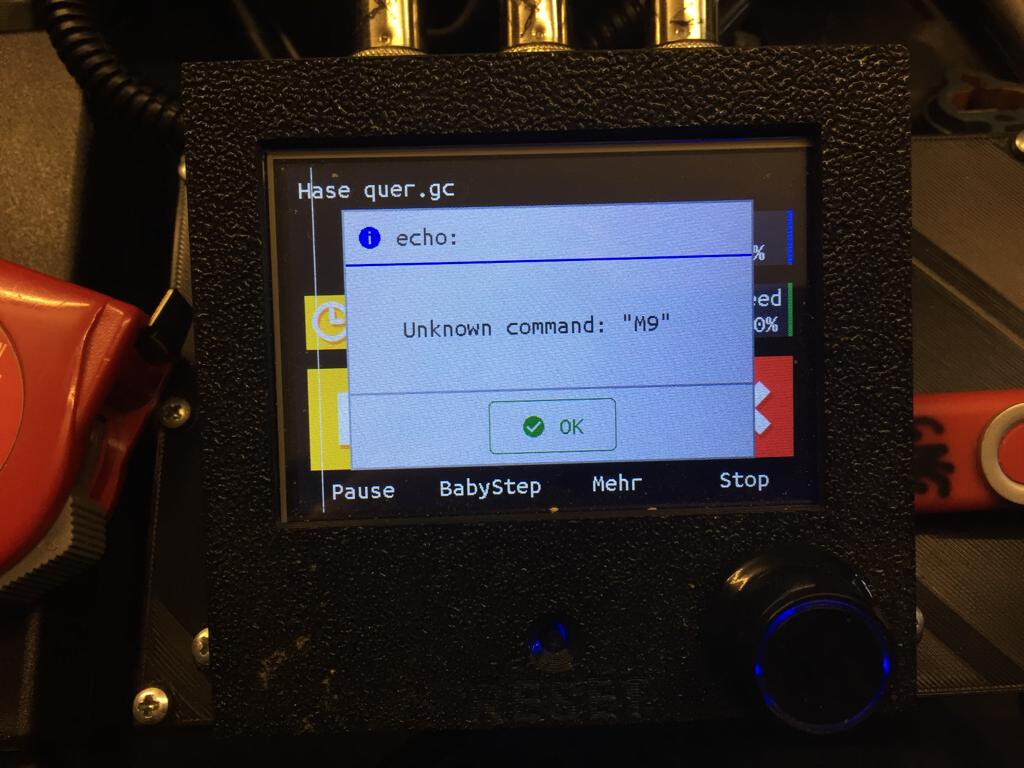
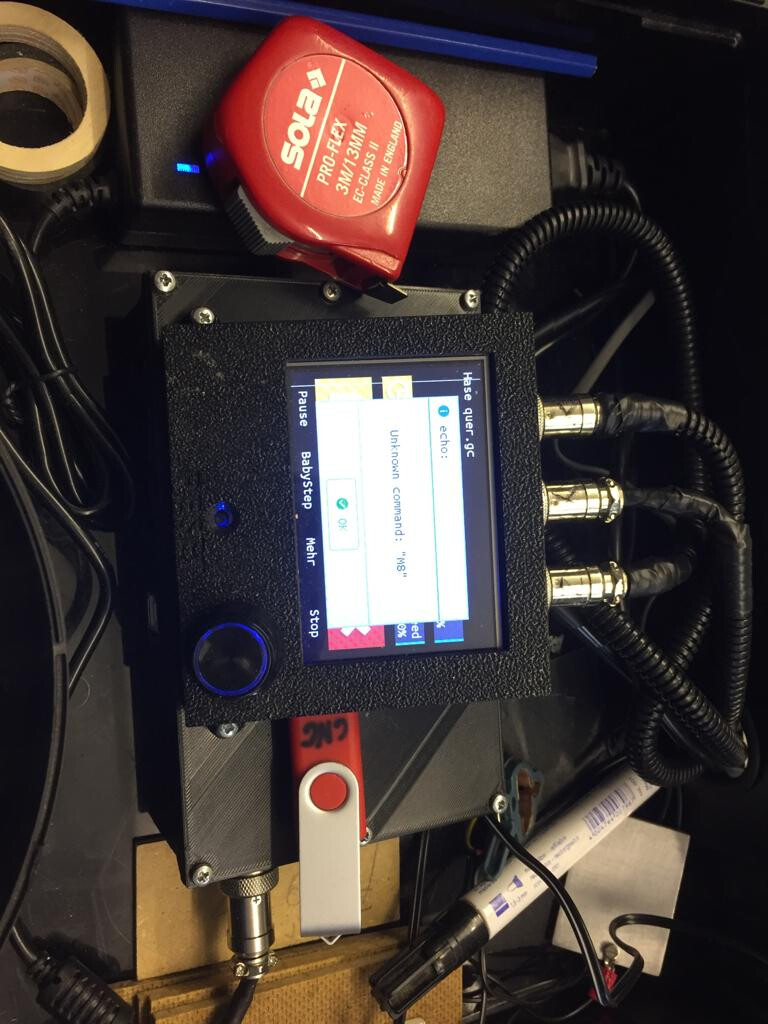
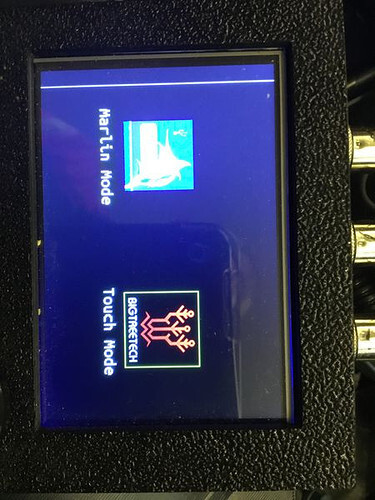
If you are running from the SD card on the TFT, the issue you are facing is likely the firmware on the display. We’ve seen this problem on the forum a number of times. Since I don’t own an SKR Pro, I’ve not watched the issue closely to see if there is a fix. There is a workaround by placing your display in Marlin mode. Press down on the control knob for 3 seconds to change to Marlin mode. If you run your job from this mode, your job won’t quit in the middle. As for the burn, this is likely caused by the job stopping so the laser never received an off command. I have this problem if I attempt to pause or stop a laser job from the display. The job stops, but the laser continues to run. I have to hit my emergency stop button to kill everything.
As for how long you can run your laser, I’ve seen large engravings using this laser, so I don’t think there is any limit. You can extend the lifespan of your laser by not running it at full power for extended periods of time. Typically engraving is varying the power all the time (or turning the laser off and one frequently), so full power is not an issue. It is more an issue of laser cutting. NEJE rates that laser at 10,000 to 20,000 hours.
Die Einstellungen werden immer besser bei mir Dankschön
Was soll ich beim Lasern zum unterlegen verwenden .???
I’m glad things are going better for you. Google Translate failed on your question, so I cannot understand your question. If you are asking for settings for cutting, you’ll have to describe the material.
Are you asking what to put under the work?
Whats material is the best under the wood? What underground?
In the marlyn-mode i only get these answers. What’s the problem? Do you know it?
While working in ligtburn i had a work-break but i don’t know why. The second one was no problem.
Waht’s better: slow speed with high power - or - high speed with less power by lasercutting with 4mm wood.
Many greetings
Grassy
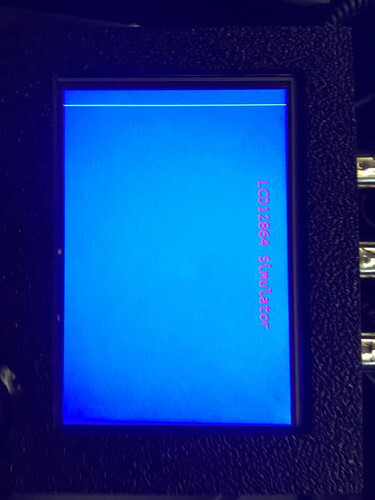
Marlin mode uses the two gray cables. You might have them backwards or swapped. They are harmless to plug in backwards.
Leider habe ich diese zwei Kabeln nicht, daher werde ich vermutlich die Fehlermeldung erhalten. Gibt es eventuell auch eine andere Möglichkeit, dies zu umgehen?
Unfortunately, I don’t have these two cables, so I’ll probably get the error message. Is there any other way to circumvent this?
For cutting, I place a piece of sheet steel to protect my spoil board. On top of that, I put a piece of aluminum honeycomb I purchased off Amazon like this, but anything that lifts the work even a few mm off the surface will work. I’ve seen cooling racks used:
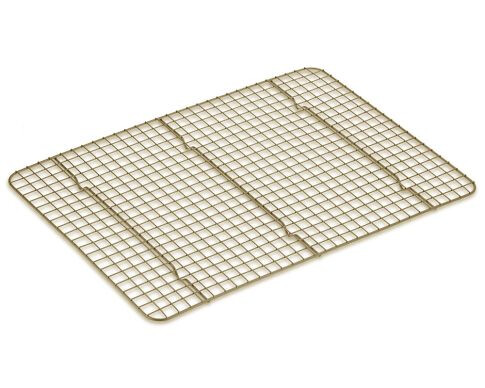
But what did NOT work for me was metal mesh from the hardware store like this:
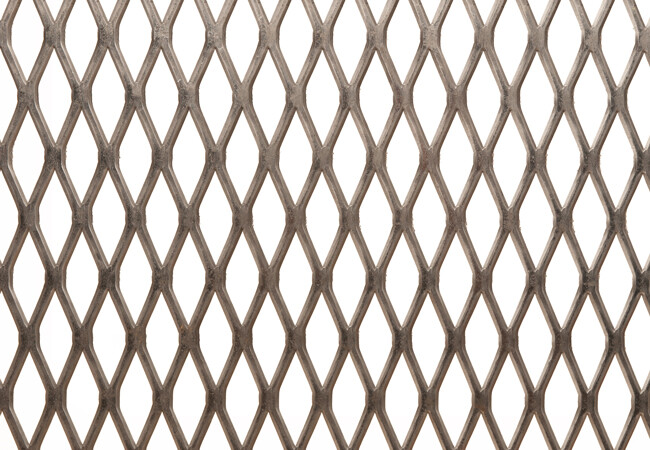
There was too much flat metal against the back of my wood, leading to areas that were not cut through.
Note I purchased my honeycomb without a frame due to cost, but I wish I’d spent more and got one with a frame. With use, I’m finding the edges are tending to curl up, so I have to place weights on the mesh to keep it flat.
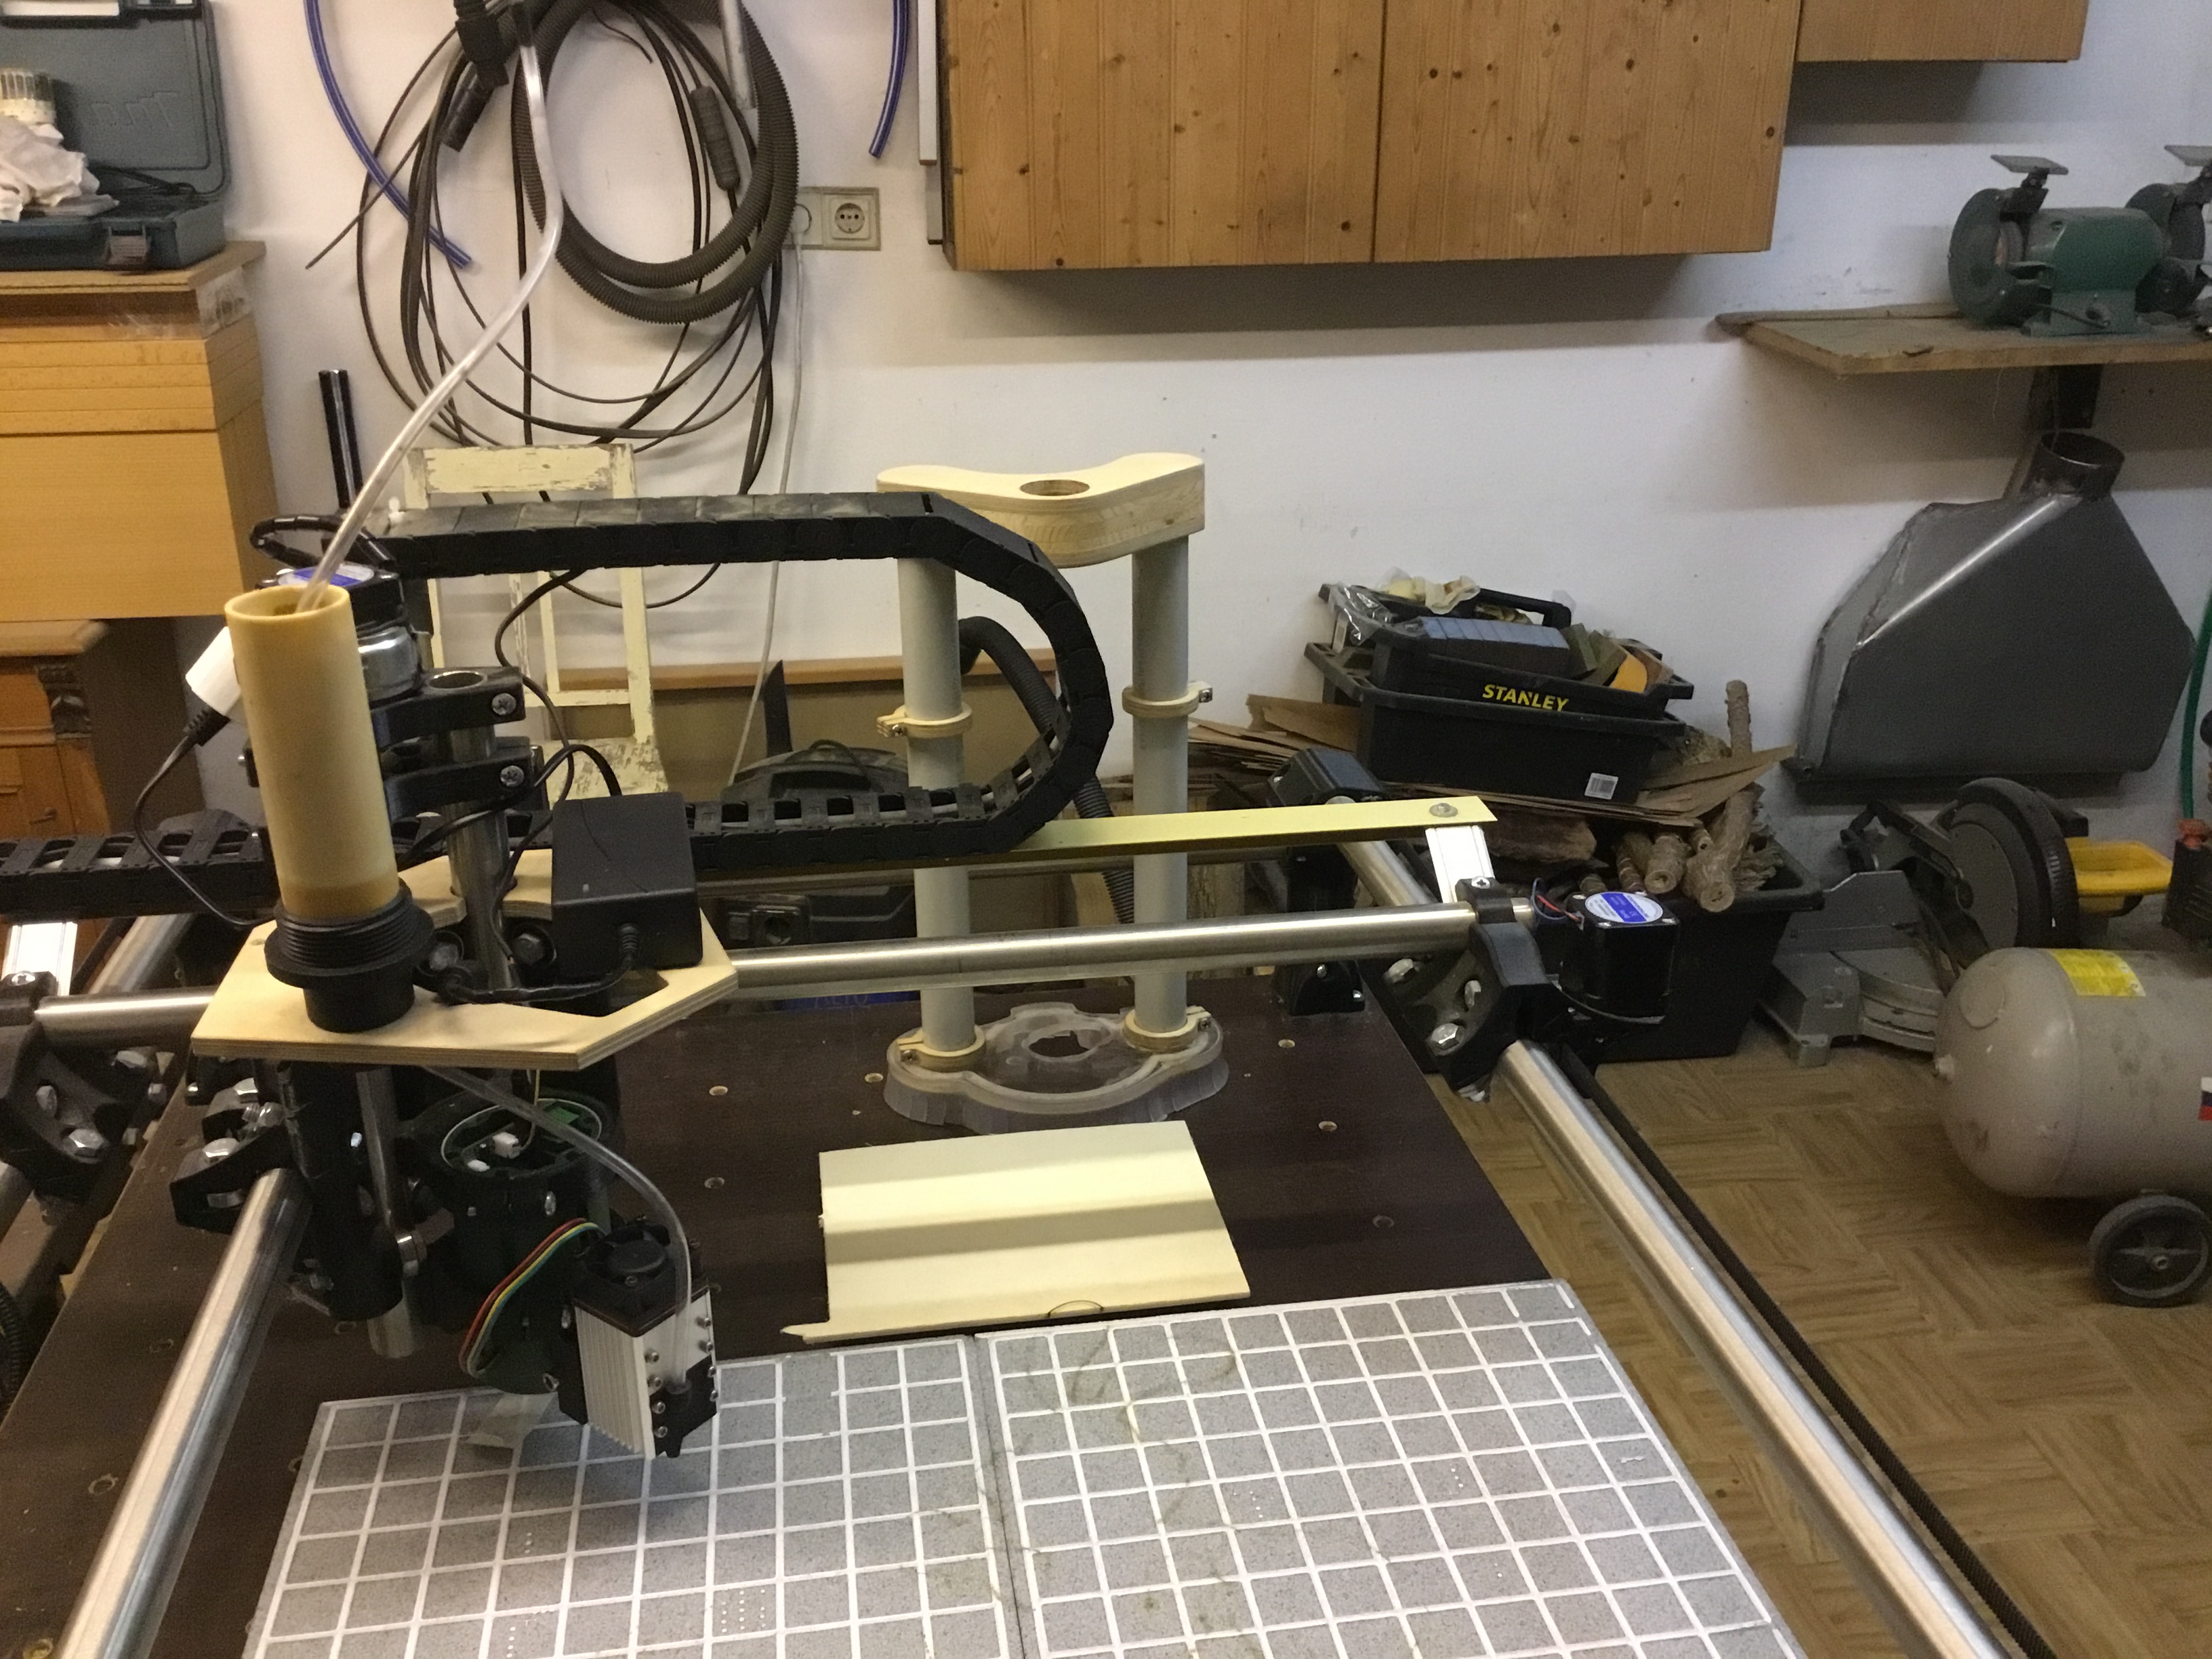
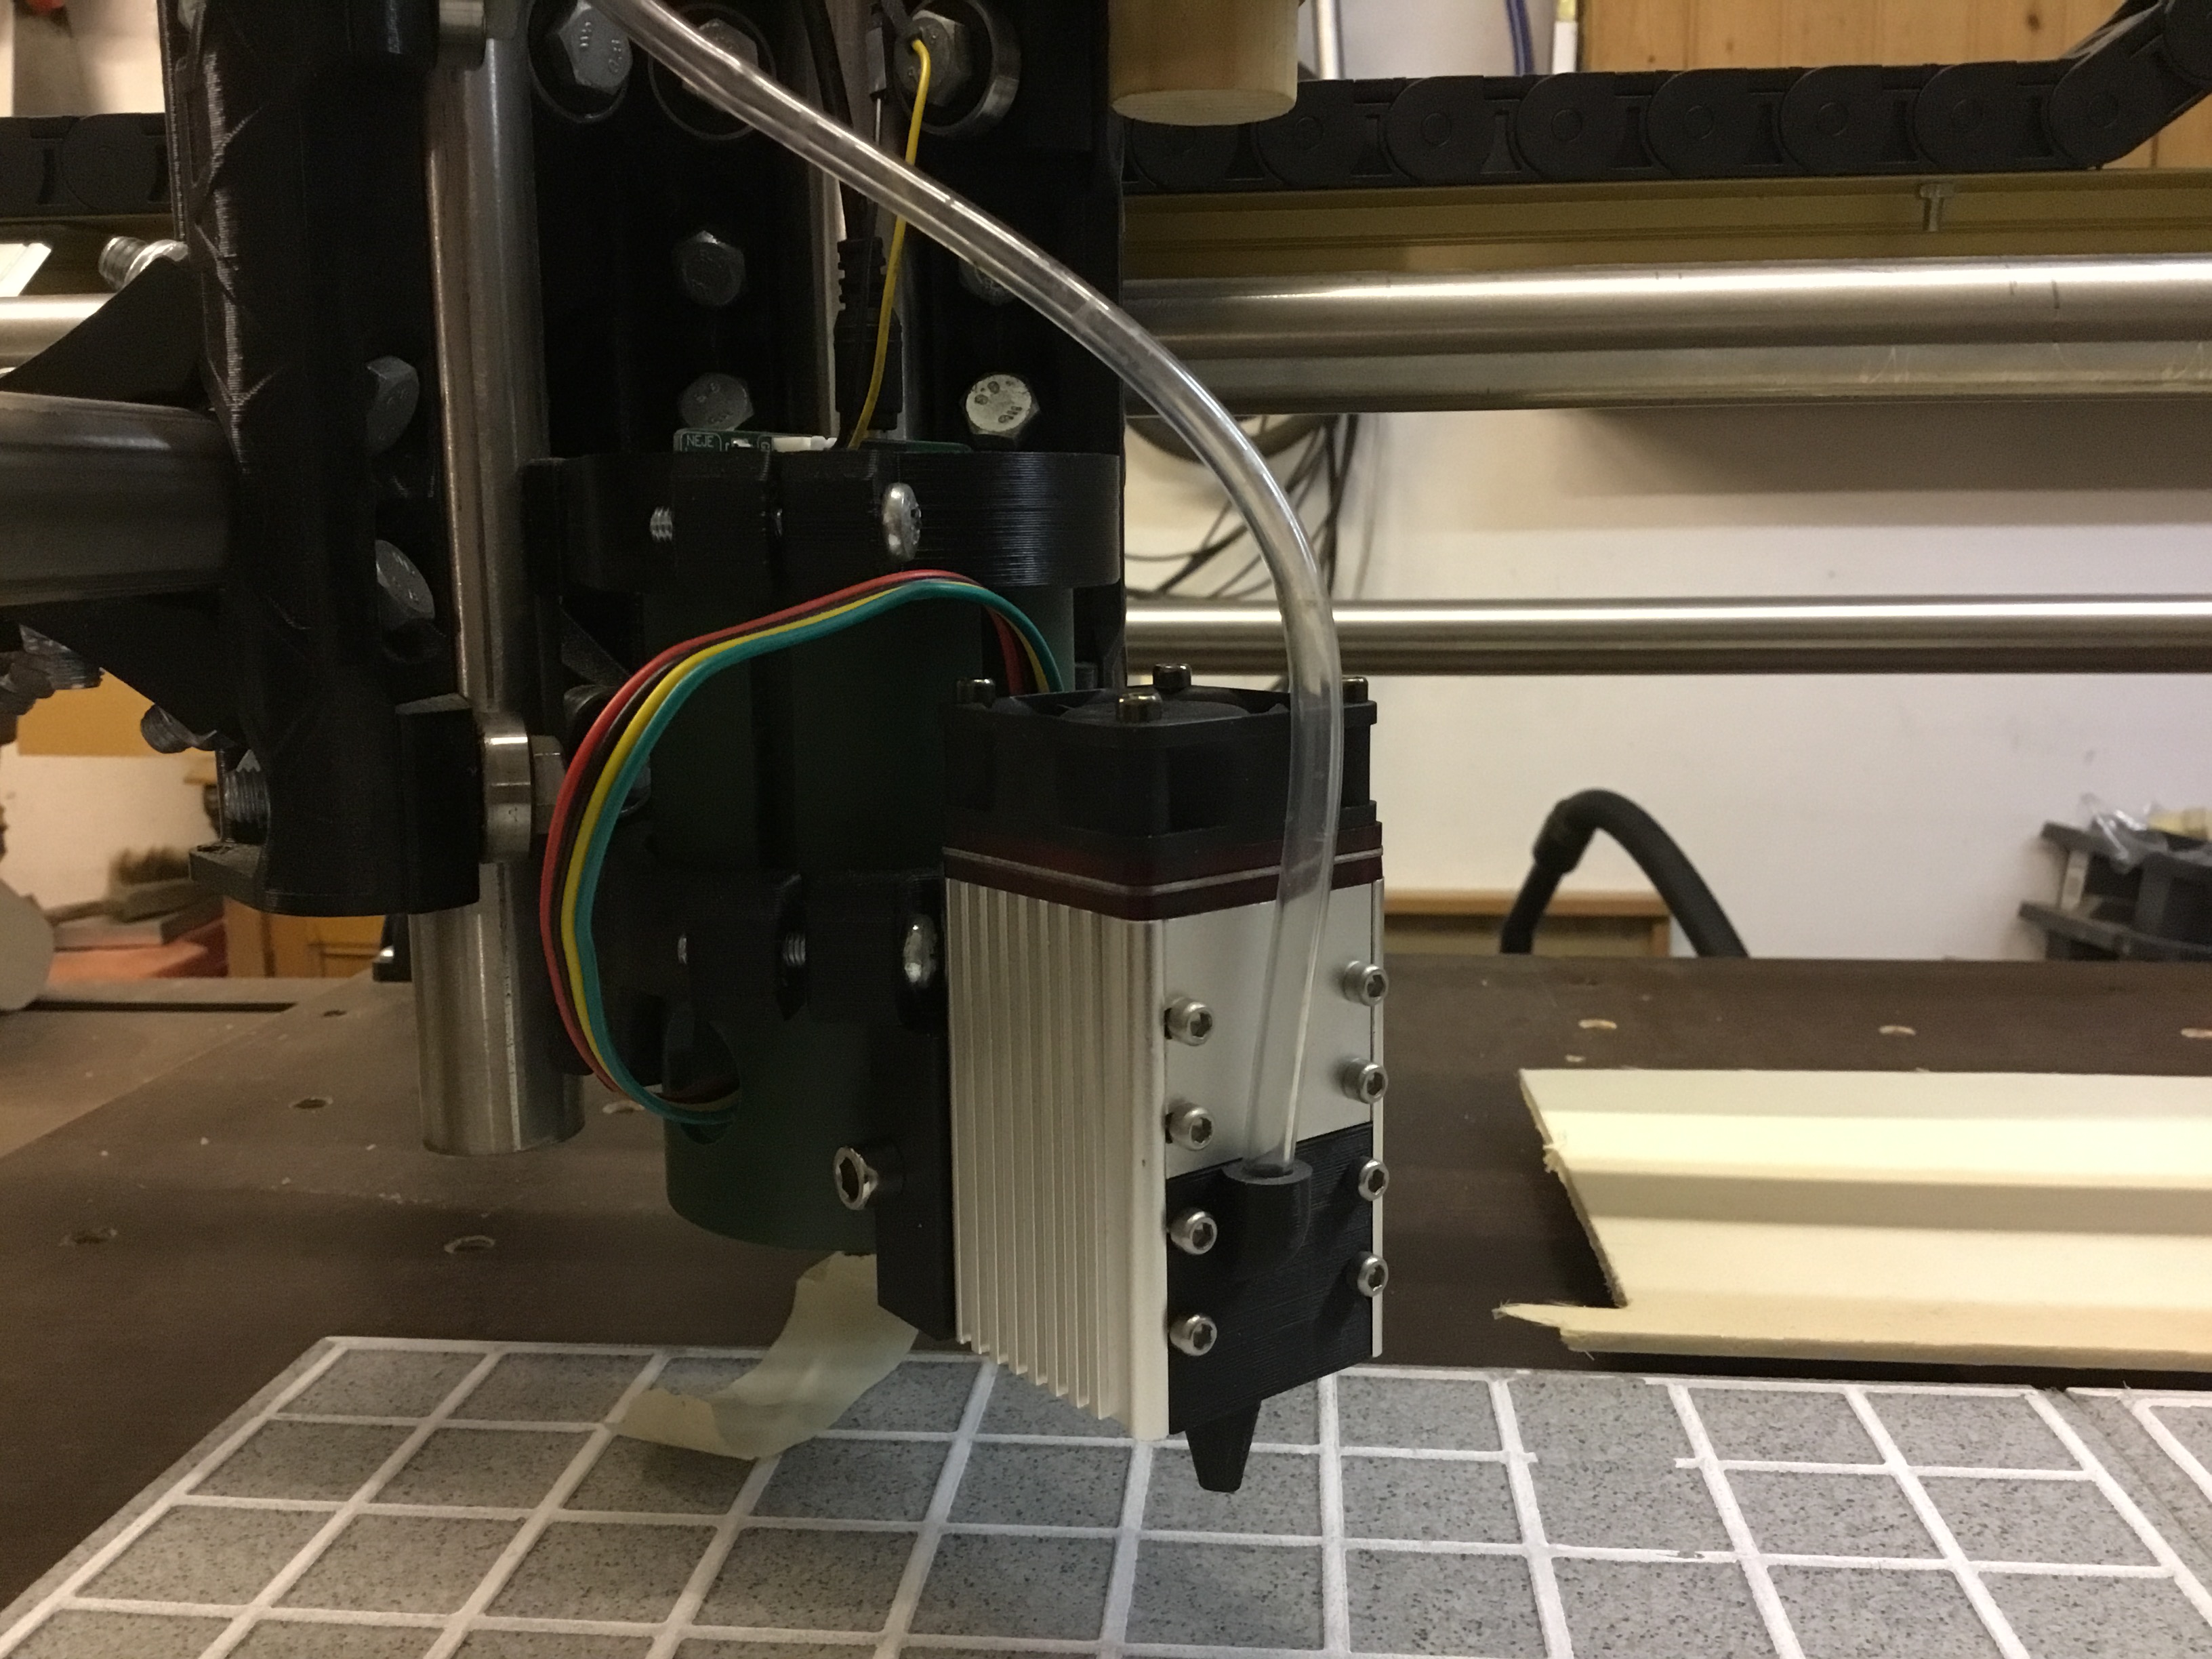
If you are going to be doing a significant amount of cutting, air assist is highly recommended. David (@dkj4linux) has provided the STLs to 3D print air assist nozzles for the NEJE 30W and 40W modules. See his post here. For pumping the air, aquarium pumps are common. You don’t need a large flow of air.
Waht’s better: slow speed with high power - or - high speed with less power by lasercutting with 4mm wood.
I don’t know what is better. Most of my information was acquired from YouTube, and the information on single slow passes vs. multiple passes is conflicting. This is my personal recipe:
If the job takes less than 20 minutes, I cut with 100% power. If it is longer, then I use 90% power. This is to extend the lifespan of the laser. If the cutting speed drops below 3mm/s (180mm/min), then I do multiple passes. Note LightBurn has a setting that moves the laser module down with each pass, giving some benefit to faster multiple passes vs. single pass. Moving down moves the laser focus point further into the wood.
![]()
I know the issues with the TFT firmware are being looked at, but since I don’t have the SKR board with a TFT, I’ve not really kept up on where they are with respect to a fix. Air assist makes a big difference, so I’m glad to see you have that installed already.