There are many different methods to clamping material to a spoil board.
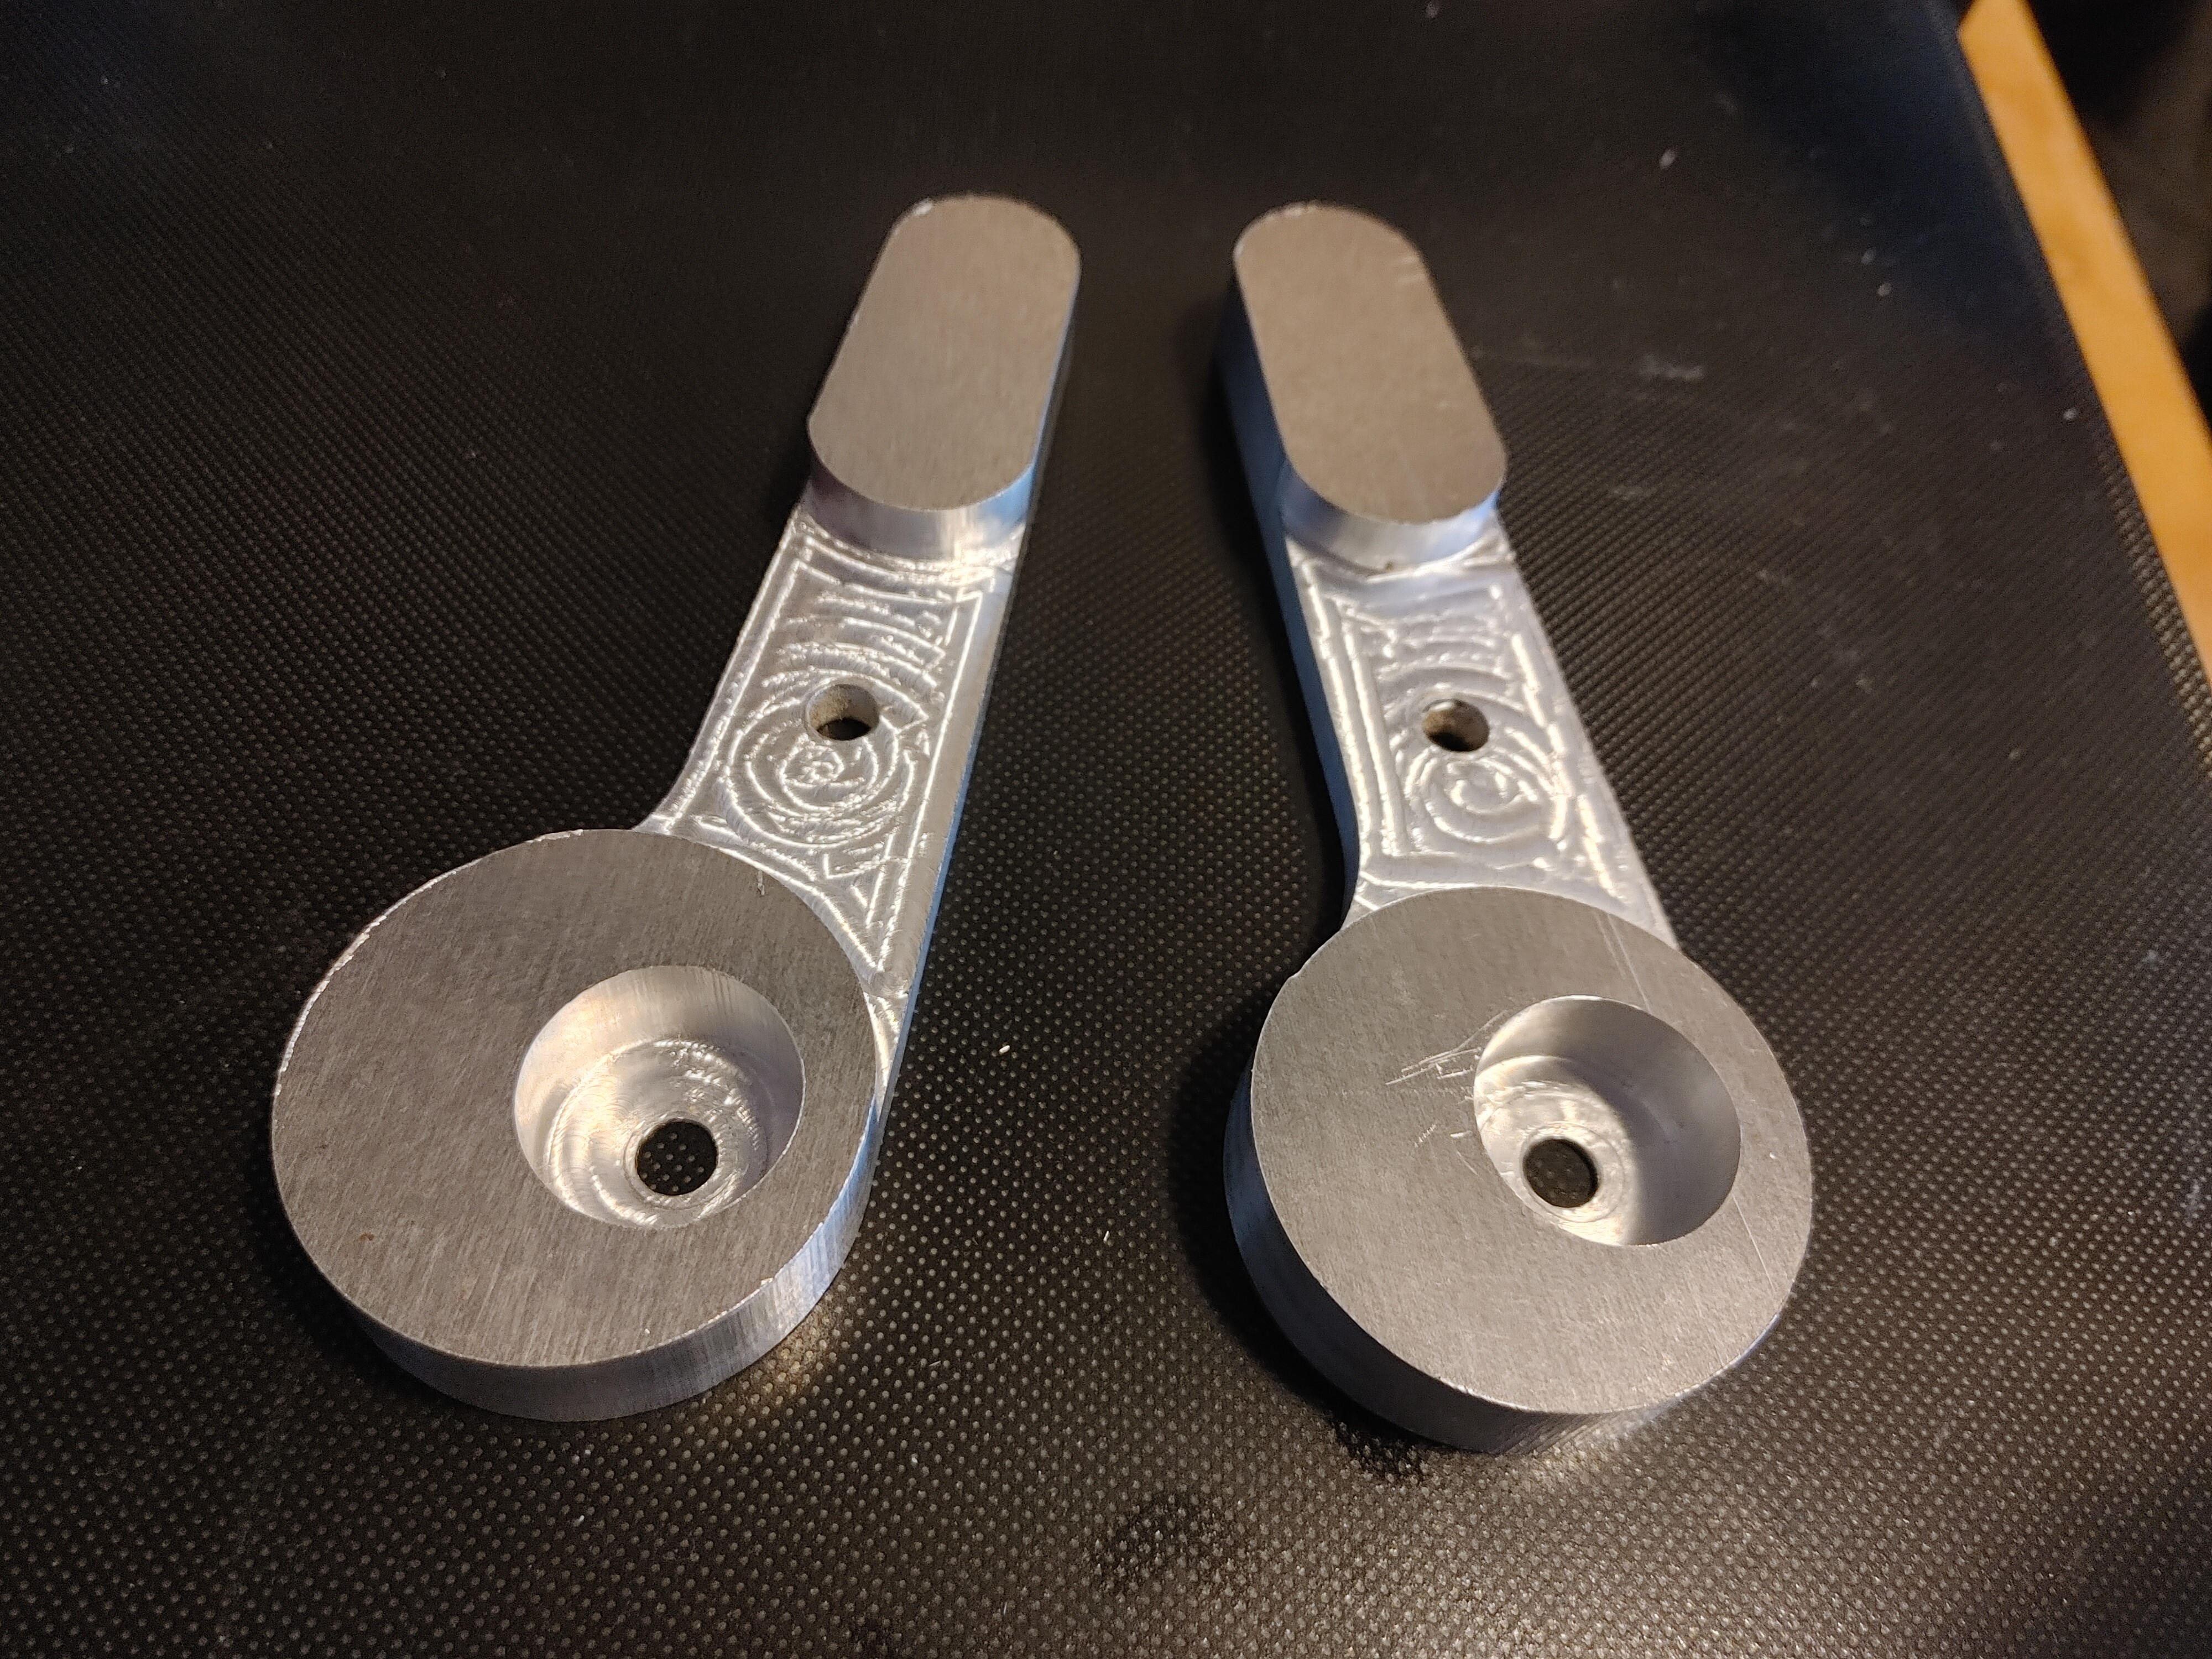
Currently I use a nail gun which is effective but I’d like to transition to using
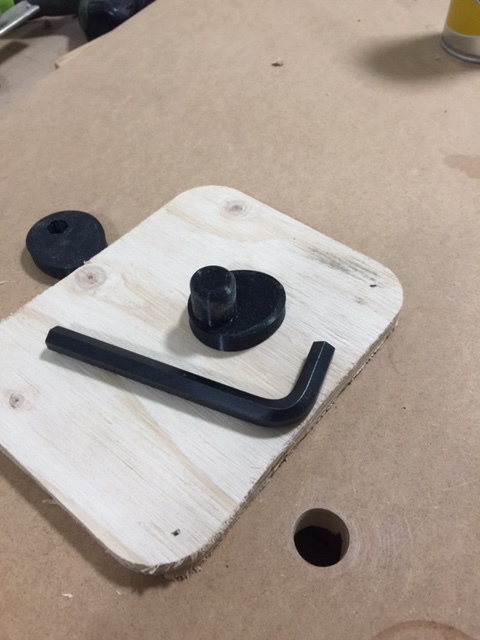
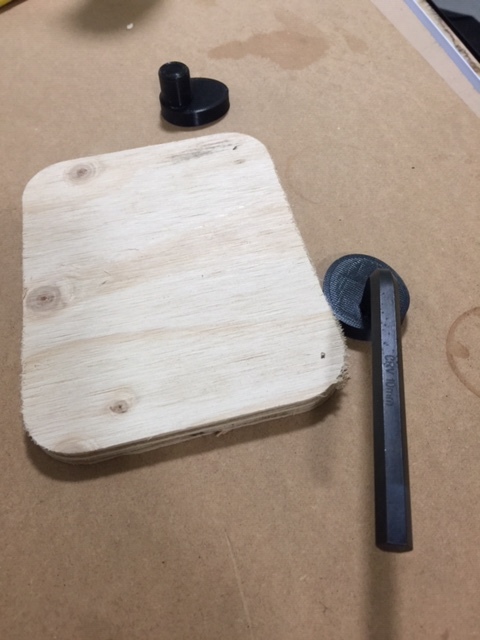
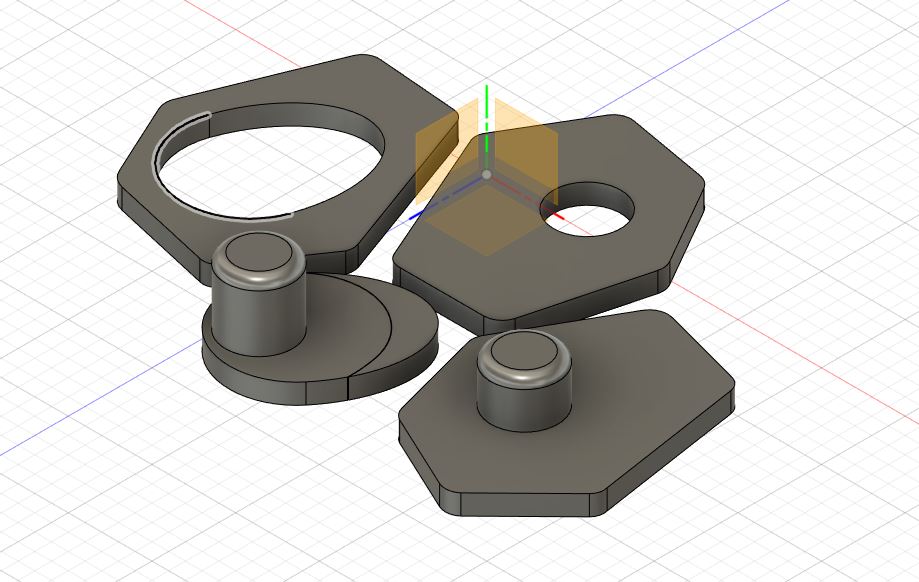
an eccentric clamping system. (as seen below)
I feel the handle is not required as it takes up a lot of space on the table.
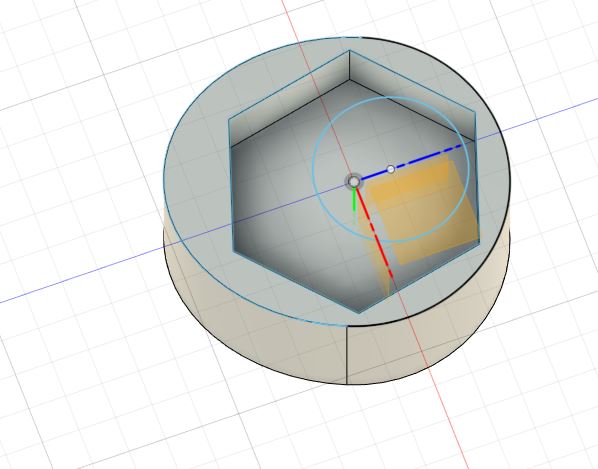
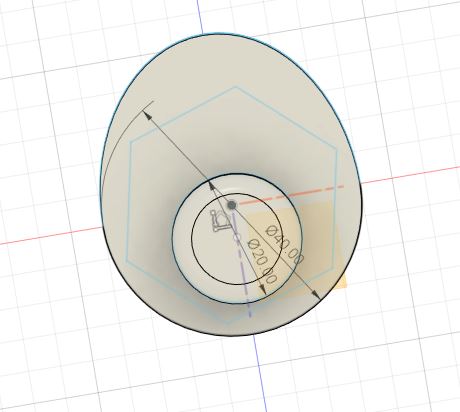
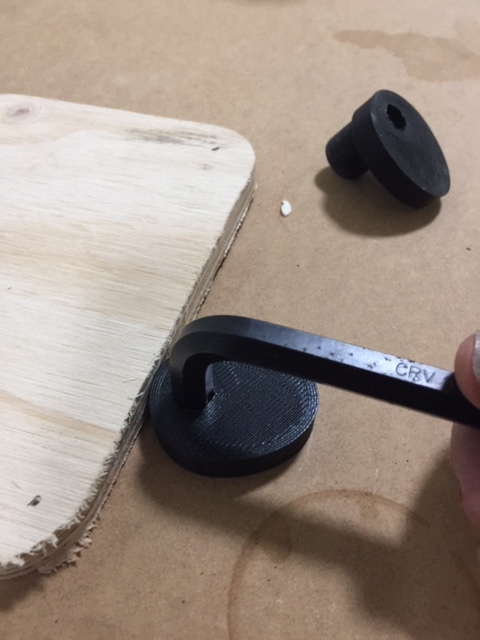
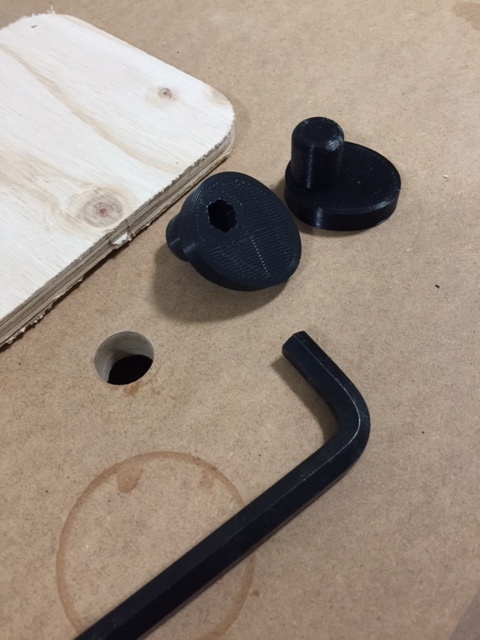
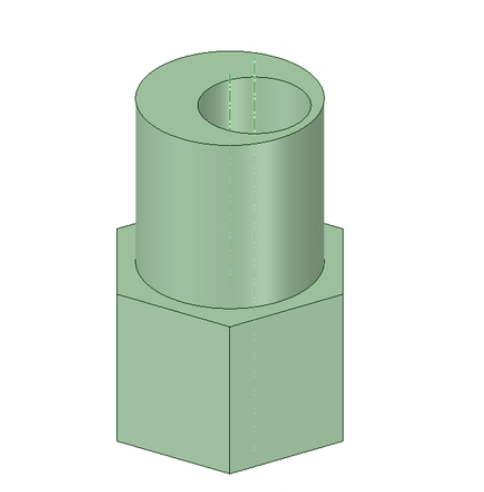
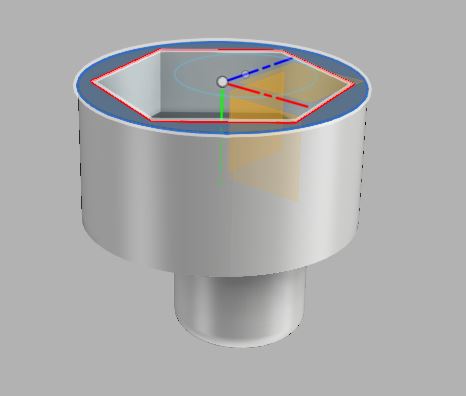
Instead I’m thinking a simple nut with an eccentric hole. (as per image below)
this would allow me to tighten it using a spanner and then it takes less space yes ?
Is this not a more efficient space saving method that achieves the same result ?
It will definitely use less space, and I don’t see any reason it would not work.
The mechanics around the locking method is the same.
one thing I would watch is the above table height of the nut.
The higher the nut, the easier it is to get a spanner around it, but also the easier it is to crash the tool (or the collet nut of the router) into it.
Also take care not to over tighten them and crack things, leverage is a wonderful thing, but can also be a problem. (same problem with Ratchets when building an MPCNC)
I am in the process of building a set based on the festool clamping system
i personally don’t mind the handles cause they are being used on a 2.4/1.2m lowrider, so space is not a huge deal, but for anything smaller, i totally get wanting to get rid of them.
Mine are 12mm above table, and I suspect that may be a little high, but we shall see.
(handles for mine for size below)
yes, i missed that looking at the CAD
Smaller dia for the nut then the disk, unless your doing what I am and having separate section that the disk locks into
Height is also a critical dimension. Having it stick up puts it in danger of getting bumped. Which makes me wonder if that’s why they have an integrated handle.
You know what… I’m amazed this is not a real product as it makes simple sense over all the other types of CNC Clamps out there… just my opinion. (I’ll upload the final ver. to Thingiverse)
True the connection section of a socket wrench
hhmm… 3/8" in mm = 9.525mm (Most of the planet uses metric… (edit) darn imperial forces I could use a 10mm Alan Key instead as its a hexagonal head.
more like a cam setup similar to a compound bow pulley or cam in a car engine.
more like this maybe…
The hexagonal hole should be centred to the plug that fits down into the table hole… yes ?
Think I’ll run with a smaller 10mm hex. hole for an Alan Key as apposed to using a socket wrench.
I’d print some rectangle blocks to use on two sides and then only use the cams on the other sides. I’d make the rectangles long enough to go into two holes. That way you have a square reference for lining up parts. Otherwise you risk the part rotating as you tighten the cam.
You could probably also just use a few straight pins for your reference sides.


 I could use a 10mm Alan Key instead as its a hexagonal head.