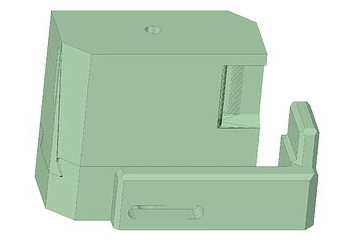
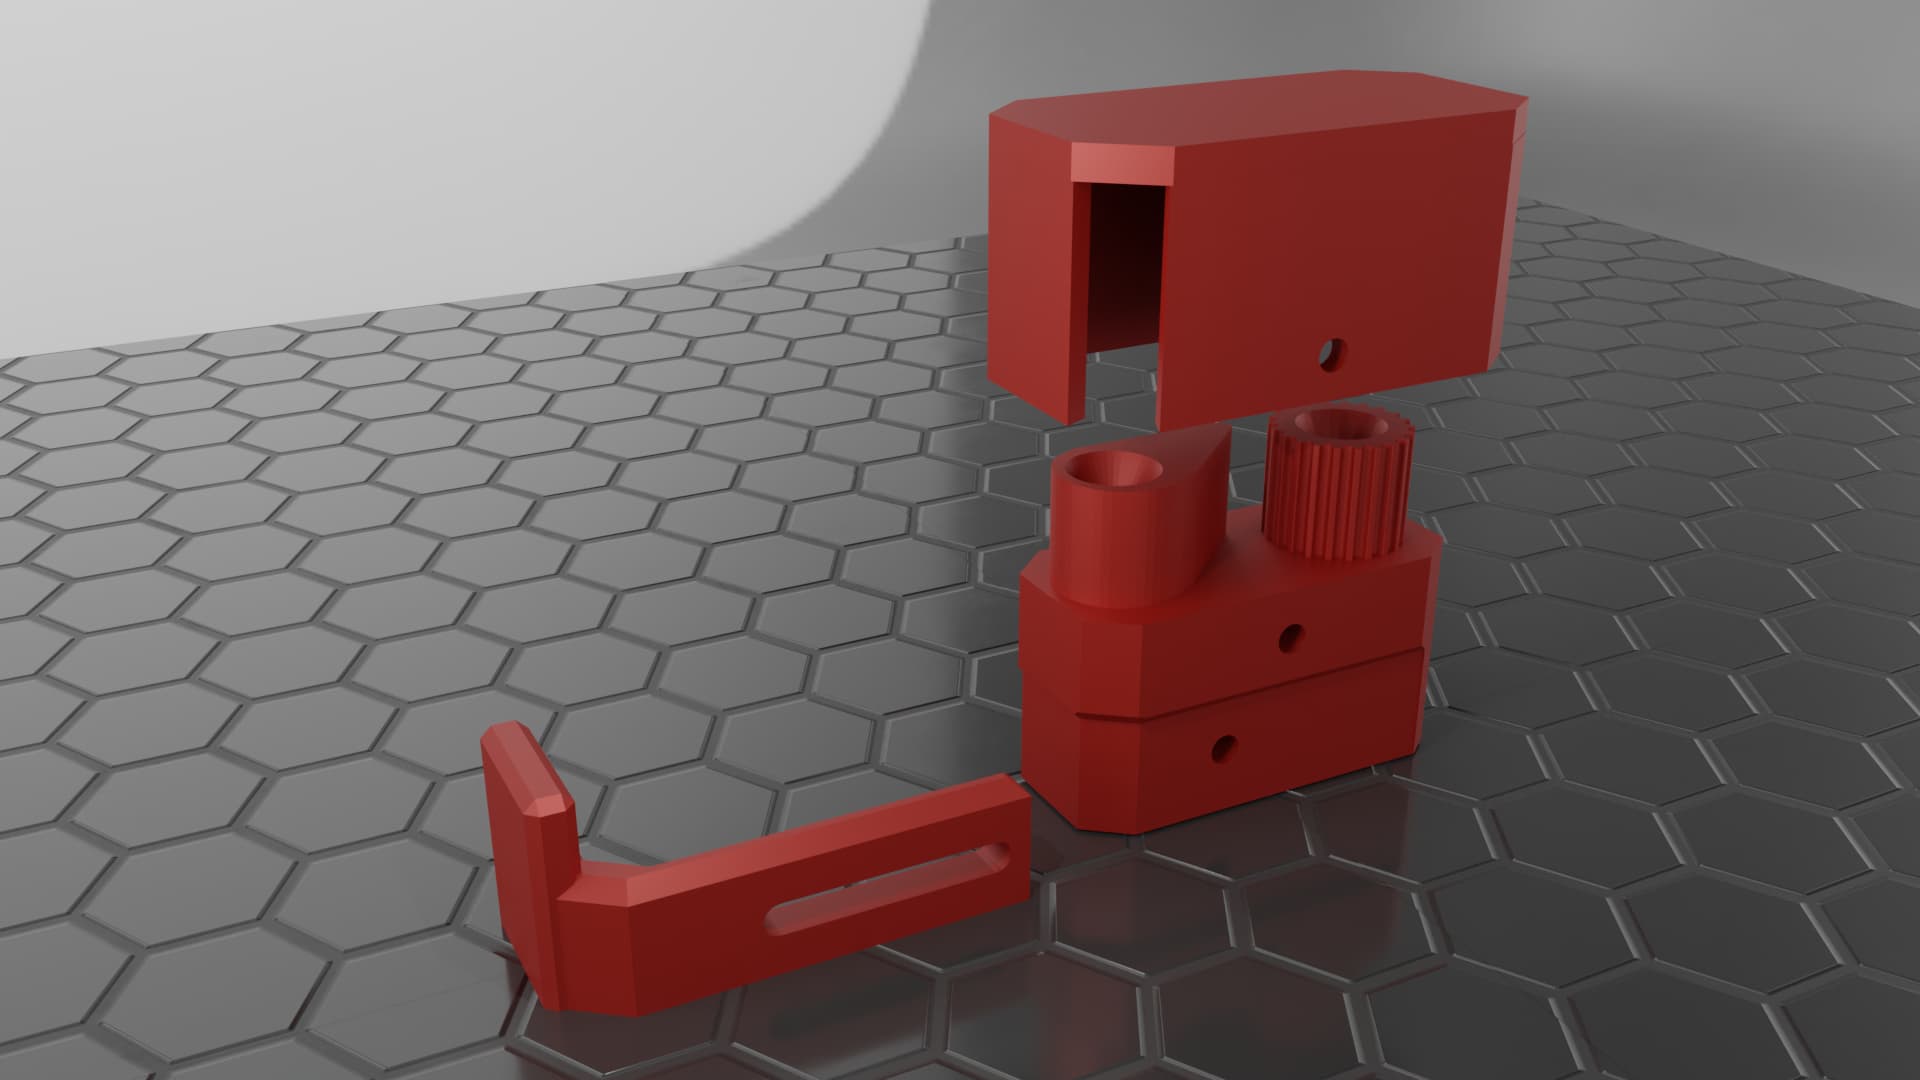
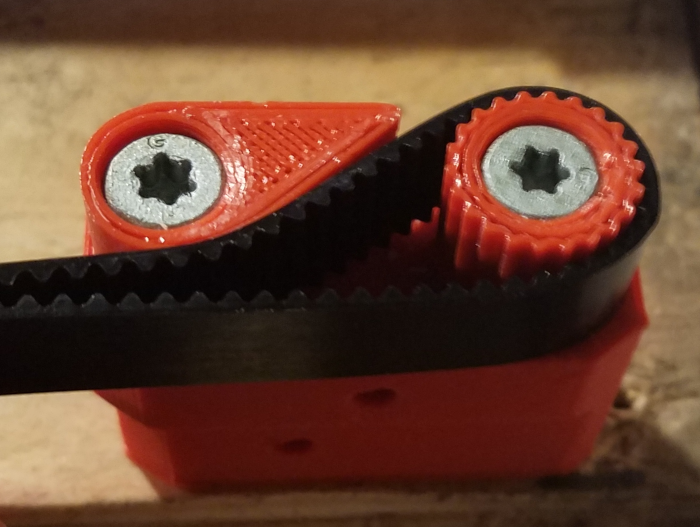
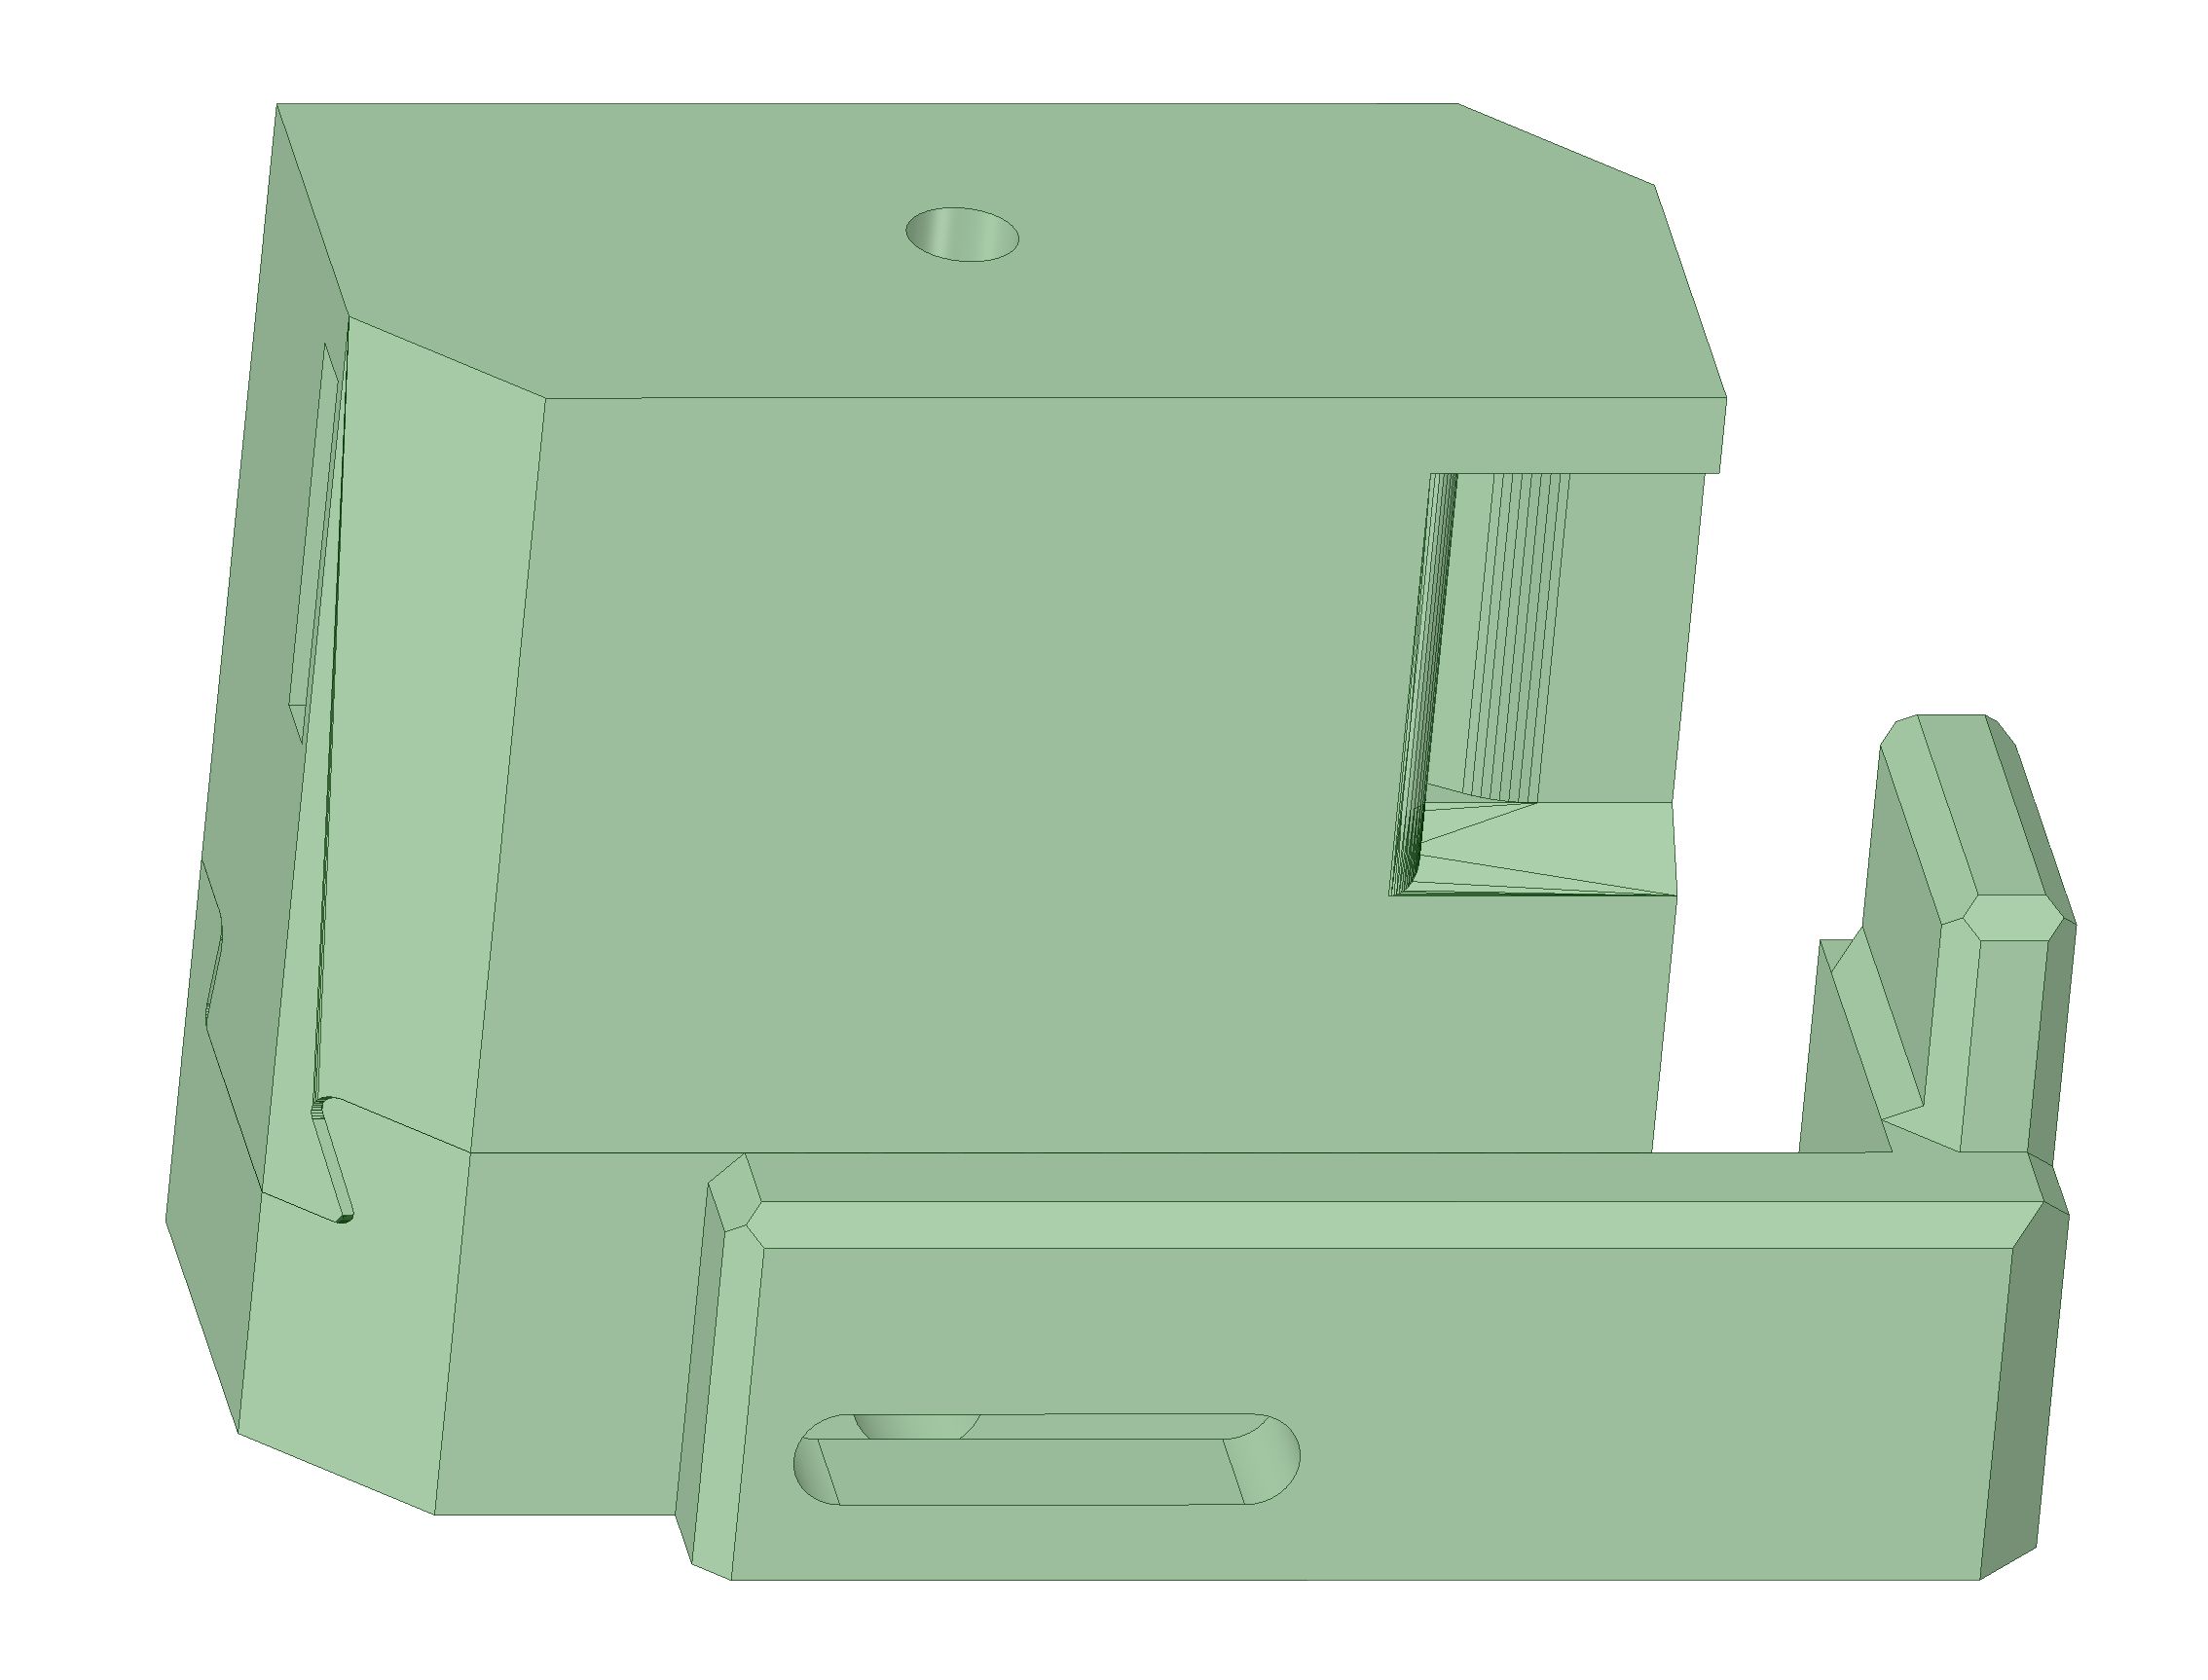
During stress testing I discovered that it was necessary to modify the y axis belt holder. With this new design, the belt is installed by wrapping the belt around the stationary pulley and pressing the cover onto the holder. If needed, table squaring could be fine tuned by about 24mm without needing to move the belt holder.
7 Likes
Looks neat, cheers for sharing. Curious what problem/behavior you were noticing that inspired the mod?
Personally created a remix of the Y tensioner block to help reduce time required to move my LR3 between different sizes tables (will update with link soon incase others have similar need).
Thank you! For a number of reasons I printed all parts in petg. The core and most parts were sufficiently rigid due to their thickness. However the y axis blocks were flexible and the nut traps did not prevent the hexagonal nut from rotating. During stress testing one of the belt holders popped off of the base resulting in a spectacular slow motion catastrophe. A temporary solution was to drive 3 inch wood screws through the top of the blocks. Subsequently I thought it would be better to redesign the y tensioner block and use the method of reinforcing printed parts with wood screws. I tested these redesigned blocks by pulling approximately 40lbs and they do not budge.
Also, when milling in the y direction the spindle would sometimes skip or bounce several times. After installing the new belt holders these resonances went away.
2 Likes
Mine were printed with PLA and popped off as well. Currently solving with 2 clamps but I’ll give these a go.
Thanks,
Steve
You may also want to look at an alternate x tensioner block, where the hex nut was replaced with a square nut trap. The issue I had with the x tensioner was that the screw could be tightened to the point where the tensioner was attached to the xz plate but the belt was not yet tight, then the nut started spinning in the trap. I had the same issue with the MPCNC - the belt tensioners would get stuck in the housing and the only way to remove the tensioner was to dremel off the screw.
That seems to be a great design, thanks for making it!
I‘m also facing problems with the original front belt holders. On the left side it popped out and I had to re-print it. Maybe the Y belt tension is too high? However, both Y end stops at the front lift up a bit, caused by the tension of the rear belt tensioners. So I‘d like to test a more static design like yours.
Bevor I print them, my question would be whether I can simply swap them, i.e. whether your design has the same dimension as the original in terms of holes and belt position?
Another advantage of your design seems to be the adjustable end stop. I‘d like to switch to GRBL soon and GRBL does not seem to offer a kind of M666 option.
Thanks!
These belt tensioners can be swapped out in place of the originals and the belt will be in the same position. I am not sure if the screw holes are in the same location as the originals. However, since you can use a longer screw there shouldn’t be any issues with fastening these tensioners to the table.
1 Like
So, unfortunately the holes are not in the same locations. And they are too close to the existing ones, so fastening the second screw will be a problem, even with longer screws.
Not sure whether your design allows to move the holes to the ‚legacy‘ locations?
At the moment I don’t have the time to rework the design to position the screw holes in exactly the same location as the original. It would require reworking the inner part of the cover that holds the belt in place.
I think it would still hold the belt firmly enough if only one screw was installed in the stationary pulley.
Ok, thanks anyway, will find a solution and come back. ‚Retrofitting‘ would be great. Happy New Year!
1 Like
@Avatario you could fill the old legacy holes with some toothpicks and wood glue. once cured, you can flush cut the toothpicks and be able to re-drill for the new holes. Just an FYI!
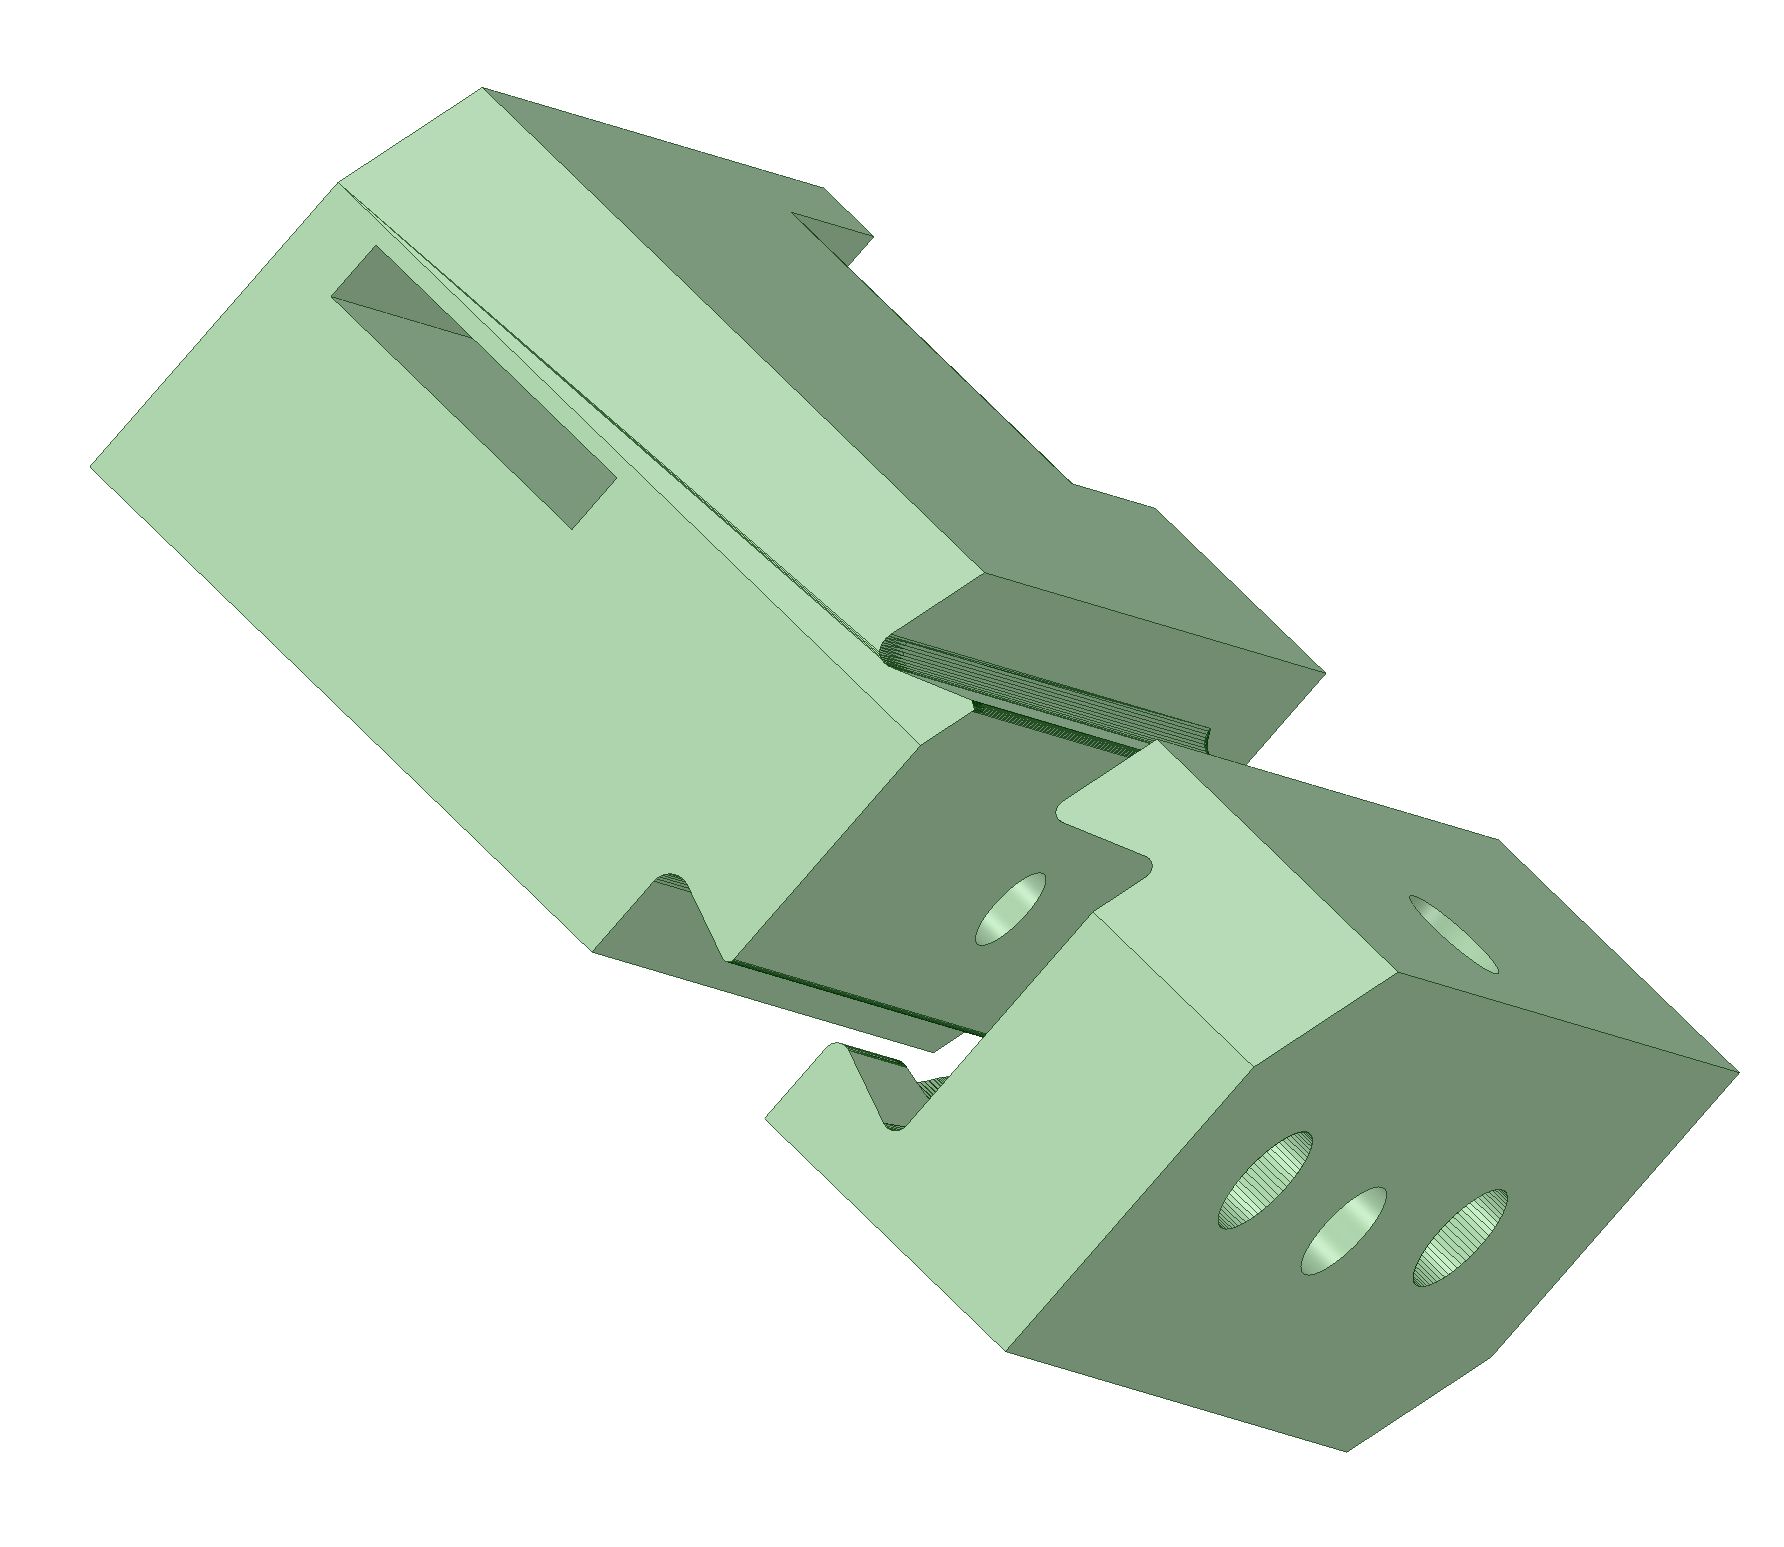
… thank you for reminding me of the old carpenter trick! It’s indeed a solution. BUT: I followed a different route and remixed the original V1 parts, based on @Autonomous’ idea above, adding an M3 threaded insert in the Y-belt base plus an M3 screw in the y-belt holder:
I also added a second M3 threaded insert to the base to adjust the endstops for squaring.
Maybe these pictures explain it a bit better:
With these modifications my LR3 is still removable from the table, but you need to loosen another 2 screws.
In the meantime I’ve learned that - at least in the GRBL version I am going to use (grblHAL) - there is a concept implemented similiar to Marlin’s M666 for adjusting the endstops/squaring by software; so the second insert plus the endstop target is probably not needed anymore.
Anyway thanks for your help!
No worries! I figured you might have already come to a solution, it was just a thought if you hadn’t. I have been super busy IRL trying to get things taken care of, so I have been trying to catch up here on the forums.
Hi @Autonomous ,
Am I right in that these go in the rear of the machine (replacing the “Y Tension Block/Base Rear (Right)” files)?
I was thinking of combining this with this reinforced front Y Belt holder: Printables
The goal would be to have an easily removable gantry. So all I would need to do is to unscrew the cover from your tensioner, pop off the belt and feed it back through the Y drive?
Thanks!
Bernard
You can just remove the standard ones in around 10 seconds.
1 Like
Thanks for redesigns, i was looking for better holders for two reasons-
1.- I coud not see how they would not operate without pulling apart, given the tension required.
2.- The original ones i printed will not fit my belts- correct belts, but won’t thread through holders! i cant see why, but belts dont fit anything i printed for y axis.
Thank you for this.
The tension should pull them tight so that they cannot come apart without breaking. Are you sure you weren’t looking at them backwards?
Have you calibrated your enxtruder carefully? It only takes a.small amoint of over extrusion to make these impossibly tight. I had that problem with my old printer, where the parts for the belts were just too tight, and it was just the smallest amount of overextrusion. Not enough to cause visible problems printing, just made the holes a bit tight.
most prints came out good, screws sometimes forced in, sometimes screw in, i gathered this was right when reading instructions by Ryan.
As a mechanic, I dont really like the design, but i think over-extrusion slightly, as the belt parts are a tight fit together.
Are the source files for this design available?