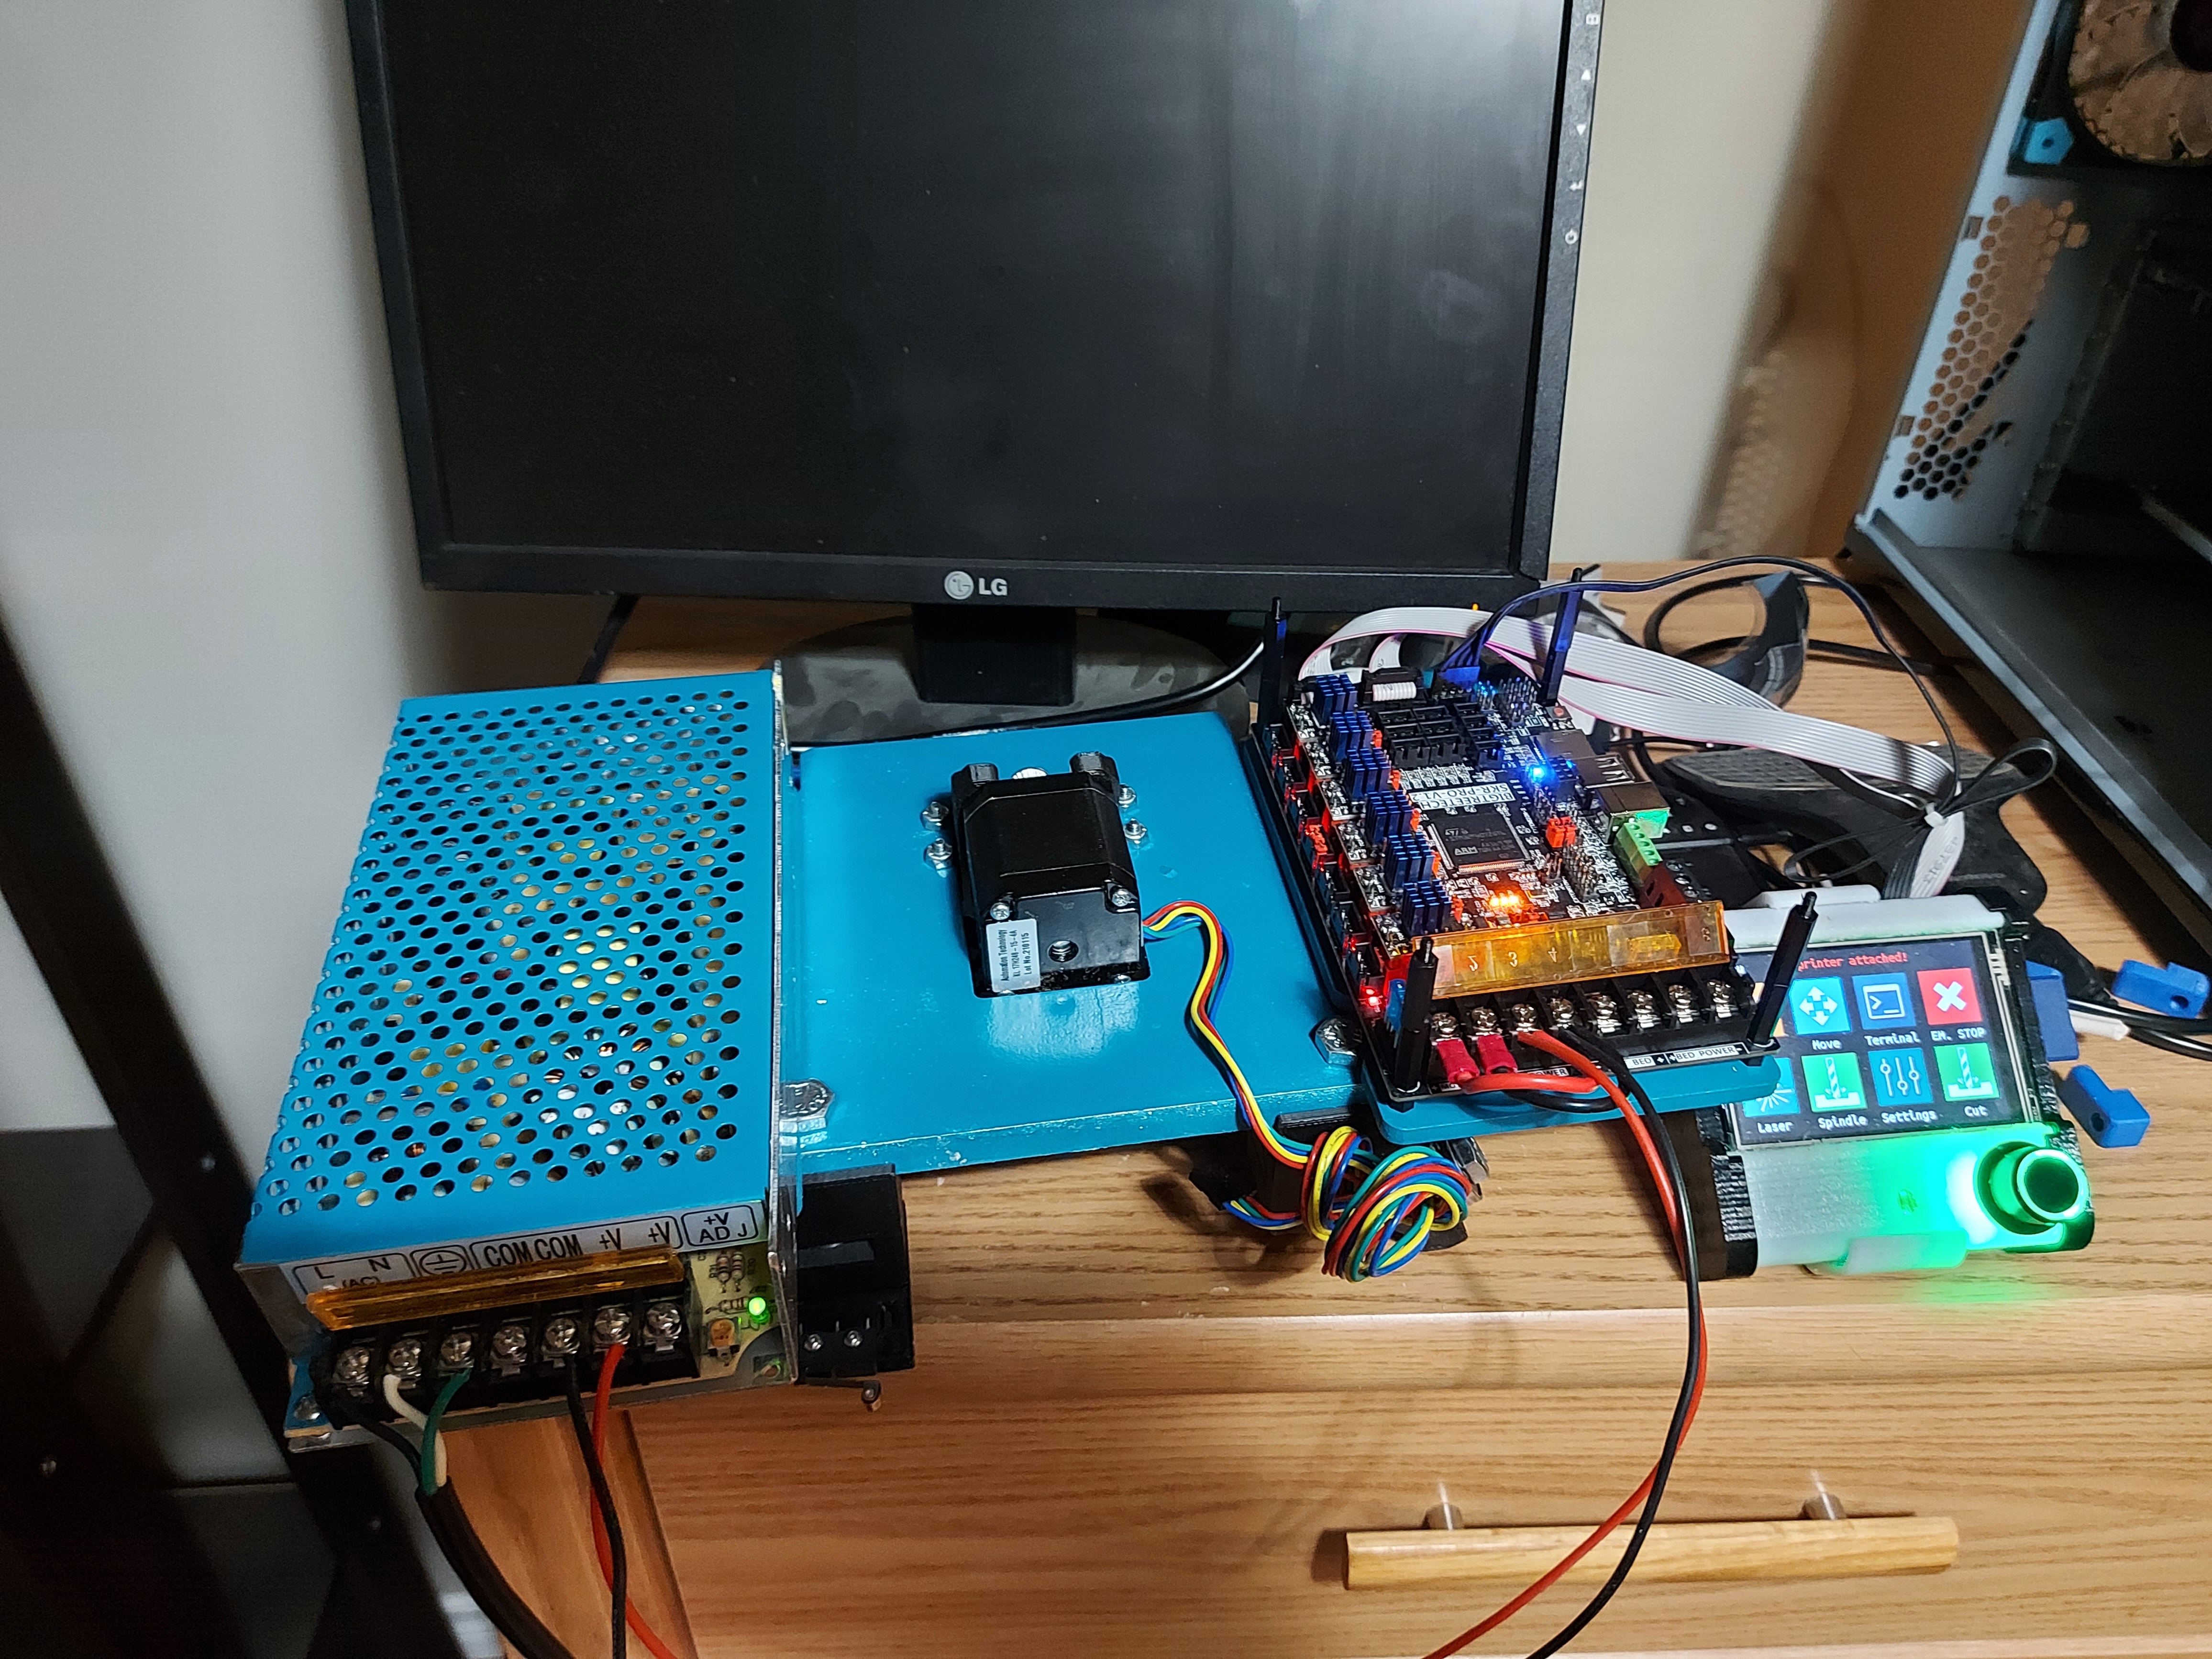
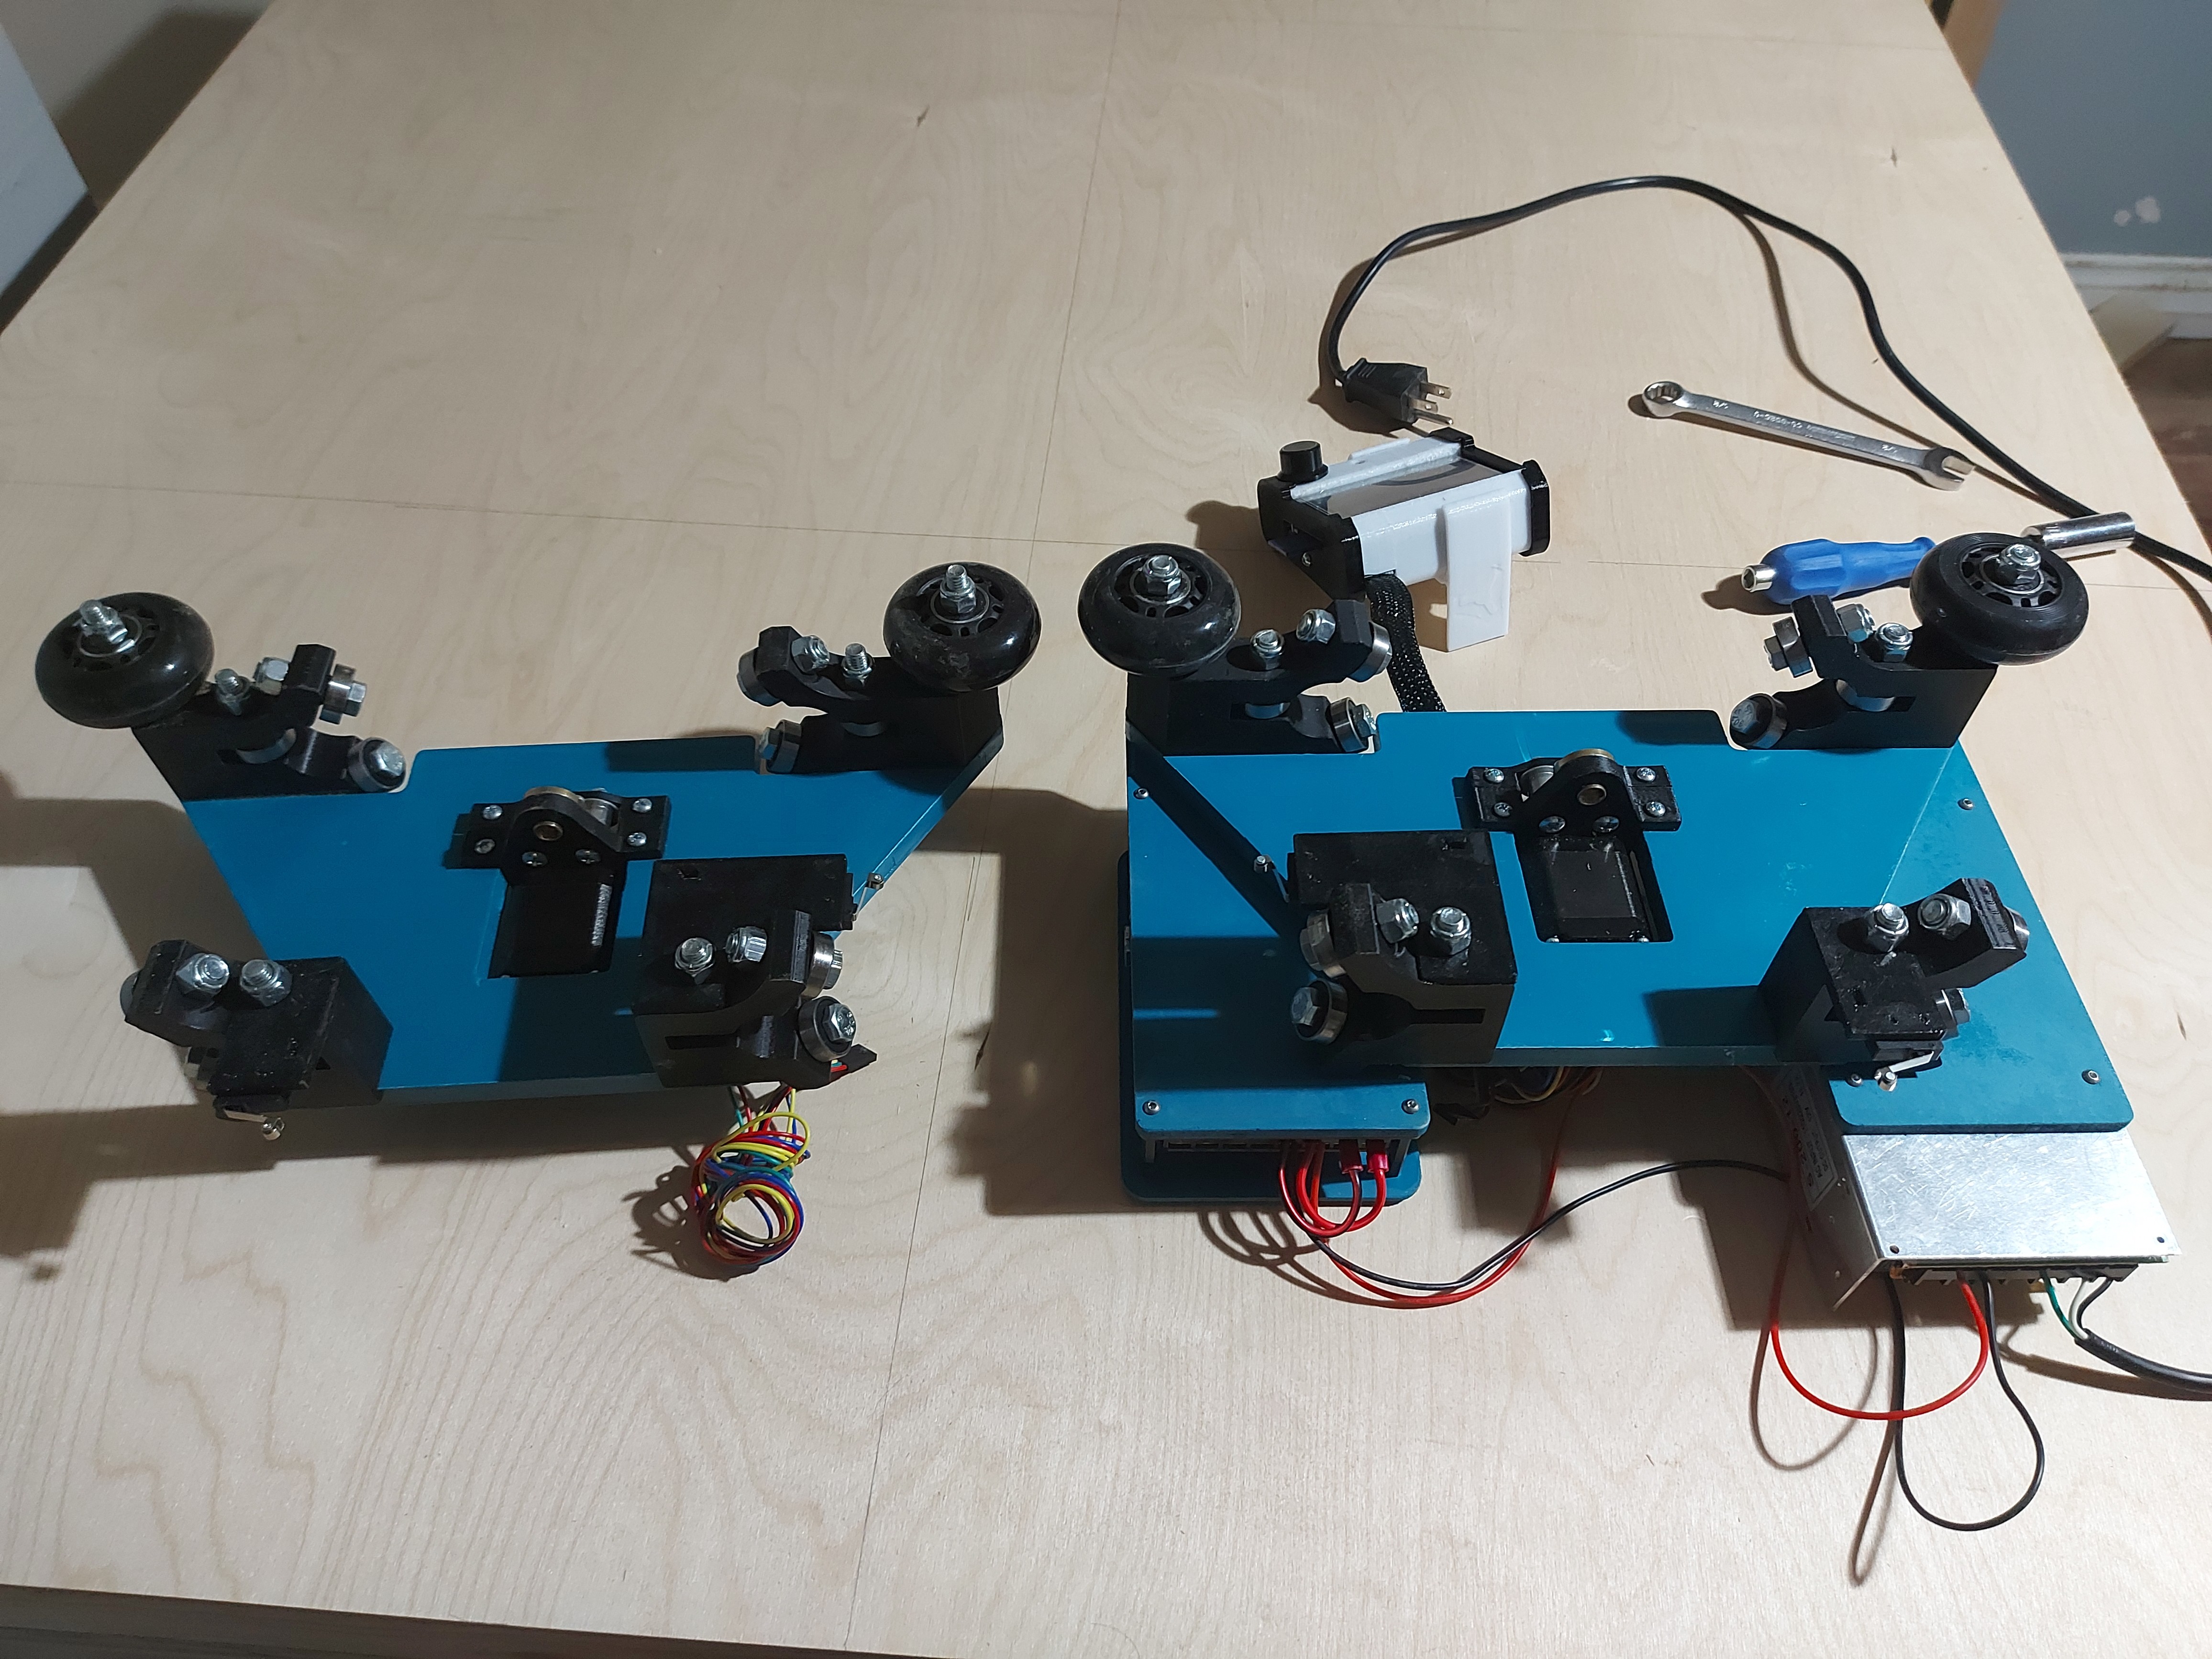
If you’re going to colour match your Makita…
Go hard.
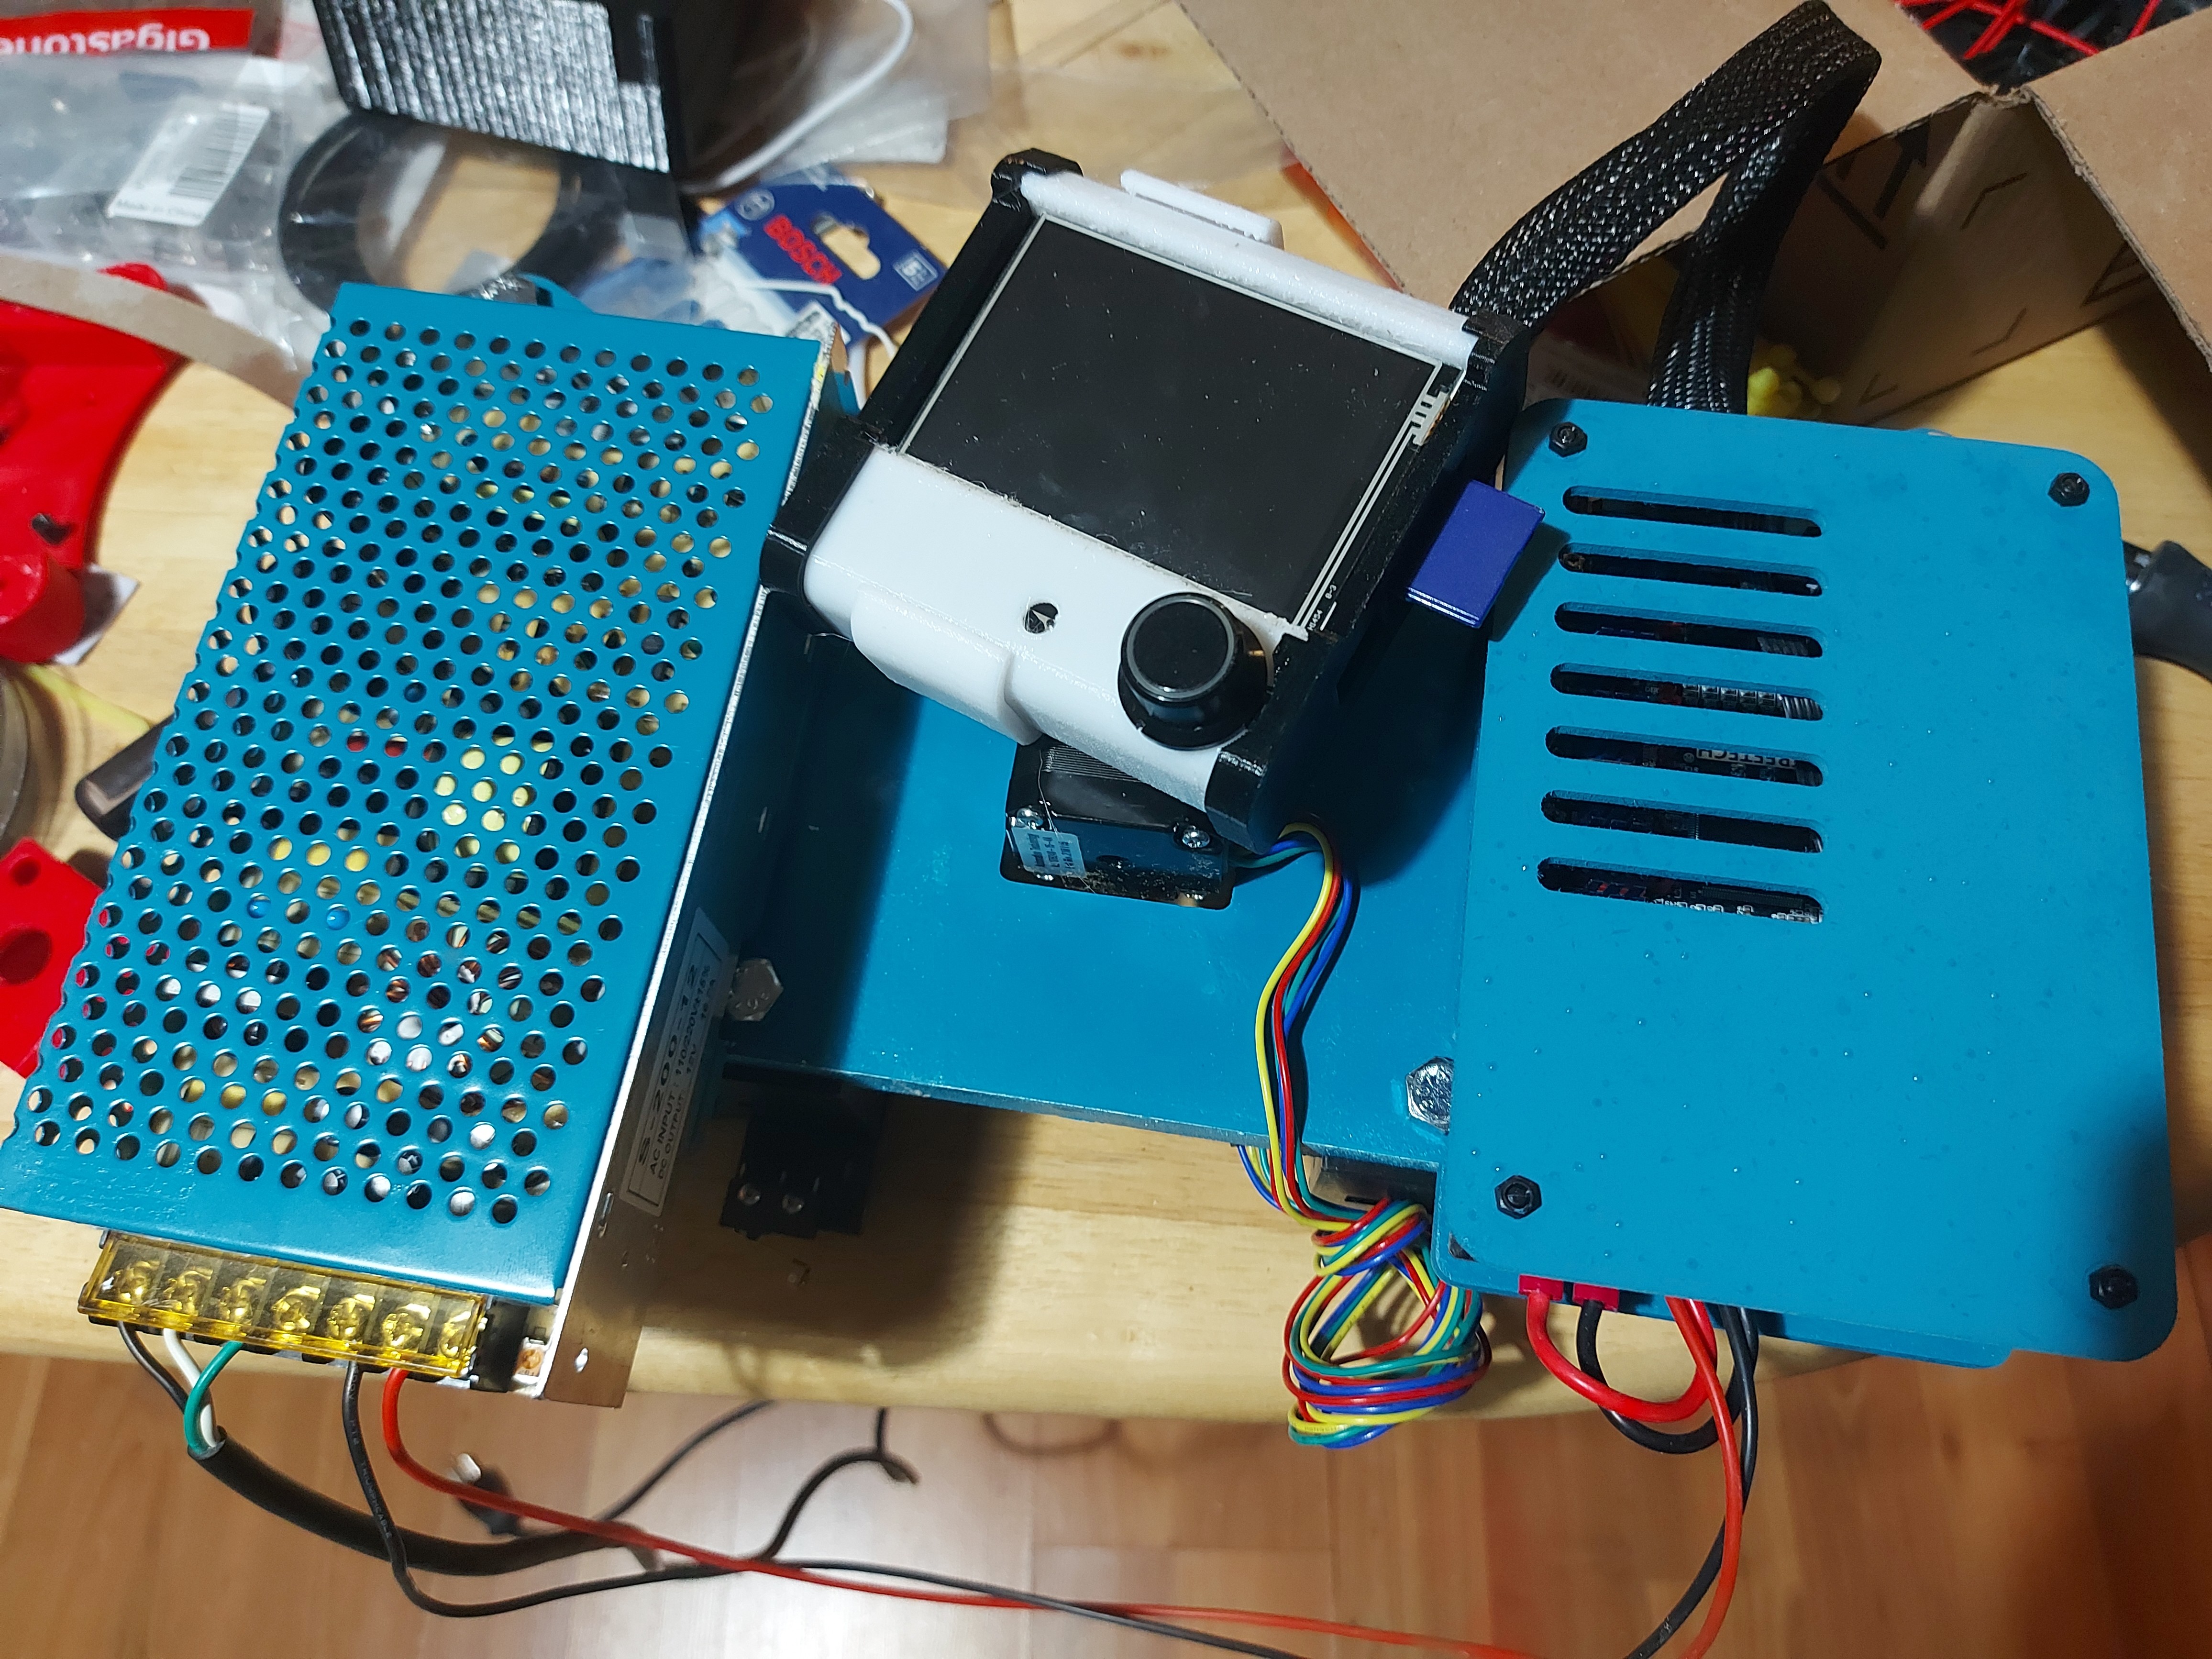
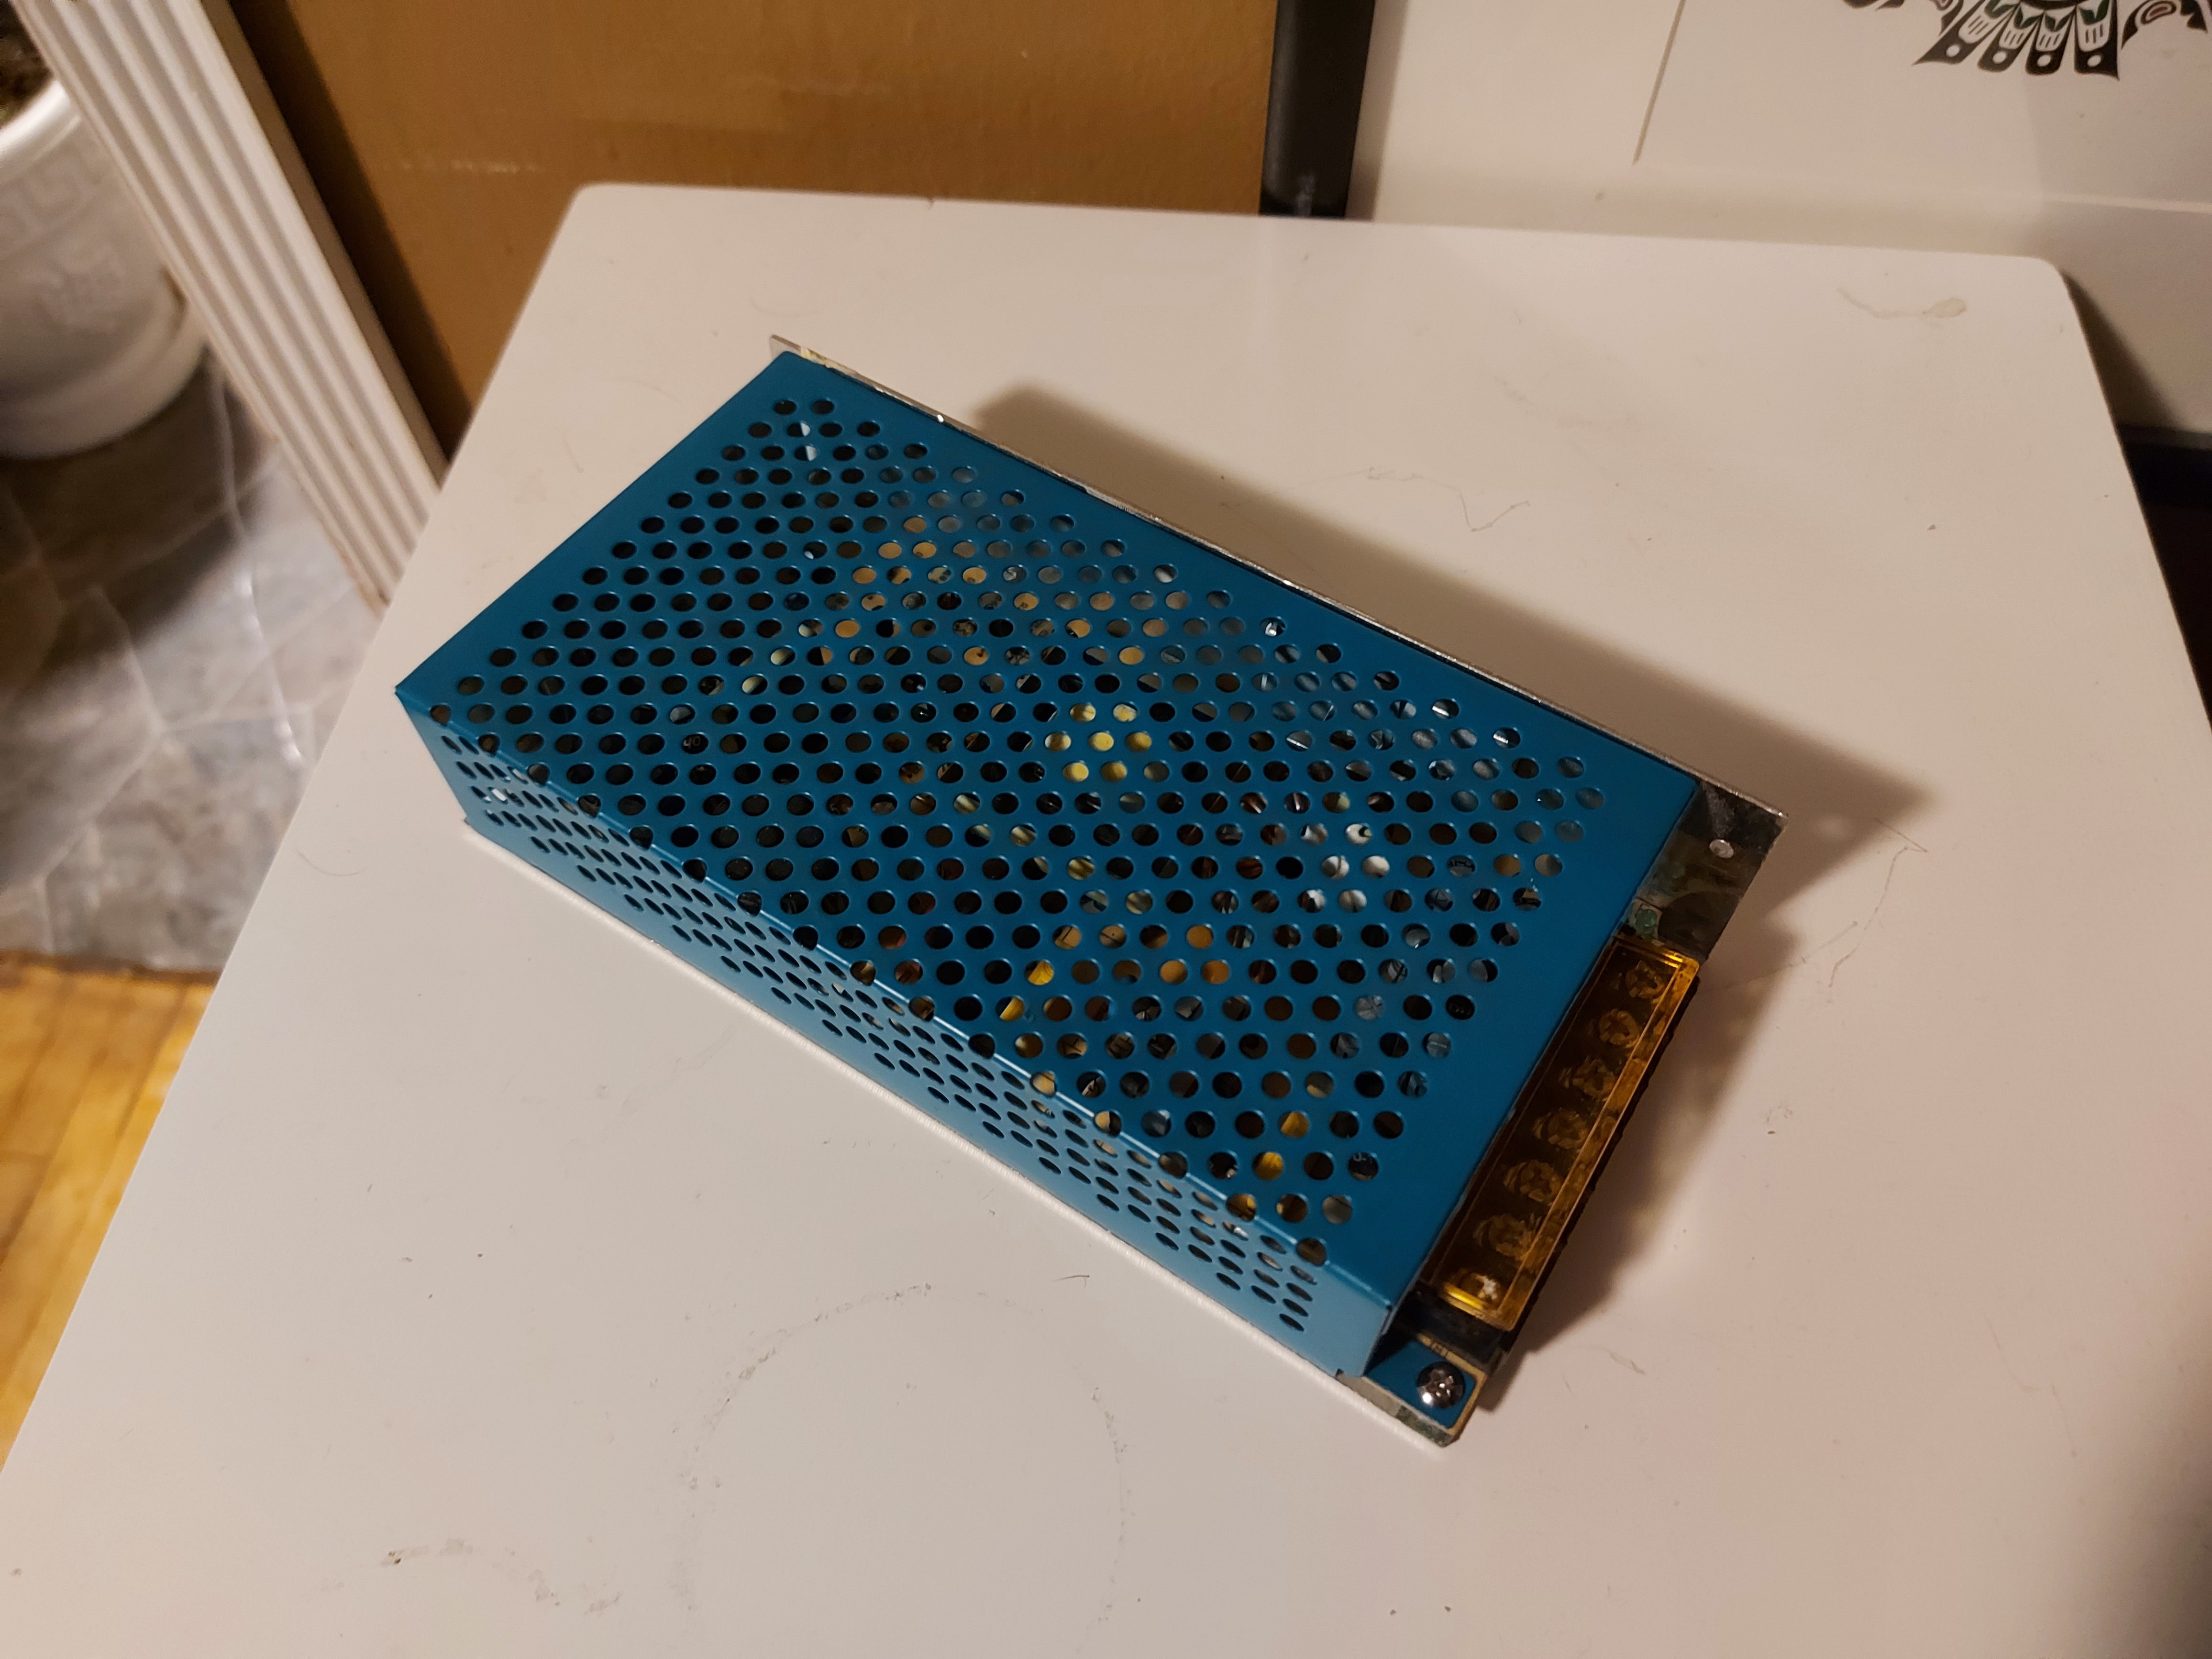
I didn’t want to bother with a cover for the power supply, so I did this instead.
If you’re going to colour match your Makita…
I didn’t want to bother with a cover for the power supply, so I did this instead.
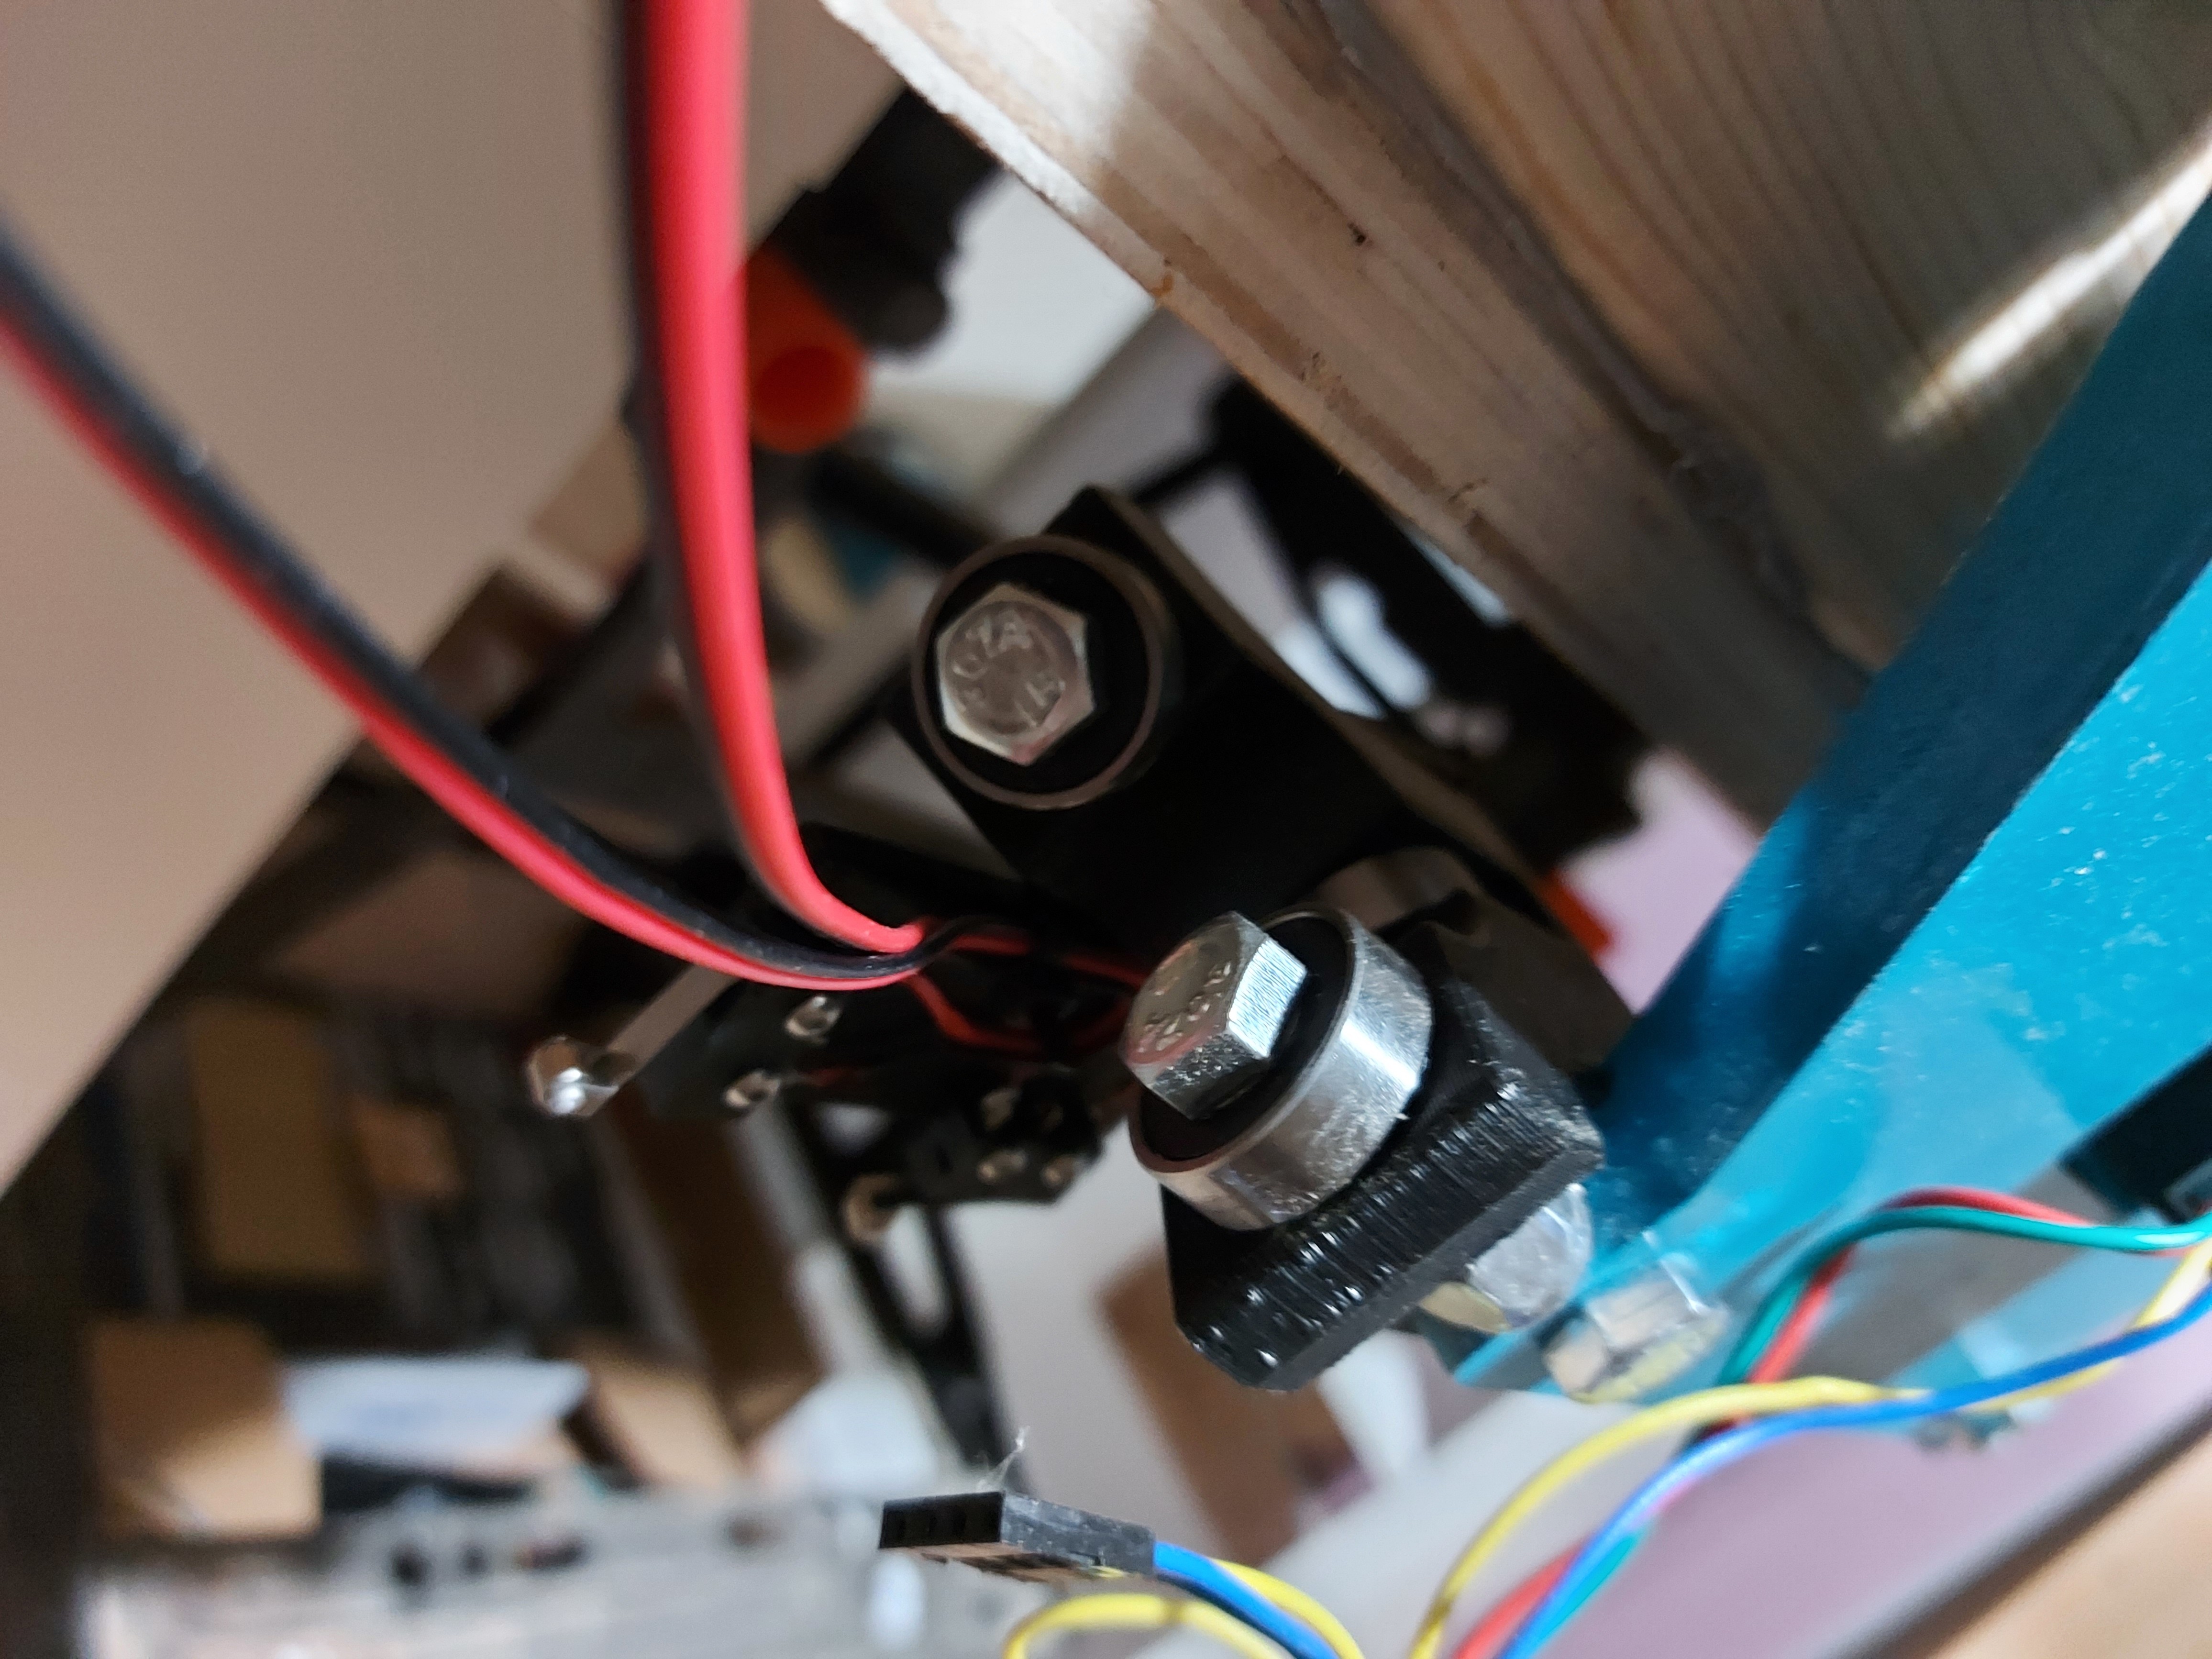
The cover is still printing, because somehow I transposed a number dimensioning it first time, but now the power and SKR Pro are mounted to the Y plate.
I still haven’t picked up my steel, need to do that pfsn. And build a table, too. Steel prices are apparently also soaring, so gotta find an affordable way to go.
The green LEDs glow through the white plastic. Might need something more opaque, but… kind of cool, and configurable…
That looks very nice! Love it that your matching the colors:)
Would you mind sharing the design for the SKR board plate? I am still trying to figure out how to do mine.
Are you not affraid that the added weight might cause an out balance during usage?
And yes all prices keep increasing in price for no good reason other than easy profits:) To give you an idea, I managed to find a local metal supplier. They offer steel (not rust free however) for a cost of around 40USD. That’s for 6 meters.
Sure RVS wil be more expensive but, for a start I think that’s reasonable?
LowRider2_SKR_Pro.zip (3.5 KB)
That has the .STL for the cover, and the .DXF for the plate. your PSU is likely to need a different mount than mine, but it should be good for the SKR Pro
Edit: 2 .DXF files instead. One for the mount plate and one for 30mm stand-offs for a second plate. Easier this way, and I can colour match it. 
Actually, please ignore the cover STL in that, it’s the one I dimensioned wrong. It’s too tall and doesn’t have the cutout for the USB port.
thanks Dan!
Did you know it isn’t possible to fit a 45X60" sheet of plywood into a Ford Focus hatch? Managed to get home with it tied to the roof with some cardboard padding…
I just cut the stringers and tested for size. Nothing is actually attached yet.
Looks like a working area of 37" of X by 45" of Y, mostly limited by room in the basement. Still bigger than the Primo.
I will need a spoilboard still.
The top surface is 3/4" this time, but I’ll use 1/4" for the bottom skin of the torsion box.
I still have to cut and place the longitudinal stringers, but as per instructions, I put the solid braces in across the X plane to make that the stronger axis. I doubt, however, that there will be any appreciable flex in the Y axis with this box either…
Once the glue sets up, I’ll glue and screw the bottom of the box in place.
Not 100% sure how I will attach the spoilboard. I could just screw it down, of course, but kind of a shame to do to that birch.
Edit:
I was just going to get a couple of the tough built sawhorses to stand this on, but the C550 model is too short for me, and I’d be bending over the table working on it, which would suck. The C700 has adjustable legs, and would be ok… but they’re $85 each, which seems more than a little steep. I don’t need the collapsible function for a machine that should stay in place most of the time.
2x4 and 2x6 legs like I did for the Primo would be OK, and the drawer under it is good. Can’t just re-use that, since this is bigger tho. Need it for the table surface anyway. Still spendy despite the recent “collapse” in lumber pricing.
Ikea has Kallax shelving that is slightly cheaper, and about 31" tall, by just under 5’ long. 2 of those would be taller than the sawhorses and provide a bunch of convenient storage. Ikea also has casters for the Kallax shelving, which would raise it another 5" or so, basically countertop height with the 4" torsion box on top, and lockable casters under it for convenient mobility. If I gotta spend another 2 bills to support the table, seems like a no brainer. The built in storage is way too tempting. They’re about 16" deep, so a pair, one on either side would give excellent support. There are provisions in them to bolt them to the wall, which I could use to space them to support the torsion box with room for the LR mechanism.
Then of course there are the various accessories for the Kallax shelves, like door compartments, drawers, baskets…
Man, I wanted to see a picture of this. For some reason I keep thinking on that movie with Mister Bean, where he´s coming from the shopping mall with his sofa on the car roof:)
I was just going to get a couple of the tough built sawhorses to stand this on, but the C550 model is too short for me, and I’d be bending over the table working on it…
I love it that you´re thinking to go the same road as me. And I do agree that the sawhorses are pretty low. I personally did go with a C500 alternative because the C700 is twice the price over here.
Consider this, if you are making a torsion box, with bottom and top sheet, it will still raise higher then the sawhorses because you will be placing it on top of them?
Another way you could go is buy a toolbox cabinet on wheels. Mount the torsion box on top of this?
Yeah, I went through that. The torsion box is about 3.5" tall (To keep it below the 4" recommended thickness), still too short on the sawhorses.
C550 sawhorses, $120 CAD, 28" height, 32" with box. Too much money for something too low. No storage, and takes up more floorspace because sawhorse legs.
C700 sawhorses, $170 CAD, 32" height, 36" with box. Still no storage, more floorspace.
Ikea Kallax 4x2 shelving. 2 units, $160 CAD, 31" height, 35" with box. Tons of storage, though maybe not much room for the shop vac…
Ikea Kallax 2x2 shelving, 2 units. $120 CAD. 31" height, 35" with box. Lots of options. Both of these also allow me to link them together with some available material to make them a unified piece. Castors would make positioning easier, and add a couple inches of height…
2x4 / 2x6 legs.$50 CAD with bracing. Height is whatever I choose within reason. Storage is whatever I build. Assume another $75-$100 on that, because. Still the cheapest, but somehow not appealing.
Time to start working on some CNC-able leg options? Sit it on the old table while you use it to cut the new legs? Solid “2x” legs are easy and what my tables all are but everyday I go out and want to make some flat pack style ones. At least the corners. For me the drawback is I get lost in the options. I want to wrap a cord, hang some tools, shelves, wheels, at least one drawer…
I have one of the ikea shelves, it has lasted forever but for every self you take out (say for a shop vac) it gets significantly more wobbly.
I had fun with the CNC on my Zen project table for sure.
I don’t think the shop vac is a problem, and wasn’t going to remove any of the shelves because rigidity.
In the 4x2 solution, the 2 shelves would go along the length of the table, back to back. They’re a little under 16" deep, and the table is 45" wide. Leaving a couple inches for the LR2 clearance under the table, leaves about 10" between the shelves. I probably can’t squeeze the shop vac into that, but I could arrange some long storage…
In the 2X2 solution, the shelves would face the ends. The table is 5’ long, so lots of space between them. No problems whatsoever with the shop vac.
This is the biggest detractor for me with the sawhorses. It’d be one thing if it was cheap, but… It isn’t.
This. It might be the best solution ![]()
I´ve recently bought 2 Kallax systems for its original usage. My personal experience is that they are solid if used for their purpose and mounted against the wall. But I am not sure if they would be solid enough for the usage as a work table. It felt kind of wobbly when place in the middle of the room. Granted, they are the tallest version Ikea is offering.
I want to wrap a cord, hang some tools, shelves, wheels, at least one drawer…
This is the biggest detractor for me with the sawhorses. It’d be one thing if it was cheap, but… It isn’t.
True, I was lucky to buy them at a -40% discount. Otherwise I might have created a table in plywood.
I plan to test if those additional clamps, on their feet, would be solid enough to hold a beam, to create an additional and removable shelf. But that´s all with the idea to easily remove / store the table when needed.
I think in the end, if the table needs to remain where it is, the best option is to use some 2x4 beams, or create legs from plywood…
Gotta say that there’s a lot of Kallax in my house. There’s a reason that I built My multimedia PC for Kallax shelving.
In terms of modular organization, it’s convenient, and I can get the aesthetics past those who won’t accept brick and board shelving. (Honestly, I thought it was all too much bother and fuss for a long time.) I’m using one for a TV bench in my bedroom, (4 wide by 2 high) and it’s very stable at that height. They don’t wobble when everything is tight, and the ~16" base is more than stable enough for the ~31" height. It would take a lot of lateral load to topple it. Now it’s more a matter of uniformity. (I would probably have just chosen something a lot more utilitarian, left to my own devices. I still have a bunch of the old Sten shelving in the garage, and really wish that I could buy more of it.)
I went and picked up the Kallax units. I’m going to connect them together with a separator piece which will also attach them to the work surface.
Piece of plywood across the back will also stiffen them up.
Got the Y stops printed.
These are similar to the Z stops I did and will go on the opposite side from the Z stops. I still need to make a trigger block for them, but that won’t be difficult at all. It just has to hold one of those discs and sit under the belt holder.
I still need an X switch as well, haven’t been very worried about that one.
Oops. They’re backwards… need to go down to clear the table.
Can’t just swap them, so I’ll have to alter the design a bit to reverse the impression of the Z holder. Not a big deal, but maybe I’ll just make it all one piece then.
Fewer parts is good, after all.
Okay, an all-in-one solution that holds both switches. I added the wire harness as well. The one side has a shorter harness, which will be long enough to reach the control board, and the other side has a long harness which should run through the X gantry tube and reach.
Gotta glue and screw the torsion box together tonight. It’s already sitting on the pair of Kallax shelves, which seem like they’ll work out great.