Re: checking for twist - If you have a nice set of “winding sticks” (aluminium angle will do if it’s straight) with a bit of practice you will get to “fairly” level by eye. A digital angle gauge on a straight edge between the sticks will (should) give you a more accurate idea. Hmmm… now I’m curious!
Ohhhh, that is how you do that. Thank you!!
For any beginners or new Crew, For the most part a bow or twist in the table is not a big deal. But if you are making something keeping things like this in mind… the more accurate it is the better.
2 Likes
A bit late to reading this but you may want to try my lead holder. I designed it to fit over top the router collet and bit using a magnet. It wobbles a bit and I wouldn’t use it to draw competition level crowns but it is pretty awesome when you need to locate screw down points and the like as it is located at the center point of the bit.
1 Like
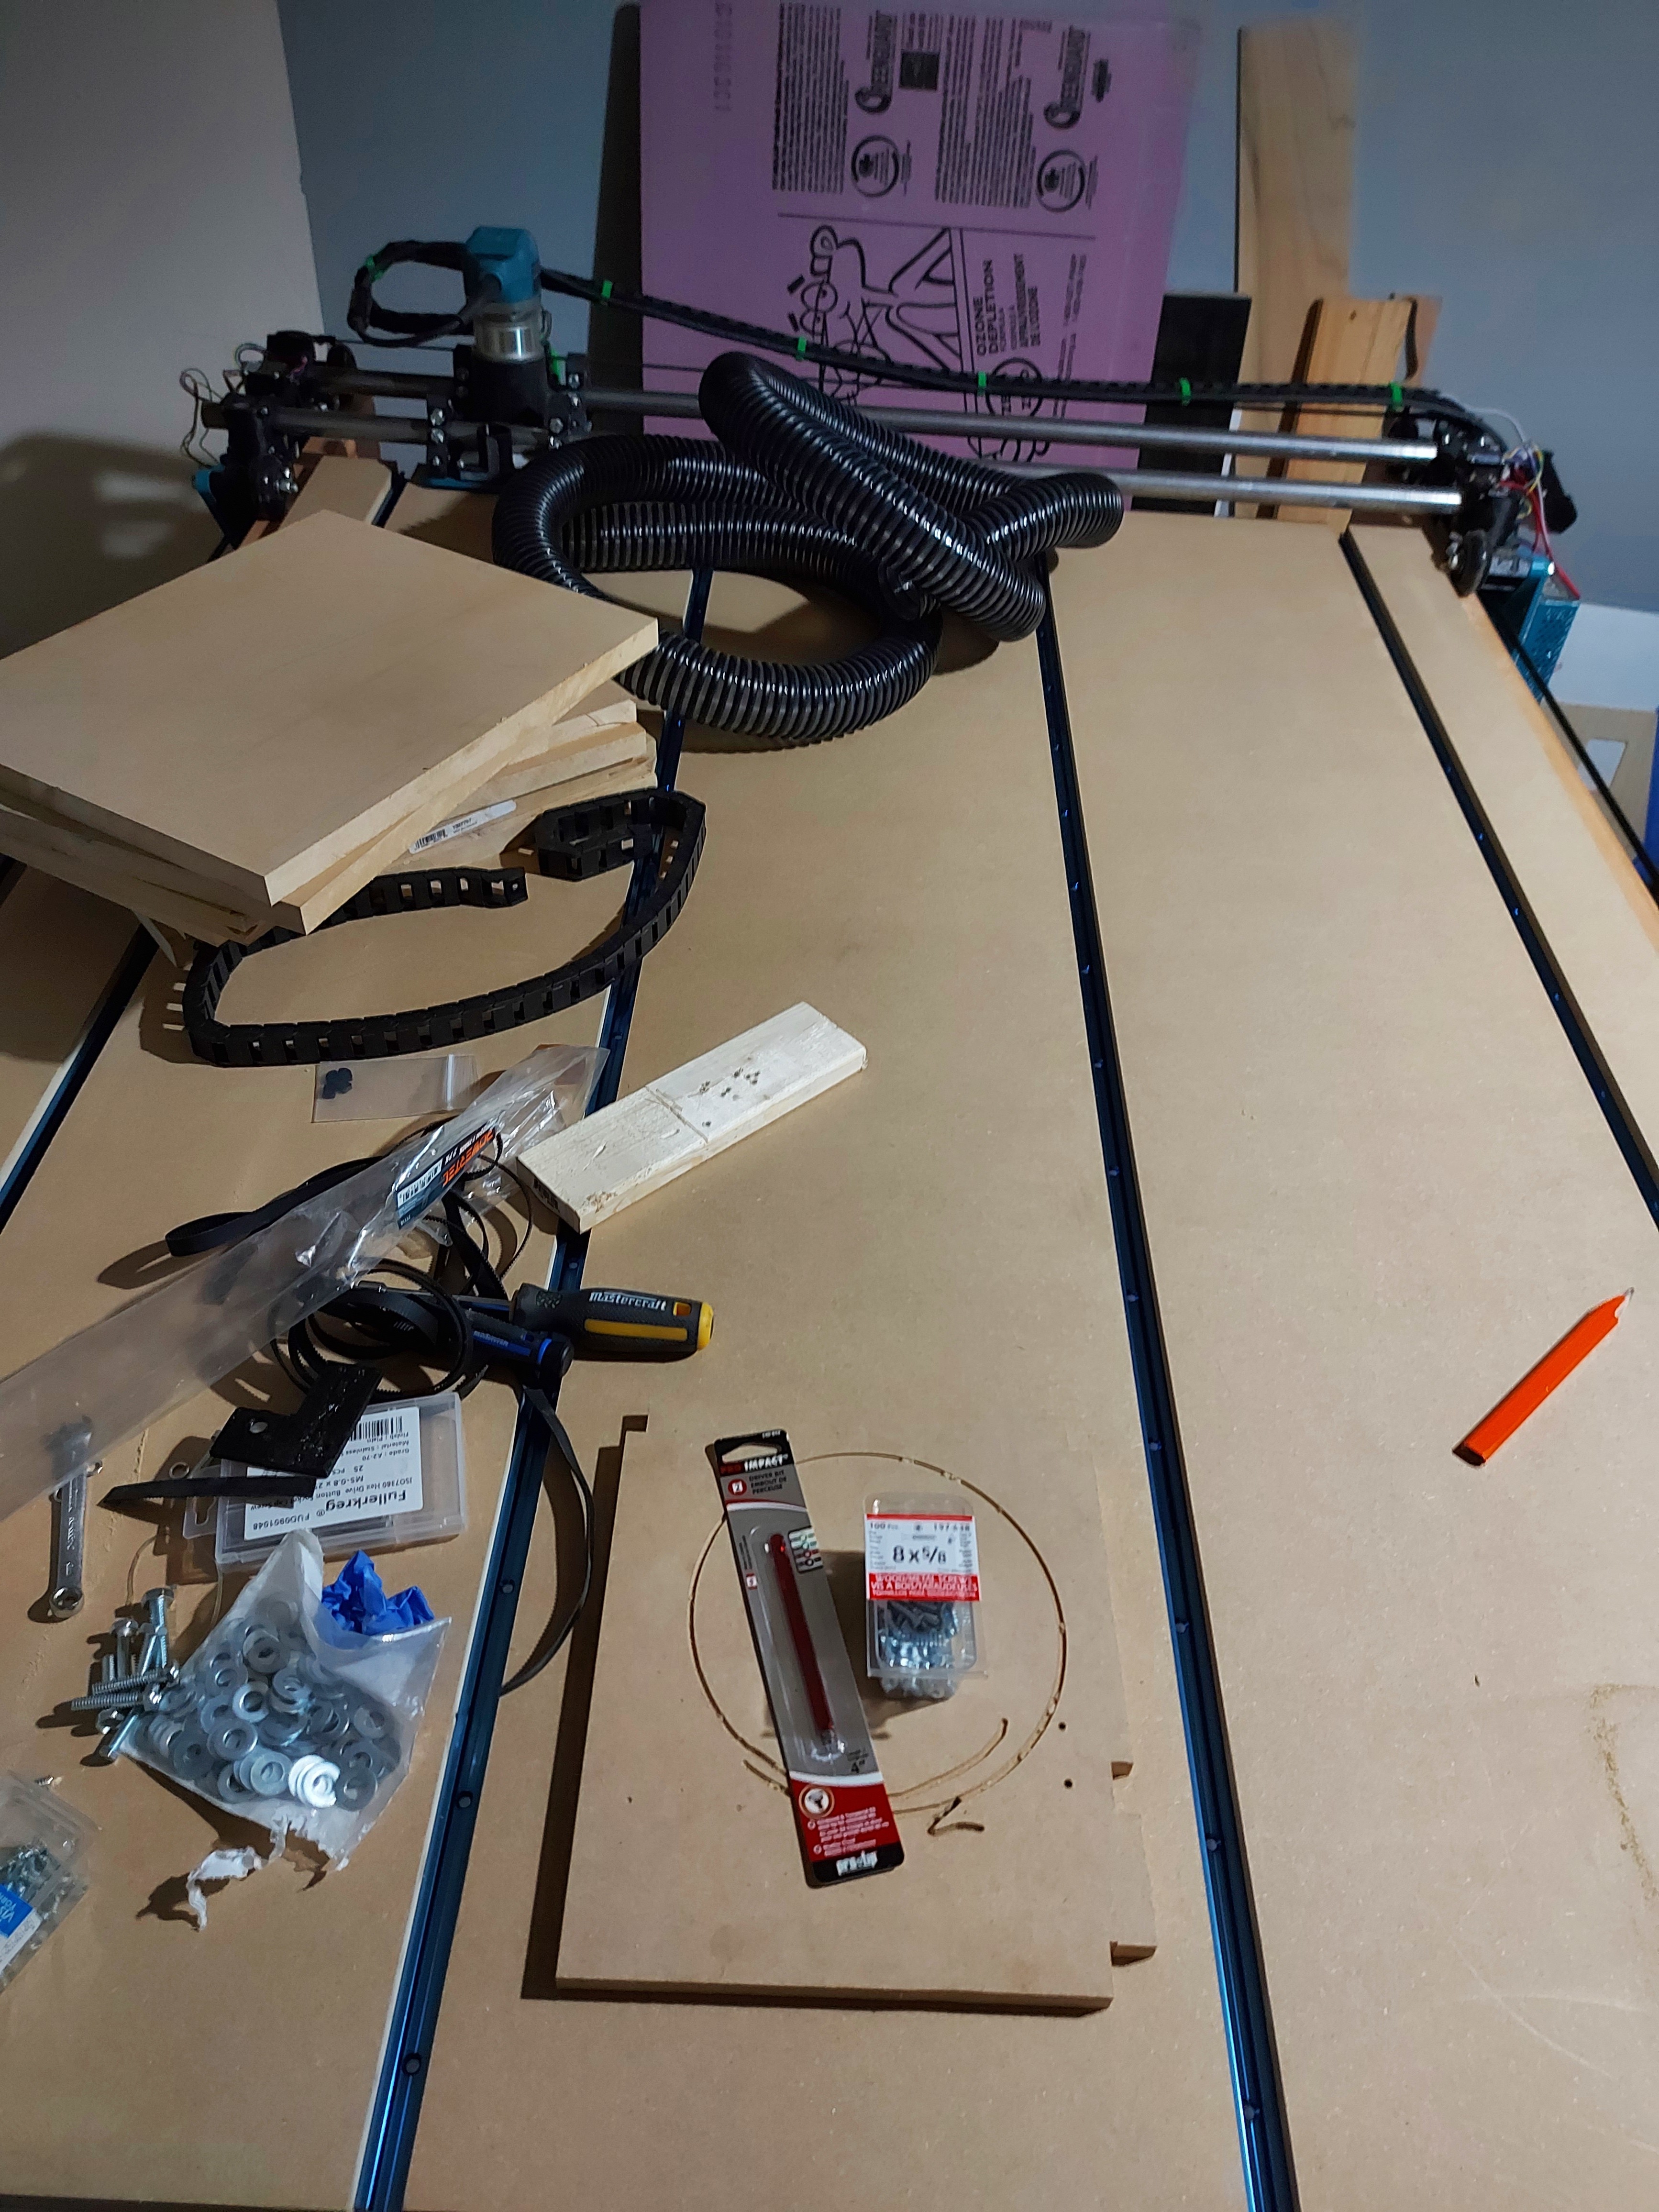
Been stalled on this, but… I knew I would be.
Finally have all of the spoilboard pieces, plus extras. Time to start screwing in the T tracks.
Also have a 2" dust collection hose. I need to design and print an adapter to the LR shoe, but that’s easy enough. I did some measurement of the shoe pieces, to copy the oval with flat side outside shape as the inside shape for an adapter. From there go to a 2" diameter which will go inside the hose, and zip tie the hose onto that.
Then a simple adapter to connect the hose to the shop vacuum, and make sure I use hearing PPE.
I did get some angle for the drag chain and hose, which I’ll need to cut. I was hoping not to need it, but it’s easier than what I would need to do to just use the drag chain. I do like the power cable clips though, they work great and allow quick mount/dismount of the router. I think I’ll add a wire harness for a laser, now that I have the work done for the Makita base mount, making a good laser mount should be trivial. I was looking at the 15W NEJE again…
Well, new/expansion projects might be on hold a while. Kendo Canada has announced that they will be holding a rank promotion grading at the end of the year this year, and I want to go try for my next rank. That’s a few grand for the weekend and exam fee, so might have to start saving my loonies.
4 Likes
Oh this sounds cool! Extra diligent training…possible promotion. Good skills to you!
1 Like
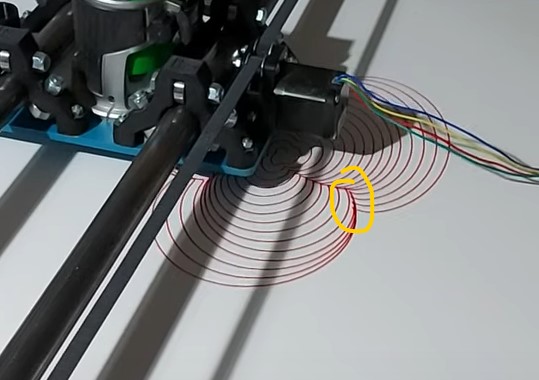
I noticed these, but when zooming in, it looks like a misalignment, not breaks. So might be your source file.
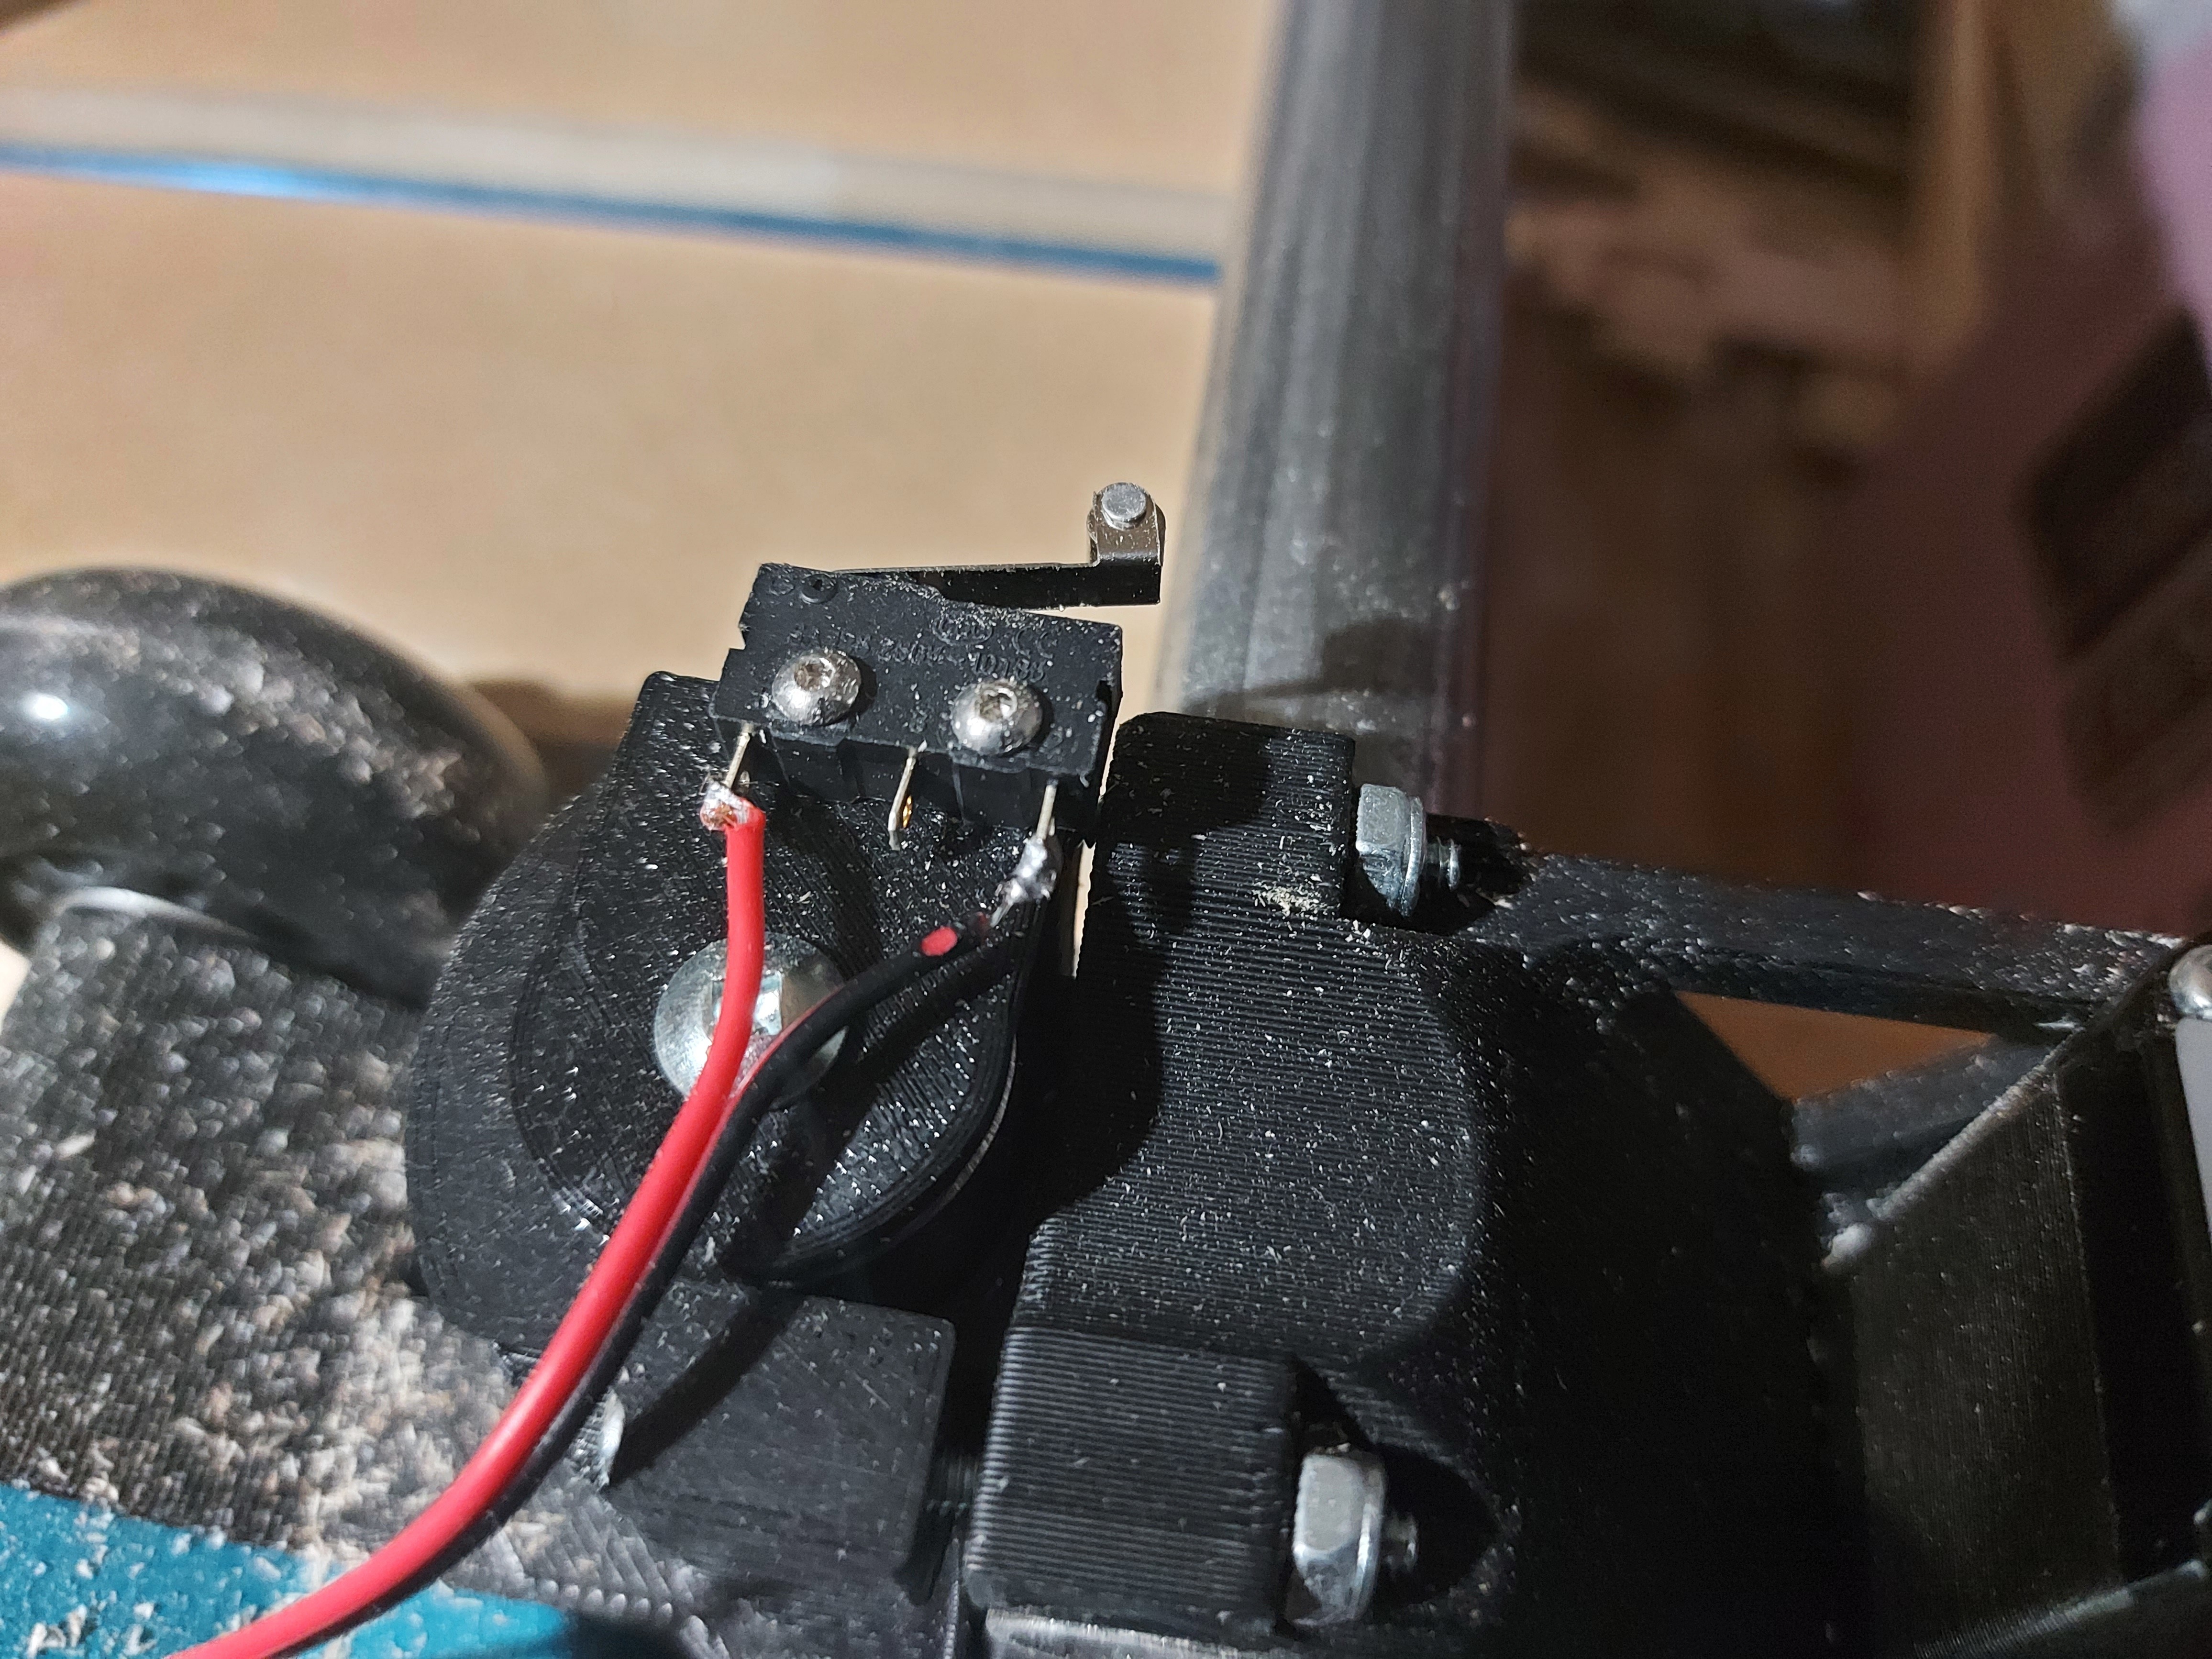
How is your Z+Y endstop combo doing? Are they working as expected?
I could only find your Z axis design on Thingiverse, so wonder if that´s with a reason…
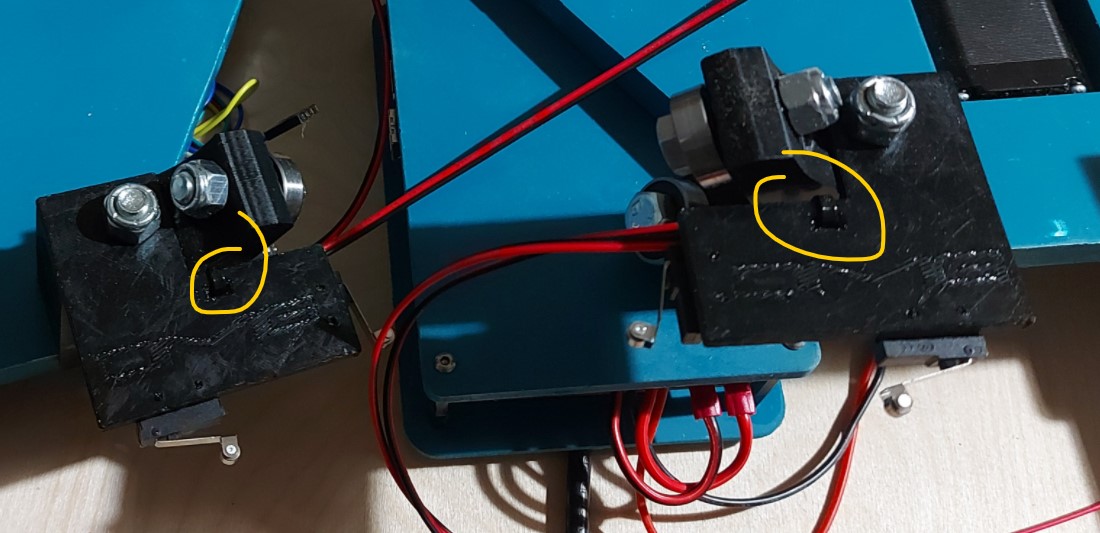
Am I correct that these cutouts are there to strap the sensor wires?
Those are there from the “rotation” factor in sandify. It switches the rotation direction back and forth.
The Y stops still need a bit of tweaking. I’ve redesigned them, but haven’t printed the revised design yet so I haven’t published them. I’ll probably just edit the Z stop thing to add the X and Y axes to it. The Y axis re-uses the plunger part.
Yes, those cutouts are there to keep the wires away from the bearings.
2 Likes
ahh, then I´m going to wait and see what you come up with:P
tbh I found your Z endstops the best design in my personal opinion, so was going to use them, but had not figured out yet what to do with the Y axis.
I wonder, do they not move when bumping into to stop? Since they are only bolted with one screw?
1 Like
I actually changed it so that the Y and Z stops are integrated.
The piece is held with just the one bolt, but is molded to the bearing holder so that it can’t rotate once tightened. It shouldn’t be under much stress anyway.
The plunger stop for the Y axis is less than ideal still, so I’ll redo that.
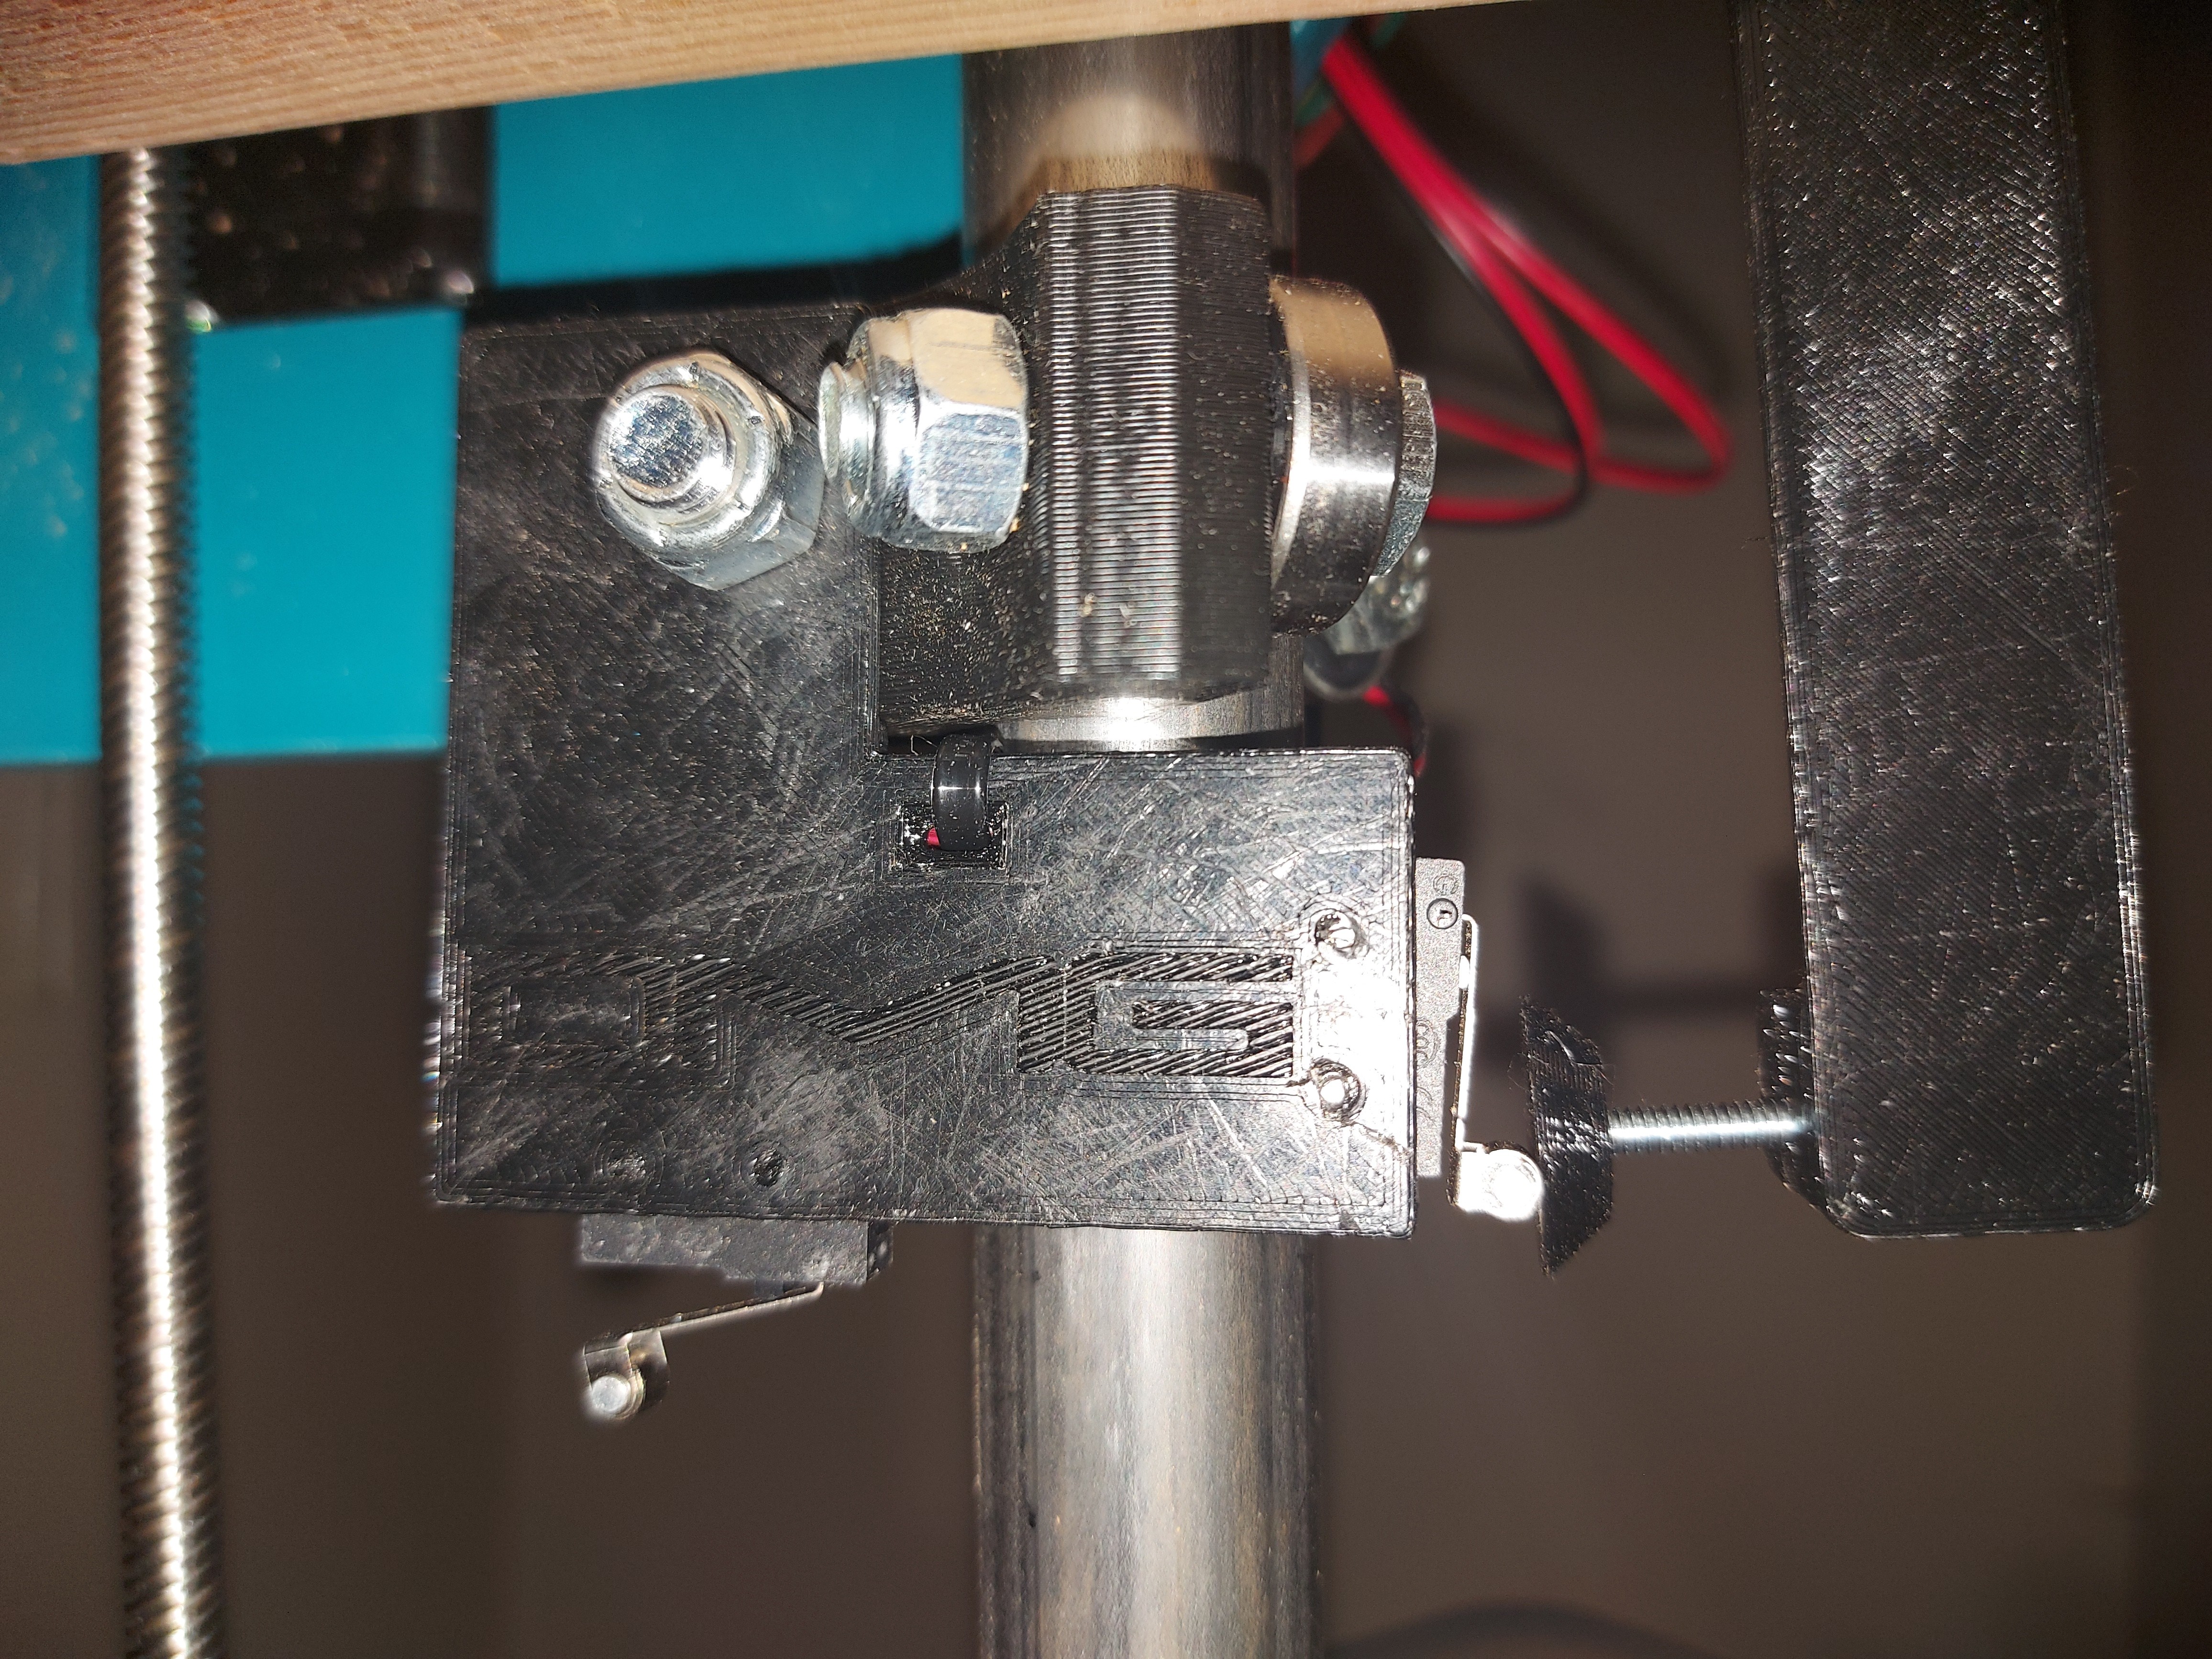
The X stop is pretty simple.
Just a tube plug, triggers off of the printed part on the carriage
Edit:
Endstops.zip (204.6 KB)
This is the current versions of what I’m using. You need 4x the “plunger”, 2x the “Z tube end” and one each of the other files. The bump stops and the “switch holder” files have both sides. The bump stops are meant to fit right under the Y belt holders, but you may find that they’re a bit tricky to get lined up. Feel free to change those out for something better!
The plungers use #6-32 screws to adjust their position to fine-tube the squaring. I found it easier than adjusting the firmware, and I’d preffer the home position to actually be square, rather than adjust. Probably not critical, but this gives some pretty fine control.
The tube plugs (for X and Z axes) use #8 wood (or sheet metal) screws. I used 3/4" ones. Longer should be fine. The plug tries to expand inside the tube and locks it into place
The switches are held in with M2X10 screws, just threaded into the plastic.
1 Like
Well, just had a bit of a depressing round with the LR.
Was dialing in for level and square. Got level to within about 1mm across the table span, (good enough) and square to within .5mm diagonals in a 300mm square
G92 X0 Y0 Z1
G0 Z0
G0 X300
G0 Y300
G0 X0
G0 Y0
G0 Z5
G28 Y
(Which is actually about a 296.875mm square, with bit kerf. I get really close to 420mm as a diagonal, which makes sense, since 296.875 * sqrt(2) = 419.845)
That probably also means my steps/mm are also pretty much bang on, which was all good…
Then, tried cutting the front plate for the new printer, and it pulled out the router bit from the collet.
Reset my zero, put in a fresh bit… and the machine caught on something. Then one Z motor dropped and it broke one of the Z tube ends. Not even sure on what.
So… printing a new Z stop. Gonna fix the Y stops too. Check wiring for the reason I lost one Z motor too.
In any case, no printer parts for me today. Was going to cut the 1/4" parts for the face and bed support. I could do it on the Primo, but I want to get this debugged.
Anyway, I’ve been meaning to redo endstops, and the wiring is a total mess, so gotta clean that up anyway.
I think what I’m going to do is make levelling blocks from leftover MDF. I’ll try making them close enough to my Z max that I can rest the X tubes on them and adjust the stops so that they just trigger.
You may well ask why I don’t then just level the machine with the blocks. Fair enough, and I don’t really have much reason, other than being able to square the machine electronically rather than physically. Or being able to do it without powering down the motors, so I don’t lose my workspace X and Y. Not that I should ever need to, of course. It would have been useful tonight if the tube end hadn’t broken. (I think it may have hit the table support, the machine was crazy tilted.)
Anyway, new Z tube ends to print, and new Y bump stops to design.
I suggest pulling the collet and making sure all the little grooves in it are clean, and that the socket is clean as well. Any dirt or chips in there can prevent it from gripping the bit.
Also check the bit shank for any burrs.
That is a bummer, last time I snagged on something the power cord caught on some material below. Last night while I was getting ready to cut some printer parts I found a odd high spot on my LR. I threw in a fresh onstroud 1/4" O flute…the most expensive bit I ever bought. Started leveling it manually, and it was going sooooo smooth. Until I hit a freaking rock embedded in the particle board I use for my wasteboard (explains the high spot). WTF!?!, chipped my brand new cutter, so mad. I think the cutter will work, it is just noticeably more loud. It chipped the smallest part of the edge since I was only skimming the surface. It did mill that rock flat as heck though!
4 Likes
That’s why I got a surfacing bit with inserts. I only surfaced one nail so far.
1 Like
I think you were the one that talked about hitting rocks a long time back. I hit one and was like…“Dam, I had no idea that was a common thing…Pulled another Barry!!!”
2 Likes
You need to find a supplier that doesn’t fill your mdf with Barrys.
3 Likes
That was Dui. He found concrete in his plywood.
2 Likes
Yeah, I’ve taken the collet out. It has some damage on the surface from spinning over the bit, but still seems to be good. It was completely clean when the bit went in. I’ve cleaned it out, and I’m just going to toss that bit, since I don’t know what damage might have been done to the shaft.
1 Like
Darn. If you keep it up, “Barrying it” will be fact checking.
2 Likes
Ok, less on learned. Don’t assume that the LR powers on thinking that it’s at 0, 0, 0.
I went to move it Z+45 (G0Z45) and stretched a leadscrew coupler.  I was trying to square the Z axis without the stops.
I have spare couplers, so it was a small thing to replace.
Then, trying to cut a part, I was getting skipped steps on X. It moves quite smoothly with the motors off, so I don’t think that it was binding. It also is fine with the pen. Weird. Pretty sure assembly is mechanically OK. I’m going to maybe see about adjusting the X motor current upwards a little. I’m using the same cut settings that I use for the Primo, same DOC and speeds. That Both machines use a Makita RT0701C and the same single flute bit from the V1 shop. (I ran the exact same gcode on the Primo with no issues, see the “building the new printer” thread.) Of course the Primo uses 2 motors for the X and Y axis each, so maybe just a little more power available. I might need to slow the LR2 down a bit? Maybe that’s why it was having trouble before, too. Maybe reduce DOC down to 2mm or so? I was pretty sure that I could plough through 6.5mm into MDF or plywood though.
Anyway, also apparently needed are some hold down anchors that work in that T track. If I’d known the T track was going to be like this… I also apparently need to take more care to remember that the X rails are much closer to the table surface on the LR, lol. I knocked a few things off of the table with my testing and calibration.
I’ve more or less decided to make the Y bump stops a (mostly) milled part. The plastic flexibility is a bit of a problem at that length getting consistency. I think that a plywood base will be much more rigid and therefore repeatable.
2 Likes
Heh, I almost swept my laptop off the table once. Was doing something else in the shop and heard it stop cutting, looked over an the laptop was under the tubes. Luckily I was standing at the end of the table so it just closed the lid instead of pushing it off. Usually I carry the laptop over to the table saw, but didn’t that time.
1 Like