Douglas Fir is not a common timber in Australia, although a fair bit was imported and used for sheds and pergolas in the '80’s before we discovered it was like ice-cream to our termites, and it sort of melted in our climate! I scrounged a ton of the stuff as it was being pulled out of places, and used any clear lengths in small boats. It’s amazing how much usable timber exists between the knots if you have the ability to resaw. I have made all my benches (you can see some of it in the pics above) and sundry other bits of furniture from it and am quite proud of my fancy “no cost” fitout (even if it’s taken a few decades to achieve!).
2 Likes
Just when there seemed to be a patch of blue sky ahead, some family issues arose which will keep me distracted for a few weeks yet. Since this involves being more than 100k from home for much of the time, progress might be hampered a bit!
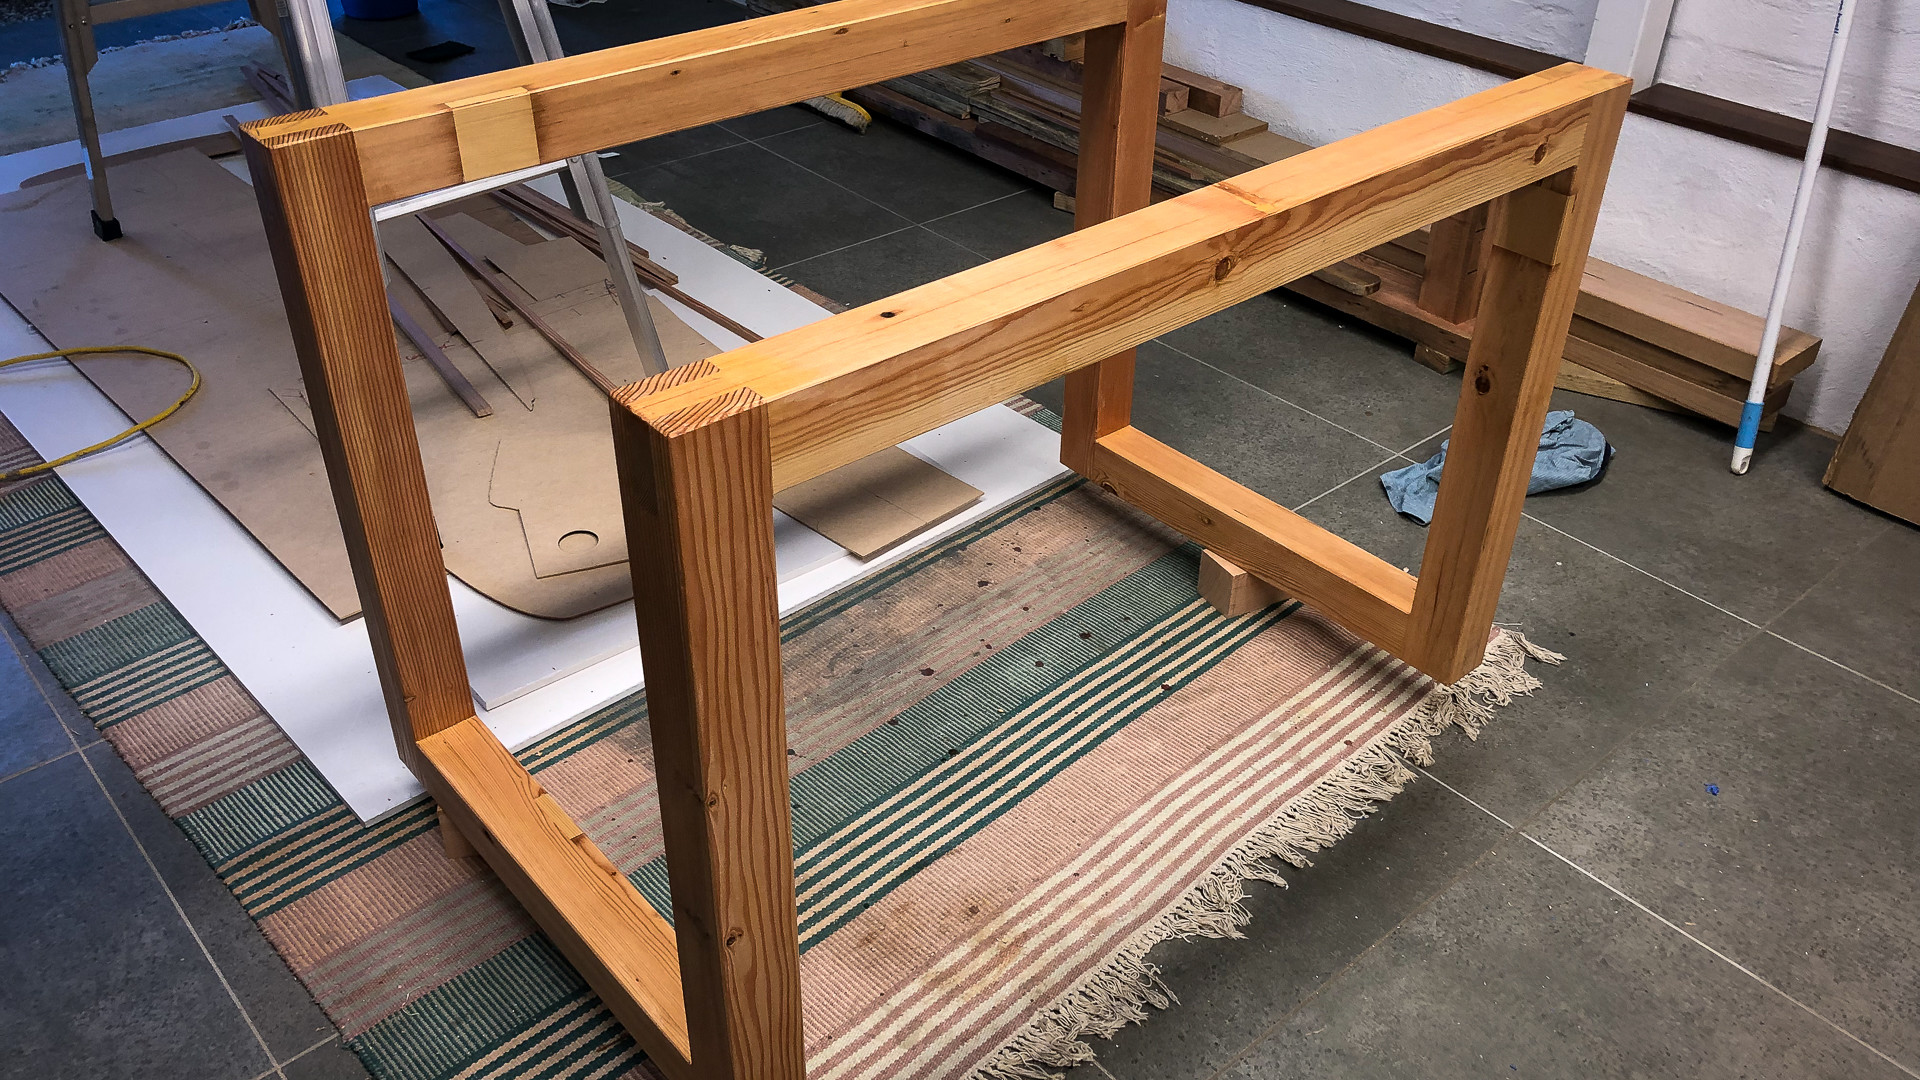
There has been progress though. We have legs and cross rails sized and joints cut and by the time you see this one or two of them may have have been glued together.
3 Likes
I had a few hours before departing for a few days, so managed to get the frame assembled and a seal coat on. Next come the castors and hopefully if I gat back next week, the table. I’ve been reluctant to do that too soon as it’ll just end up being another horizontal surface covered with things that need fixing or half completed projects!
I’ll explain why the base is what it is in a day or two, and once the table is complete will summarise in another thread to make it easier for others to find in the future.
6 Likes
I’m starting to become hopeful that I might get this thing done by Christmas!
It’s time to outline what and why - I’m building this to learn stuff. So far every project I think I may have for the finished machine can be built faster using other methods, but I’m sure that will evolve.
I am equally sure that no matter how big I make the table, it will always be too small on one dimension for whatever use I ultimately find, and since I am quite space limited I have decided to start with a table a little under 1200 X 900 which is 3’ x 4’ give or take.
HOWEVER - I have a half baked plan which involves allowing enough length in wiring looms and belts to expand to meet future demands, and I can build a larger top over this base which will swing up for storage.
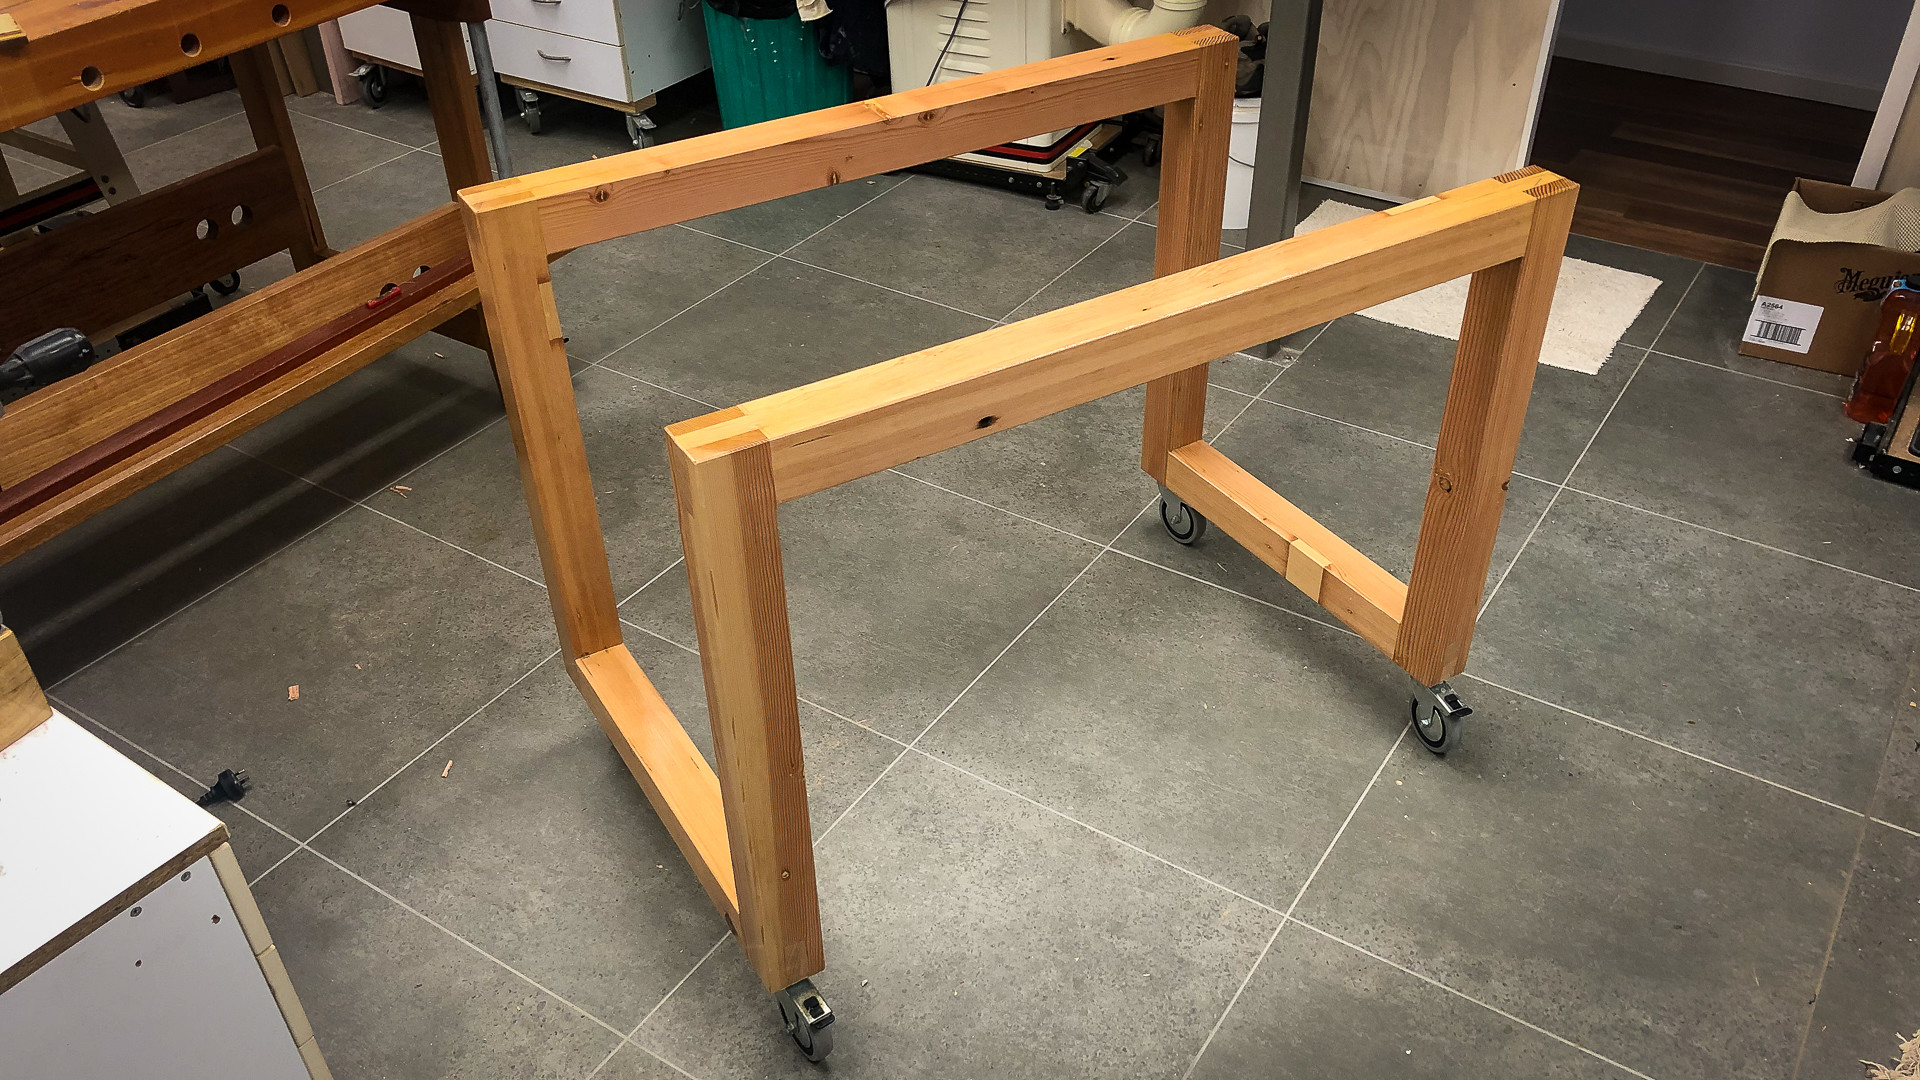
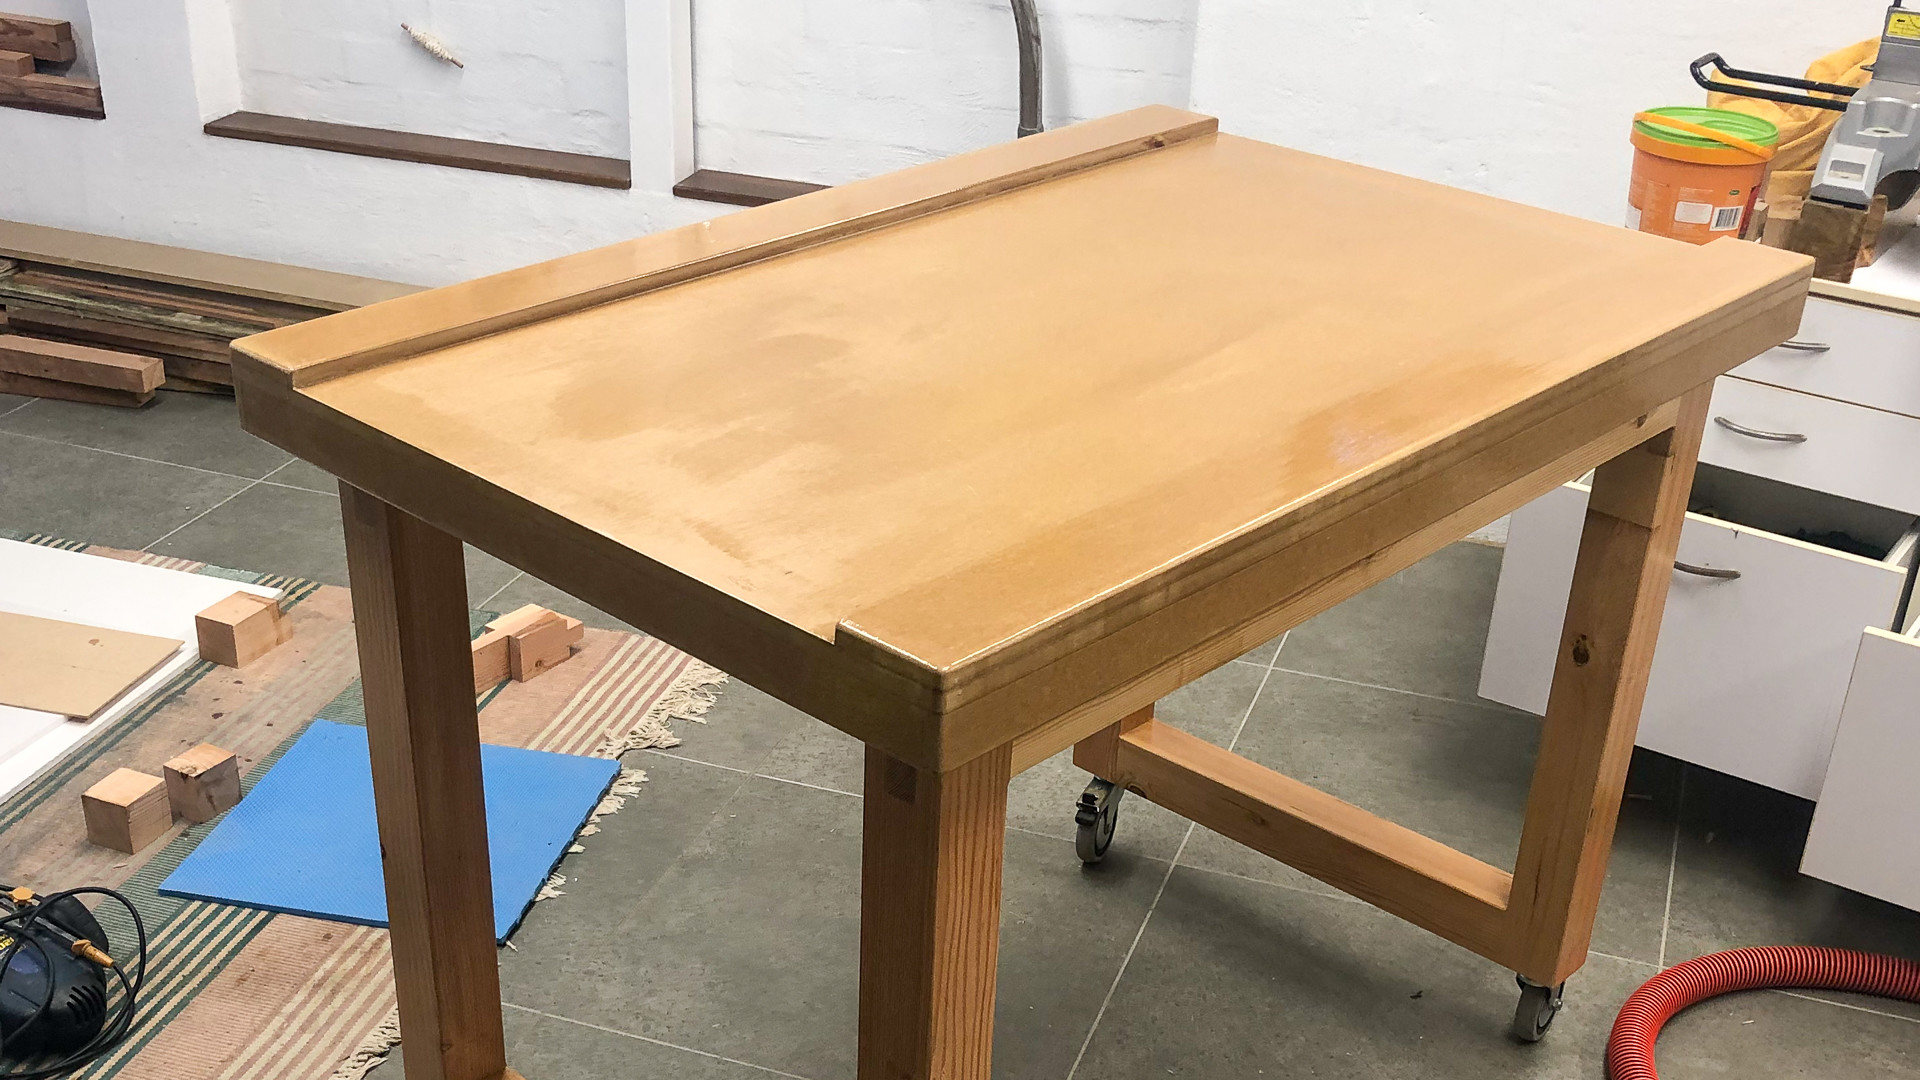
The base is now complete, shiny and on castors. The wheels are there for the obvious reason, and everything I own is on wheels, but they also provide a LOT of noise dampening for structure borne noise. This is unlikely to be a problem anyway, but it’s a nice bonus.
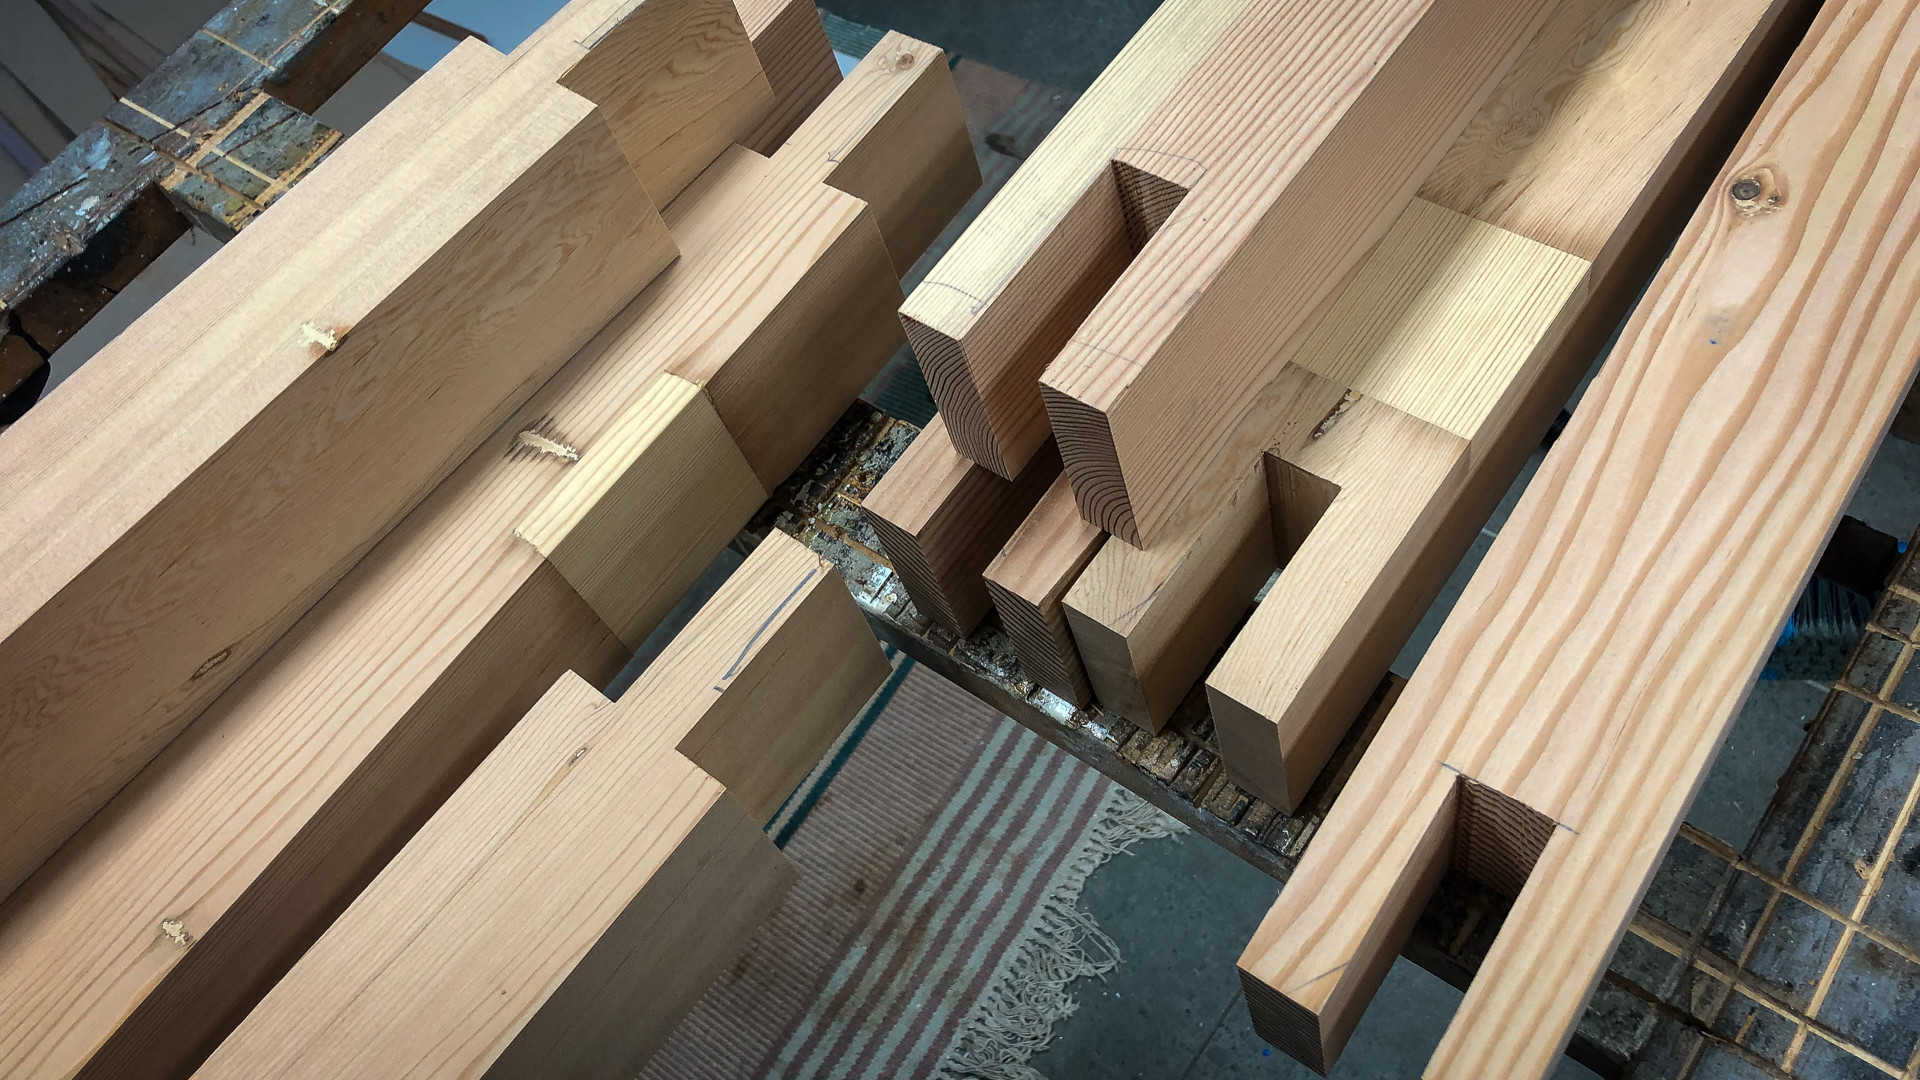
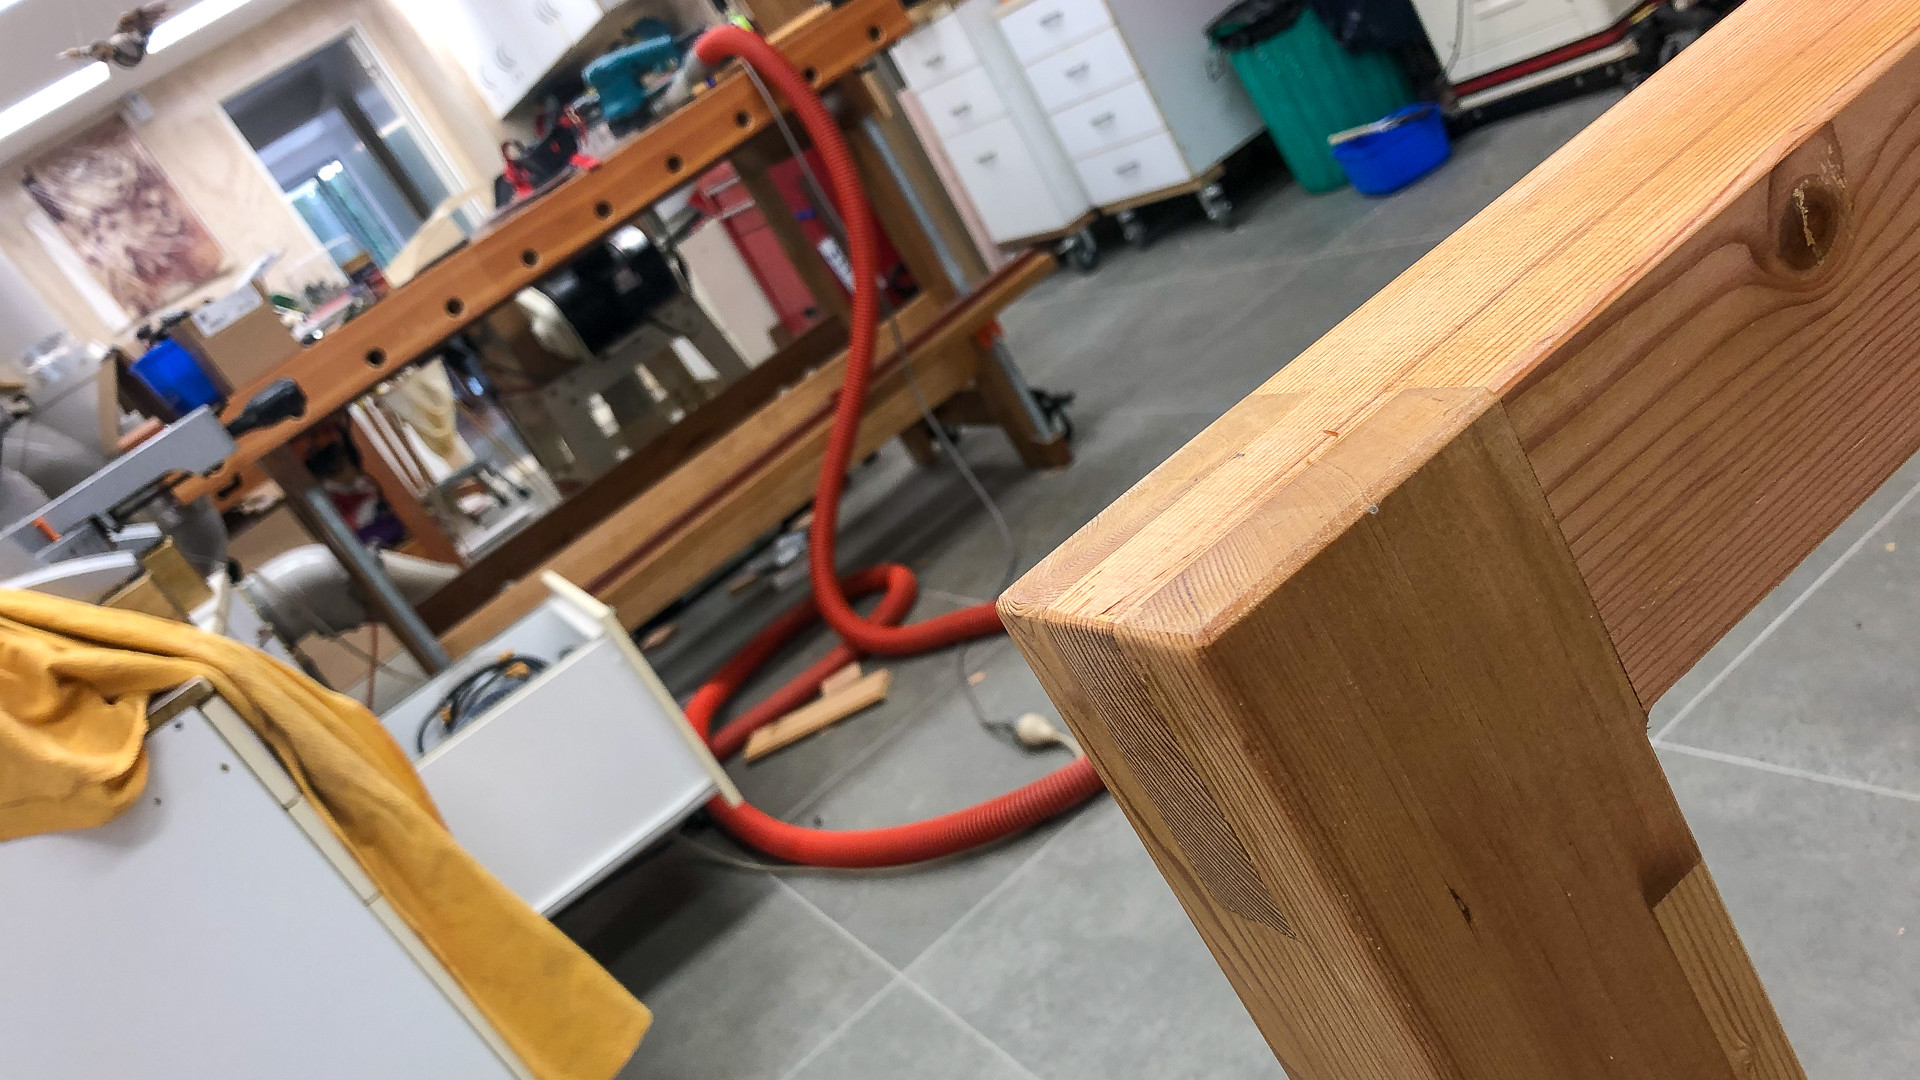
The structure of the base was derived from the amount of timber I had in my stockpile, but it provides a very rigid mobile structure which I can move about without necessarily having to move everything that will inevitably end up stacked beneath it. The bridle joints are neat and provide great rigidity without the need for any fixings.
Here it is in all its shiny patched-up glory (not much different to the pics above)
:
5 Likes
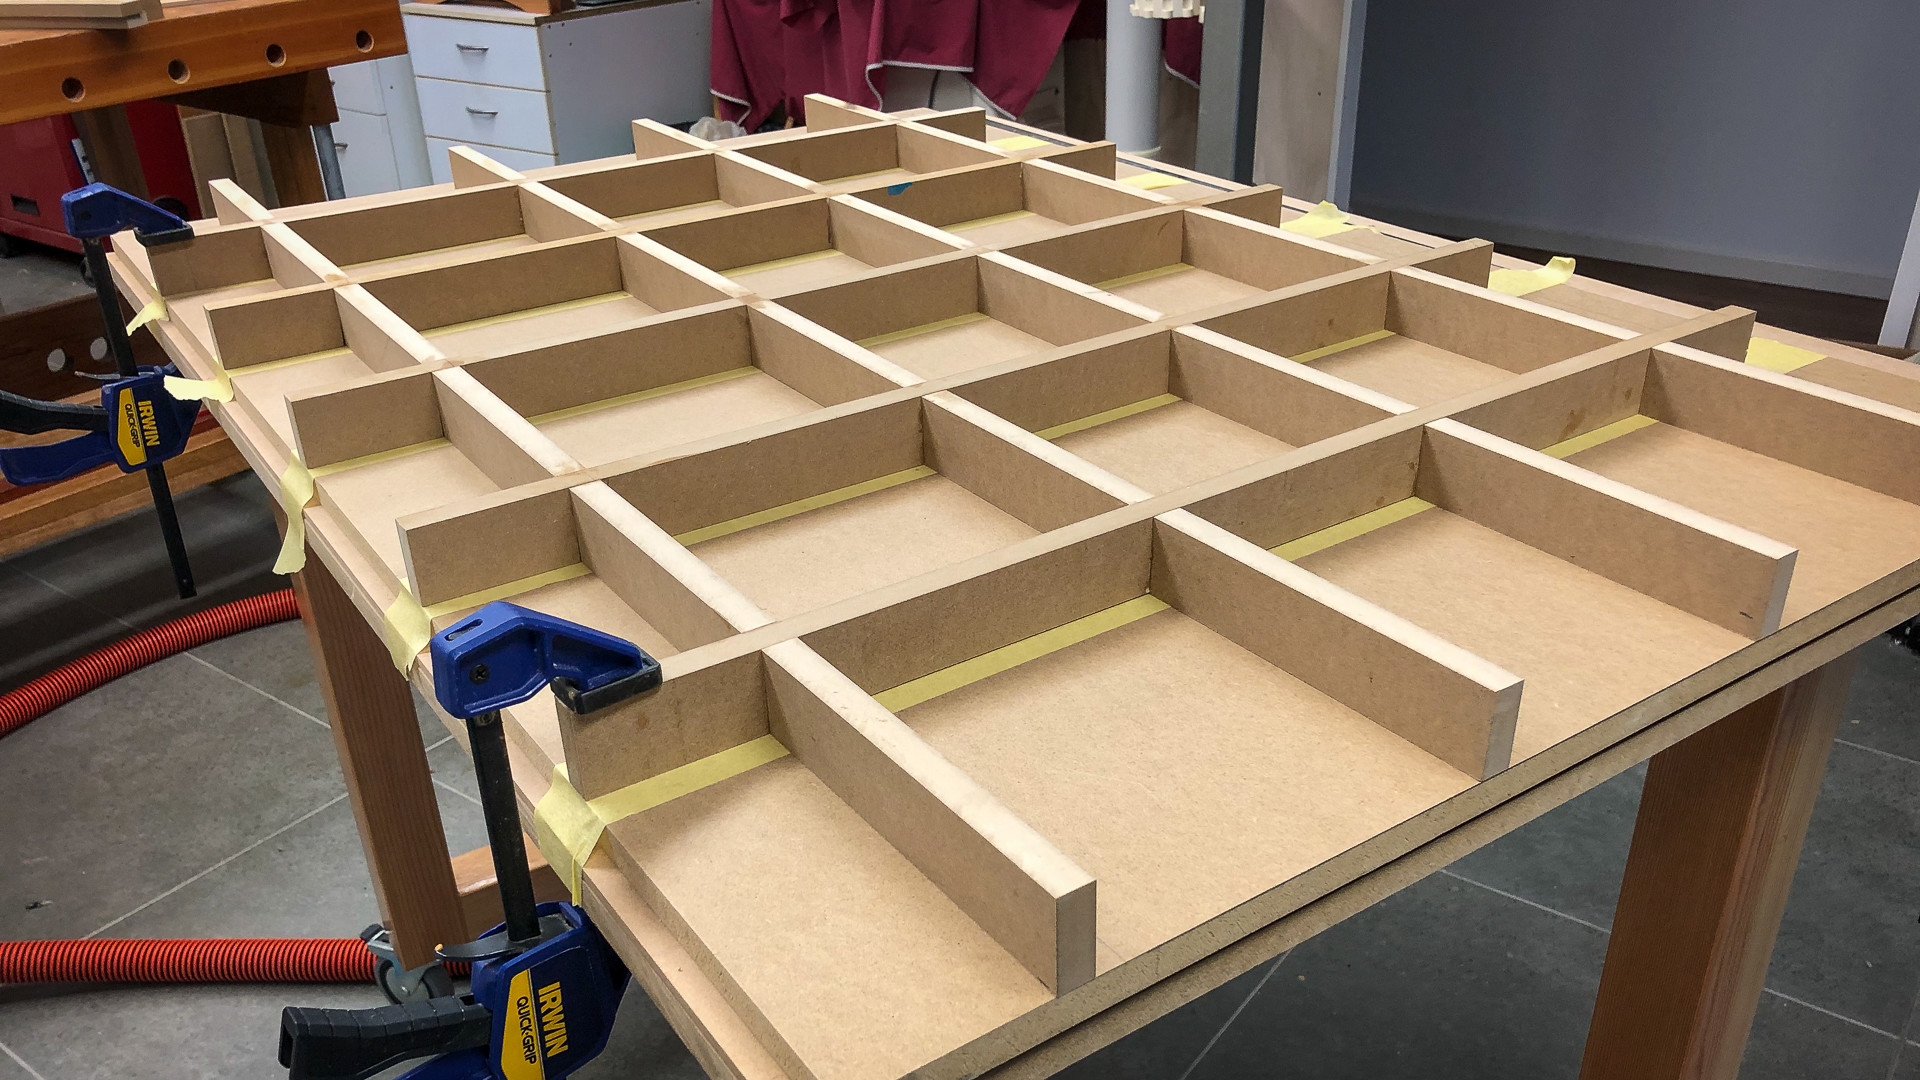
A bit of marking time today. This is pretty much completely unnecessary for a small table like this, but I just find making grids quite satisfying!
Actually there is a little method in my madness - all my benches are set at the same height, and I’ve planned for this to be 85mm (say 3 1/2" or thereabouts) but since I had a couple of scraps of 16mm (about 5/8) MDF and an 8mm one as well (3/8?) I’m using the thinner one on the bottom, a thicker one on the top and a thicker one for a spoil board.
If I do get round to making a larger table in the future, it will be with 4mm skins and 60 mm bars and a few other tricks. Note that a torsion box can make a great amplifier of noise (think guitar or drum) so with thin skins in particular some thought might be necessary to minimise sound transmission. For now, that’s the least of my worries! 
3 Likes
That is definitely further “overboard” than my humble little torsion box, but ought to give you great results.
Neither here nor there, but 8mm is pretty darn close to 5/16" (In fact we use 5/16" bolts to hold the 608 skate bearings here though the centre bore is 8mm. – I’m in Canada, which is nominally Metric, but too much of our stuff comes from the USA, so it’s tougher to find actual metric hardware in the home improvement stores.) Aldo, if you think about it a sec, you’ll realize that 8mm is 1/2 of 16mm, and 5/16" is exactly 1/2 of 5/8" Some days I’m jealous of places that are actually metric, as opposed to the messed up nominal metric that we do here.
2 Likes
Ha! You’ll quickly work out how I roll when I tell you that 5/16 is pretty darn close to 3/8!
We are of course fully metricised in Australia, and have been for more than 50 years, which is why our 8’ x 4’ boards measure 2440mm x 1220! Naturally if you could do with just a few extra millimetres, the board you buy will be a proper metric one -2400 x 1200! But generally we have no use for those other funny dimensions and it’s actually illegal to sell anything using an imperial dimension, however, given a 5/8" bolt is a standard not a measurement, we can buy them, as long as we specify the length in millimetres!
Not at all difficult!
1 Like
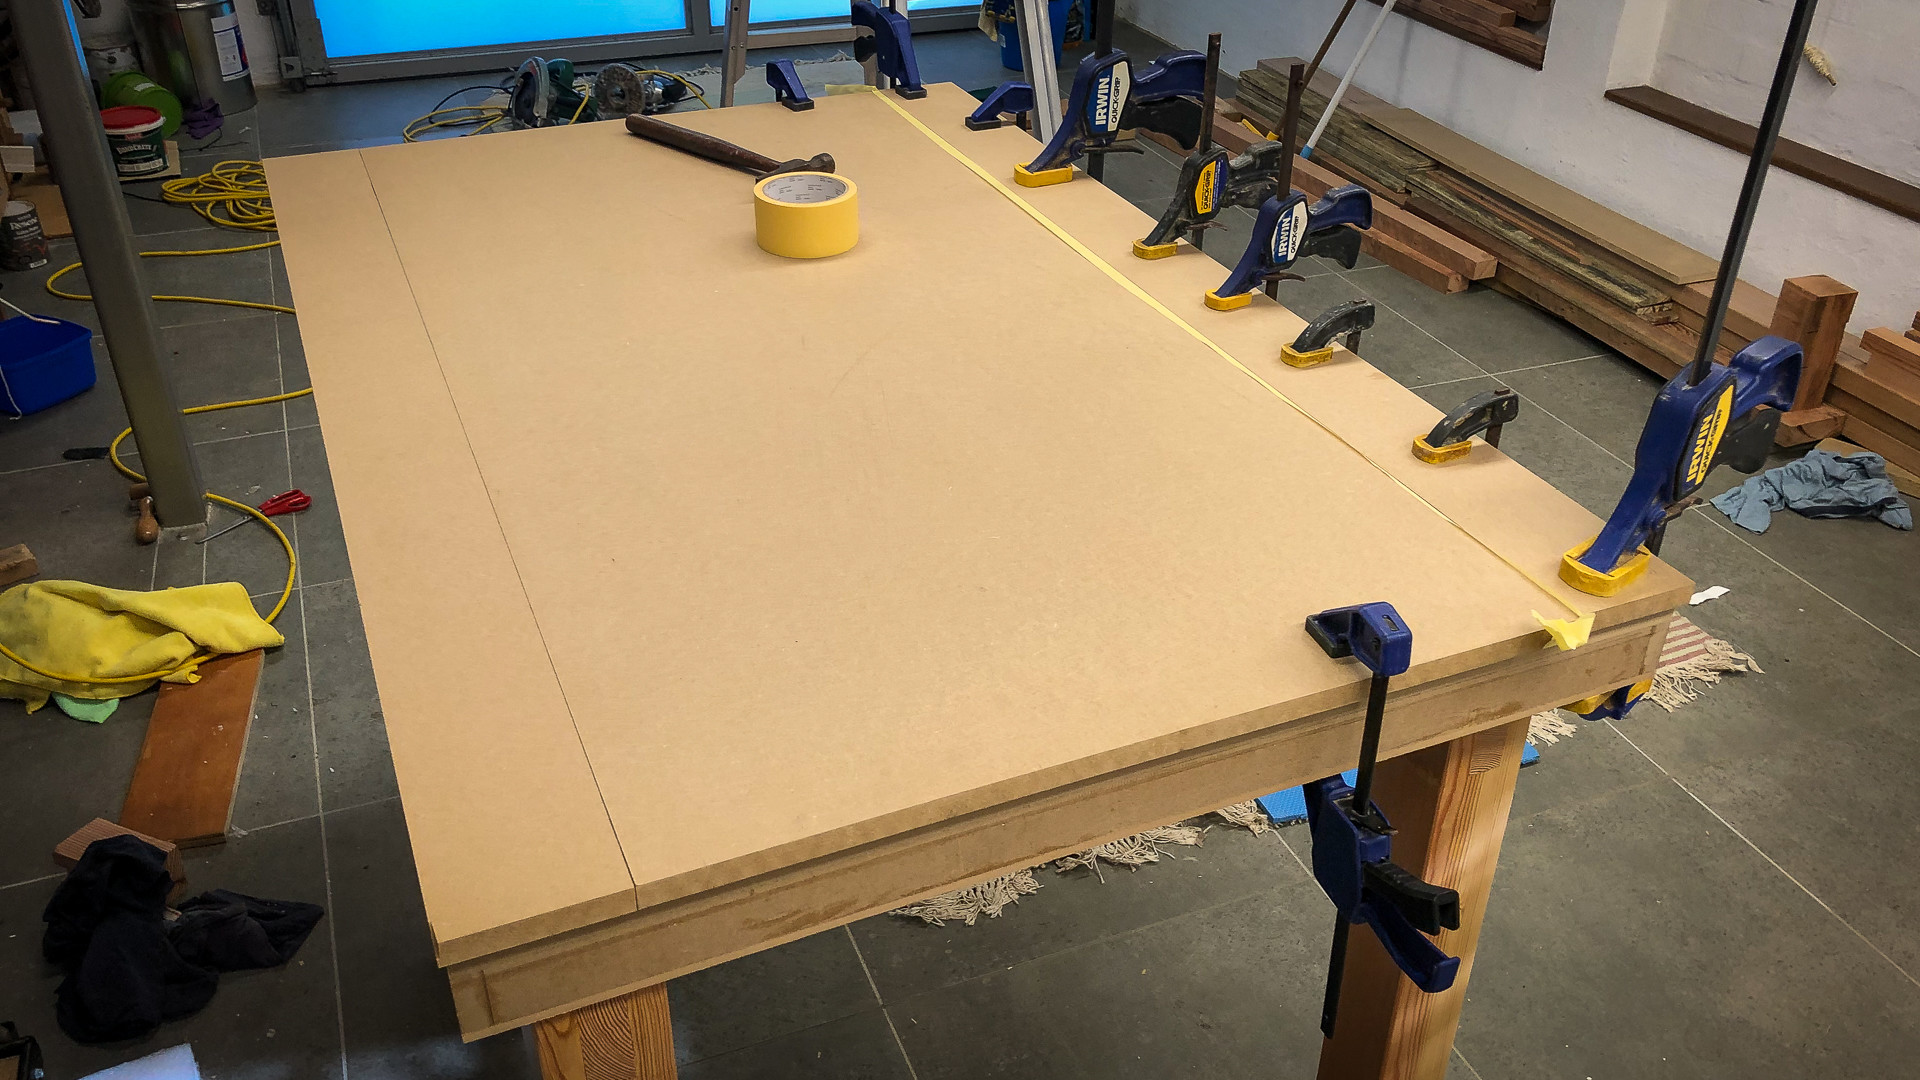
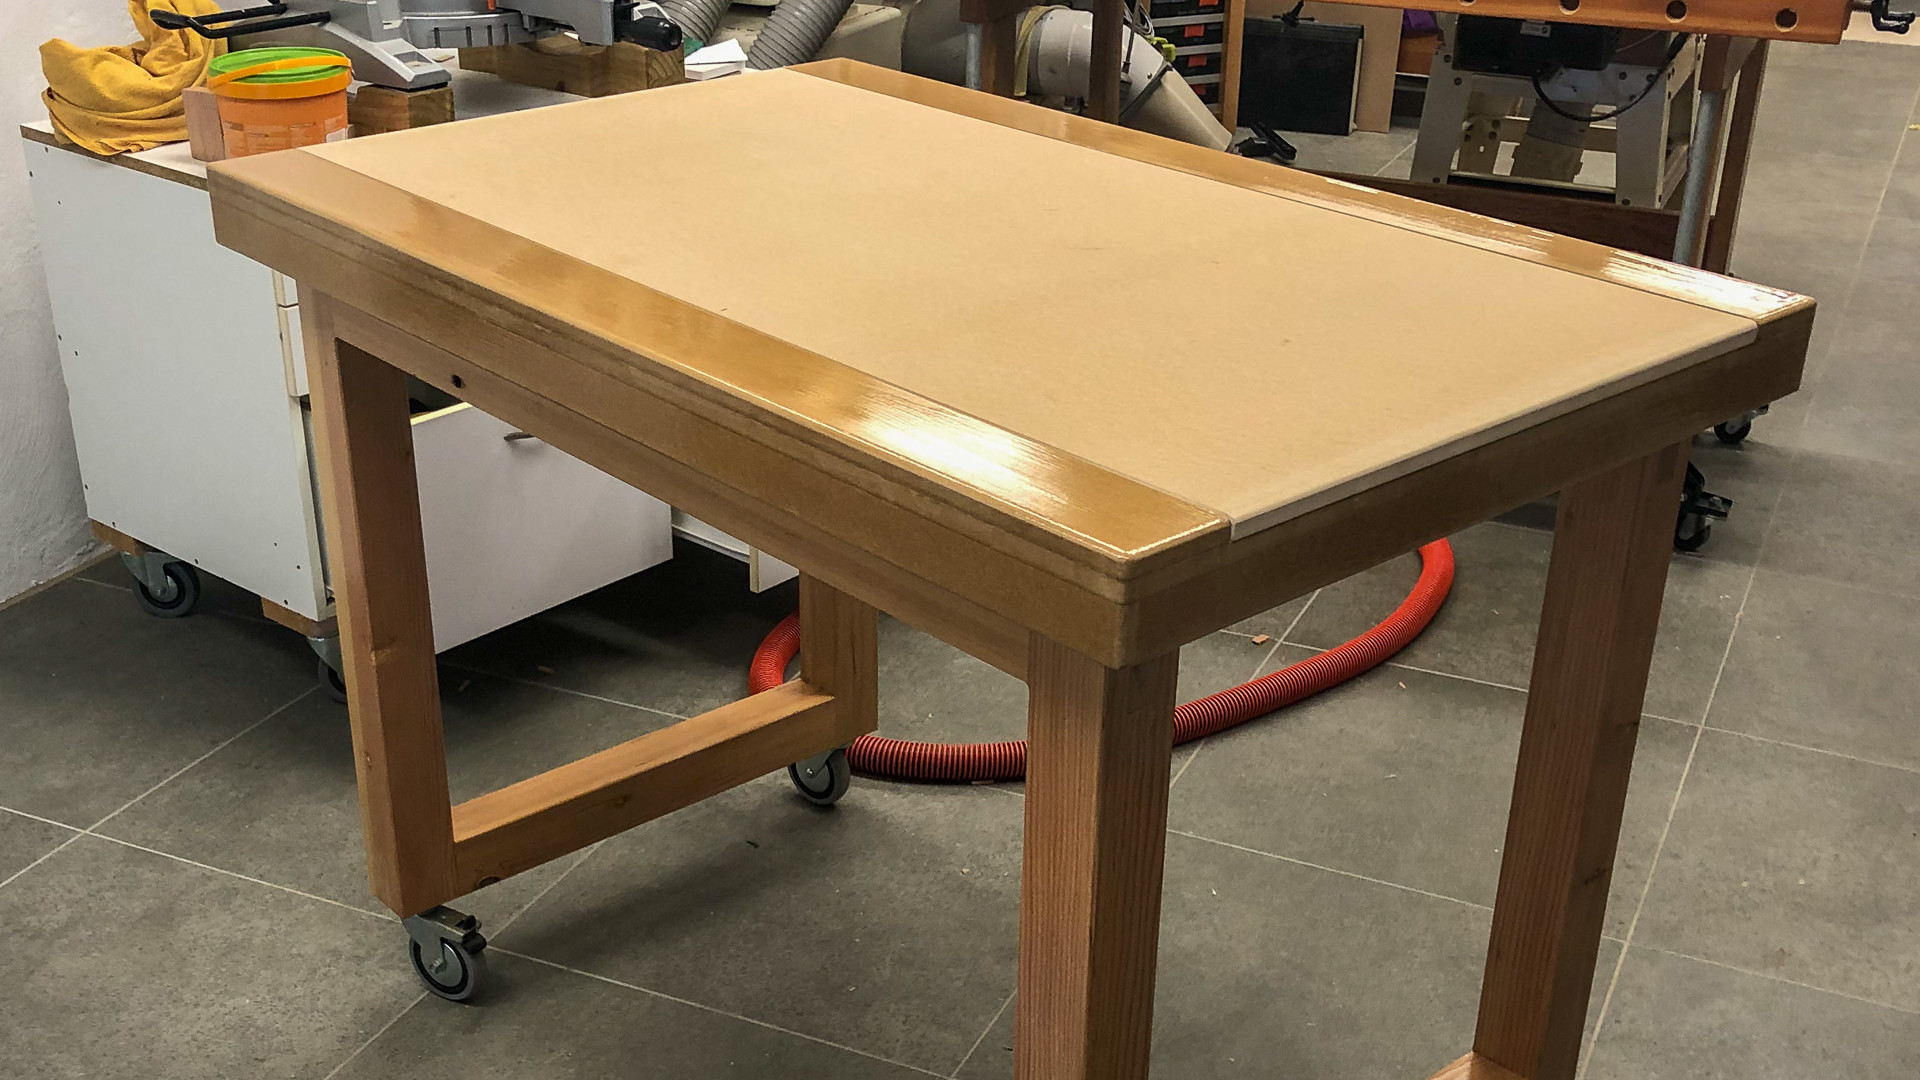
Table top is glued, checked for square, level, and twist. I’ll trim off the overhangs tomorrow and quite possibly get it finished and perhaps open that box of goodies! 
The core was possibly slightly more accurate for square than @SupraGuy 's table at <1mm, but I’m going to round-over the corners of the finished so no one will ever be able to check!
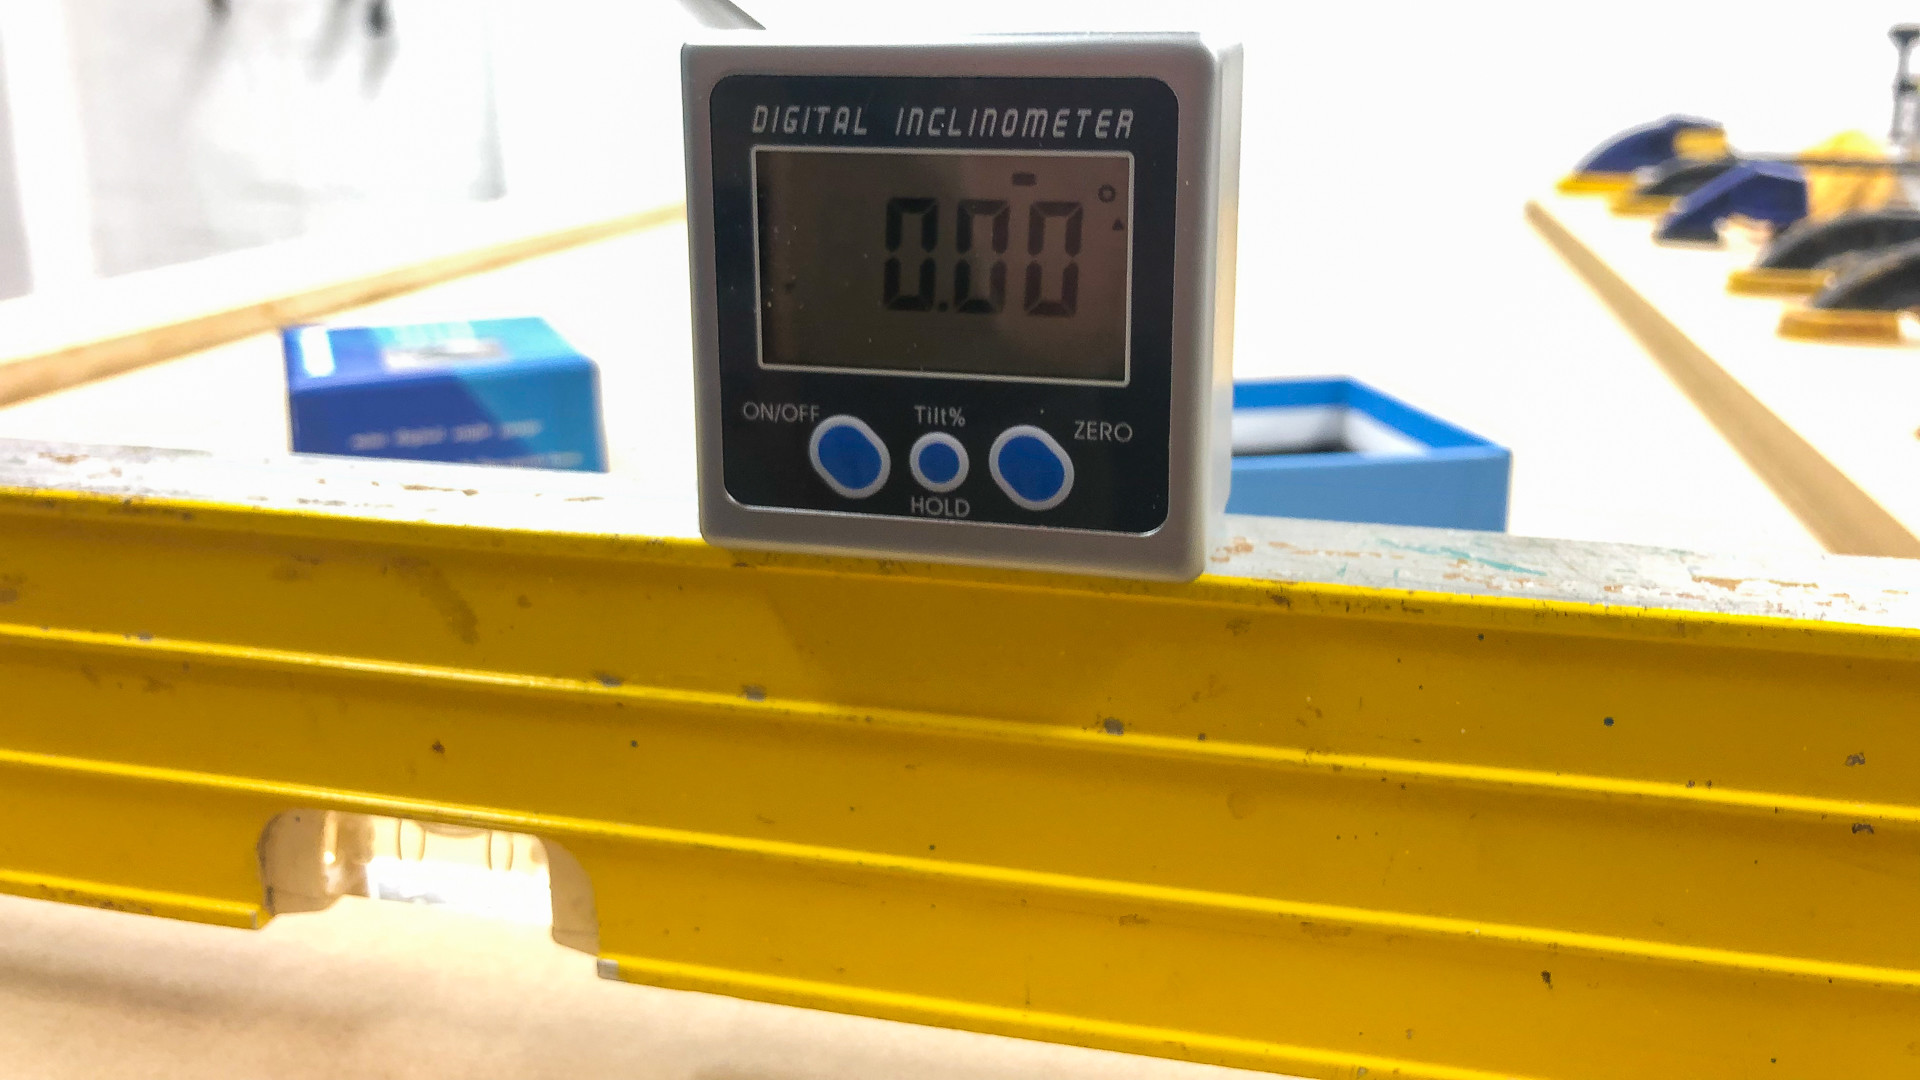
I’m confident that there was no measurable twist or bow in the top as I glued it clamped to my cast iron table saw bench, and the digital inclinometer tells me that twist is something less than a hundredth of a degree of error over 1.2 metres, measuring 0.00 along all four sides (which was quite pleasing).
This is by no means a scientific instrument, but it’s not bad as a guide. By flawed maths that could equate to an error of plus or minus 0.25mm over the length of the table, which is probably more than one should realistically expect given the nature of the materials used. One wet or dry day and things will move.
I’d welcome a proper engineering maths check because that’s not one of my strong points by a long shot! This was really a “proof of concept” following my response to Ryan’s @vicious1 question/comment on another thread. Remember by its nature timber is never going to give us consistent engineering tolerances, even if the MDF stays completely stable, my fir base won’t!
4 Likes
That is satisfying to see!!!
1 Like
But it’s completely fake!
I’ve been working up to doing a ‘how to’ thread on measuring level, square, etc and have discovered that the inclinometer is quite accurate, but it’s not so good at measuring small increments below about 2° if I start at zero. The work around seems to be to zero the instrument at a larger angle (anything larger will do) and then measure the “flat” angle rather than trying to measure a tiny angle up from zero.
I’ve been able to consistently measure changes of less than a millimetre over 1.2metres this way.
On the other hand with a decent pair of winding sticks painted in different colours (one black one white) most people can easily see that difference, and the bubble on my 1.2 metre spirit level is also a really accurate measure - I’ll try to get some photos to illustrate.
1 Like
This is a trick they use to get around people measuring the repeatability of the sensor. My kitchen scale does the same thing. It has a big of a “dead zone” around zero, but it can measure within a couple of tenths of a gram when not near zero. So annoying.
2 Likes
Make bigger batches of cookies 
3 Likes
Thanks Ryan @vicious1 for fixing the photo upload (or whoever did it!) 
Excitement level - “palpable”.
Now I am waiting for paint to dry. I do have some organising to do so I can get the car back into the garage and then I can open those boxes! Of course we won’t be around for the best part of a week, so I’m going to have to contain my enthusiasm, but at least the table is usable.
It’s a bit of a “neither fish nor fowl” dimension actually - the product of the available space, but according to the calculator, I should have a work area of something less than two feet by three feet - 590 x 820 clear. More than enough for my beginnings I think.
The spoil board is 600 wide x 1200 so I can cut new out of a 1210 wide board, and it will be screwed down at the two long edges only. The rest is rough-finished in flooring polyurethene just to keep it tidy - I’m not too fussy about the finish just for the sake of it, but it’s going to need a bit of durability.
It may look as though the base is a bit of overkill for the size of the table, but I came across an envelope today with my original concept sketch on it for a bigger table which will tilt for storage. This is unlikely now, but at least it explains what the base is about, gas strut and all.
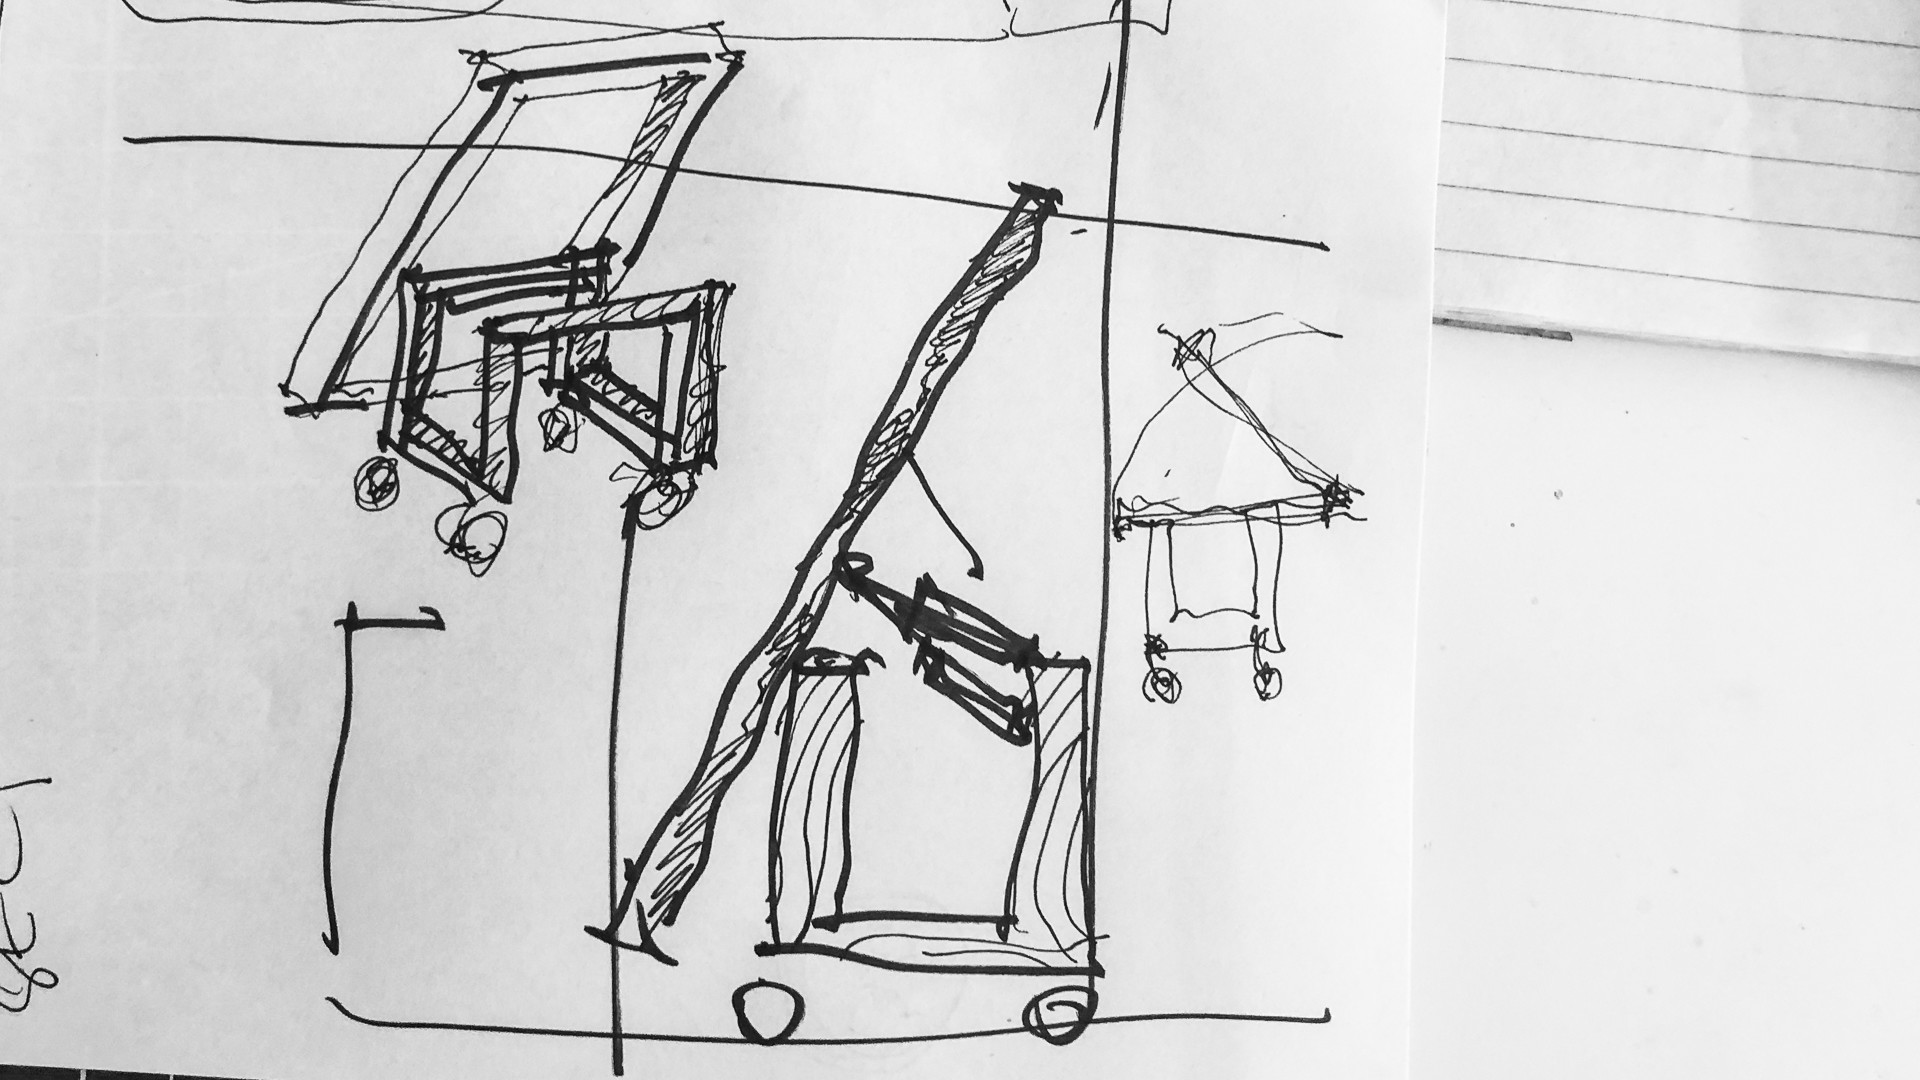
Table ready for the spoil board:
And with the board ready to screw on it looks almost pretty. For the time being at least I’ll just screw straight into the board - no dogholes, no threaded inserts, no t-tracks. I suffer greatly from “overthinking” on pretty much anything I do, so will do the best I can to build according to plan, at least until I can get the thing moving where I want it, which could well be a very long way off I’m afraid!
Maybe it’s not quite as far away as I think… see you next week!

6 Likes
pretty slick
1 Like
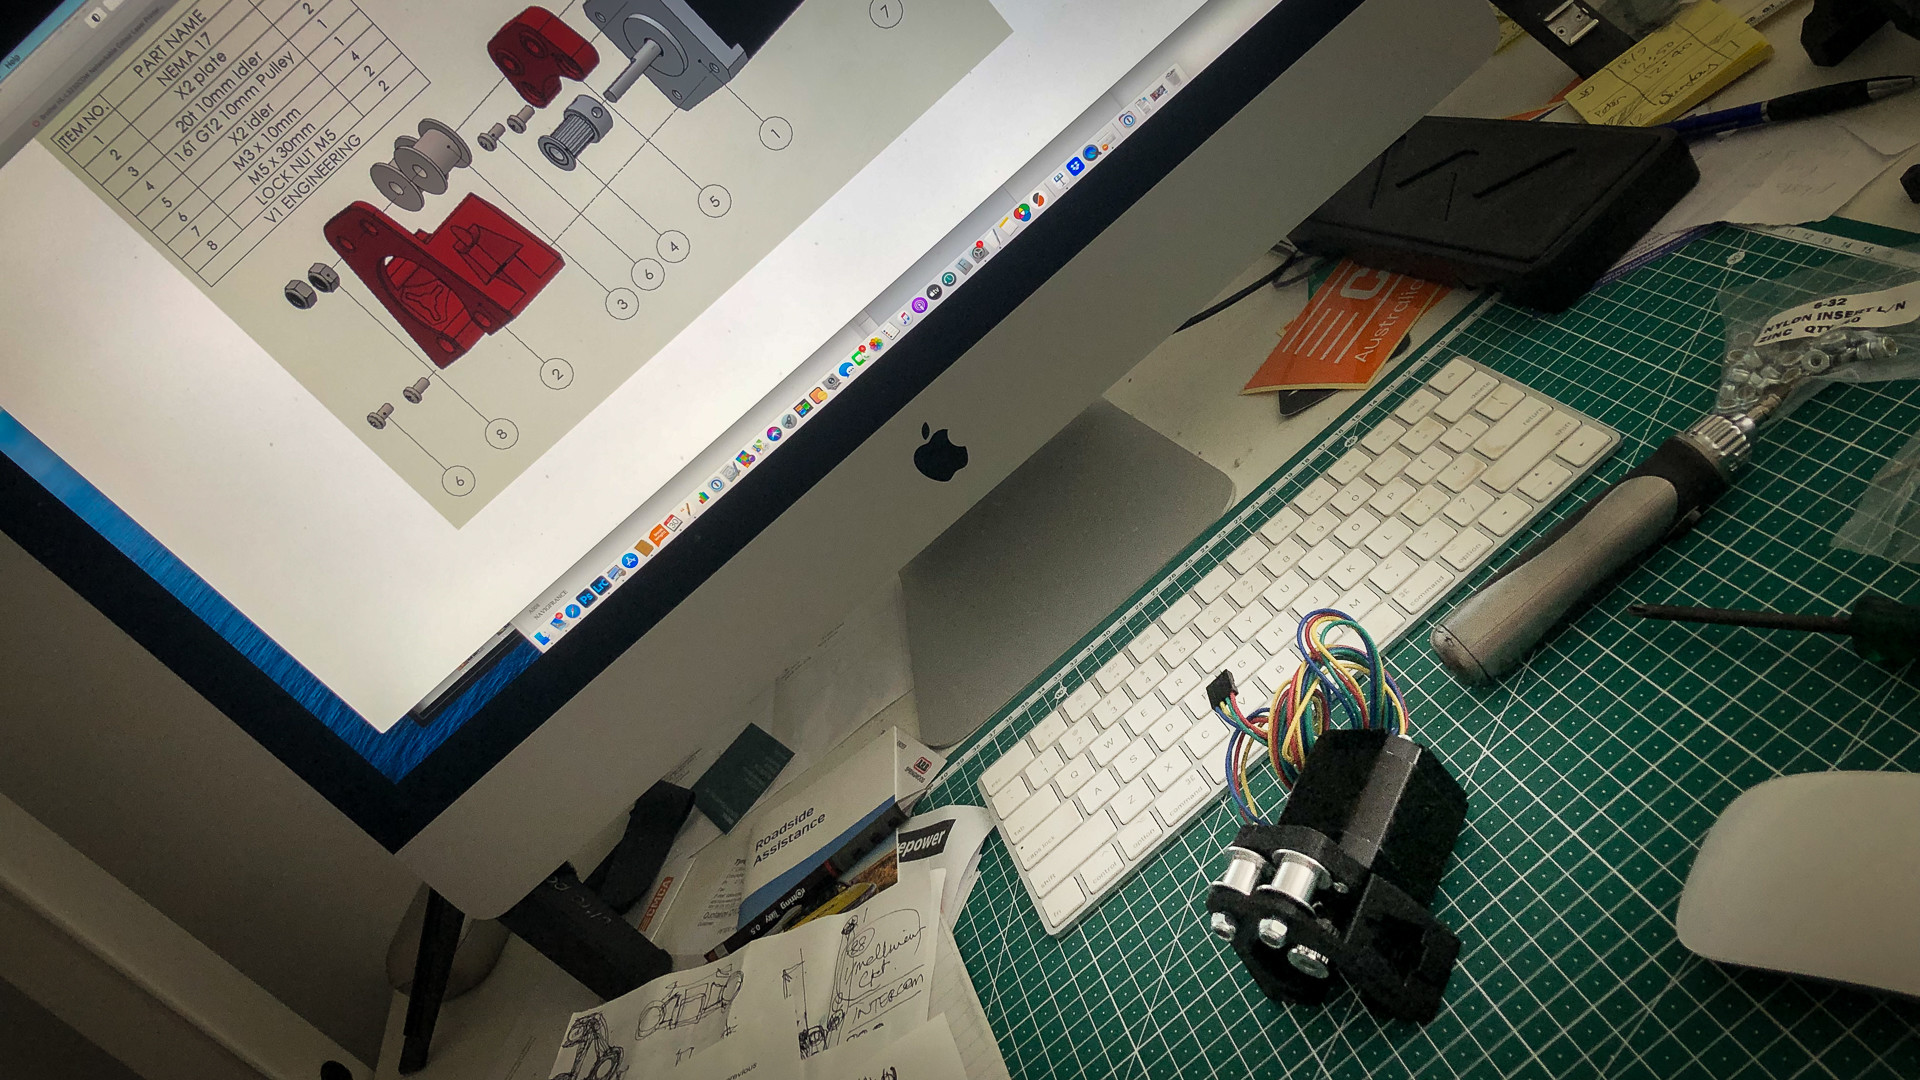
Well almost a year after I thought it was beginning, maybe it has! I’ve opened
Ryans box of parts and launched myself into the easy bit. It was nice to see everything bagged and nicely labelled too, thanks @vicious1. I know hundreds of others have gone before me without any issues so excuse my pedantic ways - I think the M3x10 bolts are labelled M3.5 (they fit my M3 nuts) and similarly the M5’s are labelled M5.8 (they fit the M5 nuts) - could be typos or could be something I don’t understand yet. Hopefully it’ll be easier to change the label stickers than to change the instructions online!
All that aside - the first four/six bolts are in and the first two grubscrews done - I’m calling that a win!
2 Likes
I’ve heard that before. I think it has something to do with the thread pitch and not fractions of diameter.
1 Like
Yes. M3 by 0.5mm thread pitch and M5 by 0.8mm thread pitch. I think there is a space before the decimal, on the labels.
1 Like
No space on the label, but if there was it would make sense. It’s obviously not a big deal - I’ve figured it out as have others before me! ![]() I admit I was a shocker to work for when it came to checking technical specifications!
I admit I was a shocker to work for when it came to checking technical specifications! ![]()
Well there’s one in every crowd!
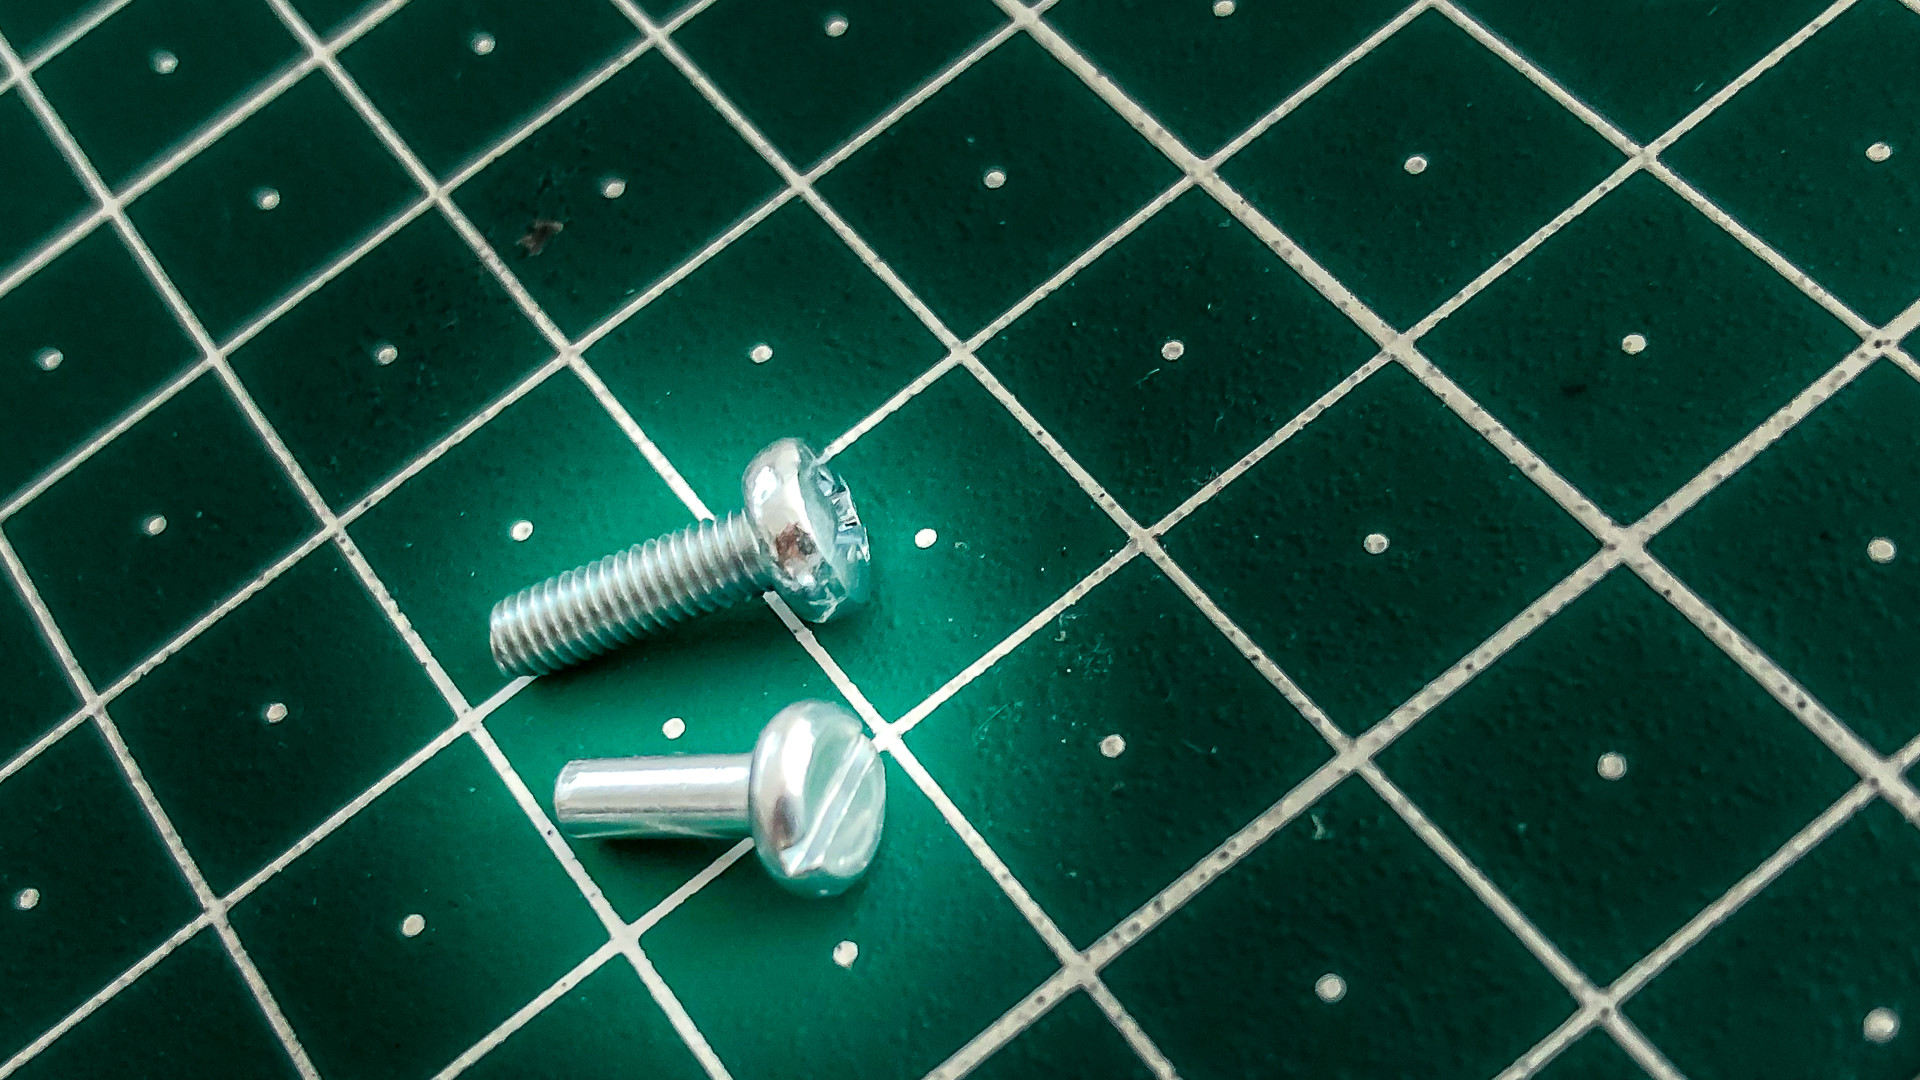
It’s not as though I’m completely blind, but I am temporarily without spectacles (don’t ask) and too lazy to find the old workshop magnifiers. The fact that I didn’t notice anything wrong until I couldn’t nip it up using a PHILLIPS screw driver, does not bode well for the rest of the build. Sorry about the woeful pic, it didn’t warrant more effort!
1 Like
Well that was a very happily spent morning! I have seen dozens, maybe hundreds of posts thanking Ryan @vicious1 for the detail and thought that’s gone into all this, and I can only say I agree wholeheartedly and endorse them all. I’m so thankful I bought the kit too (and it’s been so long since I received it that the shipping costs and Australian exchange rate didn’t hurt a bit - I’d do it again in a heartbeat.)
BUT I’m not there yet! I’m fairly good at following instructions and working things out - so I will probably muddle my way well enough through plugging the wires in, after that, well I’m afraid the avalanche of questions will begin. Enjoy this thread while it’s merely recording what I’m up to!
I’m retired, so I won’t have time to get back to this for a day or two so you have a bit of respite!
Oh, and no I haven’t built that 611 plate yet - I don’t have a 611 - see that note about questions? 

4 Likes