No action for a few days because we’ve been away, and the dupont crimps are on a slow boat from somewhere and haven’t arrived yet.
In the meantime I’ve stumbled across a couple of posts arguing the merits of tidy wiring, which have encouraged me greatly. While I profess to know very little about electricity and even less about electronics, I do like a tidy wiring loom.
My fifteen year old grandson looked on bemused a little while ago, as I rerouted everything on his Ender and neatly bound it all into tidy little bundles, even going as far as to suggest that I might have a problem.
When I asked him for evidence, he replied “Your toothbrush charger maybe”…
Maybe he has a point.
(Hopefully the Lowrider will be as tidy in a day or two)
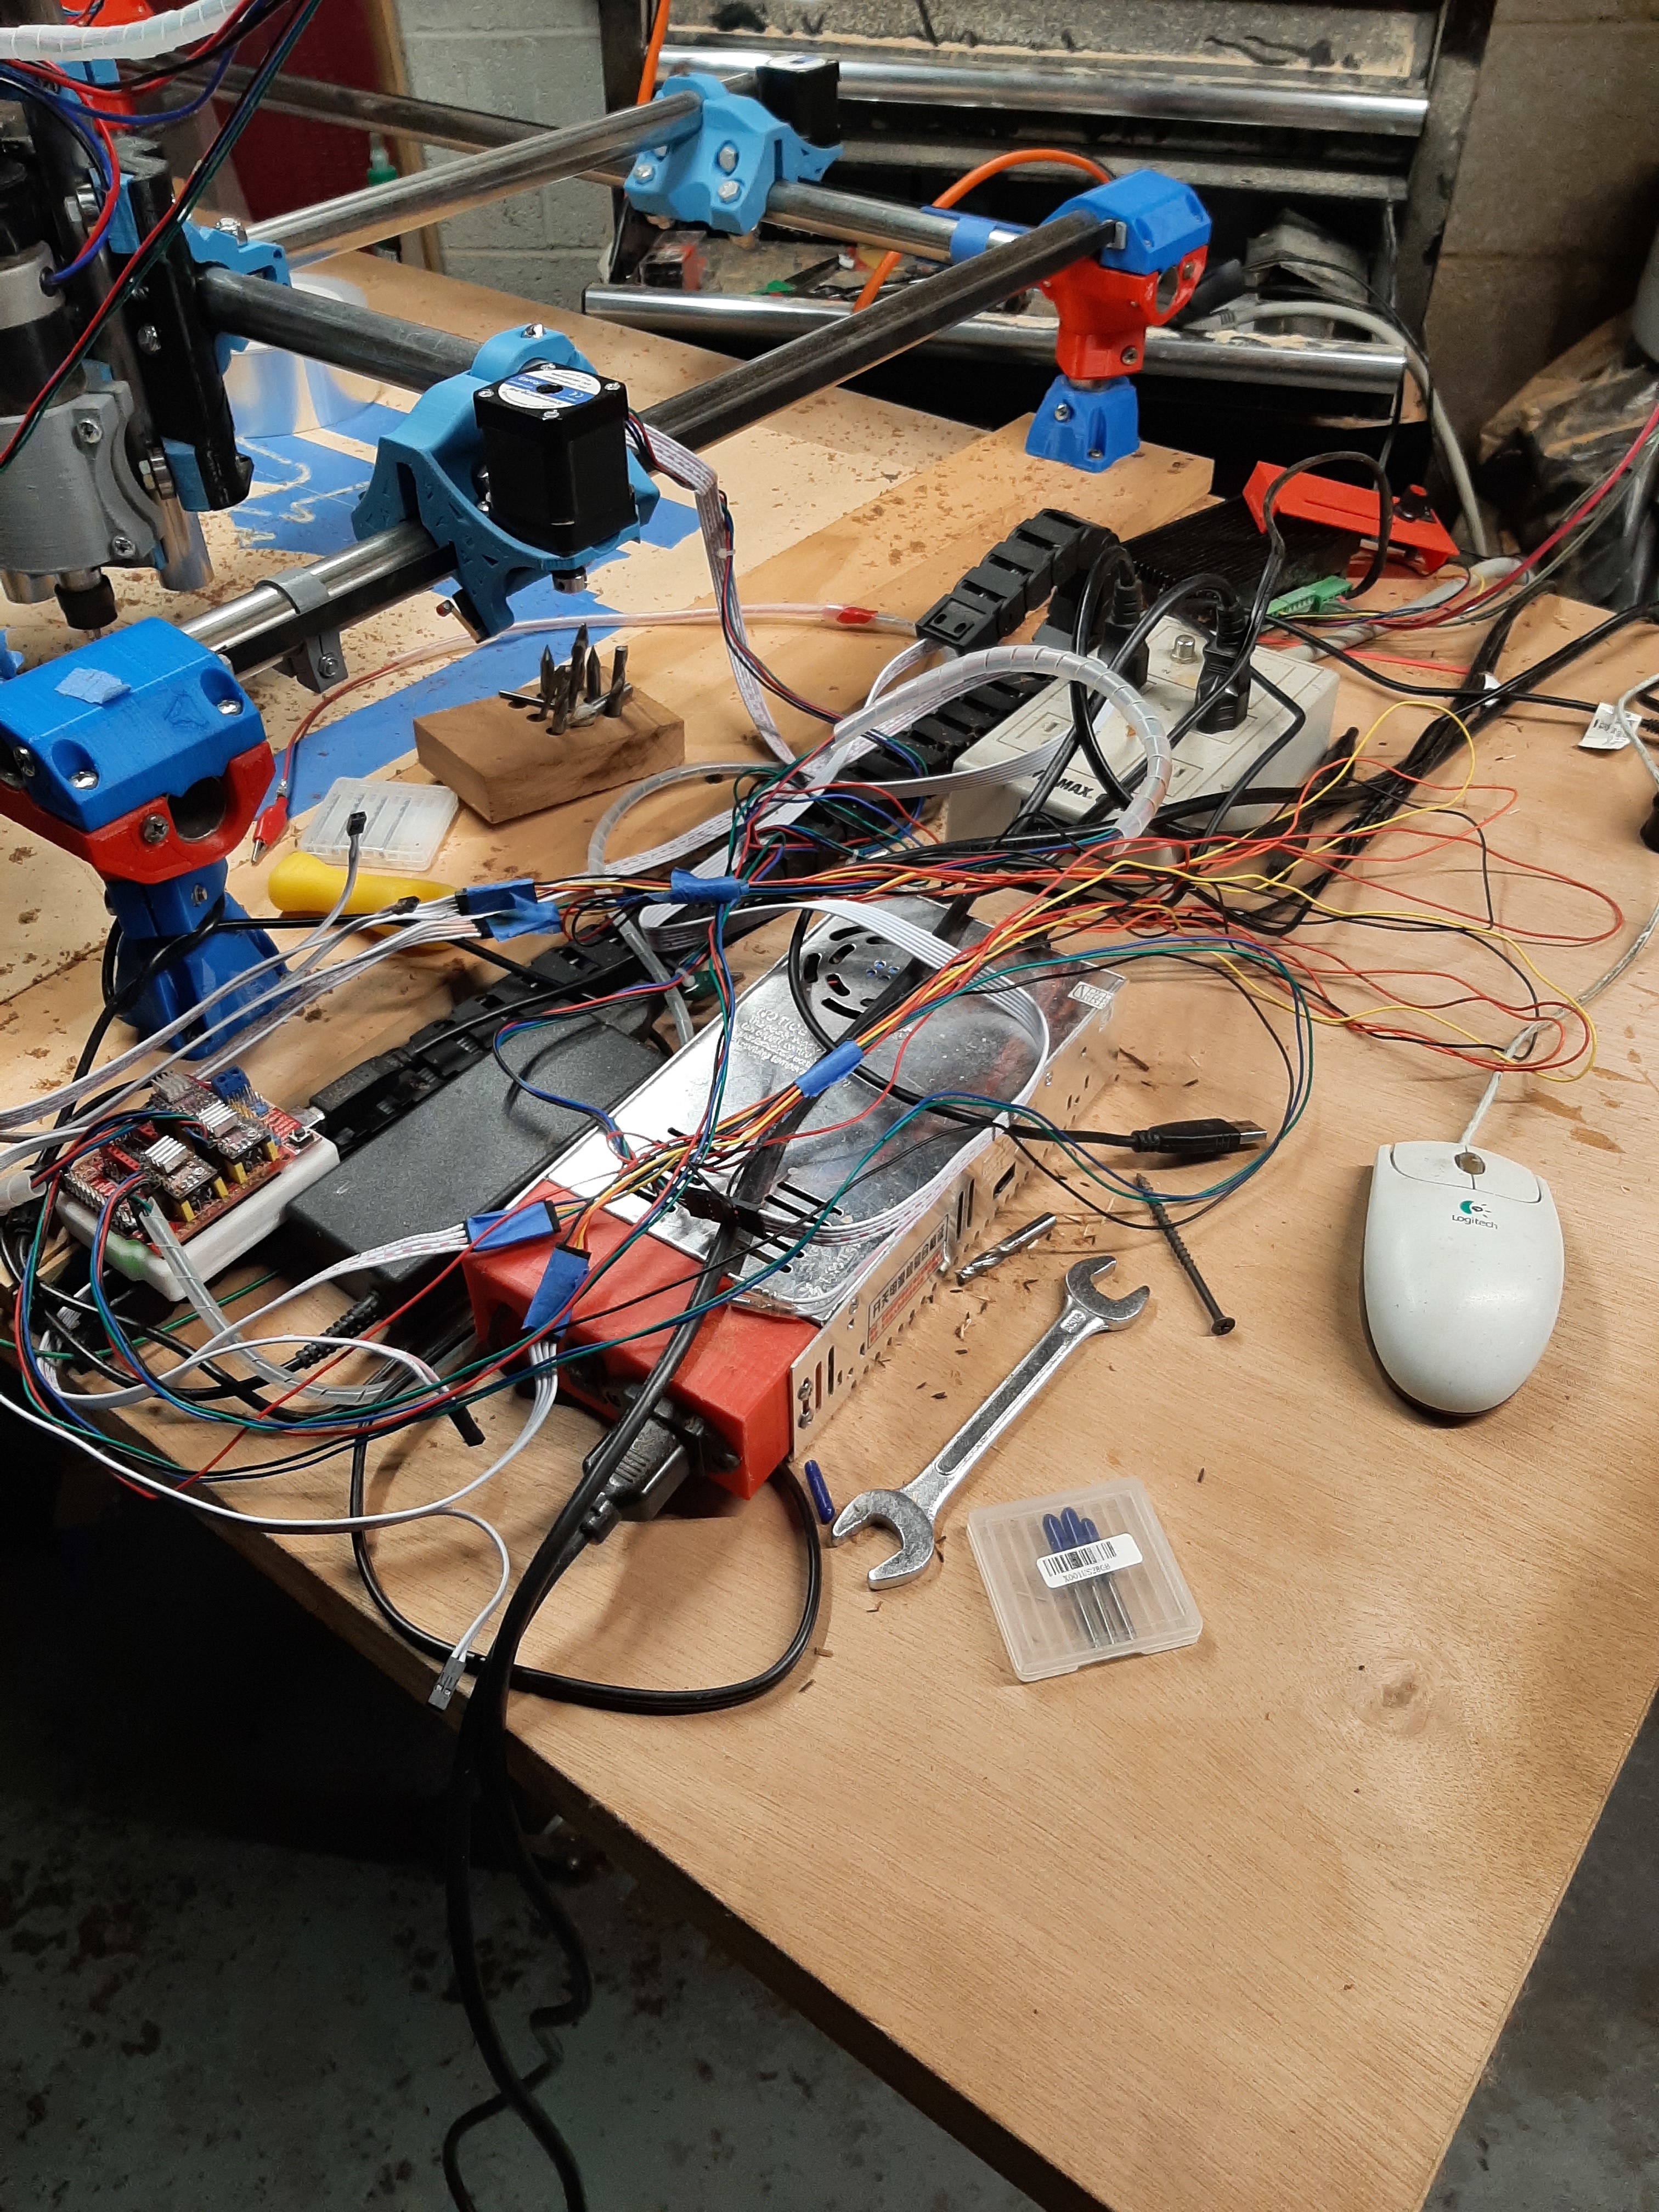
That looks like any part of my desk or shed when I’m working on a project, I am a neat freak in terms of organisation, but I tend to leave everything I need in big piles on top of themselves! Therefore, things that are arrayed in neat tidy rows in drawers when they are not needed can never be found when they are!
Sigh! Another day of tidying up and staring into the space where the postman should be dropping my connectors.
I use it a lot works great just need to get the wire under controll again I disassembled it 3 times in 2 days and now have to do it again to get it back together correctly.
Heck throw a few zip ties at it and it might not look too different from how I end up using stuff.
I try to wire stuff neatly, but I seem to lack the planning for wire lengths and runs to actually implement neat wire harnesses. My wiring often ends up looking like a spill at a technicolor noodle plant. On a good project… like a spill that someone tried to clean up with zipties.
Even in kit builds where the wiring is pre-made, I can have trouble.
When I was competing in autosound competition, one of the biggest areas that I lost points in was wiring looms. (Sounded good looked… less good.) Even when I was extra careful and willing to rework everything after it was supposed to be done.
Which might explain why in the time it’s taken me not to build one machine you have at least four (almost) working! And I quite like your technicolour noodle plants, mostly because they are yours!
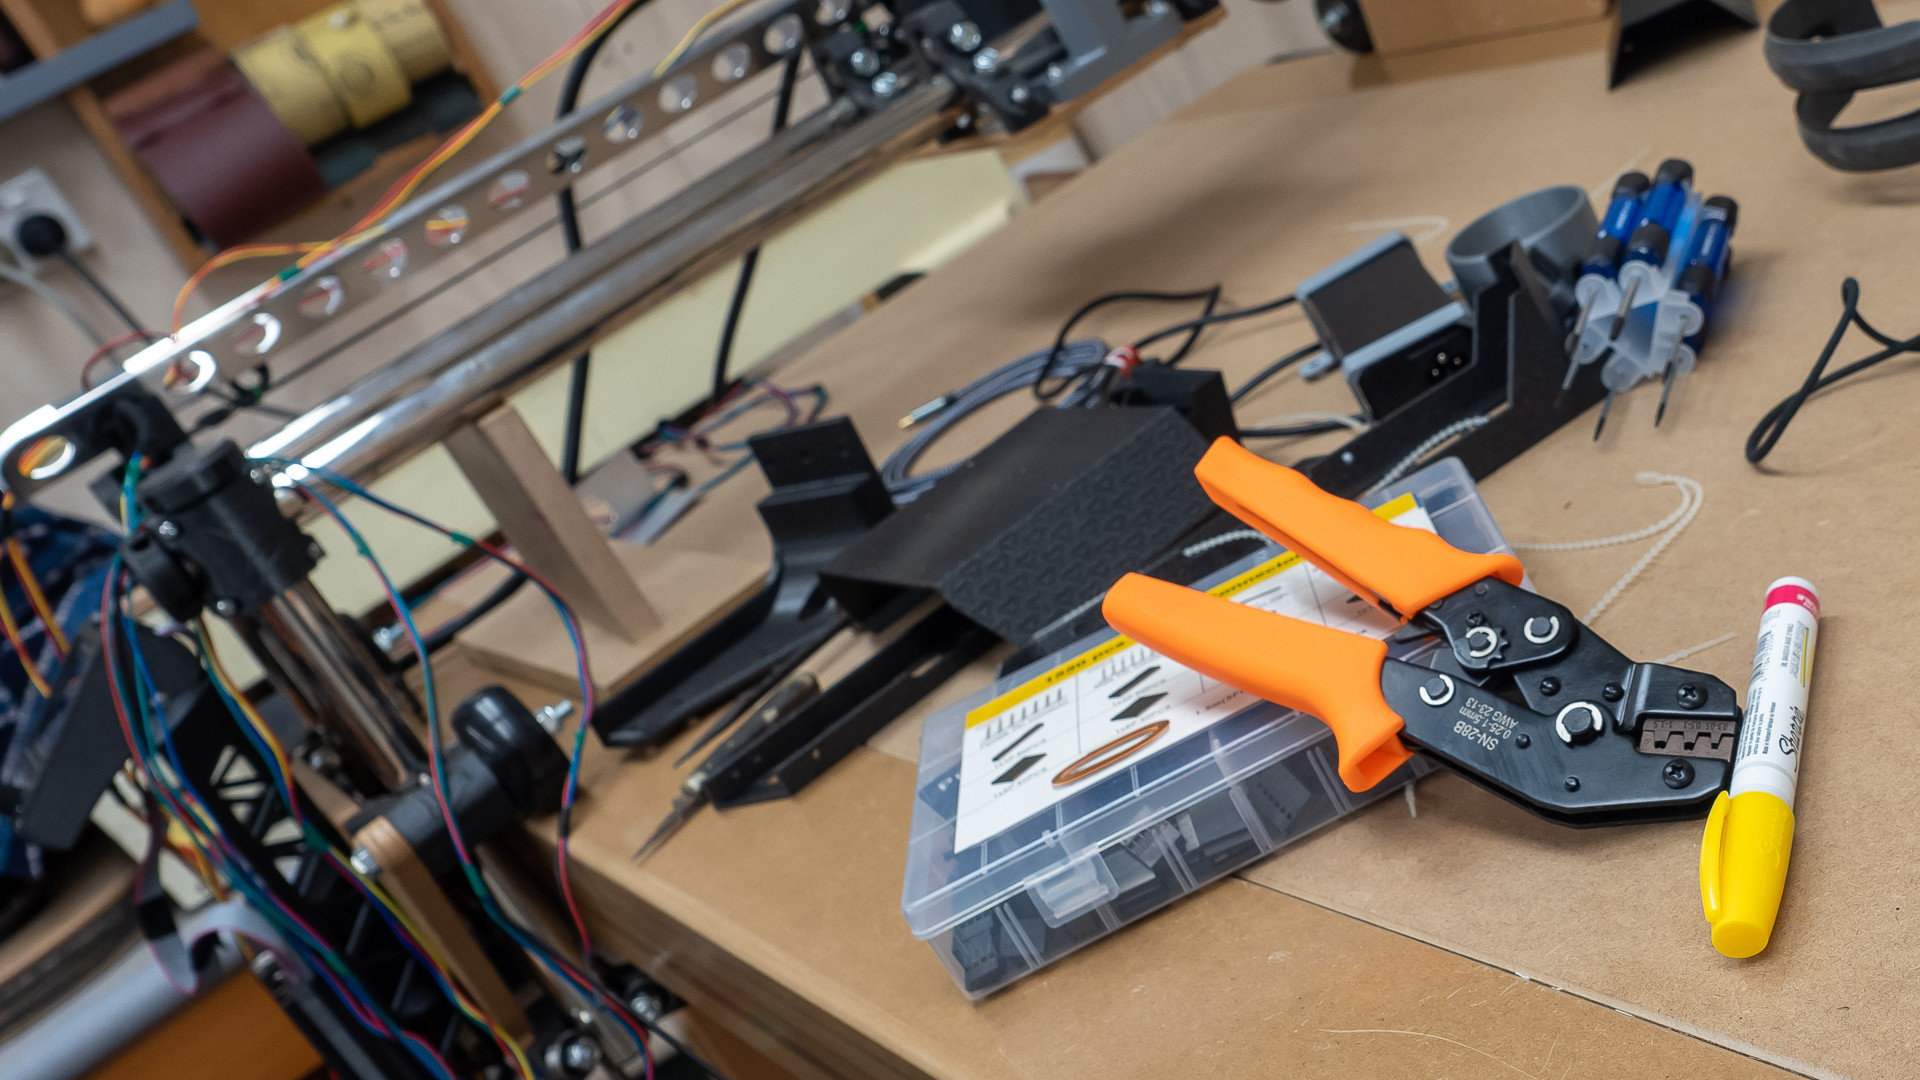
Looks as though I’ve hit a bit of a temporary brick wall; The pins and crimper I ordered appear to be from an “unreliable” supplier - an eBay supplier who had an unusually long delivery time, but that’s become the norm since Covid lockdowns and usually stuff arrives a few weeks inside that estimate.
Not this time, and the seller’s reputation has gone from 99% to 79% in the time I’ve been waiting, with thirty consecutive “didn’t receive item” feedback comments! I could of course get it all up and running and then fix the wiring later, that is what sensible people do, right?
But I’ve waited this long, and it’s not quite a year since I printed the first parts…
Oh that’s right, I went for a bit of a drive for a week and when I got home I had crimpers, connectors and a yellow paint marker pen. I also figured there’s no point in having a “no budget” build if I can’t afford a couple of dollars for a paint marker.
“No budget” doesn’t mean I’m spending indiscriminately, it just means I don’t have a budget!
I guess I should try to figure out where I was and work out how to make noises with this thing soon, after all I’m currently one year into this build, minus 16 days. Can I avoid pushing it beyond twelve months?
Well Tom, by your “no budget” definition, and in the spirit of Dolly Parton’s famous quote - “it costs a lot of money to look this cheap”, I had some automotive loom fleece tape lying around, leftover from my camper build, and I guess I’m about to find out why no one seems to use it in this environment!
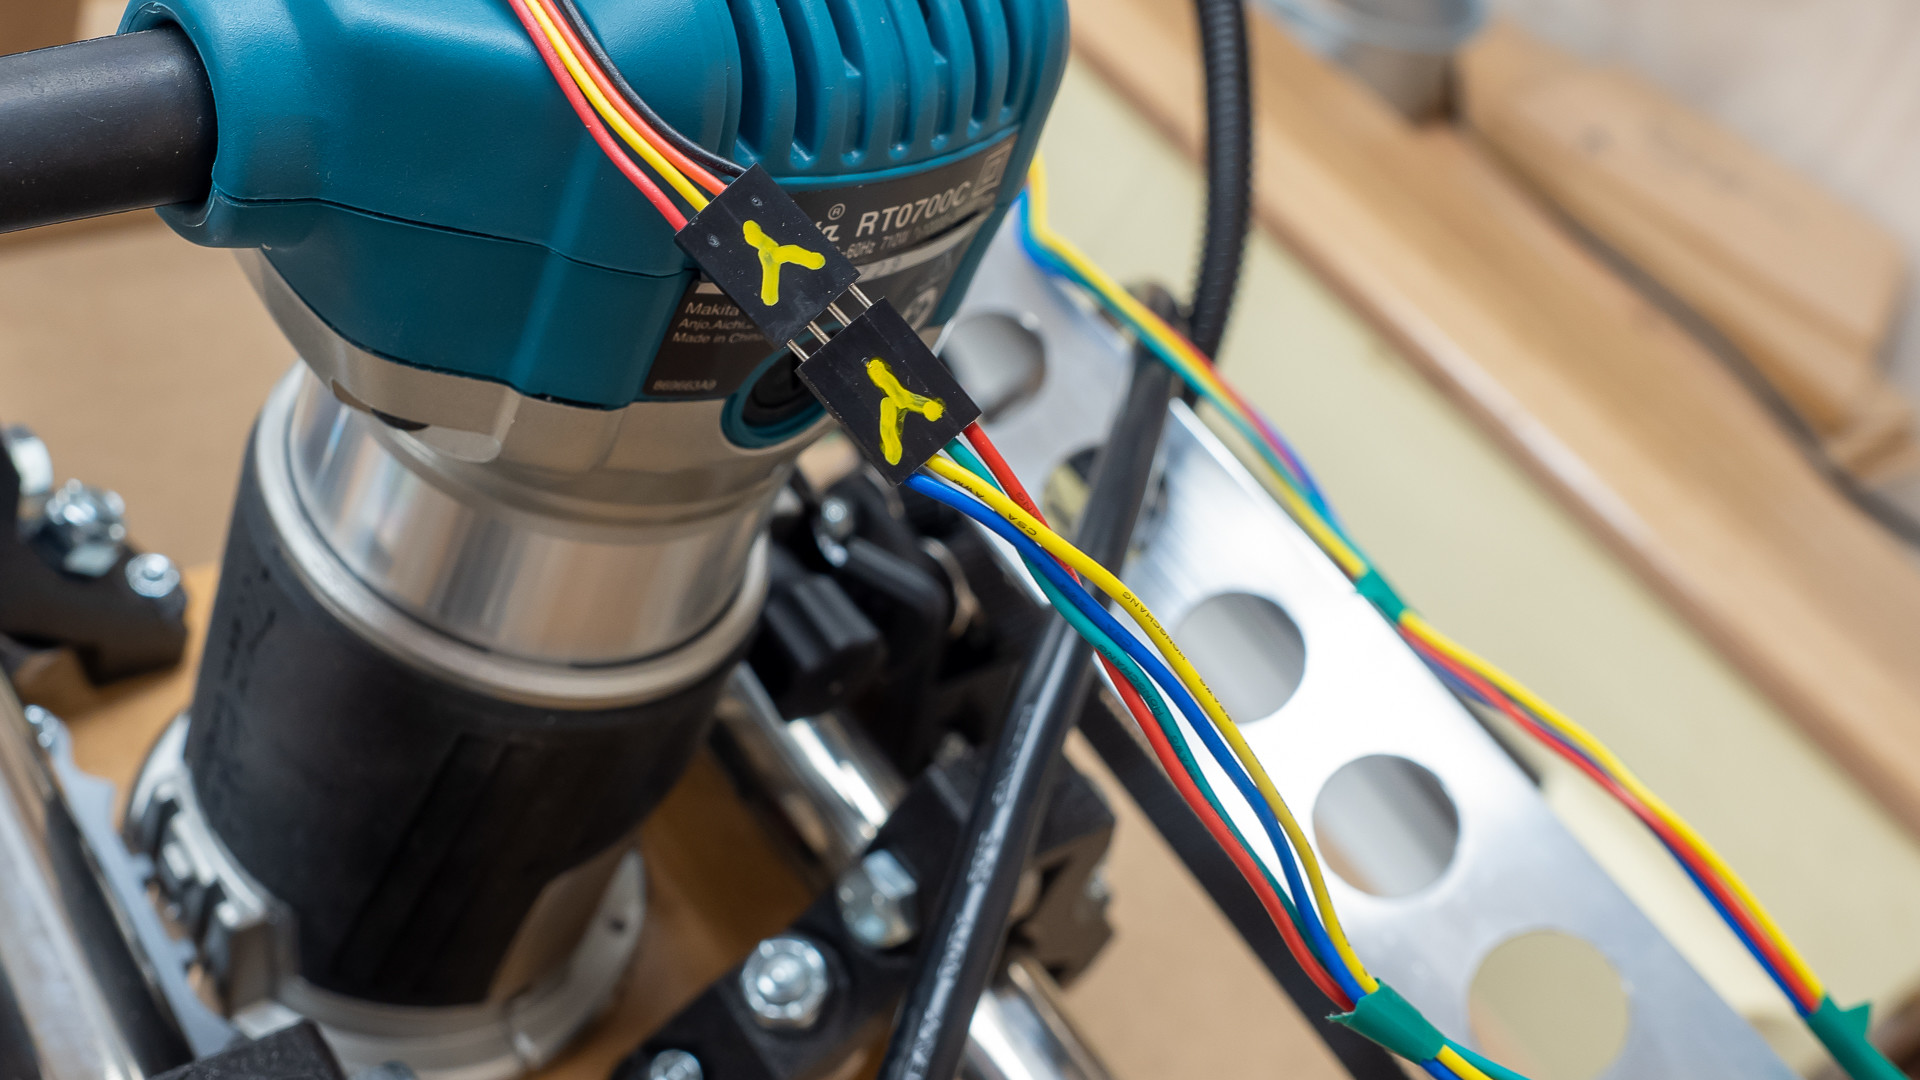
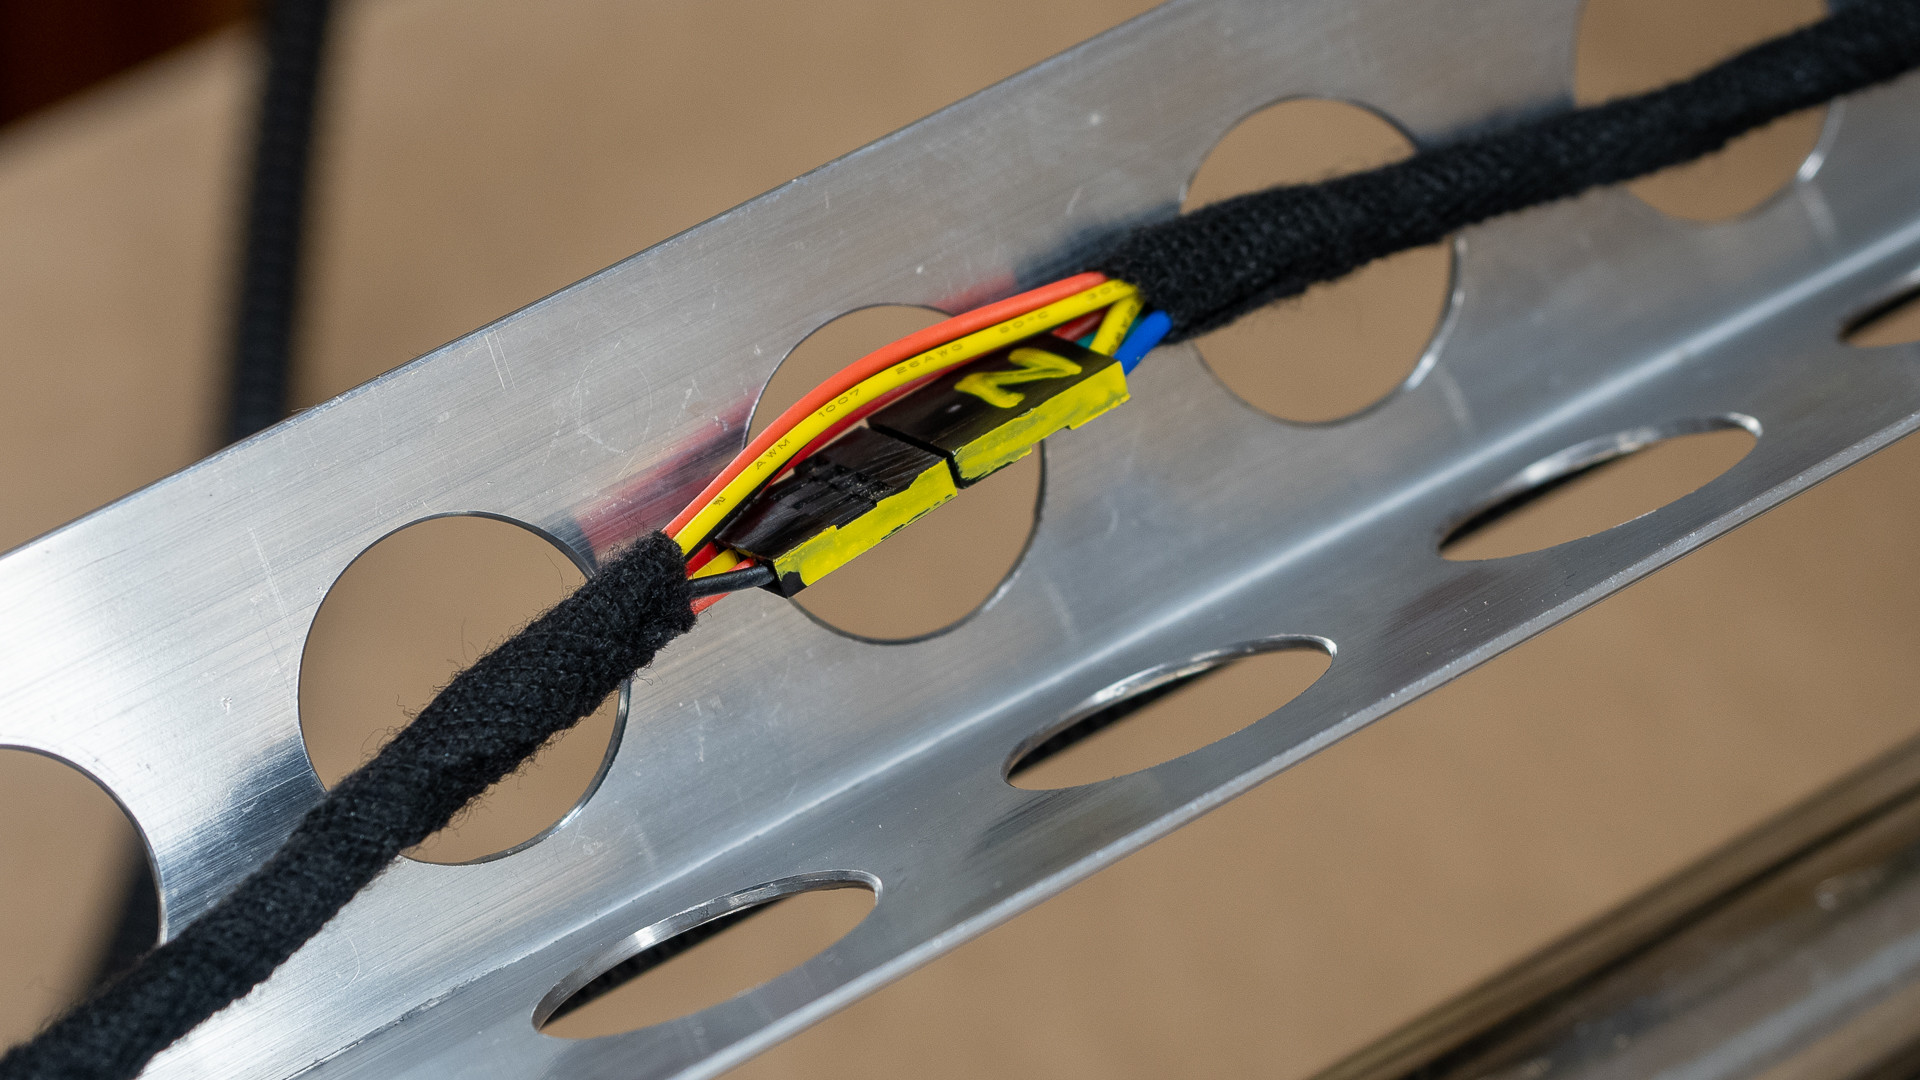
By some miracle - everything moves when I tell it to, and only one connection needed reversing! I’ve marked the sides of all the dupont connectors with yellow so I know which way to put them back during final assembly, which would be happening now if I wasn’t reporting in!
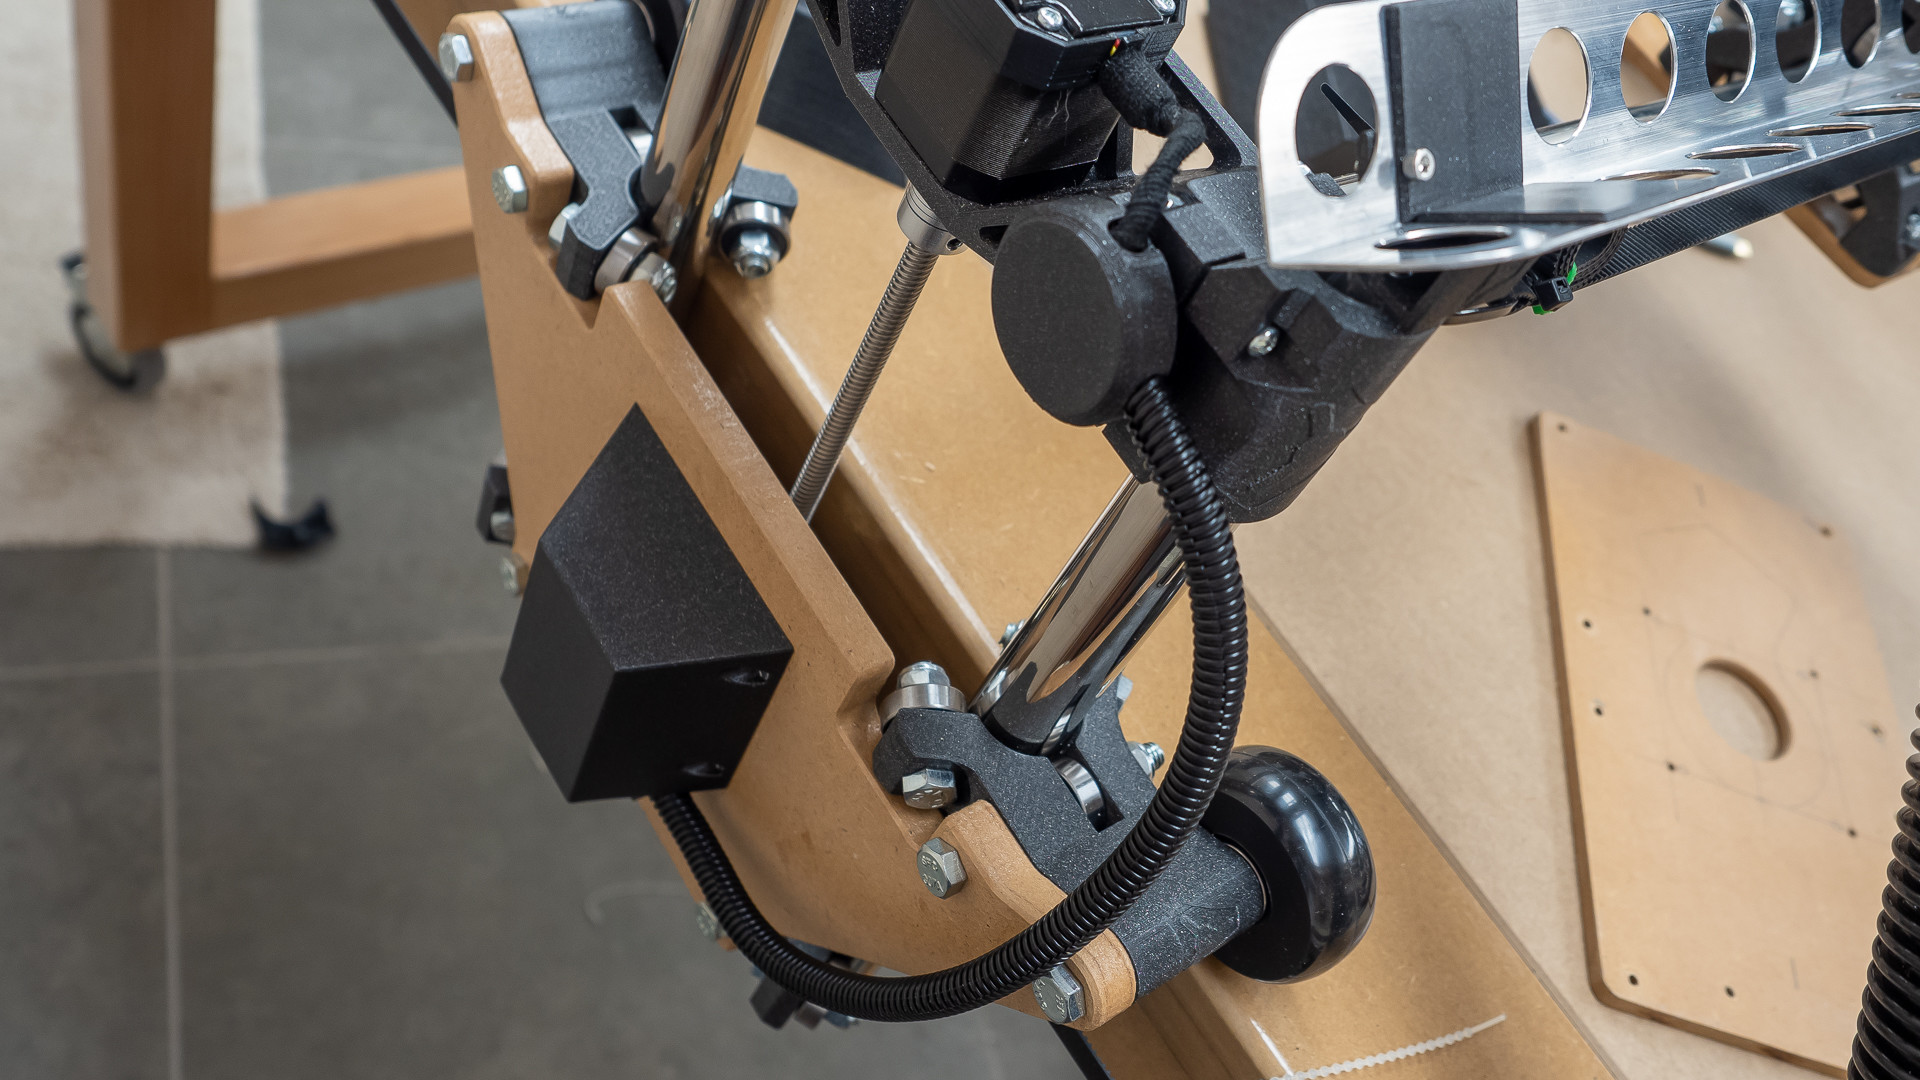
That looks nice and clean, and easy to troubleshoot the connection. I had an old spool of 6-conductor shielded cable when I built mine, so I didn’t need to do much of my own bundling. I did add some braided sleeve around the stepper motor and end stop leads where they made the turn to go into the conduits. All my X and Y connections are buried inside the conduit and kapton-taped together. The Z connections are taped too, and these are velcroed in place on either side of the joint in hopes of minimizing any flex of the connection itself. I haven’t had any work themselves loose yet (fingers crossed).
Well there’s today’s learning done! I hope I don’t need the heat resistant properties for my loom tape in any of the places it’s going, if I do it probably means I didn’t get something quite right.
It’s a bit early to be smug, because I haven’t chopped the ends going into the board yet, so that one last bit of spaghetti will have to wait till tomorrow, but I have to say I am a bit pleased with how tidy it is. In fact I’m so happy with it I thought I’d share a couple of preliminary pics.
Although it’s the longest route to completion by far, I’m testing each set of pins as I go. I figured if there was a problem with one connection it would take a lot more time to trouble shoot than it does to turn the whole shebang on, move the axis in question a millimetre or two then turn it off and get on with the next one. So far so good.
I only use kapton for this because I got a roll a while back when building 3D printer got ends from scratch and haven’t managed to use it all up yet. Scotch tape would probably be enough to keep the ends from sliding apart accidentally.