I am wanting to build a paulk bench for my wood working and plan on making it as versatile as possible. This is my first build with building a CNC and have been watching this forum for a few months.
I came up with an idea after watching numerous amounts of Youtube videos on Paulk Benches that I wanted to build one that I can use as a Mitre Station, WorkStation and a cnc station by moving around or adding pieces to it. Make it a modular bench.
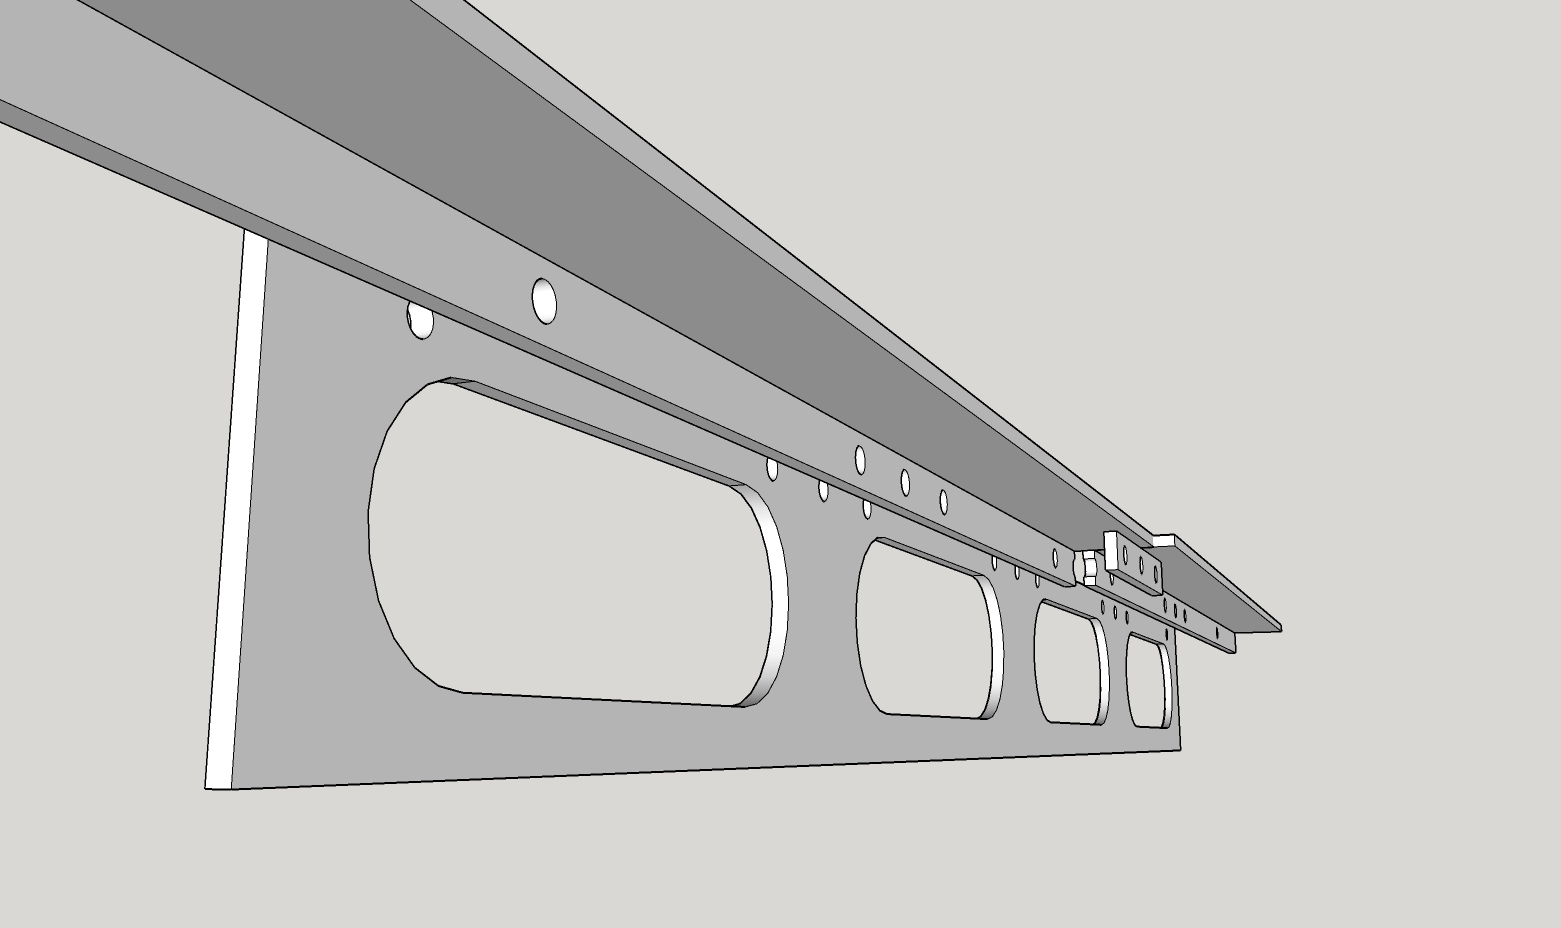
I was trying to figure out a way that I can attach rails to the Paulk Bench and detach them if I have to go work on a site or just put everything neatly away. This idea is making a rail for the Paulk work bench and adding bench dogs holes to the side of it. There is a locking piece that holds three bench dogs in the middle. I have attached a few jpgs for you guys to overlook and give me your thoughts on this. If you need more information or different shots. Let me know
Please give me your feedback and thoughts, I value this community and looking forward to its input.
Welcome! Looks like a fun design project. I think you can learn a lot by just building it.
I’m not sure why the width changes halfway down. Is that just perspective?
The important thing with the attachment is that it should be as parallel as possible to the top. It should also be pretty flat (but the wheels are just riding on it, so it doesn’t have to be perfectly flat).
I would think some dowels in the benchdog holes for alignment, plus some 5/16" bolts to pull it in would work well. That was my intention with my table, but I never expanded it.
I used unistrut for my Paulk bench. They’re attached to pieces that look like yours. I use t-nuts and bolts to keep them aligned, but don’t take it apart very often.
I saw your table and thought that was awesome how it is build. I definitely used your table for some inspiration as well.
My questions about the rail width and table length on your table Barry.
On the calculator it says an extra 15" for length and about an extra 8" for width on a 48x96 sheet. How accurate is that? Like the over hang is 7.5" on the top and bottom. I wanted a section of the table to do vertical pieces for joinery and things like that. Should I offset the overhang by 3", example 10.5" on the top and 4.5" the bottom and then being able to to use the top portion for joinery? Or will I still have some clearance with the 7.5" to do that?
For that, I’d just leave the rails the same length, but put all the overhang on one end. The version 2 belt holder/end stops take up more room, so I can’t quite get the endmill over the edge on this table.
That’s the nice thing with the unistruit, it’s adjustable, cause “If you can’t make it perfect, at least make it adjustable!”