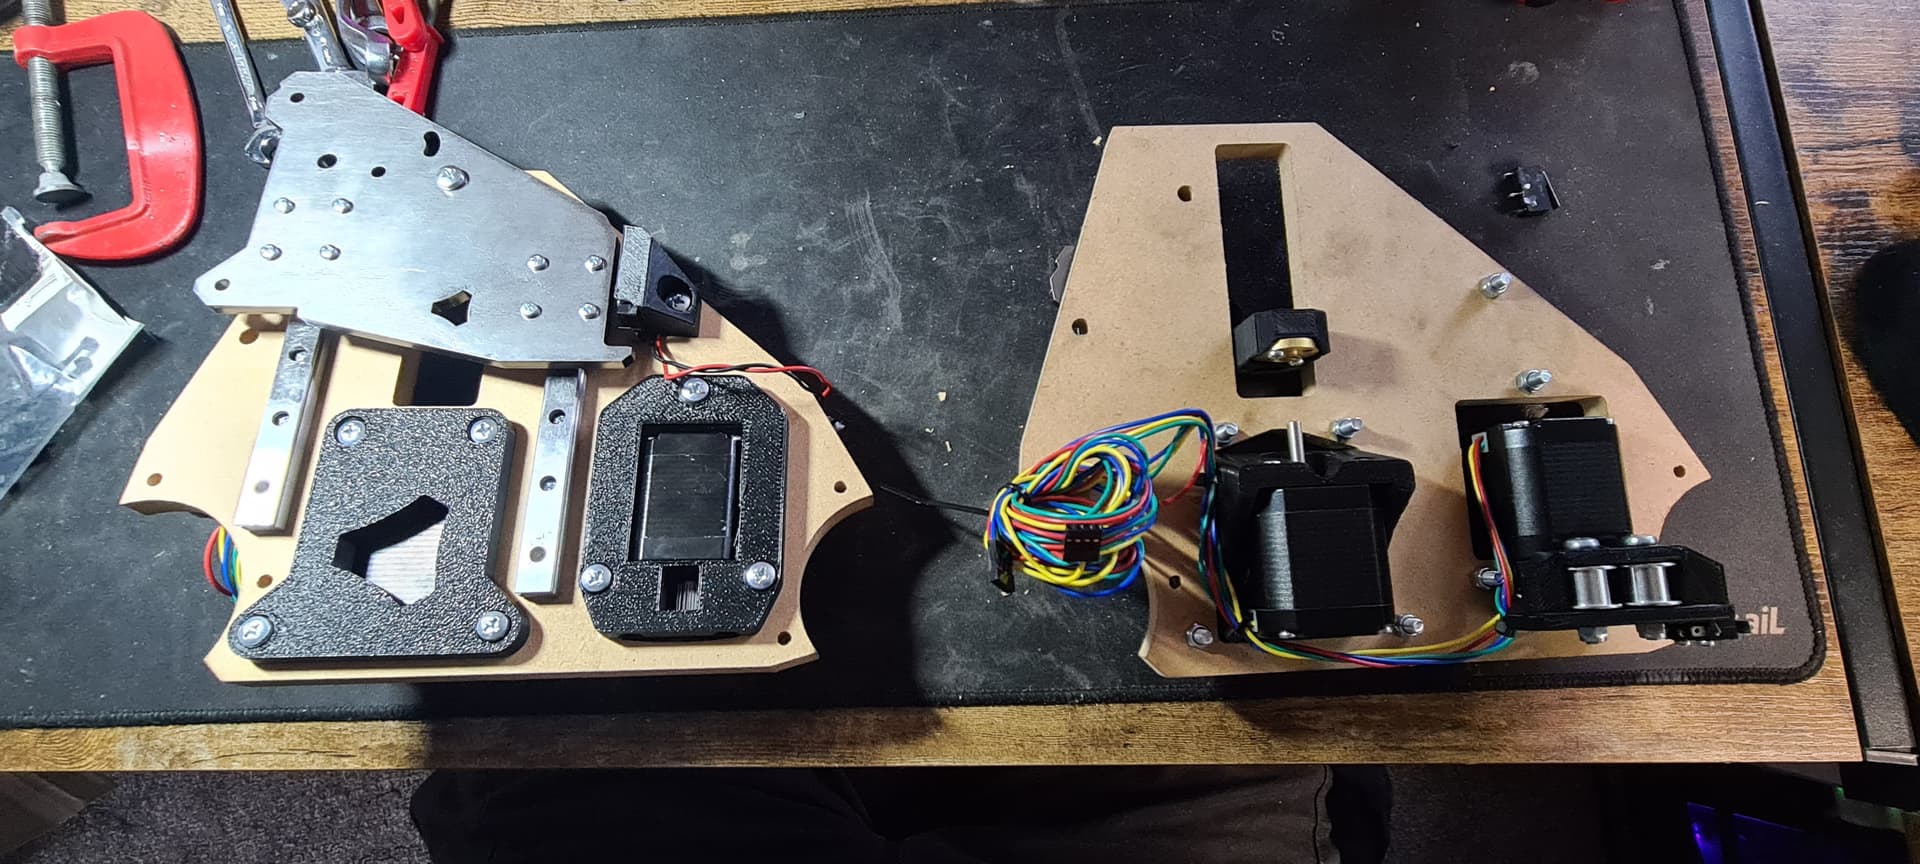
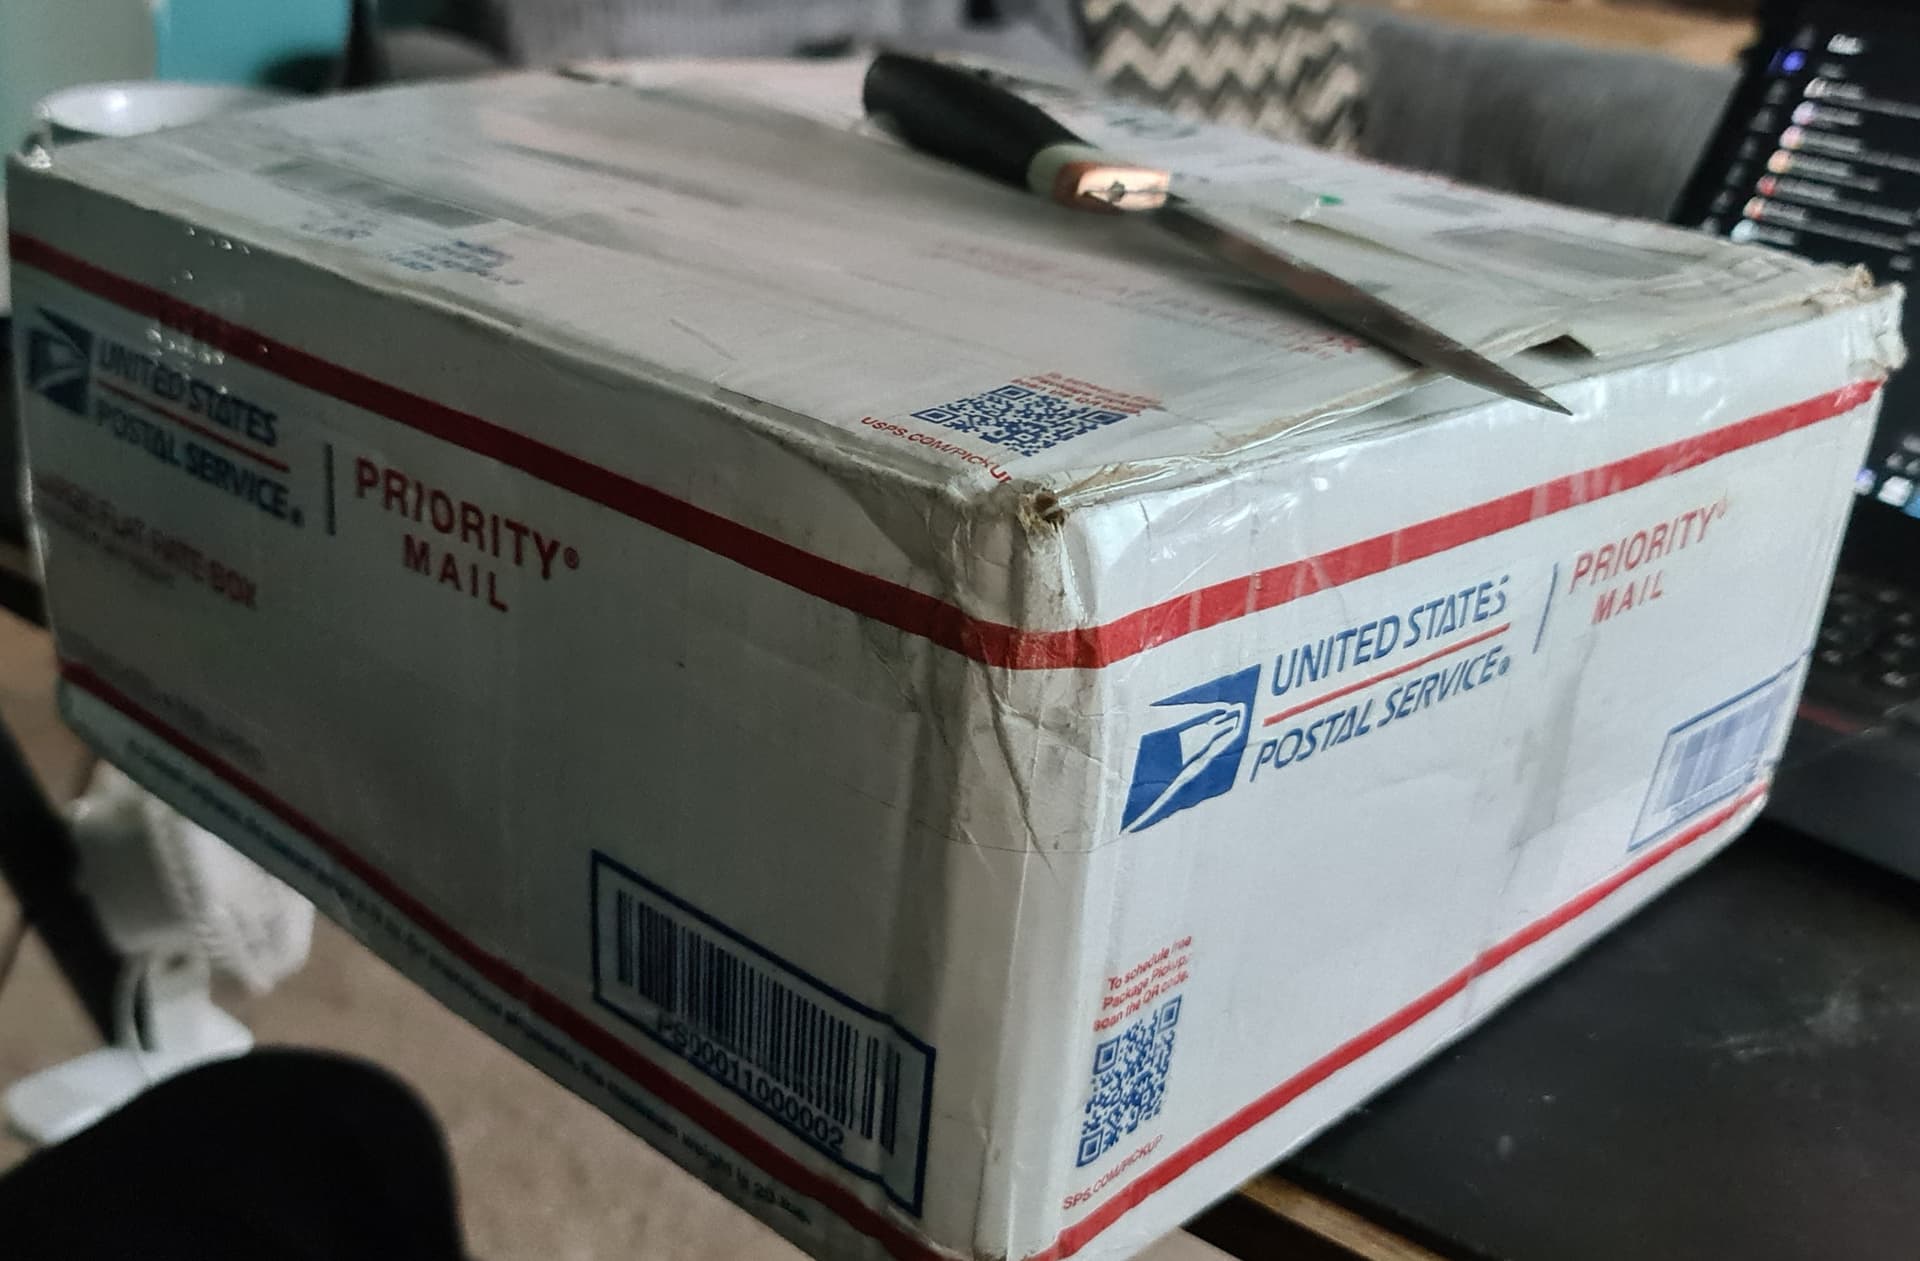
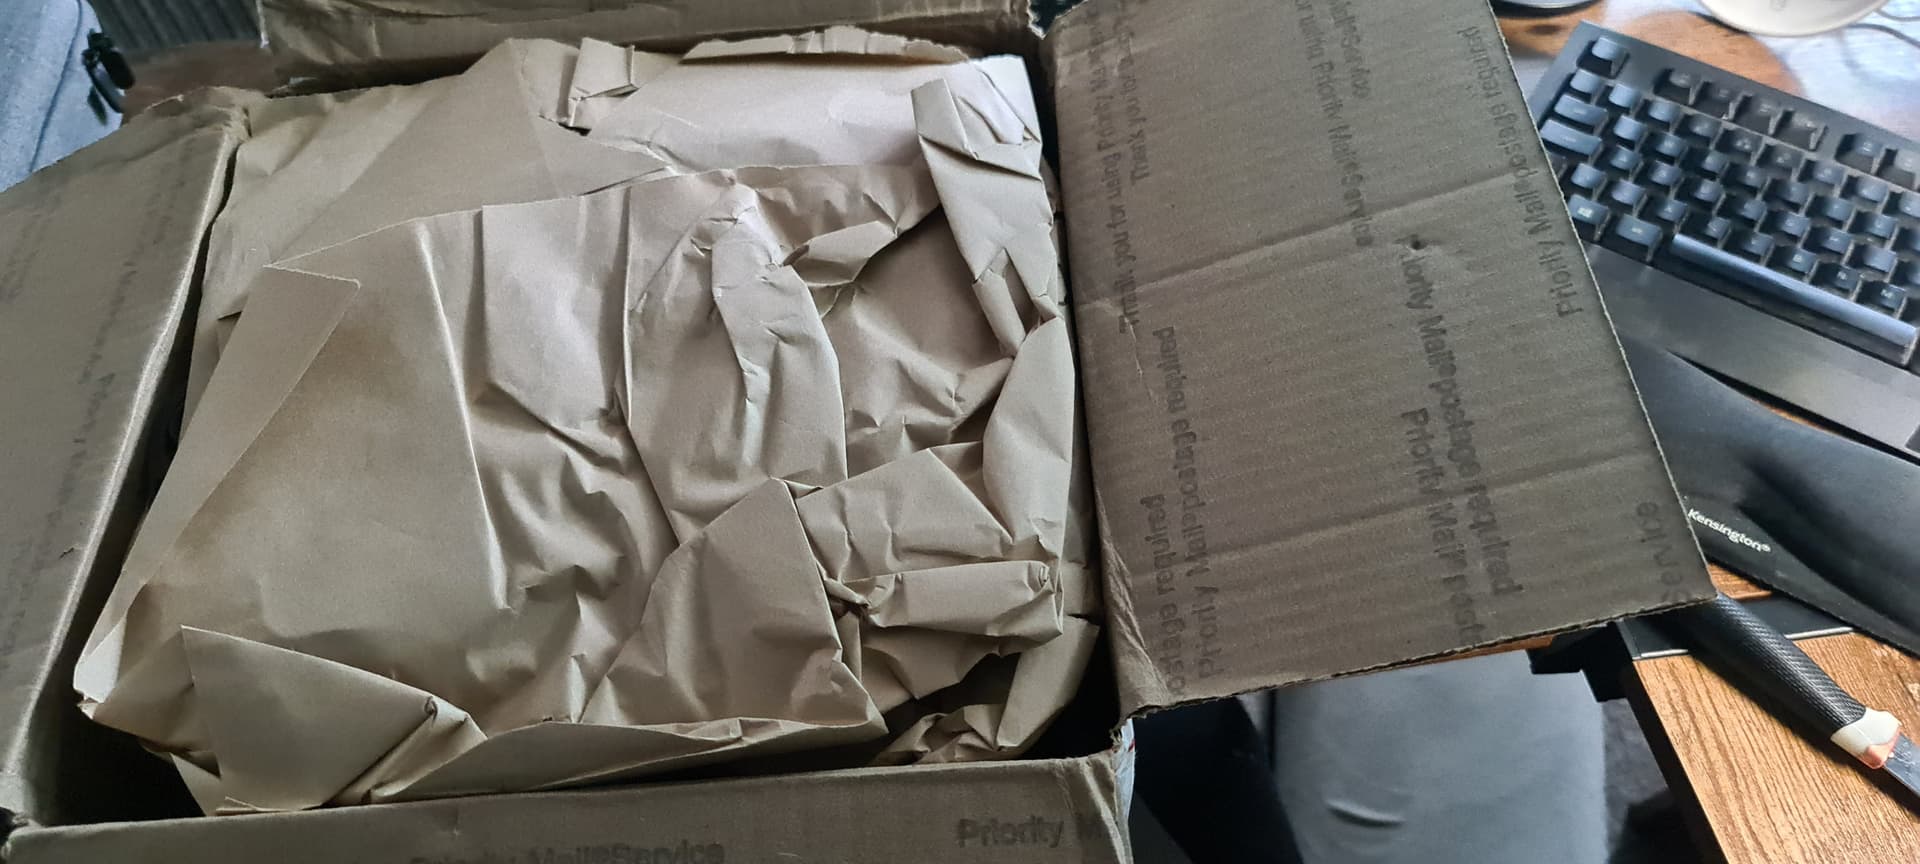
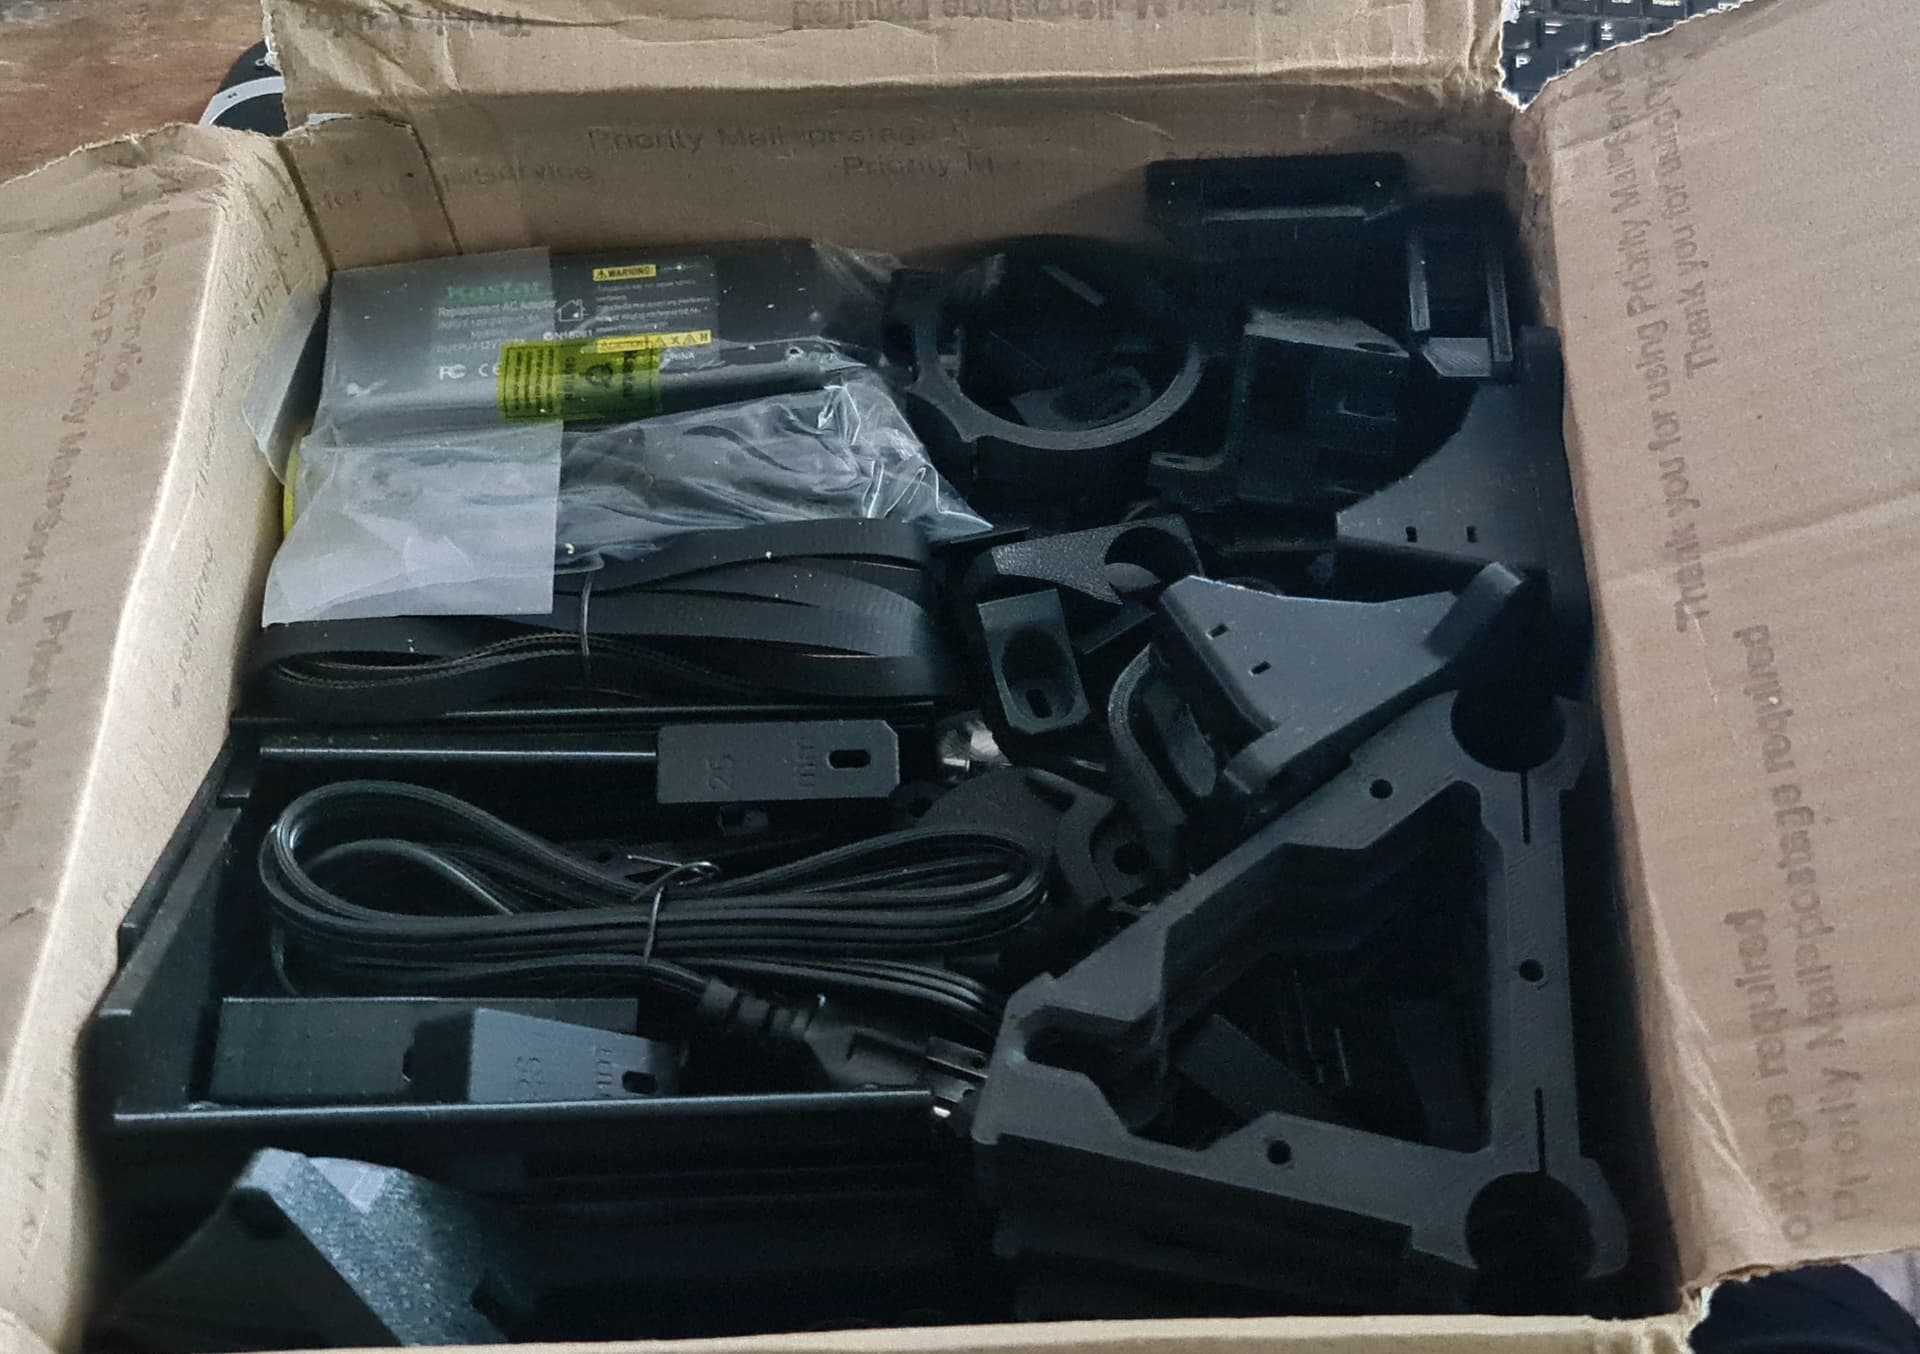
recieved my order amazingly quickly from USA to UK. forgot to add the controller, display & driver bundle, so in the meantime, i can work on the other parts…
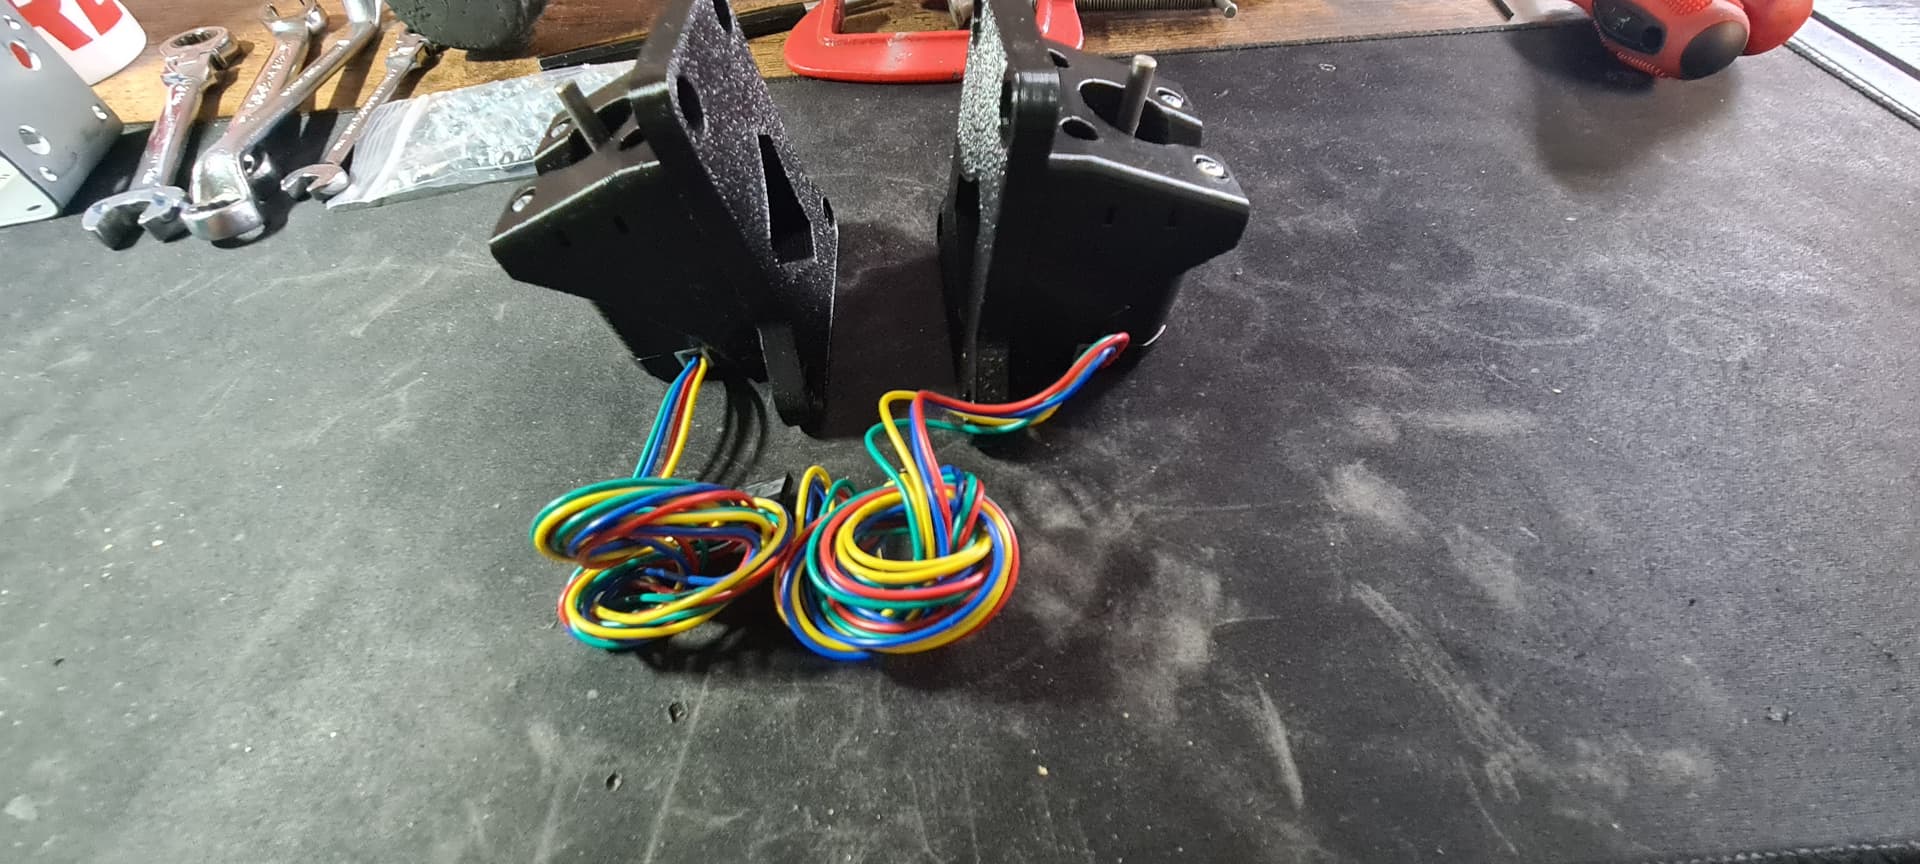
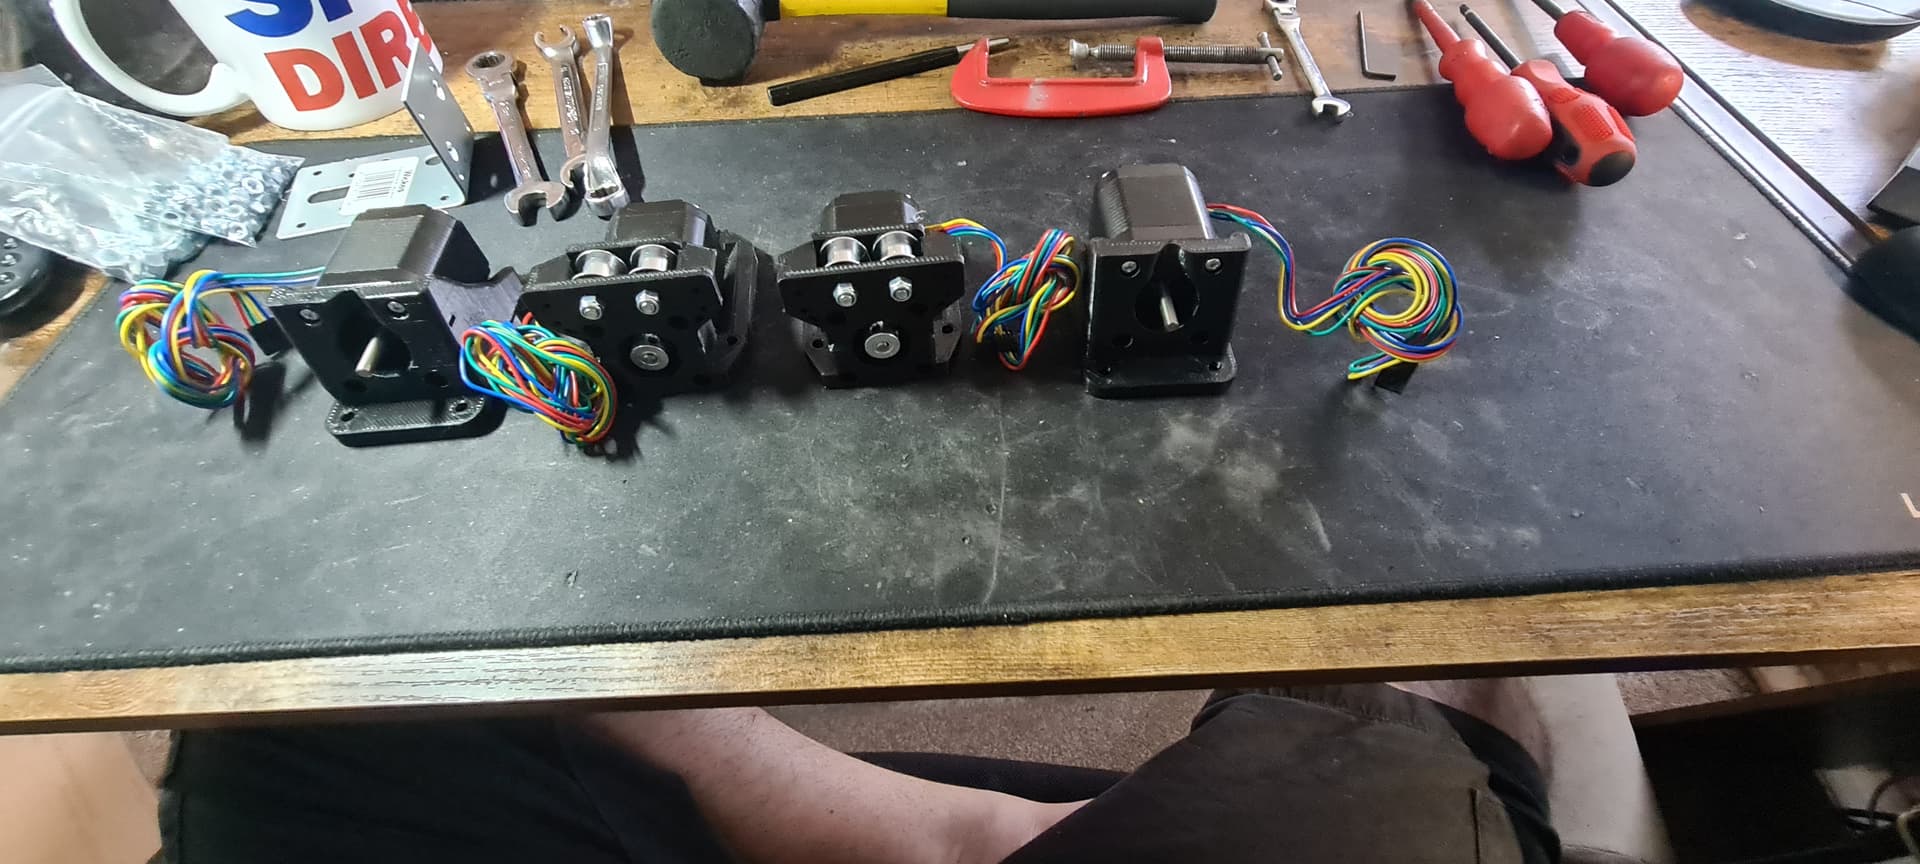
A few hours into the build instructions and i’m already at " * Roll them around on your table making motor noises to make sure they work right."
now, to be honest, i thought seeing empty packets of nuts and bolts and bearings was getting exciting, knowing with every empty packet, i was that small step closer to completion, but… rolling them around making motor noises really did top off the feeling of excitement quite nicely!
Pictures to follow once i’ve edited / etc. them.
I have to say. aside from some 2nd guessing myself on interpretation of the build pics etc. it’s been really easy to build and very intuitive.
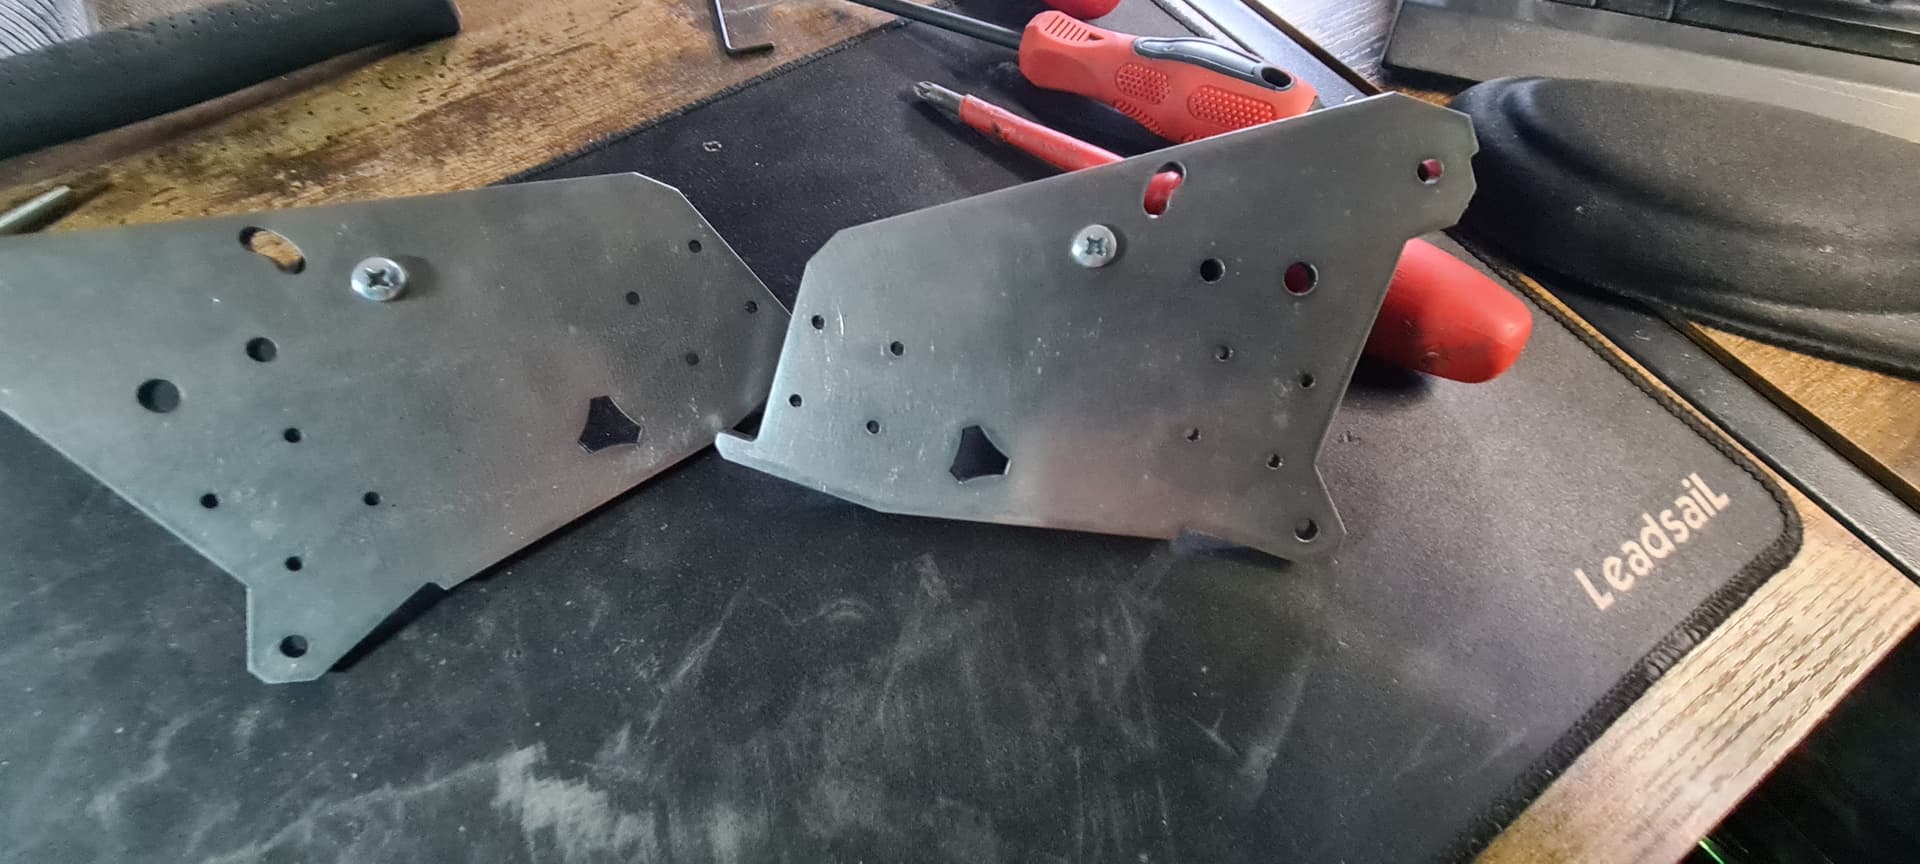
next pieces done… wow this is easy… It makes me think just how much effort went into designing something that can be built with the same nuts / bolts throughout yet have the right strength / length, yet doesn’t impede anything moving, etc. How is it i can’t plan my way out of my own bed most days and then there’s this beaut with all it’s 3d printed complex curves, shapes, etc. etc. all perfect so far?
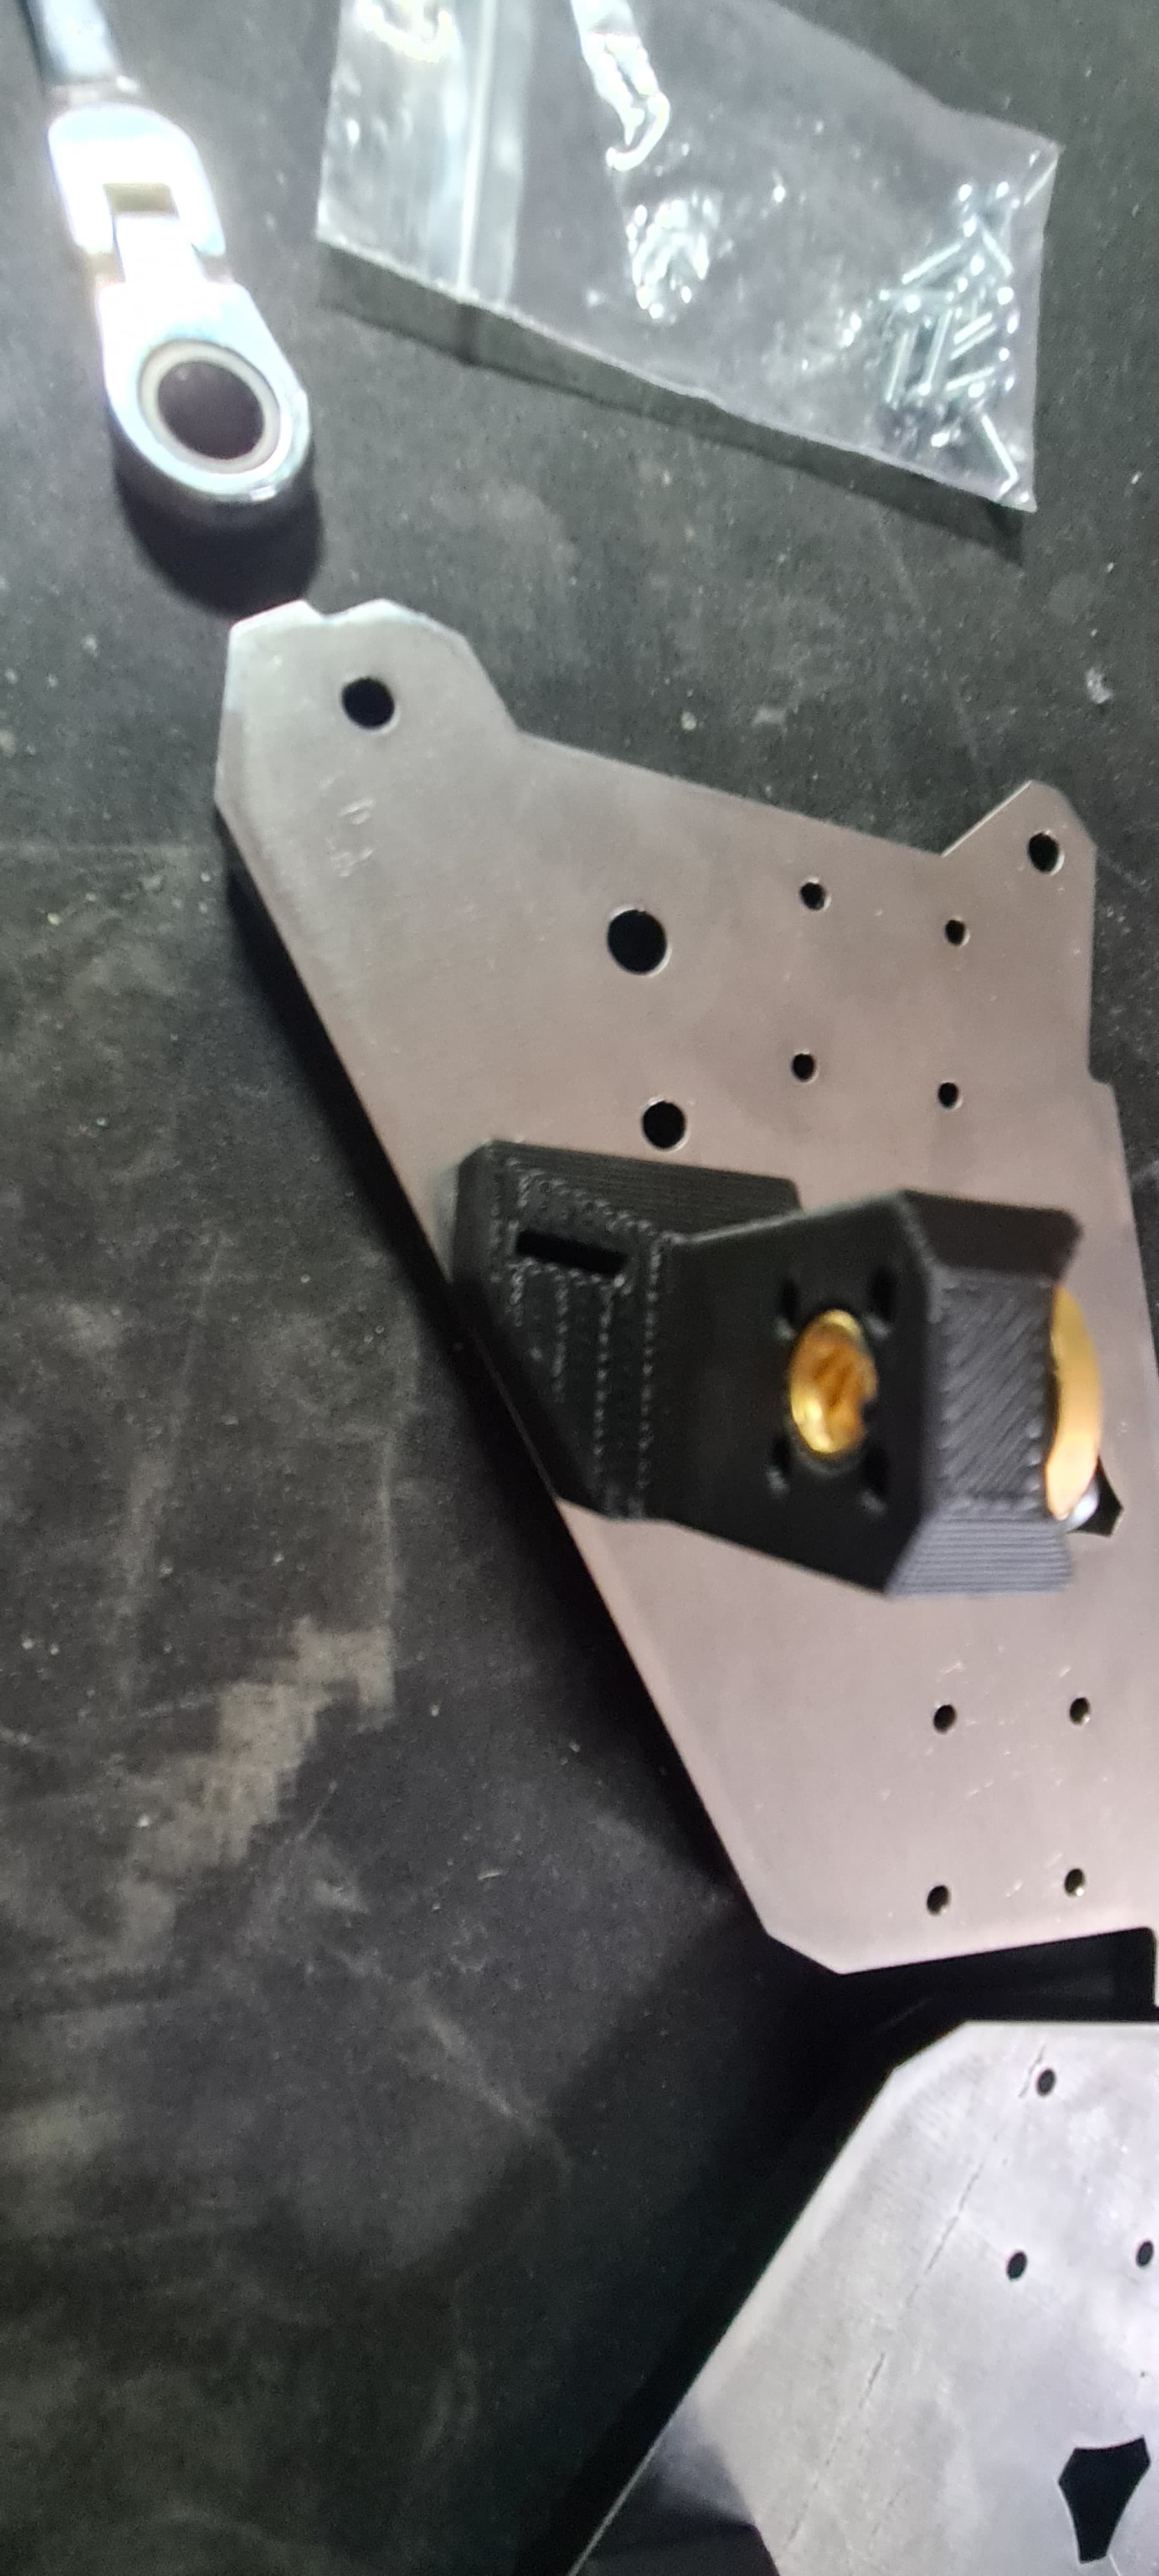
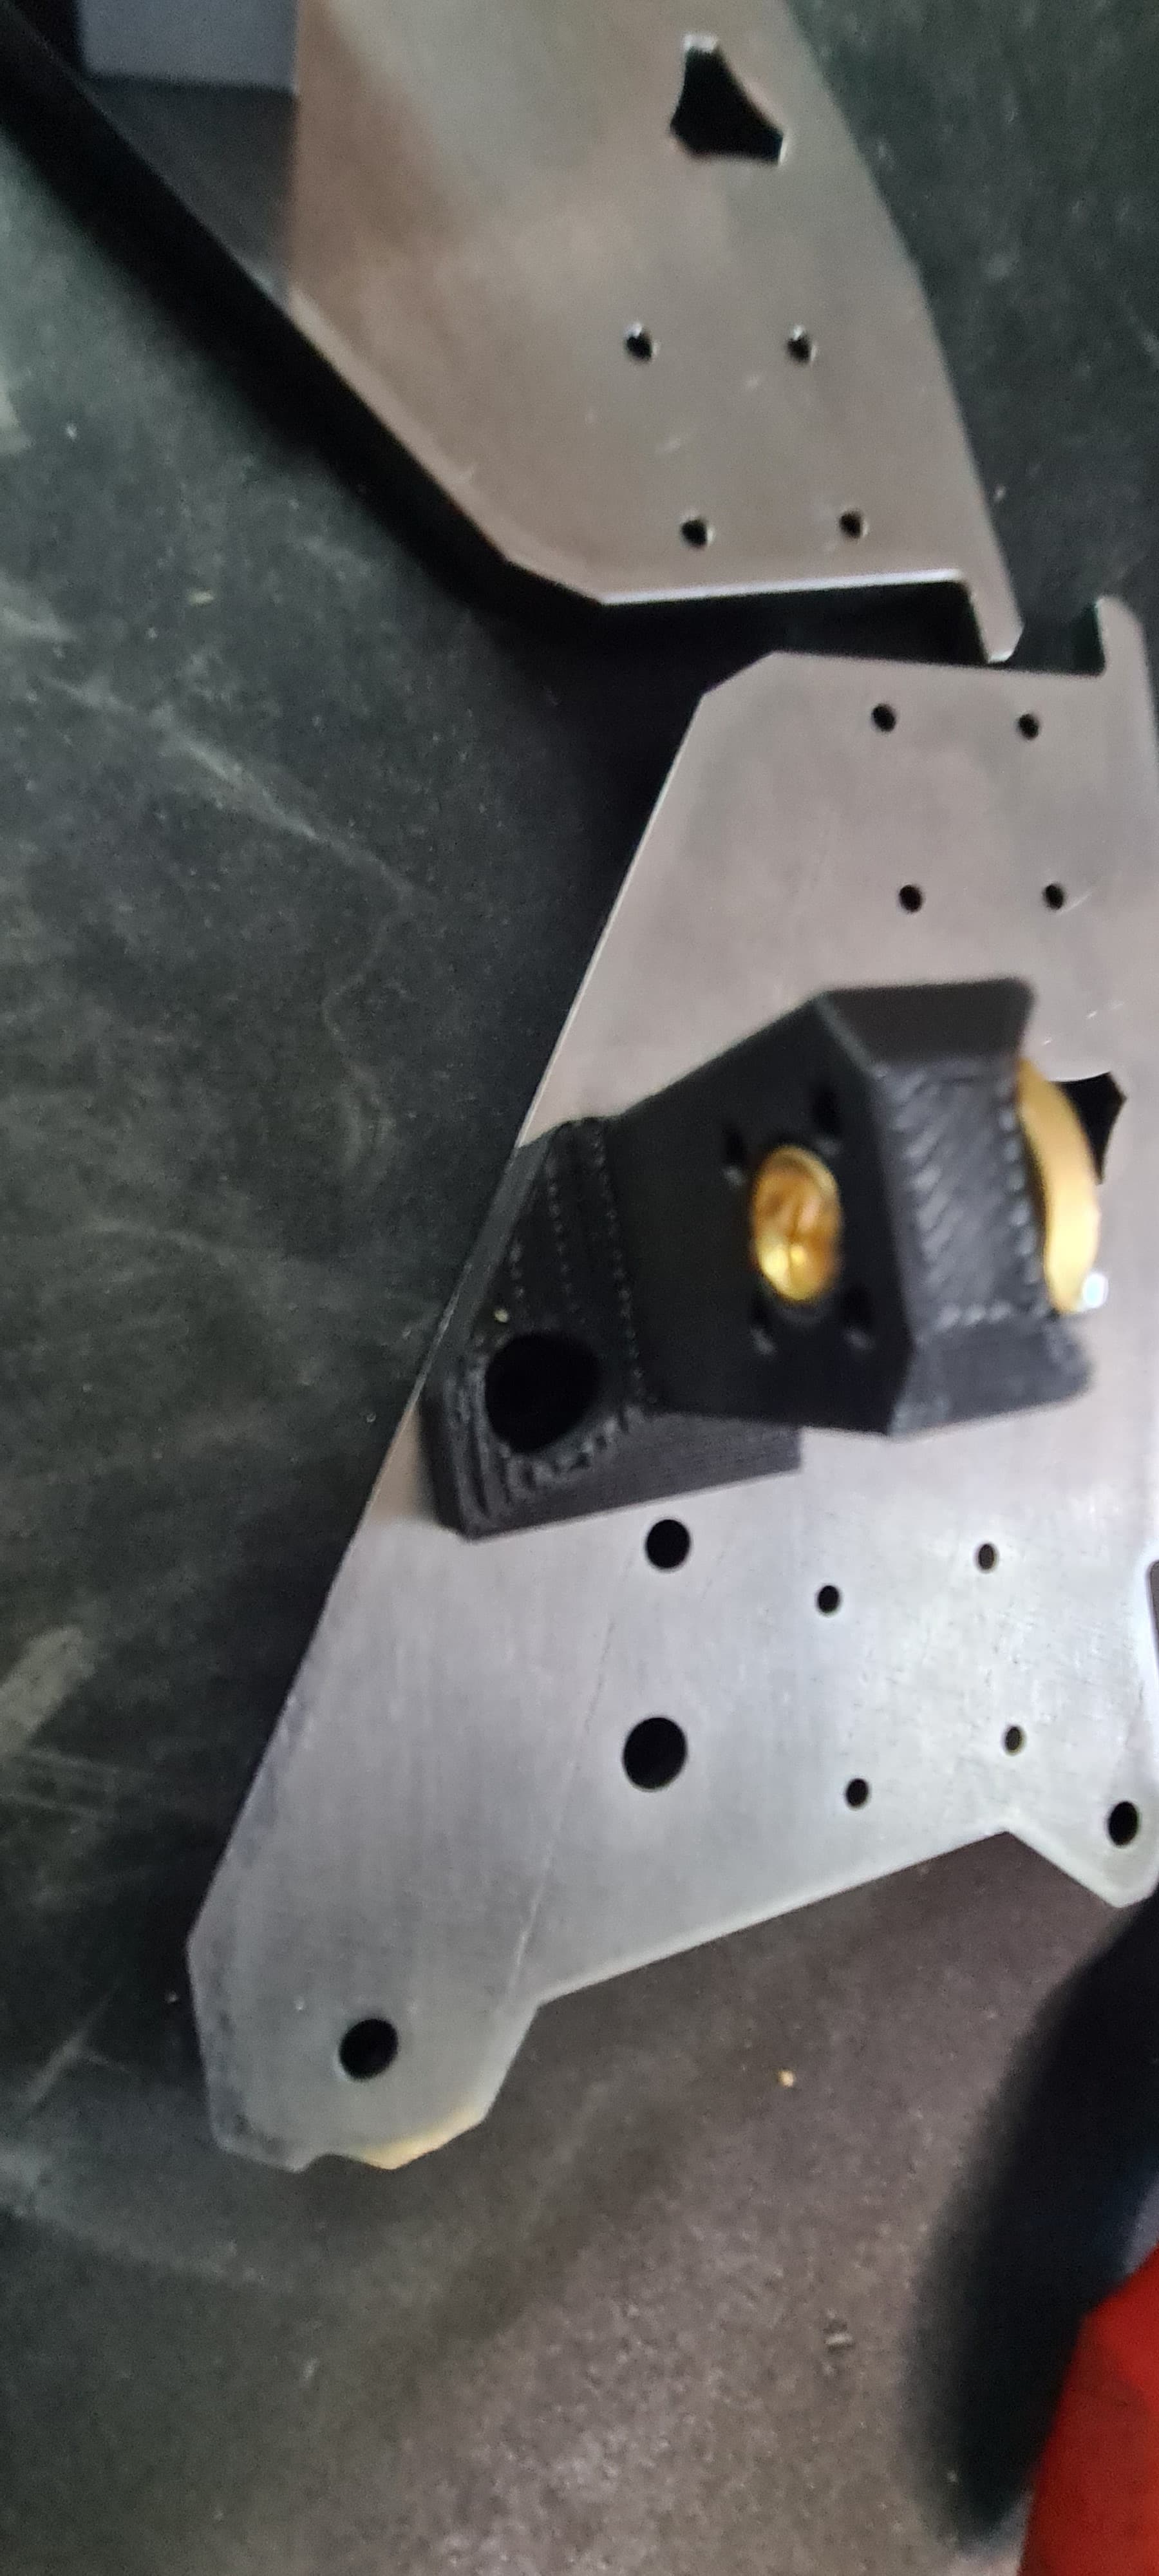
fitting the threaded rods seats… needed to file a little bit of the hole for them but not “too” much… a nice snug fit with some gentle finessing / pressing 2nd one i swopped the g clamp around and it was waaaay easier. #alwaysthehardway
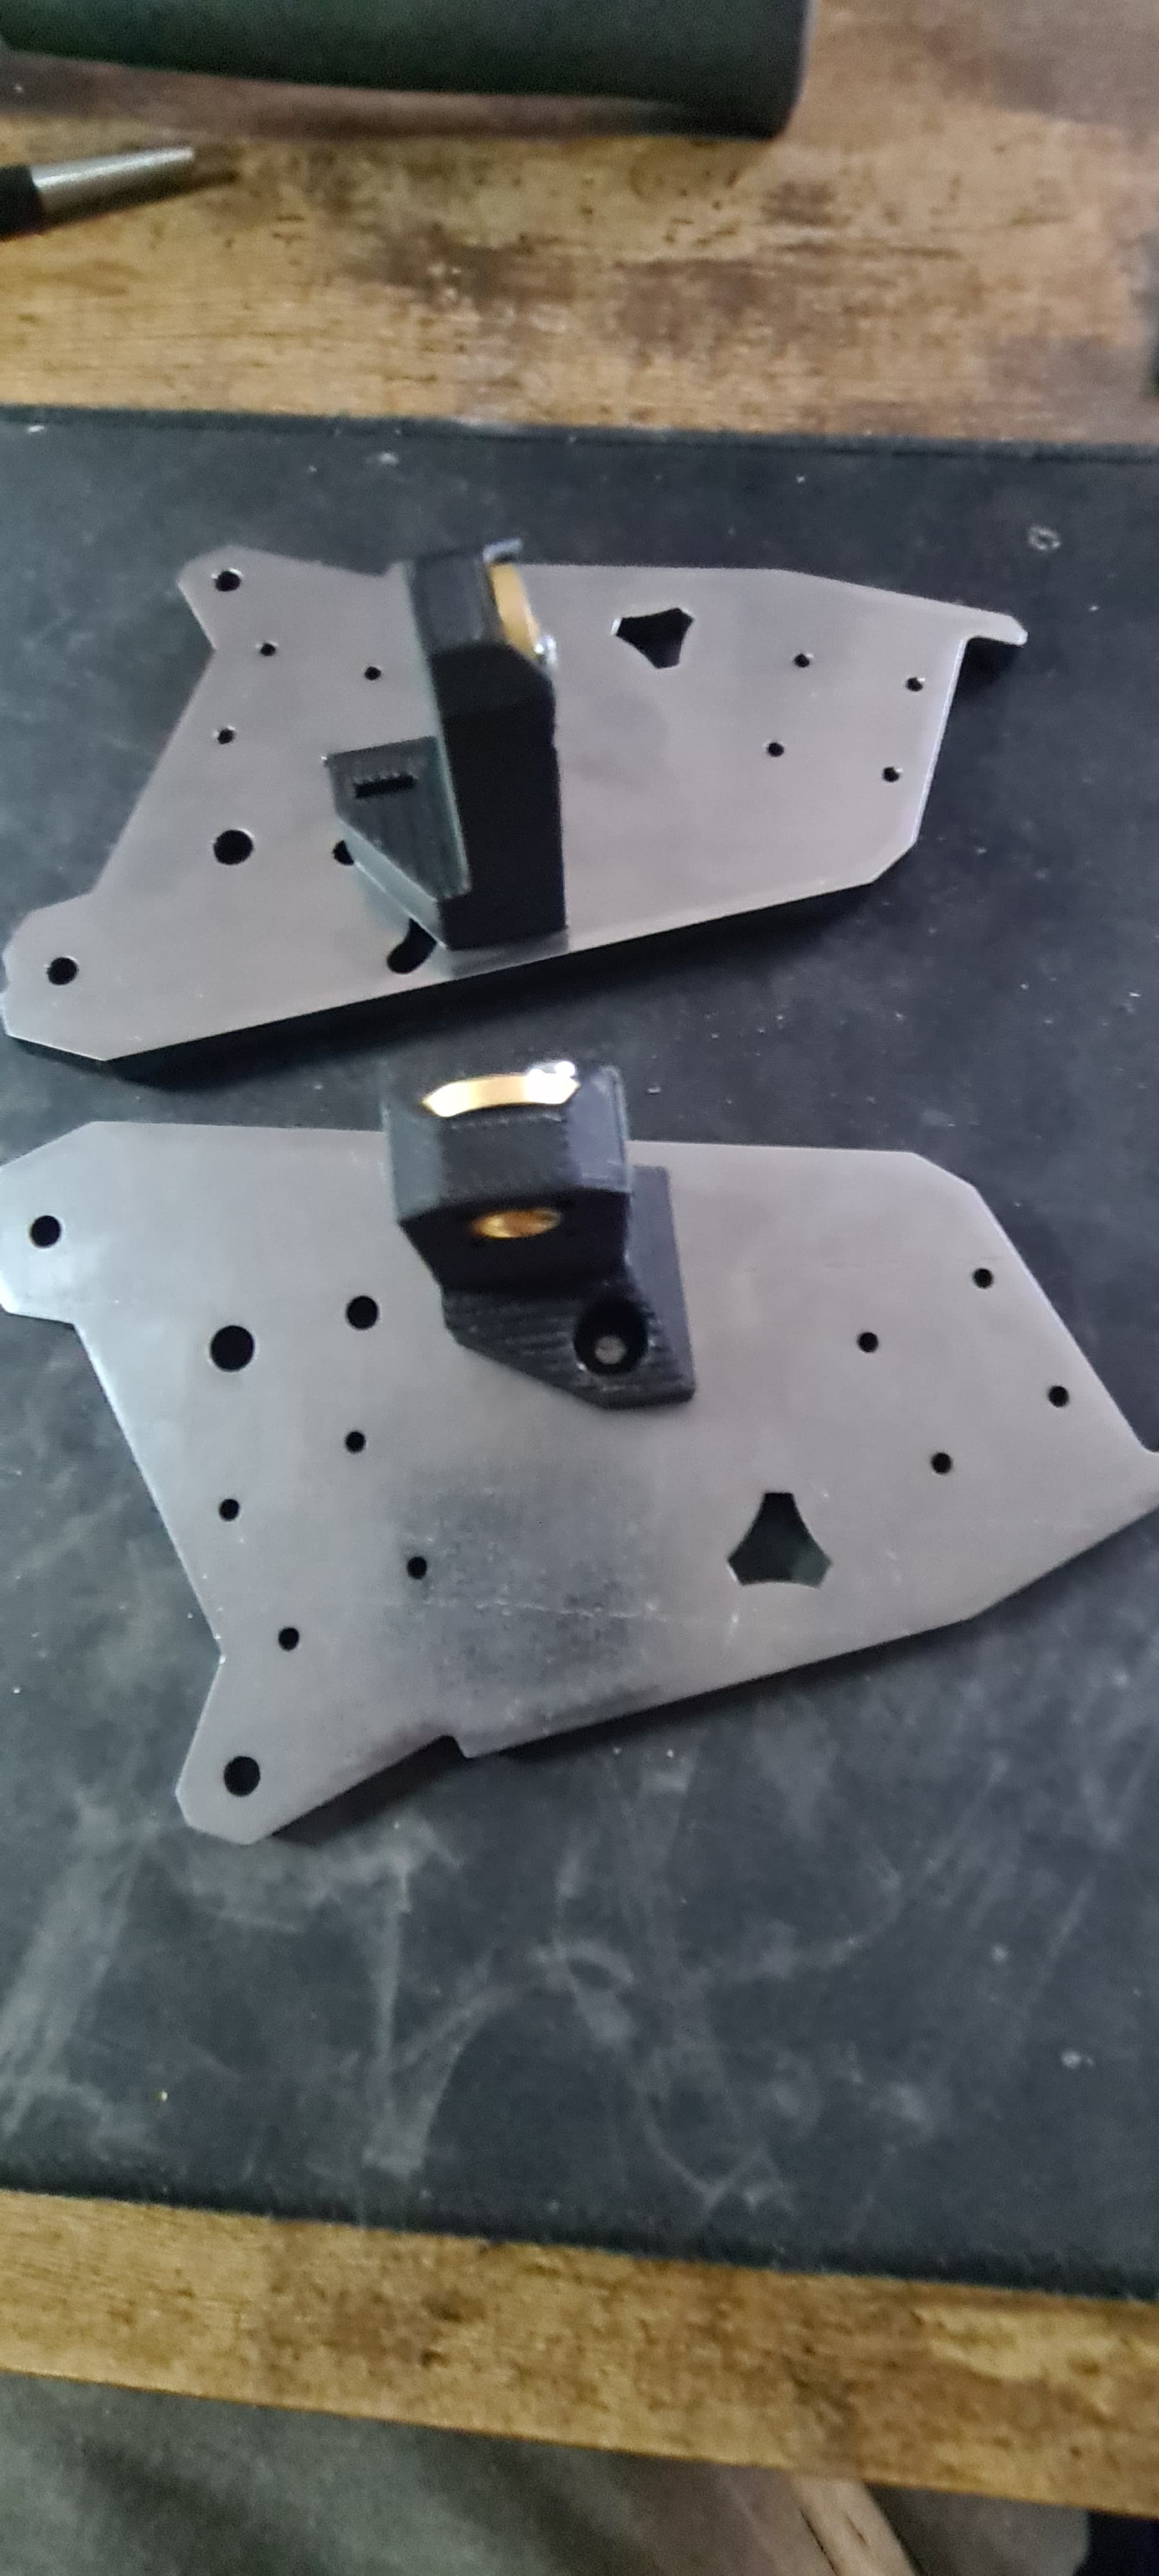
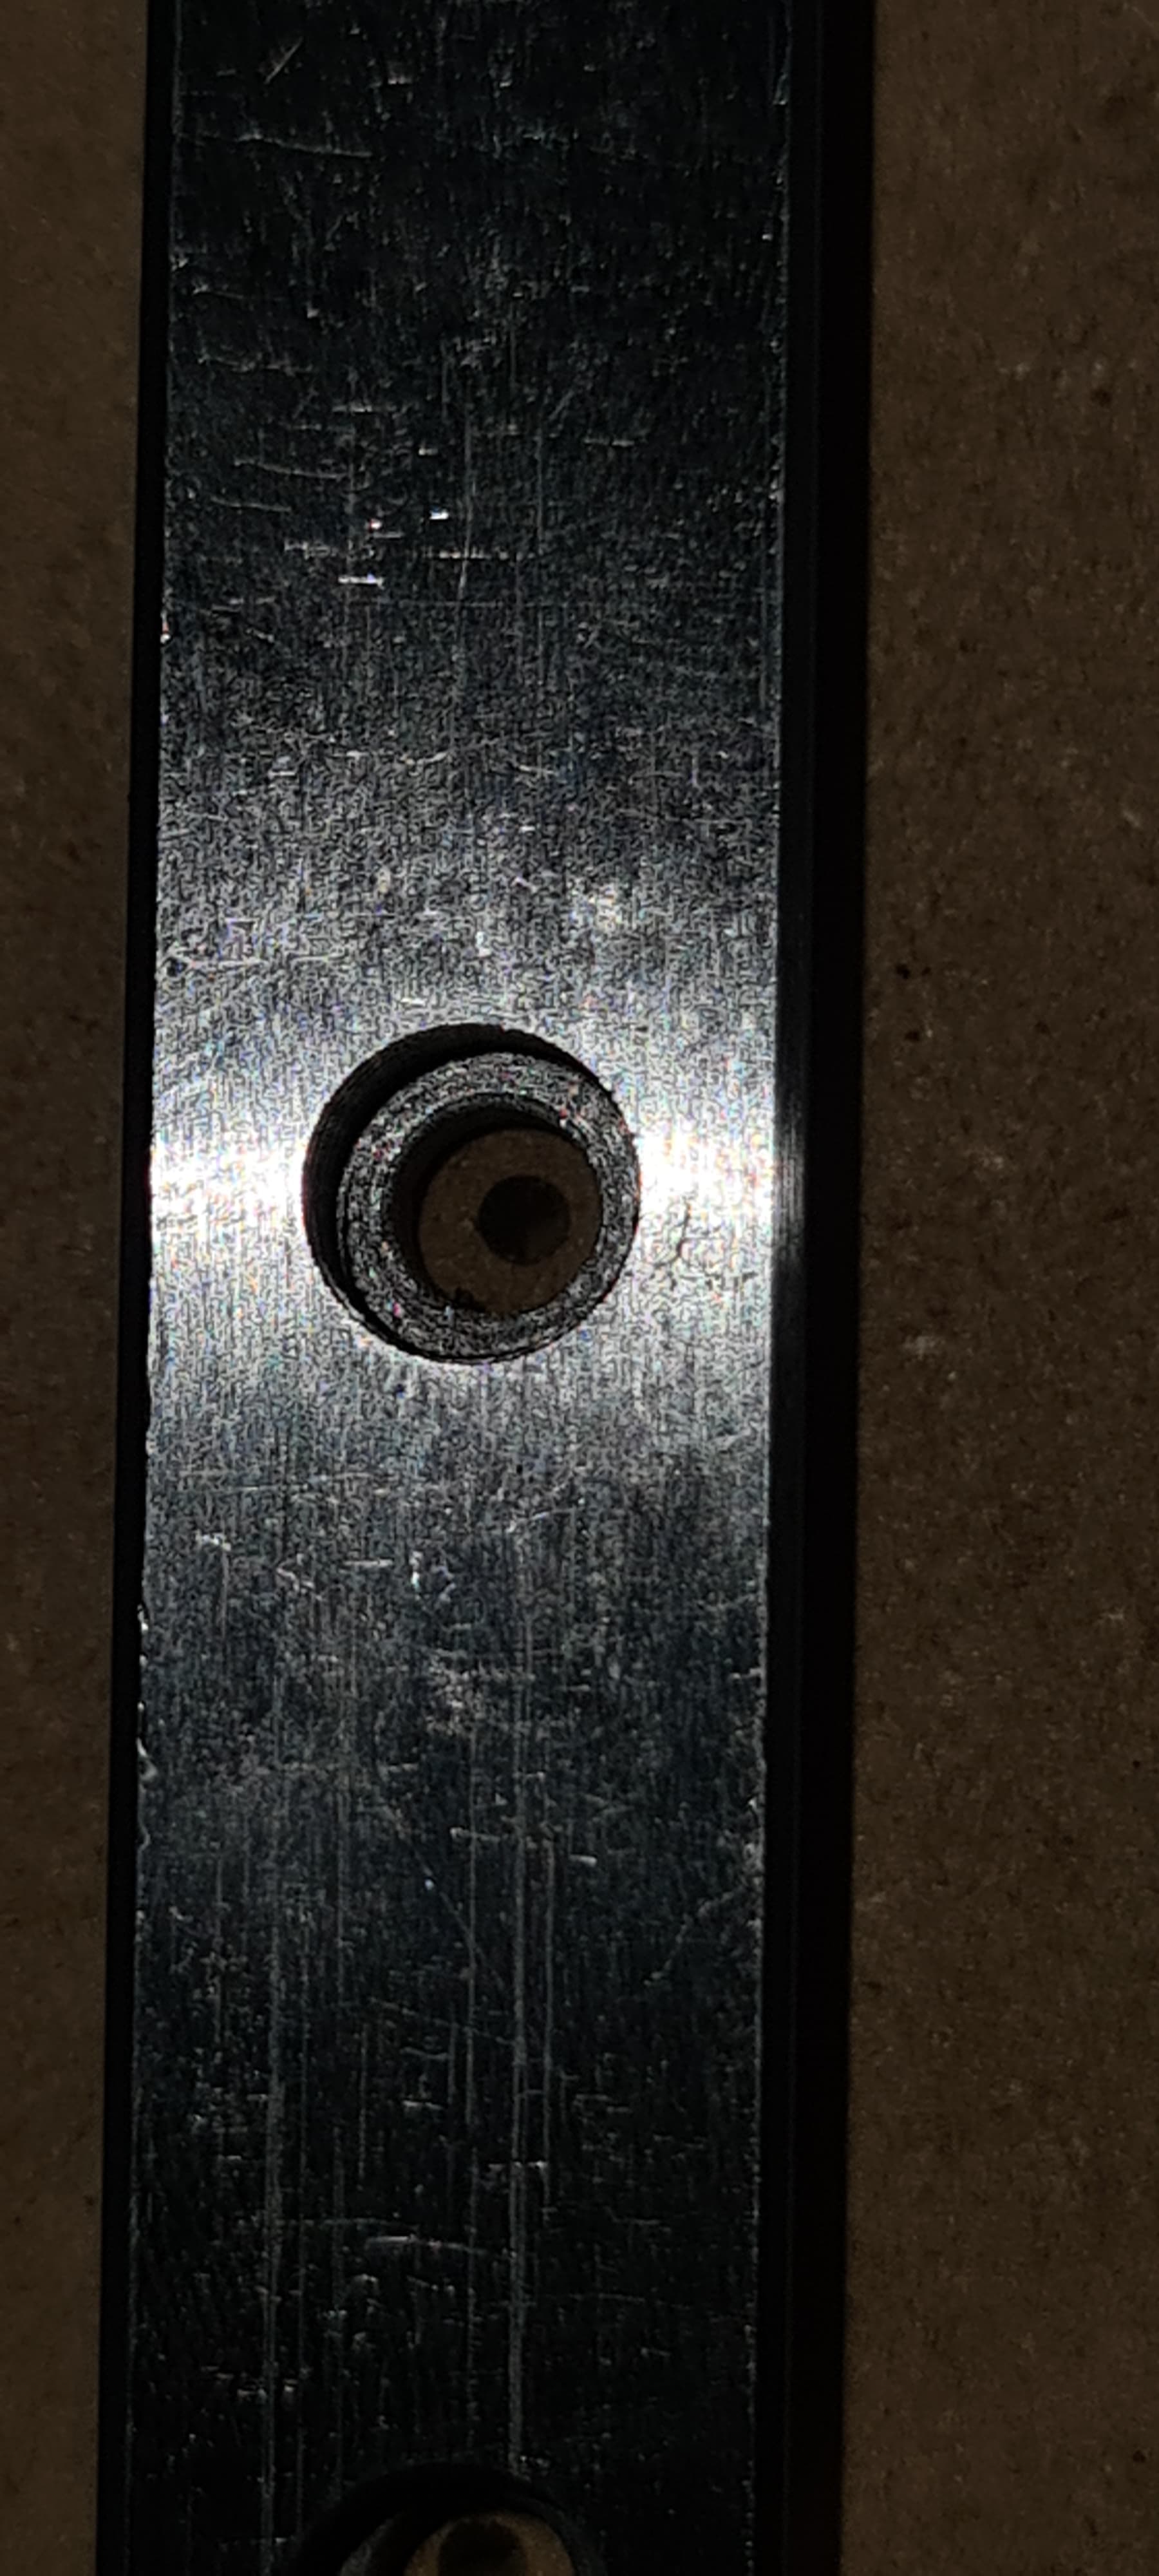
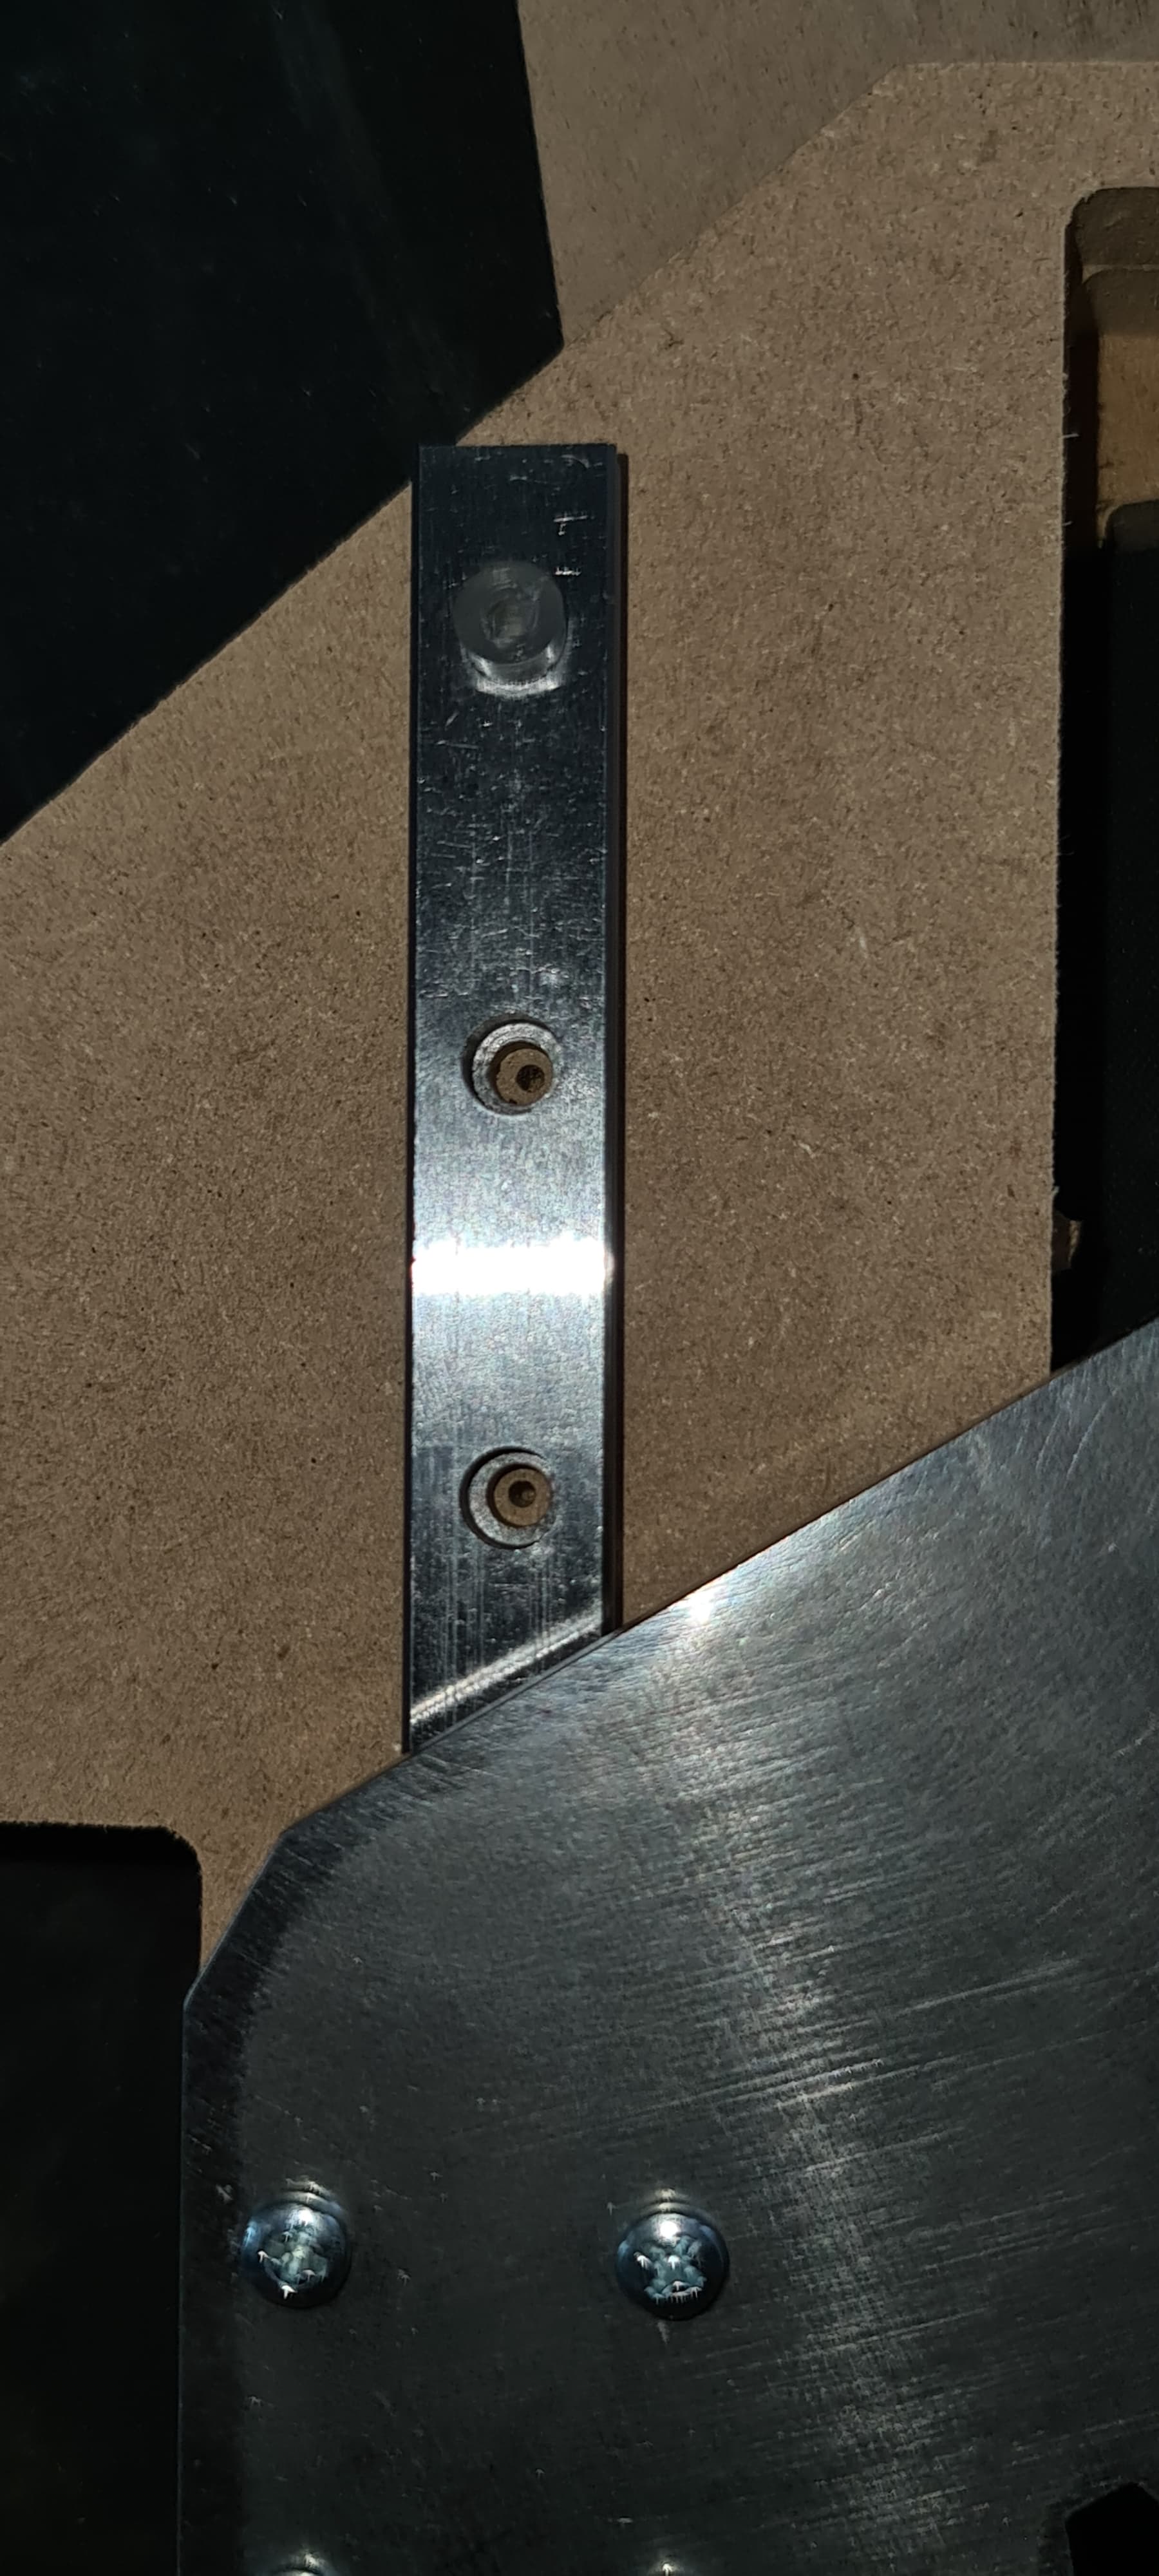
Now how confusing can a single nut and bolt be? I had this turned around on every axis, buggered off, came back, turned it around 40 more times, then still managed to fit it through the wrong hole… (no puns here please… ) so a quick redo and now all correct… interesting one side has a slot and the other a hole, does it matter which way around they go?
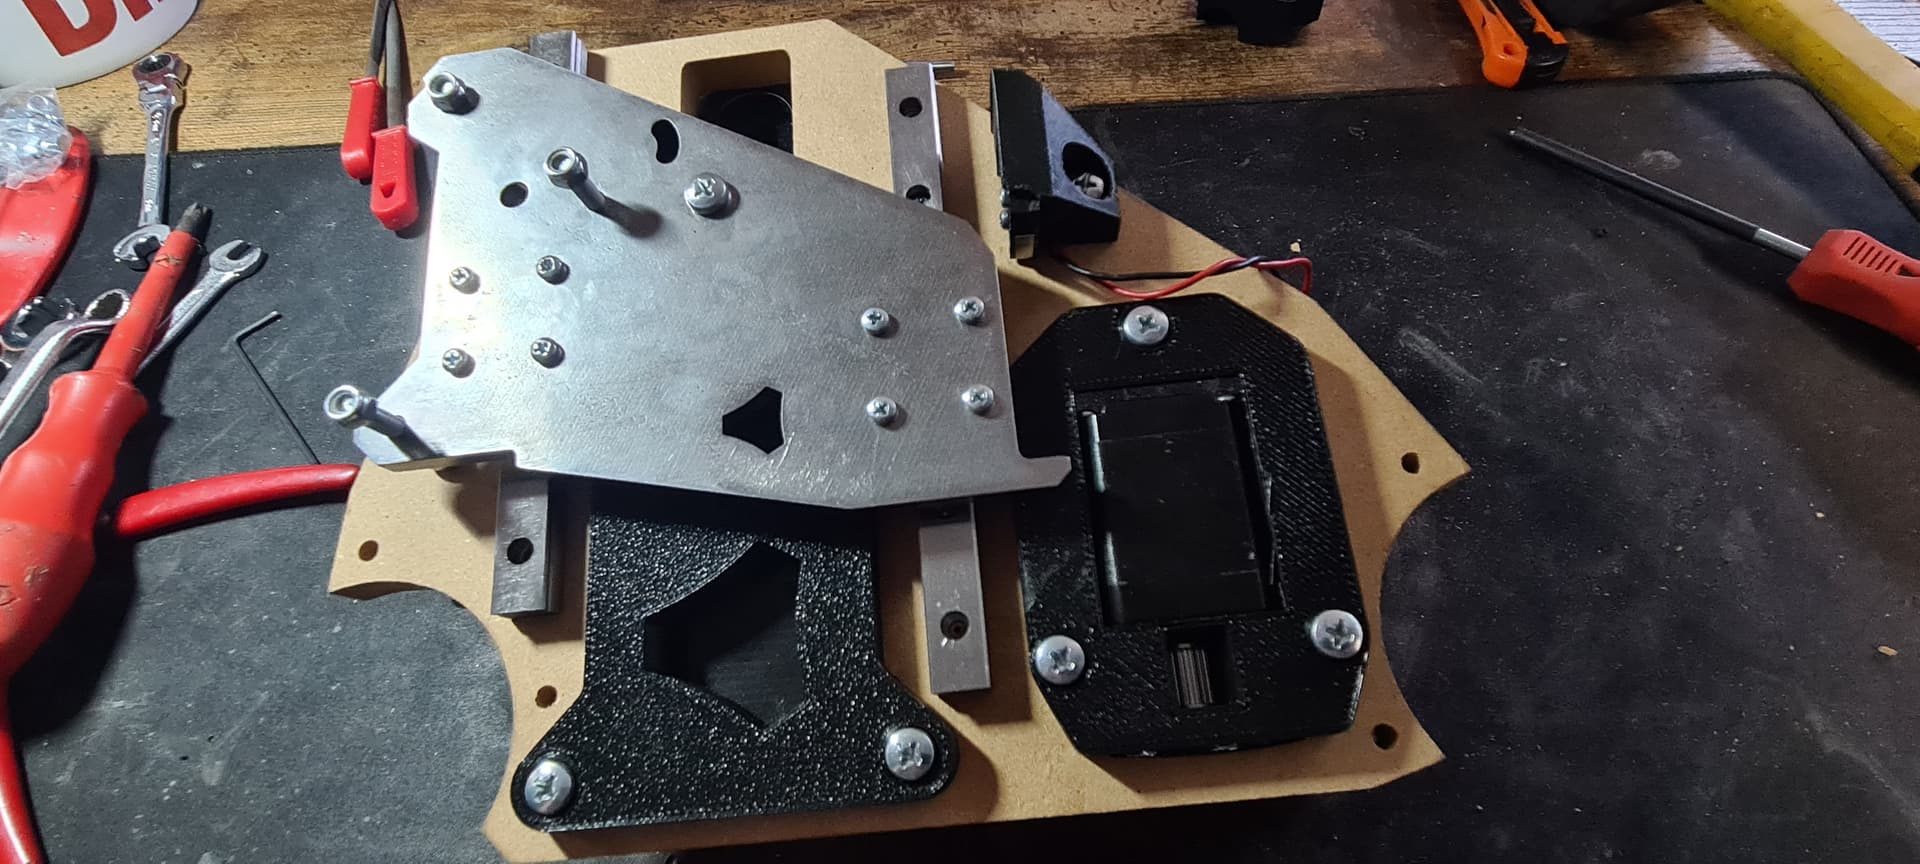
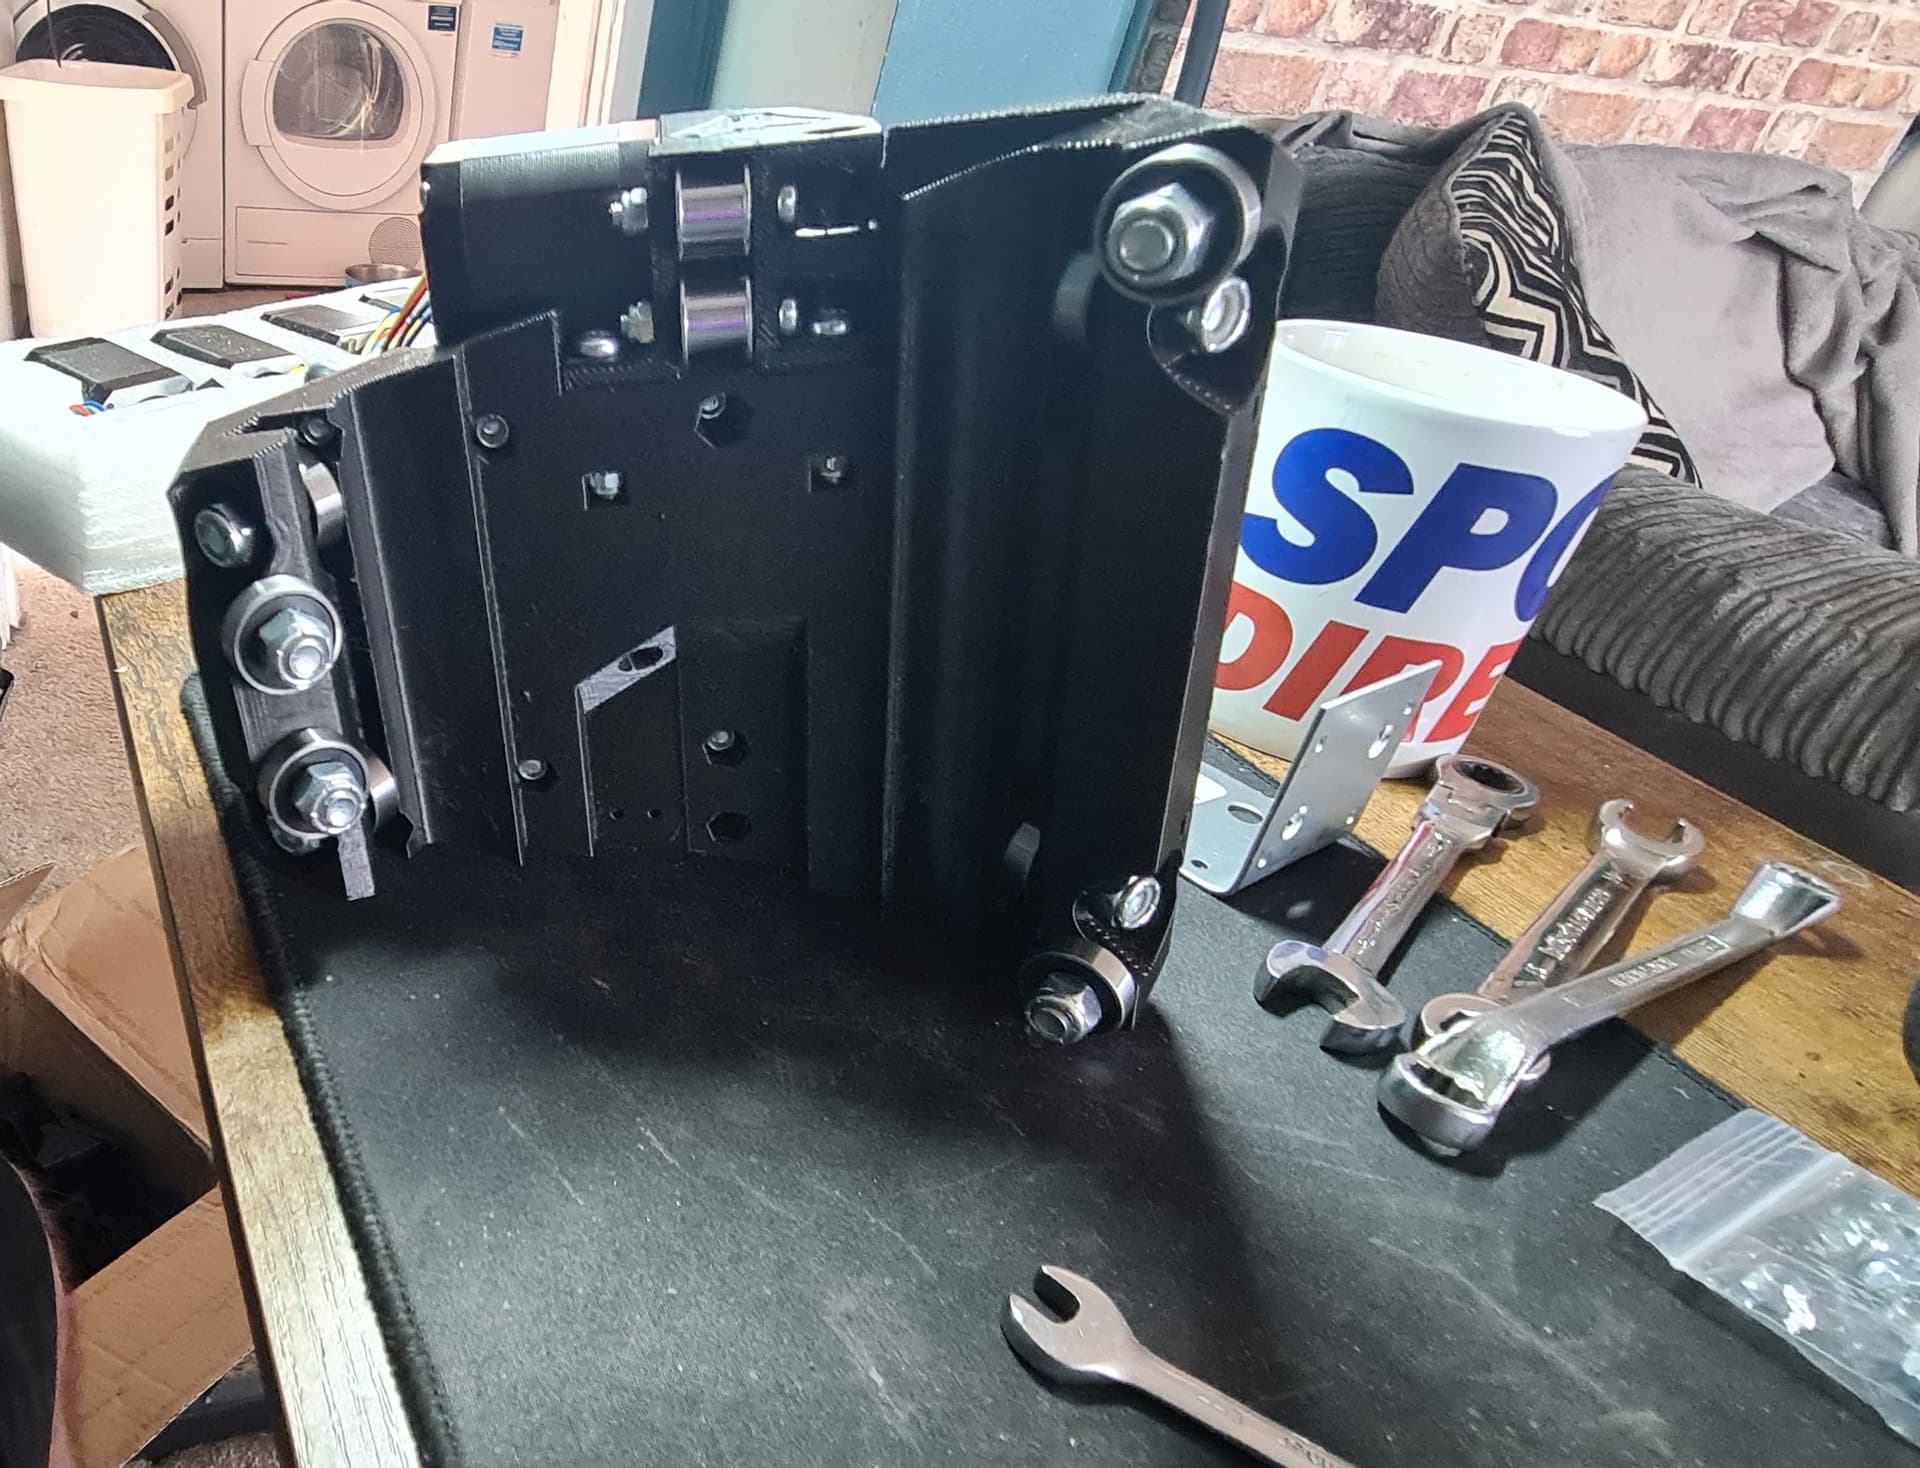
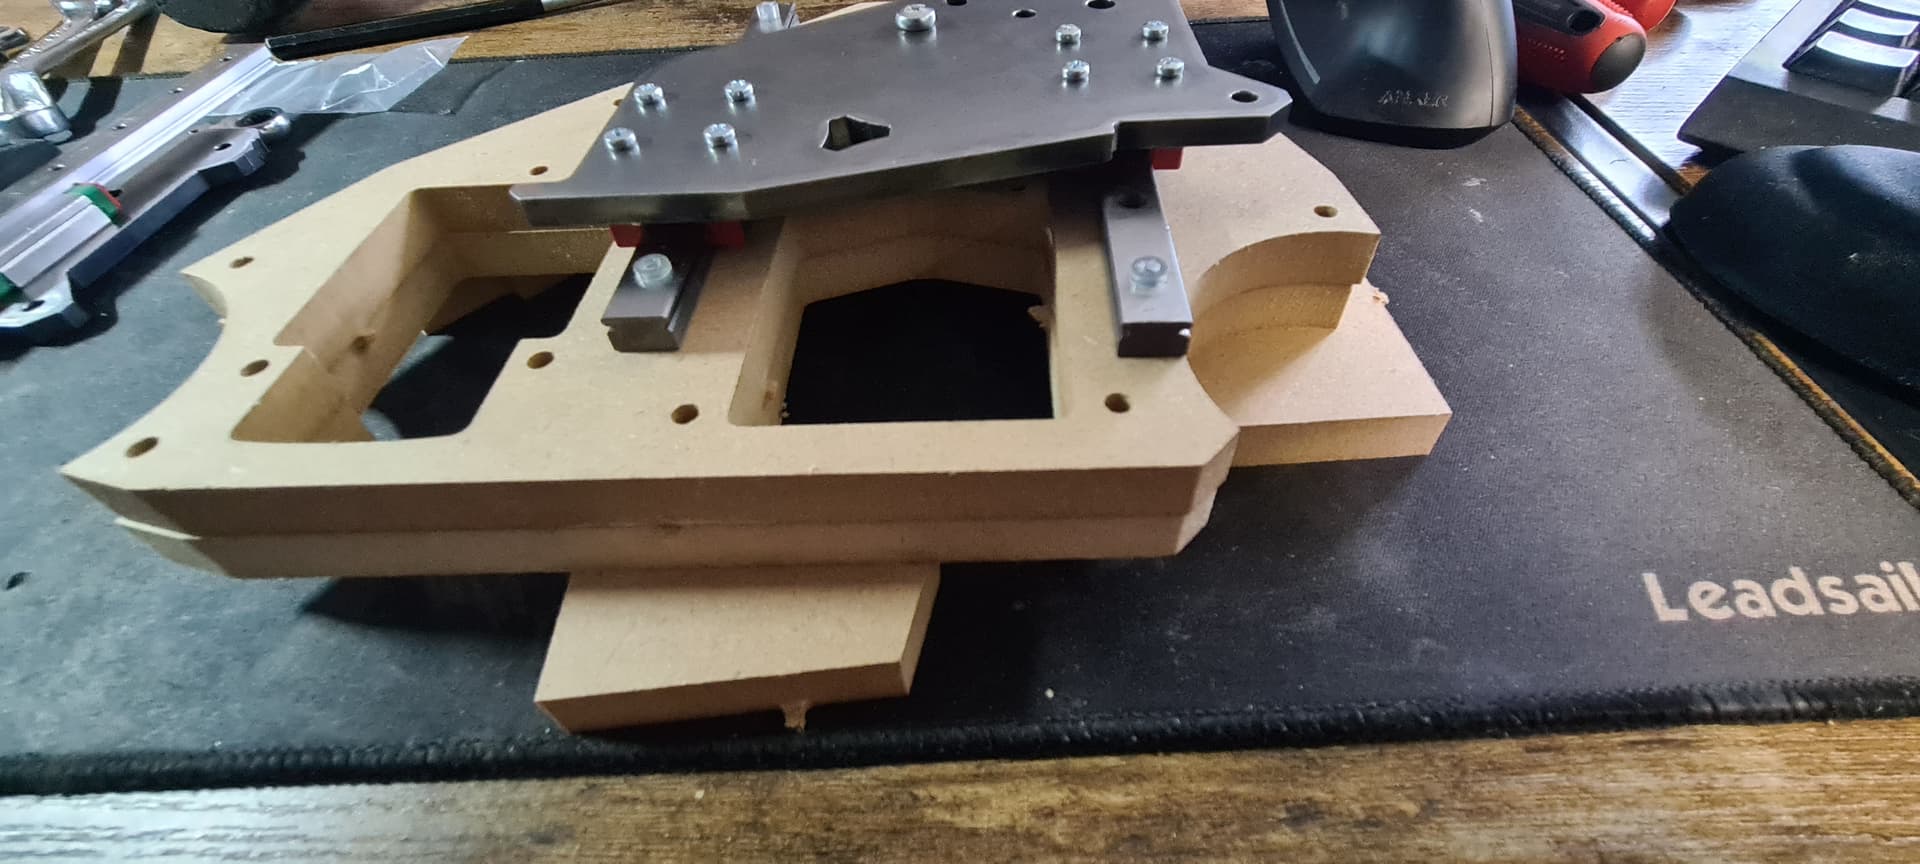
realised i was surprised by just how solid this feels, how well made and how heavy it’s getting… doesn’t feel anything like a “hobbyist” piece of kit… far from it! excitement levels rising
hmm, must be time for a refill… tea anyone?
oh look… MORE parts… woop woop!! stop, wait, think about it… no the round piece can’t go in the square hole… hang on if i twist it, it goes through, no now it’s upside down and inside out… take it apart, look at the build site, look at the finished LR3 pics, look at mine… NO… that is not going to work… ahh me being thick again… i see wrong side & needs to be the other way up… oh and the other side
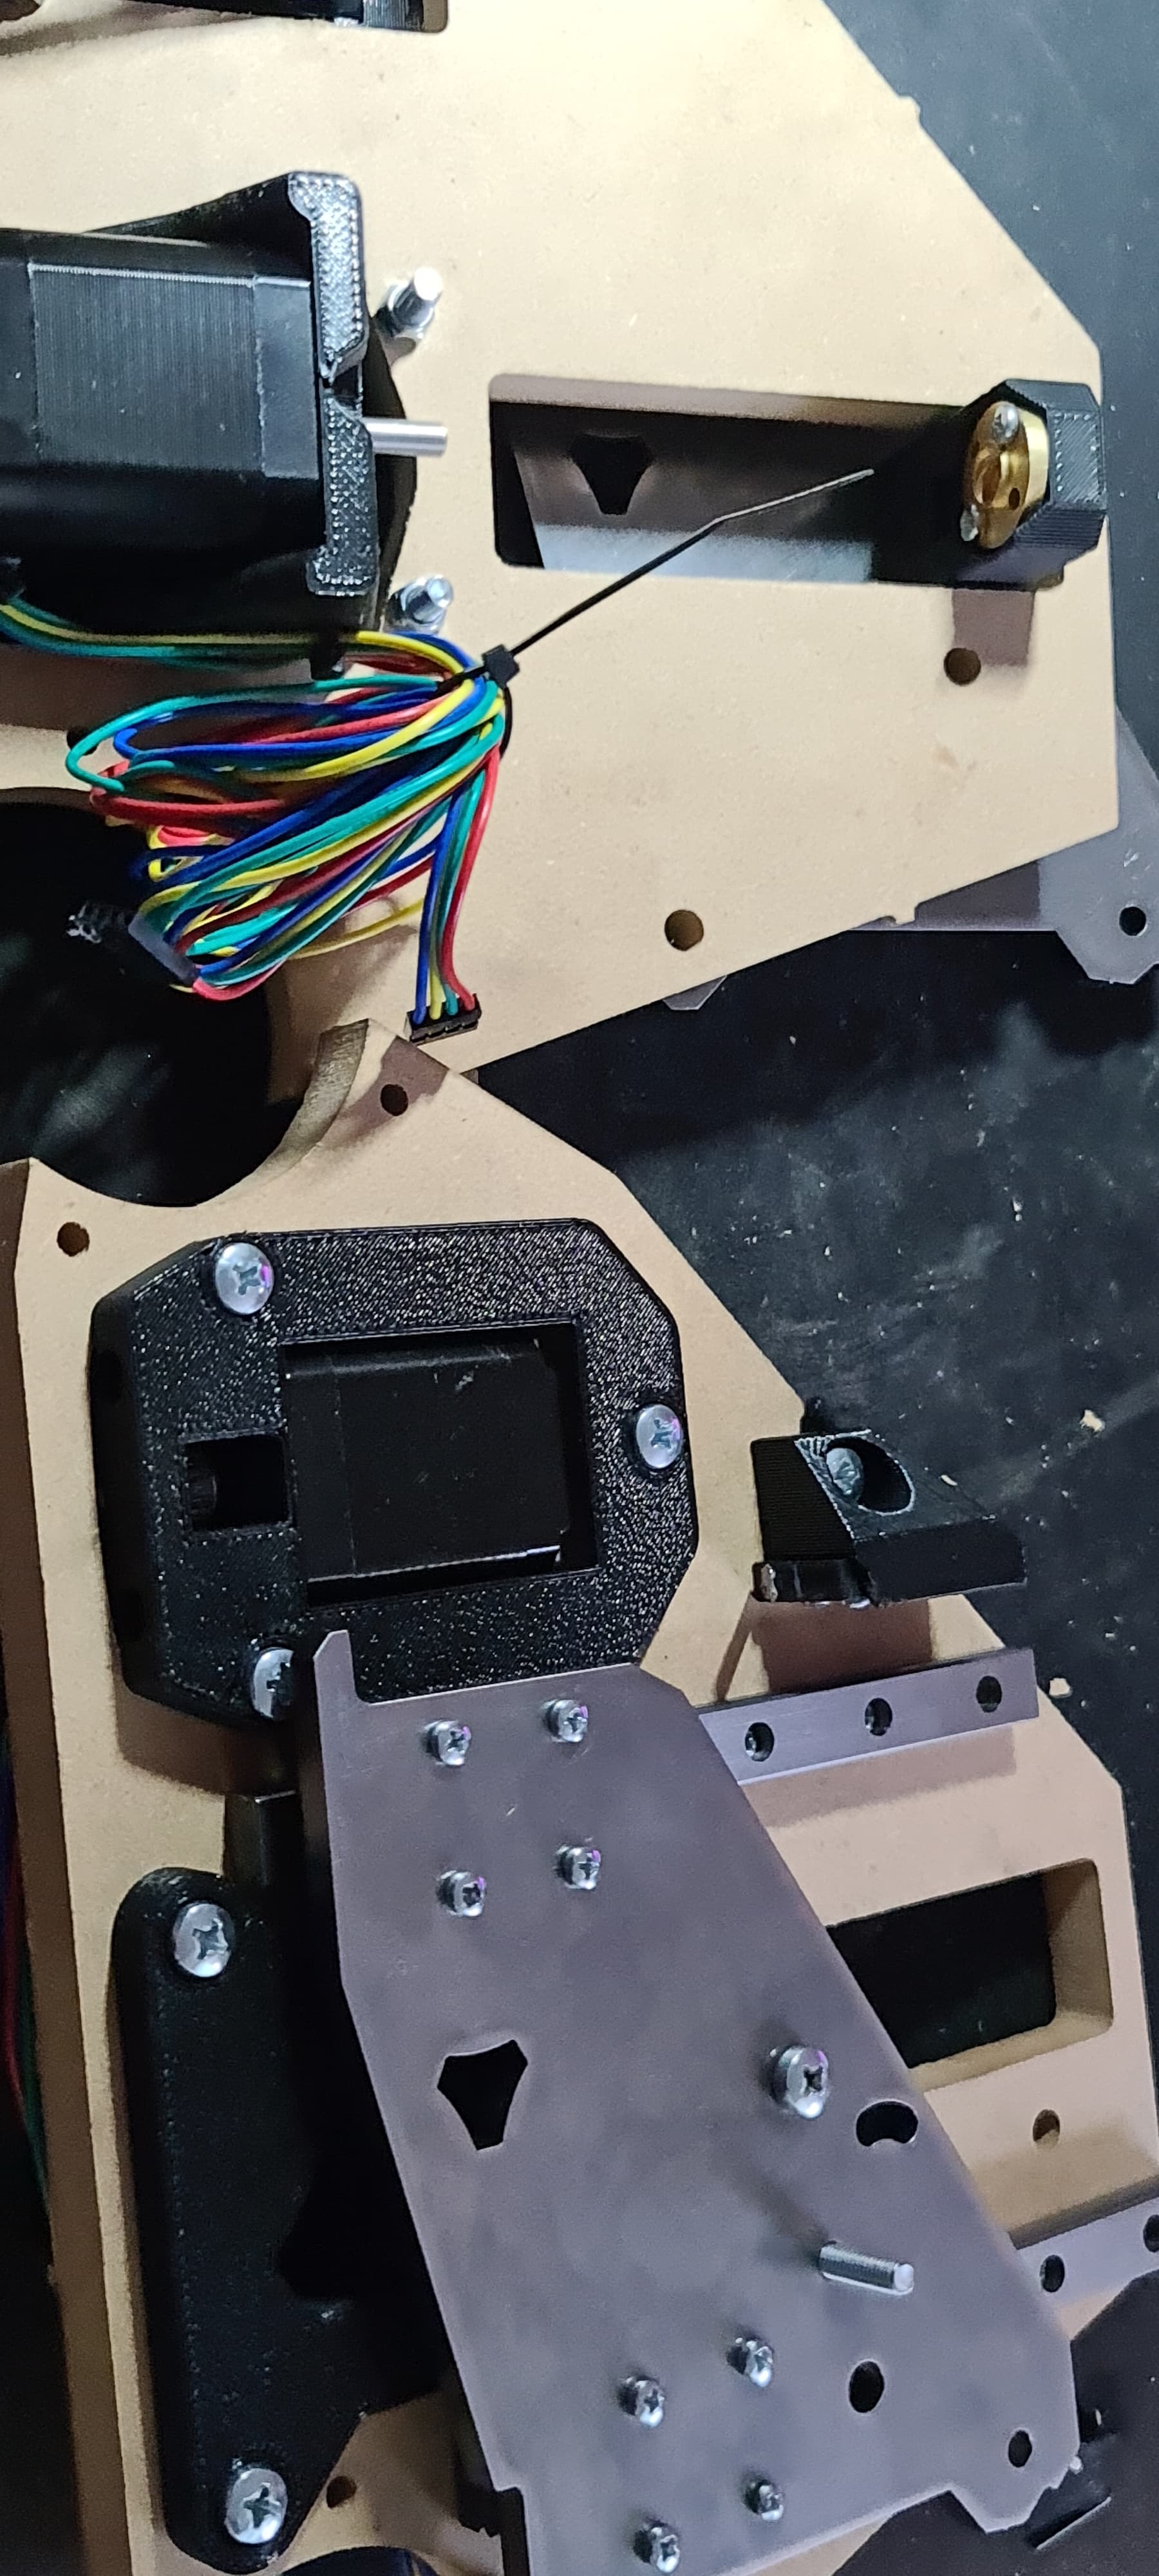
oh come on… you got the rollers wrong, how can you get the endstop mount wrong as well, no that’s for the other side… … that’s better, right start tightening bolts… no wait, stop… you’ve forgotten the cables… doh!! that’s better…
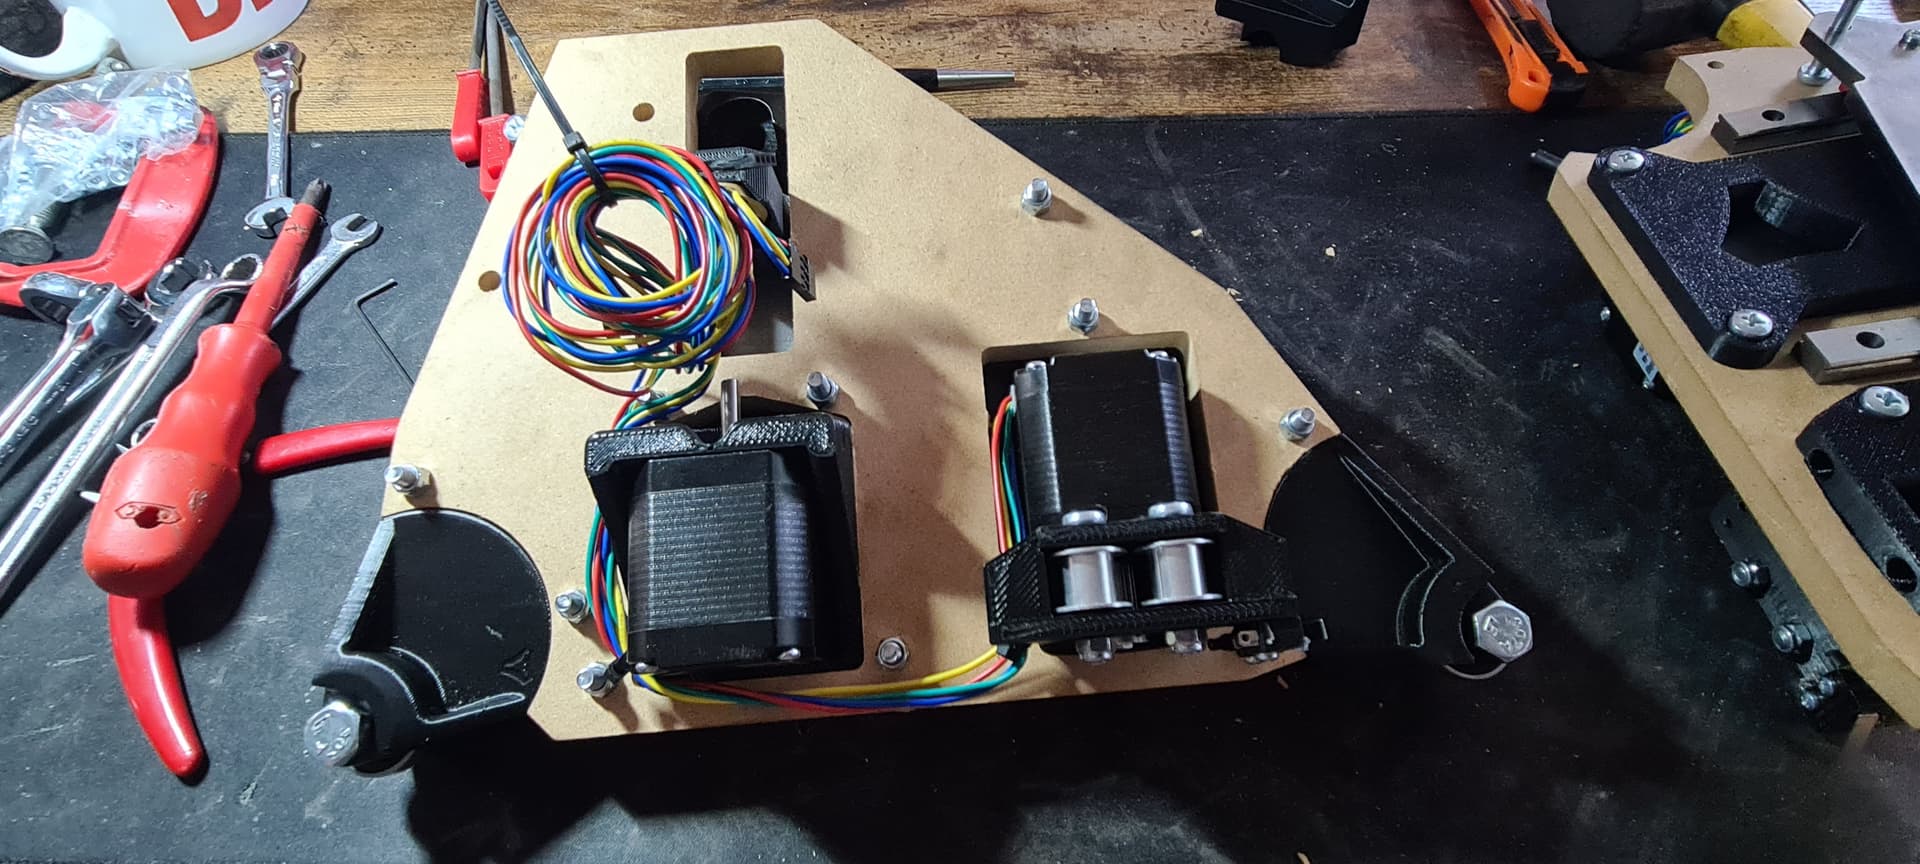
Did you spot the mistake? dammit… i forgot to put the 3x bolts in one of the XZ panels… dang it!! 30 seconds and voila, bolts added. fed up with the top ones falling out, so i’ve put in the nylock nuts loosely’ish
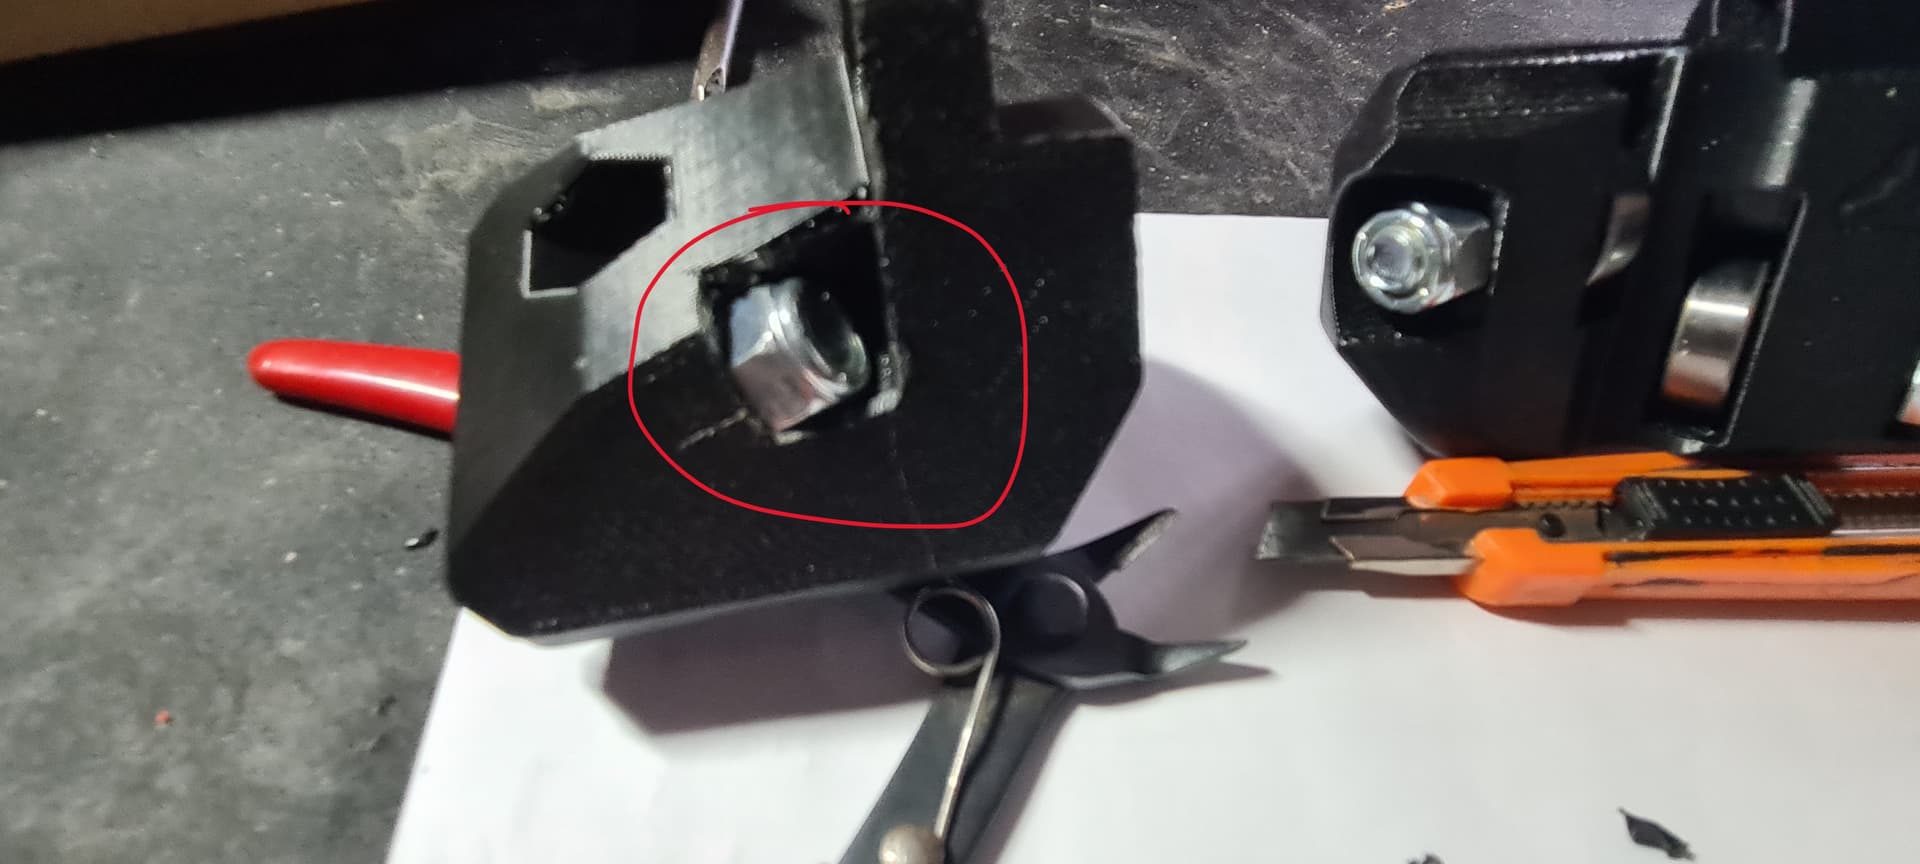
Right Darren, stop rushing, what’s next… ah the wheels and wheel assemblies… cool, this is going well… and just like that, my first issue… damn, don’t jinx anything else pfftt… i just couldn’t get that nut in the hole. the build instructions did say it was a fiddly t*at, but it beat me… a pair of really small snips and problem solved… only a very minor adjustment required… this far into the build i’d call that a resounding success!
and lastly, adding the wheel assemblies to the XZ panels… nice n easy… must be time to clean up ready for the wife to get home… ahh well more tinkering tomorrow! now where’s those instructions for me to read ahead of time…


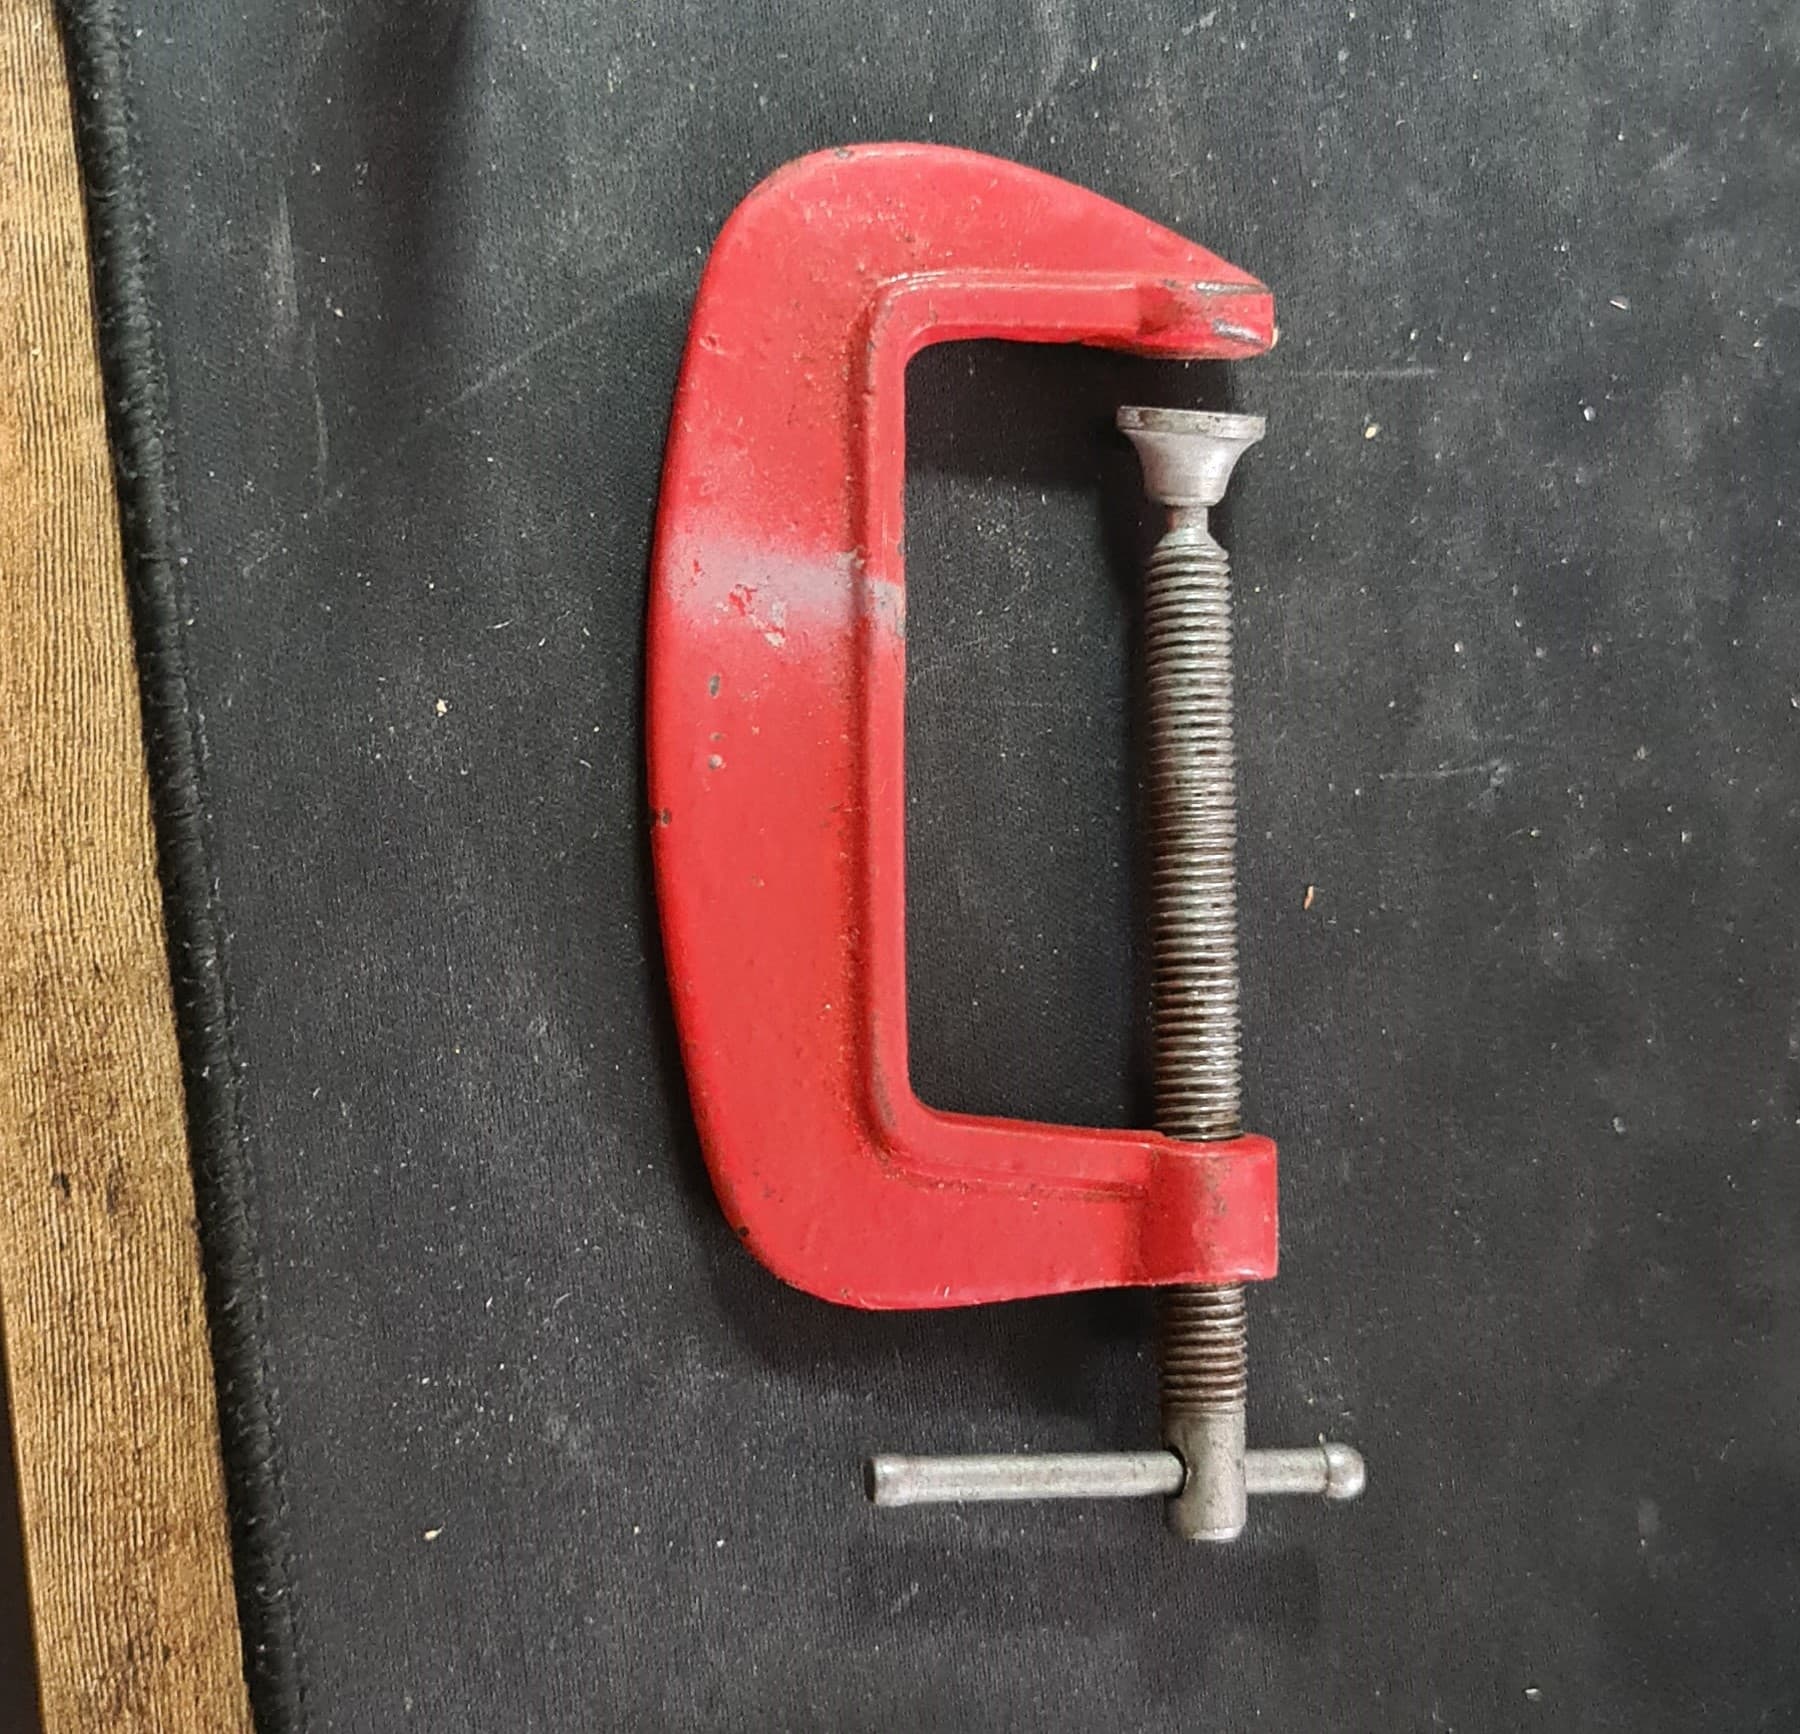
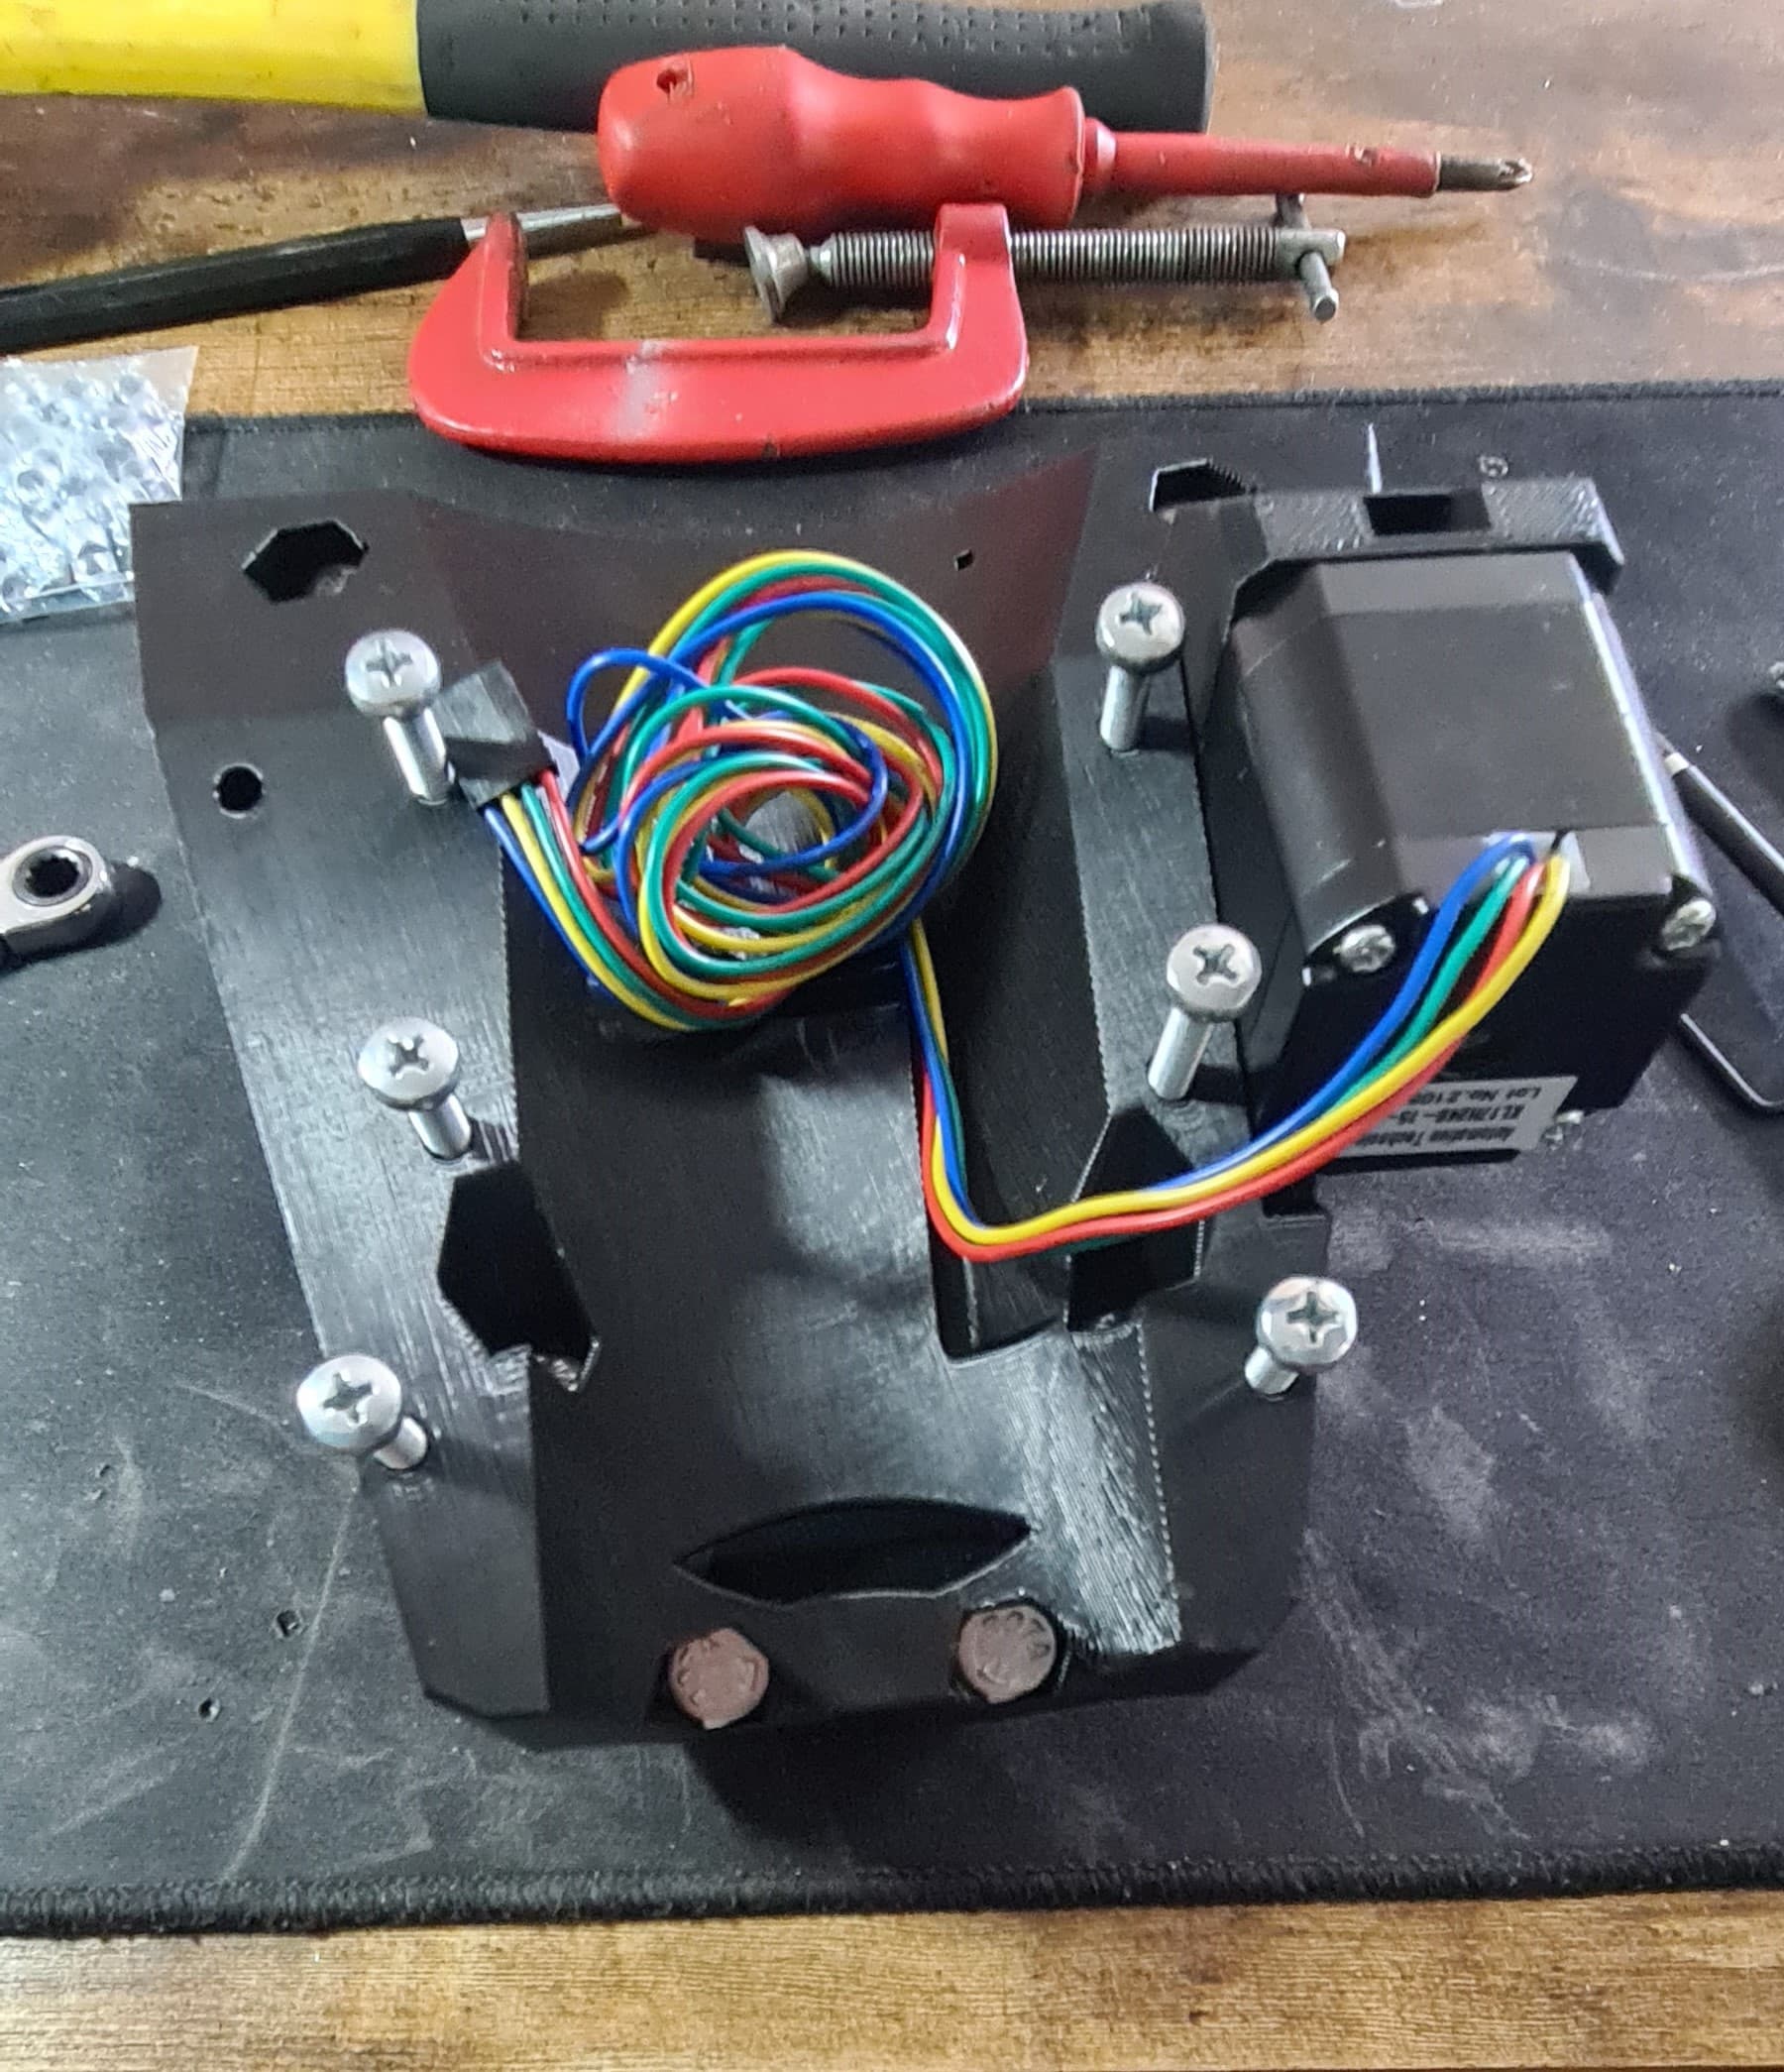
 2nd one i swopped the g clamp around and it was waaaay easier.
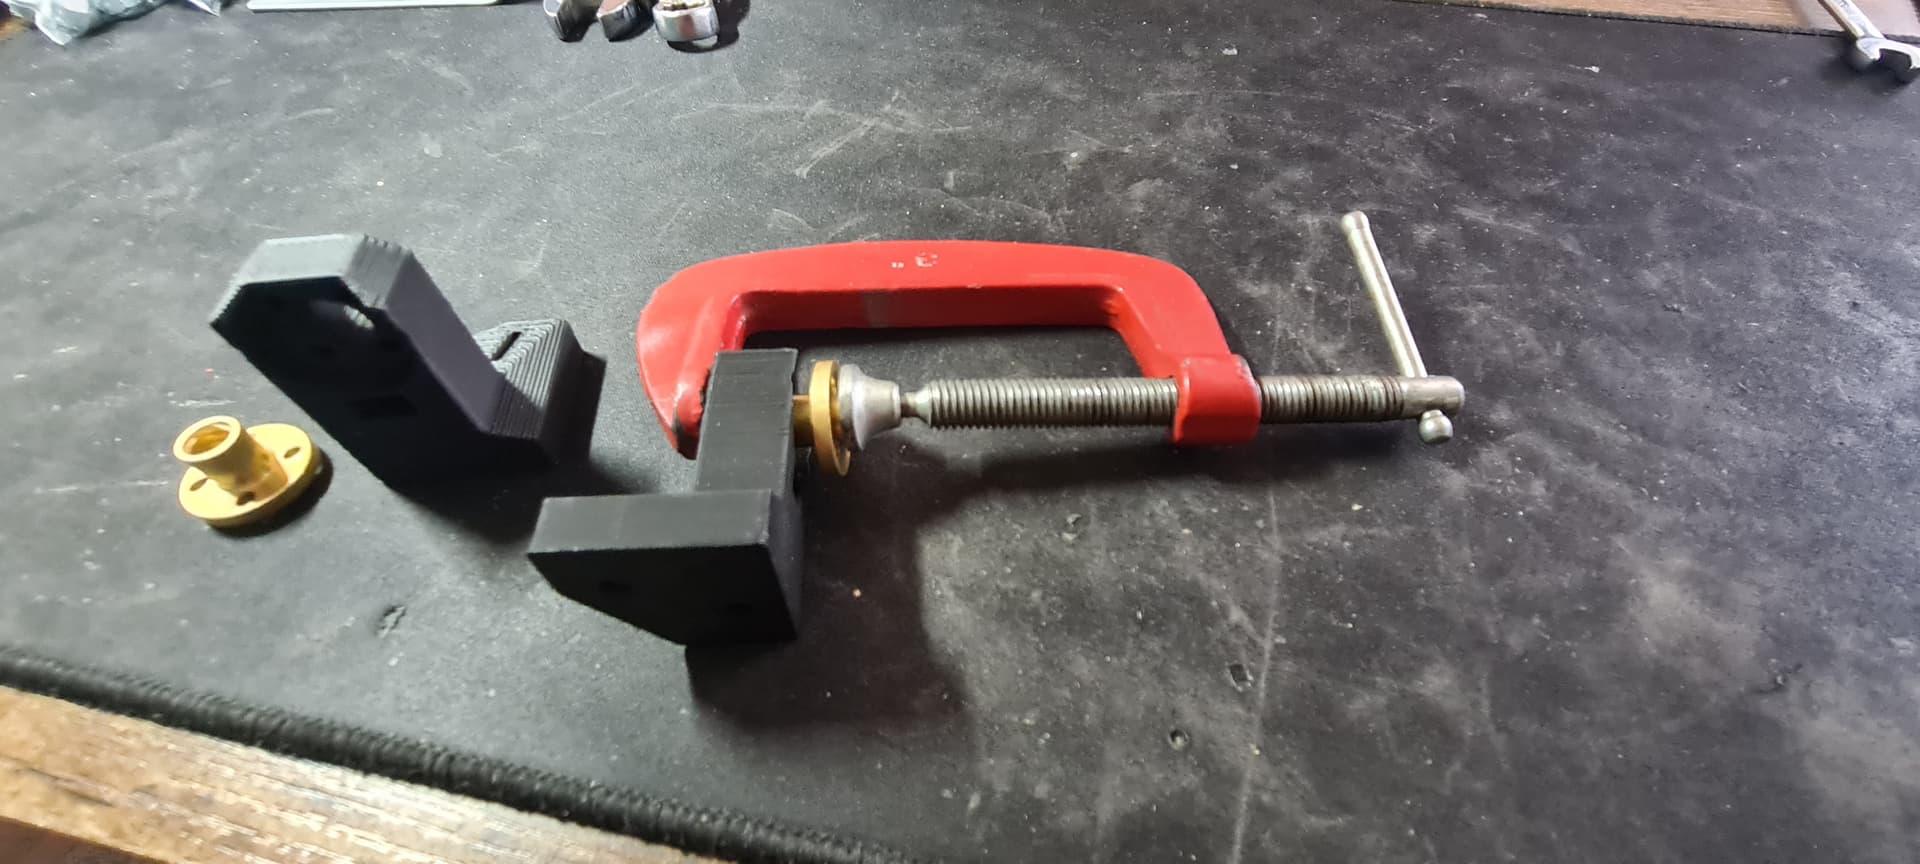

 … that’s better, right start tightening bolts… no wait, stop… you’ve forgotten the cables… doh!! that’s better…